It’s clear that I need to work out my priorities or at least come up with some sort of schedule for this ol’ blog here because I have been neglecting it! But I am here now to share with you a fun and easy (that’s how I like it) project that anyone can do for extra storage. I’m sure if you look around your house you will find empty or close to empty cans laying around that will eventually get recycled. Why not grab some pretty paper (scrapbook paper, wallpaper, contact paper, wrapping paper, etc.) and wrap em’ up! That’s exactly what I did with some old coffee and tea cans! When I had traveled to Wellesley, Boston this summer I came across this great little shop called Papers & Presents and it was magical, well to me it was. There were gorgeous bold and modern prints all over the store and fantastic stationary as well! There were so many containers that were wrapped in beautiful paper that looked to me like anyone could do.
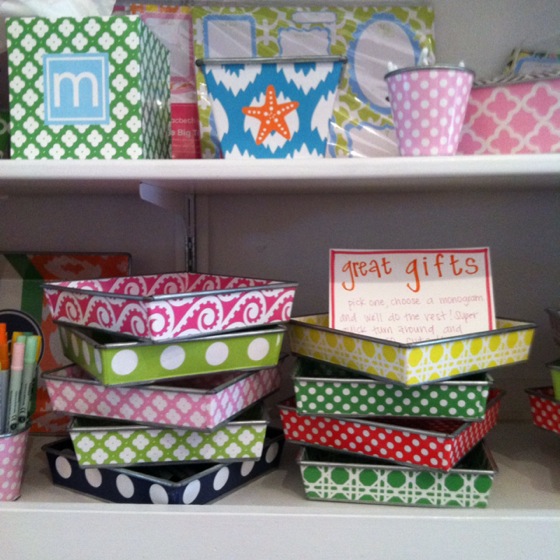
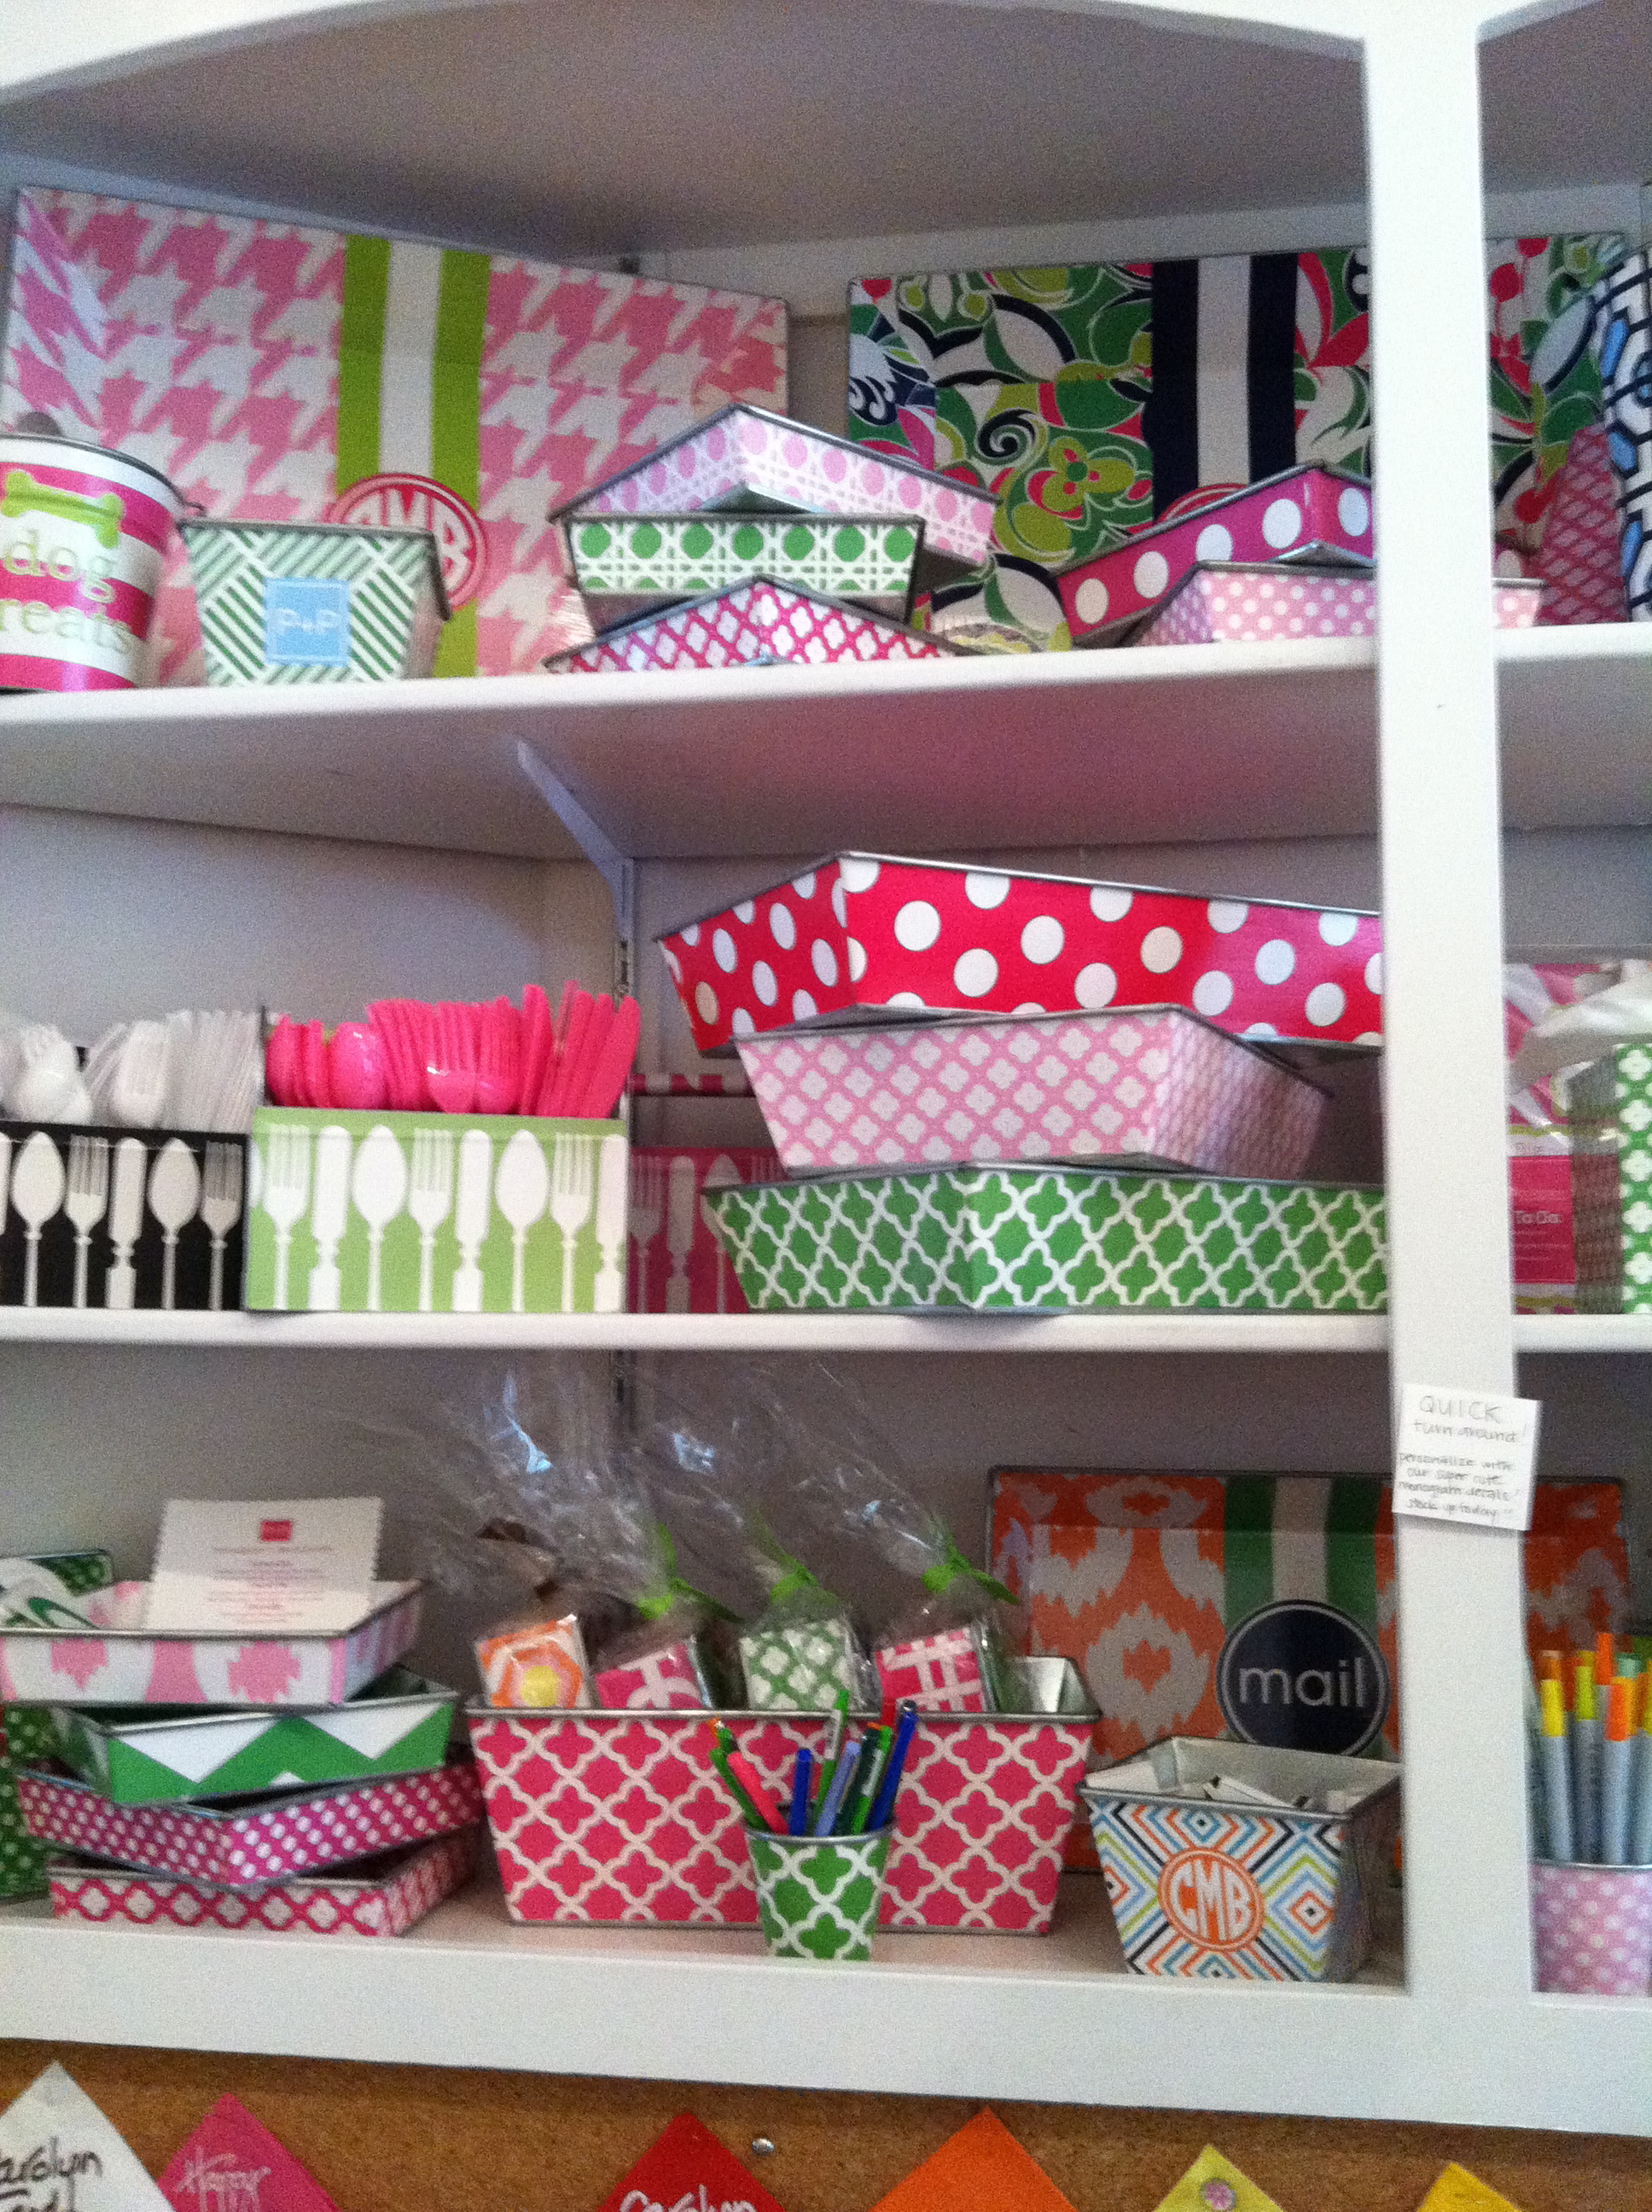
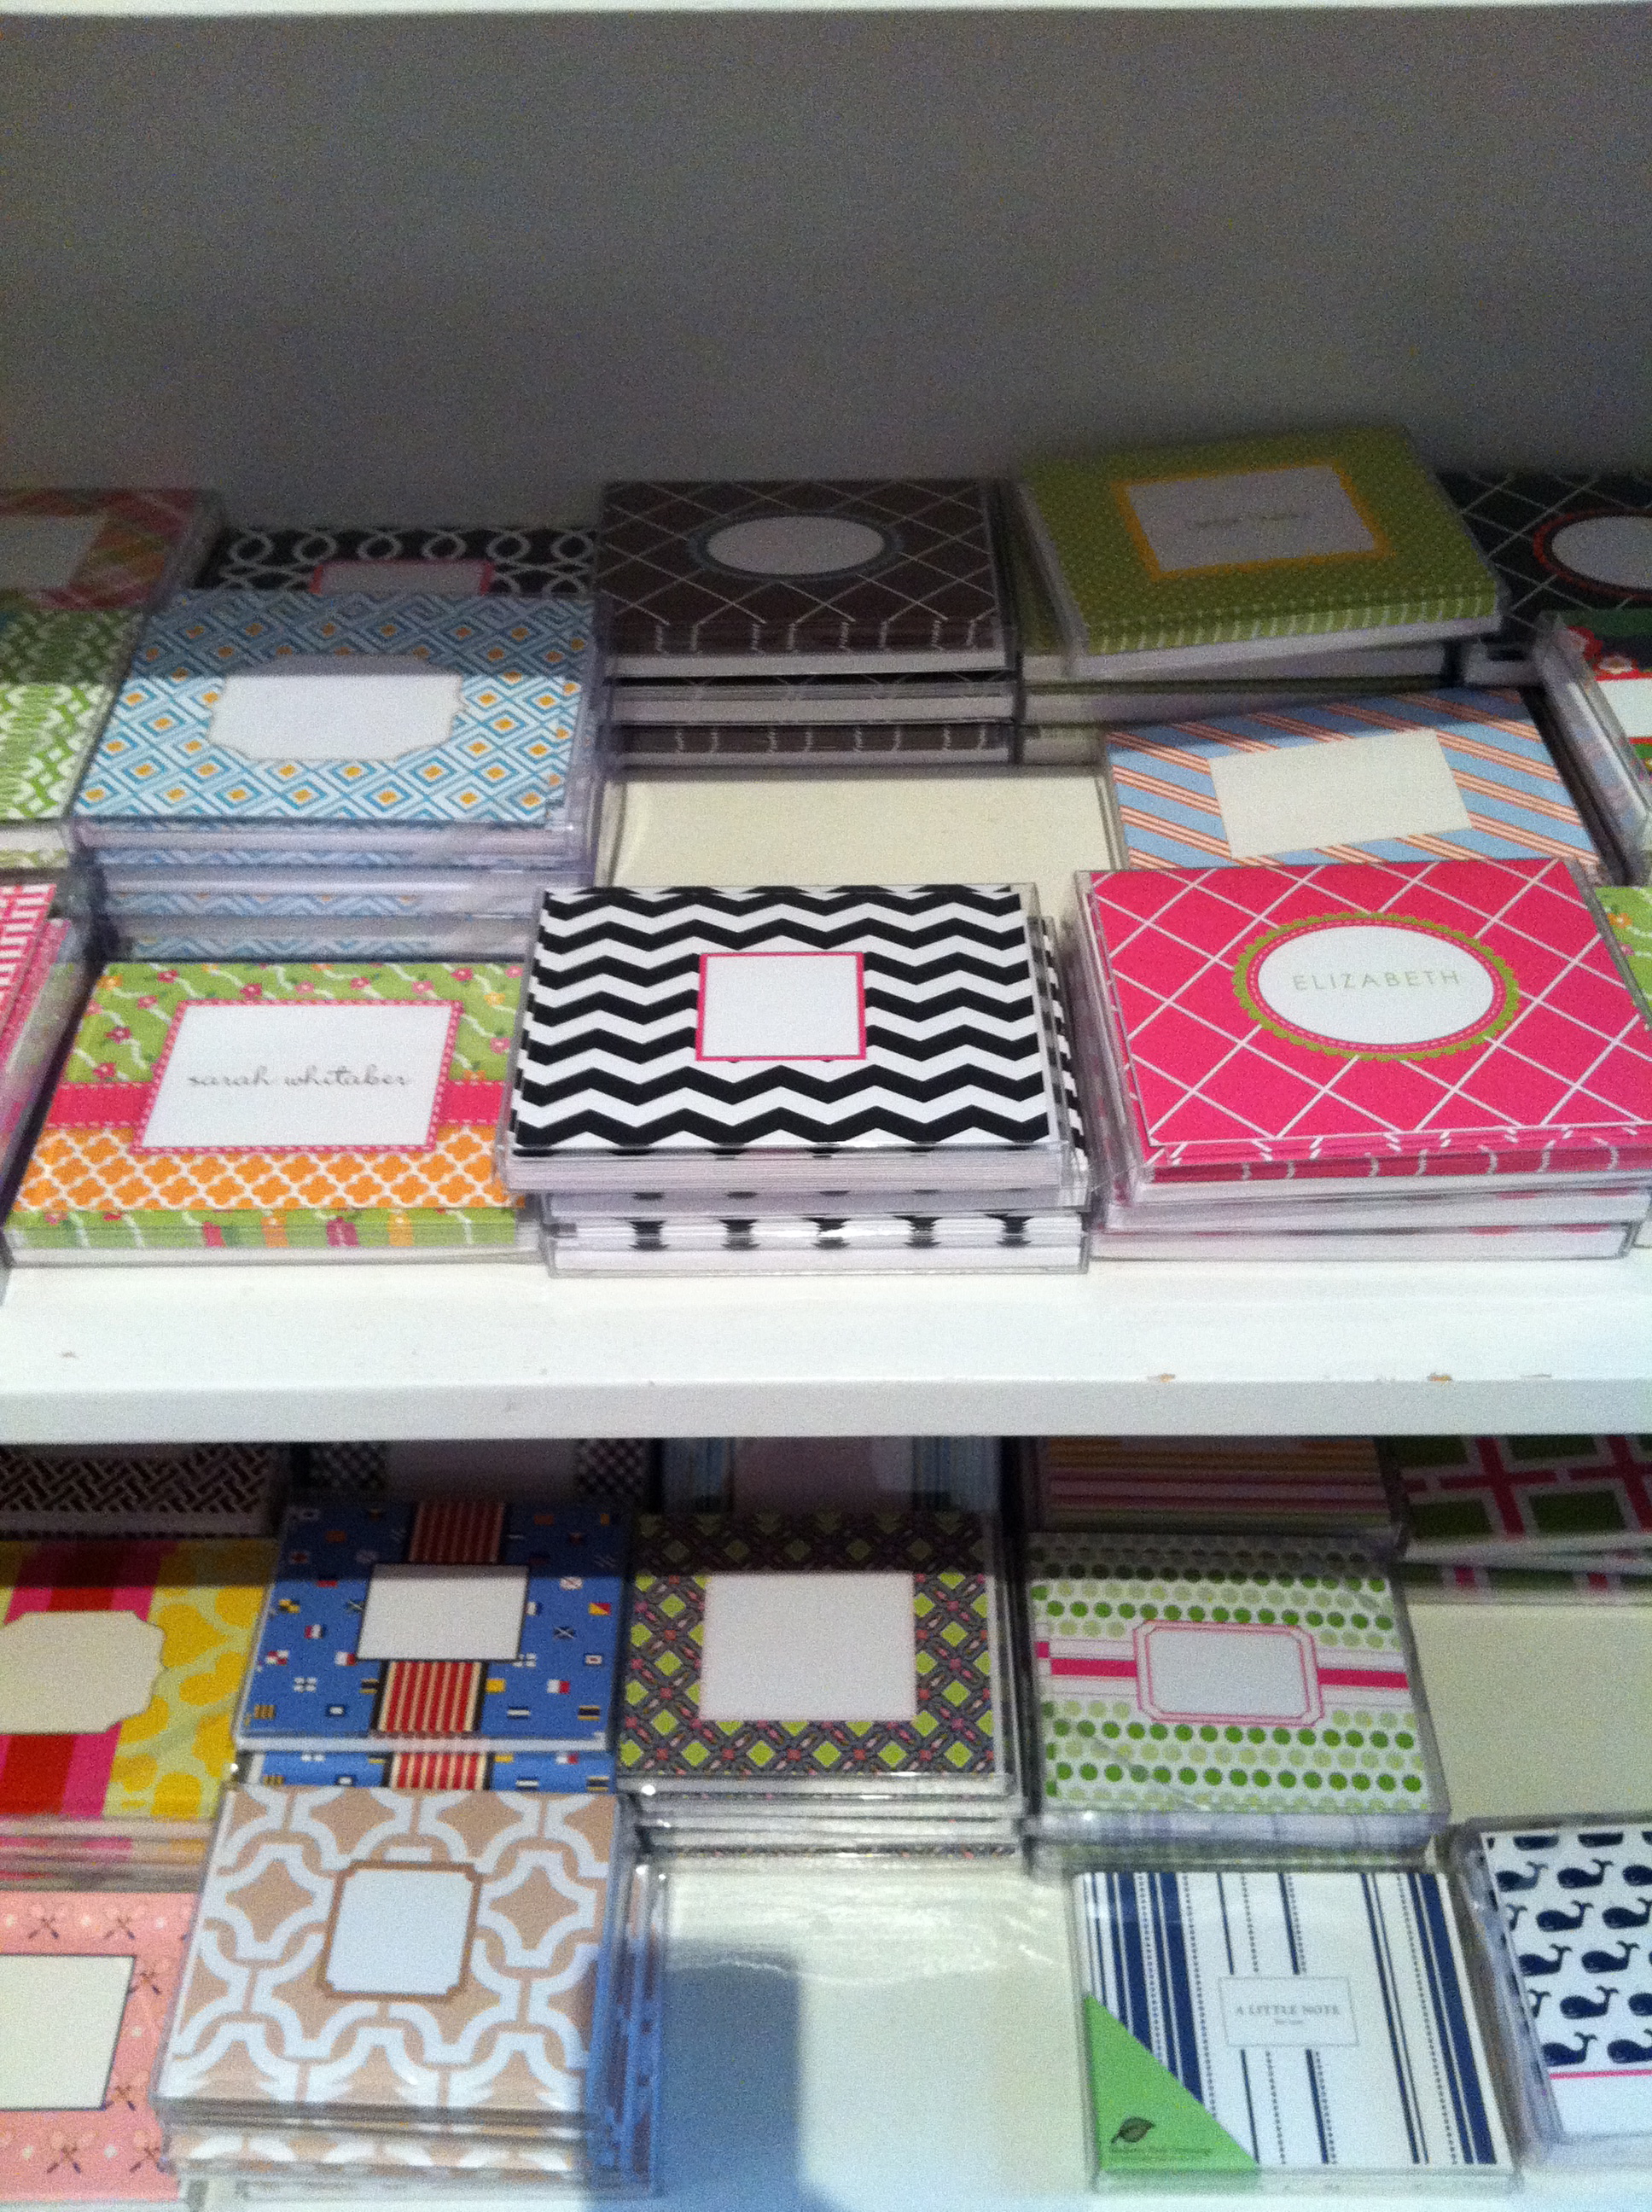 The best part was that my initials were all over the store! I ended up purchasing some pretty paper and a laptop holder and then after debating in my head and went back and grabbed me this guy…
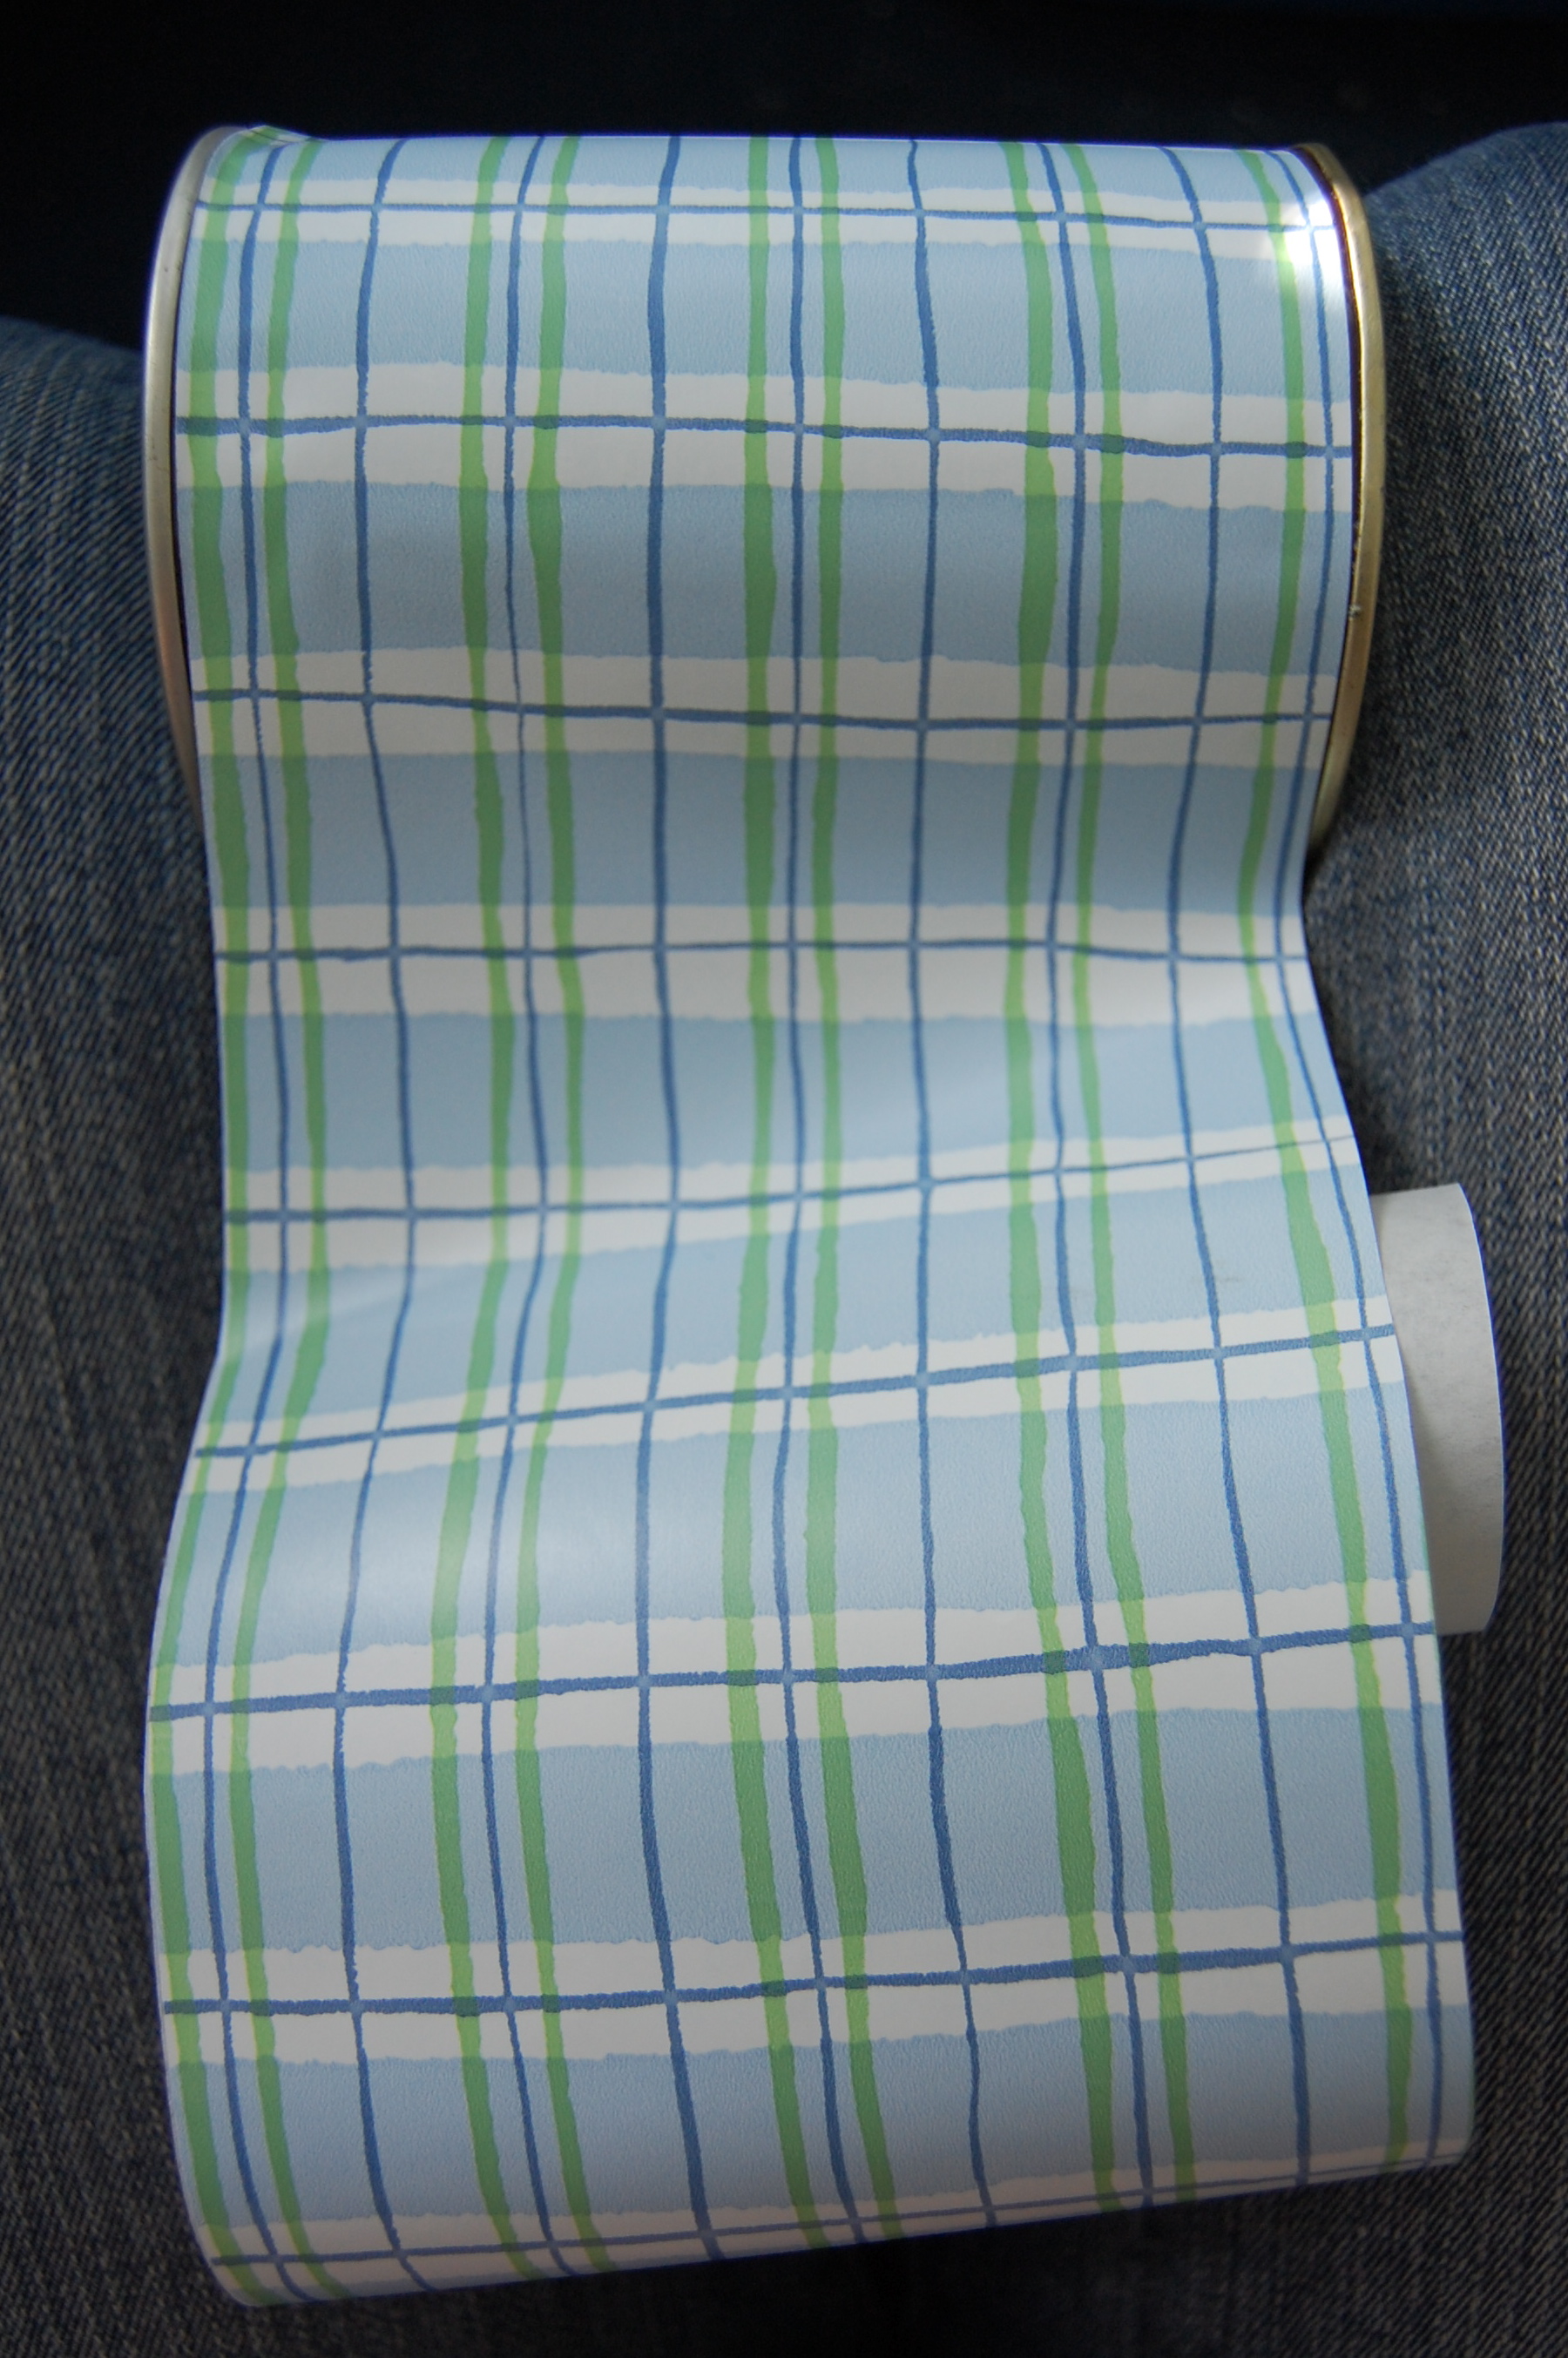
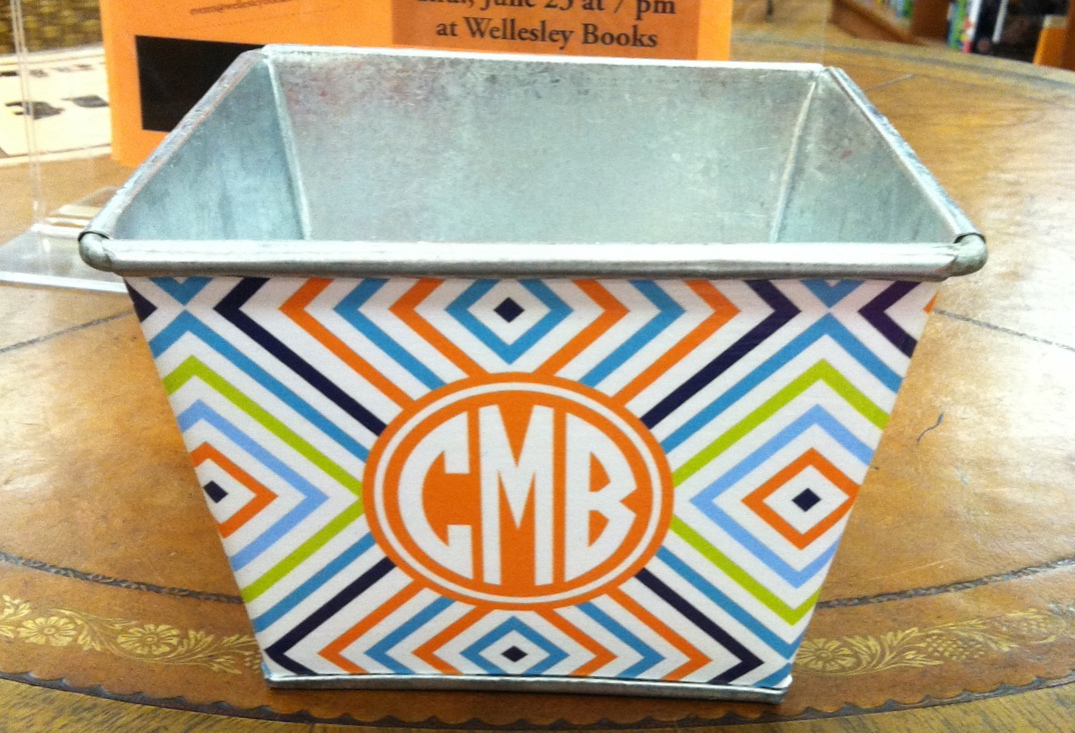 Ok so enough about that. The reason I am sharing this info with you is because if you look at all of these items they are merely tin cans wrapped in pretty paper with a price tag on them so why not make my own! I had to decide what kind of paper I was going to use and although I purchased some pretty wrapping paper from Paper & Presents (by the way I’m pretty sure we can start a drinking game on the amount of time I say paper in this post) I didn’t want to use it for this particular project cause I am particular that way. So I went online and found really pretty contact paper for cheap and when it arrived I was really excited. I chose contact paper because it already had the adhesive so it would make this project really easy. If you decide to use any other non adhesive paper you can easily use Mod Podge to adhere it to the can! Here is the paper and my empty cans.
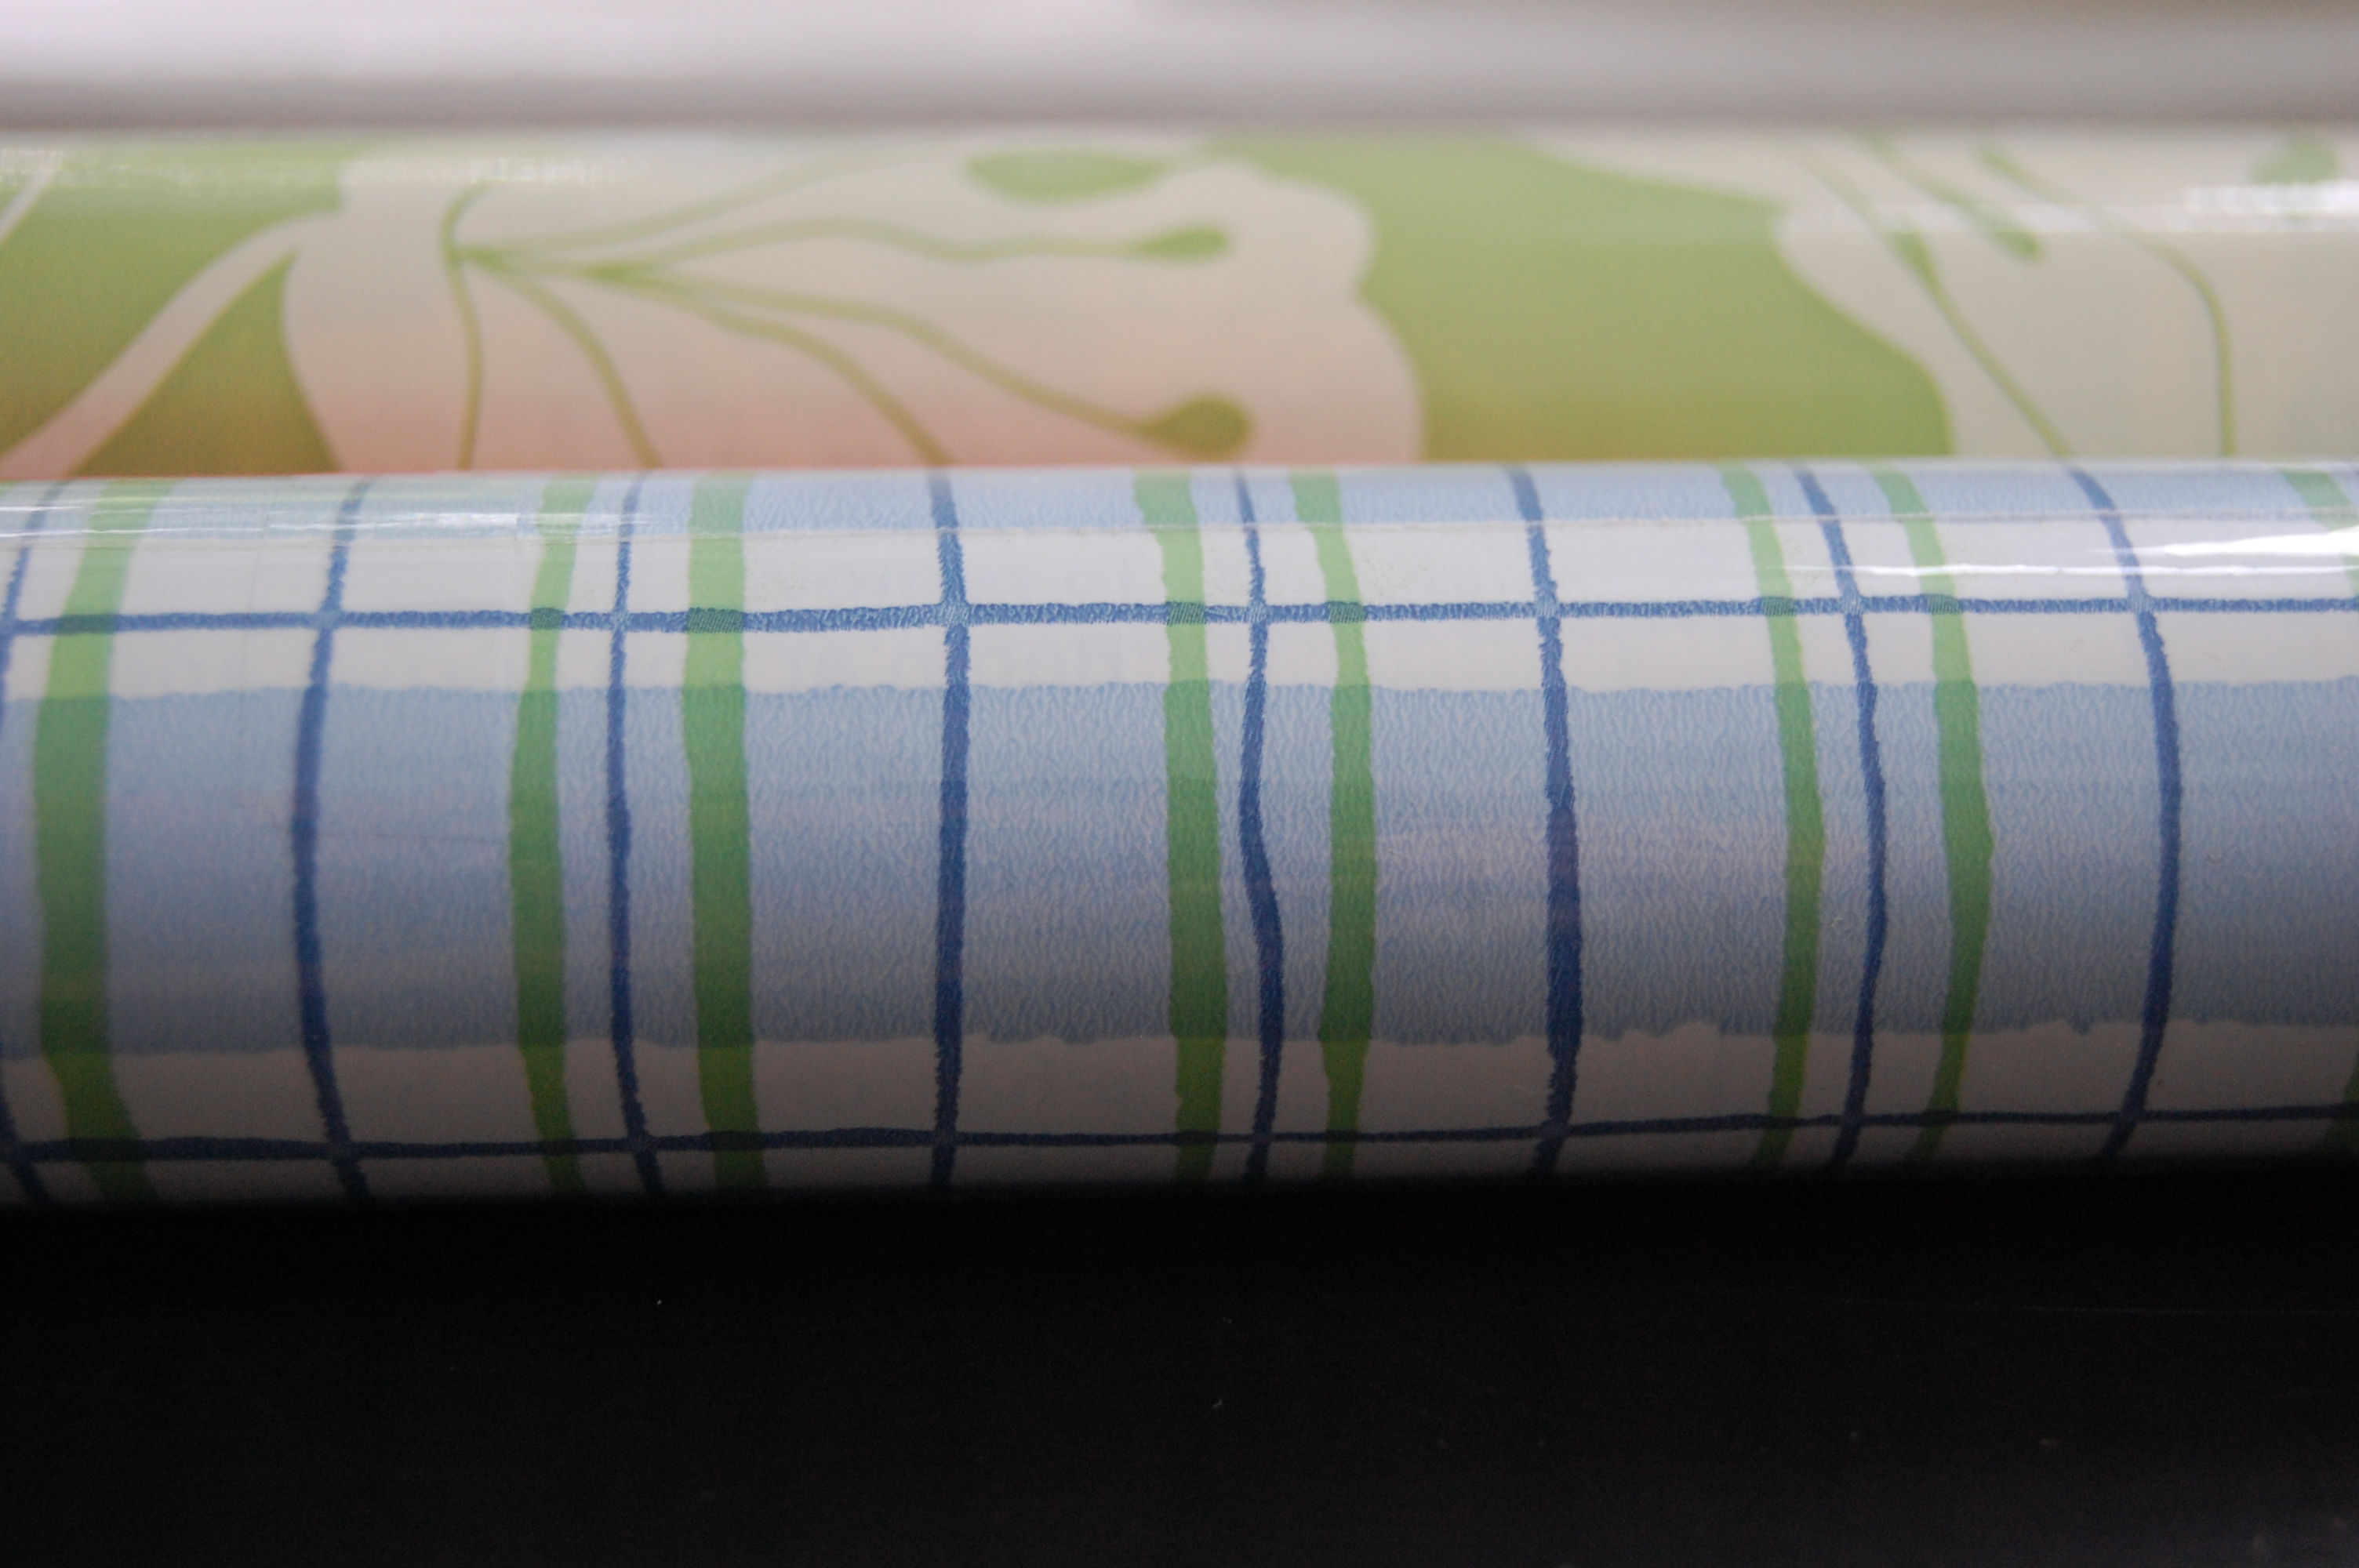
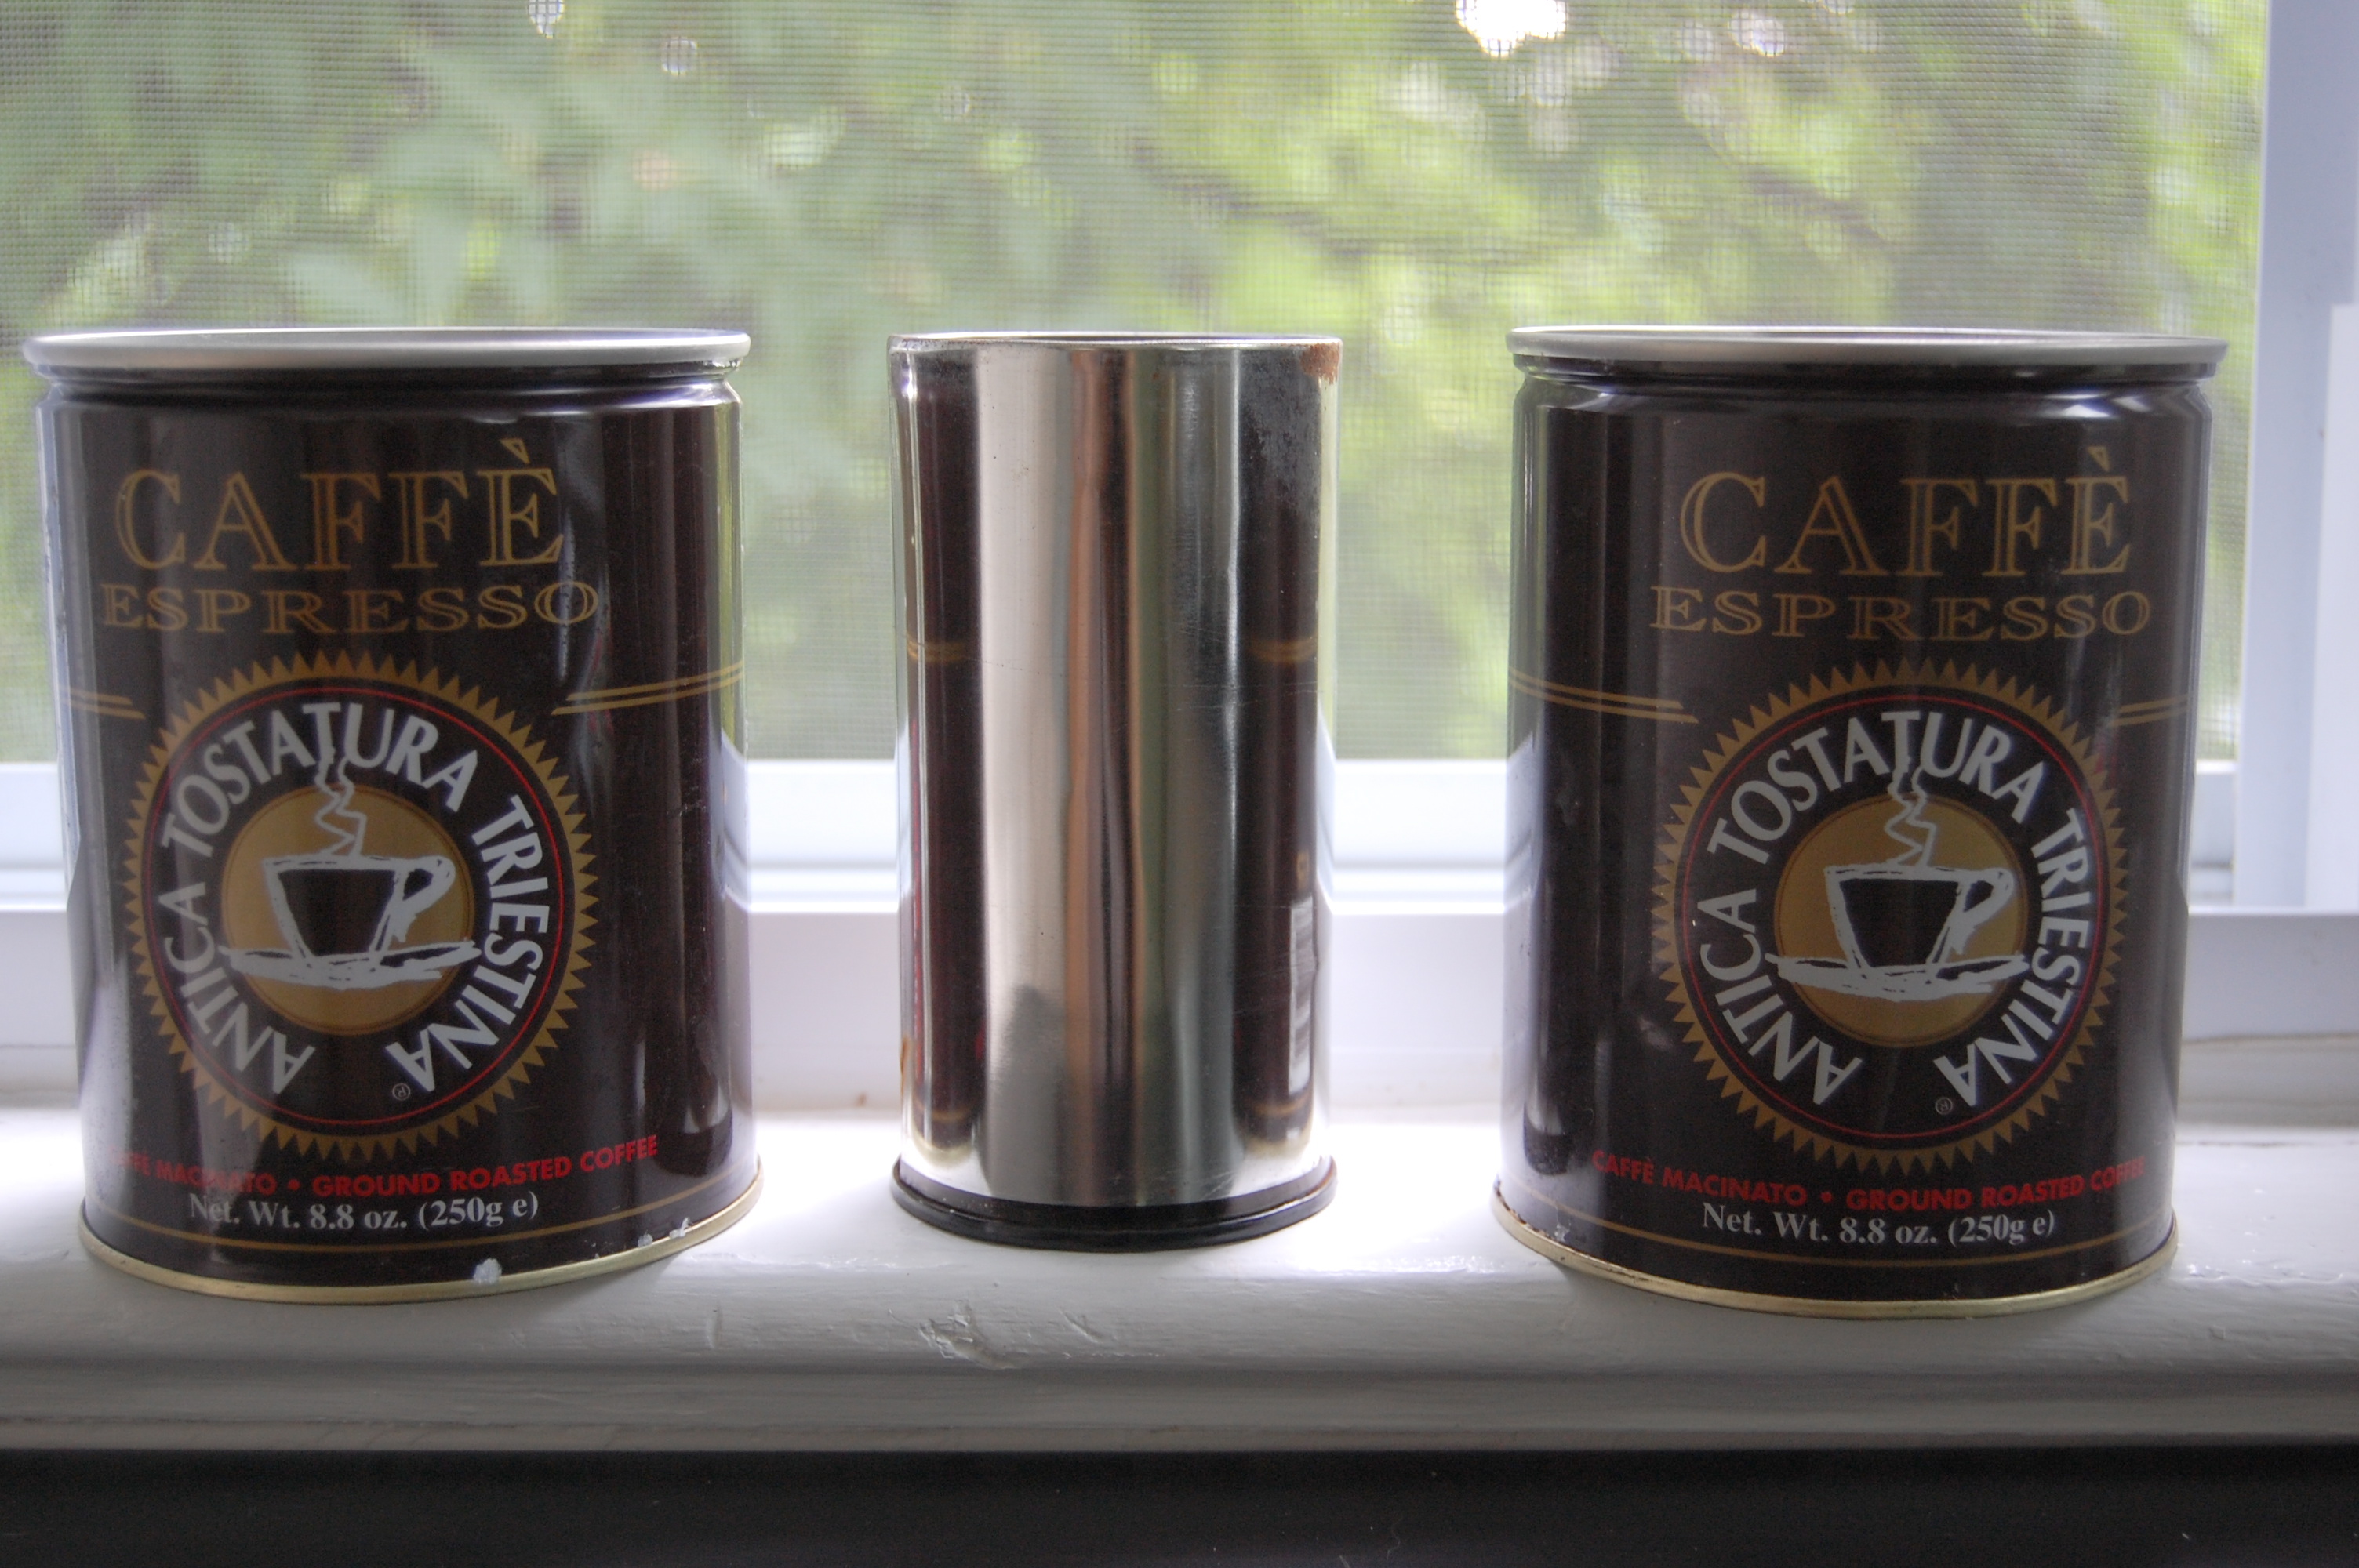 All I did next was measure and cut the contact paper to fit around the cans. The great thing is that the back of the paper looks like a grid so it made it easier to cut.
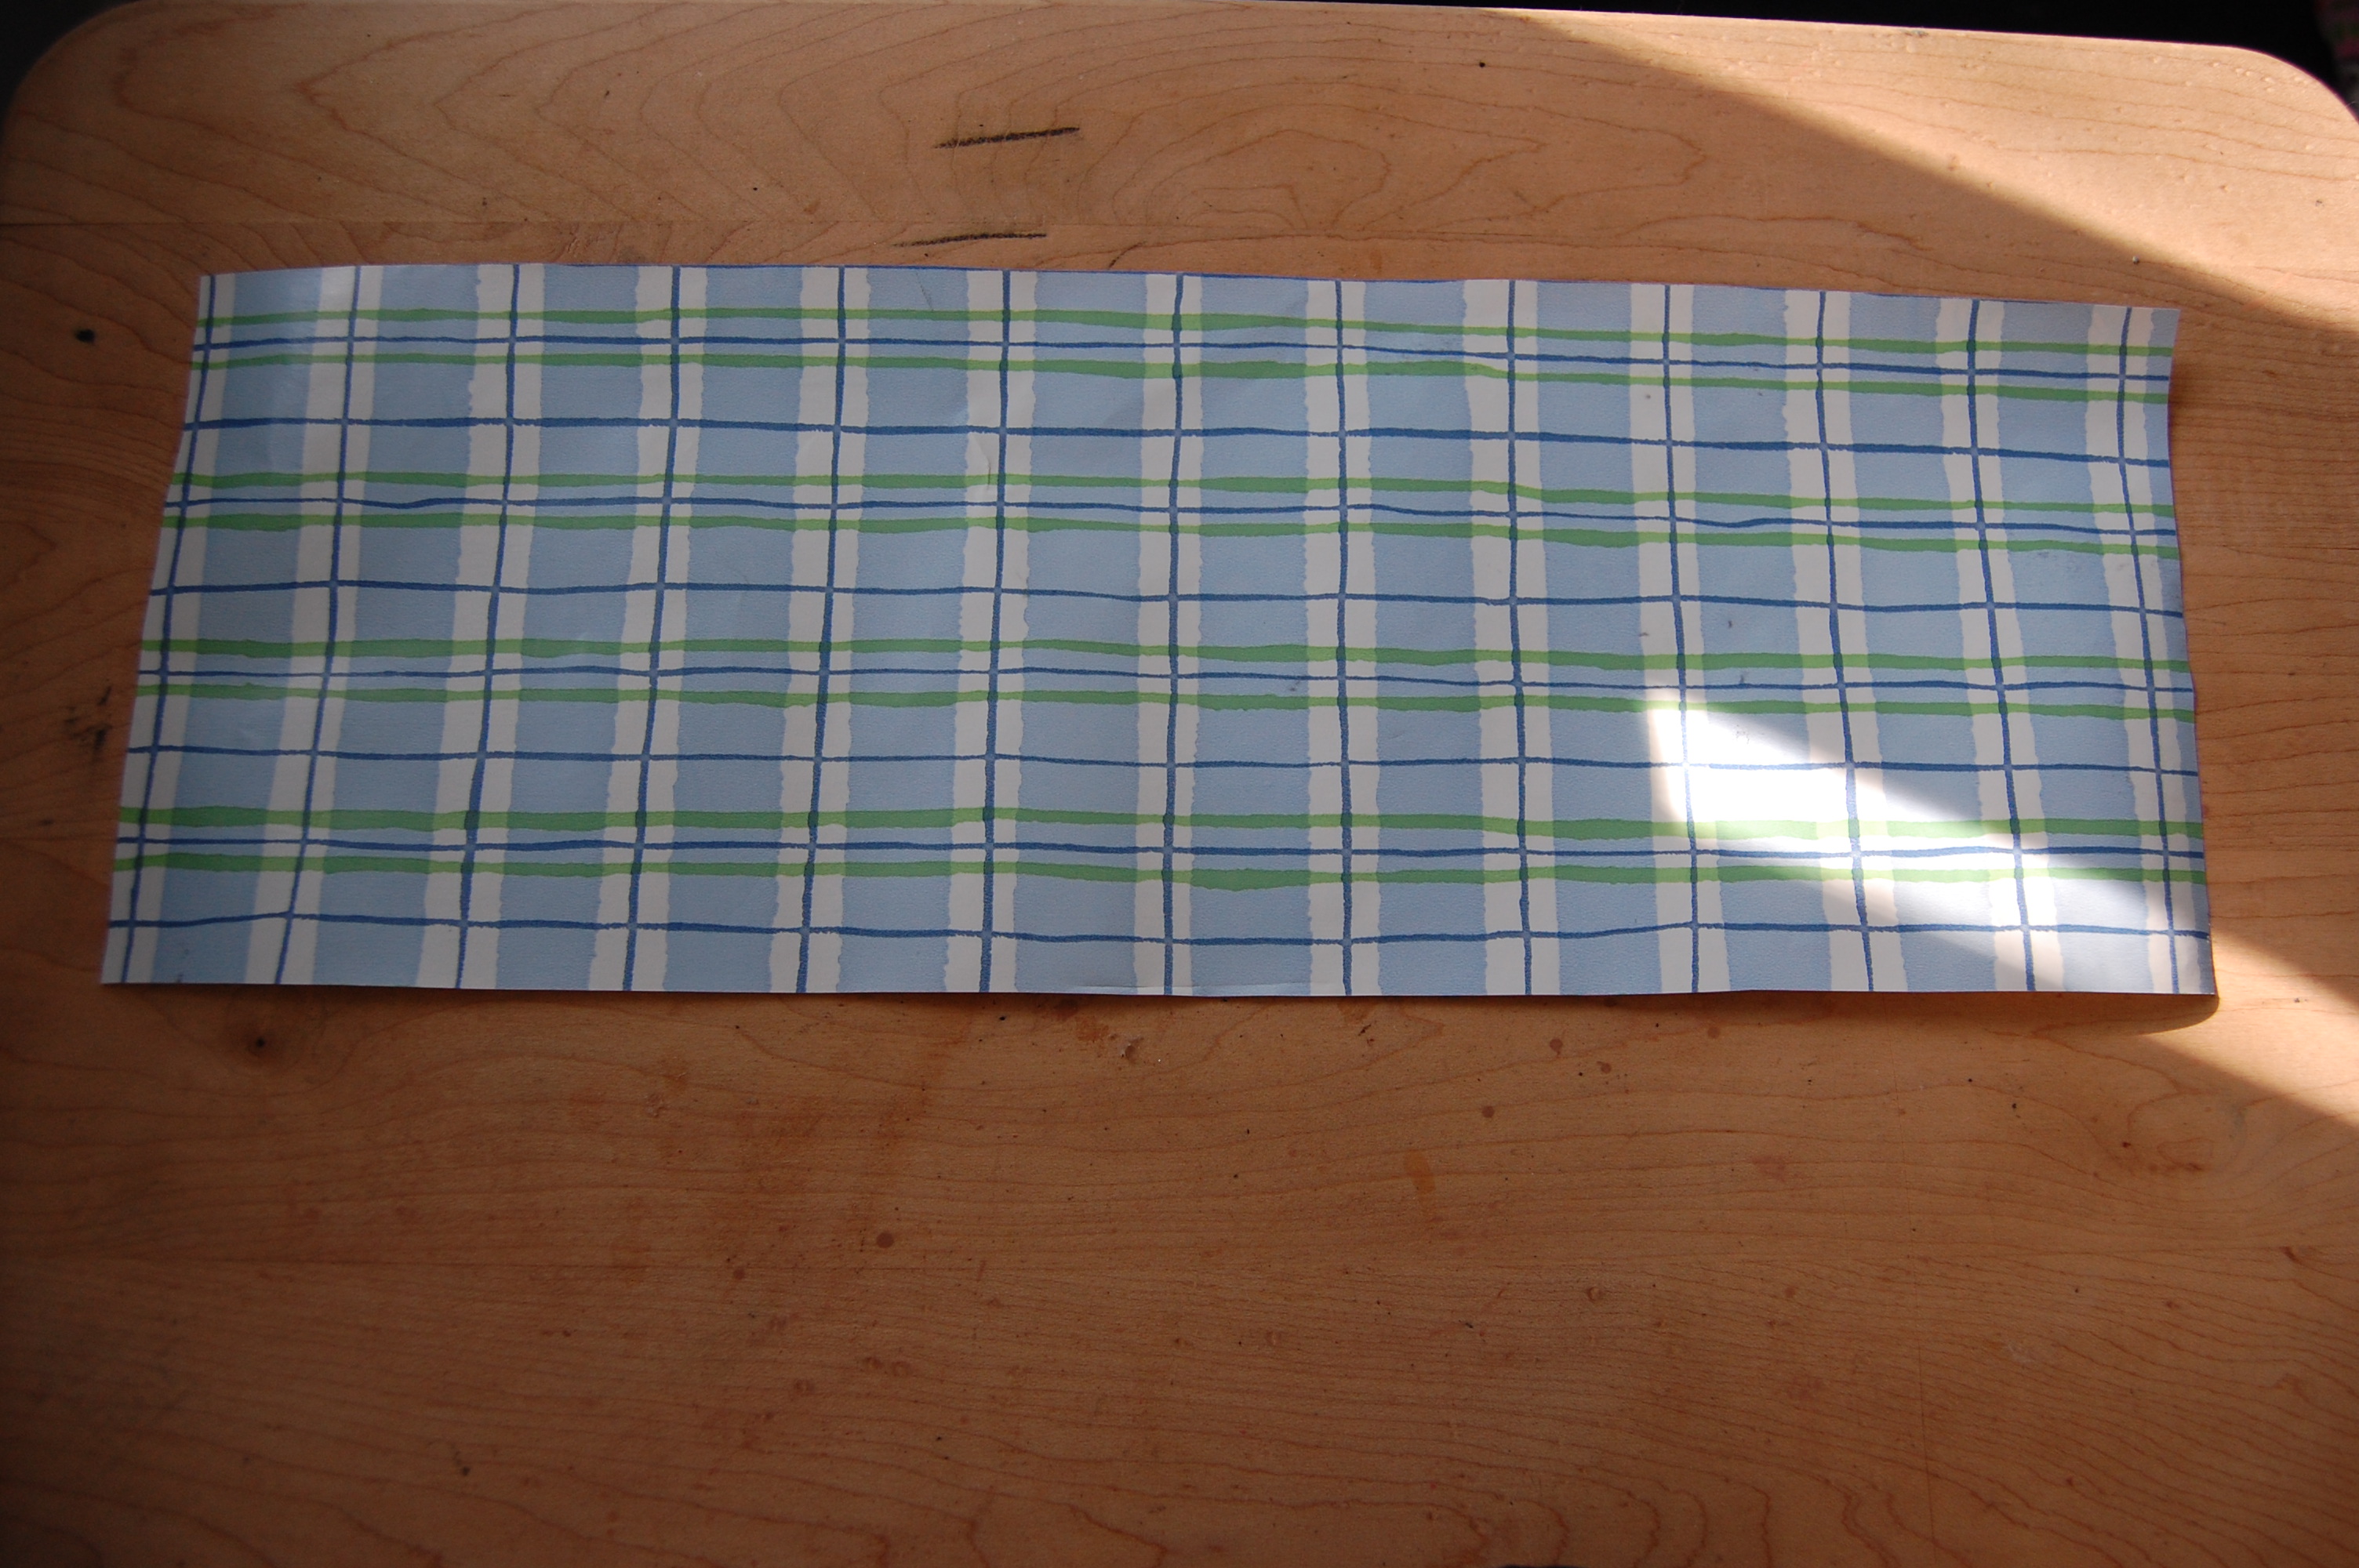 After you have your paper cut to size then just wrap!
Remember to start from the middle and push out so that you don’t have any bubbles and contact paper is very forgiving so you can easily pull it off and lay it down again. Once it’s wrapped around that’s it, you’re all finished!
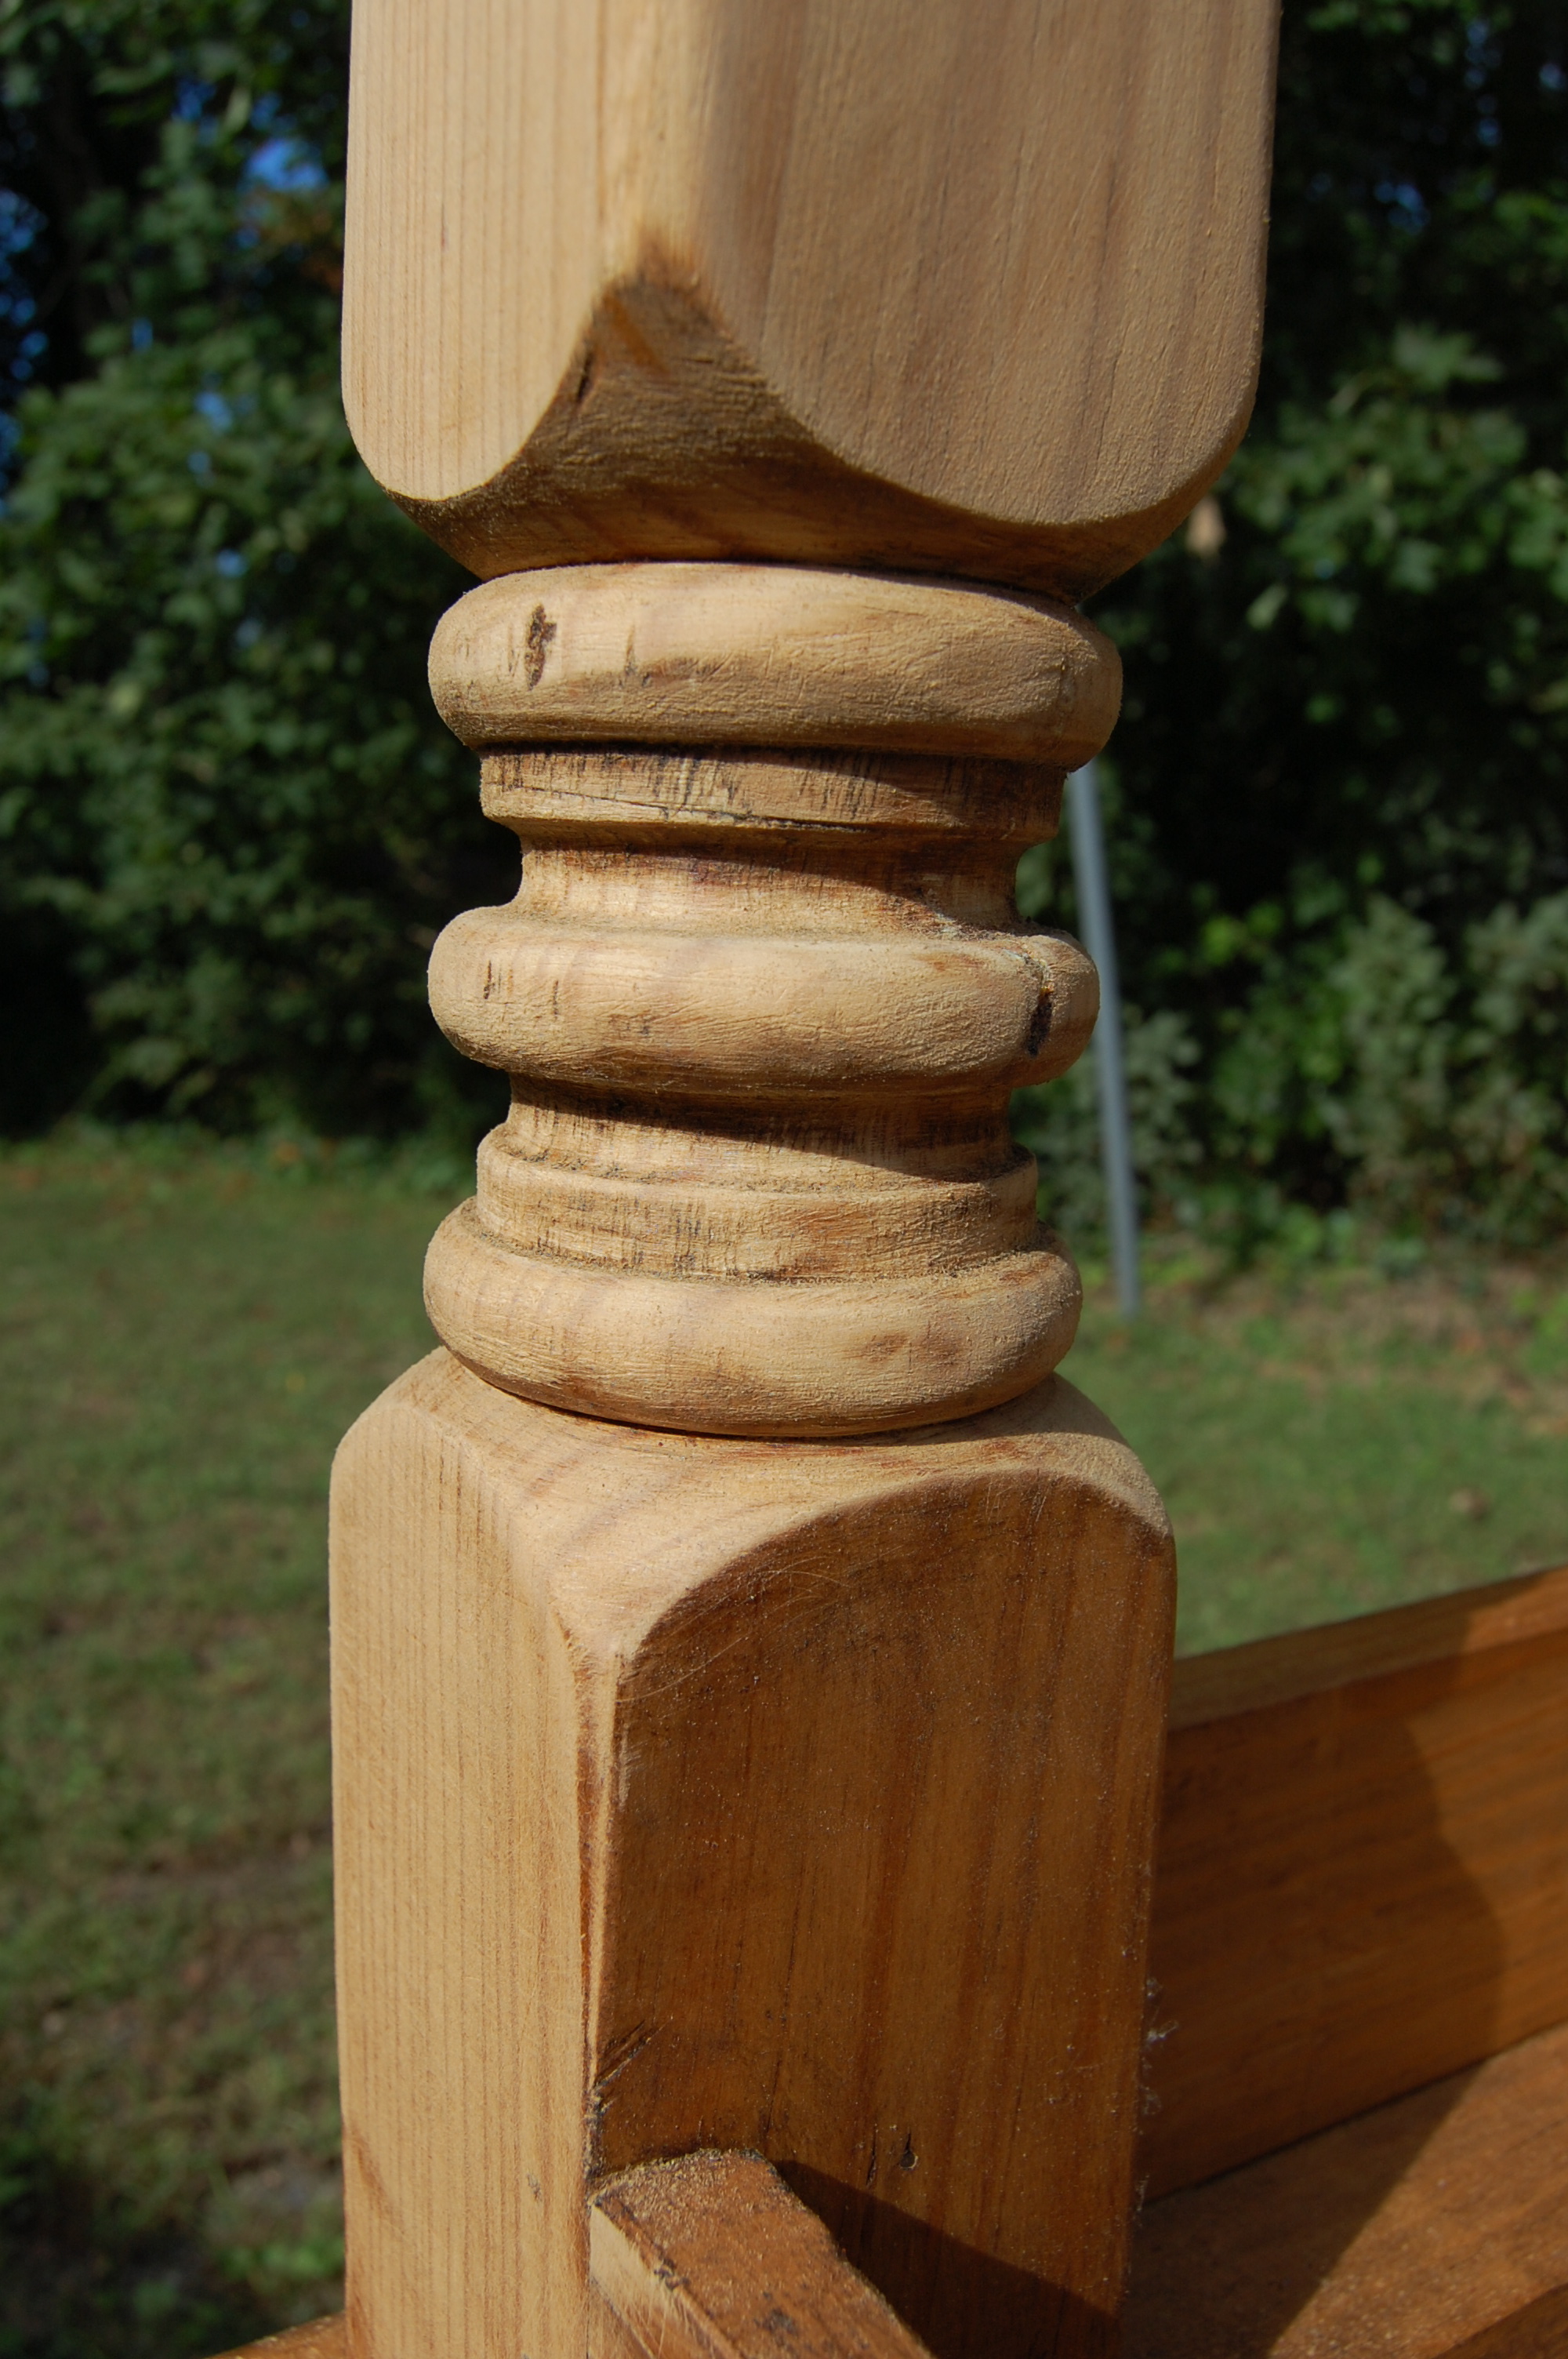
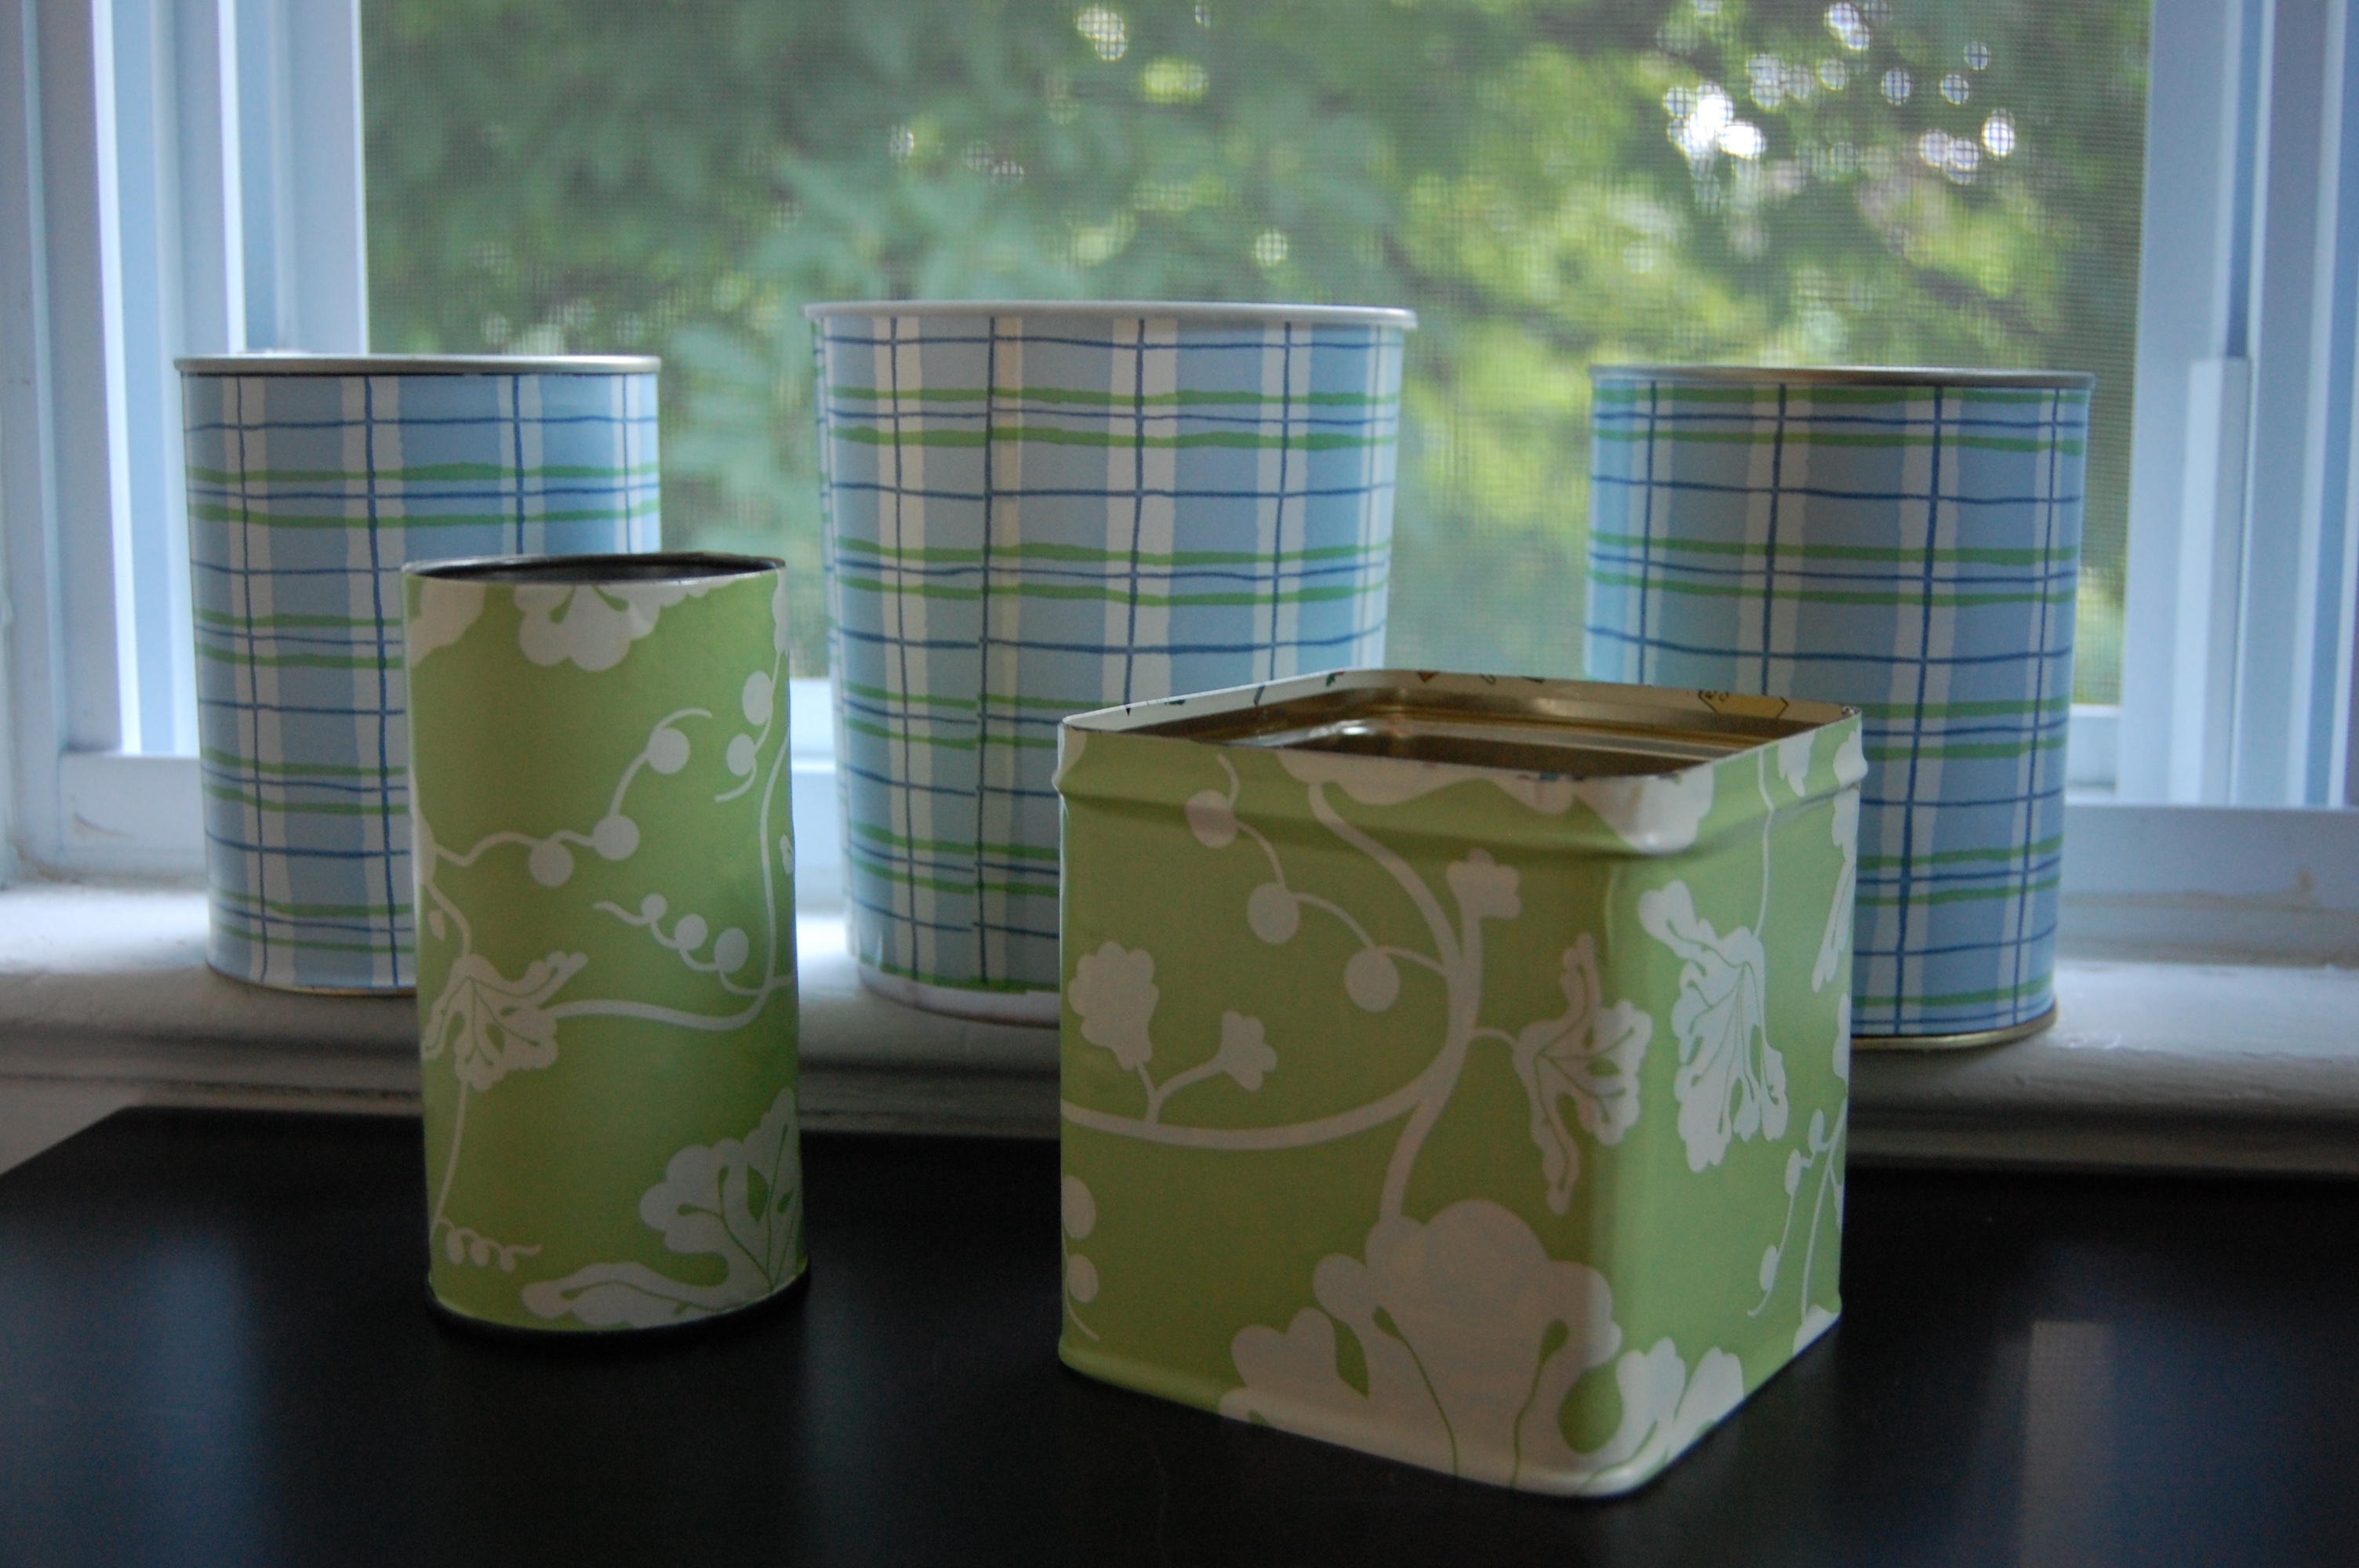 The things you can do with these are endless! If you’re into arts and crafts you can use them to hold materials, in your garage to help organize nails and screws, in your office to hold pens and pencils, in the kitchen or pantry to hold tea bags or plastic forks and knives. See, endless possibilities! And if they are too small you can always take old paint containers and wrap those! I hope you get inspired to find some old paper in your home and put it to good use! I also wanted to give you a little sneak peak on a project that I am currently working on. You know, to keep you on your toes!
 Enjoy the rest of the weekend!
