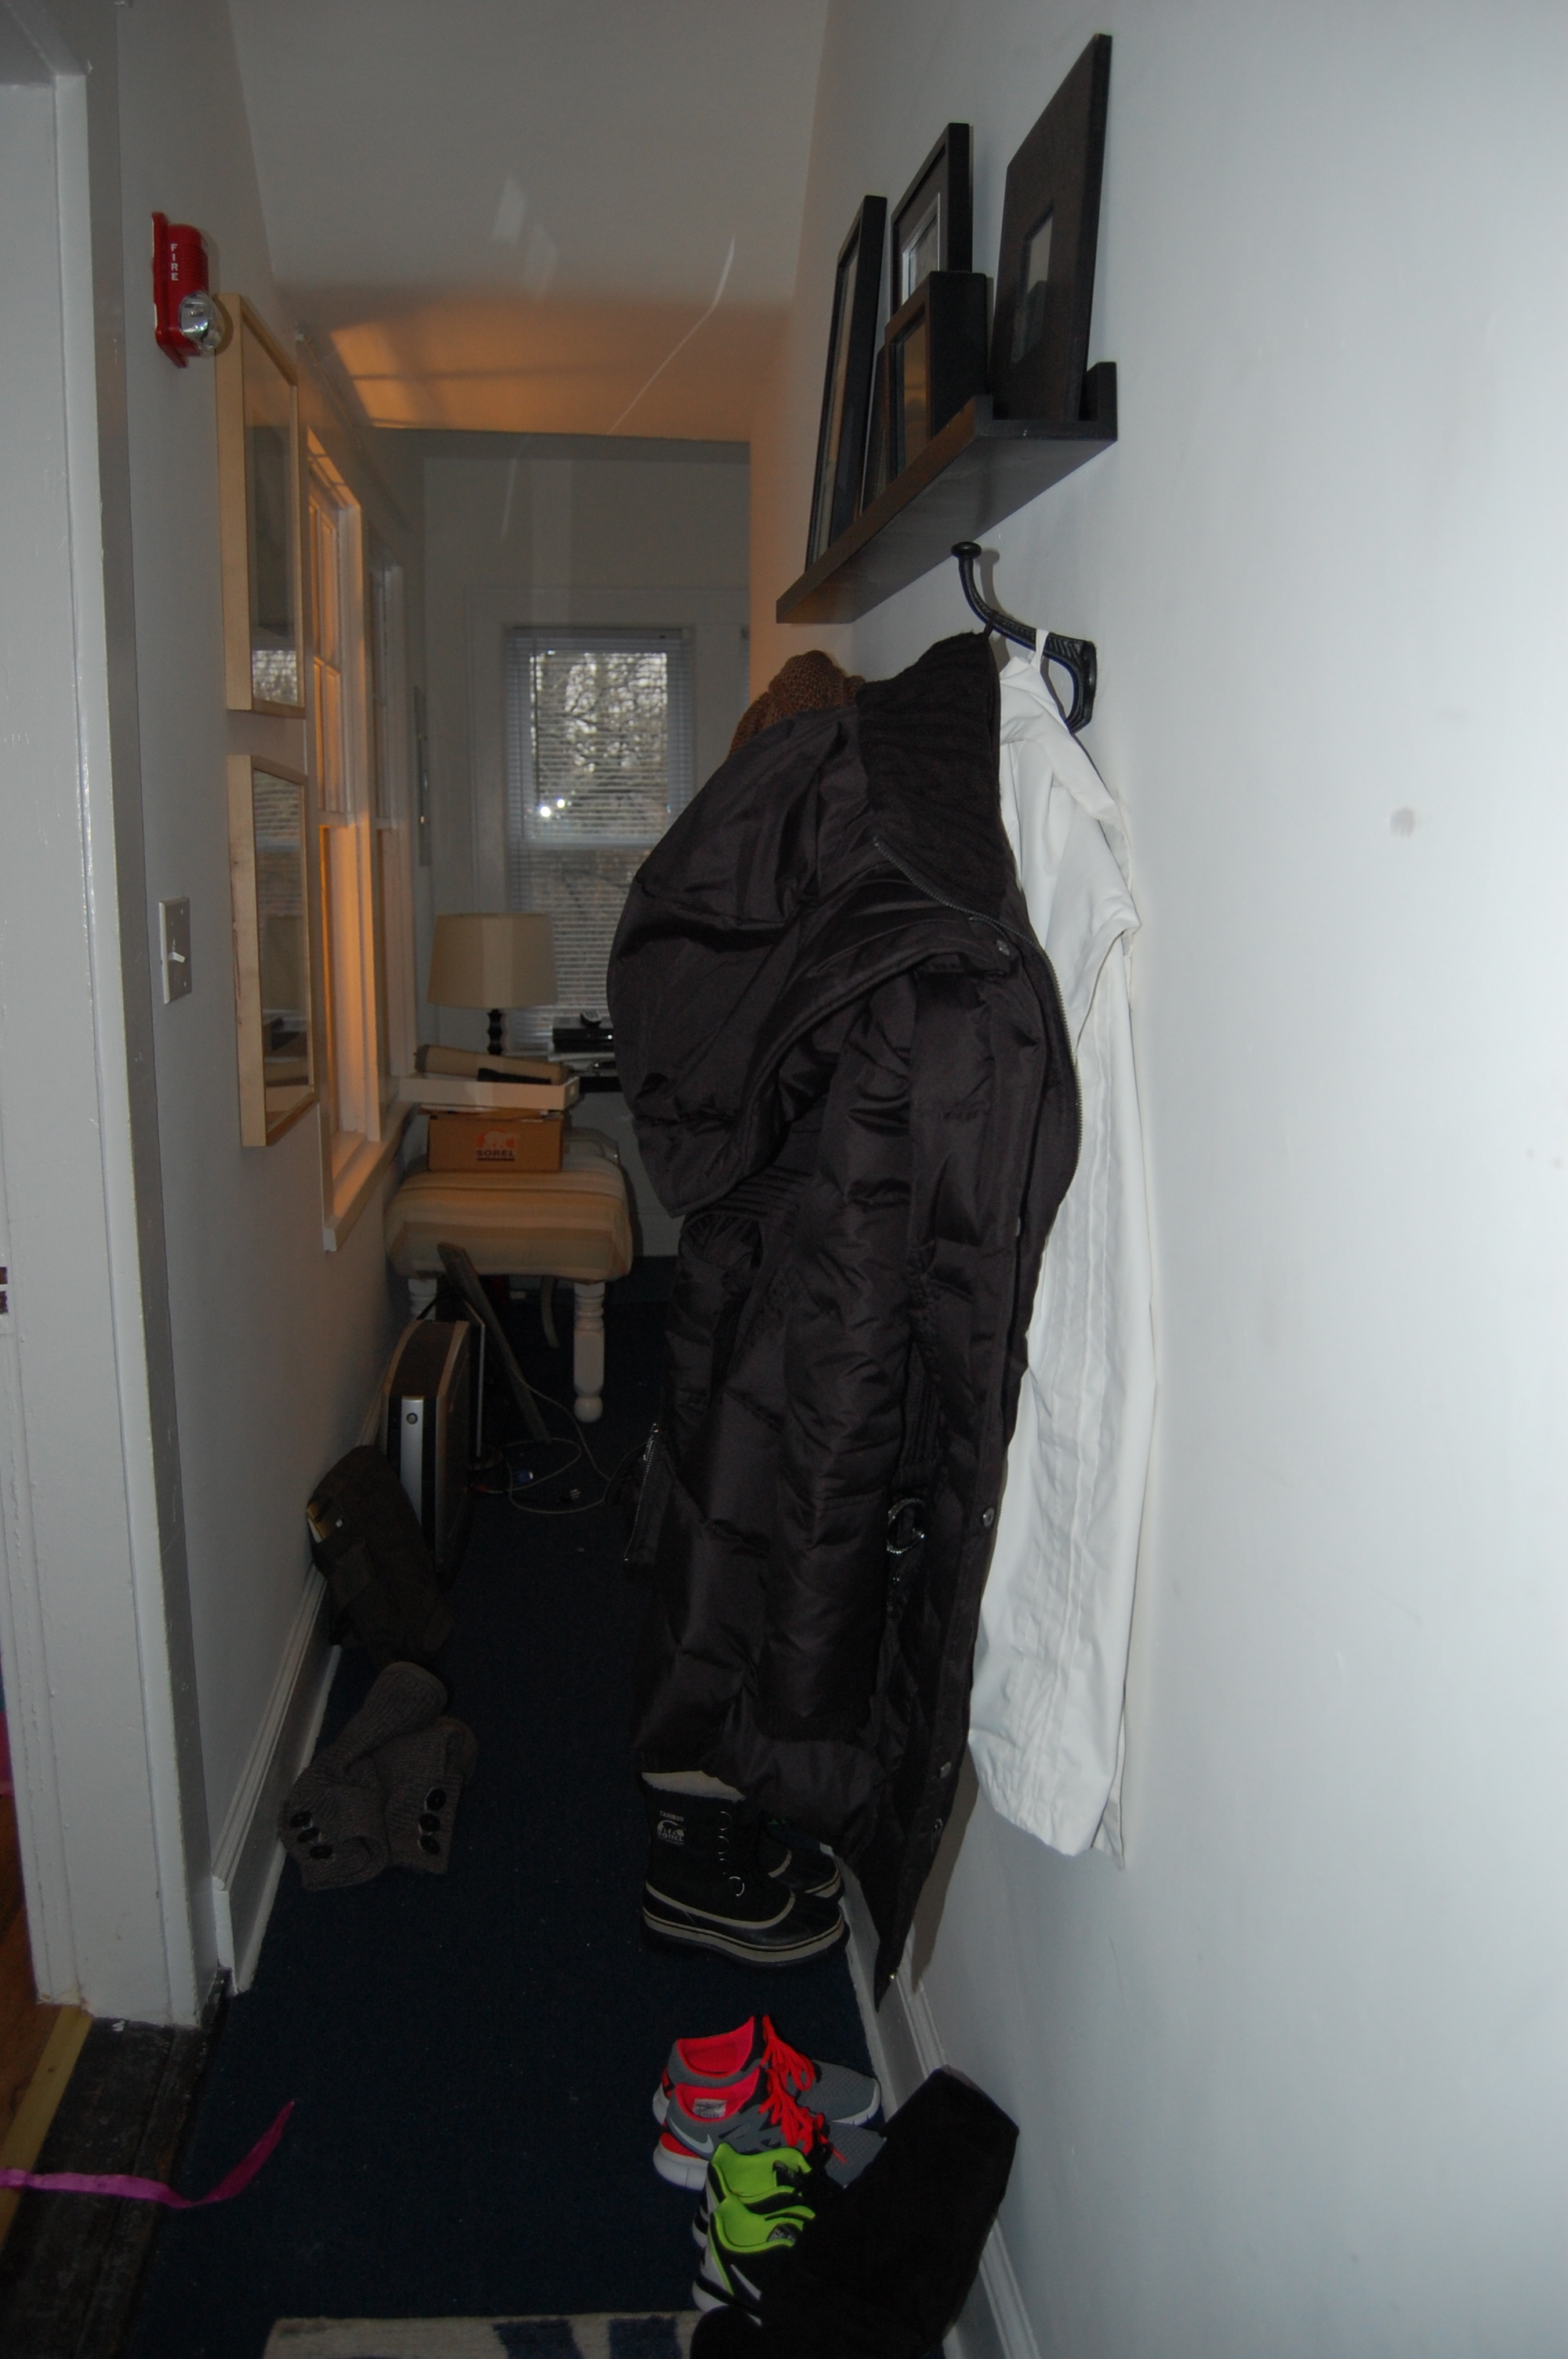
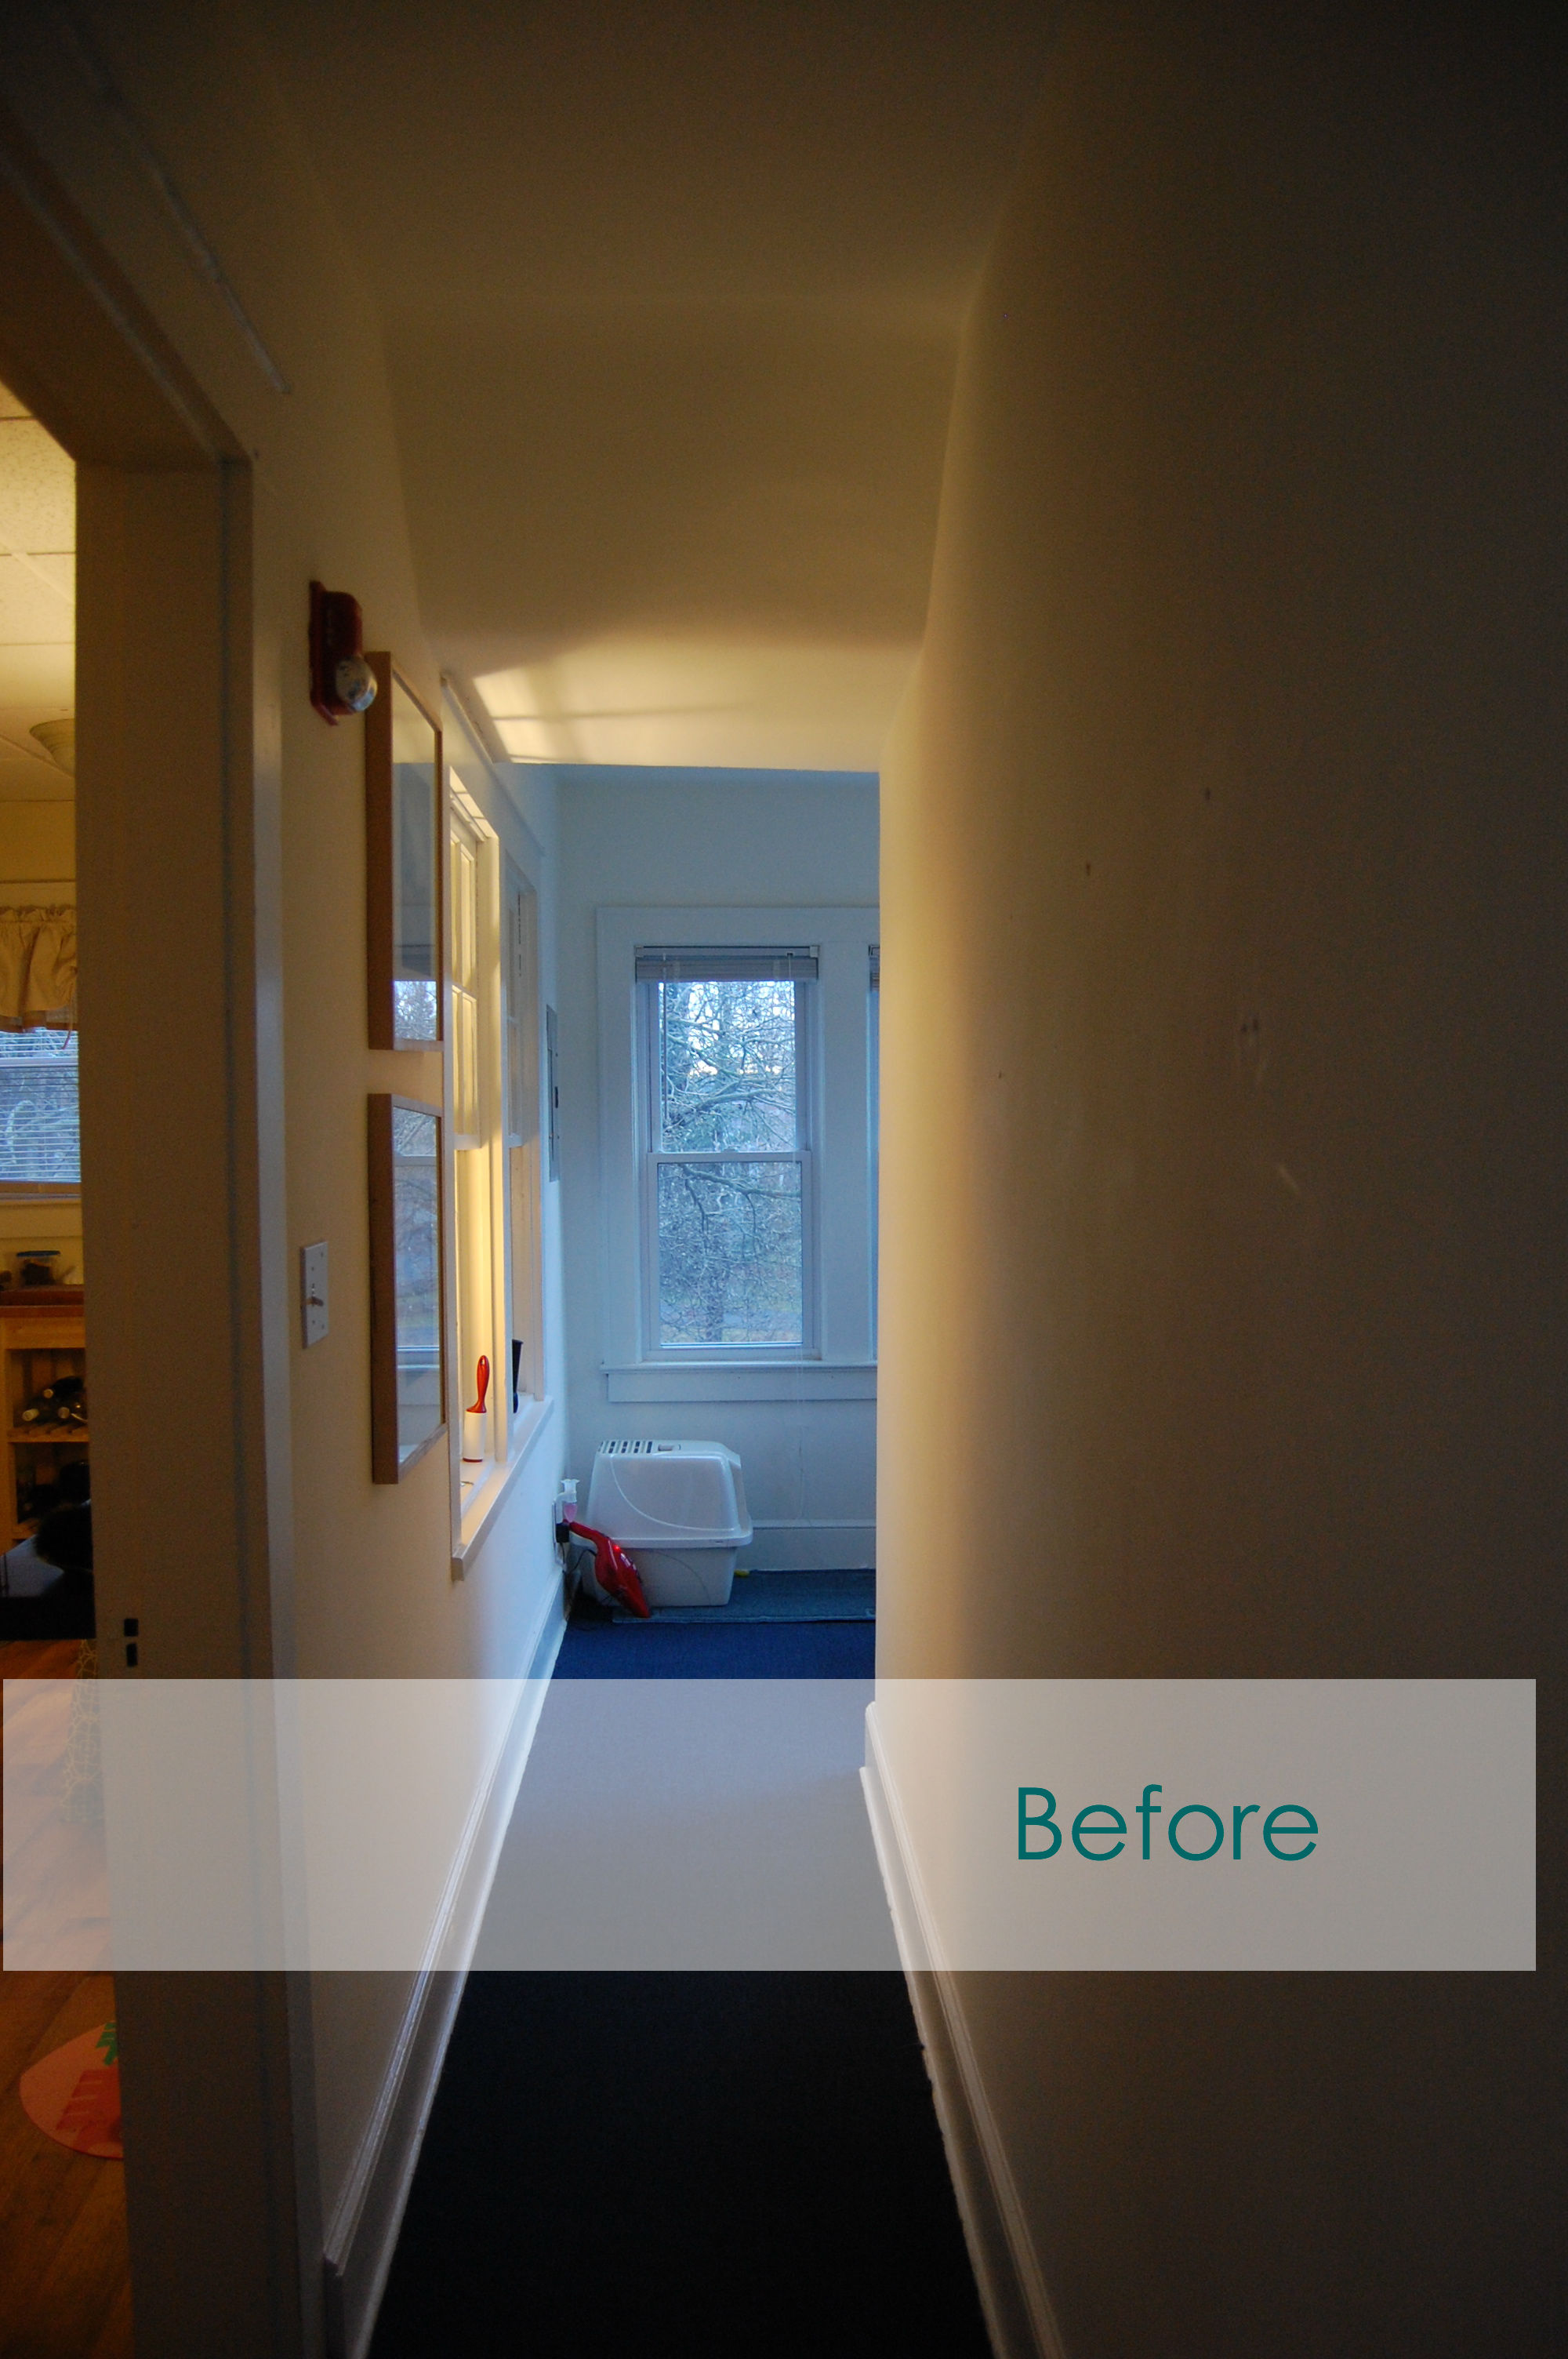
 It’s finally done! Well it’s been done for awhile now but the post about it is finally done! For a very long time I knew I had to do something with my entry way because it was driving me crazy. It is a very narrow space that opens up to a little porch area which was where I kept all my plants. That was until I got a cat! Then it became the area where junk went to die. Well, no more! Here is what the space looked liked.

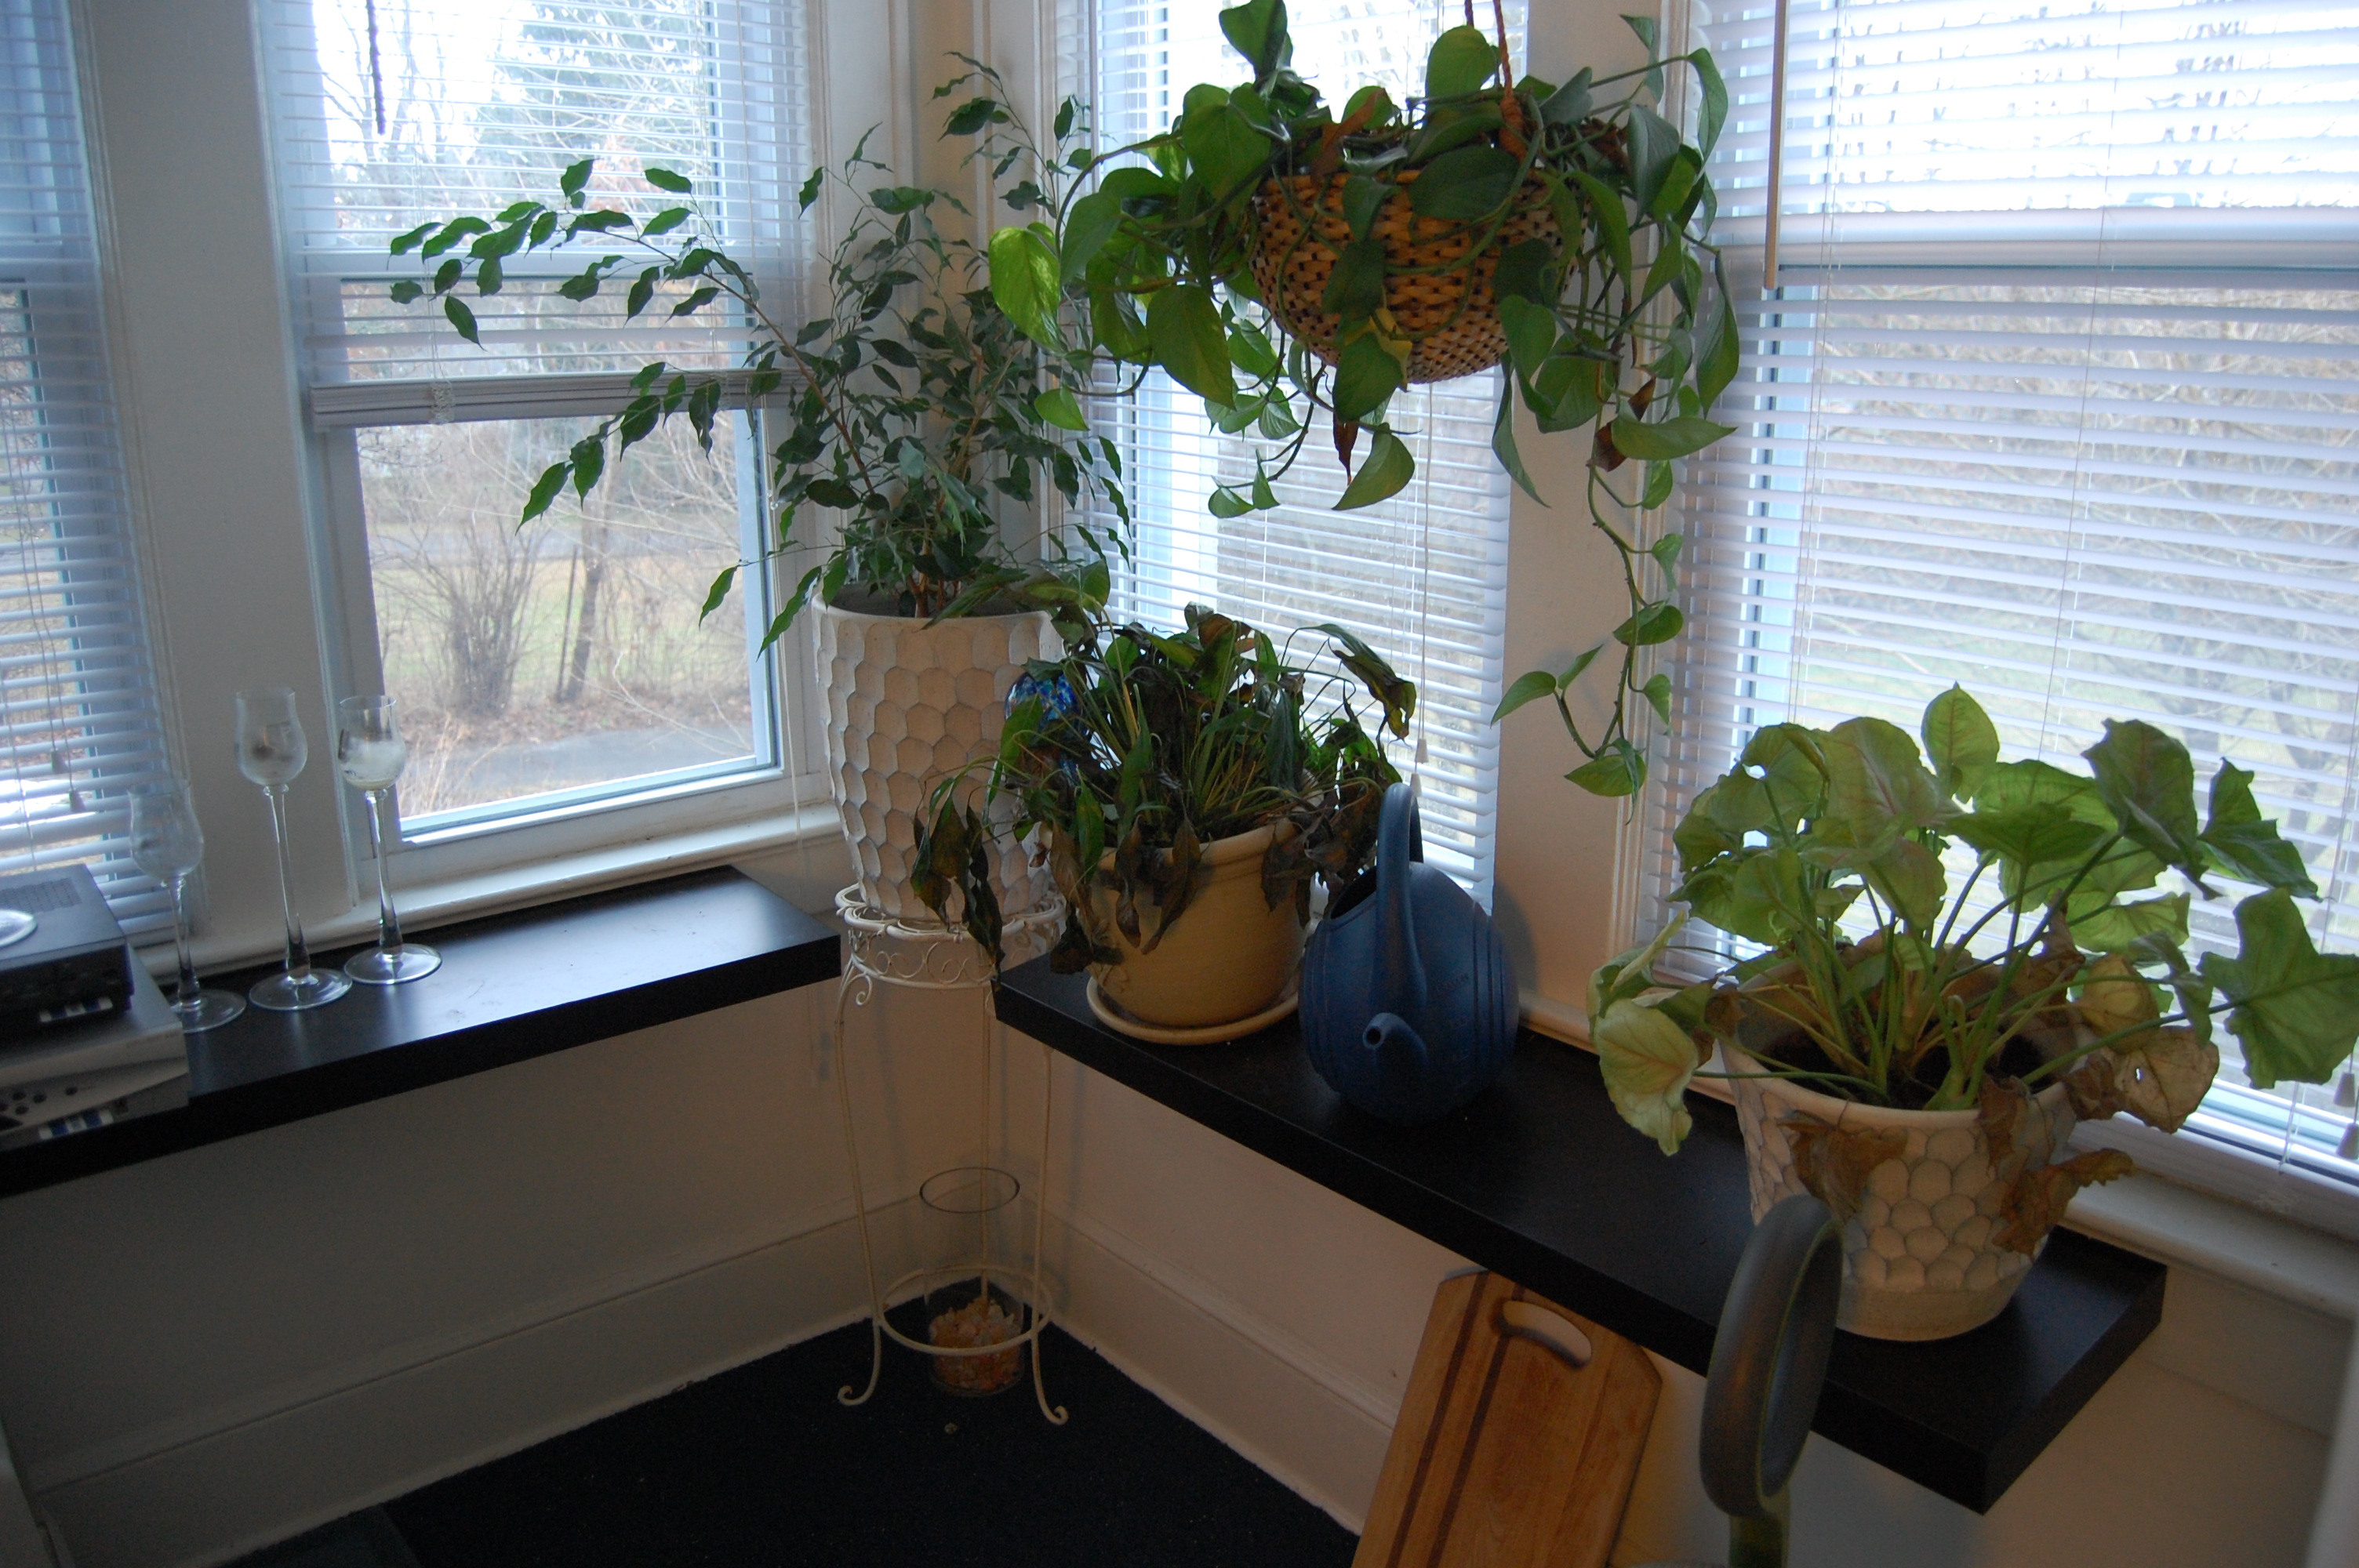 Here’s what the porched area looked like. The plant to the right made it’s way to my classroom while the one on the shelf to the left made it’s way to the dumpster :(. My plans for this space was to turn it into my work space/office. The first thing I had to do was remove those shelves and clear out the space from the door all the way to the windows.
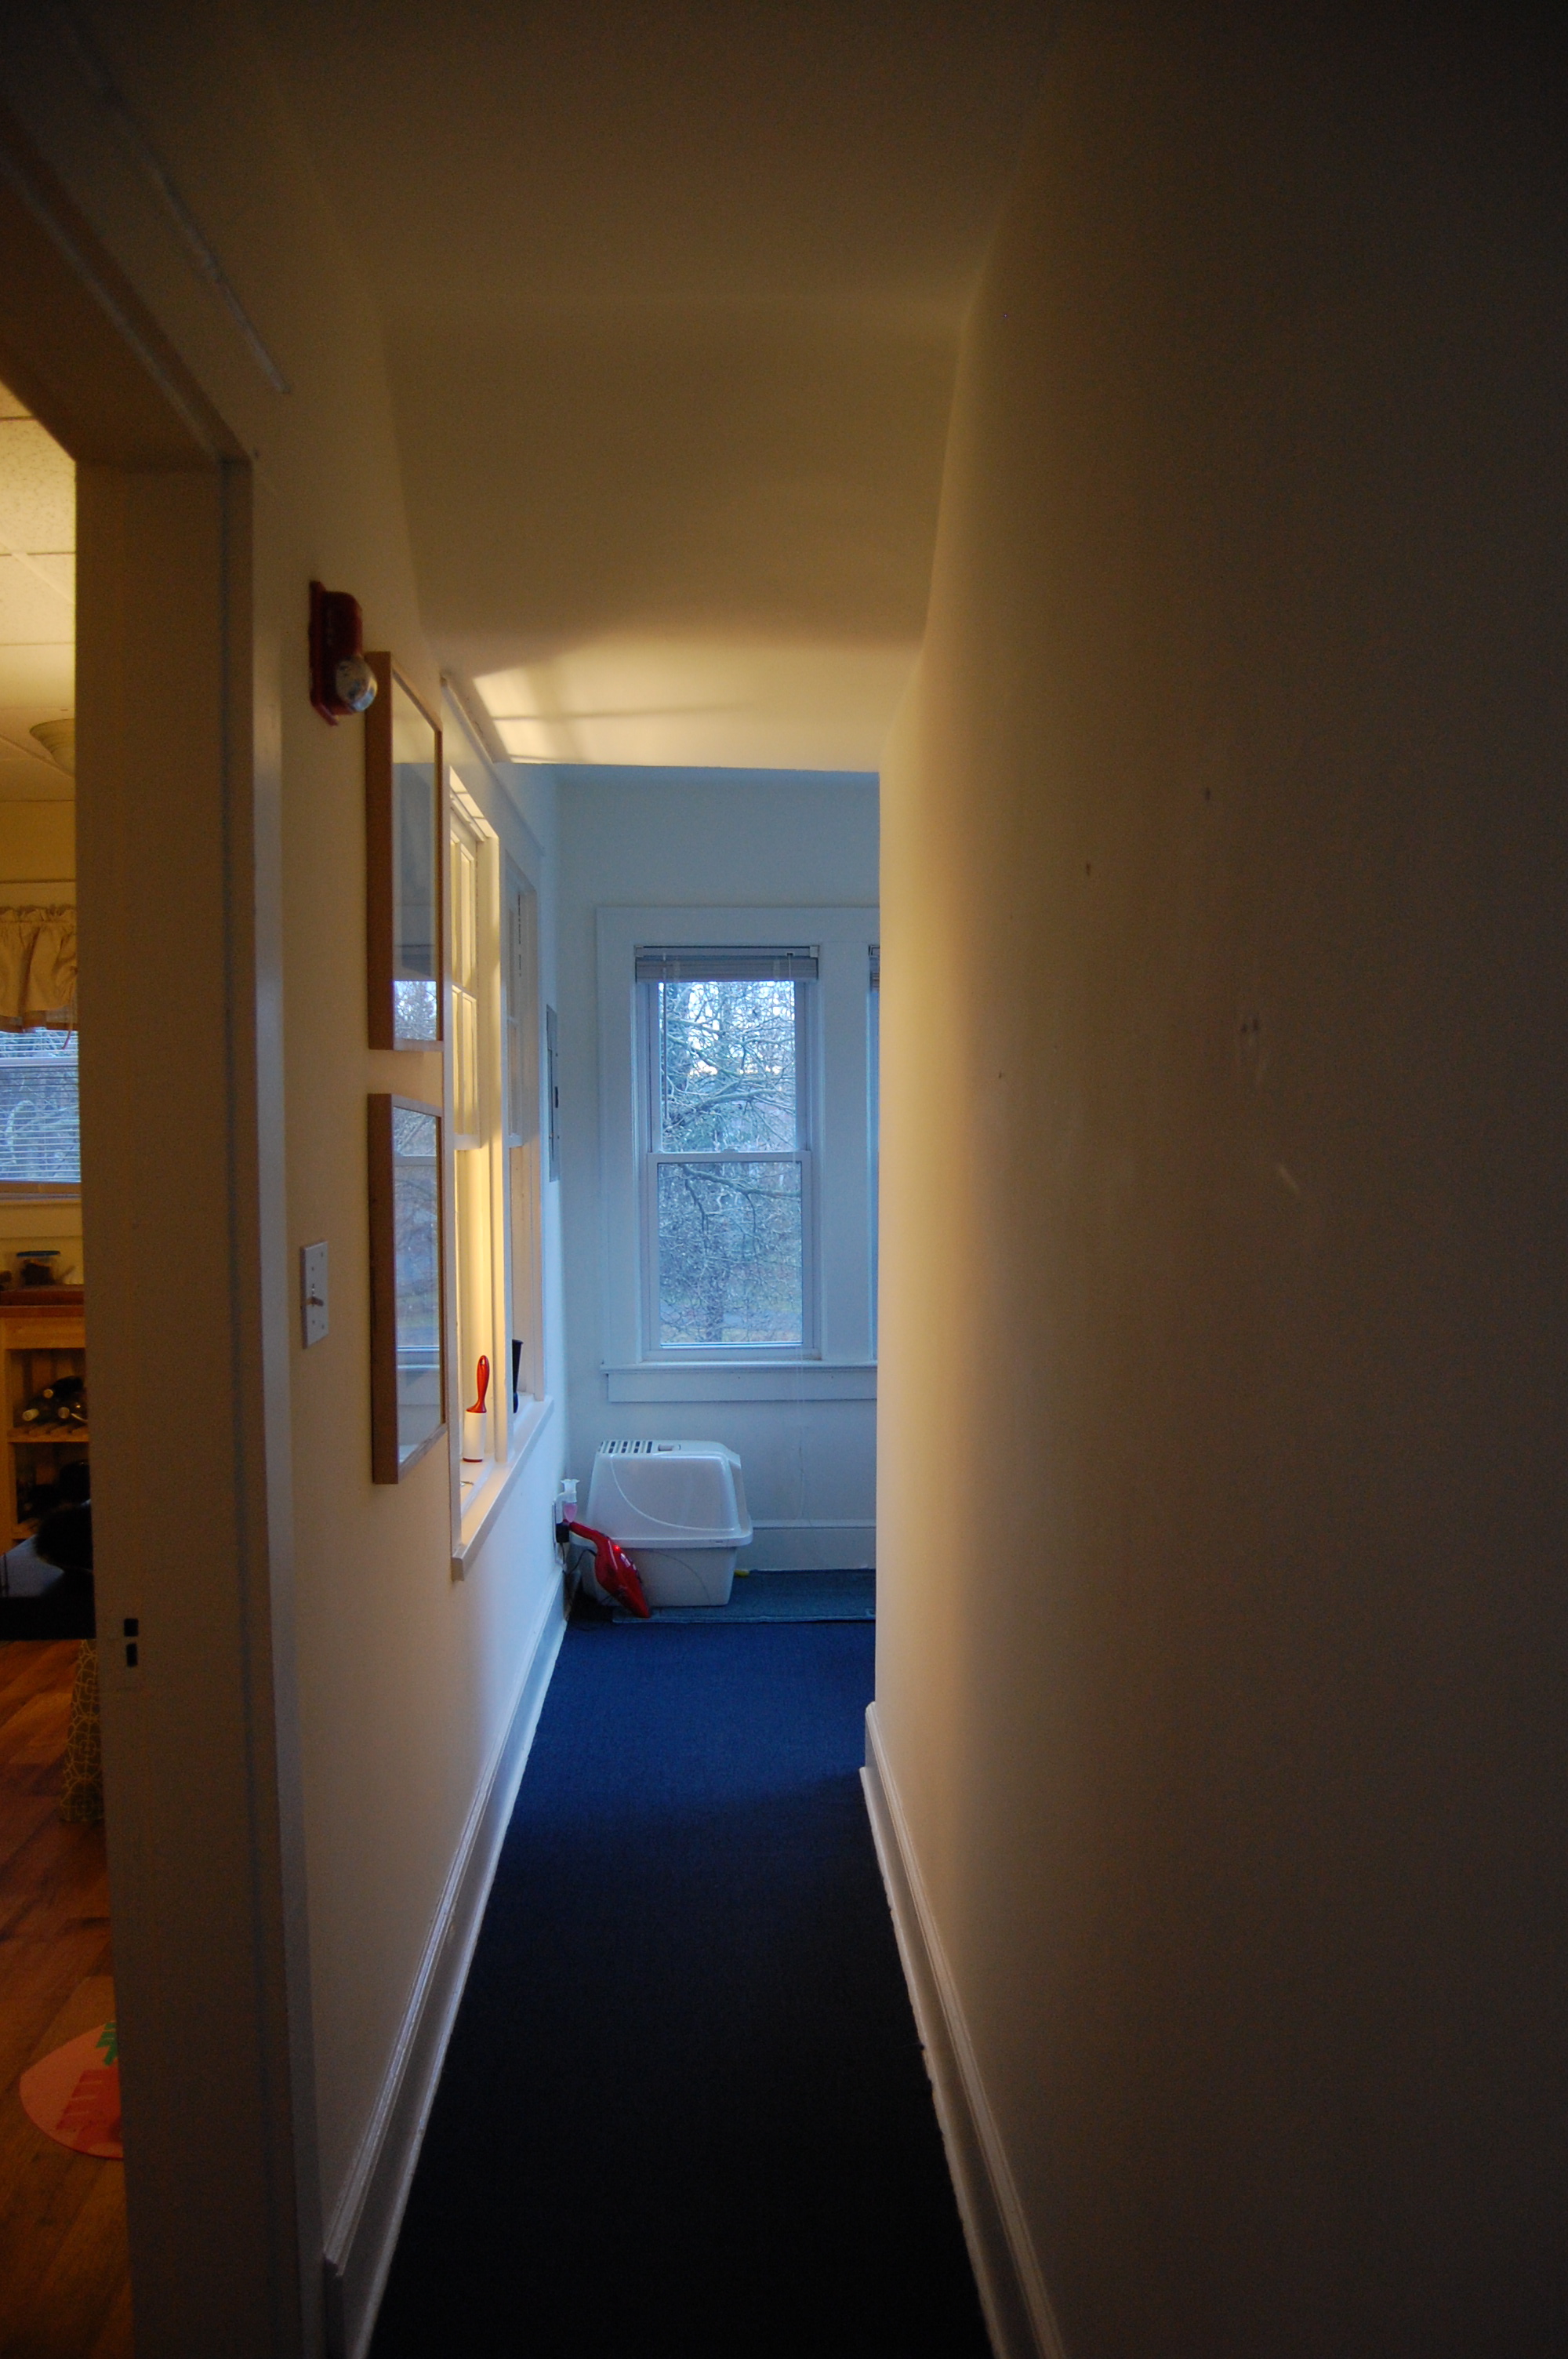
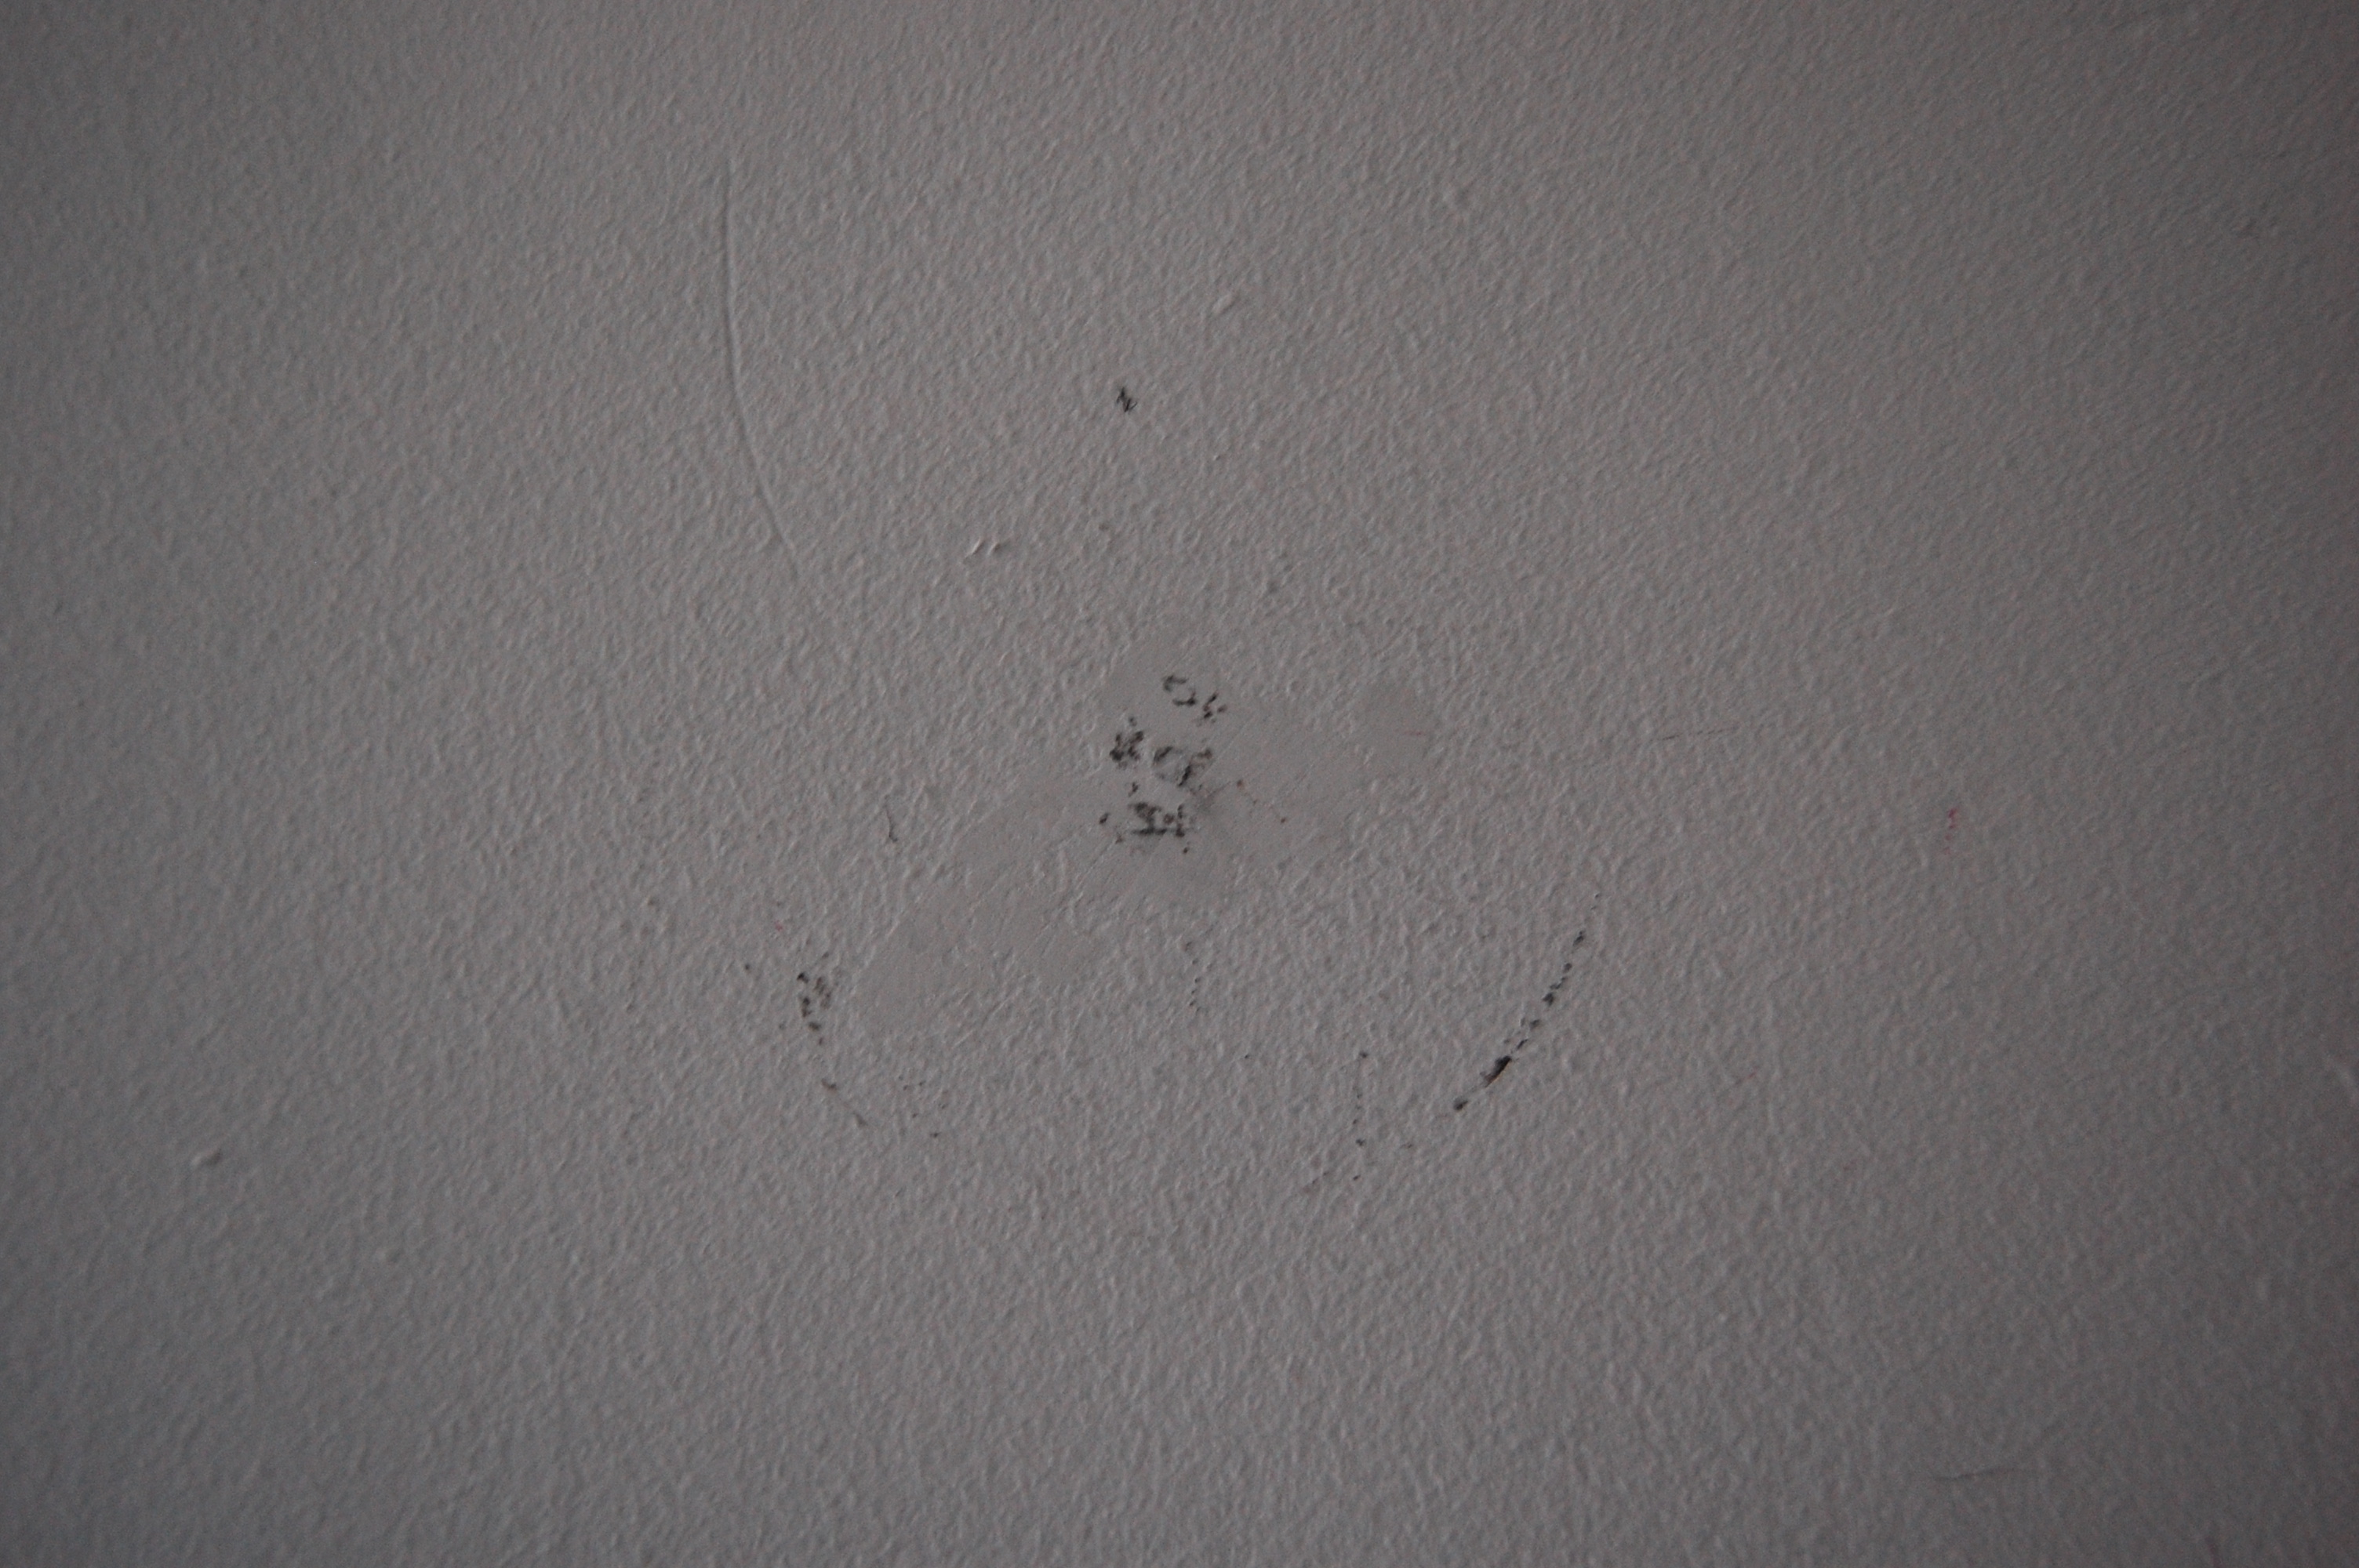
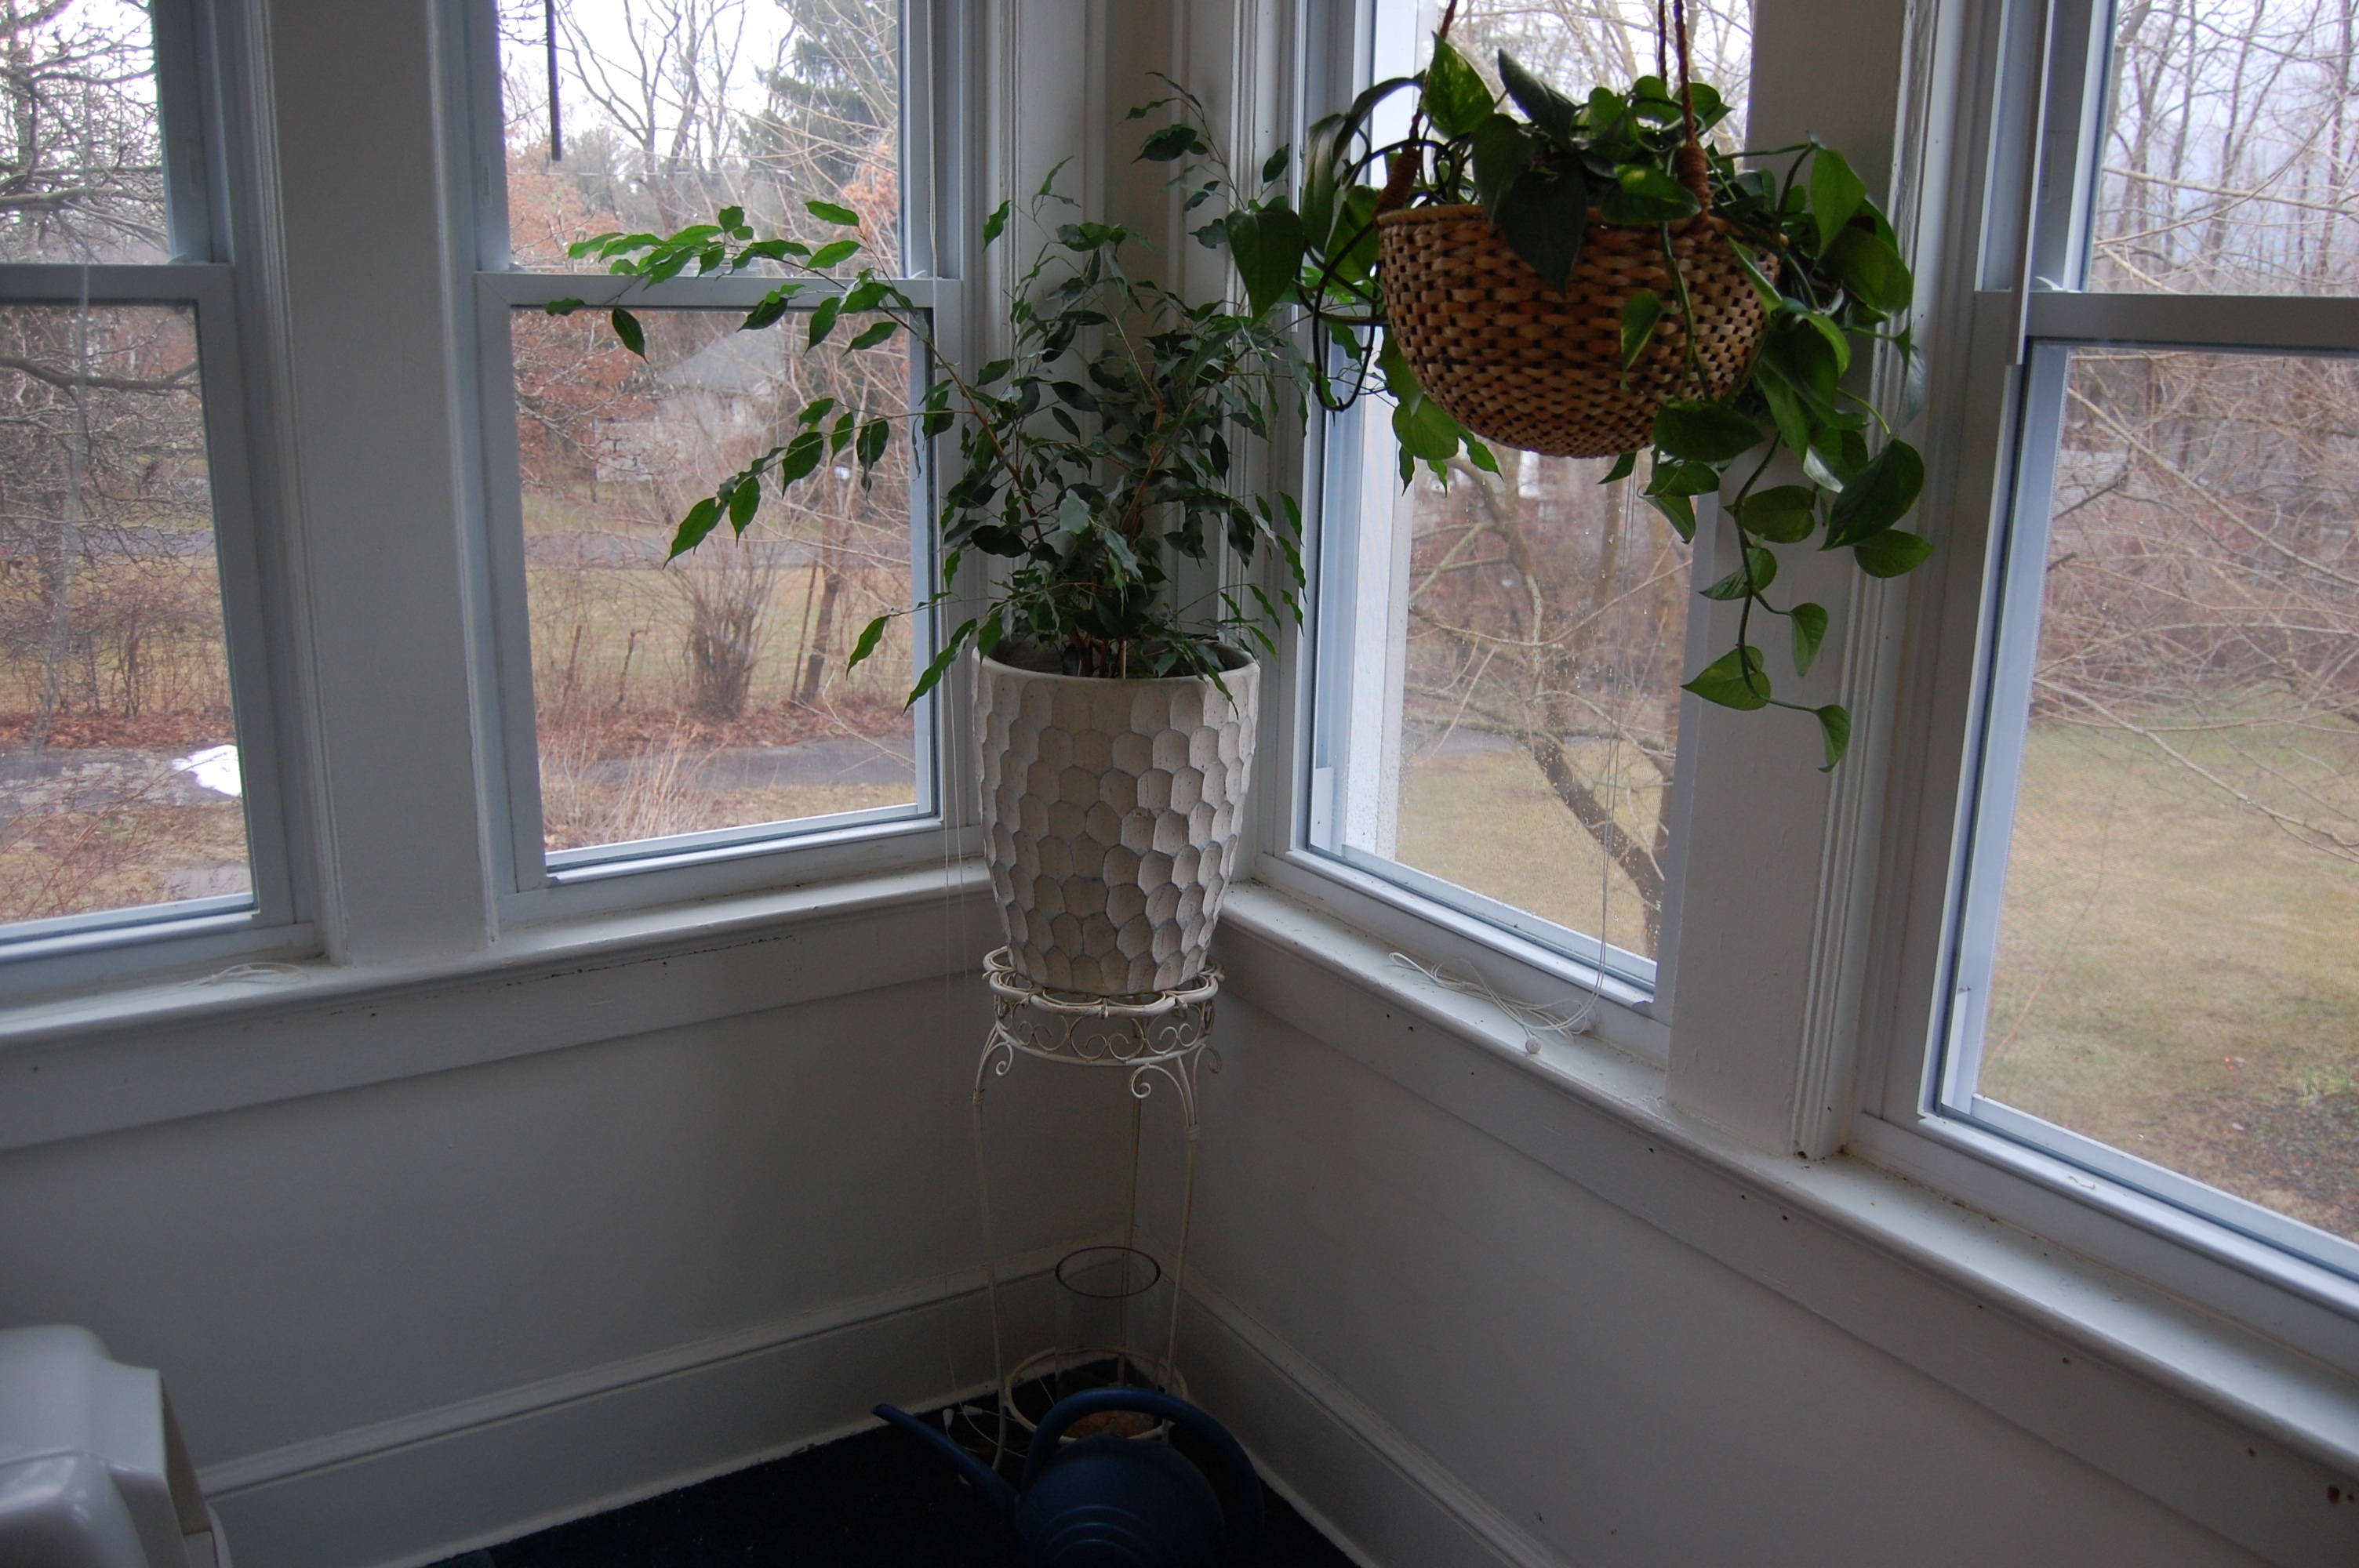 Ok, much better! Before I began painting though I had to cover up any holes that I had on the walls.
 I just used some spackle and applied it with a putty knife. Let it dry and then lightly sand it so the wall is nice and smooth.
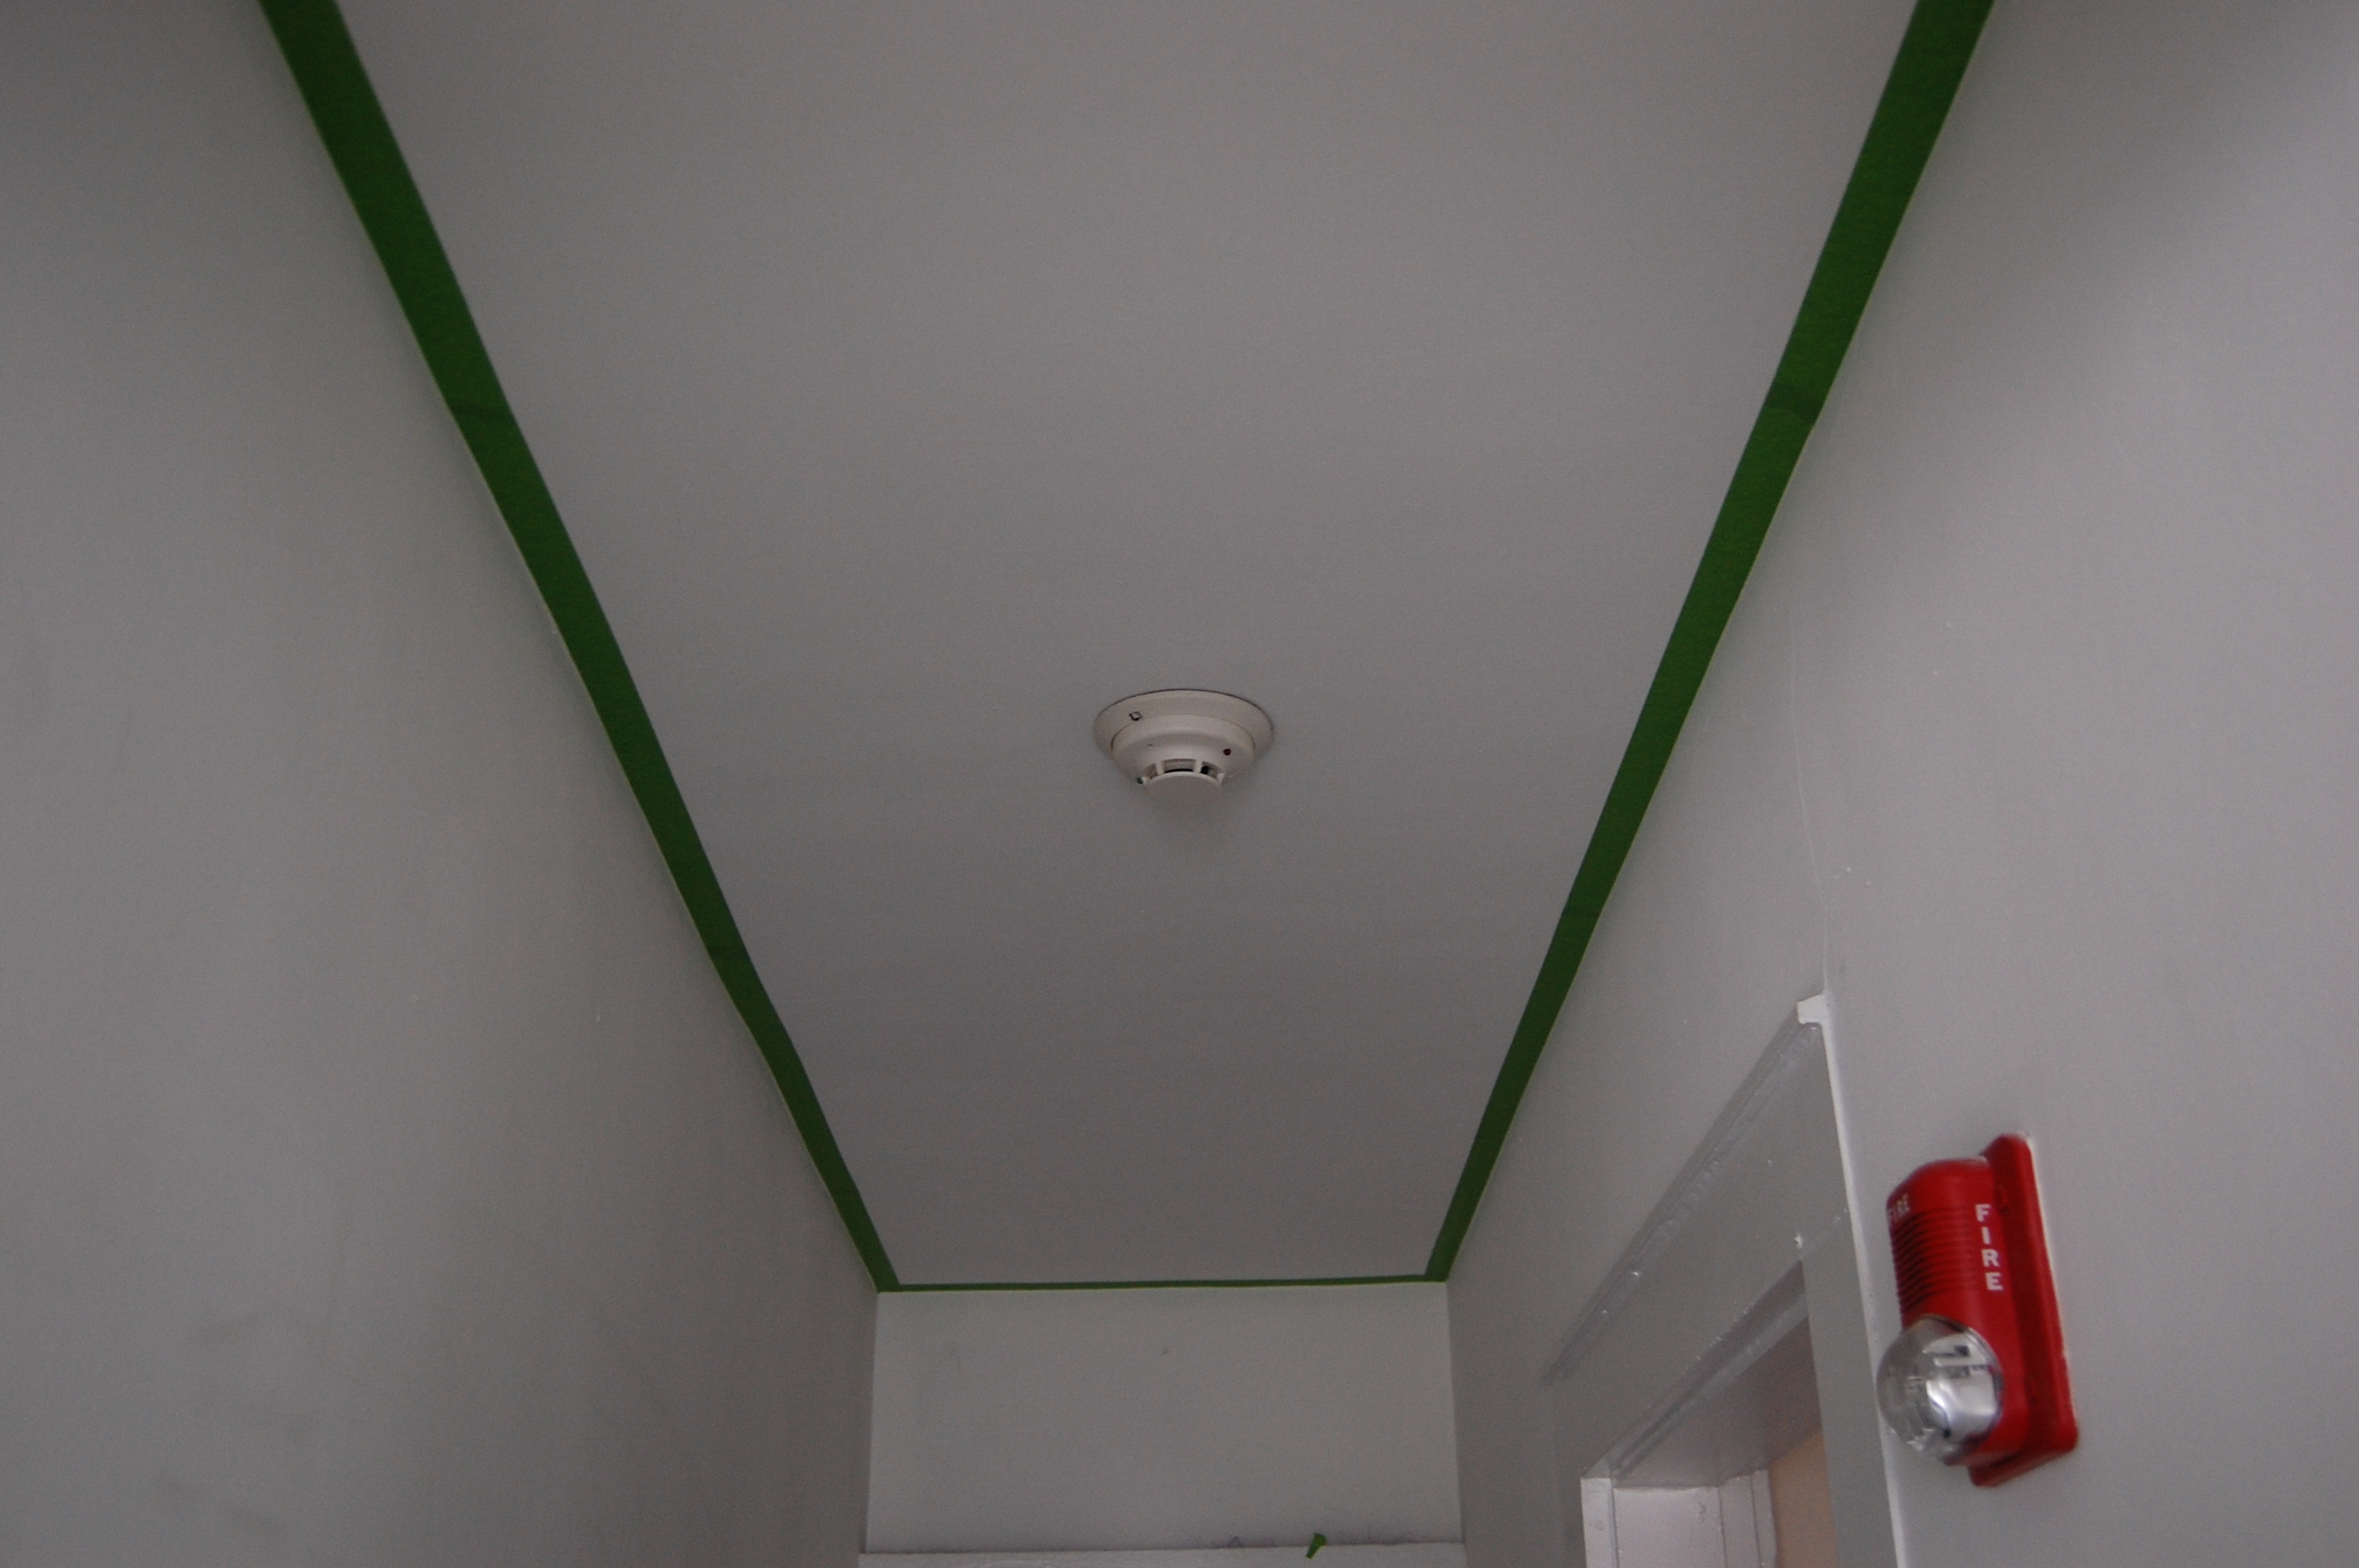
Now it’s time to get to painting. The colors I chose to use were Sherwin Williams Dover White as the base and the darker stripe is Sherwin Williams Canvas Tan. I began by taping up the ceiling line and painting the walls with Dover White.
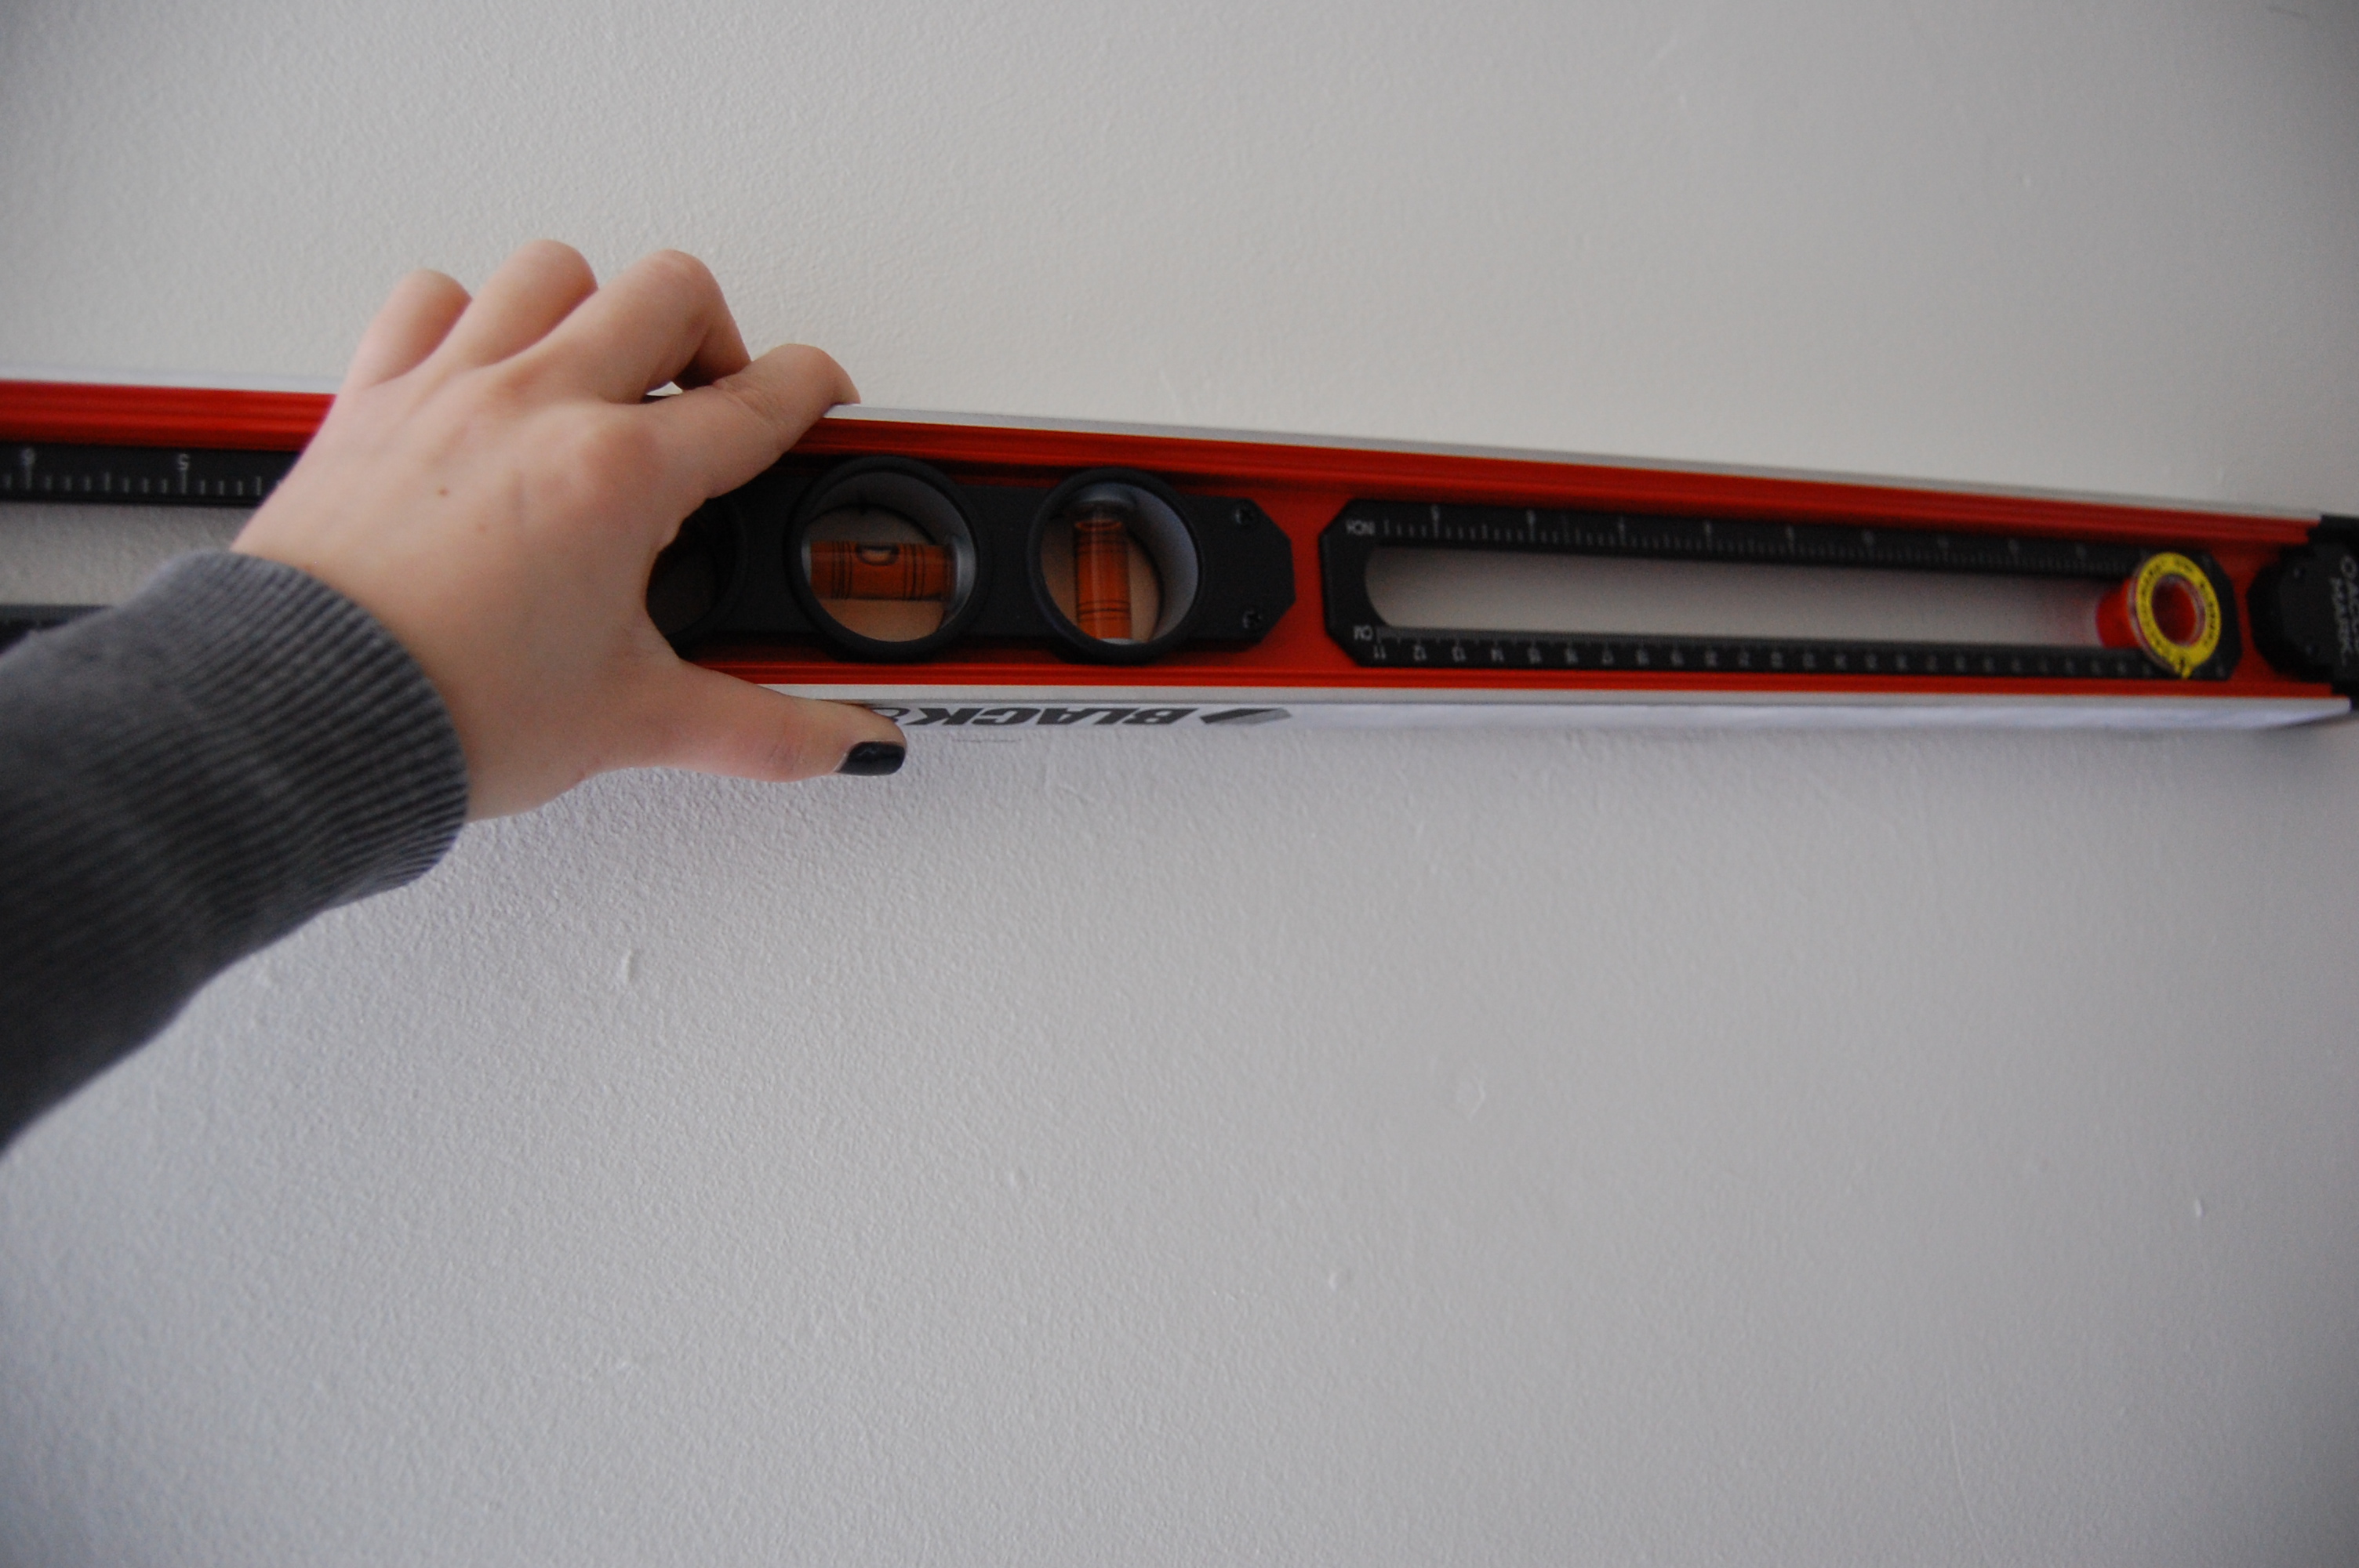
 Once the walls were painted and dried (I waited a day) it was time to measure out my stripes. I wanted them to be 9″ each so I started from the bottom and measured up. The reason I started from the bottom was because my walls are a bit uneven and if any of my stripes were going to be off I wanted it to be the top stripe. I made small 9″ marks all the way to the top. When I was done with the marks I used a level to go across the wall and make more marks so that I would know where to place the tape and of course to make sure my lines were straight.
 As soon as the marks were all there I started taping. This is the most time consuming part. It’s totally worth it though. Now the one thing to keep in mind is that you will want to place the tape outside the lines you made for the stripes that will be painted and keep the tape inside the lines for the stripes that will remain the base color. So when you’re finished taping it will look something like this.
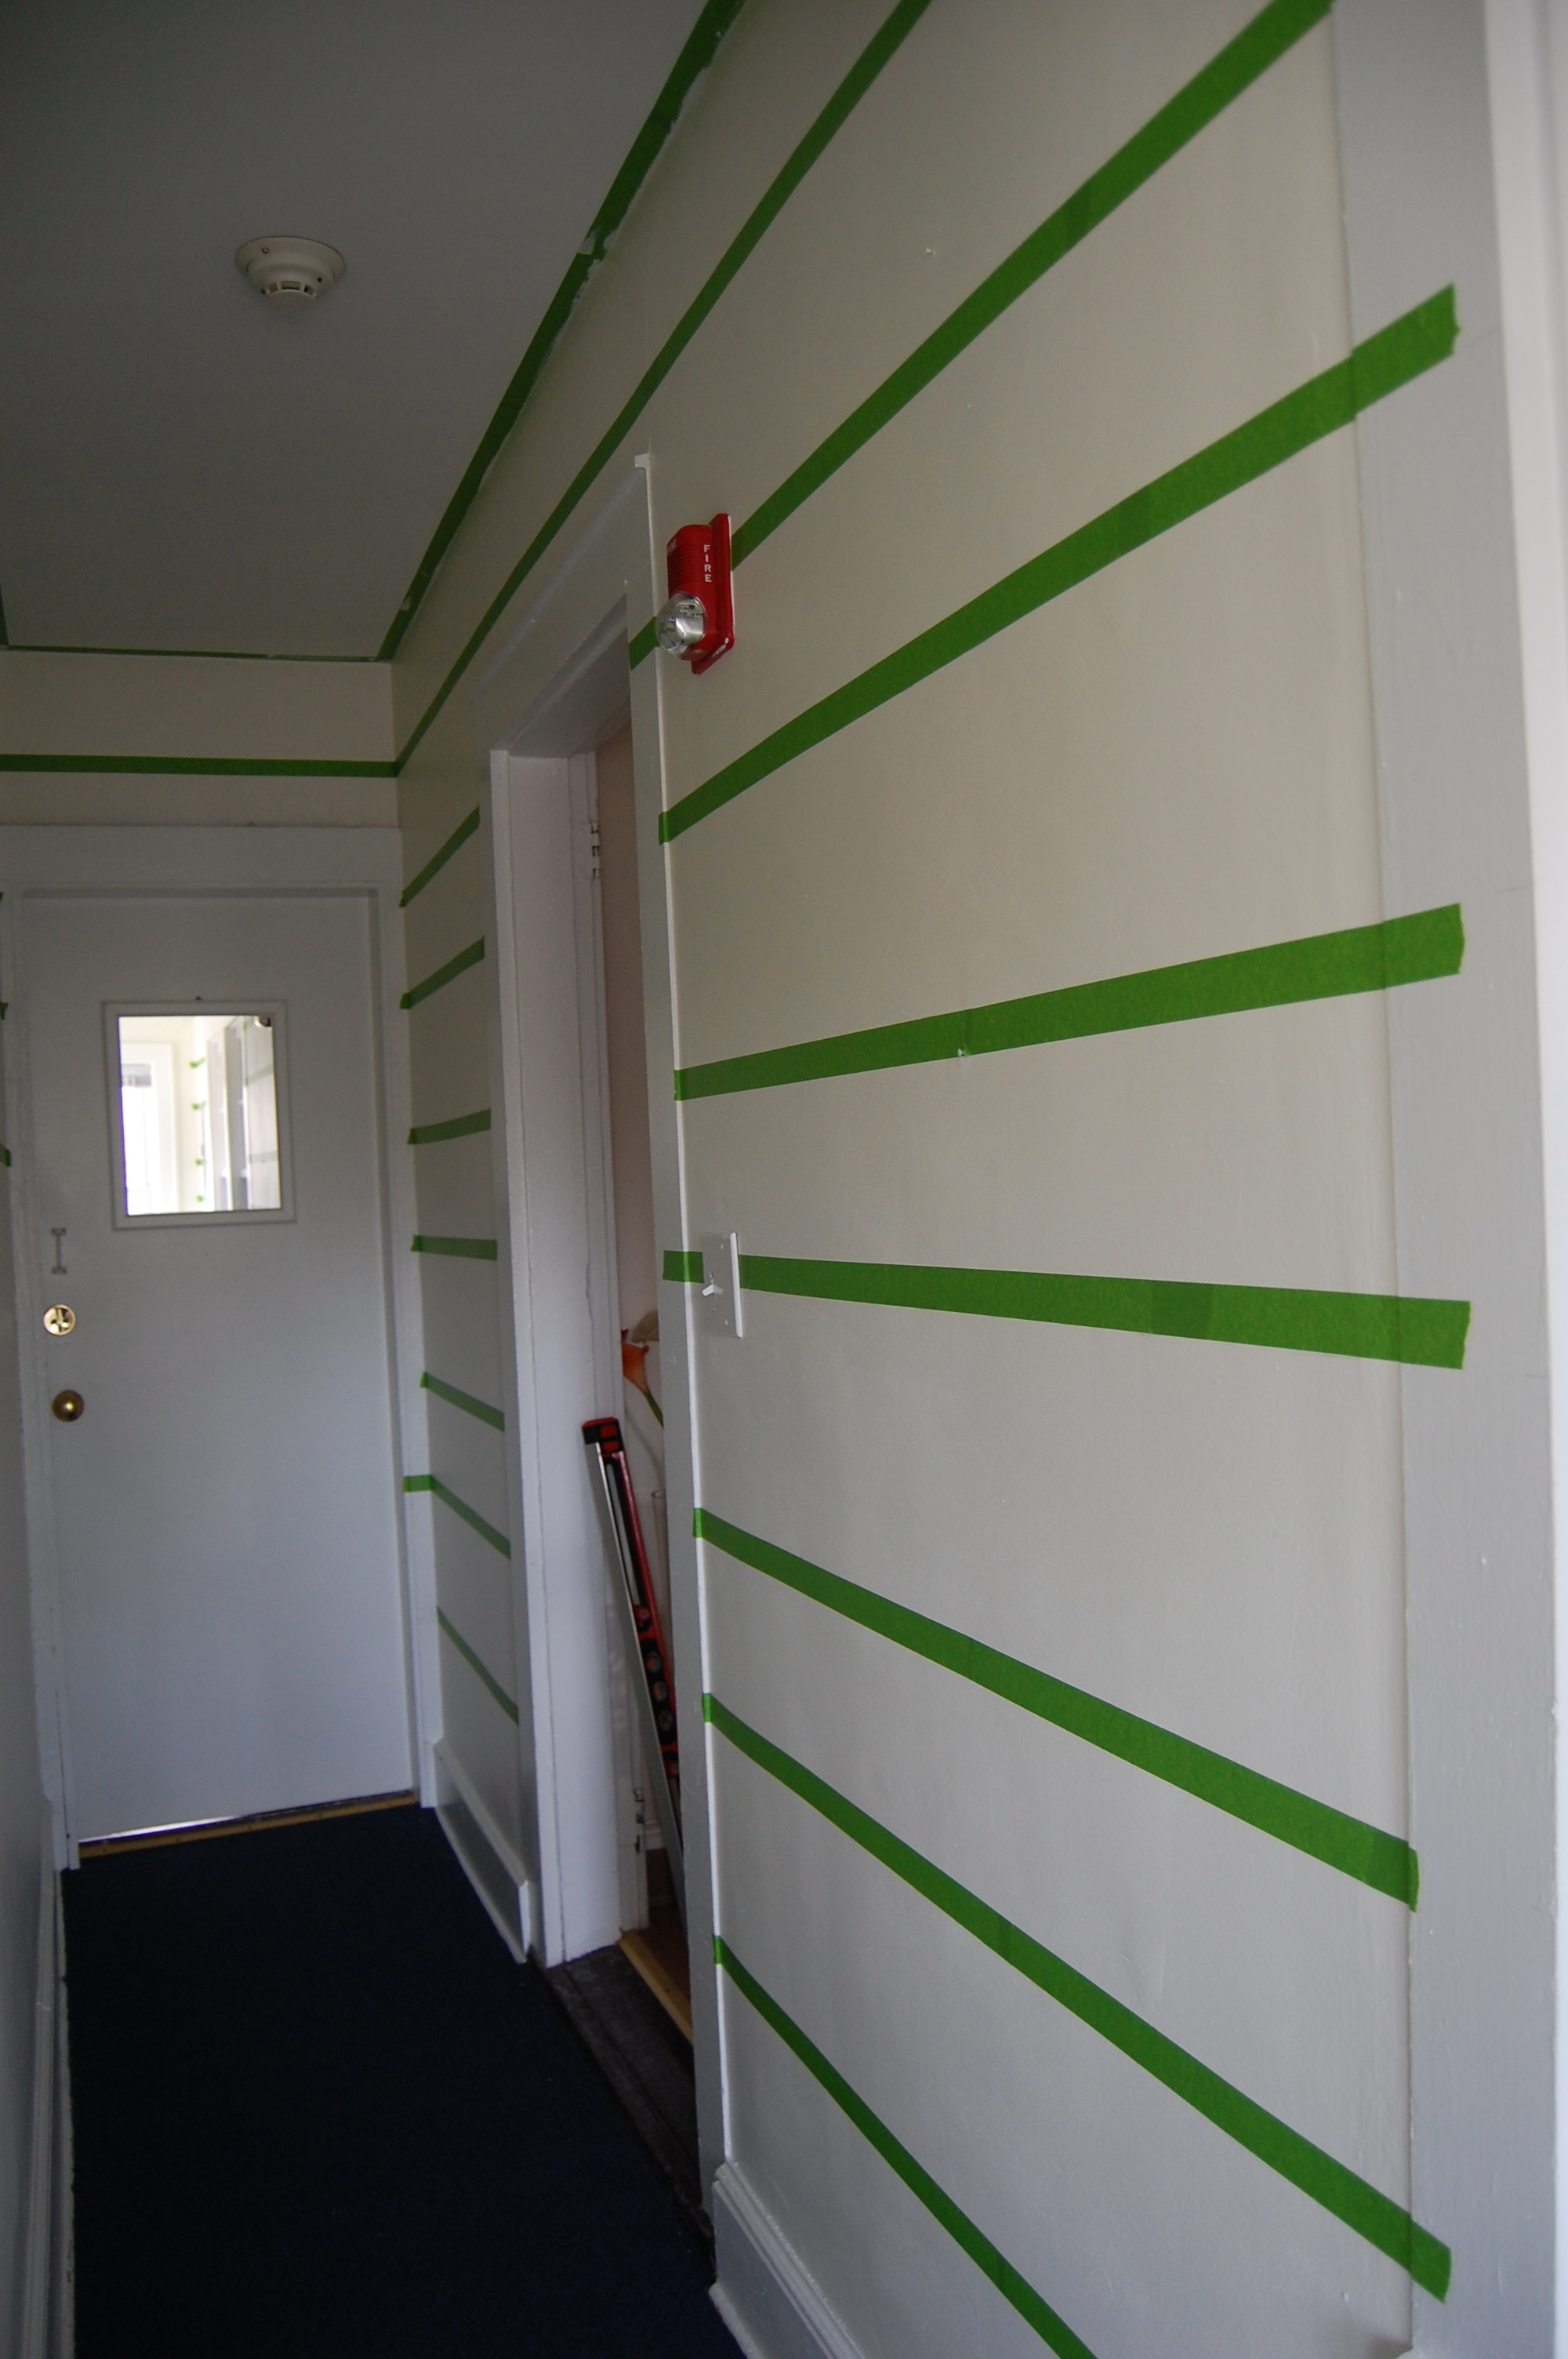 The bigger stripes are where you will be painting. I made a little mark on each one just in case to remind me where to paint. Another thing to keep in mind which I only learned after I went back to the store because I ran out of painters tape is that there is yellow frog tape which is for delicate surfaces. My project would be considered delicate because the walls were just painted the day before. I will say I wasn’t the hugest fan of the yellow tape because it wasn’t sticking so well and when I was all done I didn’t have any problems with the green frog tape when I pulled it off. Now it’s time to get started on the painting!! Here is the trick to getting perfect straight lines every time. All you have to do is take the base color which for me was Dover White and apply it to the tape where you will be adding the second color. The reason for this is that it creates a seal on the tape and if any color is going to seep under the tape it will be the base color and once it is dry you won’t have any problems! Here’s a close-up of what I am talking about.
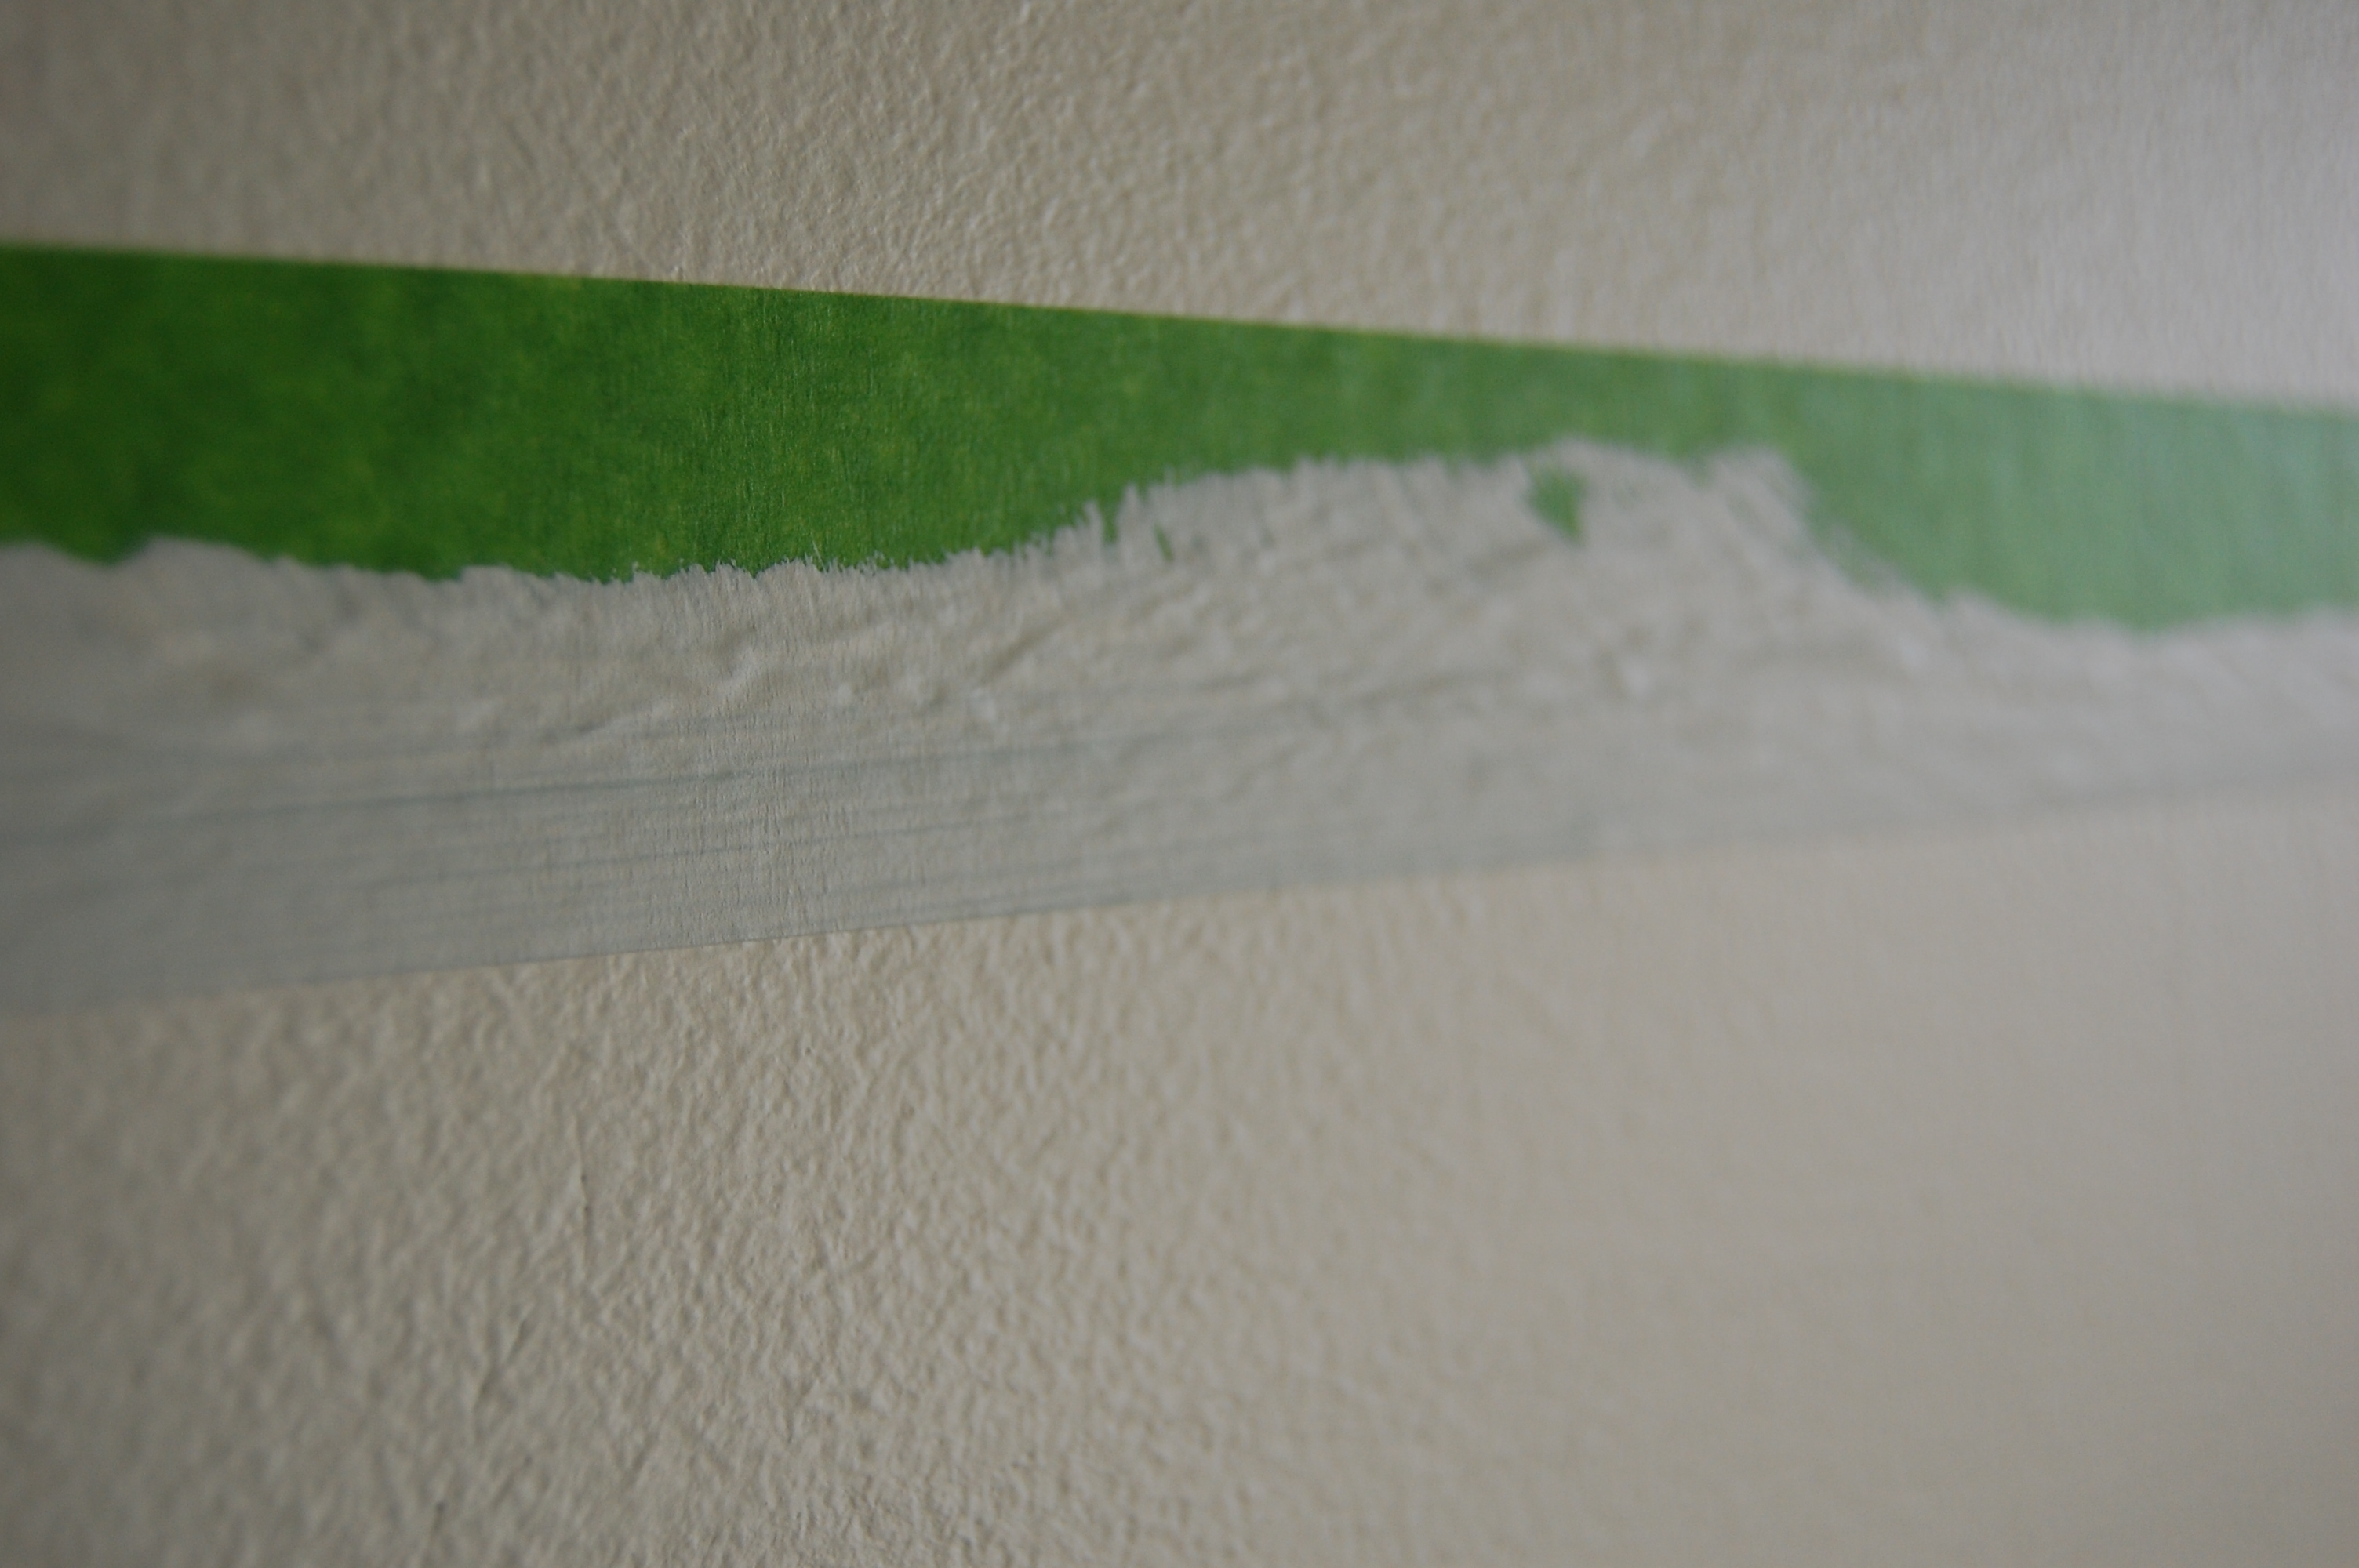 Just apply that color to all the stripes that you will be painting.
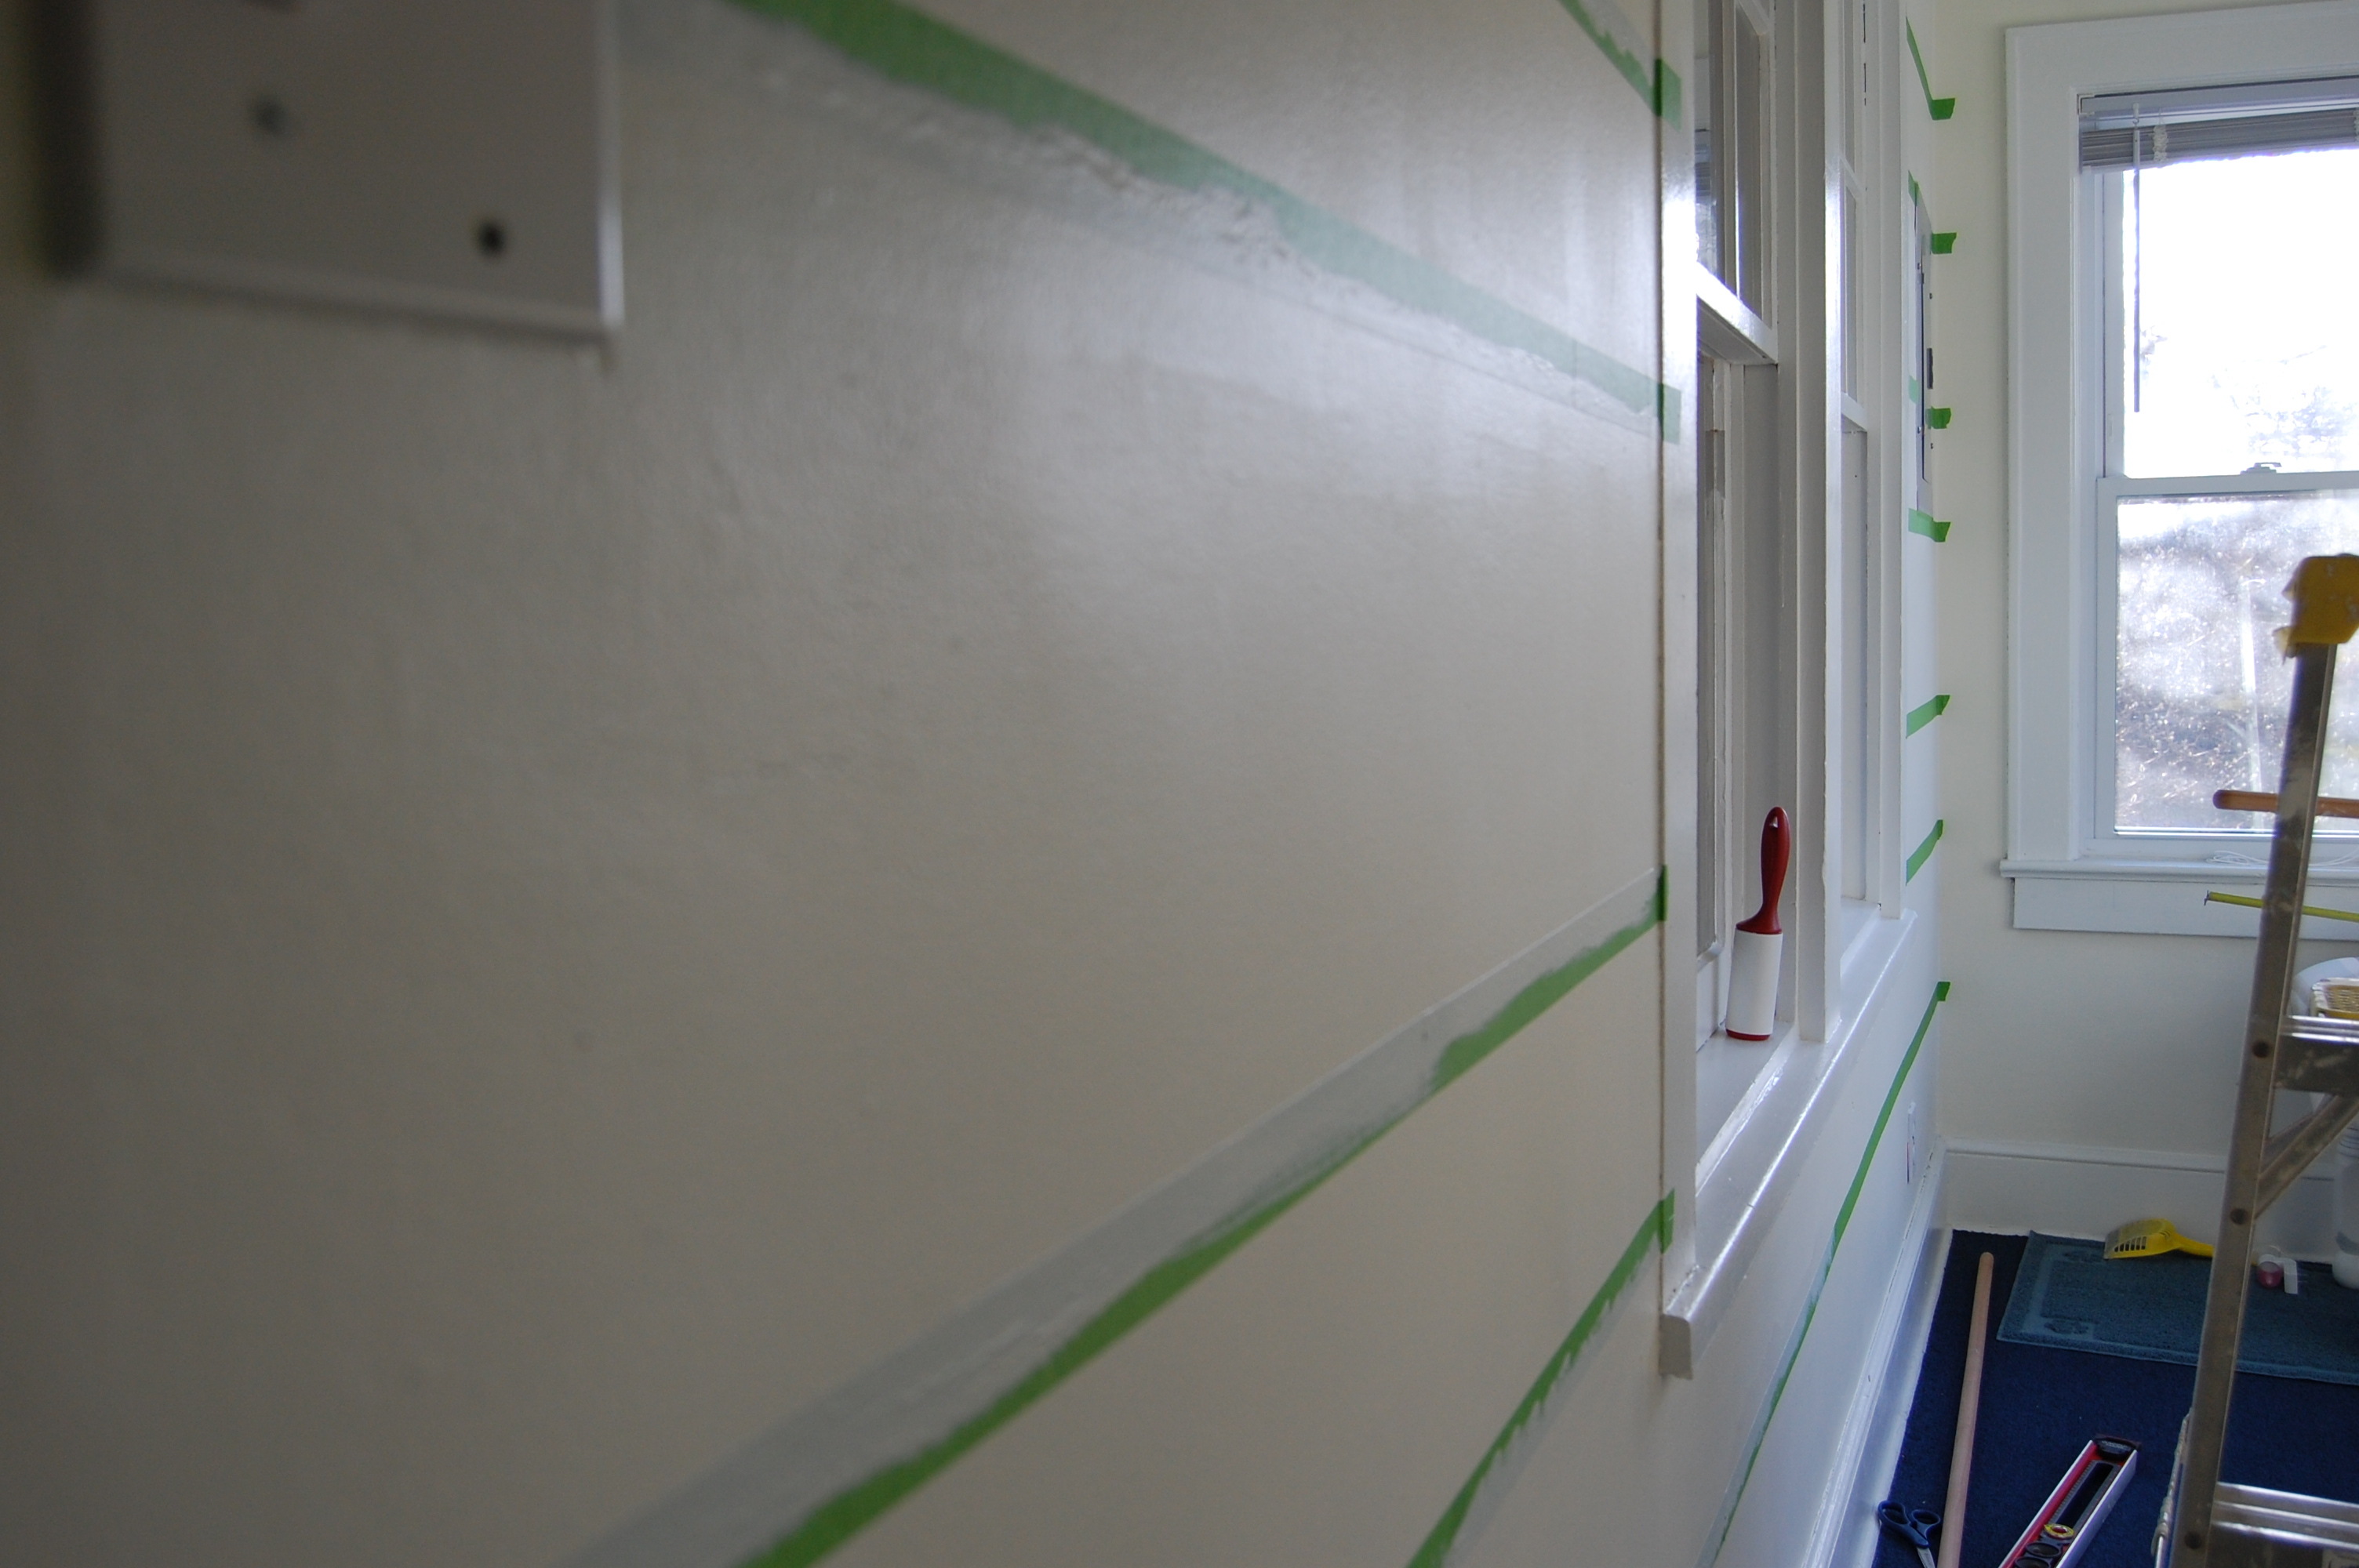 Each wall had 4 stripes. I started with the top stripe and painted it across and then painted the second stripe. When I finished the second I went back to the first one and applied another coat and took the tape off before it dried. Make sense?
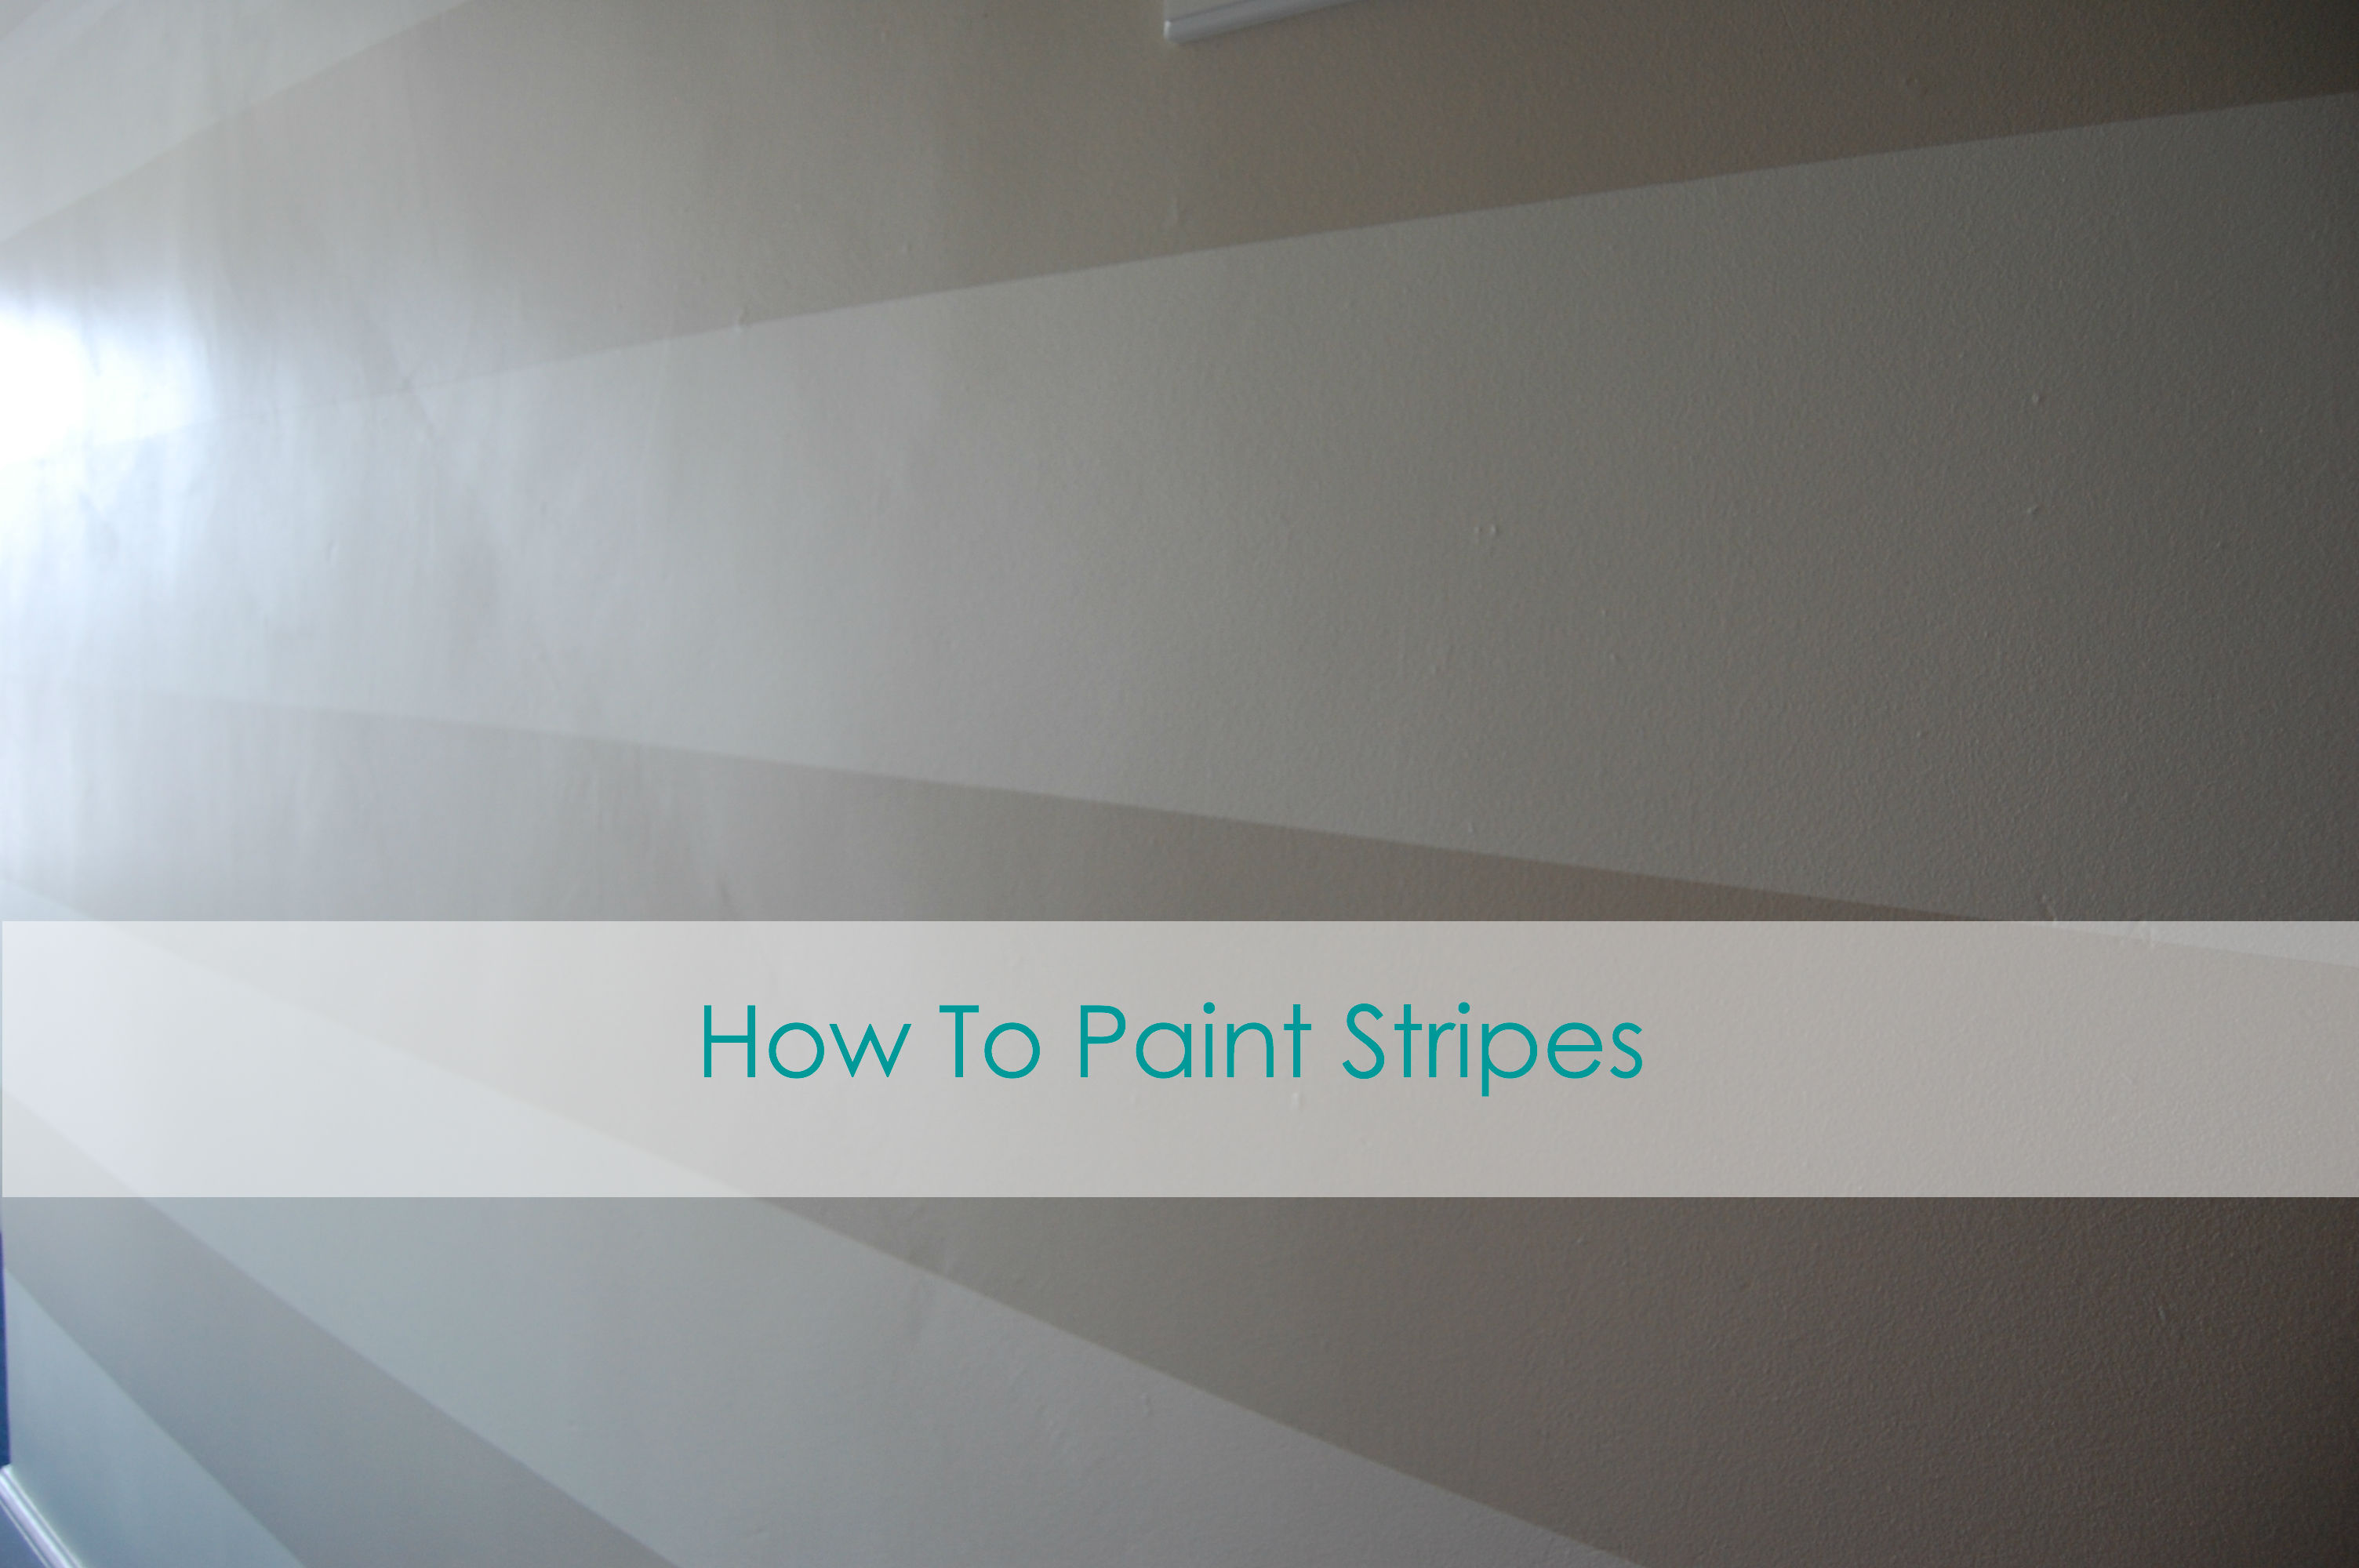
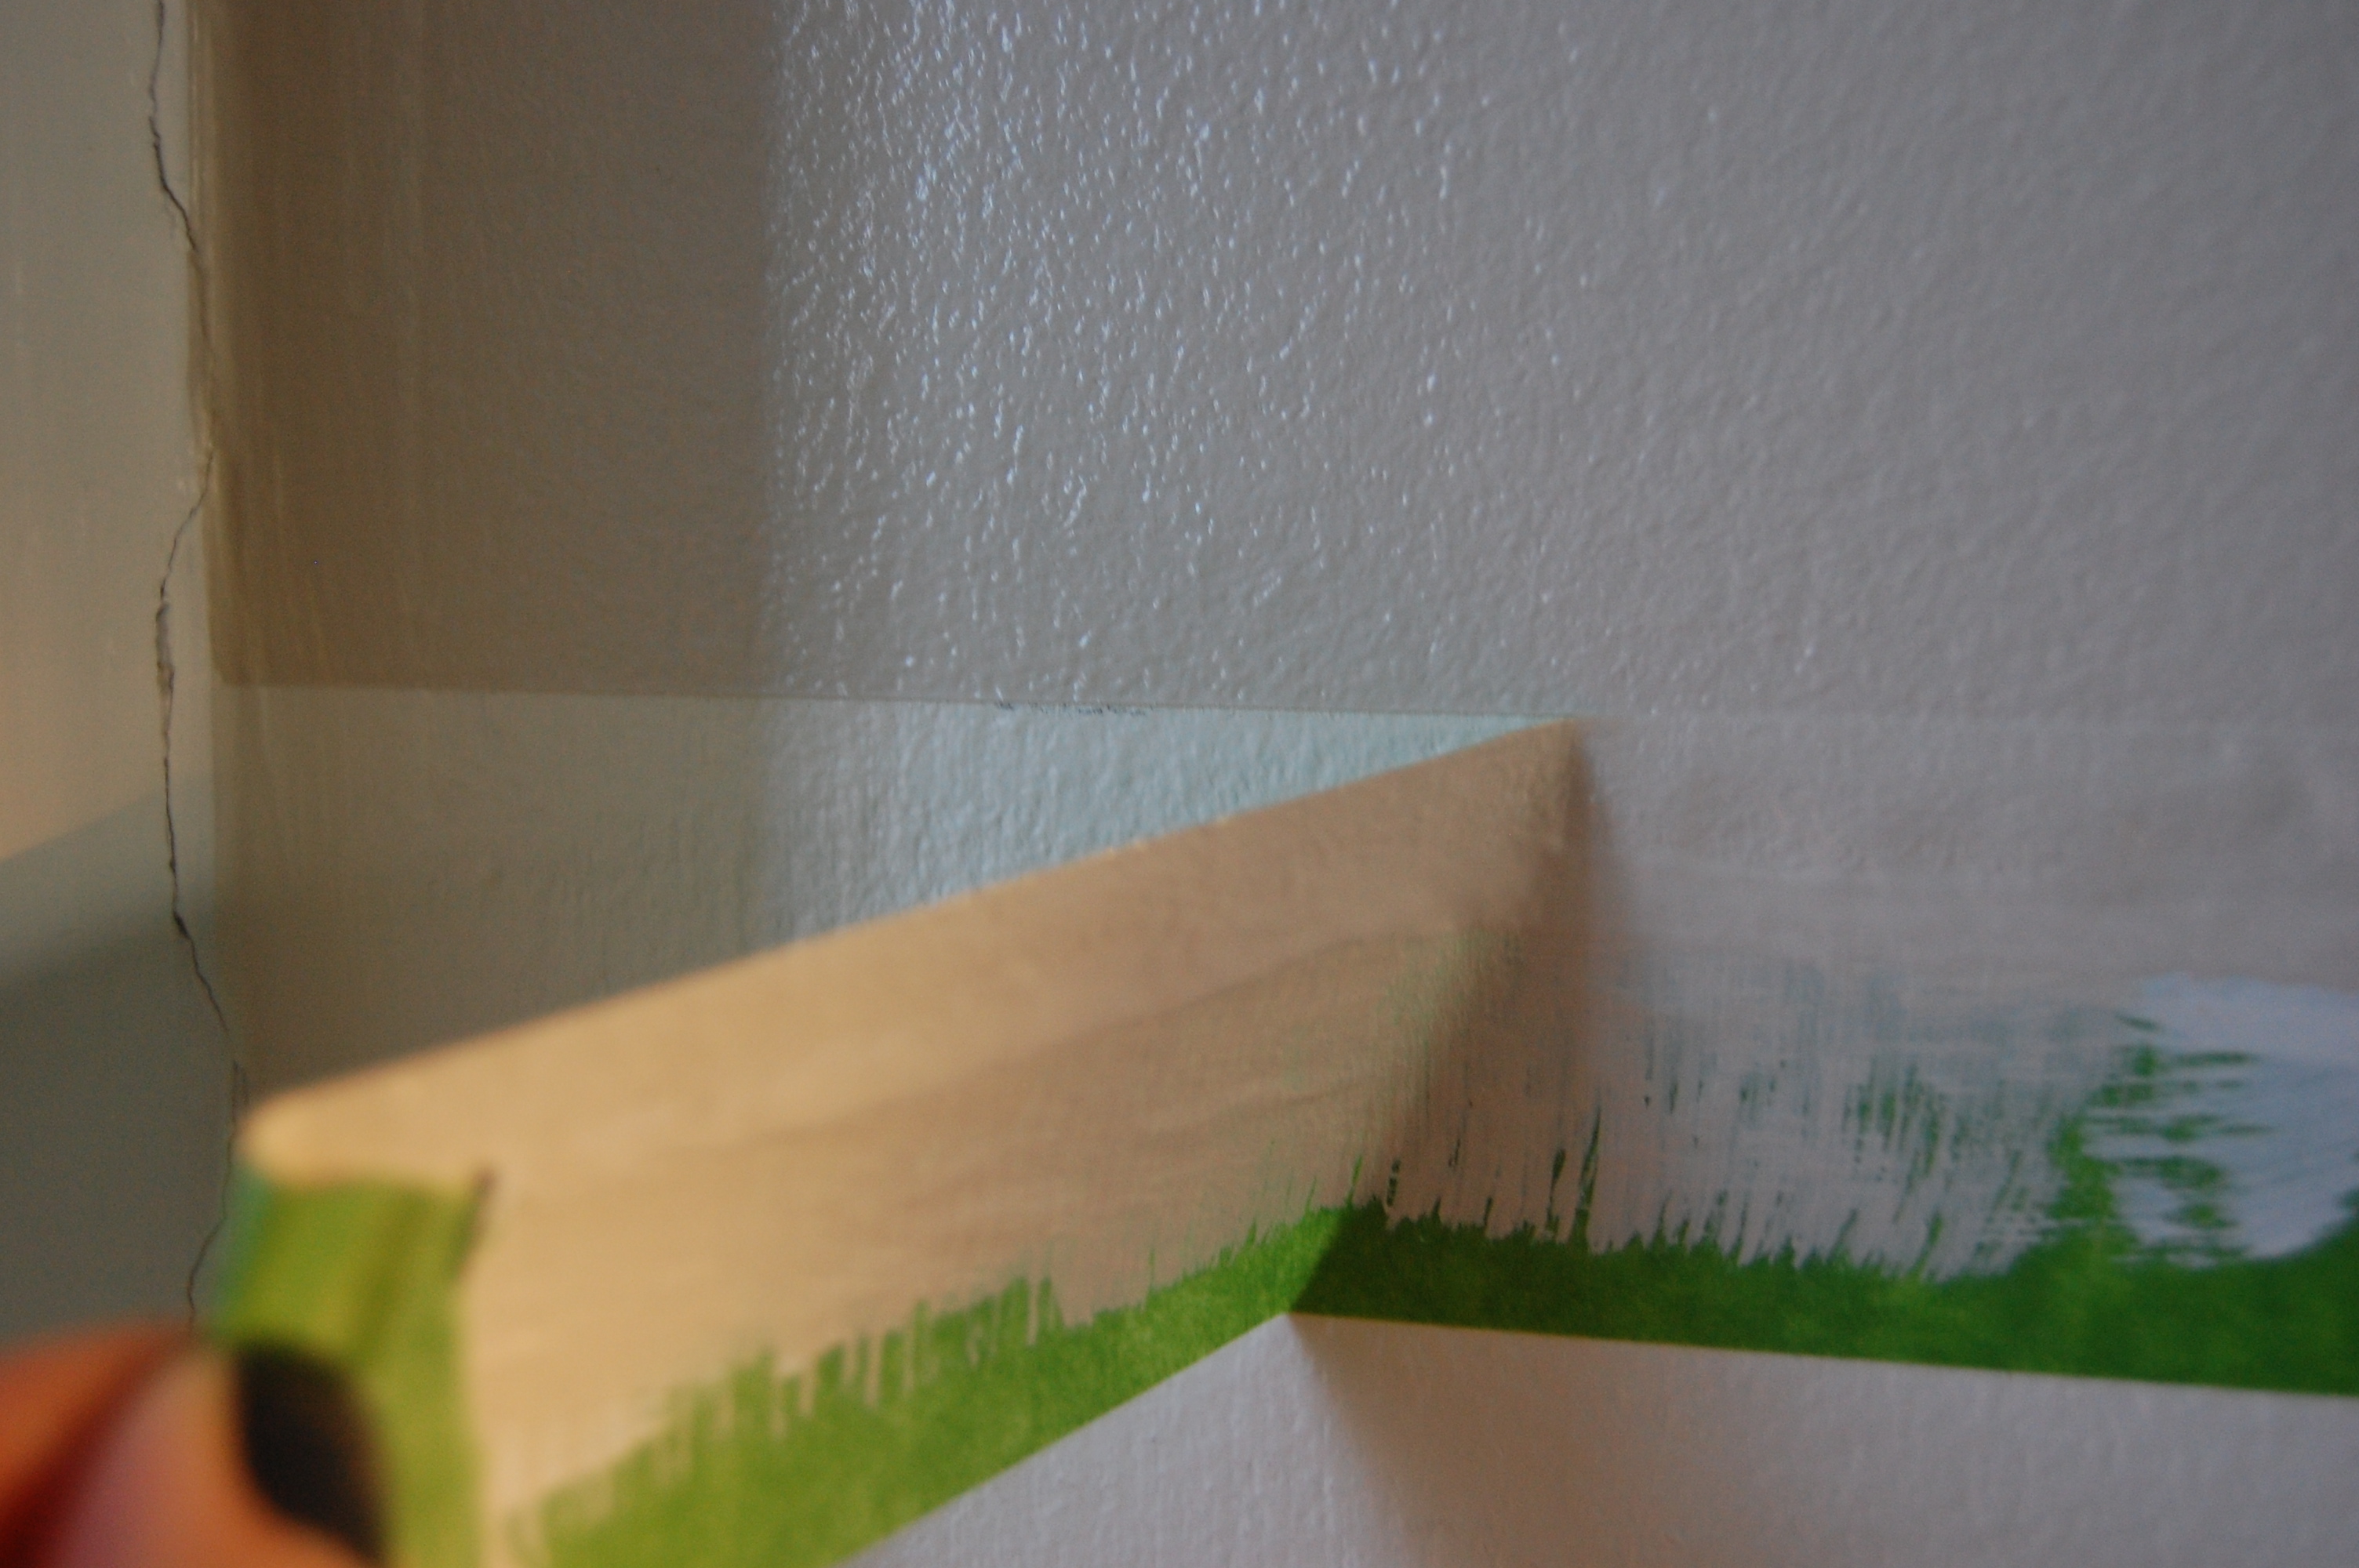 Beautiful straight lines! I continued that process all the way until it was all finished. Here’s how it turned out!
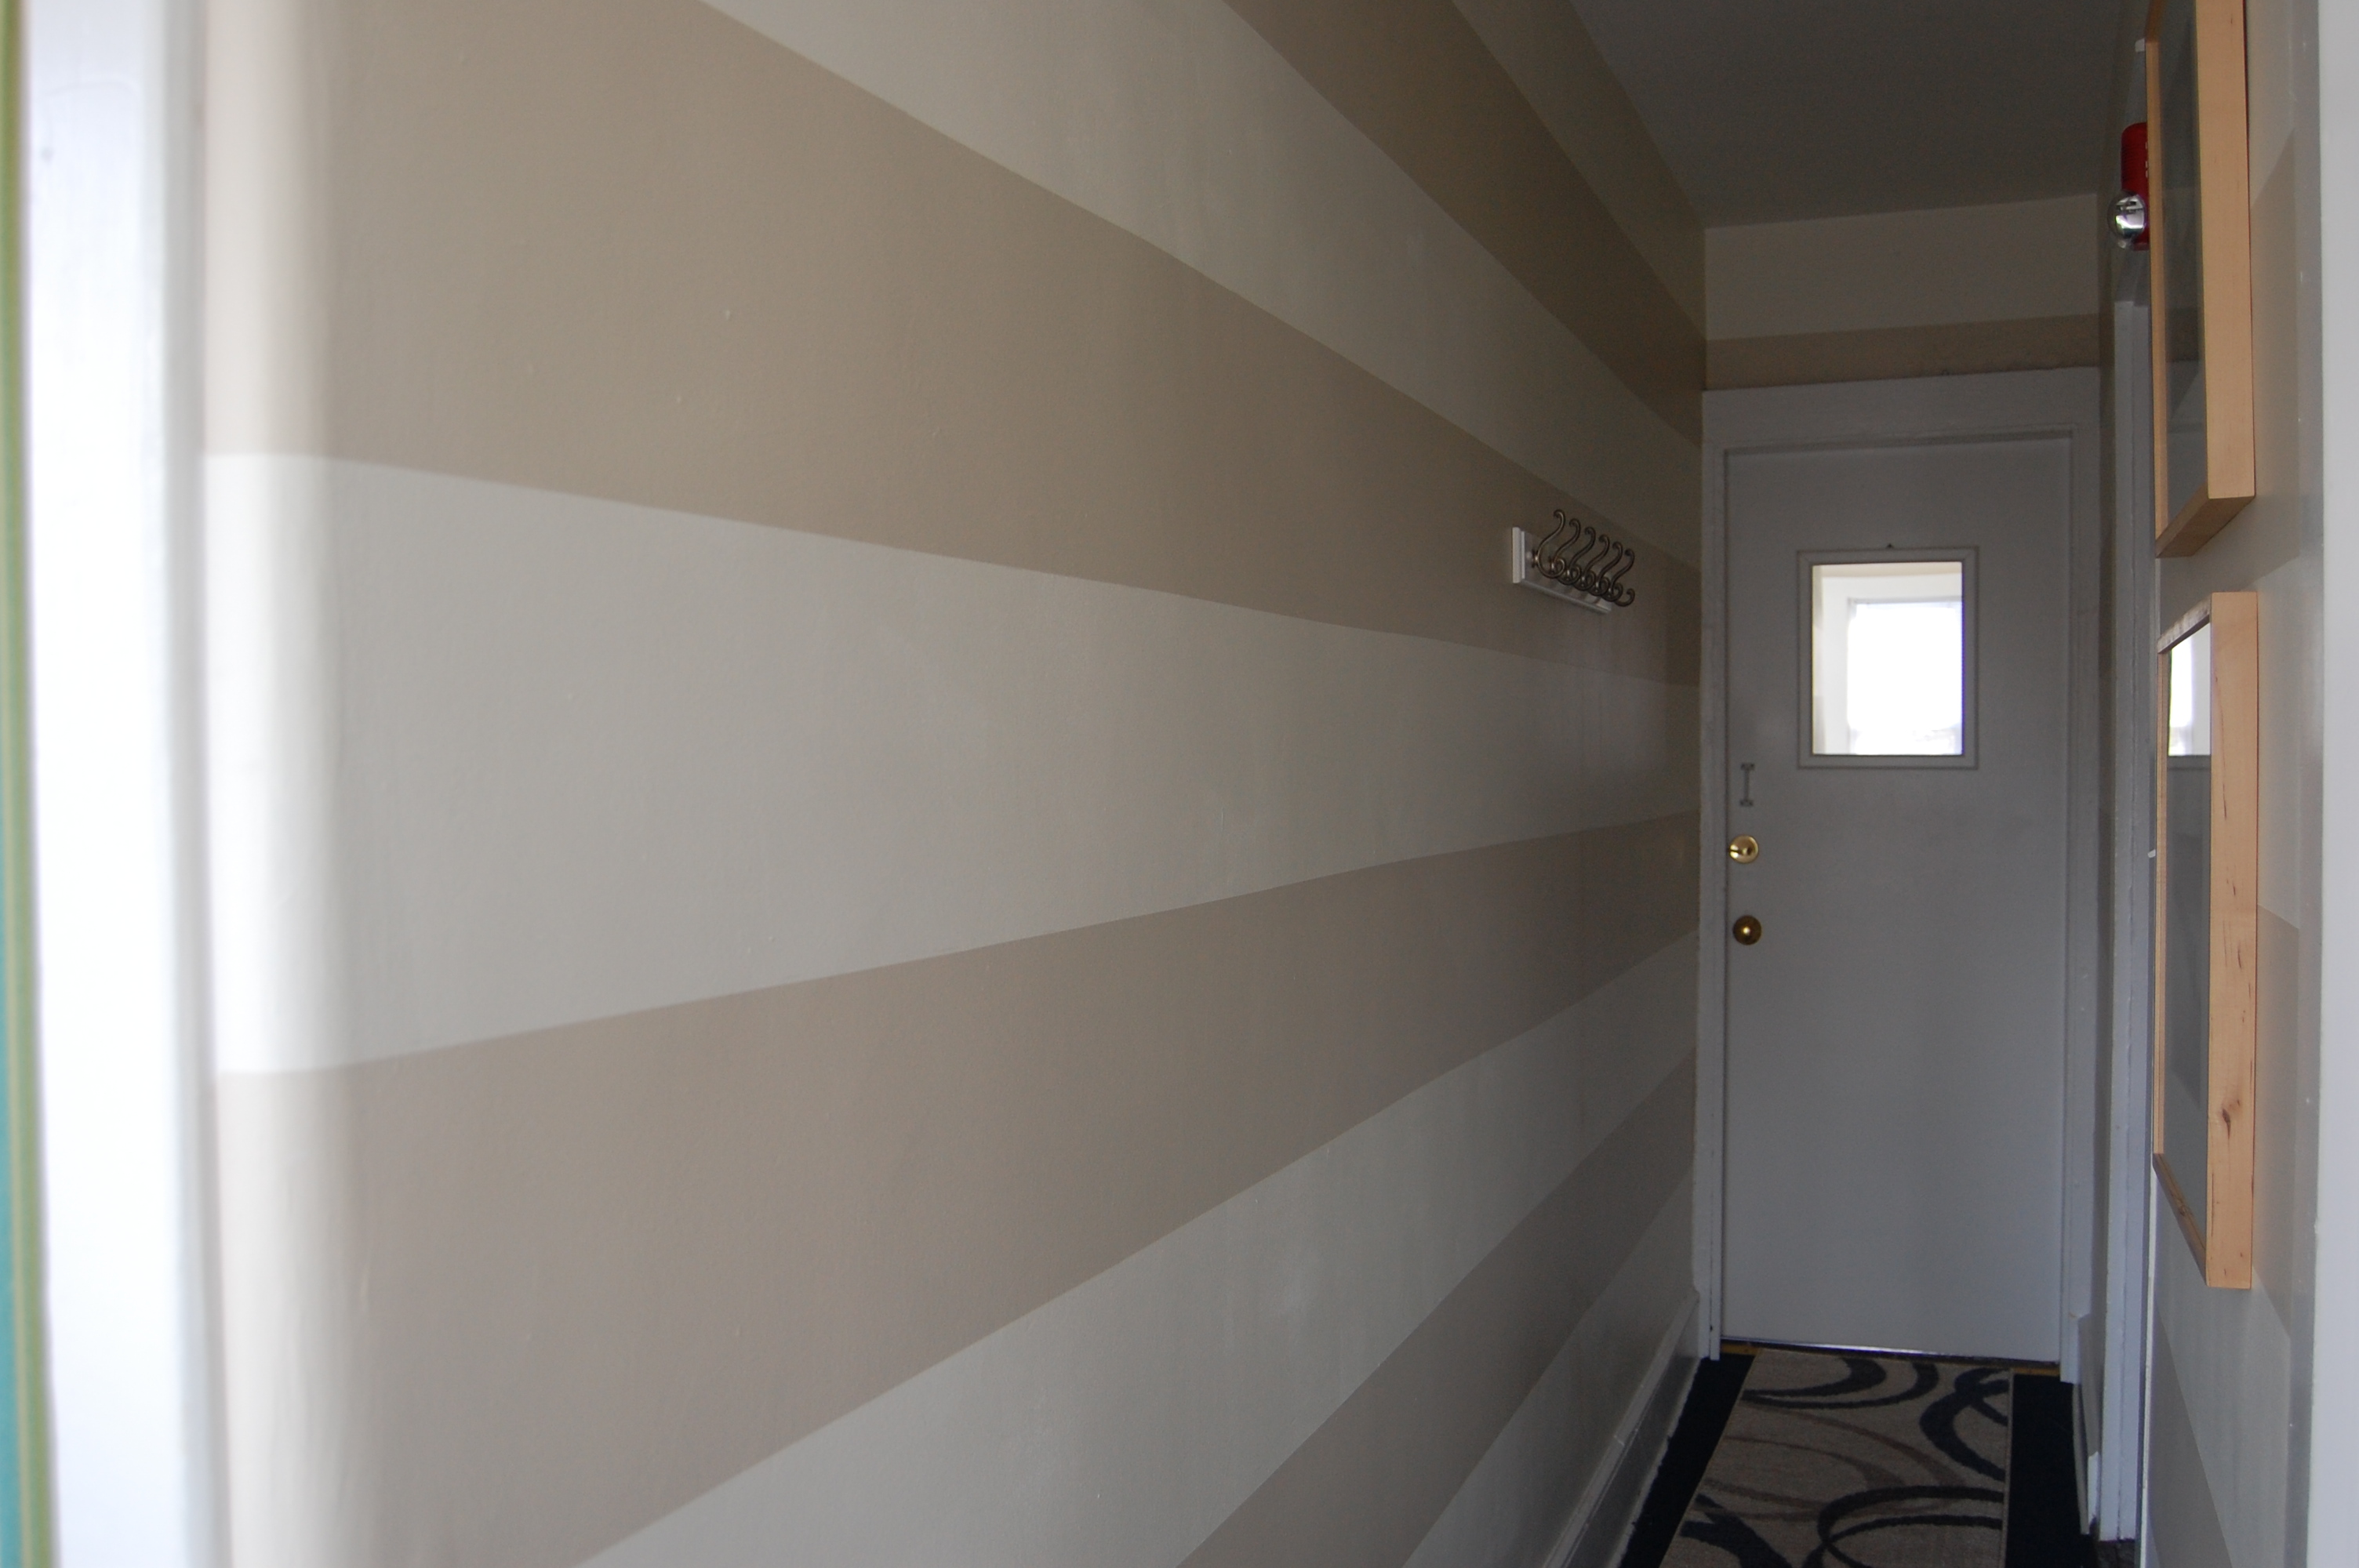
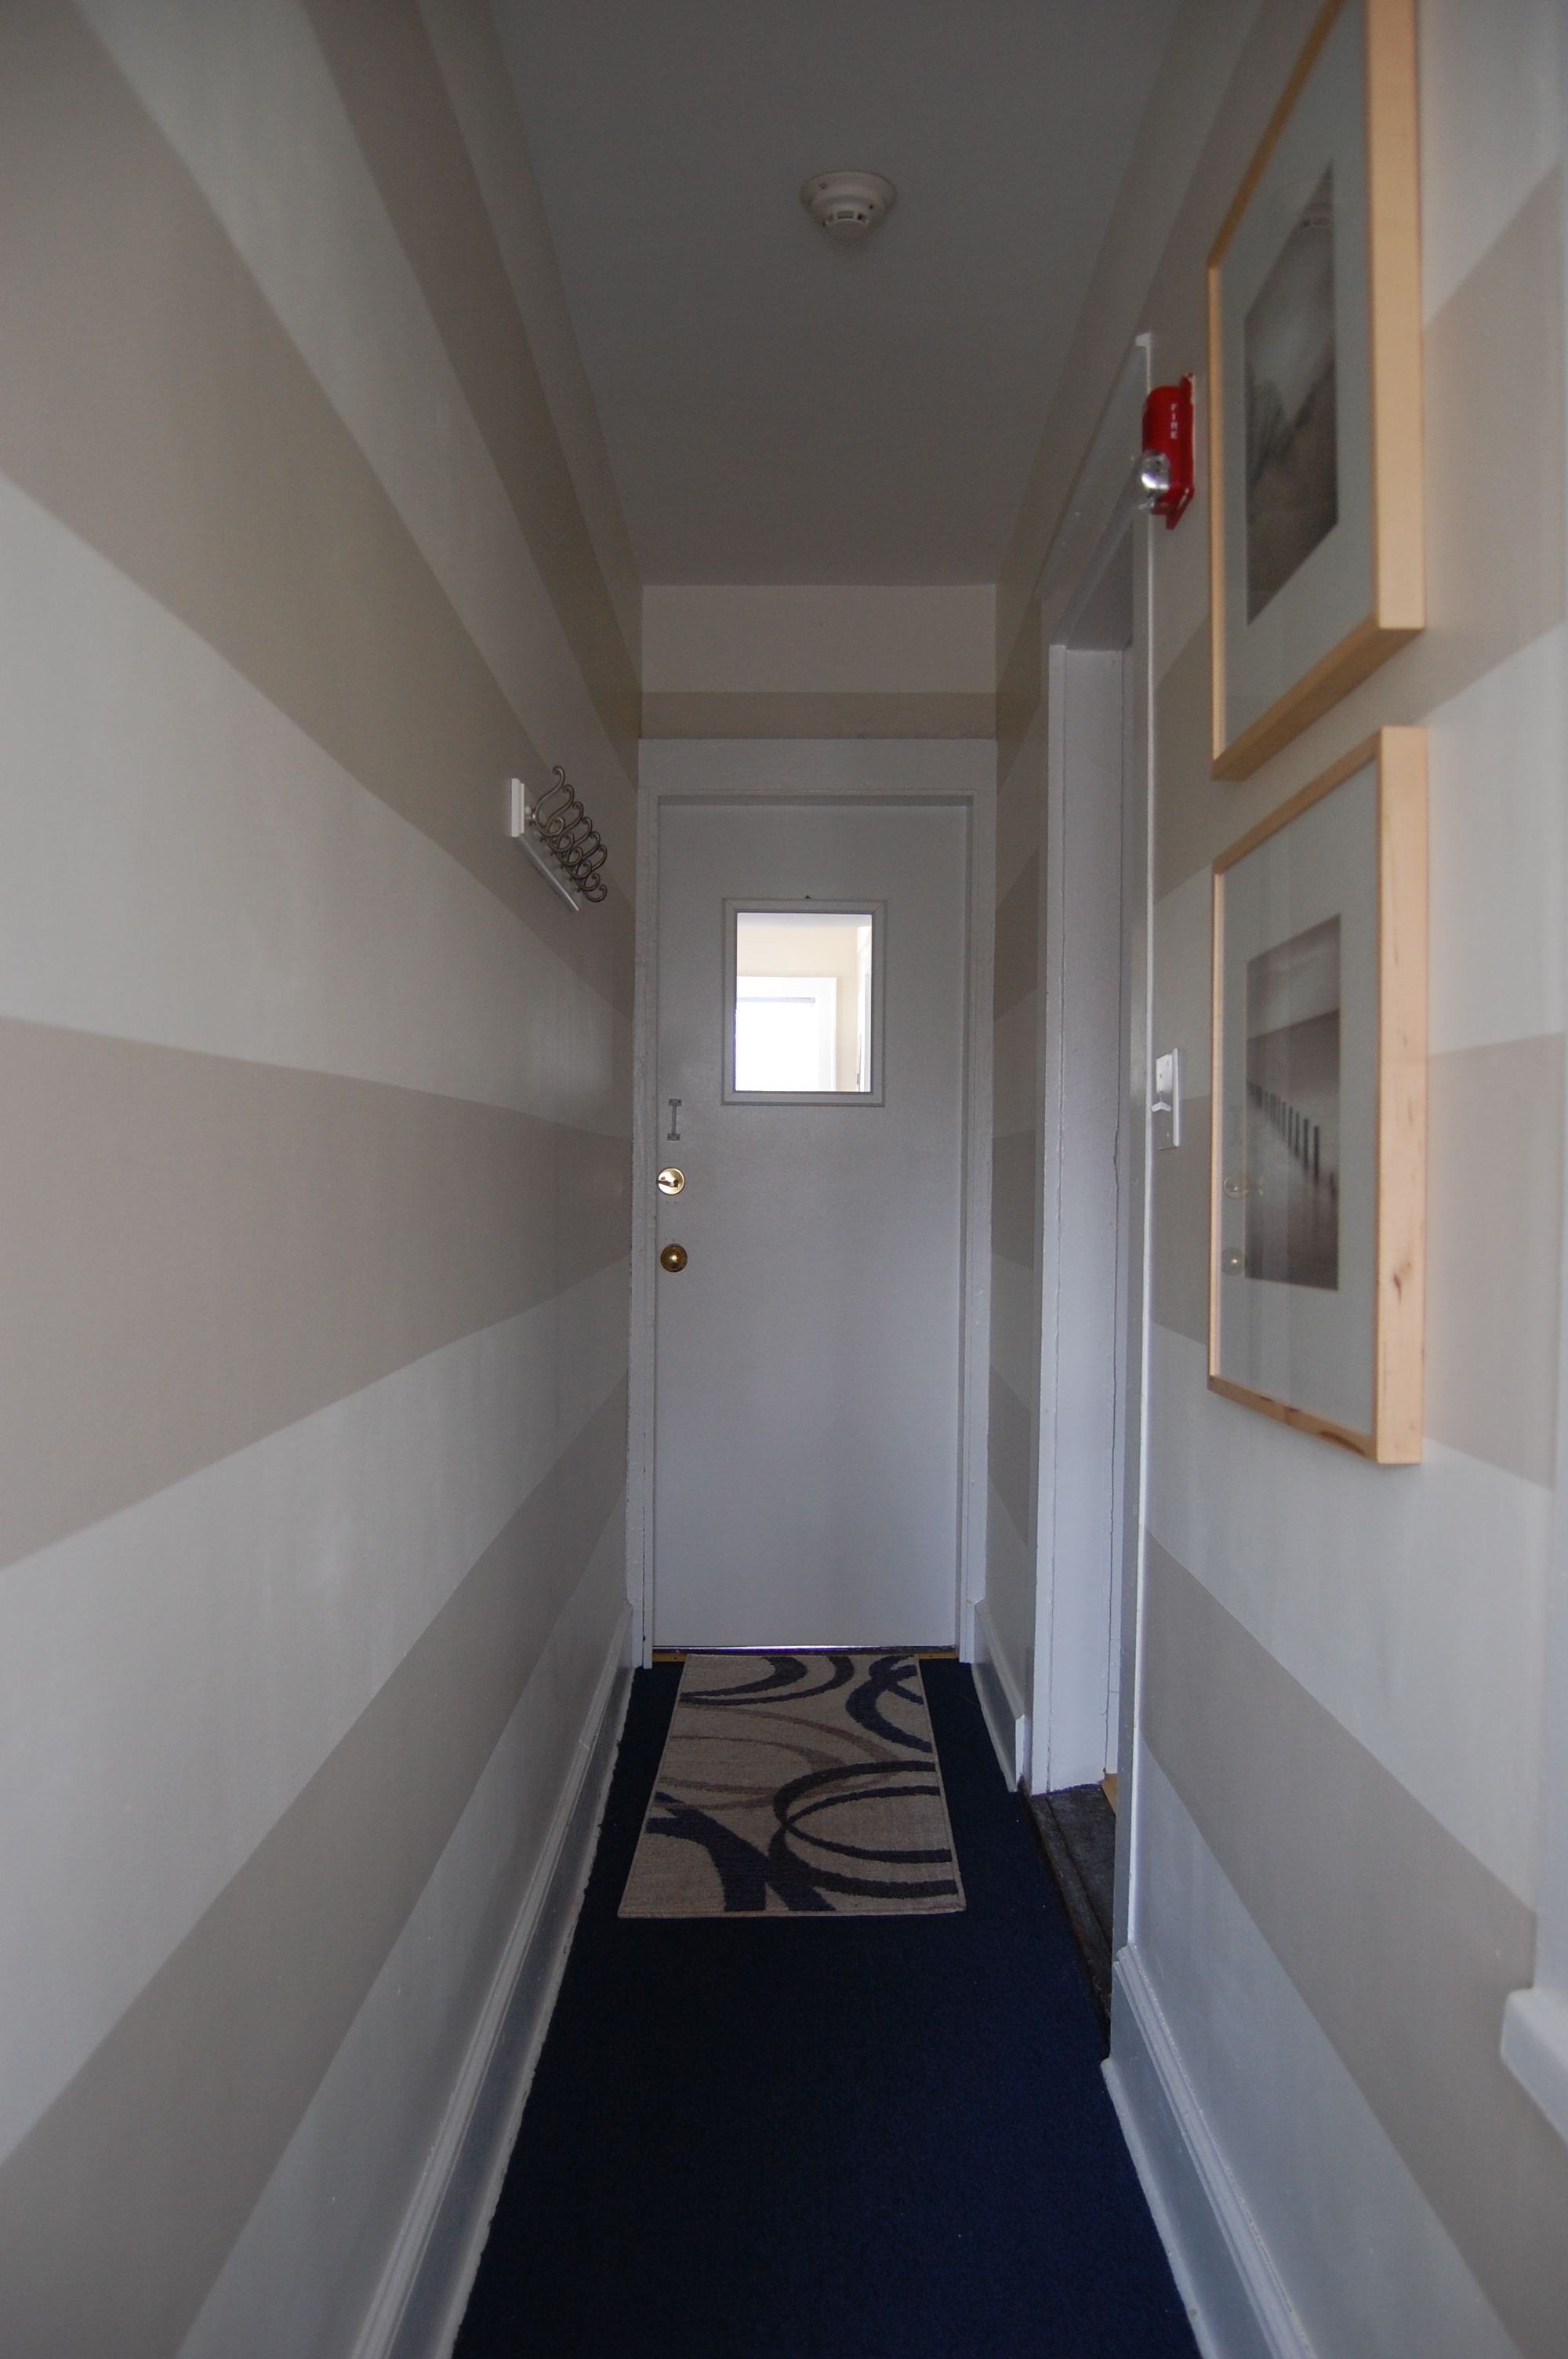
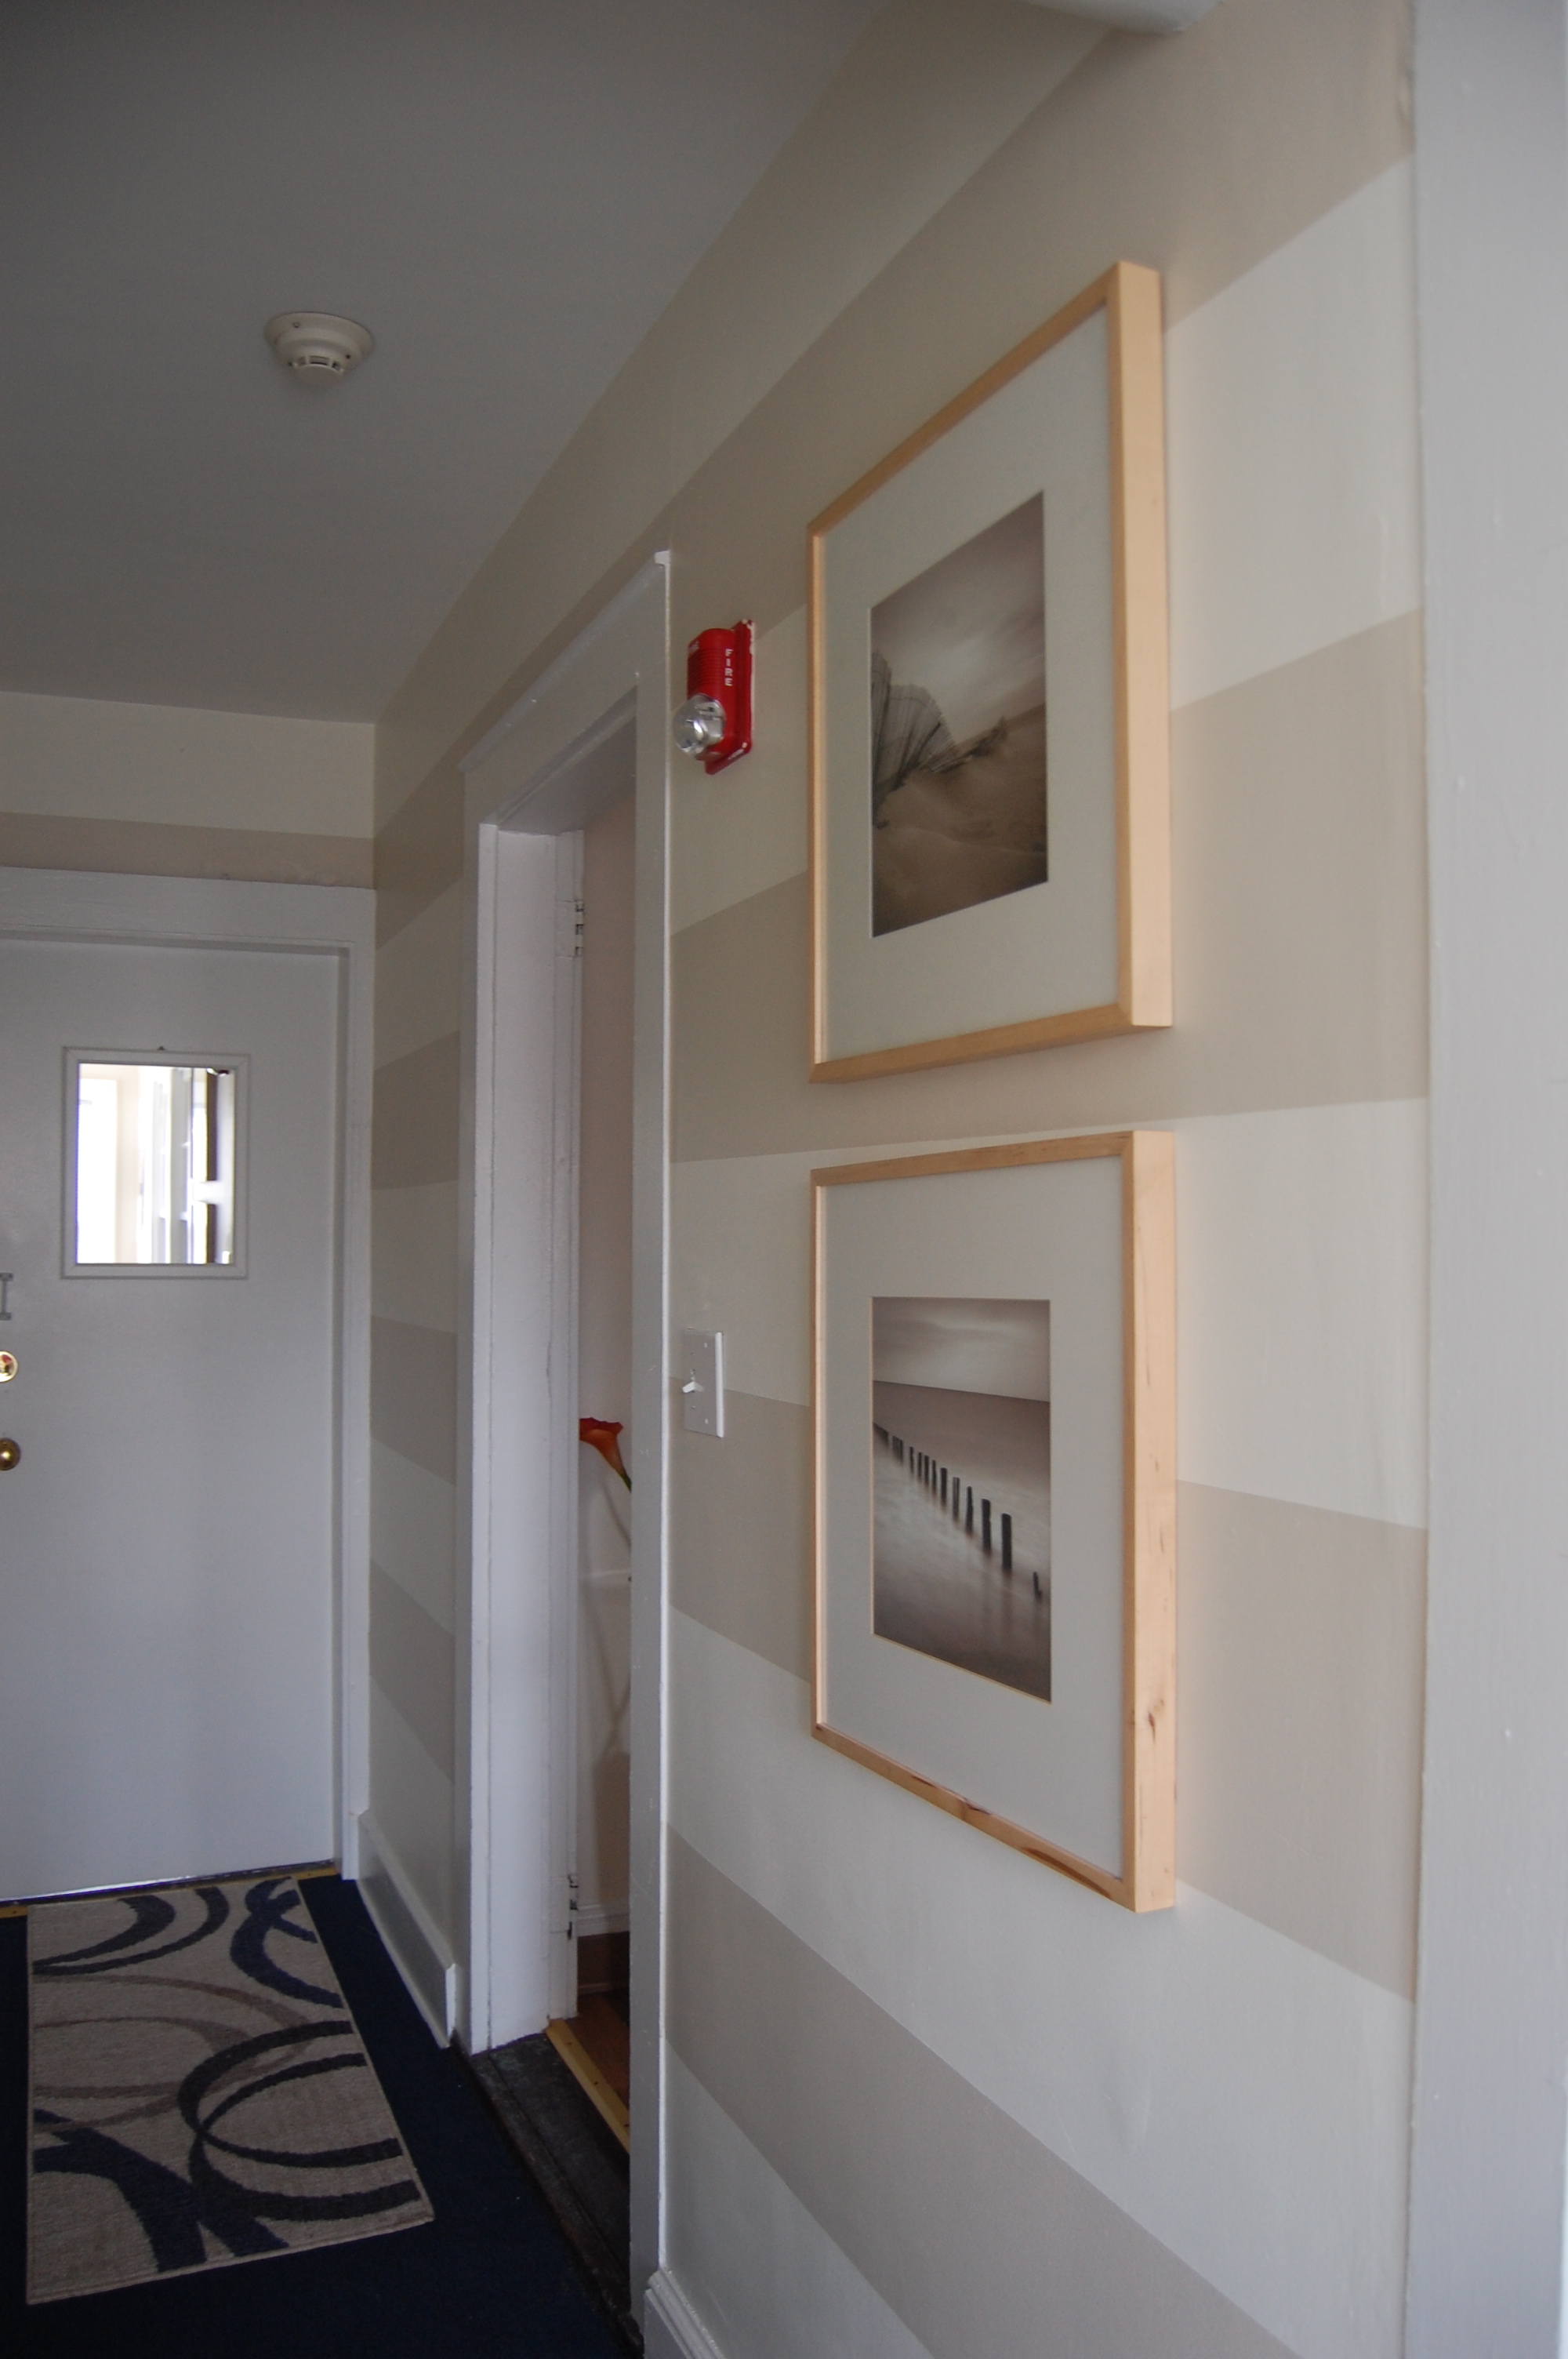 I love how when you walk in the stripes draw you in and adds so much to this tiny narrow space. Have you ever tackled stripes on your wall? Maybe just a focal wall? I’ll be back soon to share the porch area and how I created a fun pop of color to this space too!
