After the success I had with my roman shades it got me thinking about the vinyl roller shades in my classroom and how I could spruce them up. I contemplated adding fabric to them but thought, 1. Could be way too busy and 2. Cost too much. So I went out in search for some inspiration and came across this:
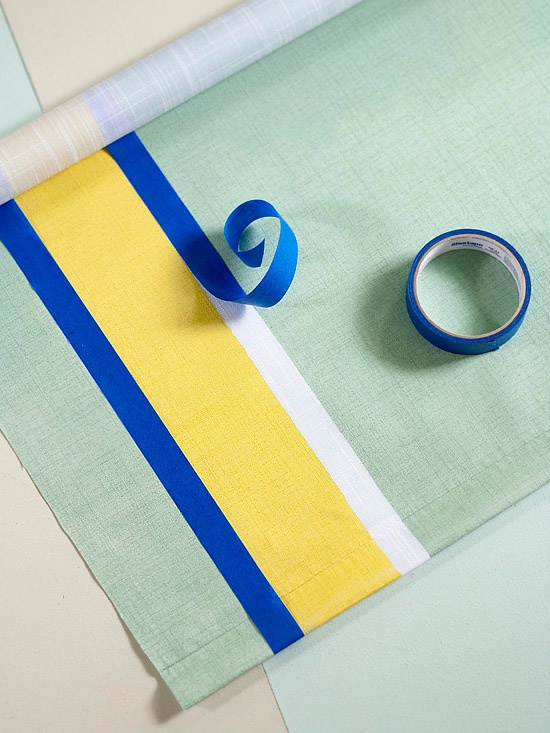 Hmm…painting the blinds? That seemed like too much work. Plus if I ever have to move classrooms I don’t want something that is permanent that the next teacher would not enjoy. Let’s be honest though, who wouldn’t love anything I do, just kidding…sort of…ha ha…it’s a joke…not really. Excuse me while I pull my head out of my ass. Sooo..anywho! There is was right in front of me in the picture…painters tape! Genius!! I can do something with painter’s tape. It won’t ruin the vinyl because well isn’t that the whole point of painter’s tape and the Frog tape comes in a fabulous green that goes perfectly with my classroom color scheme (blue & green). Now all I needed was a design and I knew just what I wanted and where to find it. A very long time ago I came across a credenza makeover from Centsational Girl and loved the greek key pattern on top.
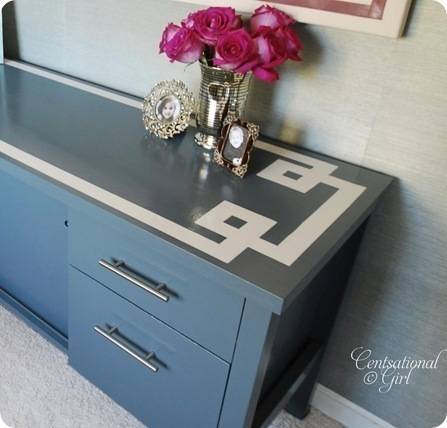
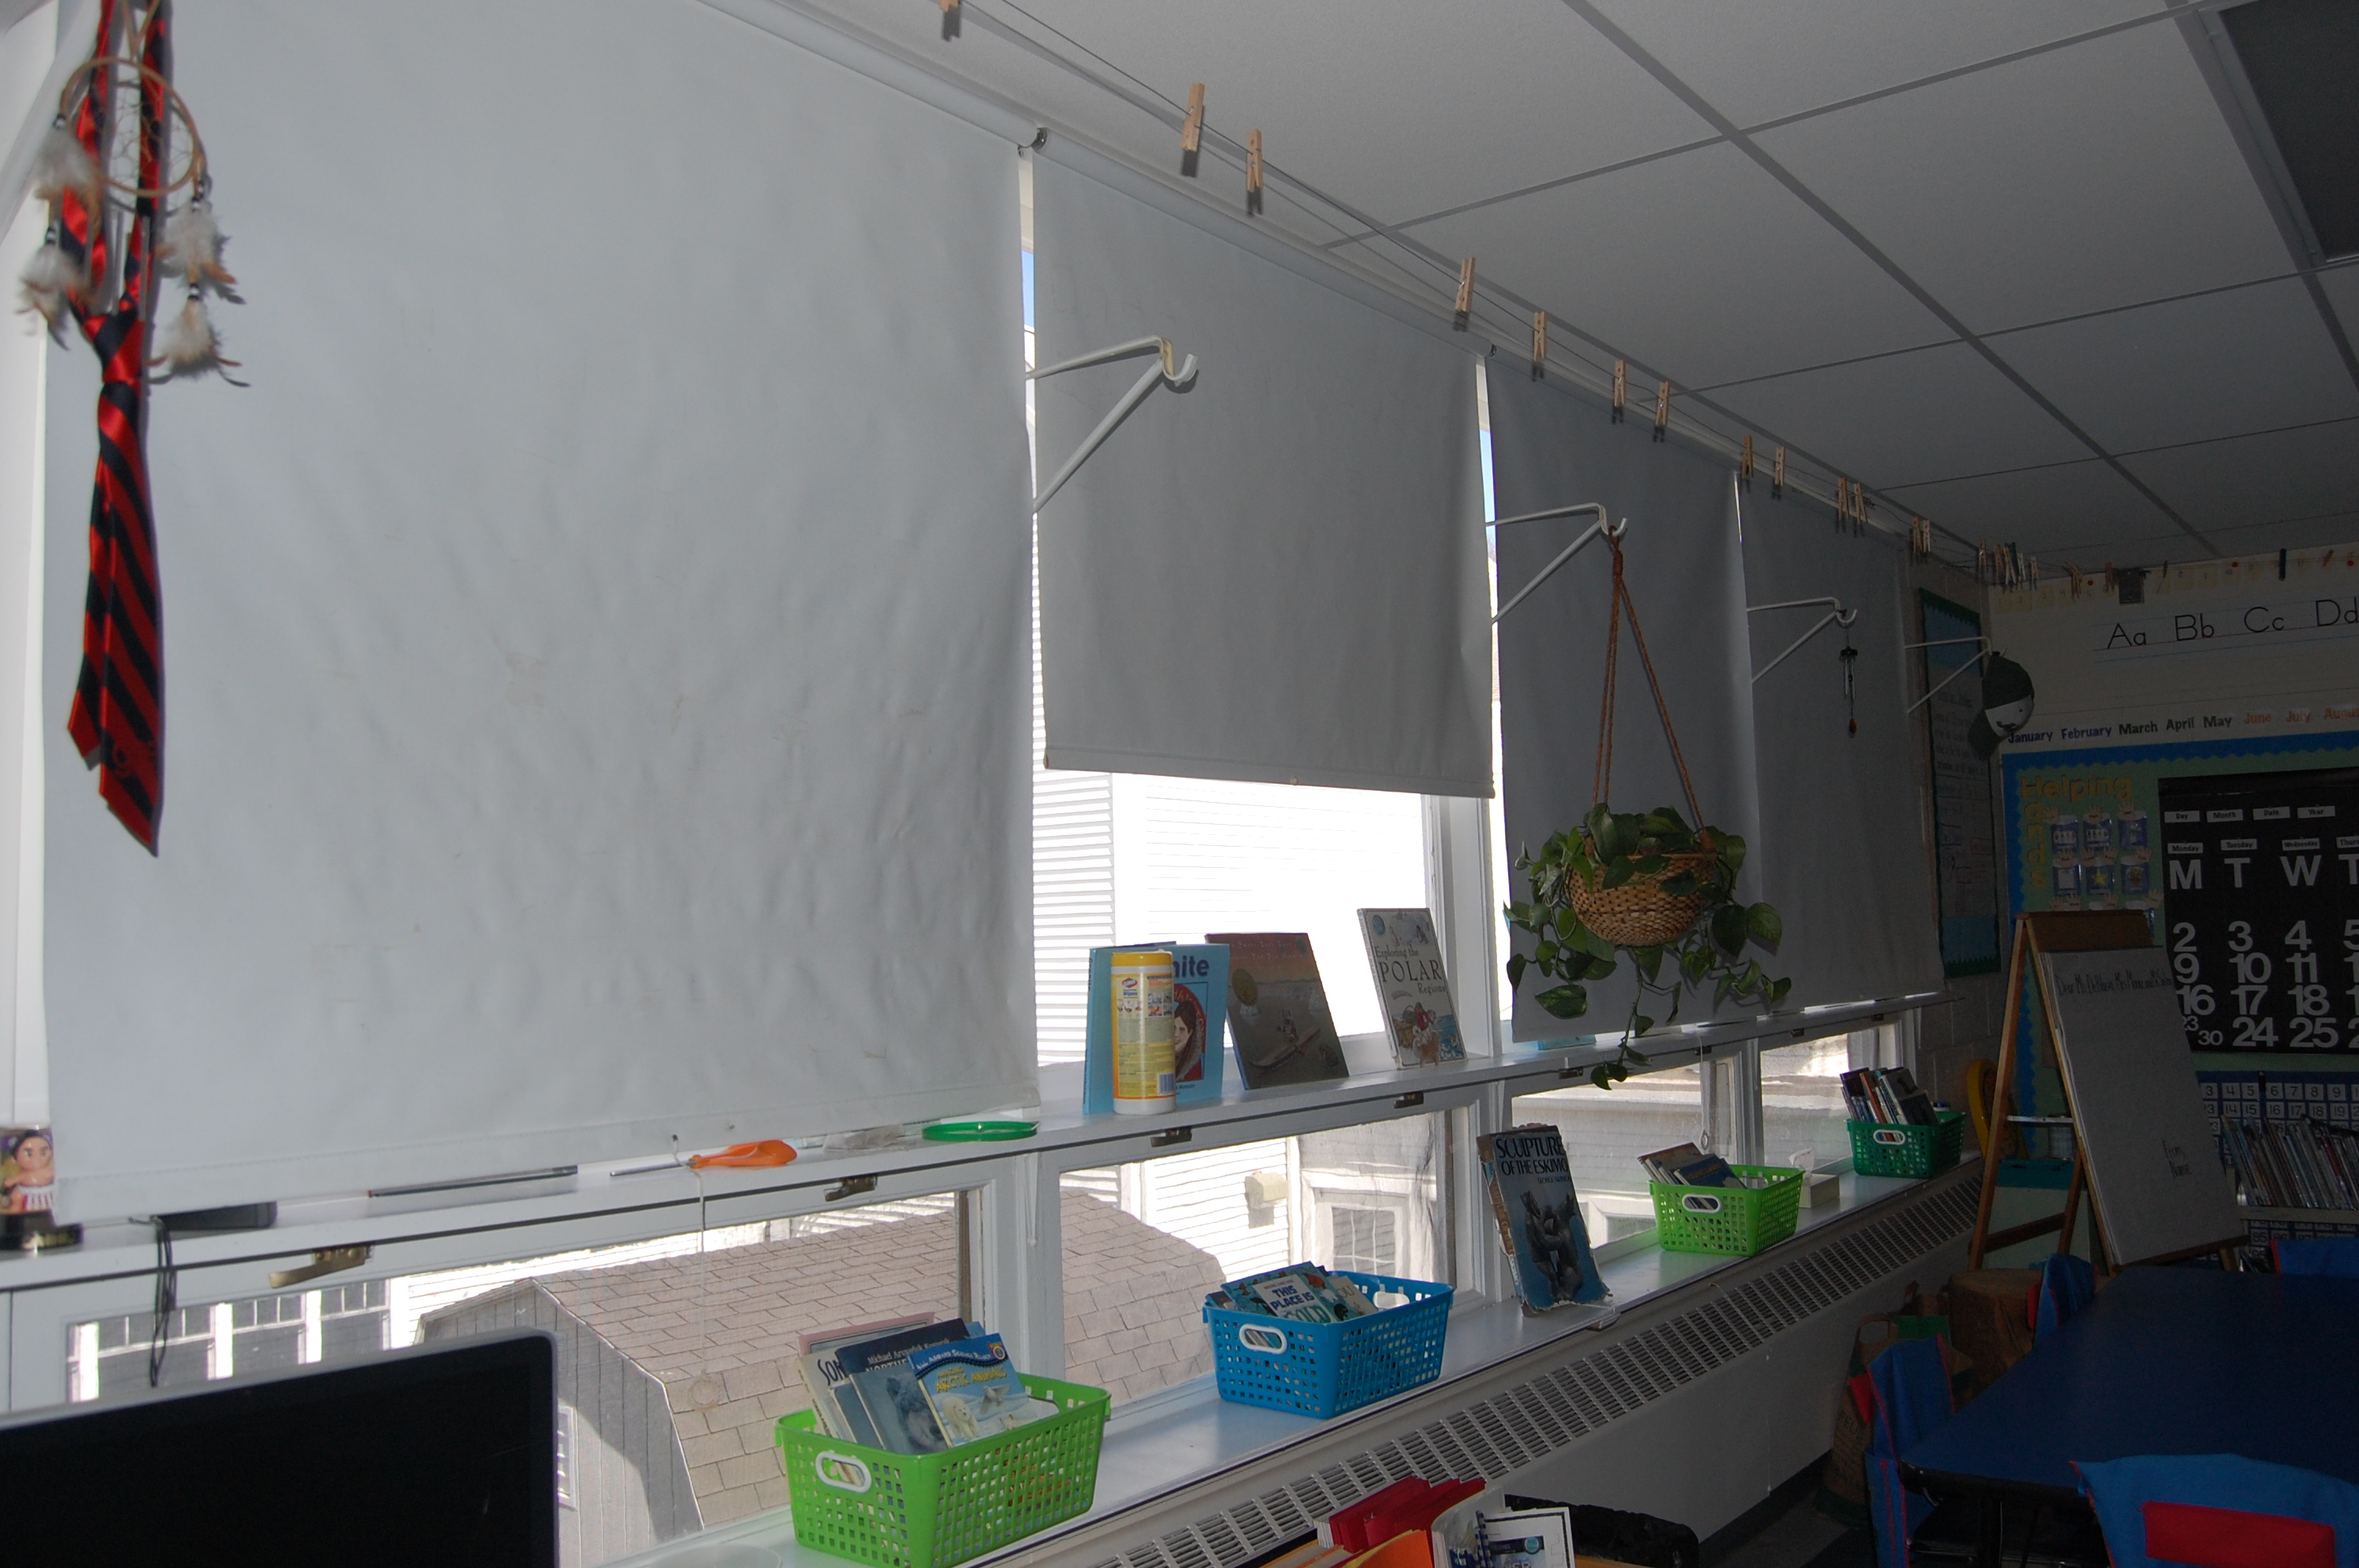
That’s what I was going to do! Now here are the shades before I got my hands on them.
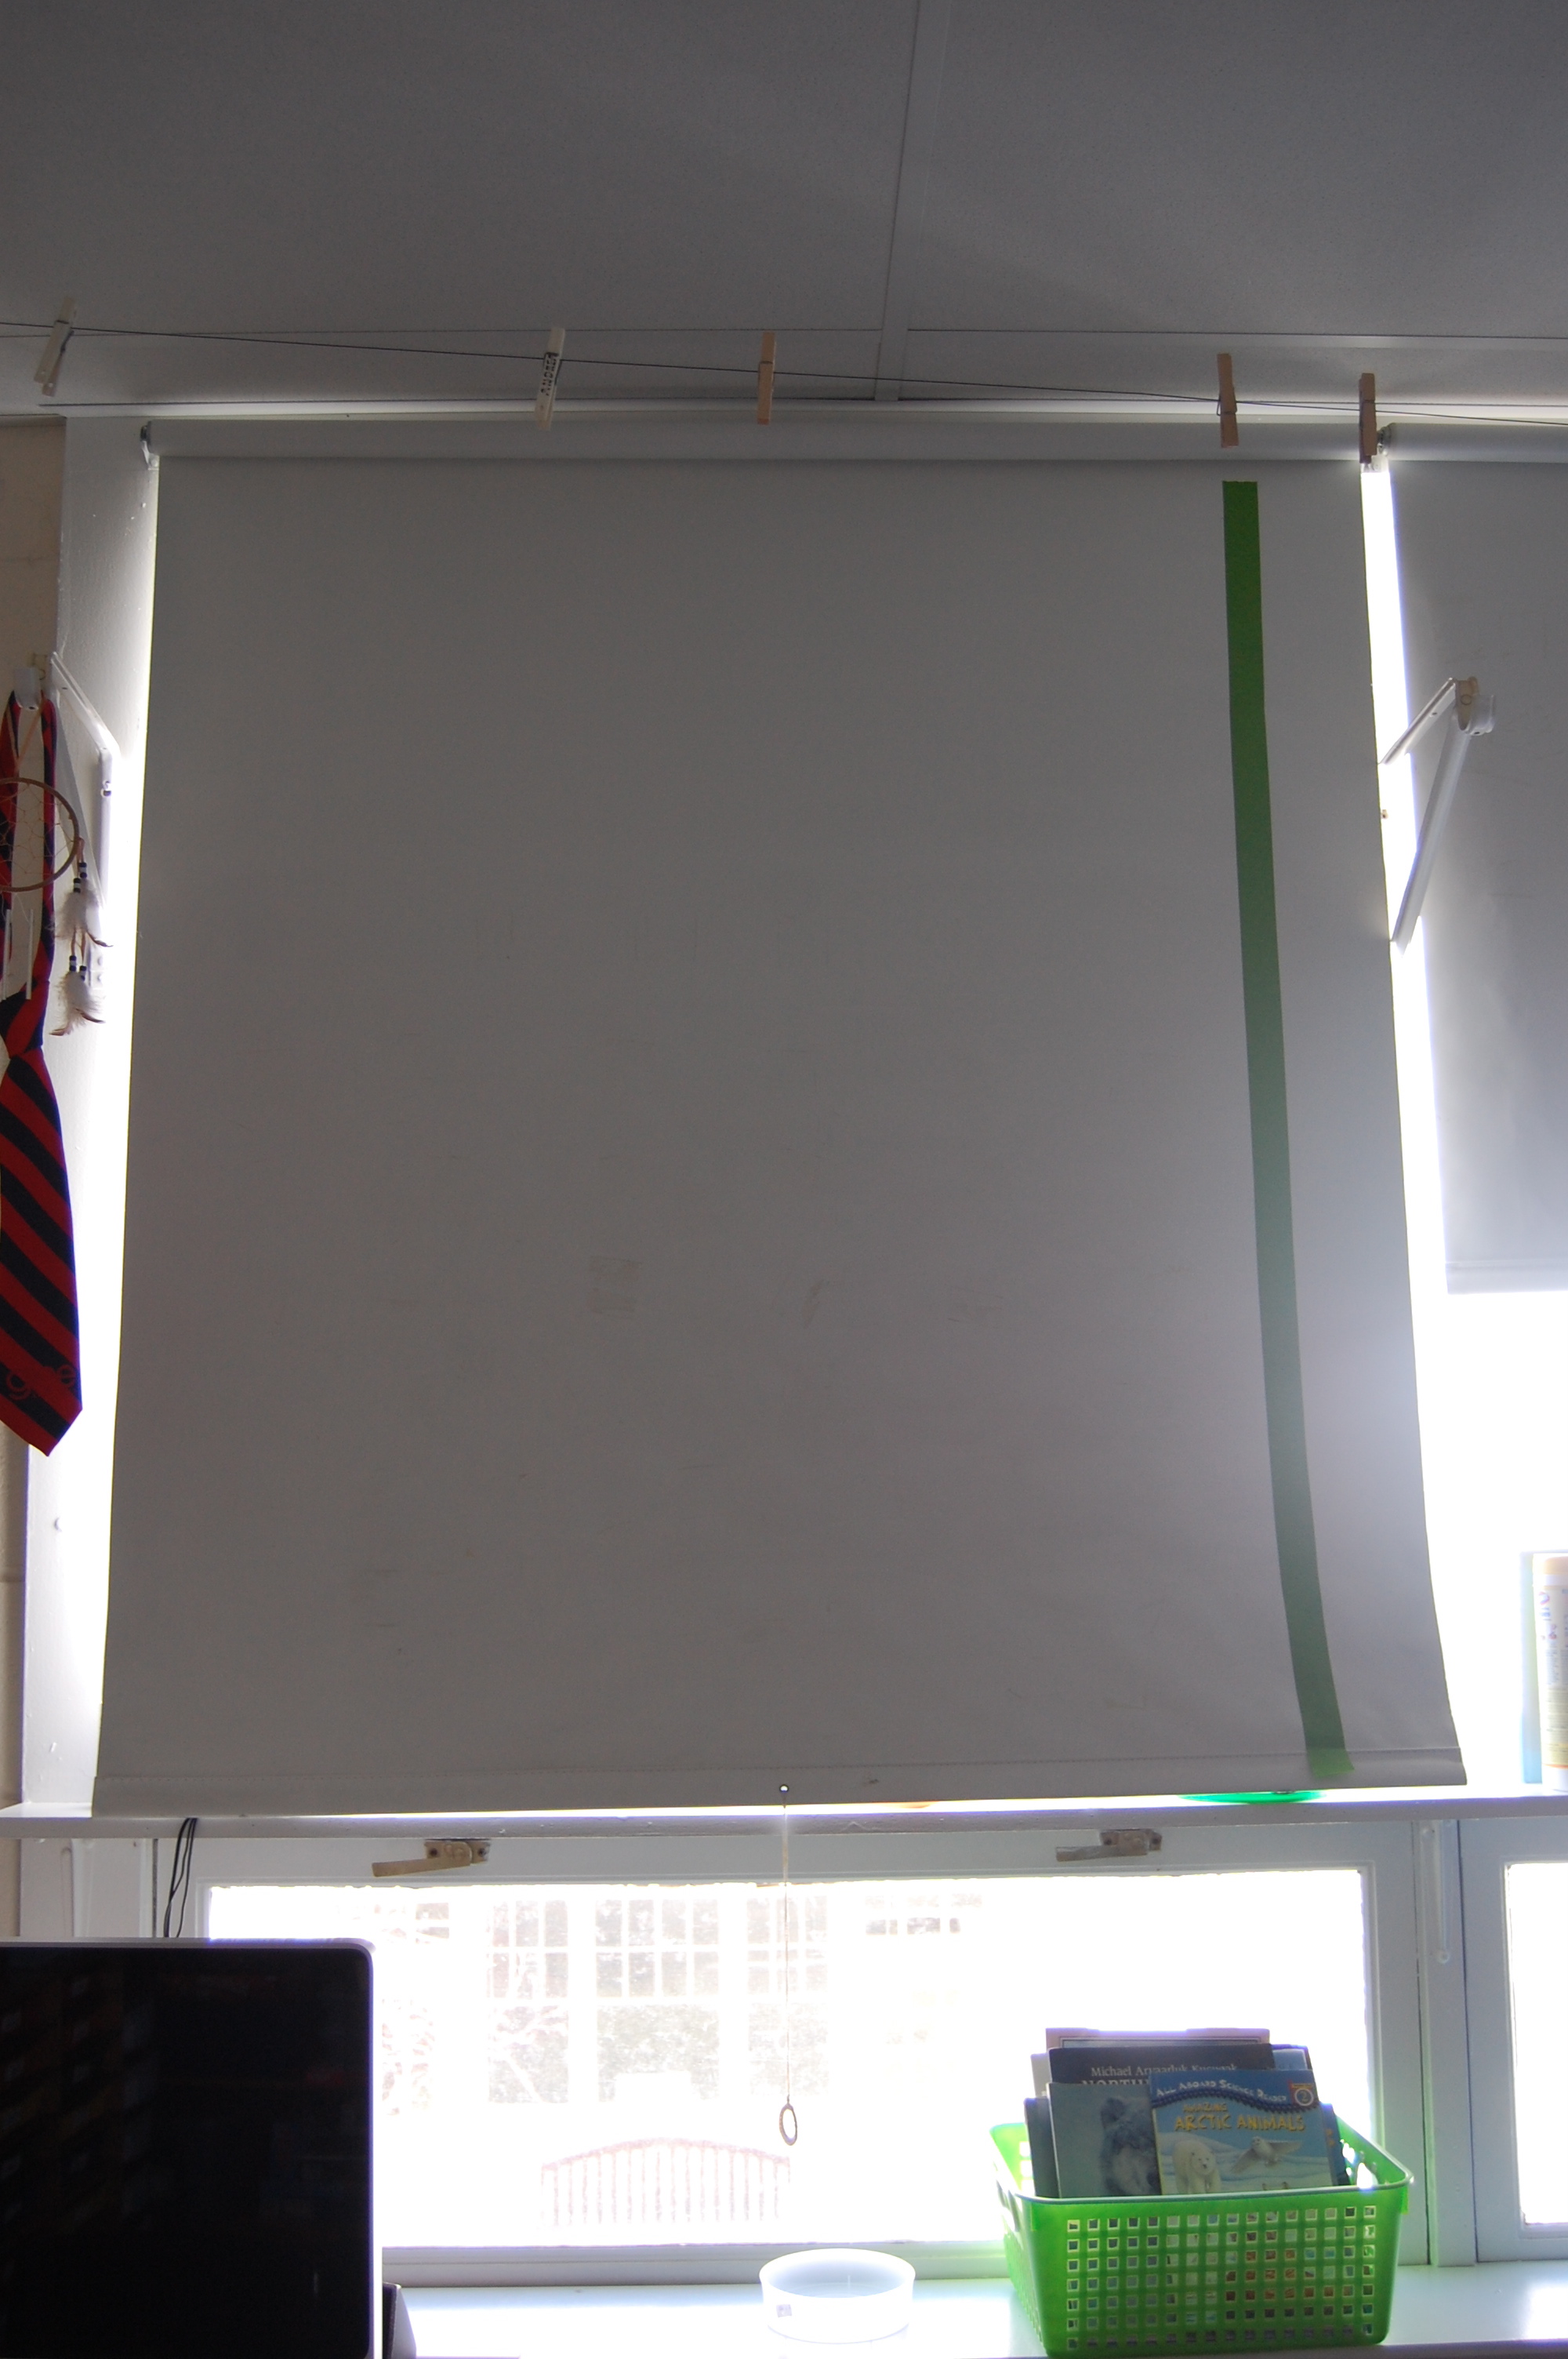
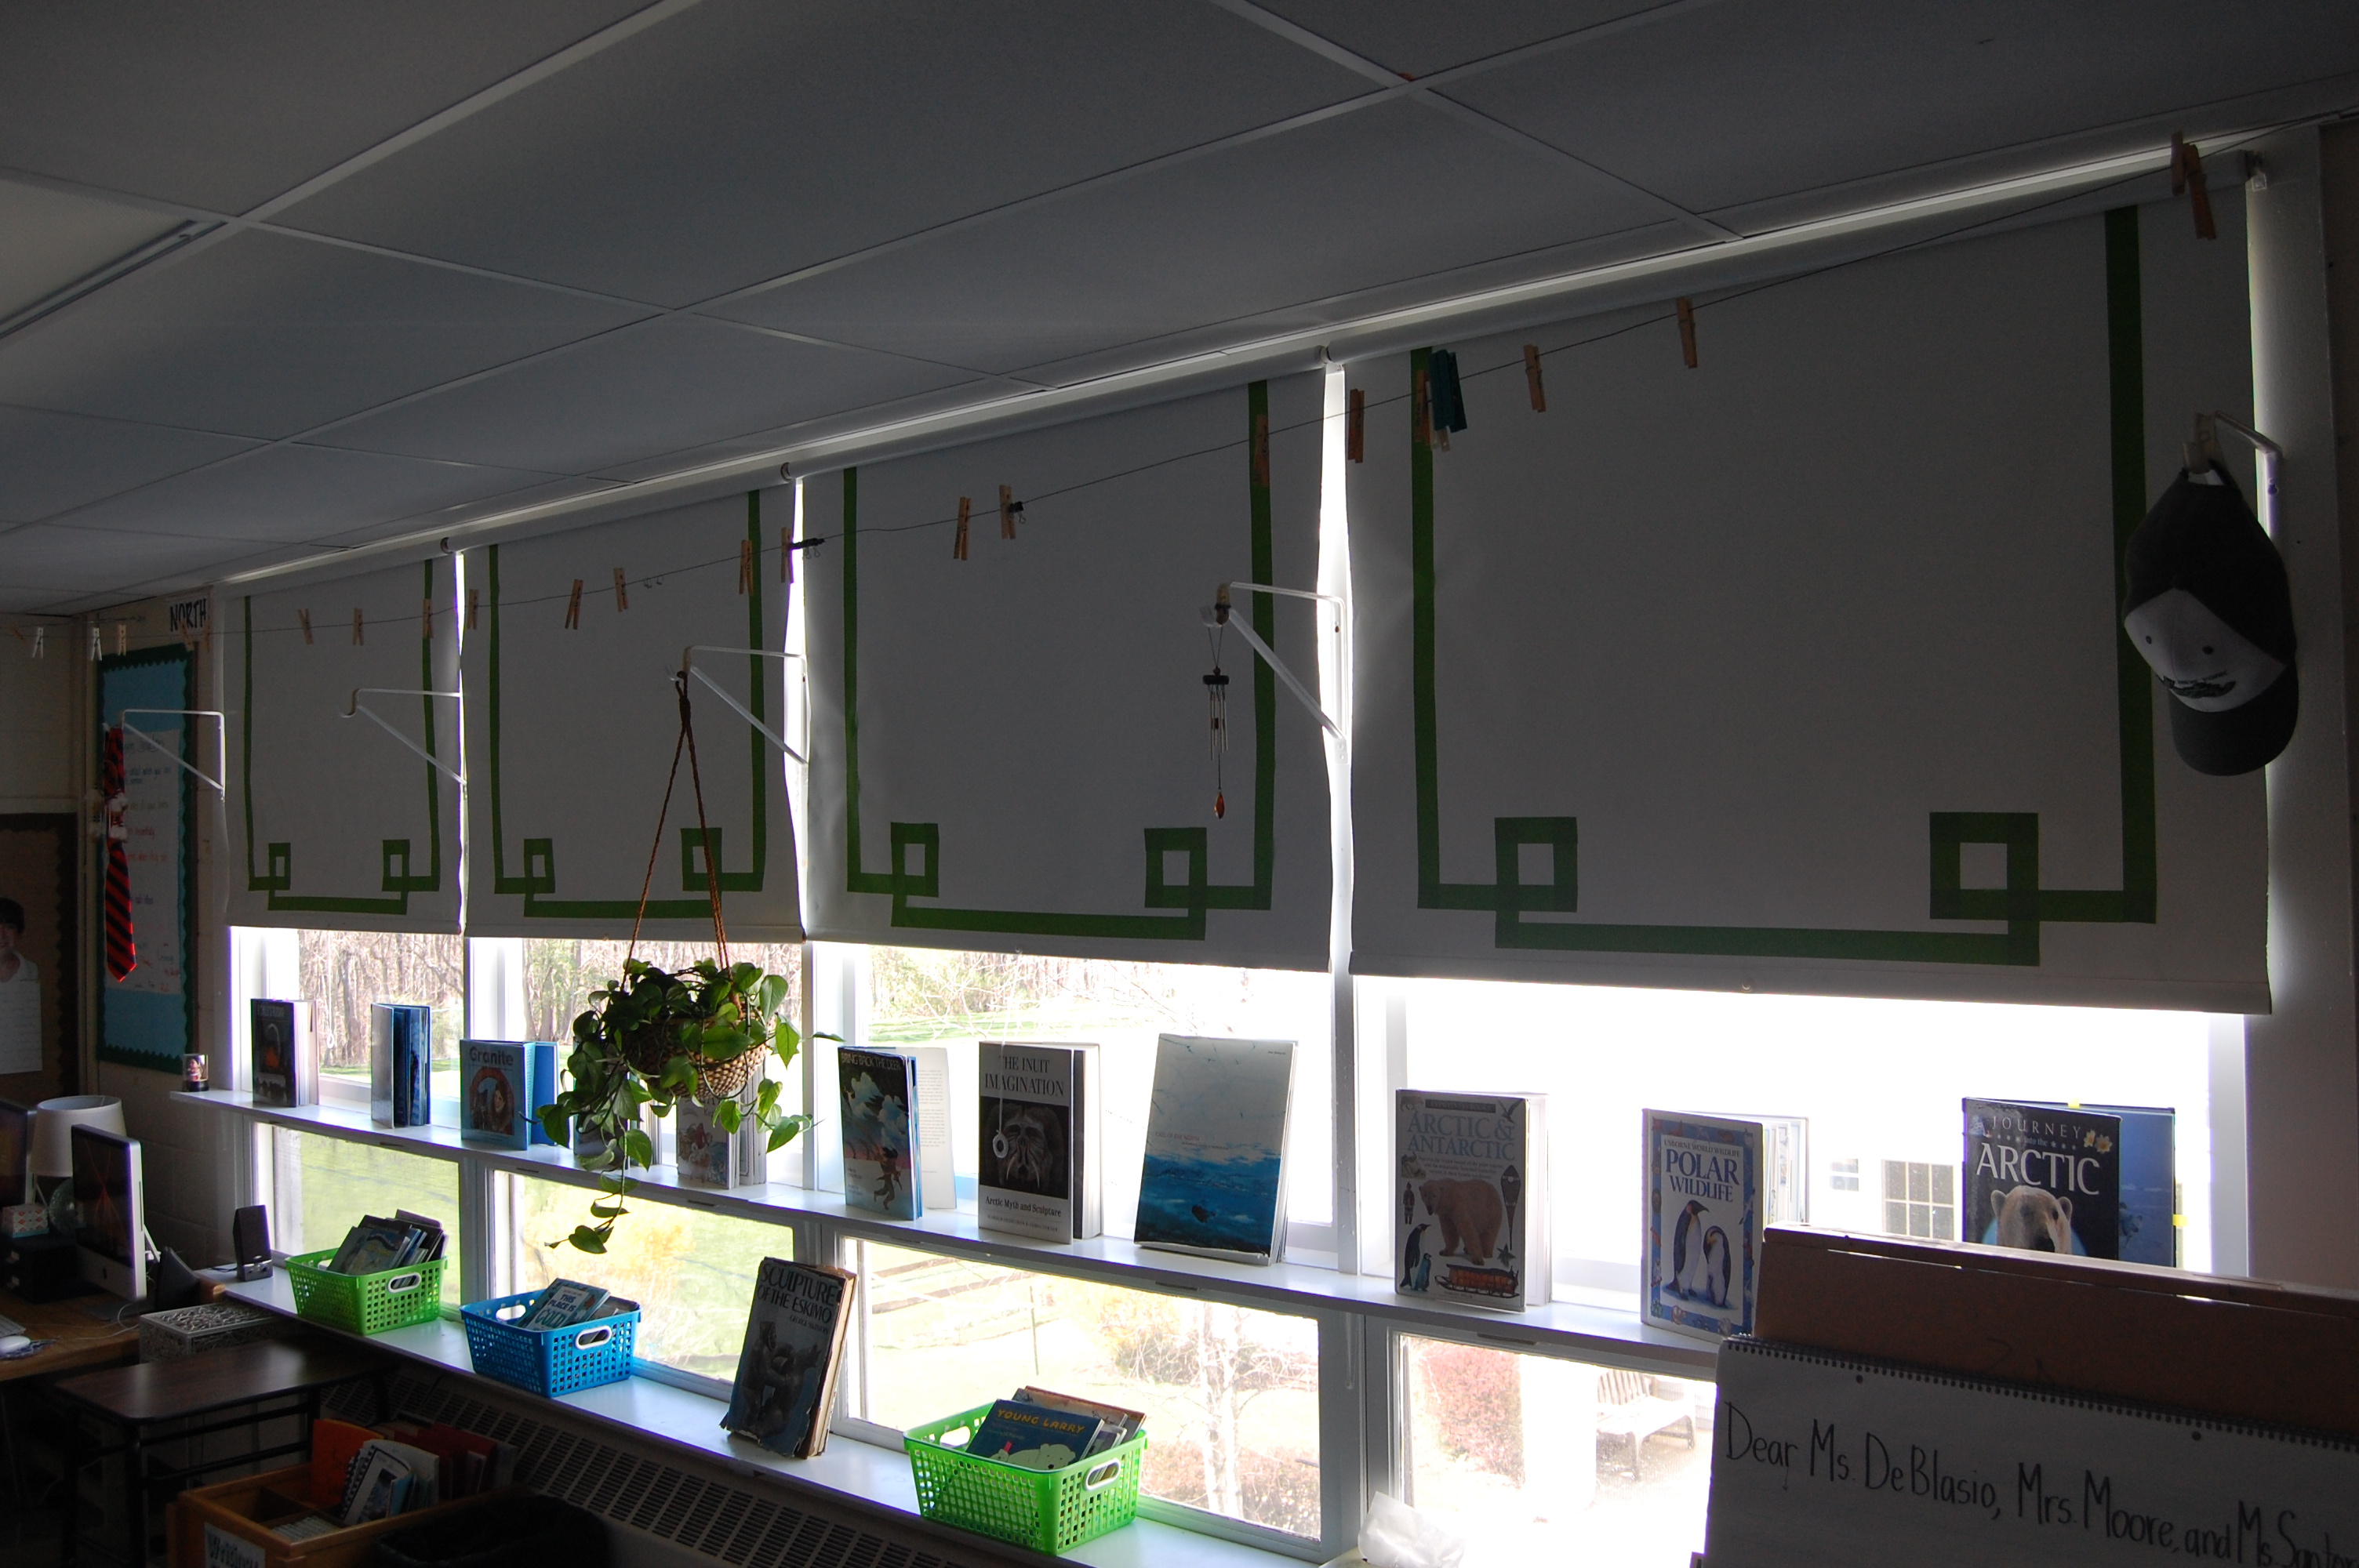
I apologize for the no light, flash in use photo. So the first thing I did was start with a strip running down one side. I pulled the shade all the way down this way when I do pull the shades there isn’t a random stop in the tape.
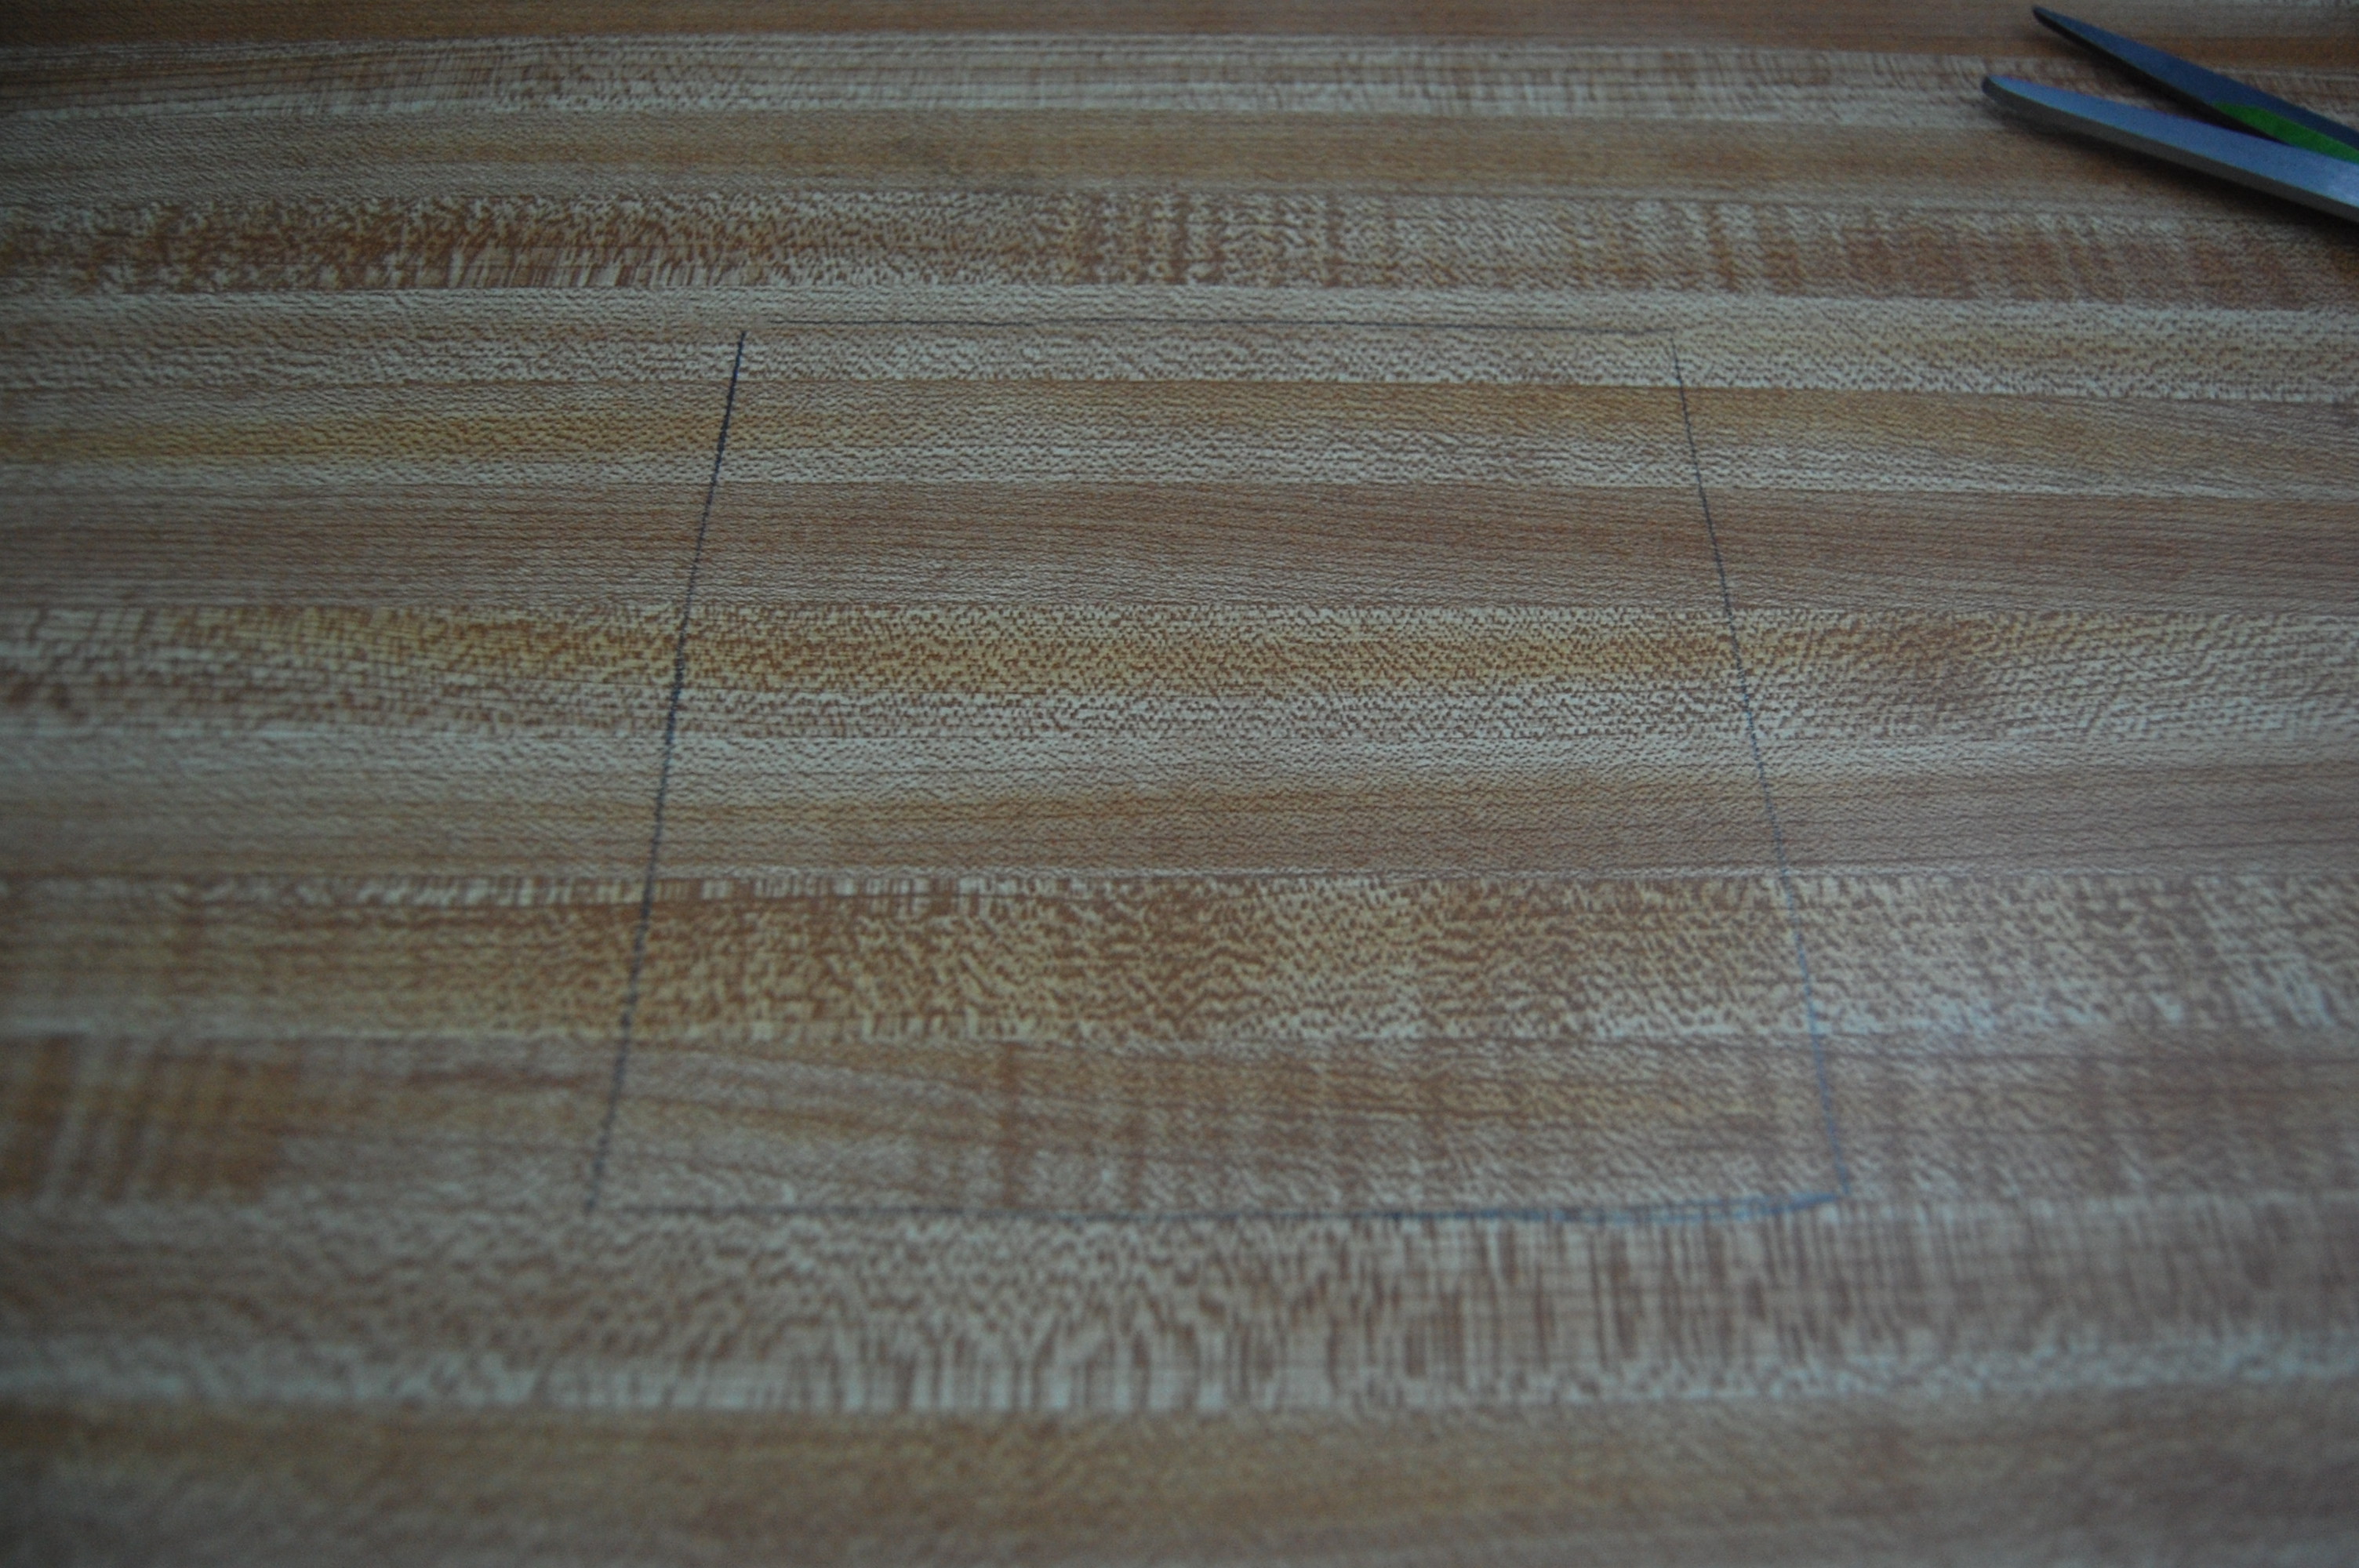
Then I measured how far from the edge the strip was and marked that same space on the other side as well as all of the blinds. Once those were all done I got started on making my box. I wanted this part to be easy and obviously I wanted all of the boxes to be the same size so I printed out a box and with pencil, drew in on my desk (no worries, it came right off with an eraser).
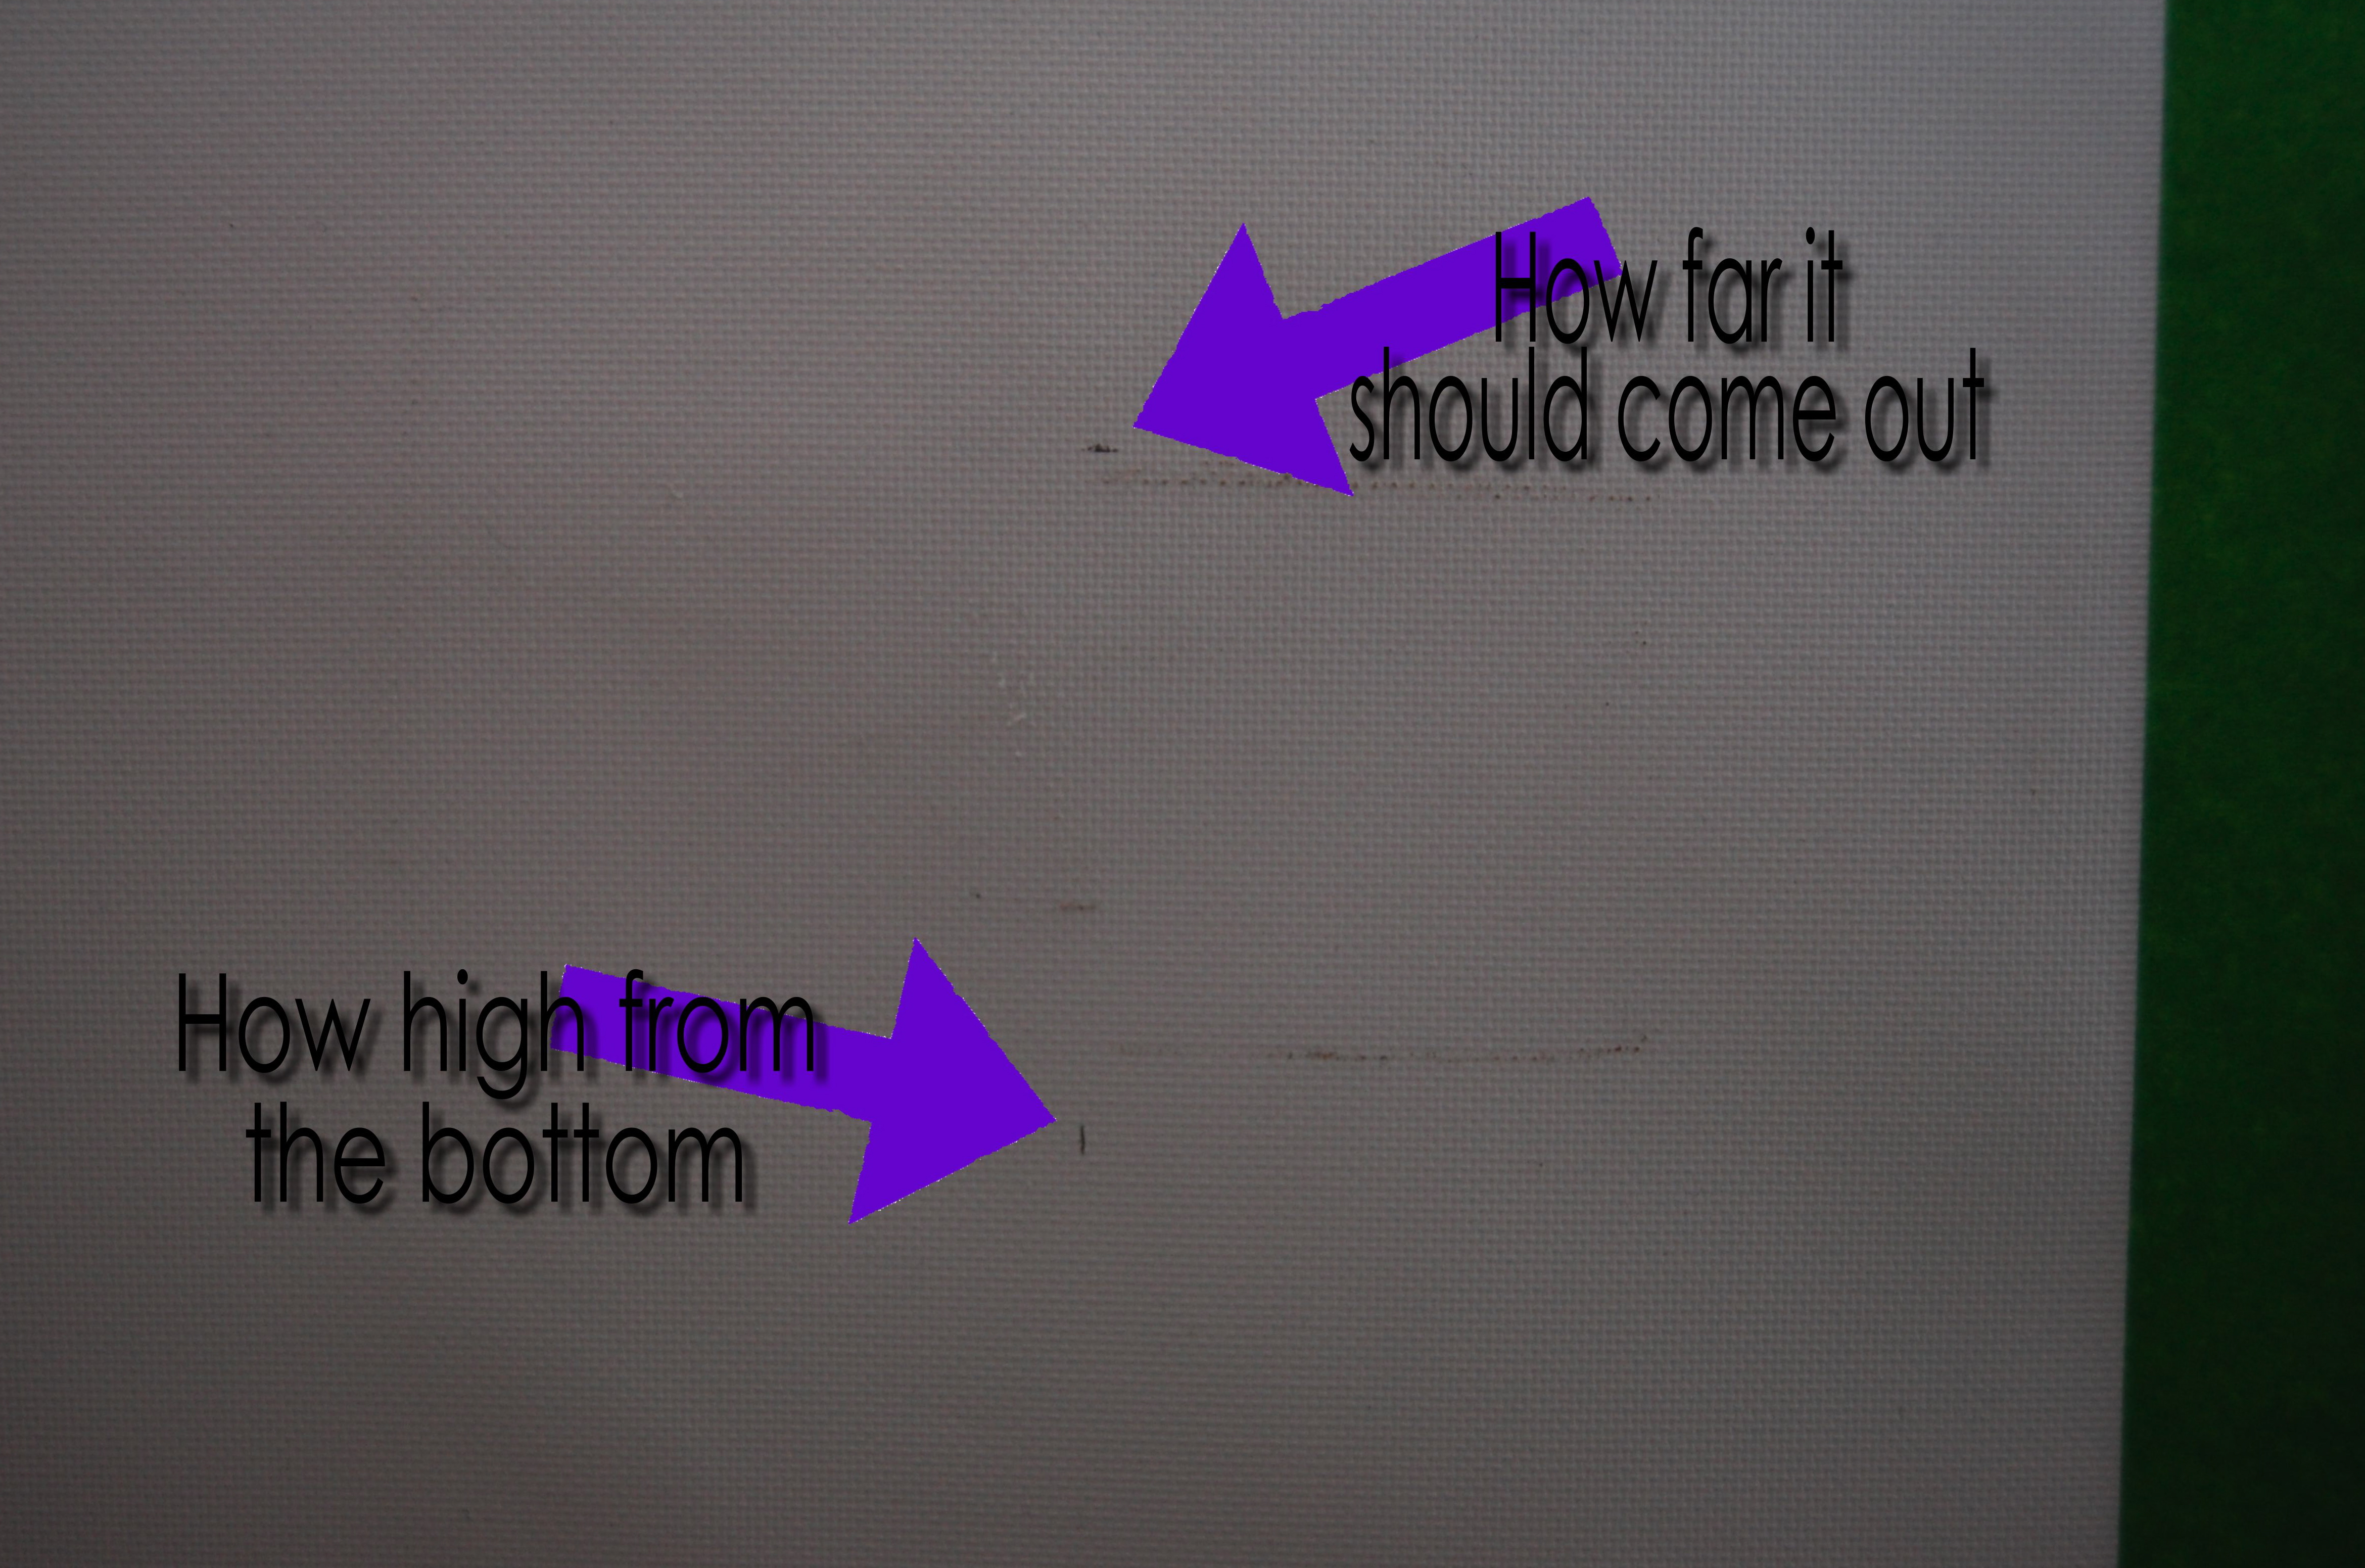
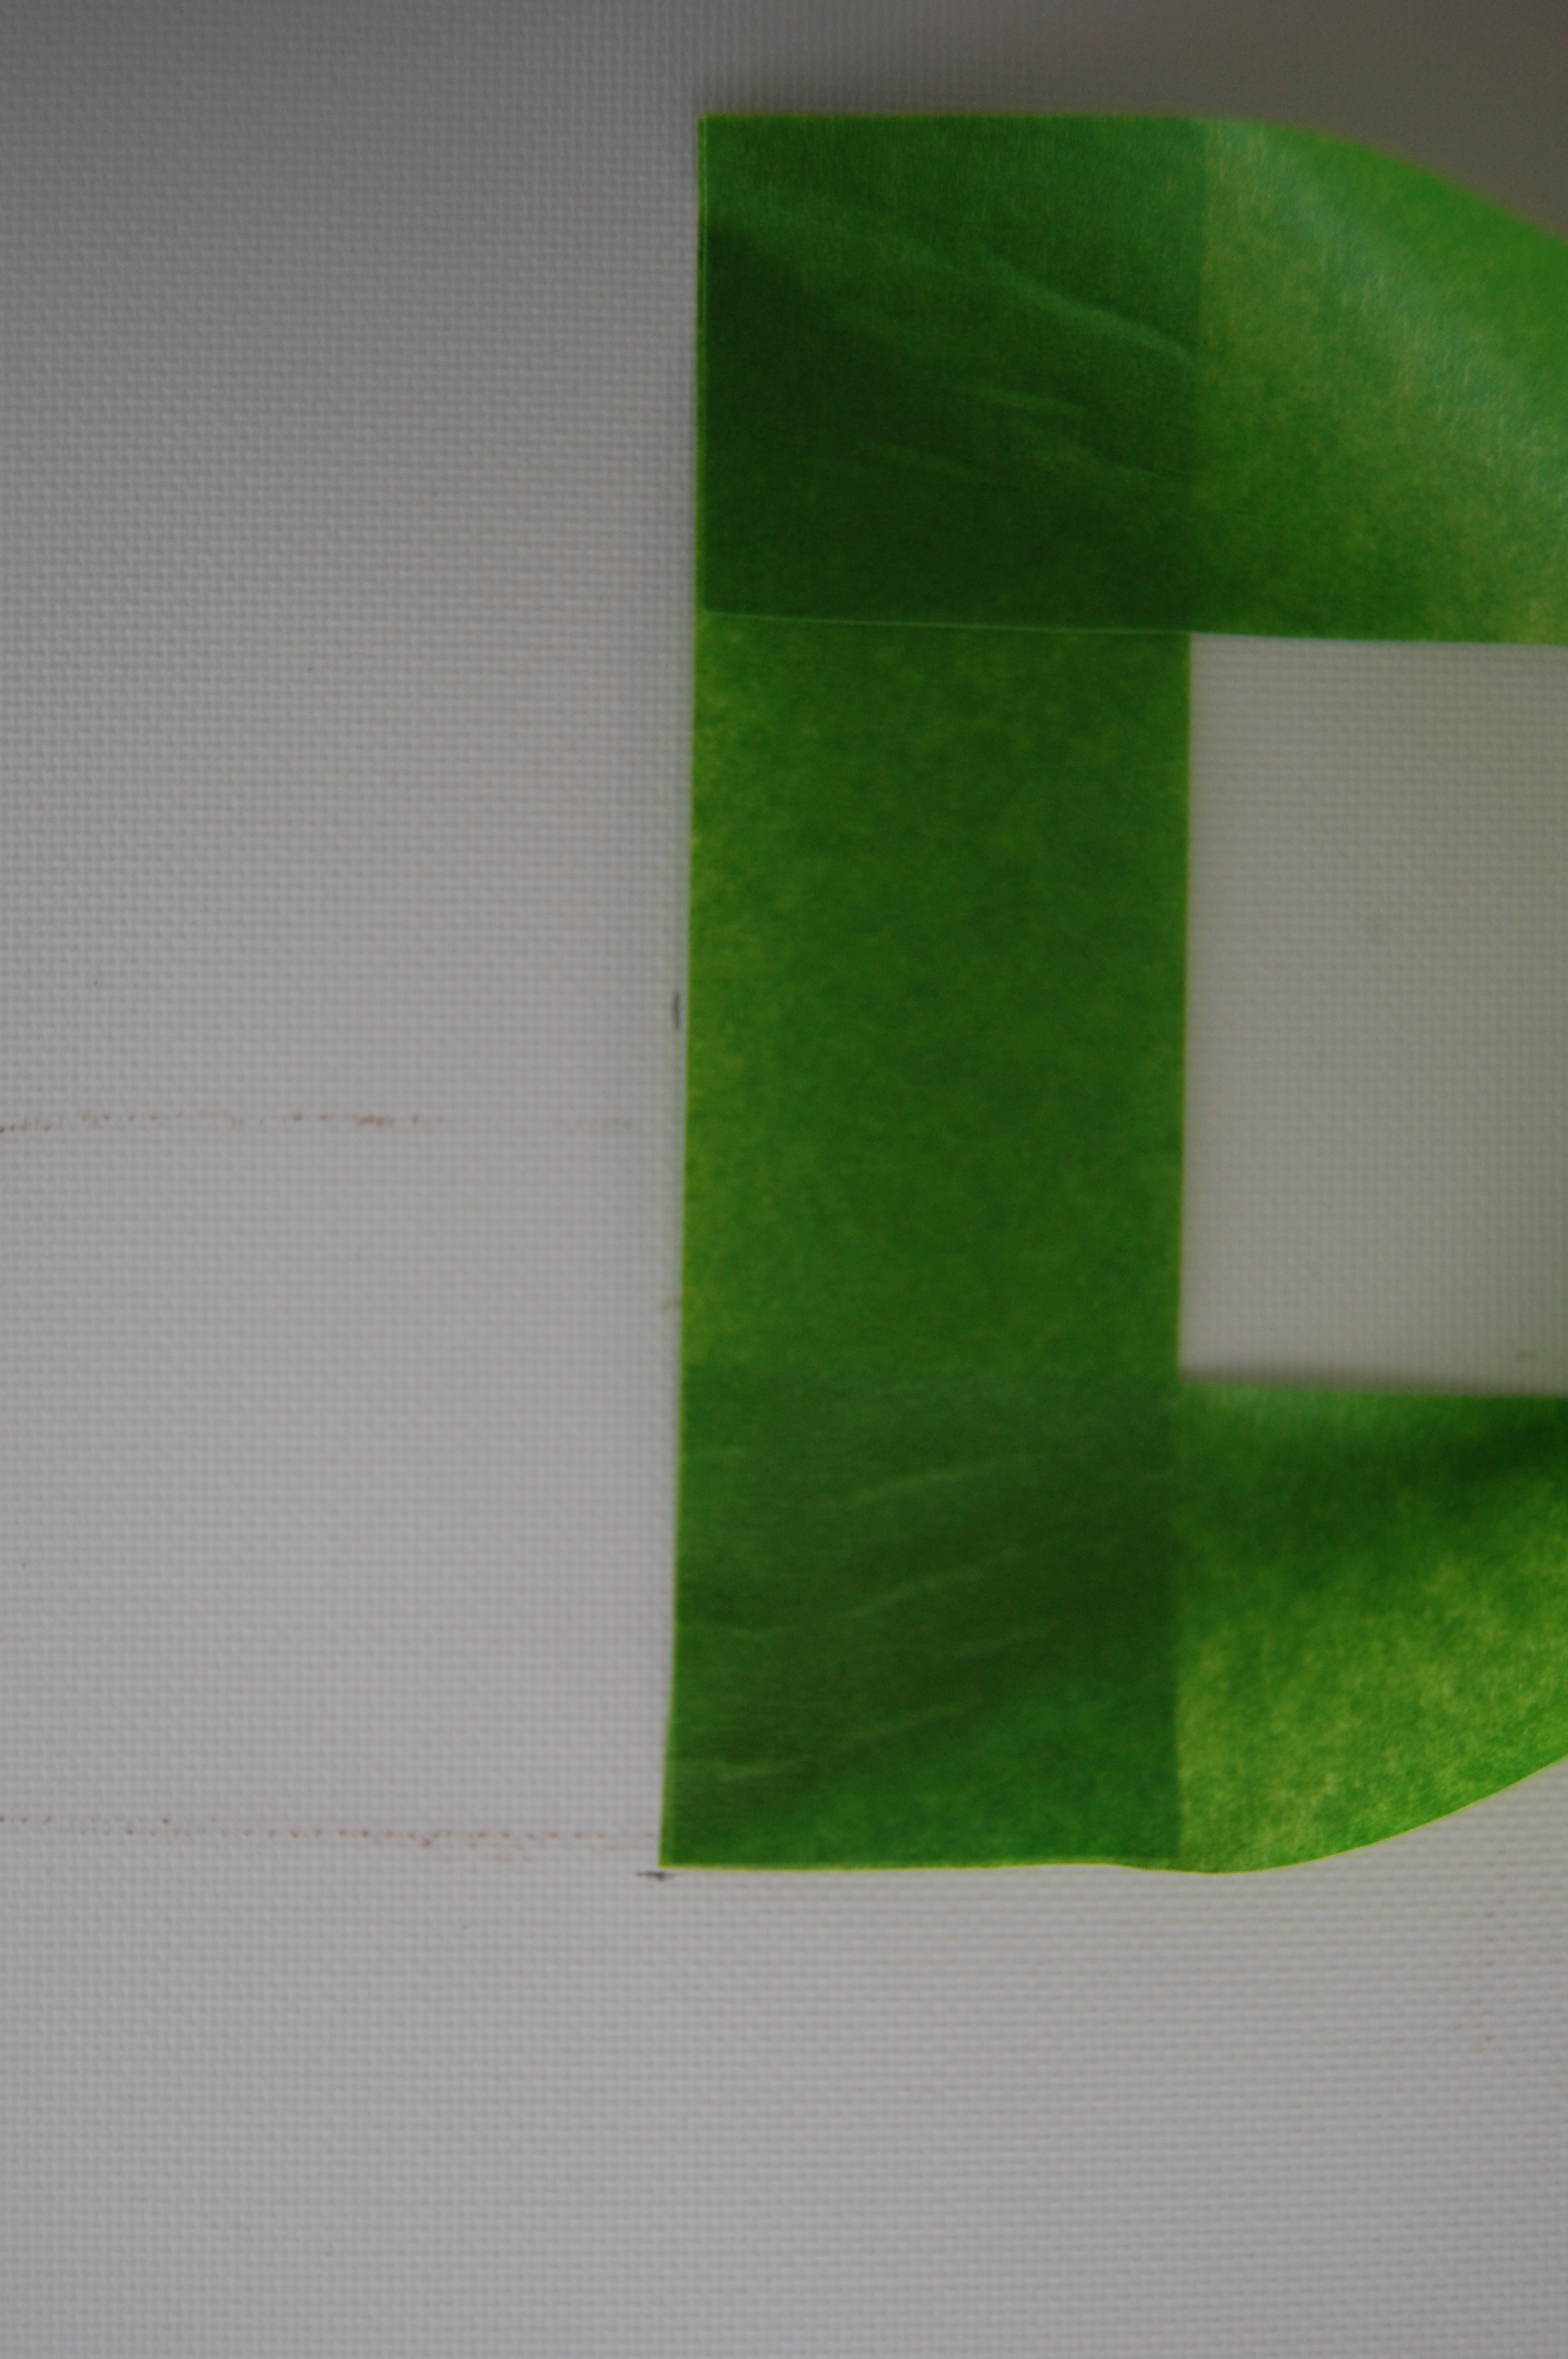
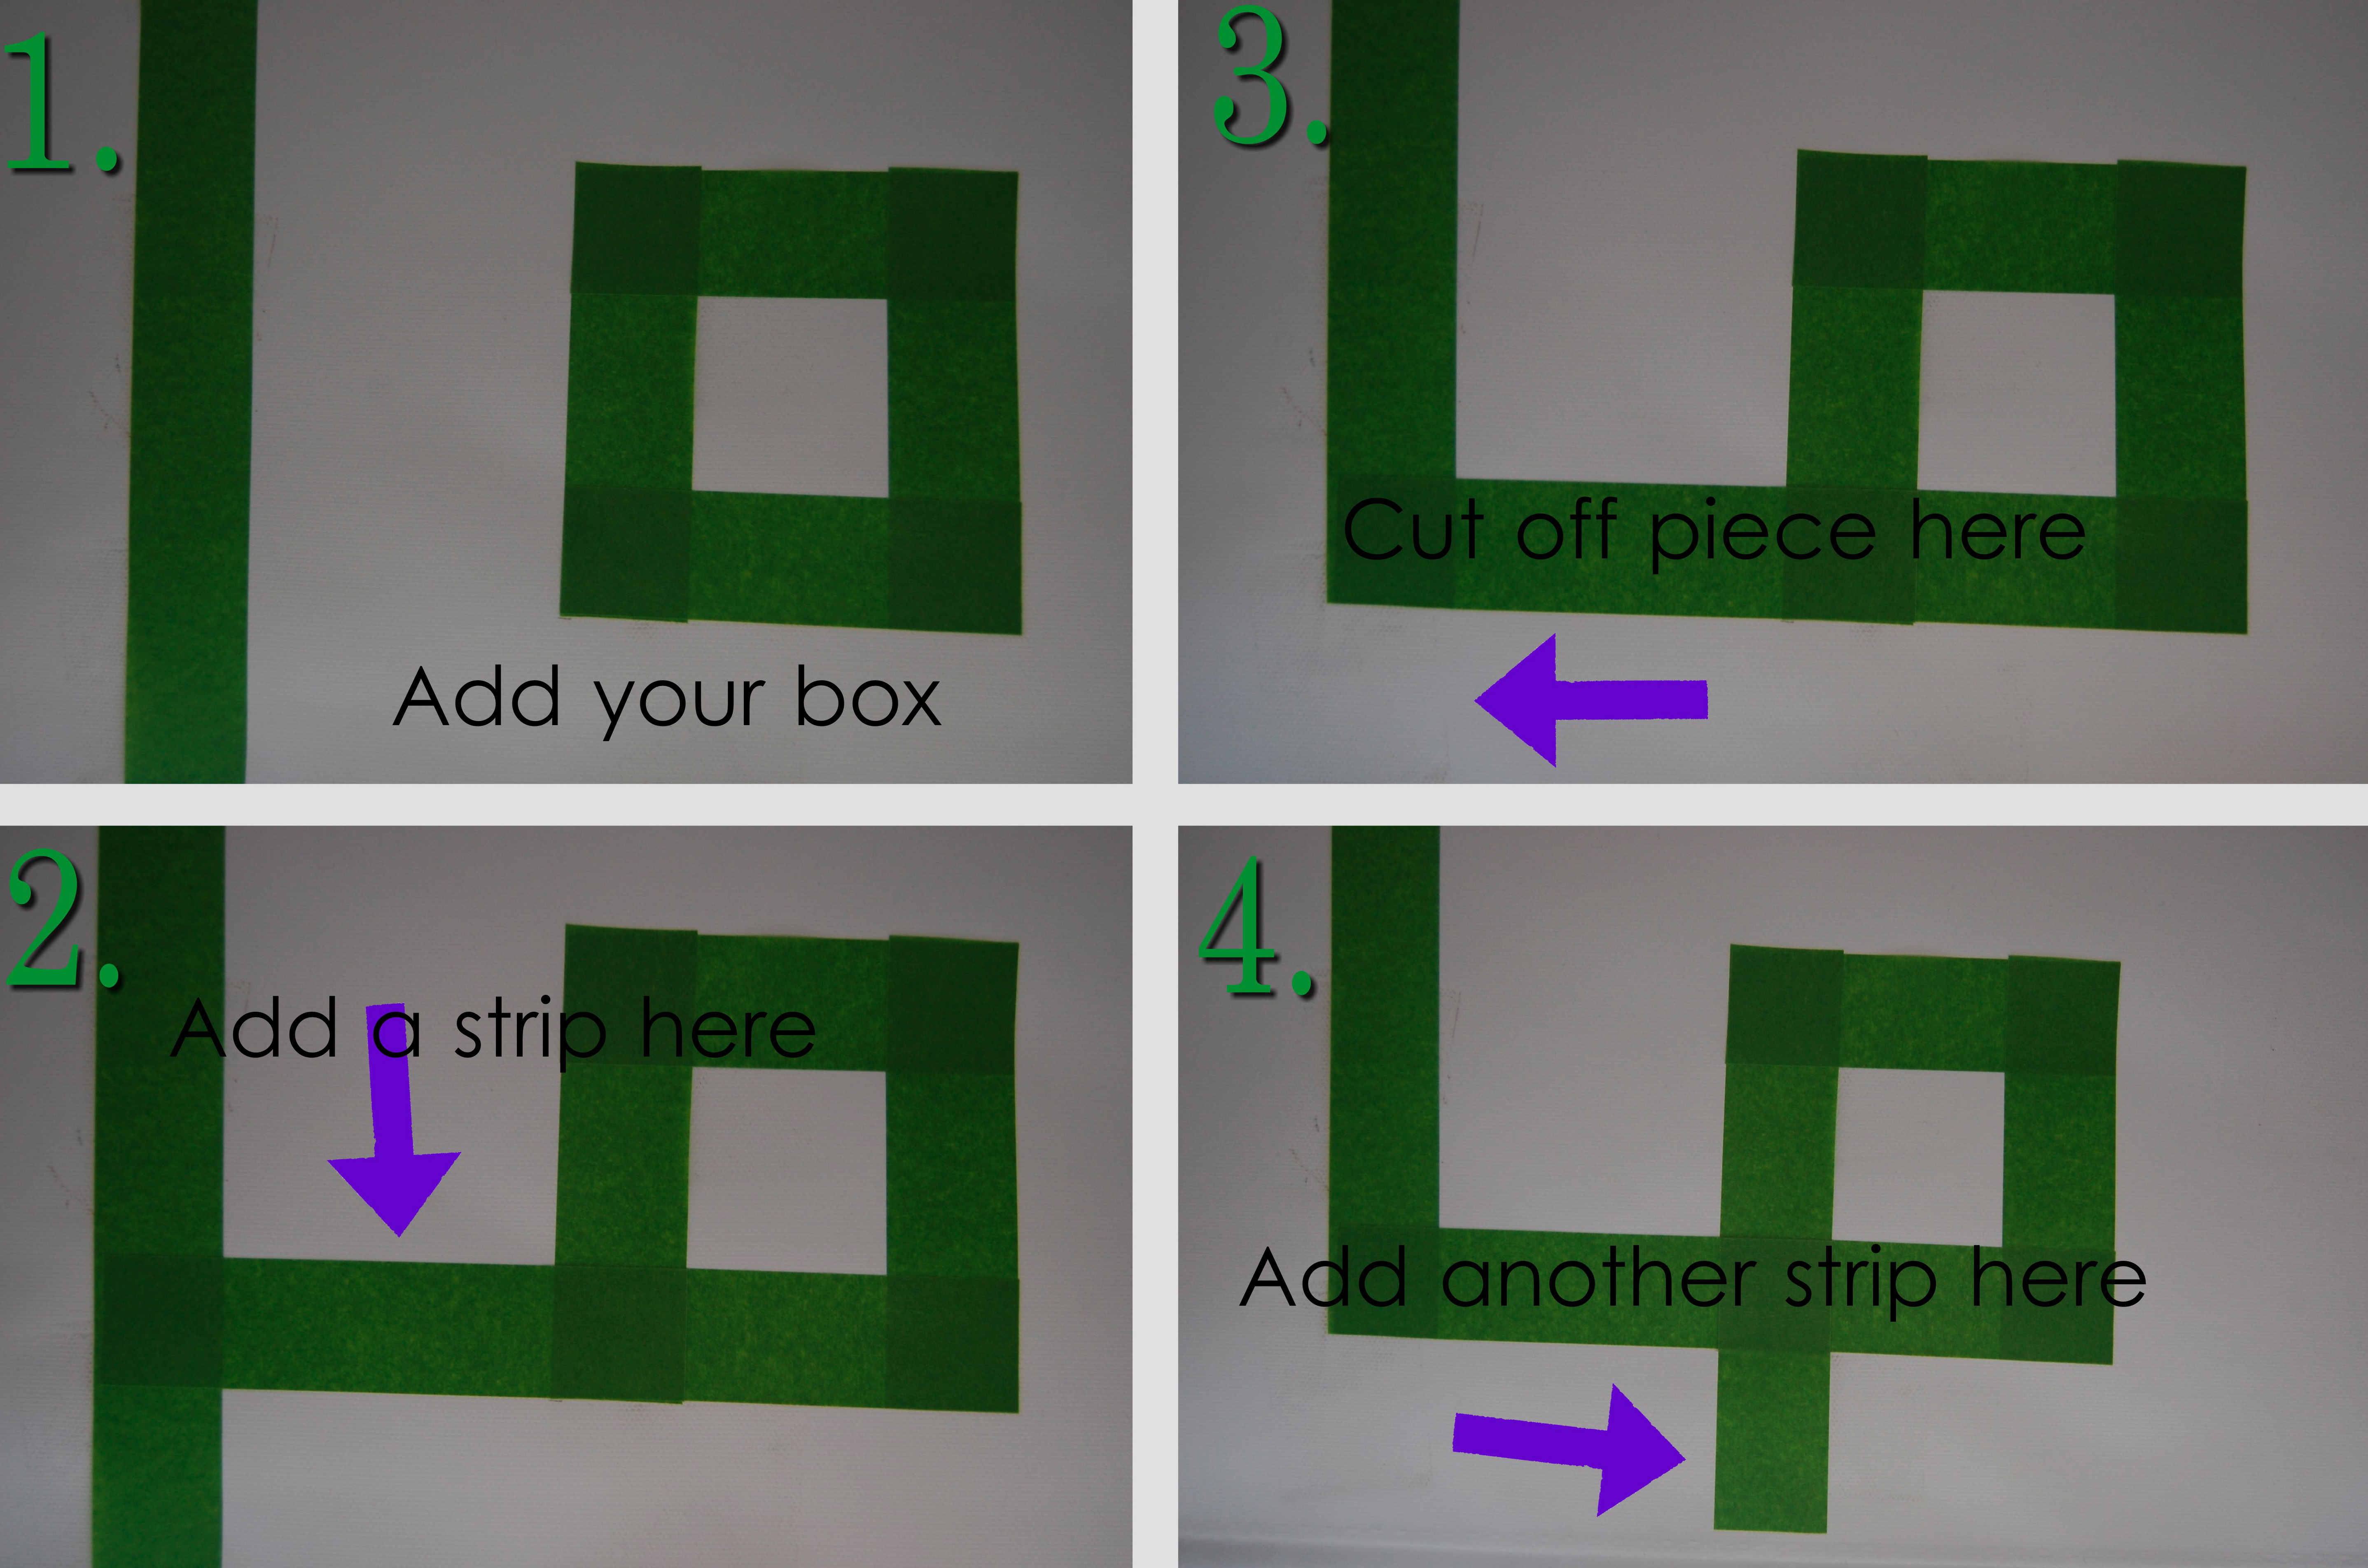
I used the square as my template and added tape to all sides and cut the extra pieces. Then I had to decide where I wanted my box to sit so I made my marks on the blinds.
Then I just stuck it on according to my measurements. You will notice my marks.
The following steps were pretty simple. Once I did the first one I was able to quickly do the rest.
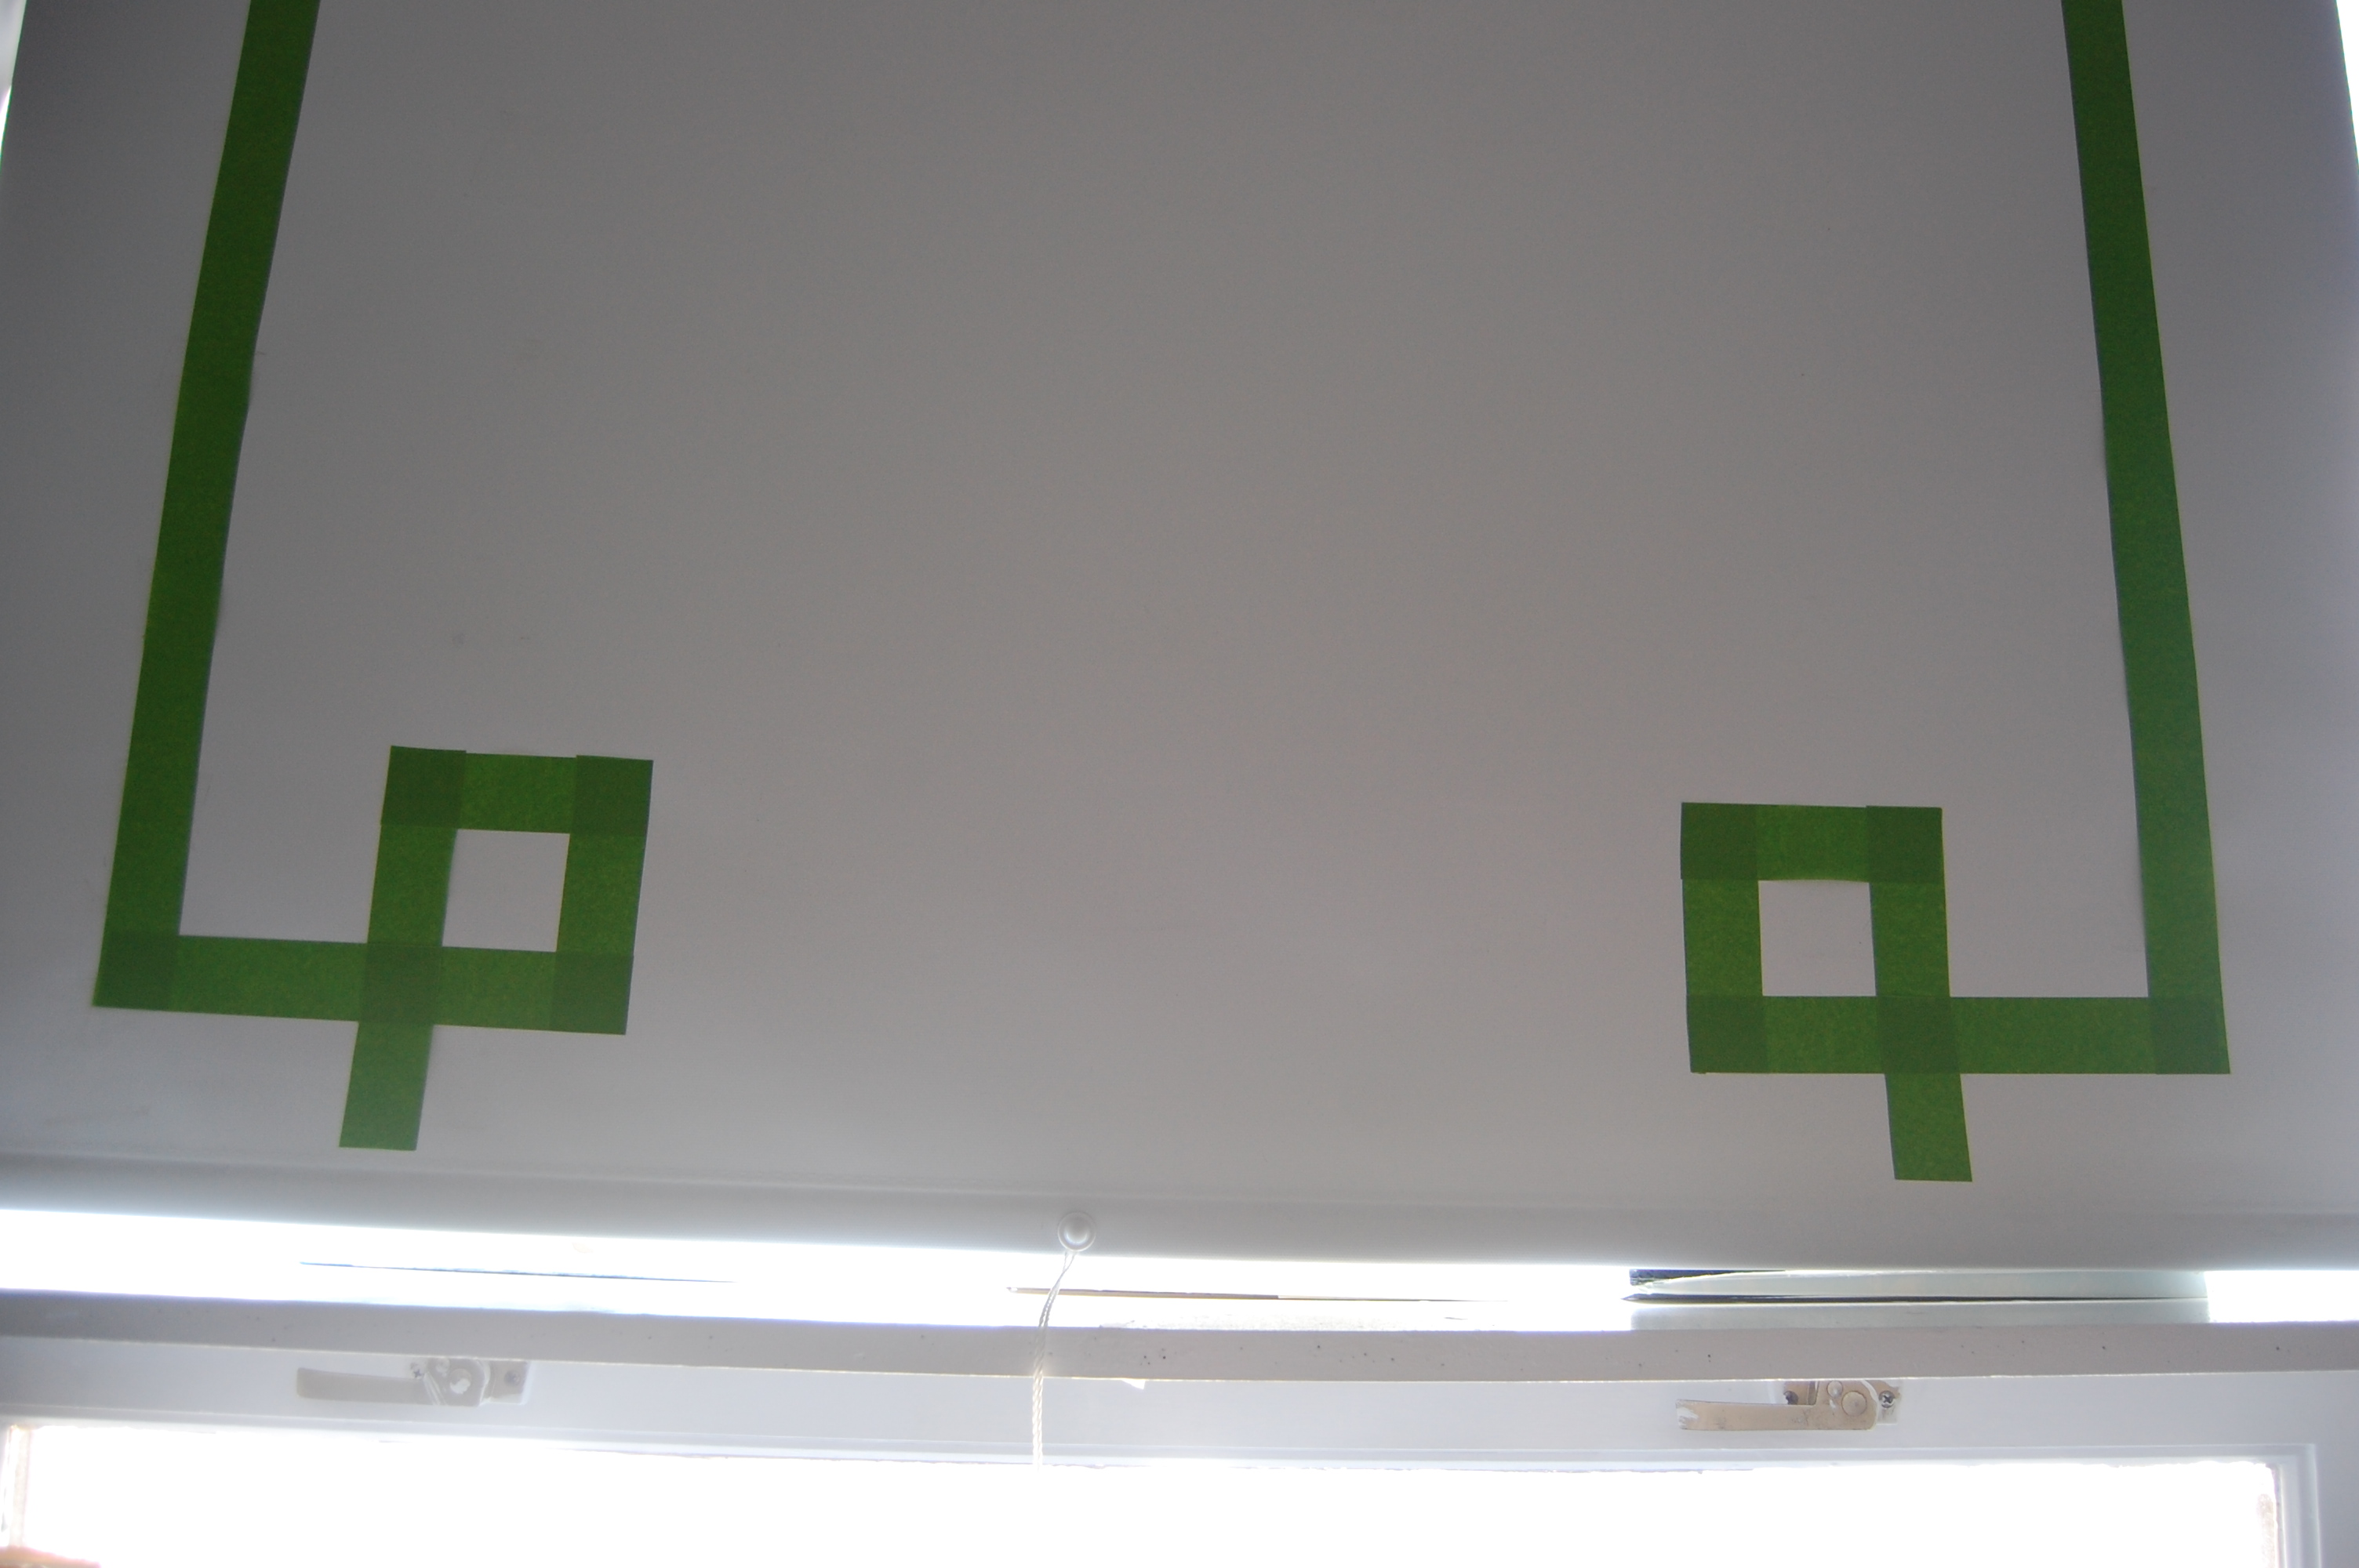
This is what it looked like once I did both sides.
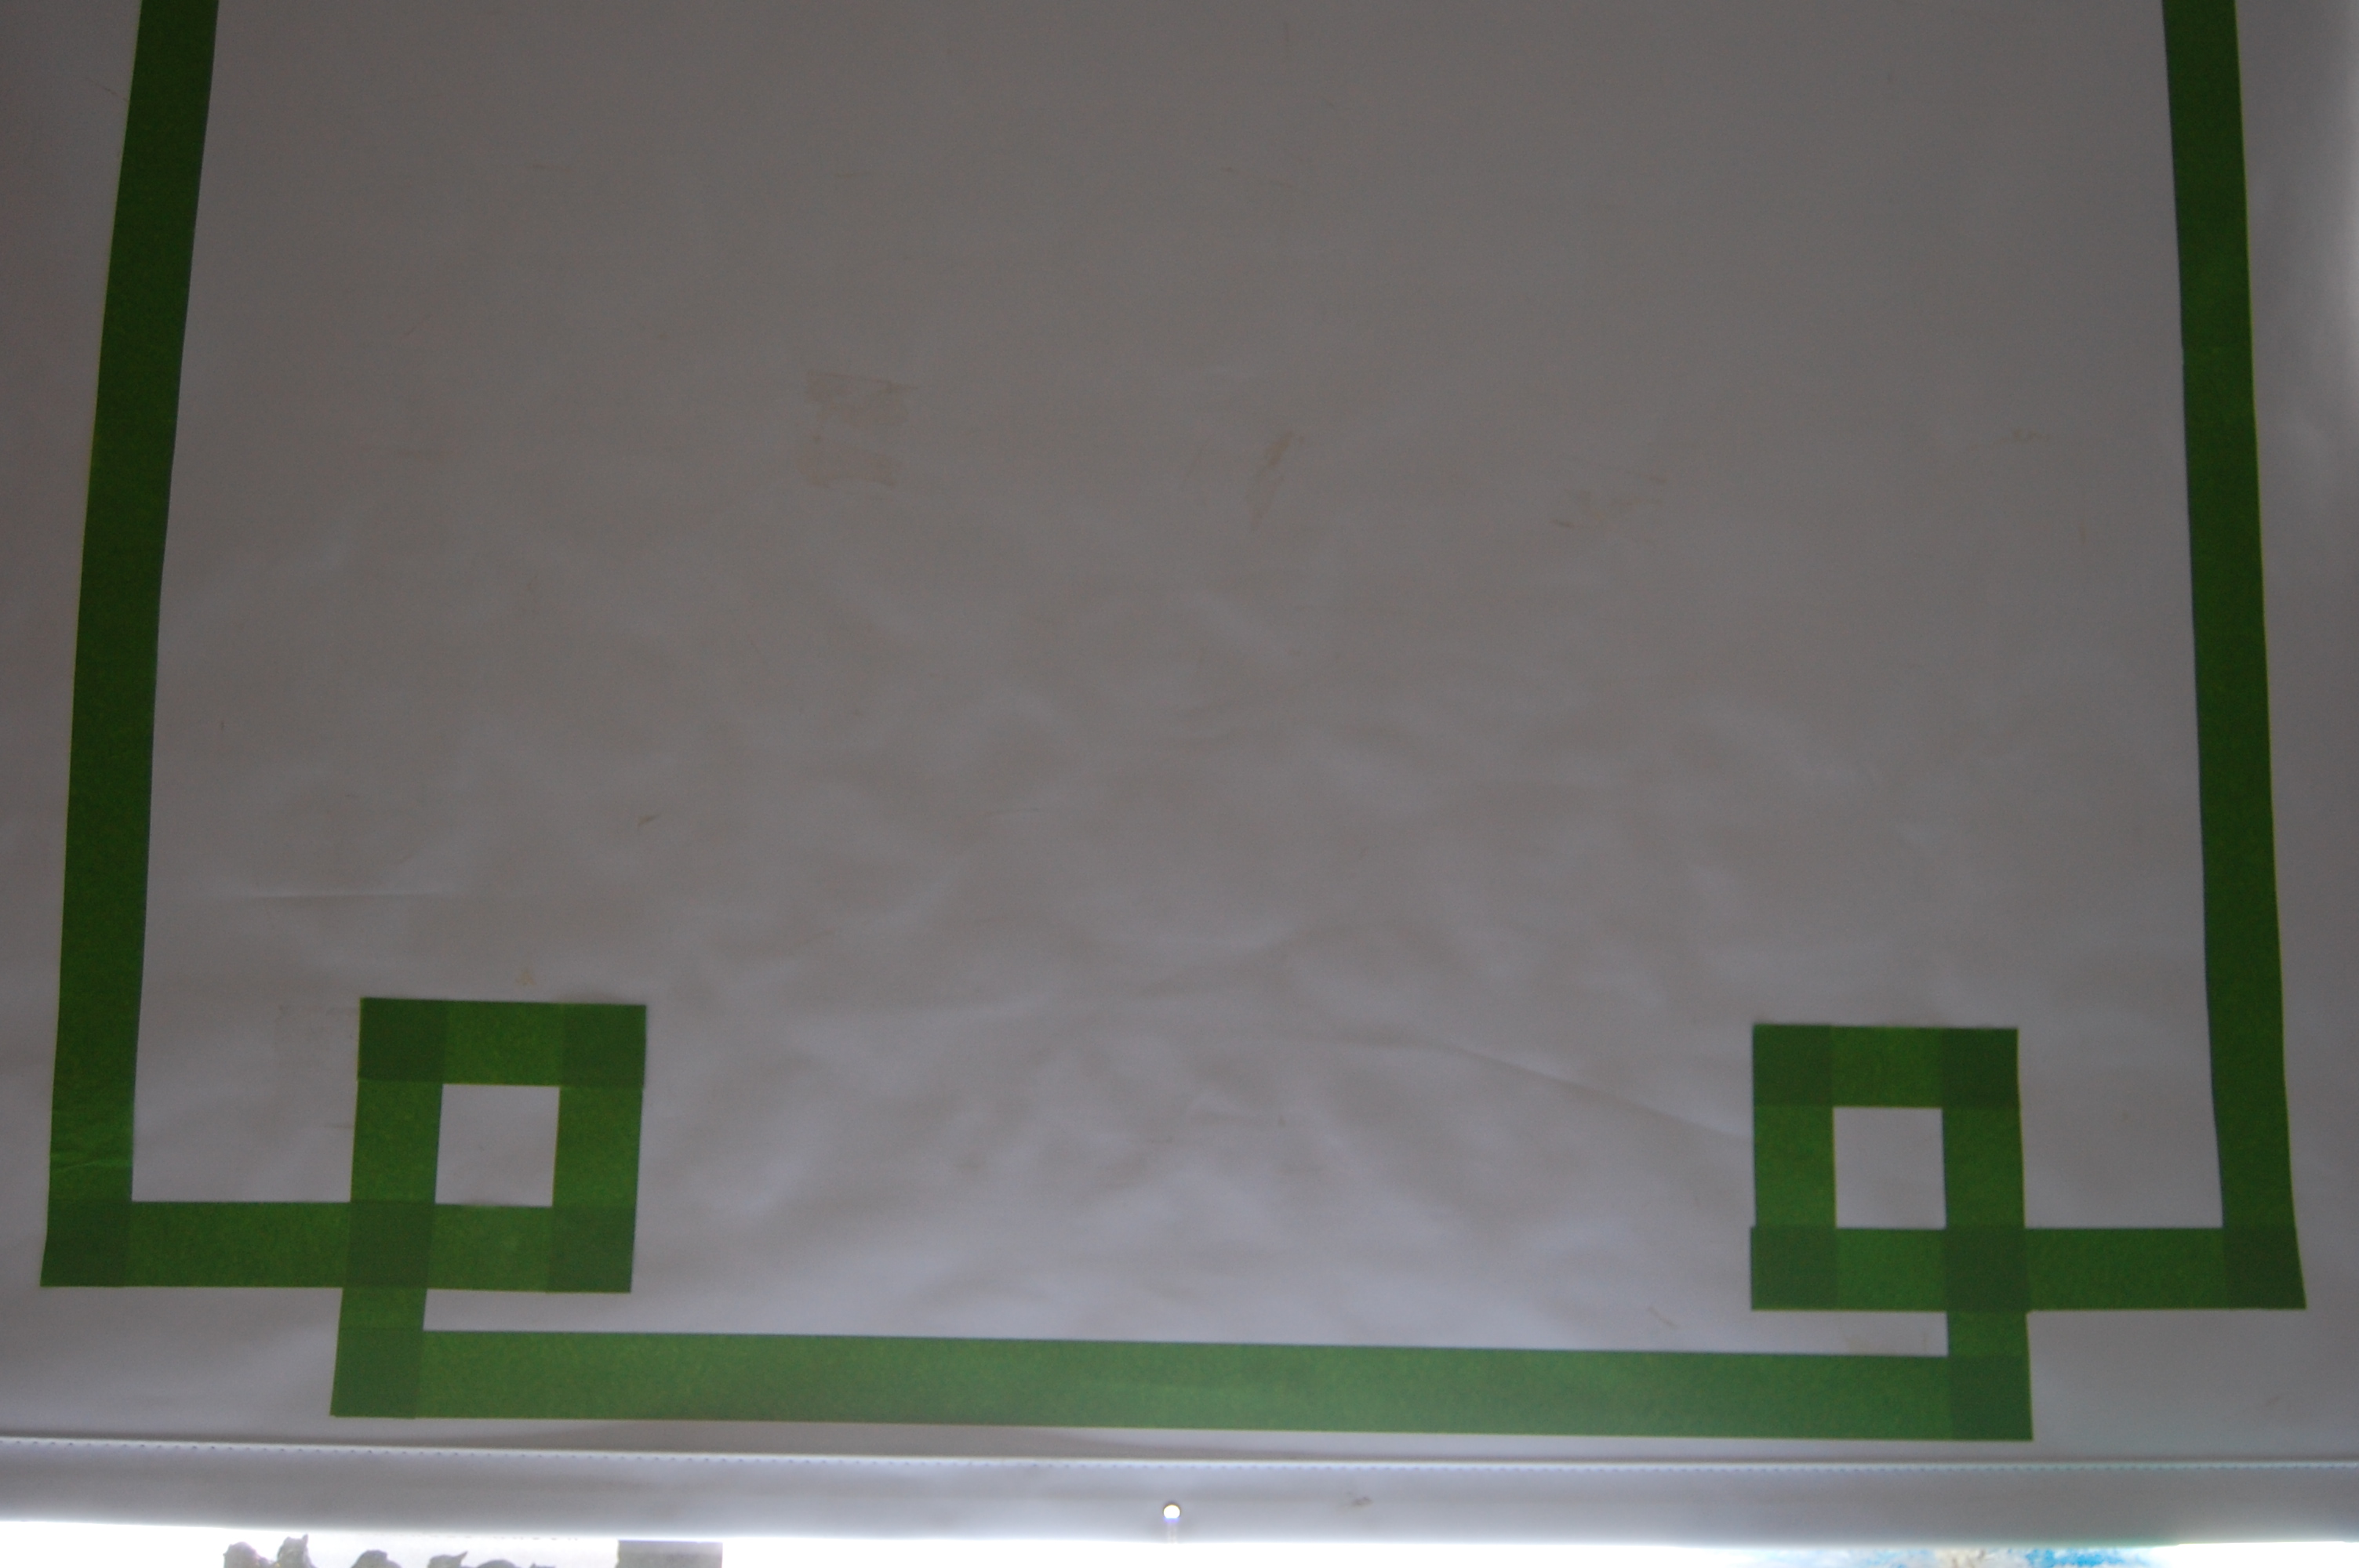
Then I just added the last strip of tape to connect at the bottom.
Pretty simple and quick. It took me less than an hour to do all four blinds. Once the measurements are done it’s just a matter of sticking on the tape.
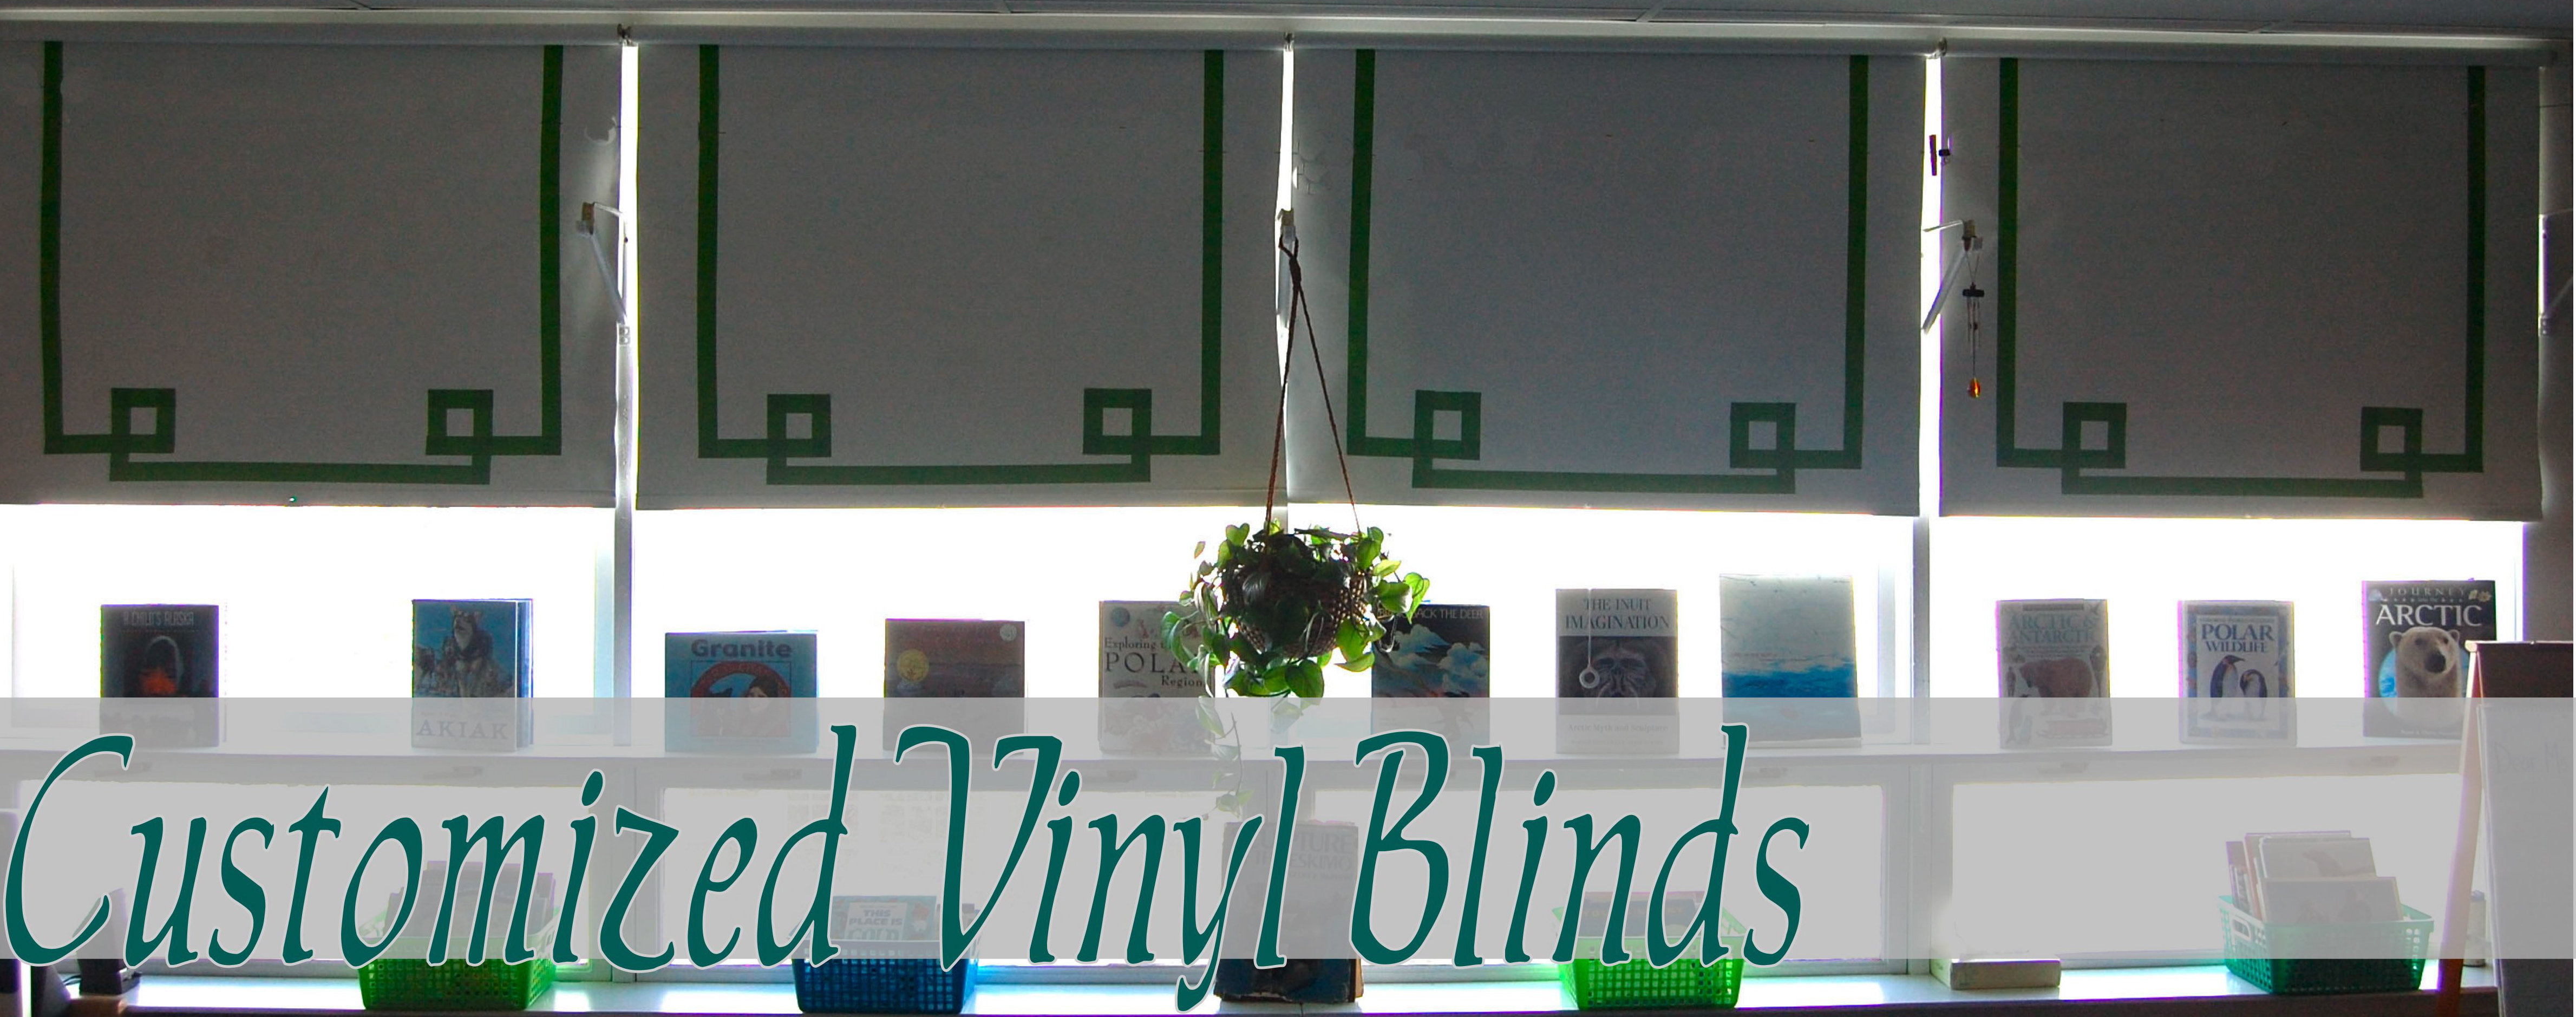 Of course a worry of mine is that as the weather gets warmer the tape will start to fall on the edges so I am going to reinforce all the corners with some foam tape. My experience with that stuff has proven very effective!
