There is nothing I love better than when I am working on a project. I have to say though, getting myself to actually start is the hard part. I have about 3 projects right now that I need to start and don’t ever seem to have the time but this past weekend I worked on something that might be one of my favorite creations yet! If you’re a follower of the blog then you may know that one of my cousins is getting married soon. So when she asked me to help her out with an idea she had I was all over it. Her plan was to have a mailbox with her soon to be married name on it for guest to place their cards in the day of the wedding. She had the idea just not sure how to execute it. That’s where I come in…you can call me the executioner! Wait, that sounds deadly. I’ll have to work on the name.
I started out with a plain black mailbox from Home Depot.
I took her down to Michael’s to see what we could work with. The original plan was to paint the letters on with brown paint and stencils but we couldn’t seem to find stencils that worked. Some were too little while others were too big. Then we moved on to the next plan. For a brief second she grabbed some black stickers…not on my watch! The stickers were too bold and black and just not happening. Next we came across some wooden letters. They fit the box perfectly but she wasn’t sold on putting the letters on the mailbox…yet. She came up with the idea of painting the back of the letter and using it as a stamp. Brilliant! As we were walking around I spotted some felt and thought that if we cut the felt and put it on the back of the letters it would absorb the paint more and make it easier to stamp with. But then I put it back because it sounded like a lot of work and I was sure the original paint on the wooden letter was going to work just fine. Once we got back I started working on painting the mailbox. Black doesn’t exactly scream welcome to my beautiful wedding so I primed it up and then sprayed it with Rust-Oleums Heirloom White.
It was at this point that she left to go pick up her wedding dress so I began by placing the letters on the mailbox and spacing them out so I knew exactly where I would stamp. I smeared the paint on and laid the B (for Bresonis) down on the box and held in with some pressure to make sure it gets on there well.
Here is the point where this “brilliant” plan falls apart. It turns out that the letter loved the mailbox. Yup, it didn’t want to let go. It seems that the paint held the letter like a magnet to the mailbox and when I tried to lift it it started sliding which was the last thing I needed since I was making a stamp of the letter itself. It was at this point that I thought the felt idea probably was a good one. When I was finally able to lift it off, this is what it looked like.
No matter how much paint or pressure I added it continued to come out like this so it was time to move on to another plan. Attach the letters to the box. I was pretty happy with this plan because it was what I had envisioned when I first saw the letters at Michael’s. So I called the cousin and told her the news. She agreed that the letters had to go on but wanted them painted in brown. There was no way I was painting them brown so I told her I was going to try something else and show her and if she didn’t like it I would do the brown, (it was a lie though because I was never going to do the brown shhh) I knew she would love it. My idea was to spray paint the letters in the heirloom white and then sand down the ridges and go over them with antiquing paint and then use the brown paint on the edges to create dimension. Here are a few pictures of some of the letters I took to show what I did.
On the E you can see where I sanded down to the wood. I did that with every letter. Then with a fine tip brush I went over it with the antiquing coat.  Then I took the same brush and patted it on a paper towel and rubbed it all around on the whiter part.
The last thing I did on the letters was, with the brown paint, paint the sides of all the letters.
Here is what the B looked like when all finished.
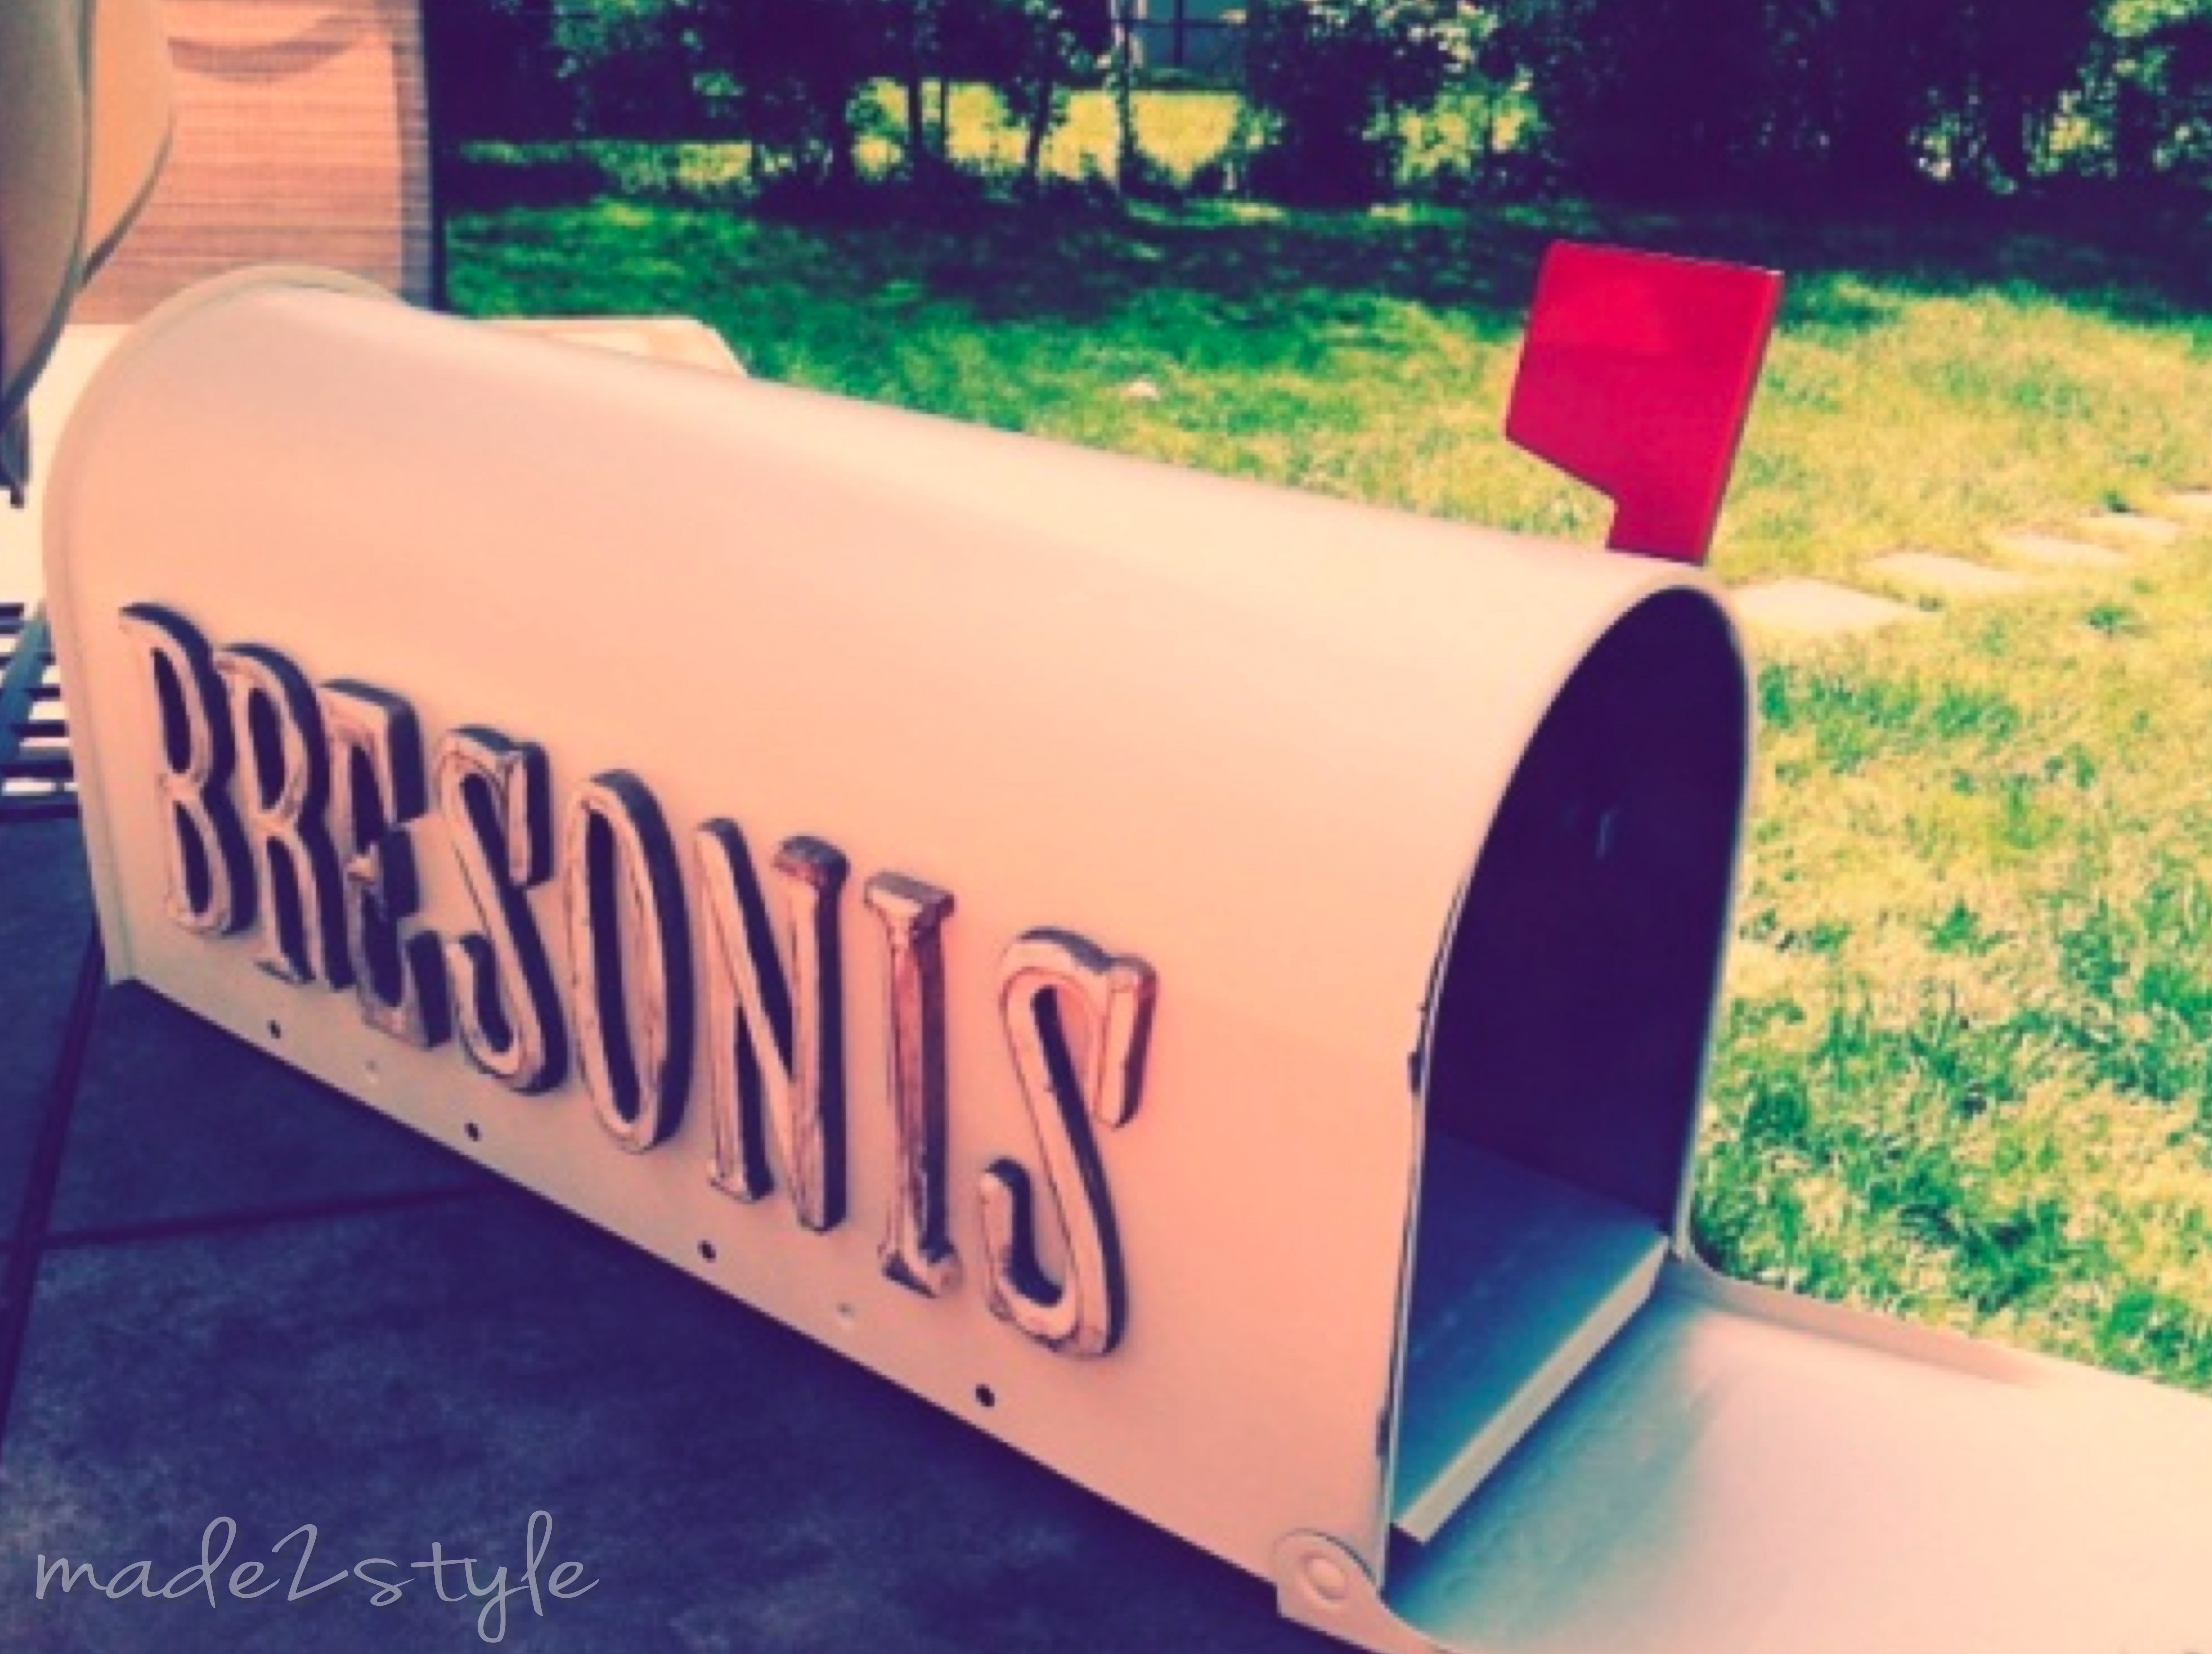
 Once they were all done I just hot glued them all on. I am so happy with the outcome!
And because I have a current obsession with vintage photos, here are some more shots!
***Here’s a shot of it making it’s debut at the wedding!***


Leave a Reply