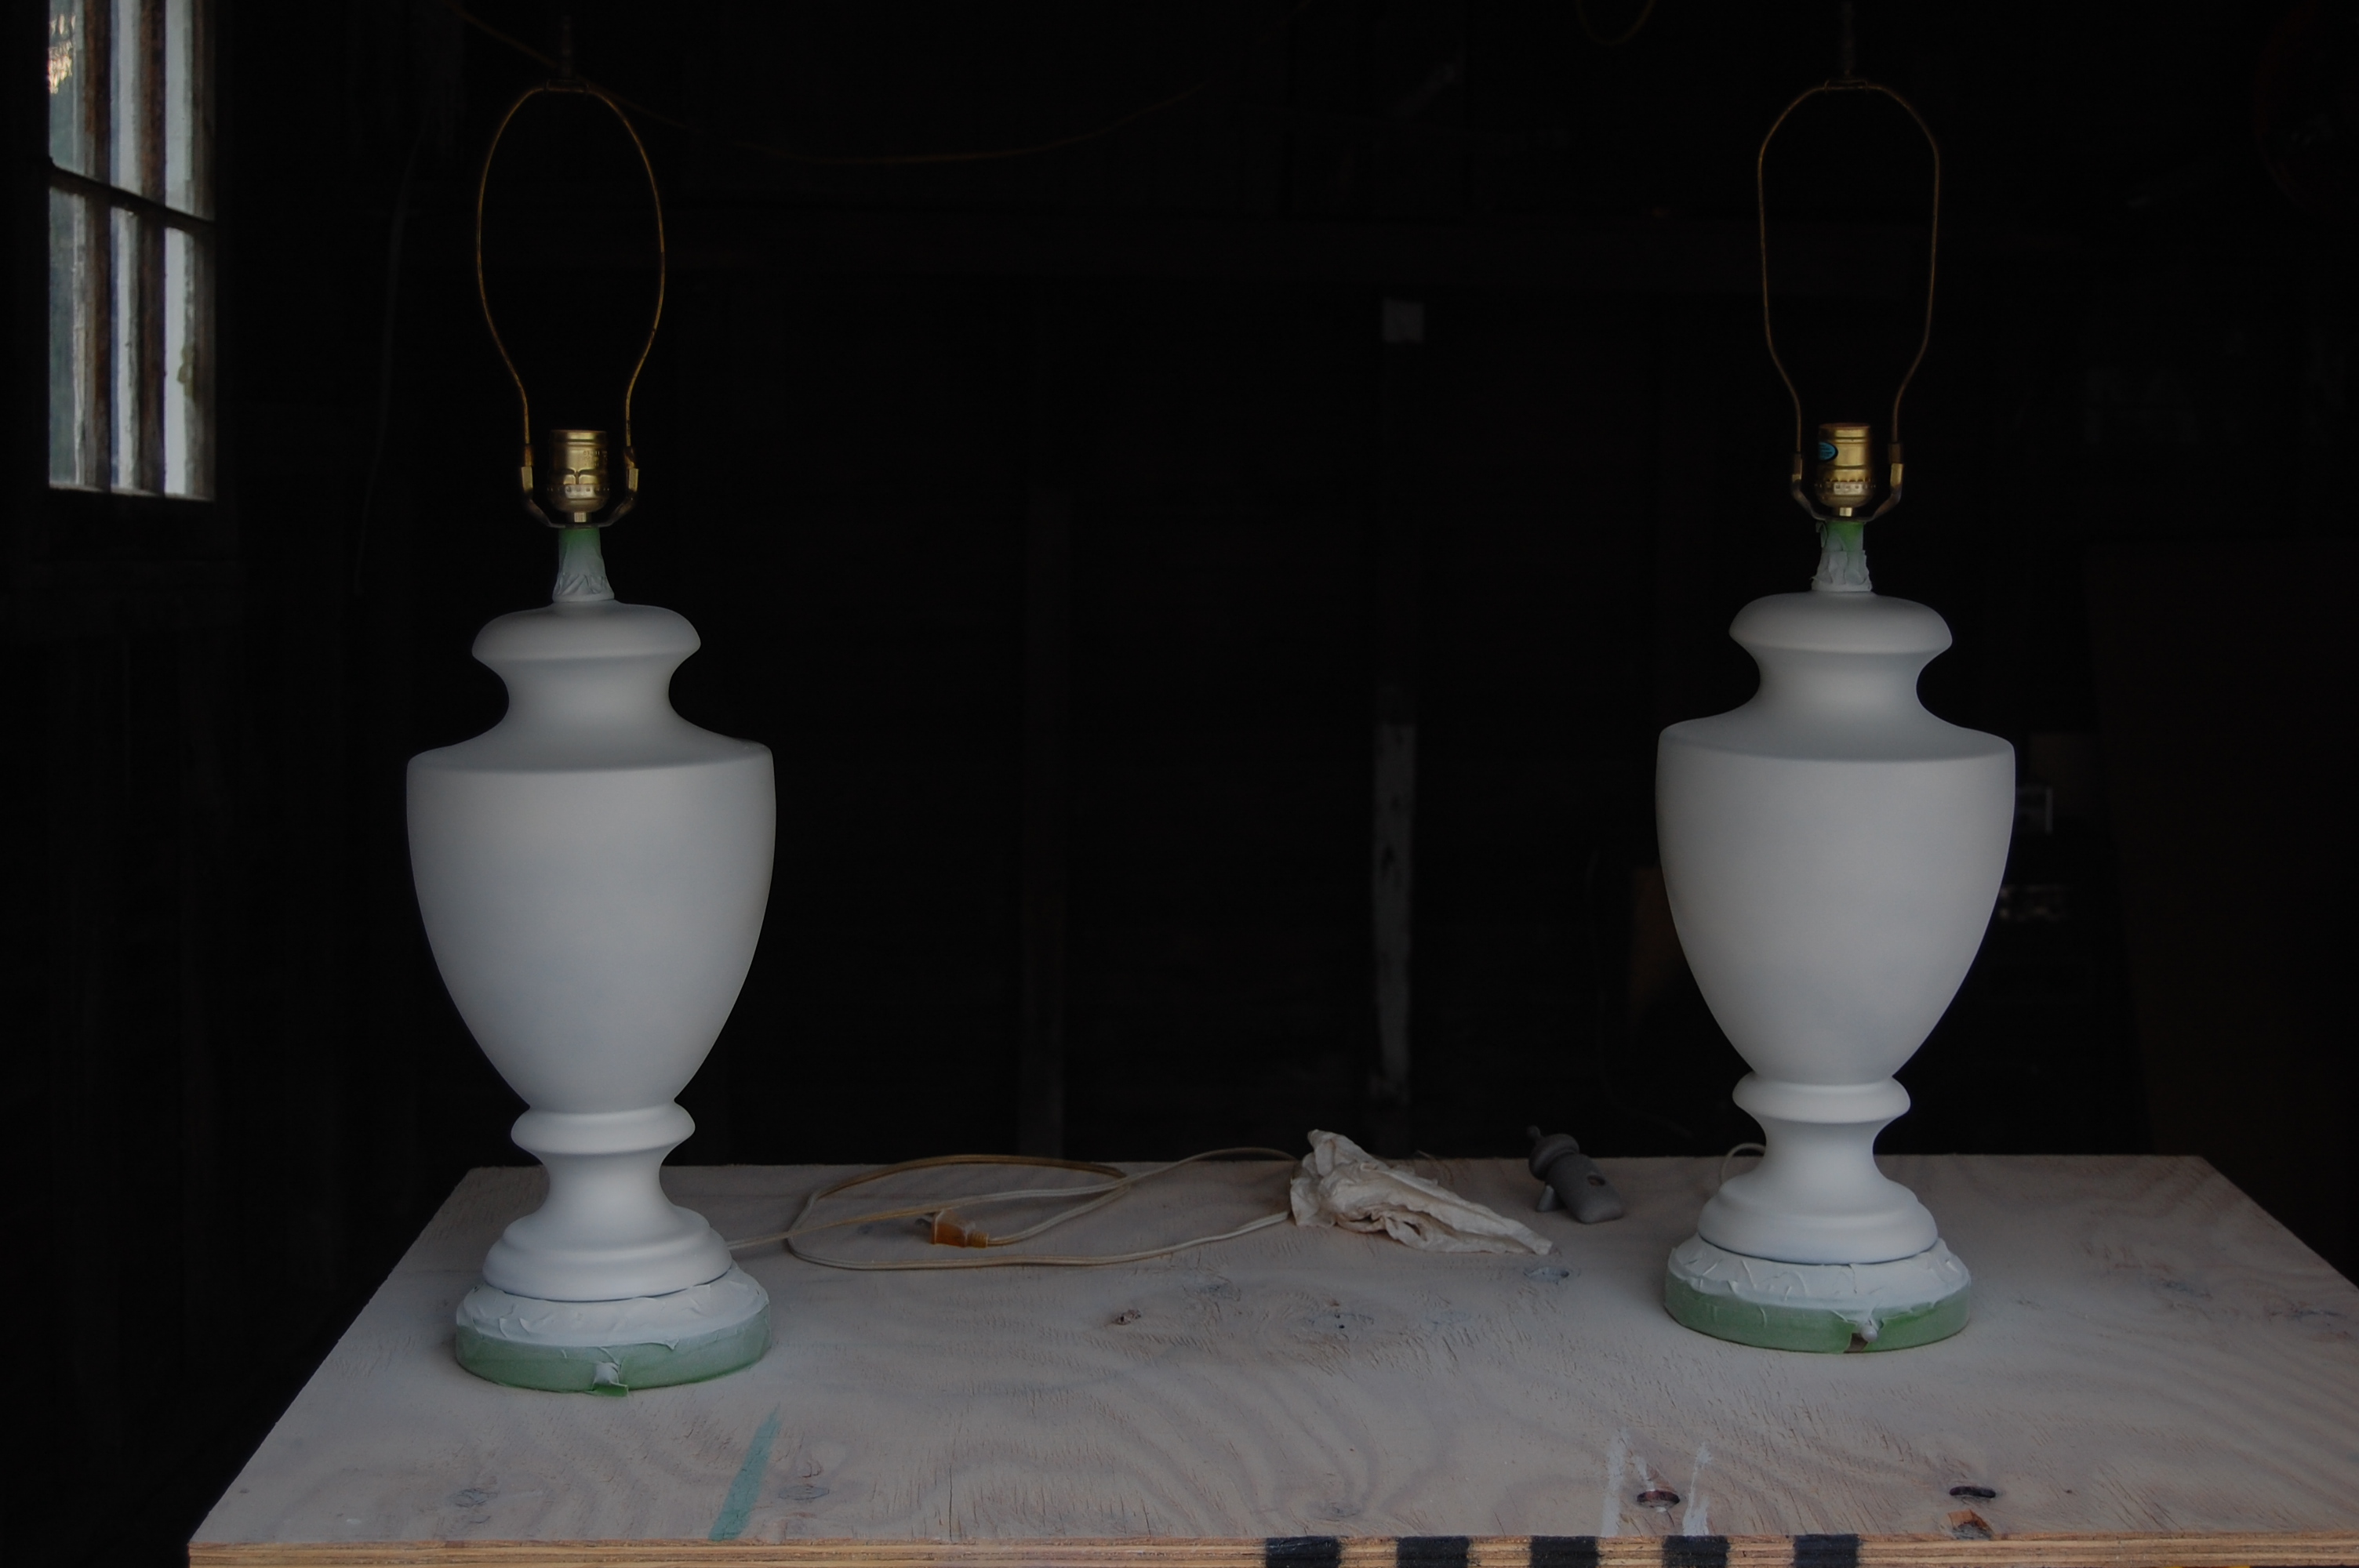
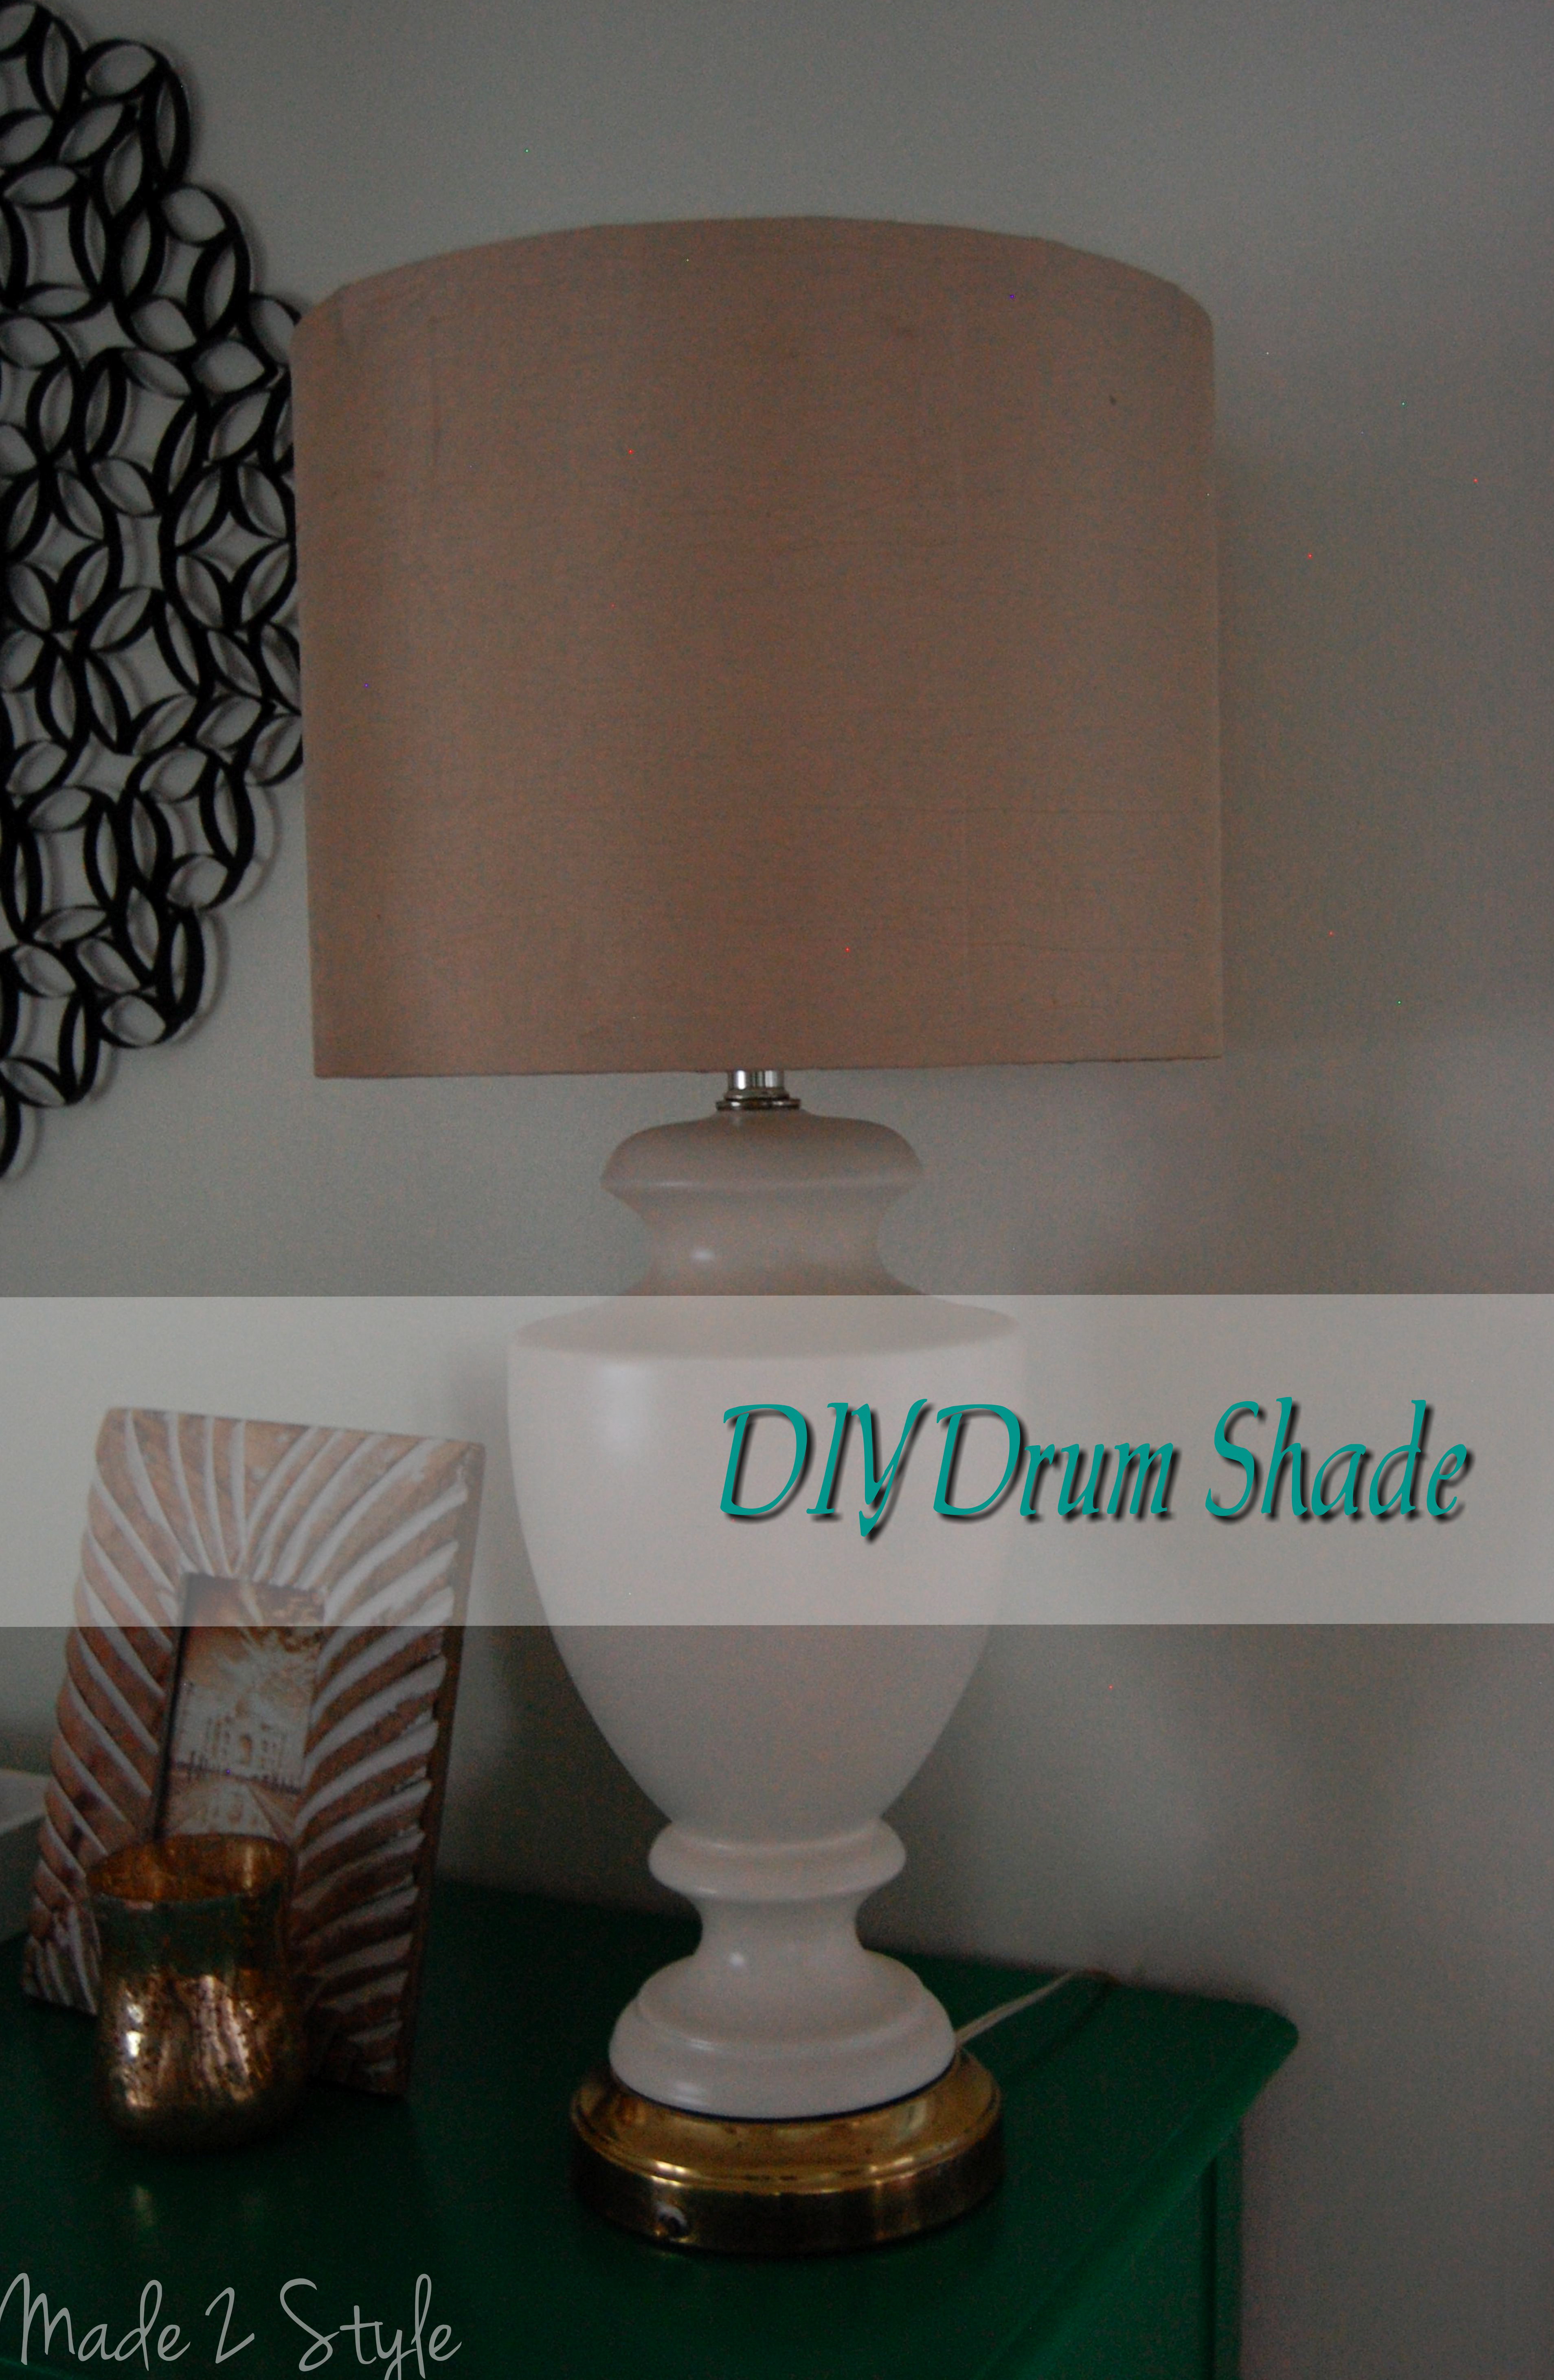
So about 2 weeks ago I hit up my favorite thrift store in town to see if anything new came in and I eyed these two beautiful lamps hidden in a dark corner. They didn’t have a price on them so I was skeptical. Sometimes it’s hit or miss. I’ve found great pieces that are insanely overpriced but quite often I’ve found some great deals. After finding someone to help me, I walked the woman to the back and waited for her to break my heart and then the words “$30 for the pair” came out. SOLD! Here is one of the pair. 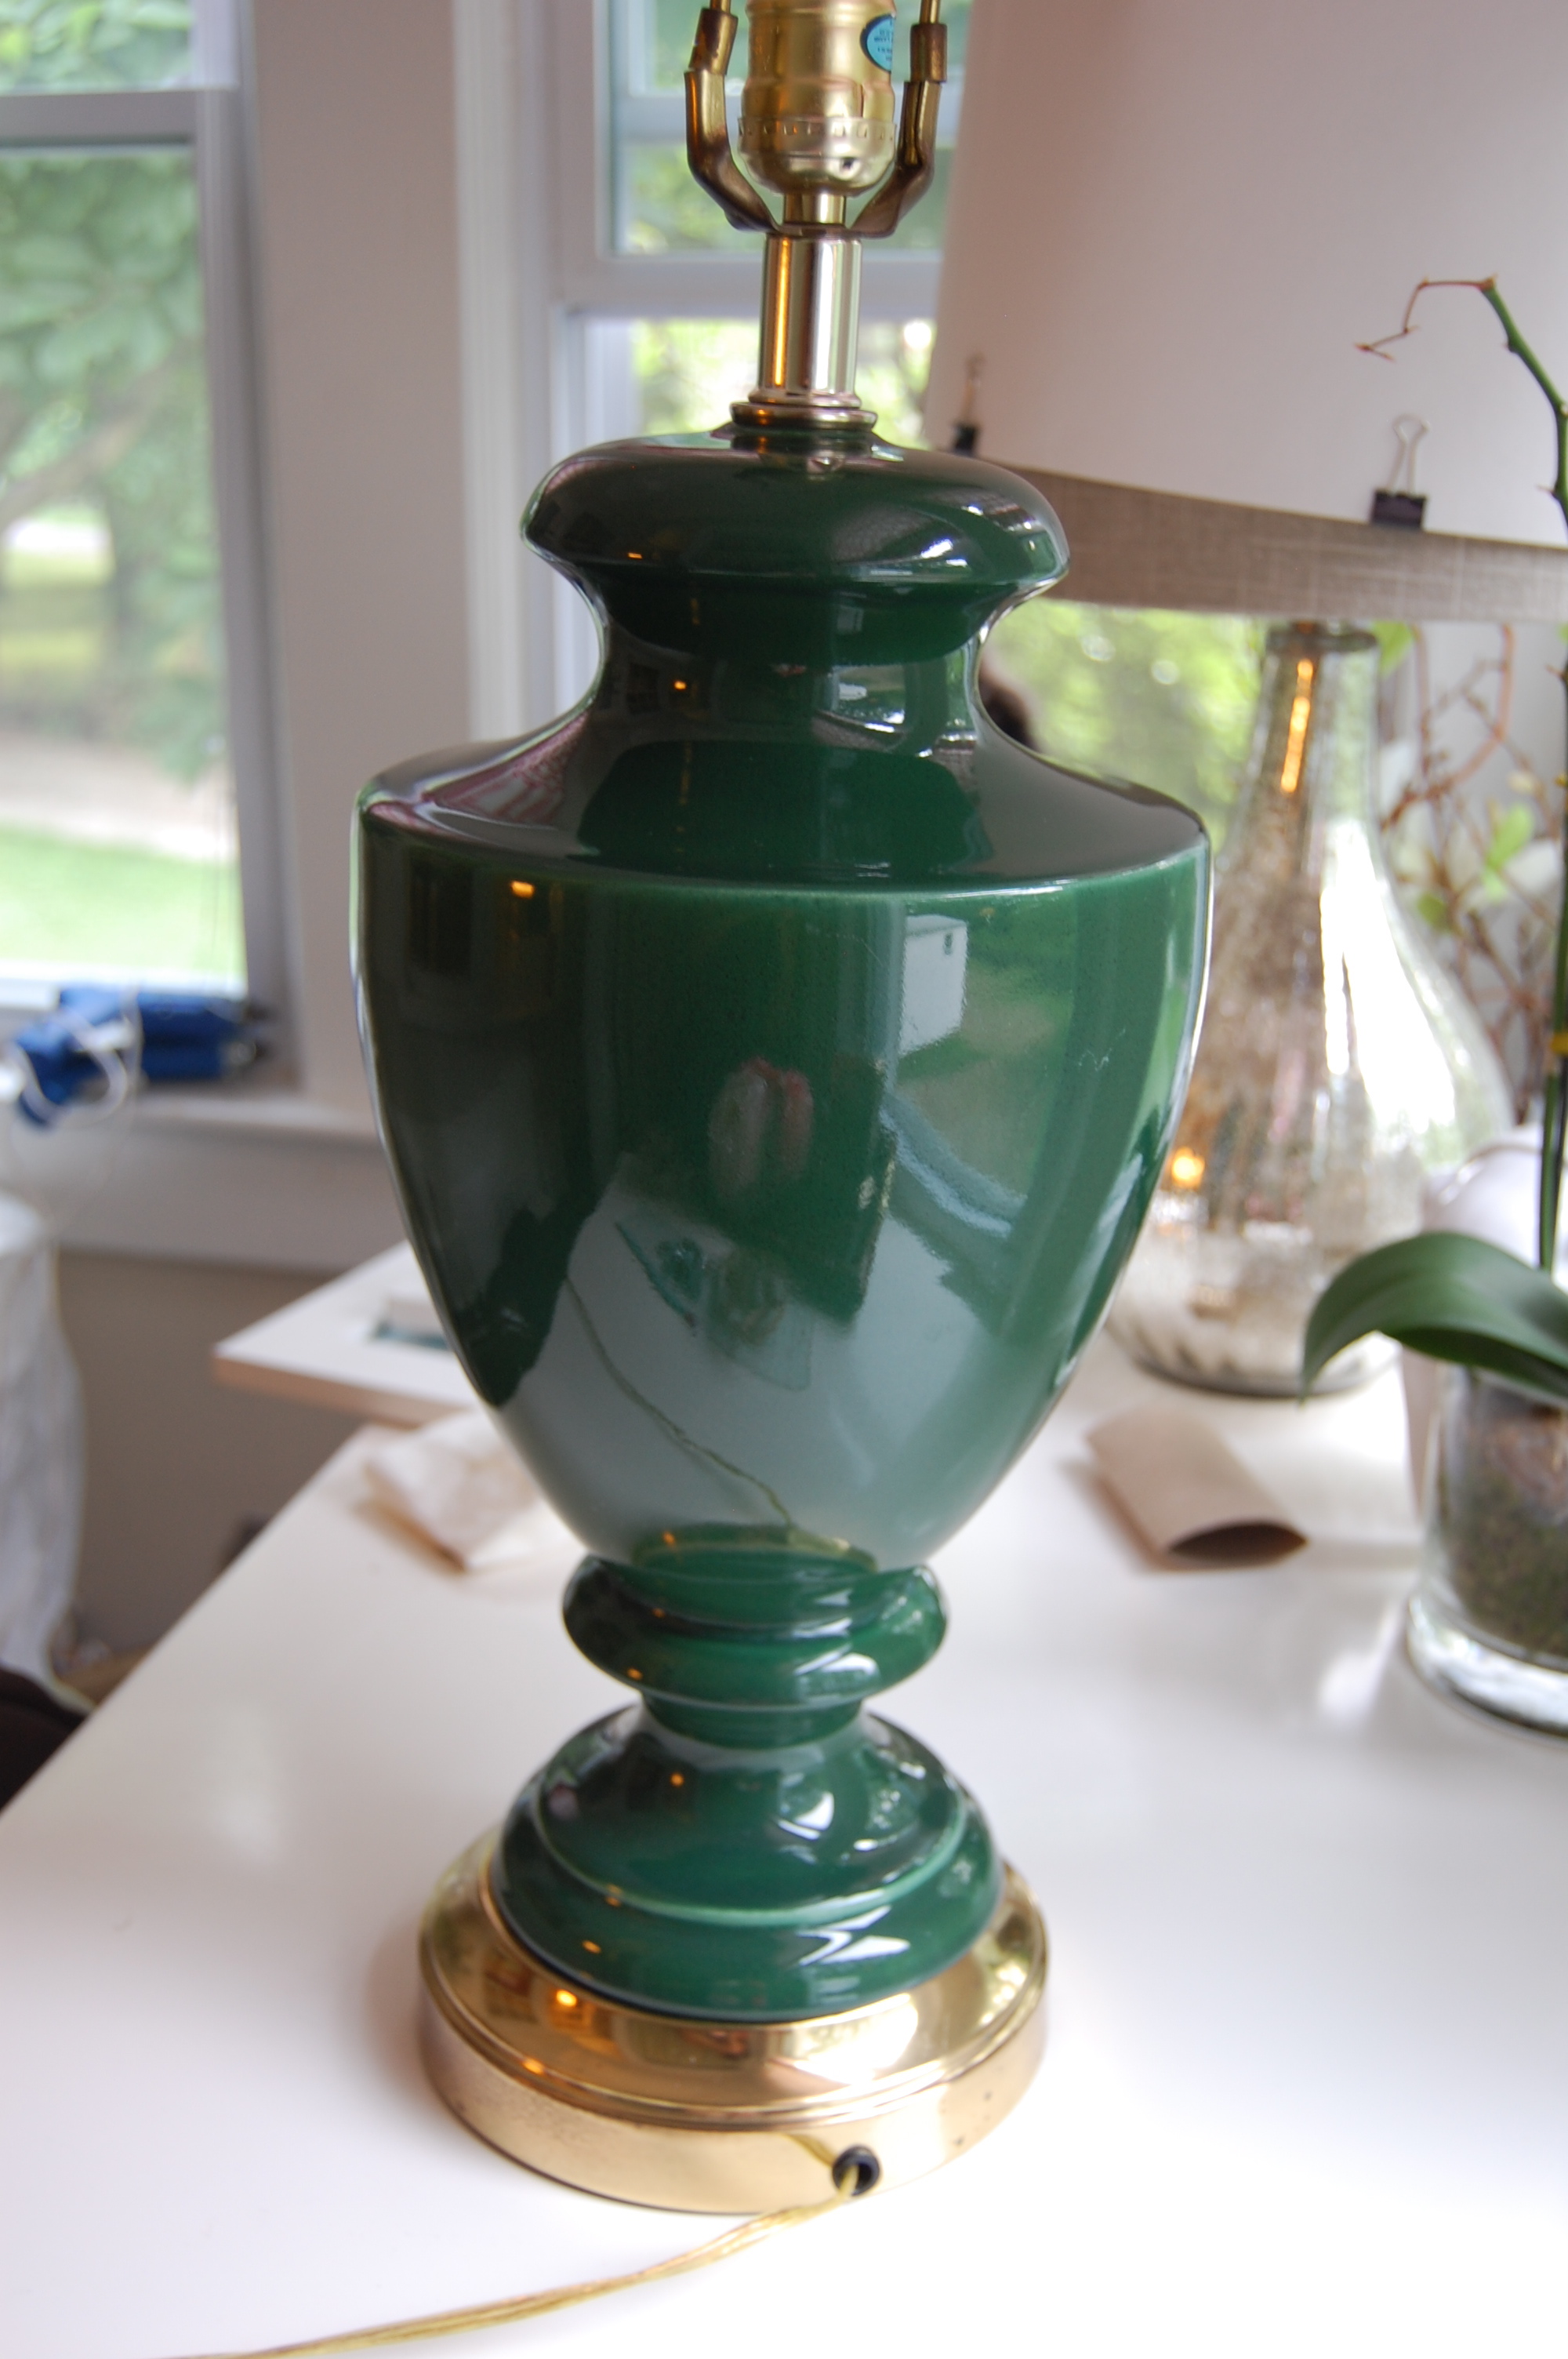
I love the shape but the color, not so much. Also, they didn’t come with lamp shades. I tried telling myself that they were only $15 each so I could fork over the dough to purchase some nice shades but then I thought what’s the fun in that? DIY time!!
When I searched drum shades online the cheapest I found was $40. My project for 2 drum shades costs me less than $30.
Here is the material you’ll need (for 1):
2 – 14″ embroidery hoops- inner hoops
2 large poster boards
box of mini binder clips
any type of strong glue
your choice of fabric
Heat N’ Bond
spray adhesive
washer
18mm wire
It’s your choice how wide and tall you want your shade to be. I wanted mine to be 14″ wide and 11″ tall.
1. Measure your poster boards to how tall you’d like the shade and cut.
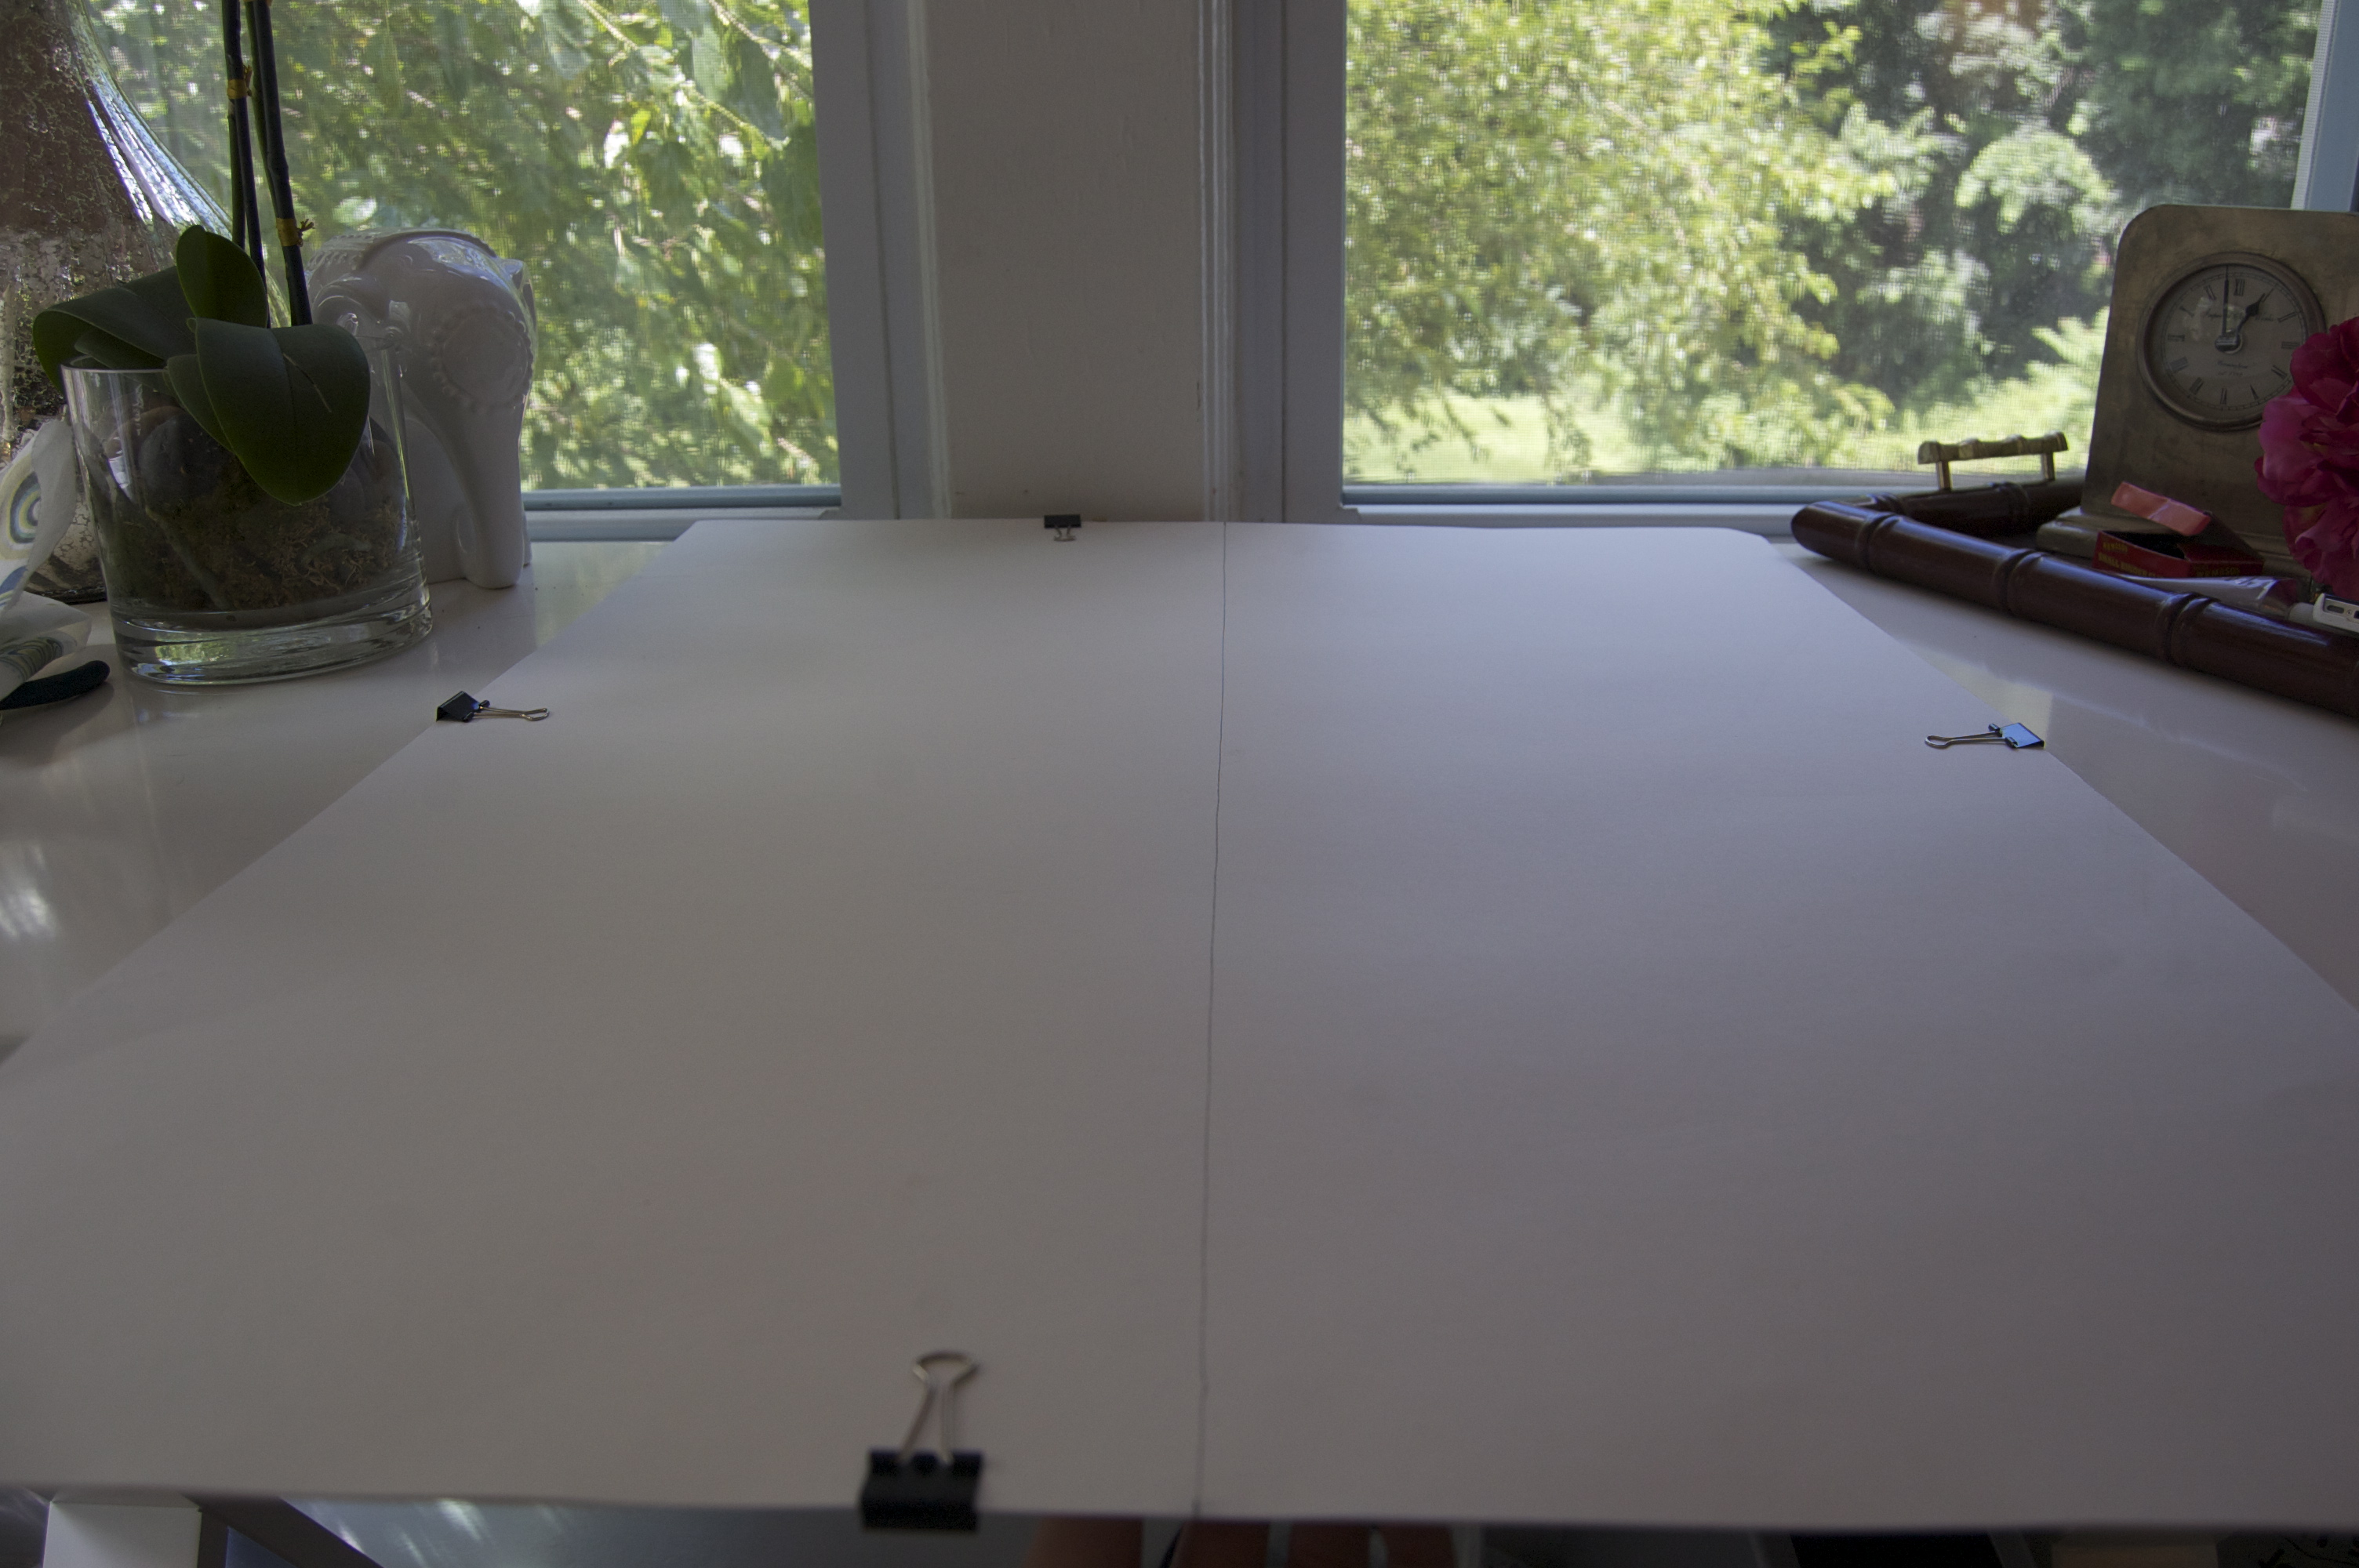
I used the clips to hold the two poster boards together for easier cutting.
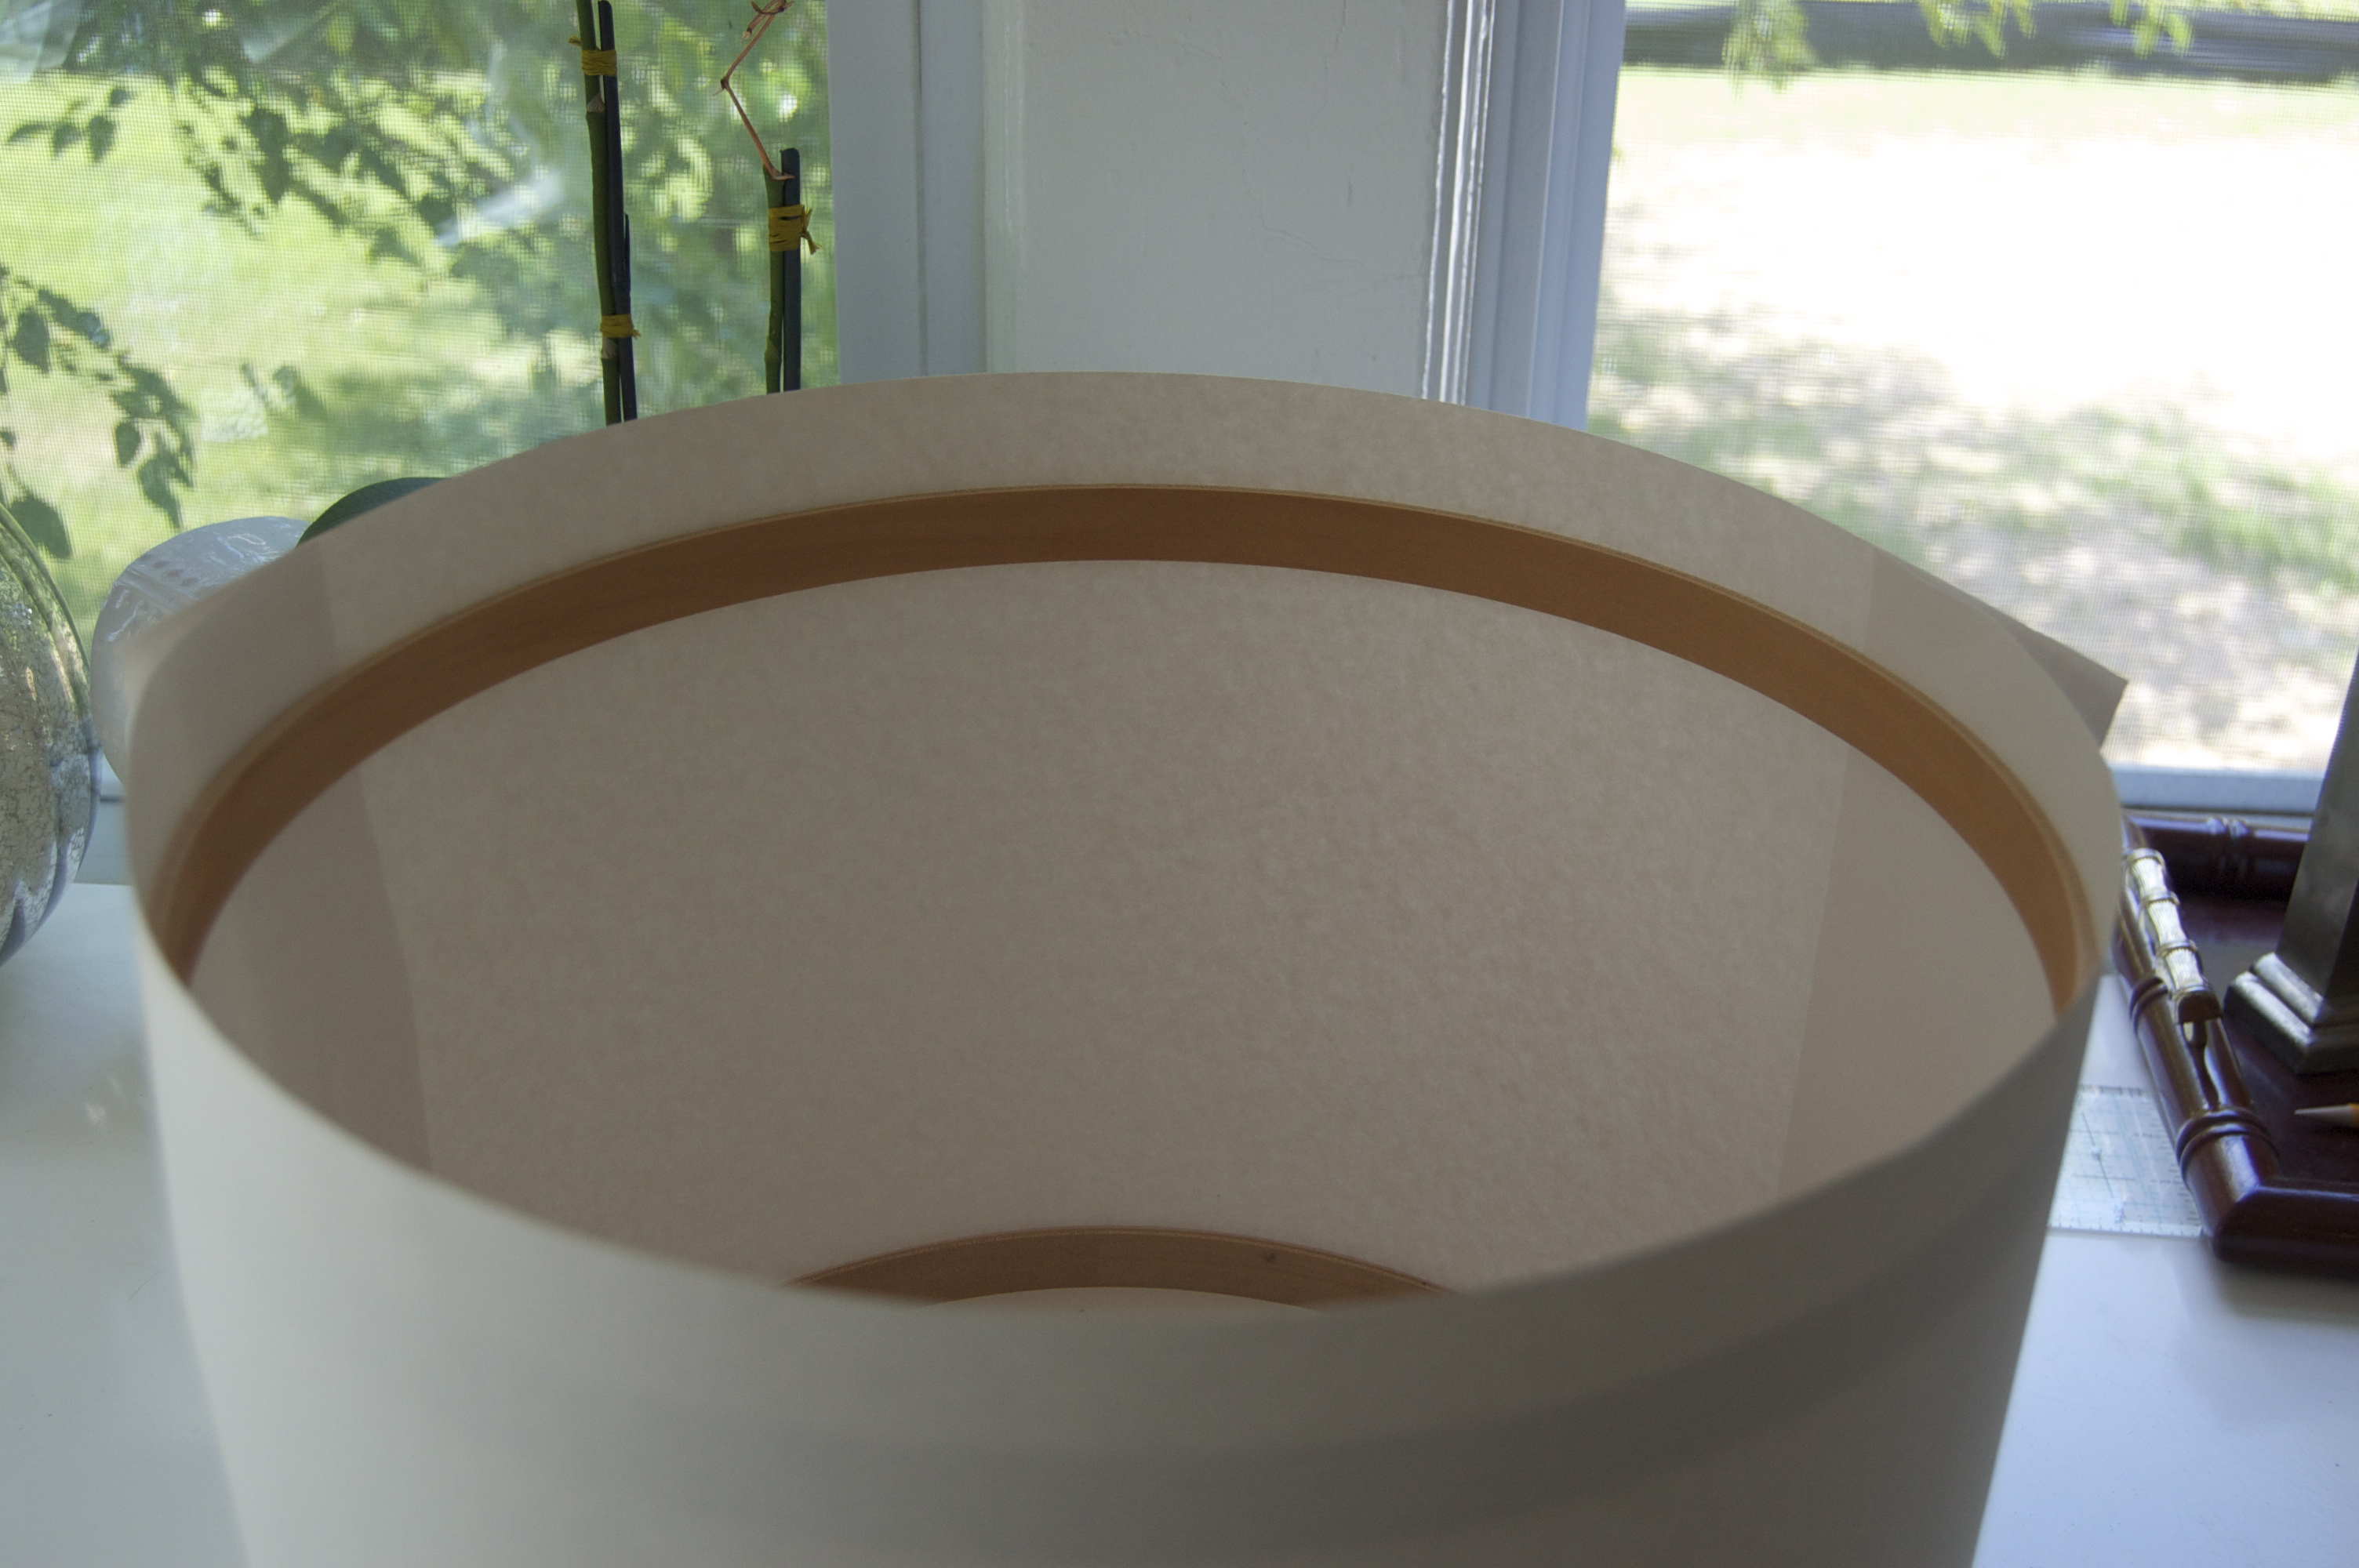
2. Glue the two pieces together overlapping them about 2 inches.
One piece of poster board isn’t enough to wrap around which is why you need two.
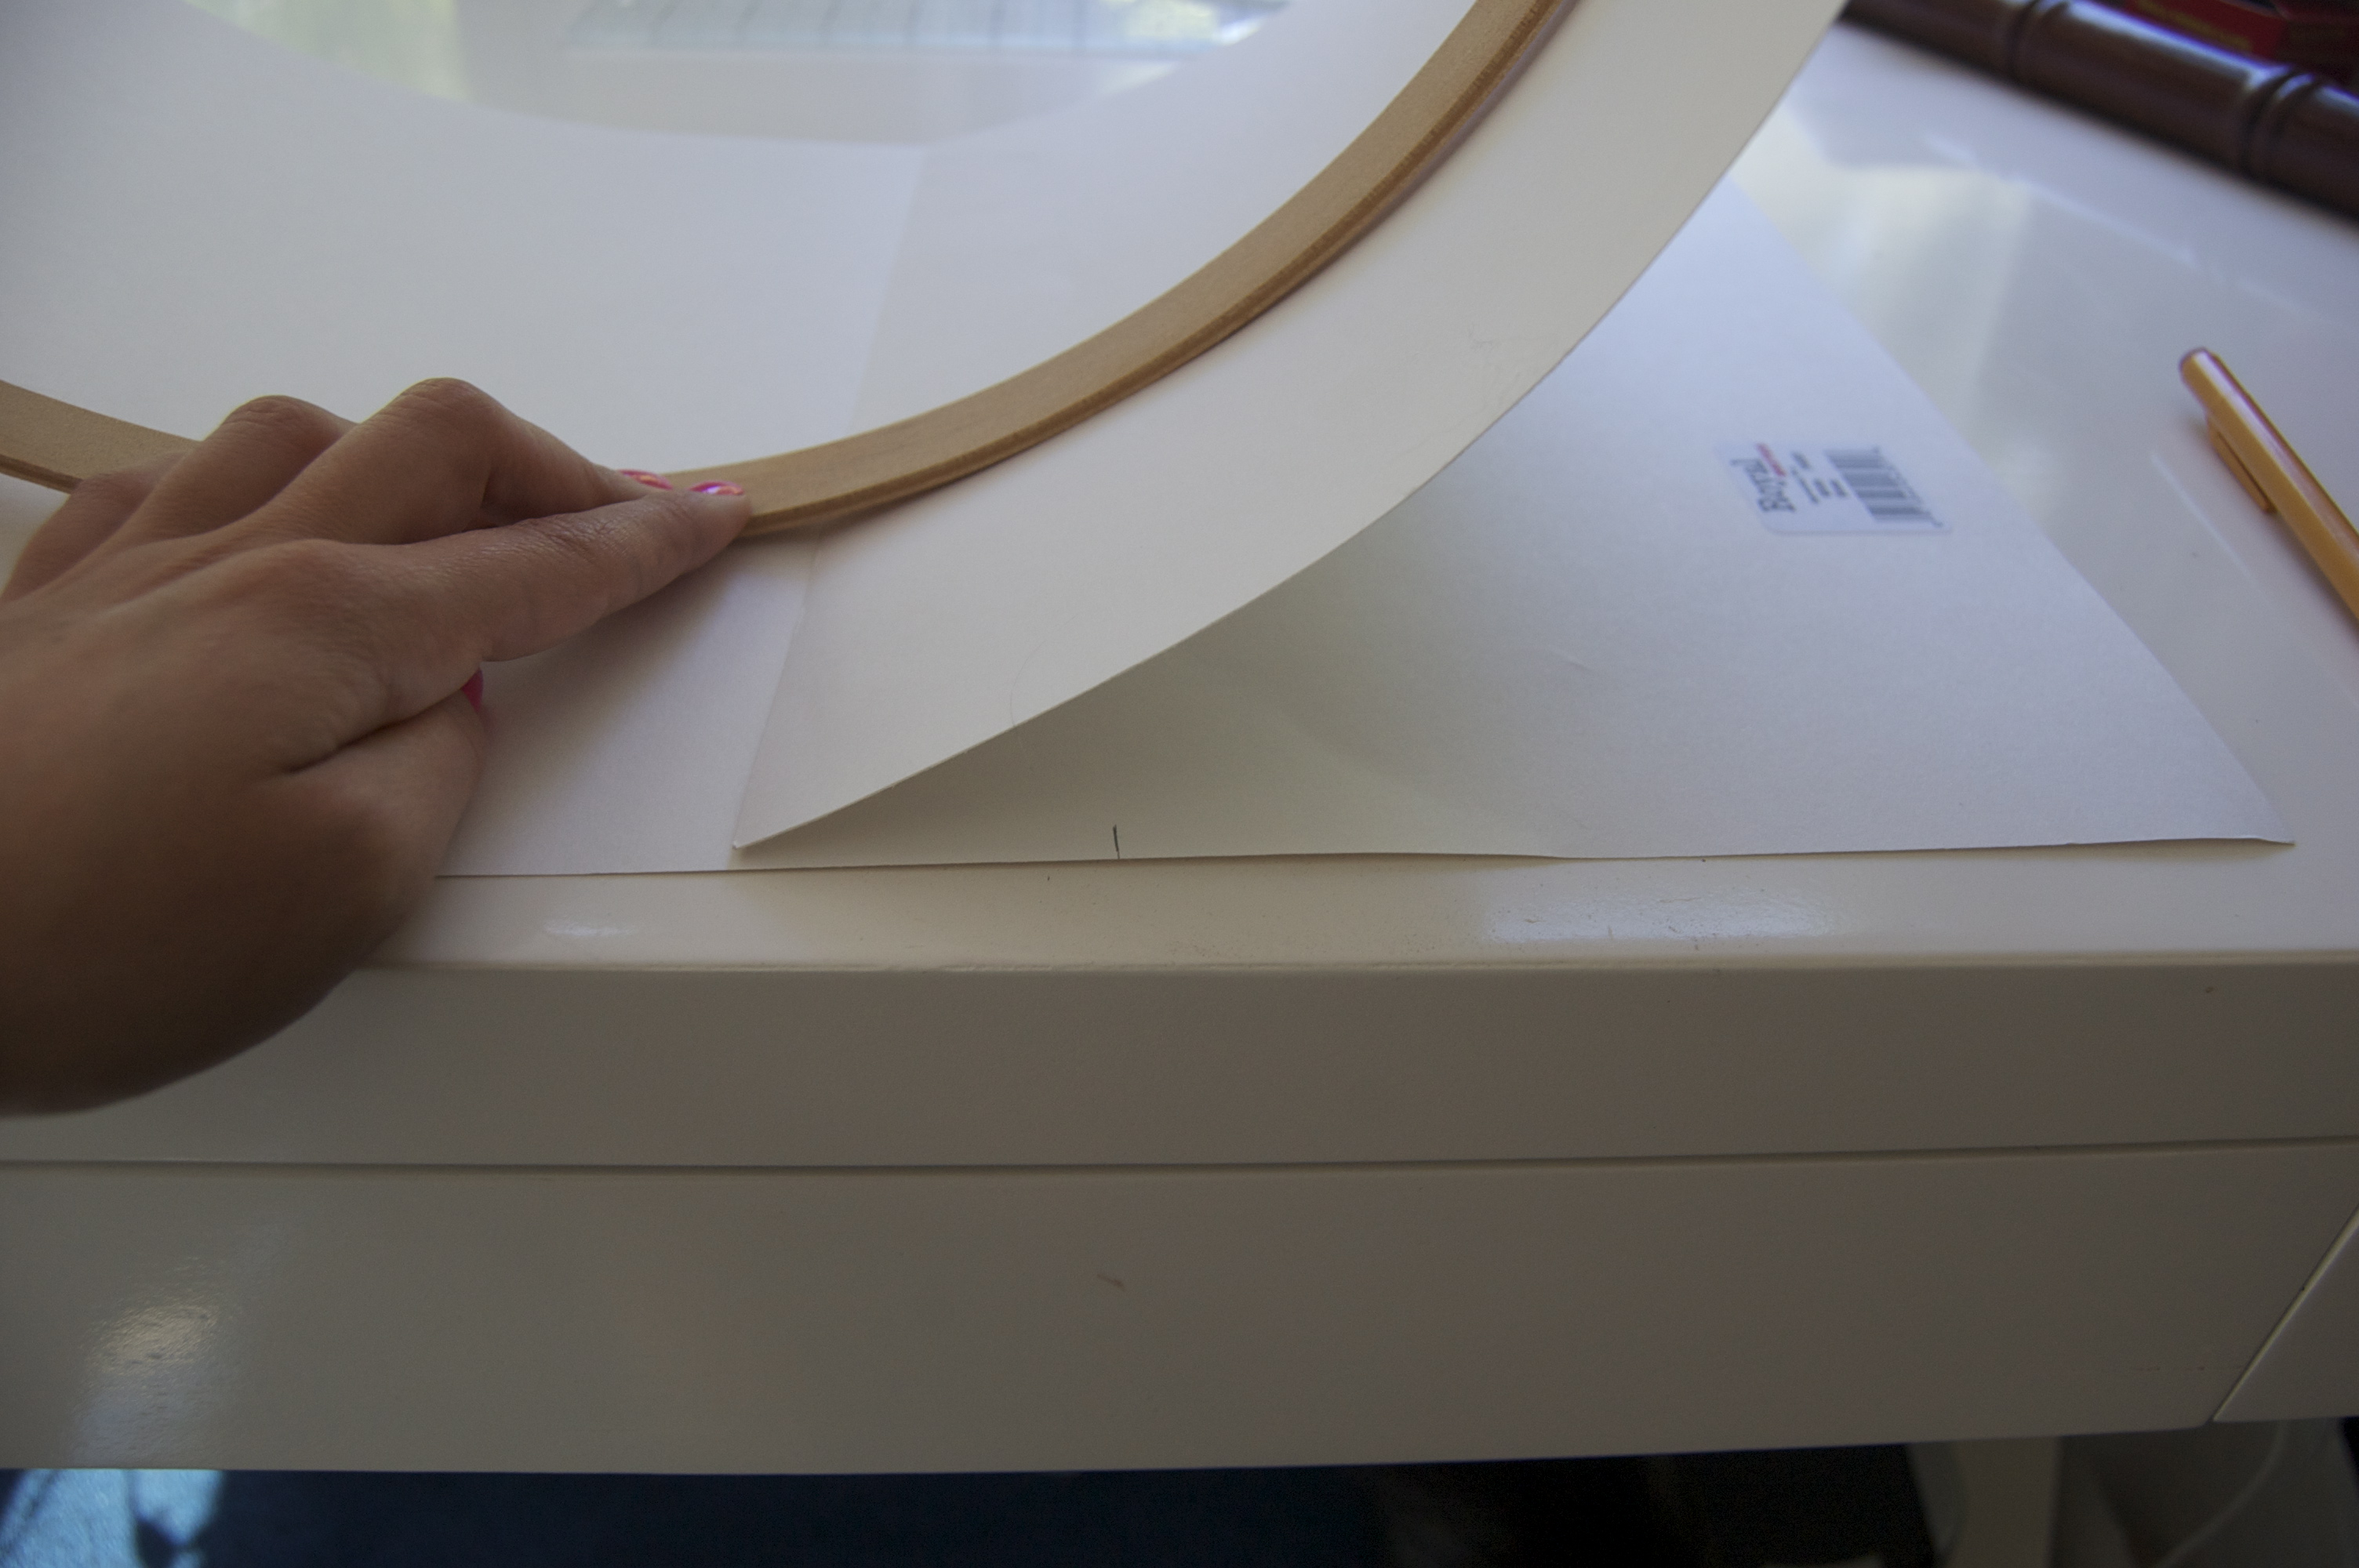
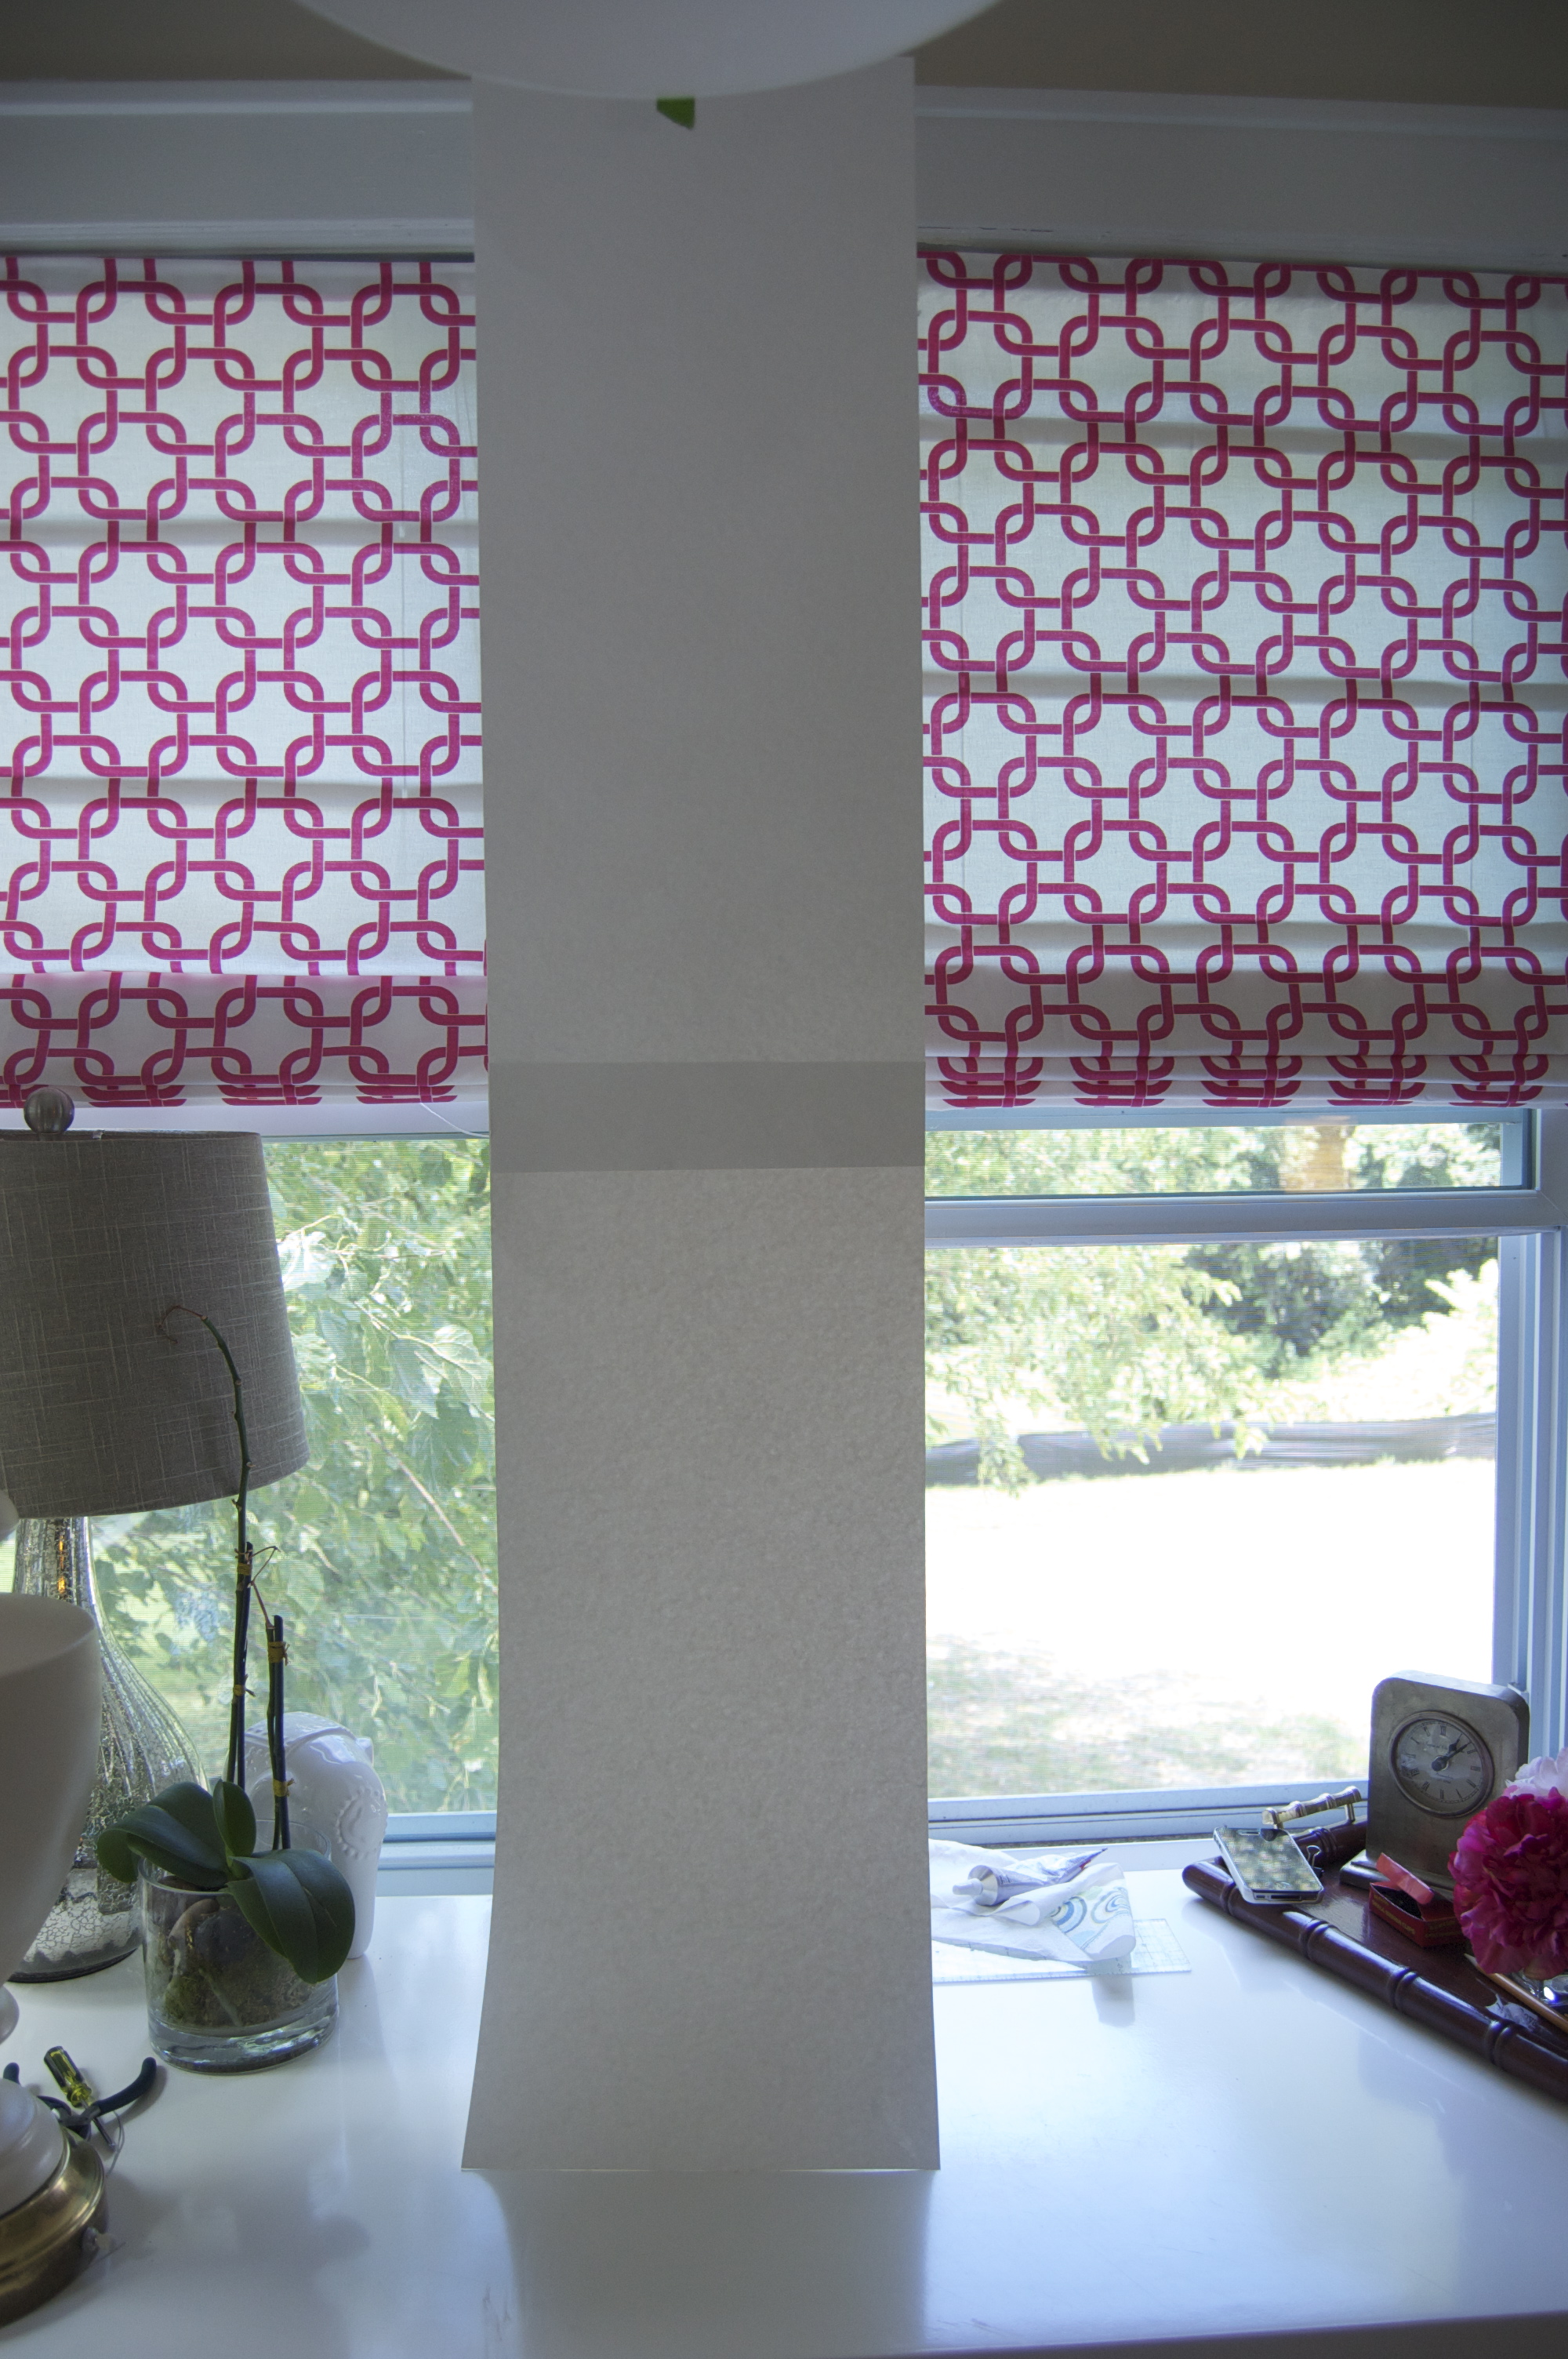 3. Test the board around the hoop and cut off extra.
Remember to leave about two inches overlap.
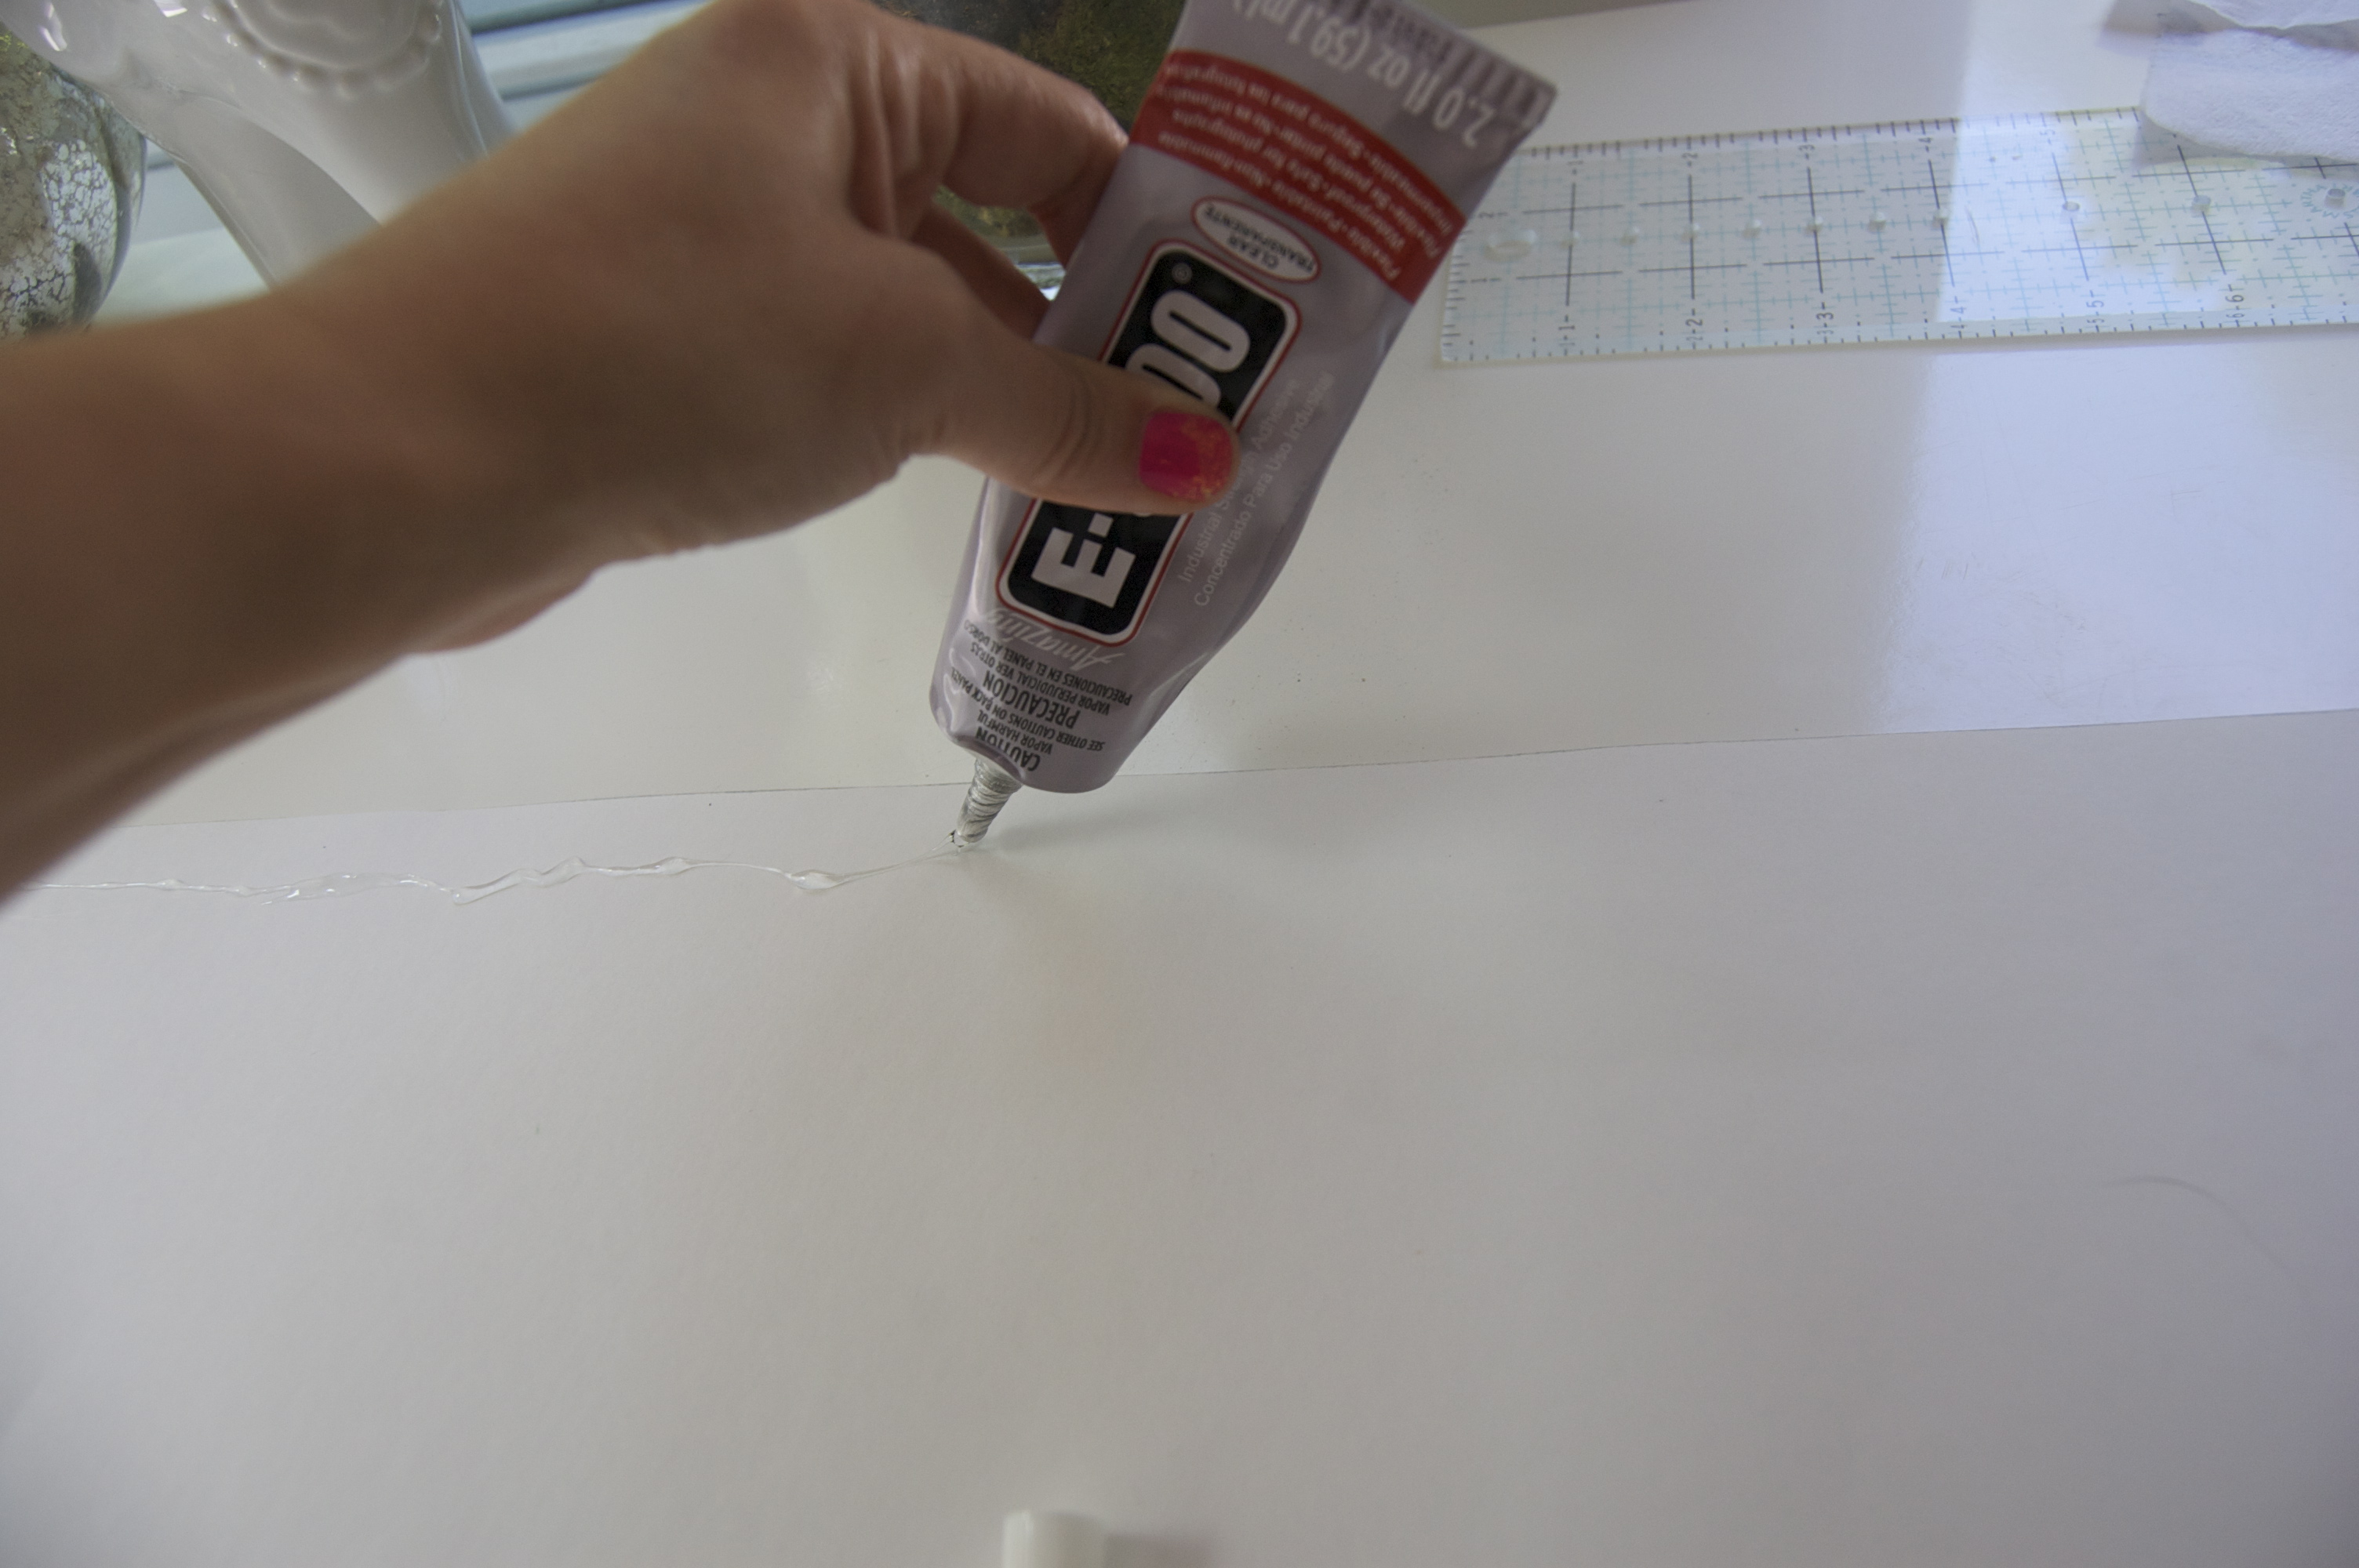
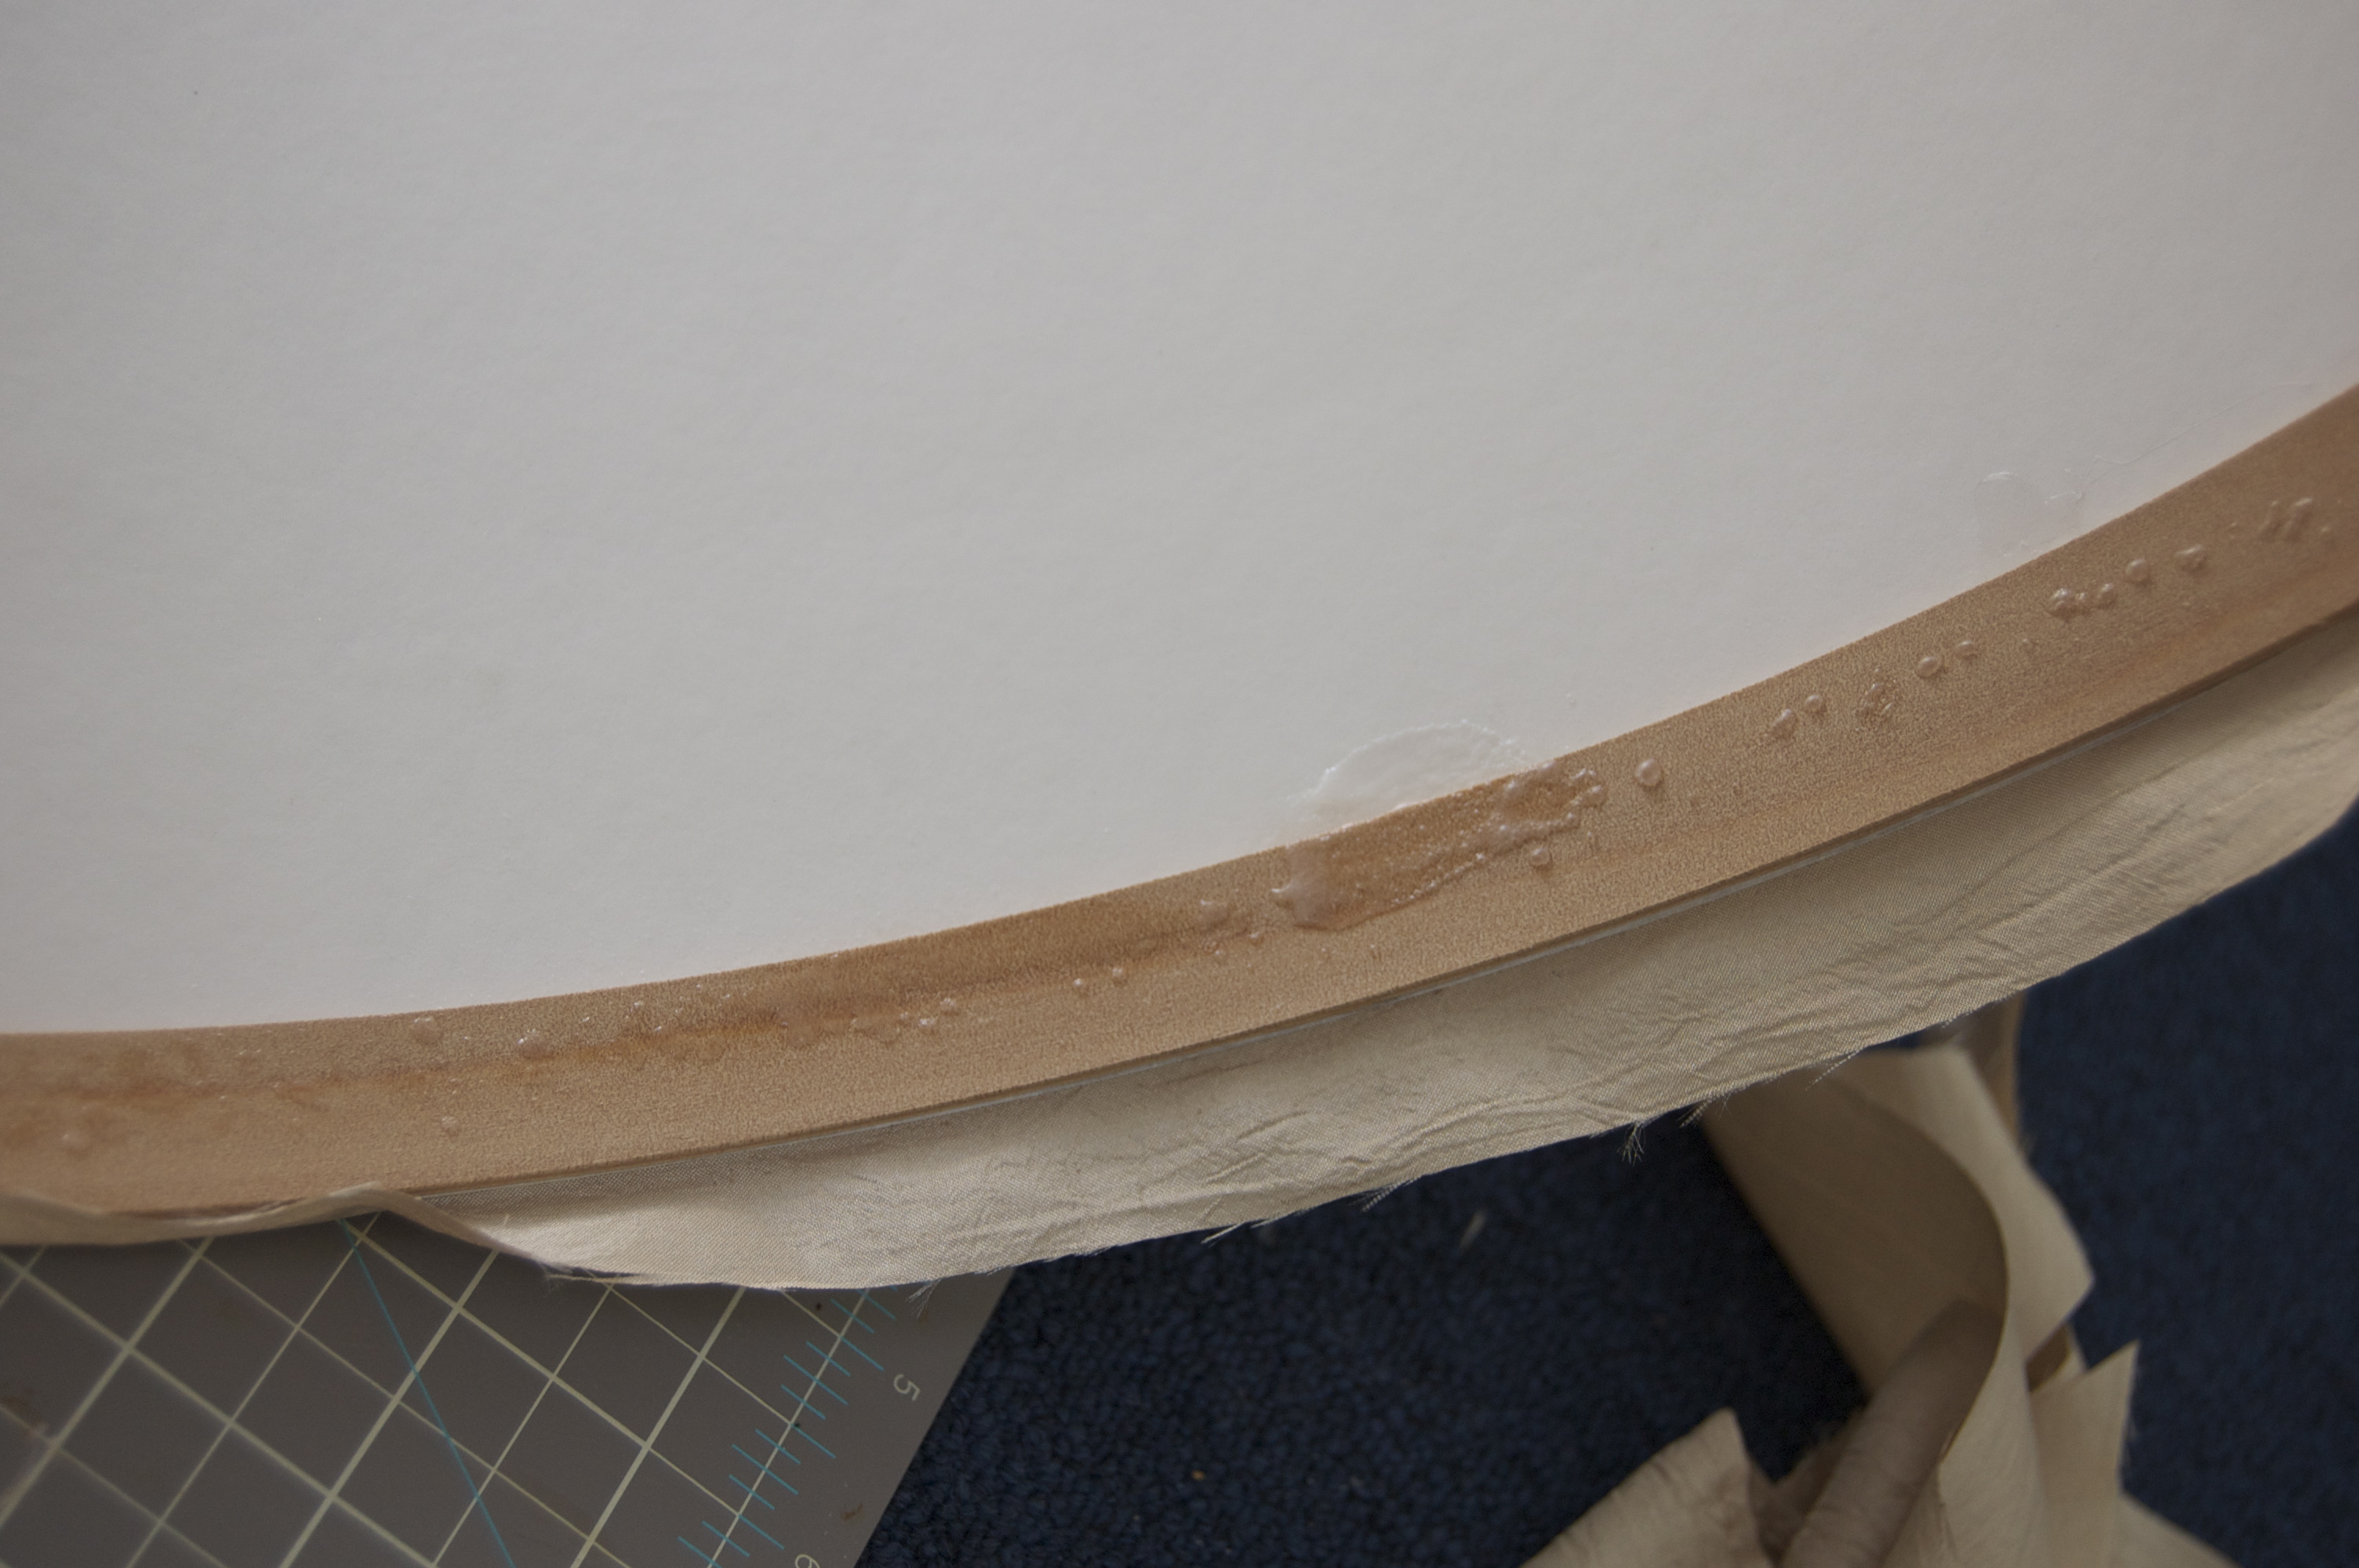
4. Apply your glue to one edge of the poster board.
I used E6000 glue only to find out half way that the warning label
said there is a chemical in it that may cause cancer so I switched over to glue gun (scary).
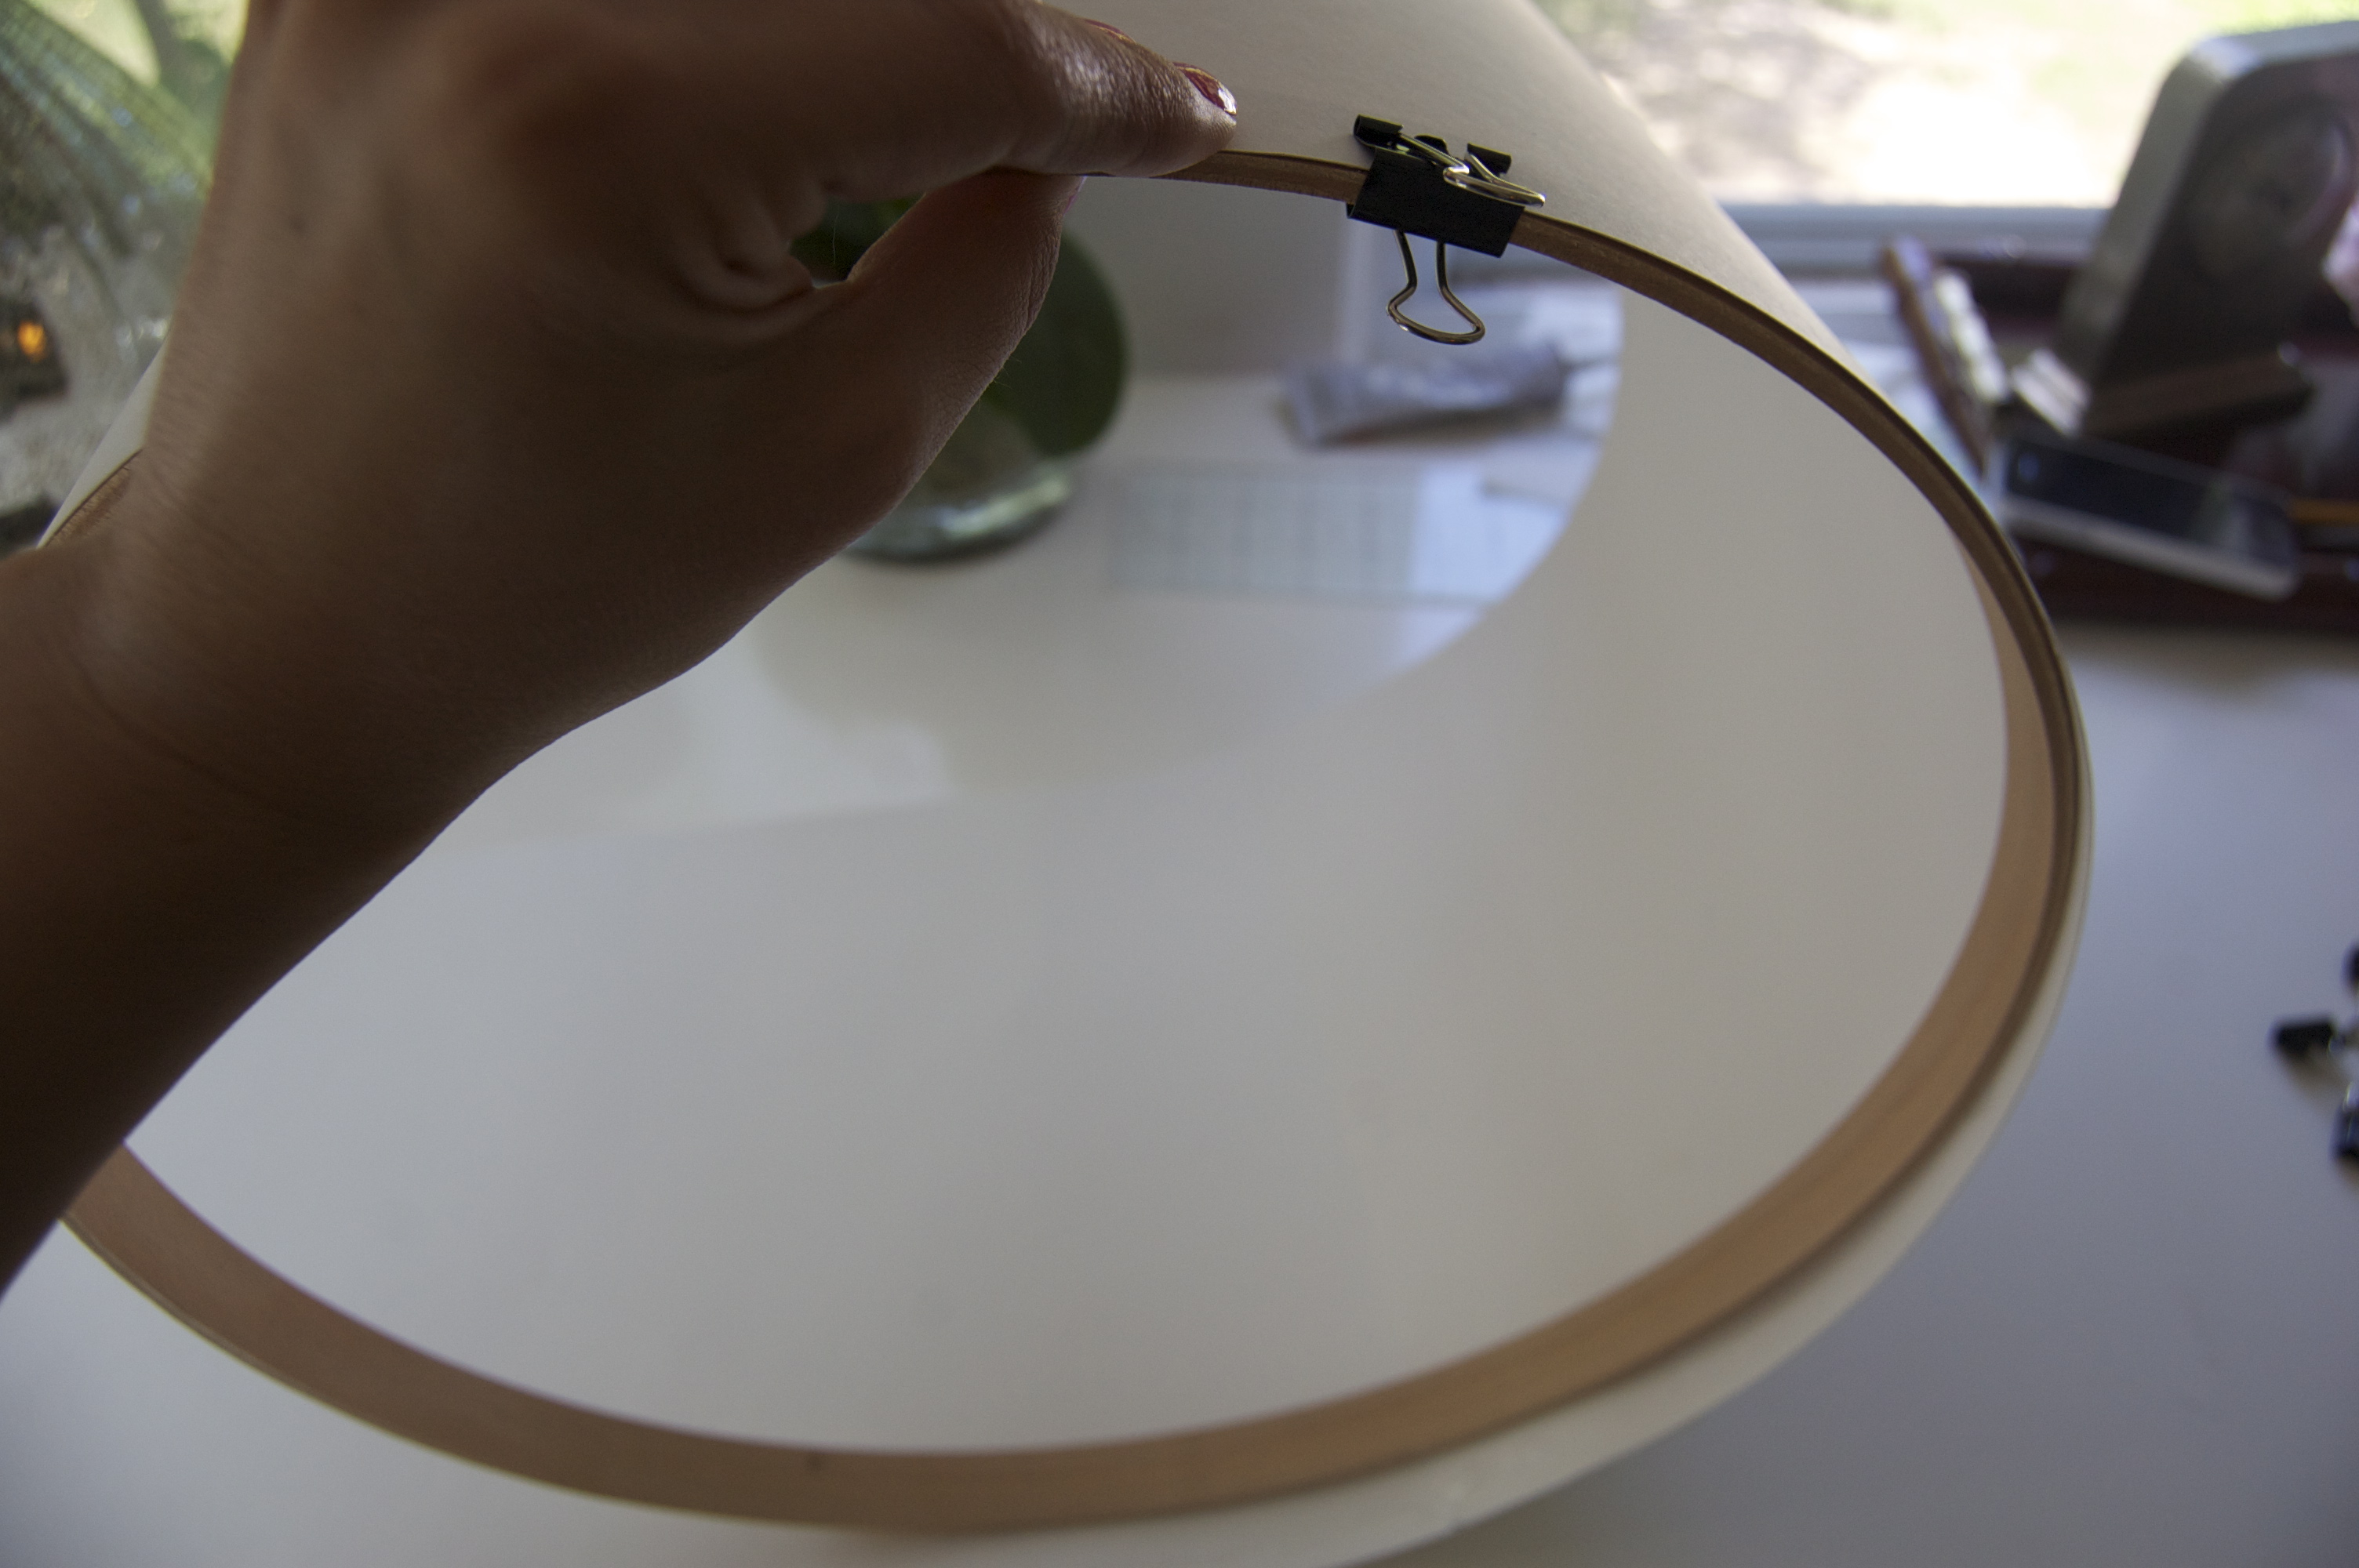
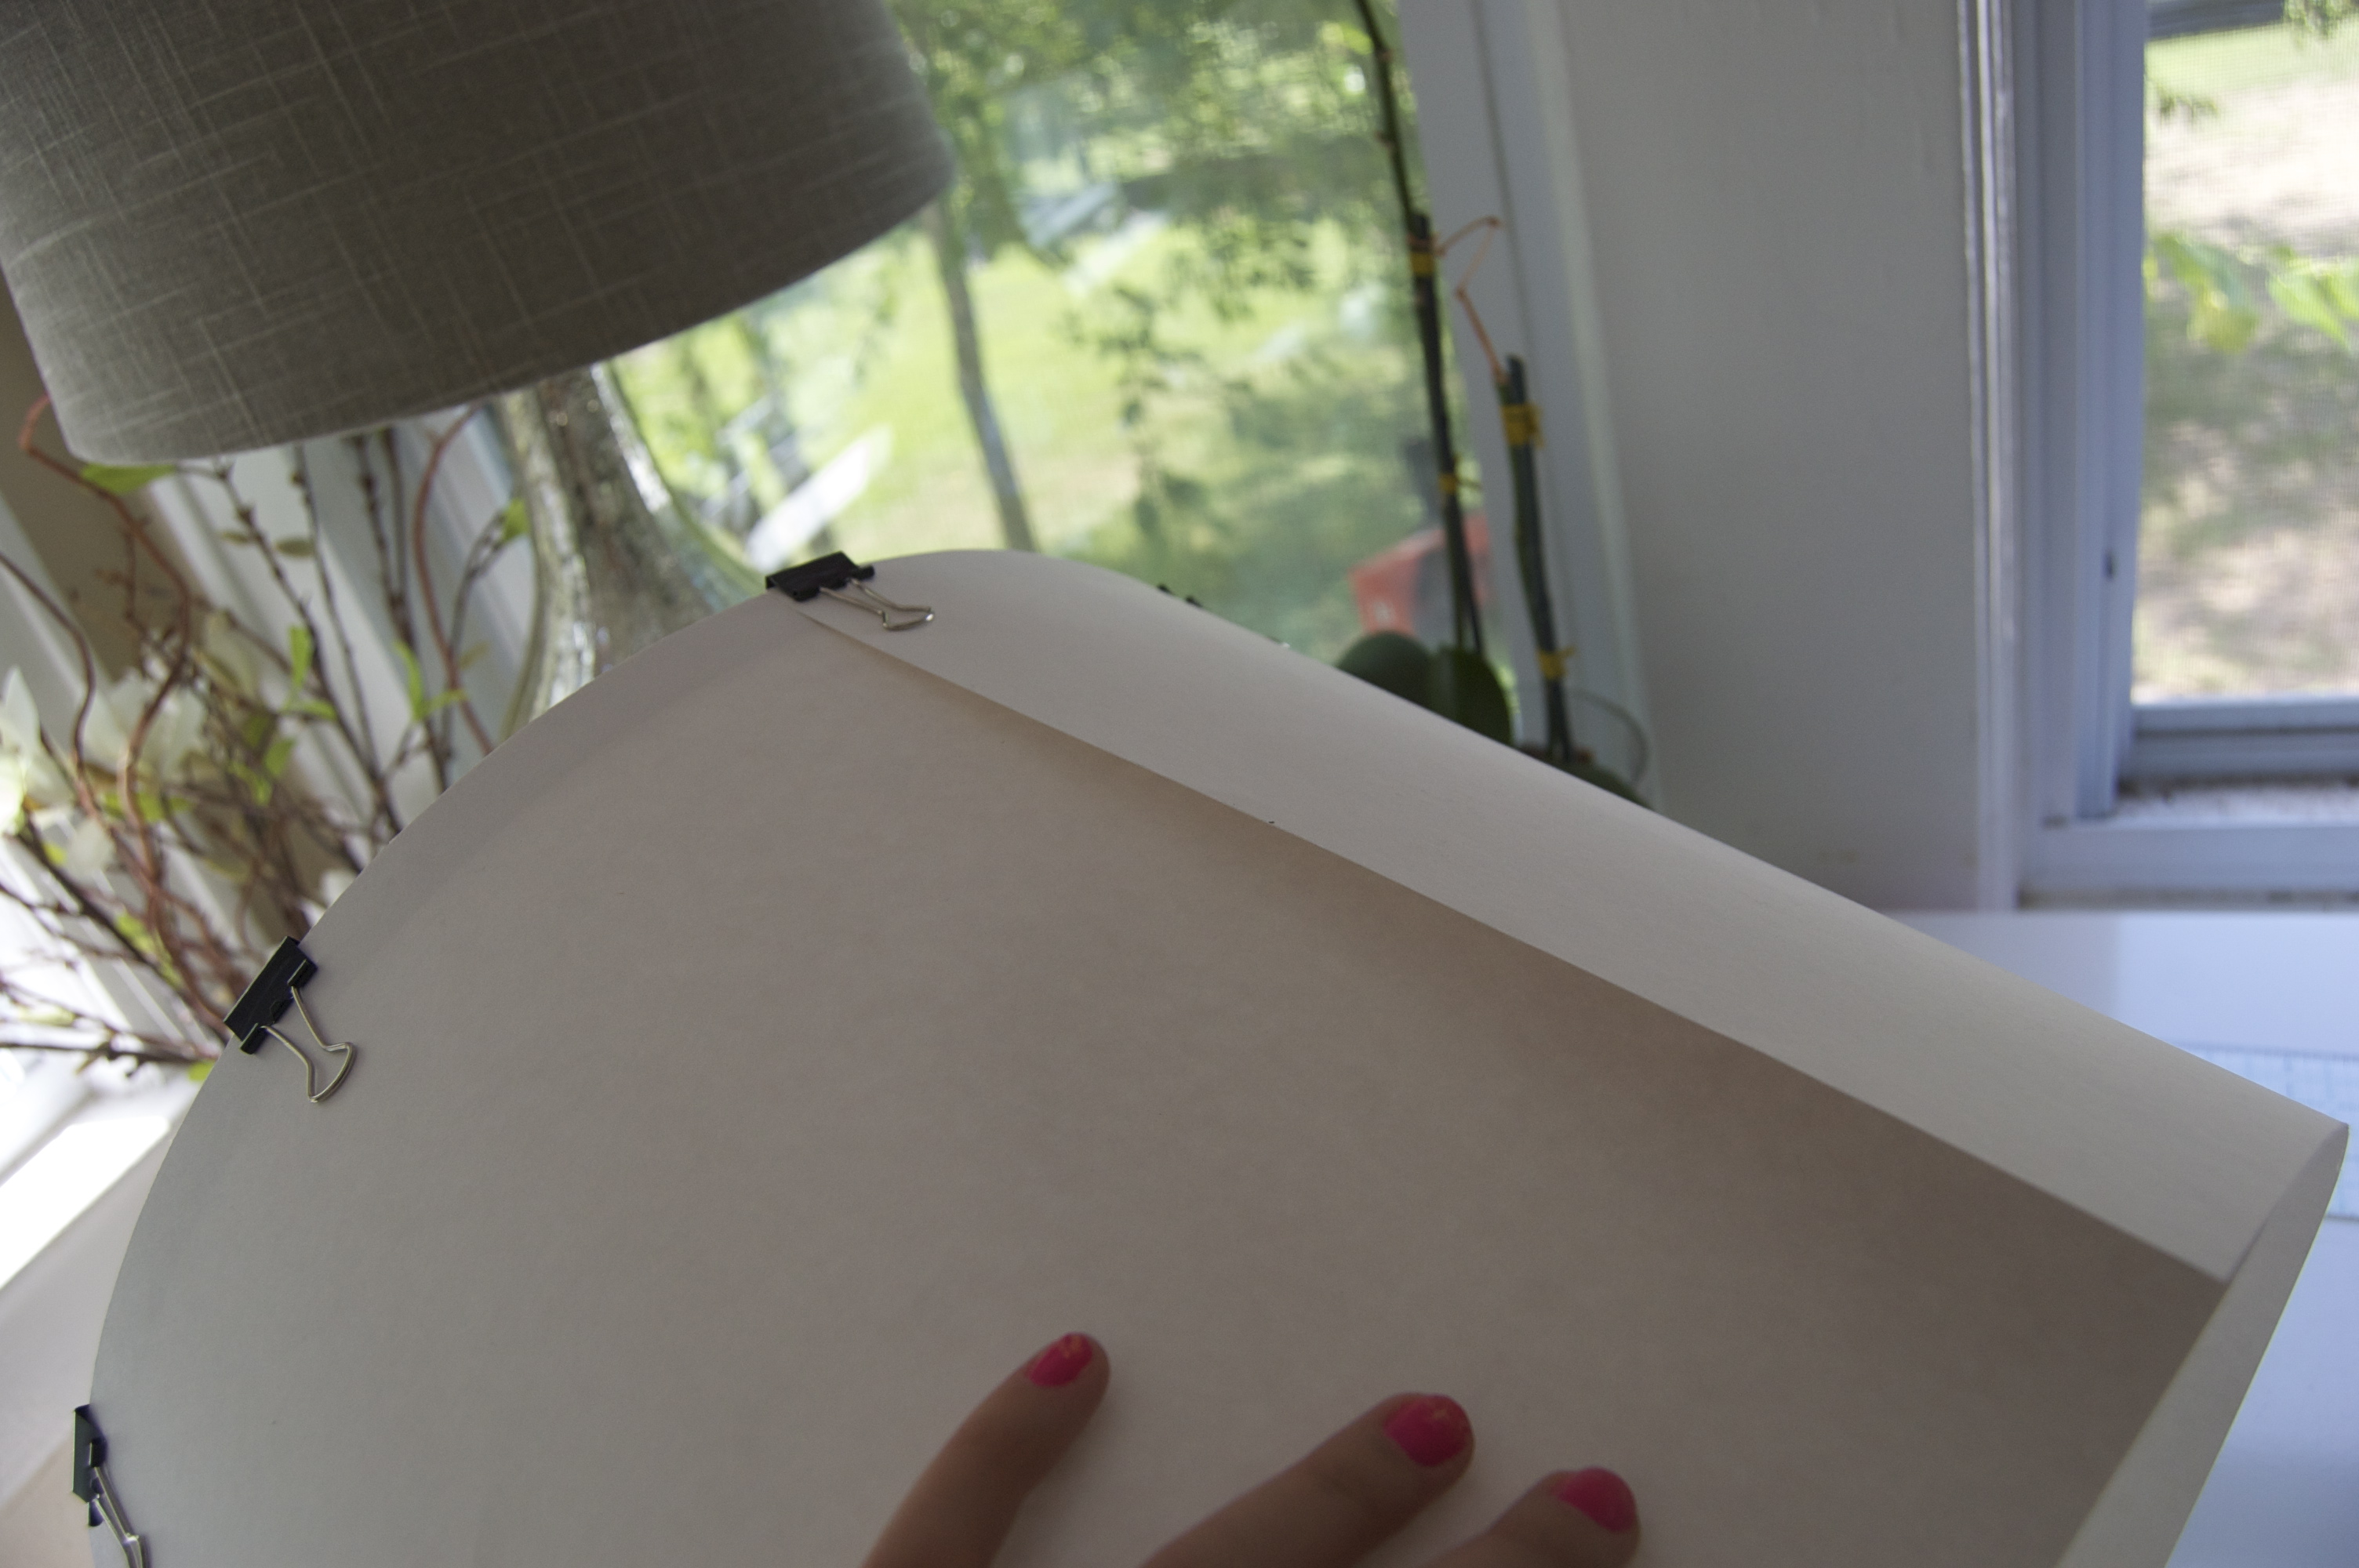
5. Begin wrapping your poster board around the edge. Use binder clips to clamp and help hold in place.
Leave the overlap unglued for now. This will help you when you attached the other hoop on the bottom.
6. Repeat the same step on the other side.
I placed the hoop sideways inside and then slid it up to the edge. You can glue the overlap close now.
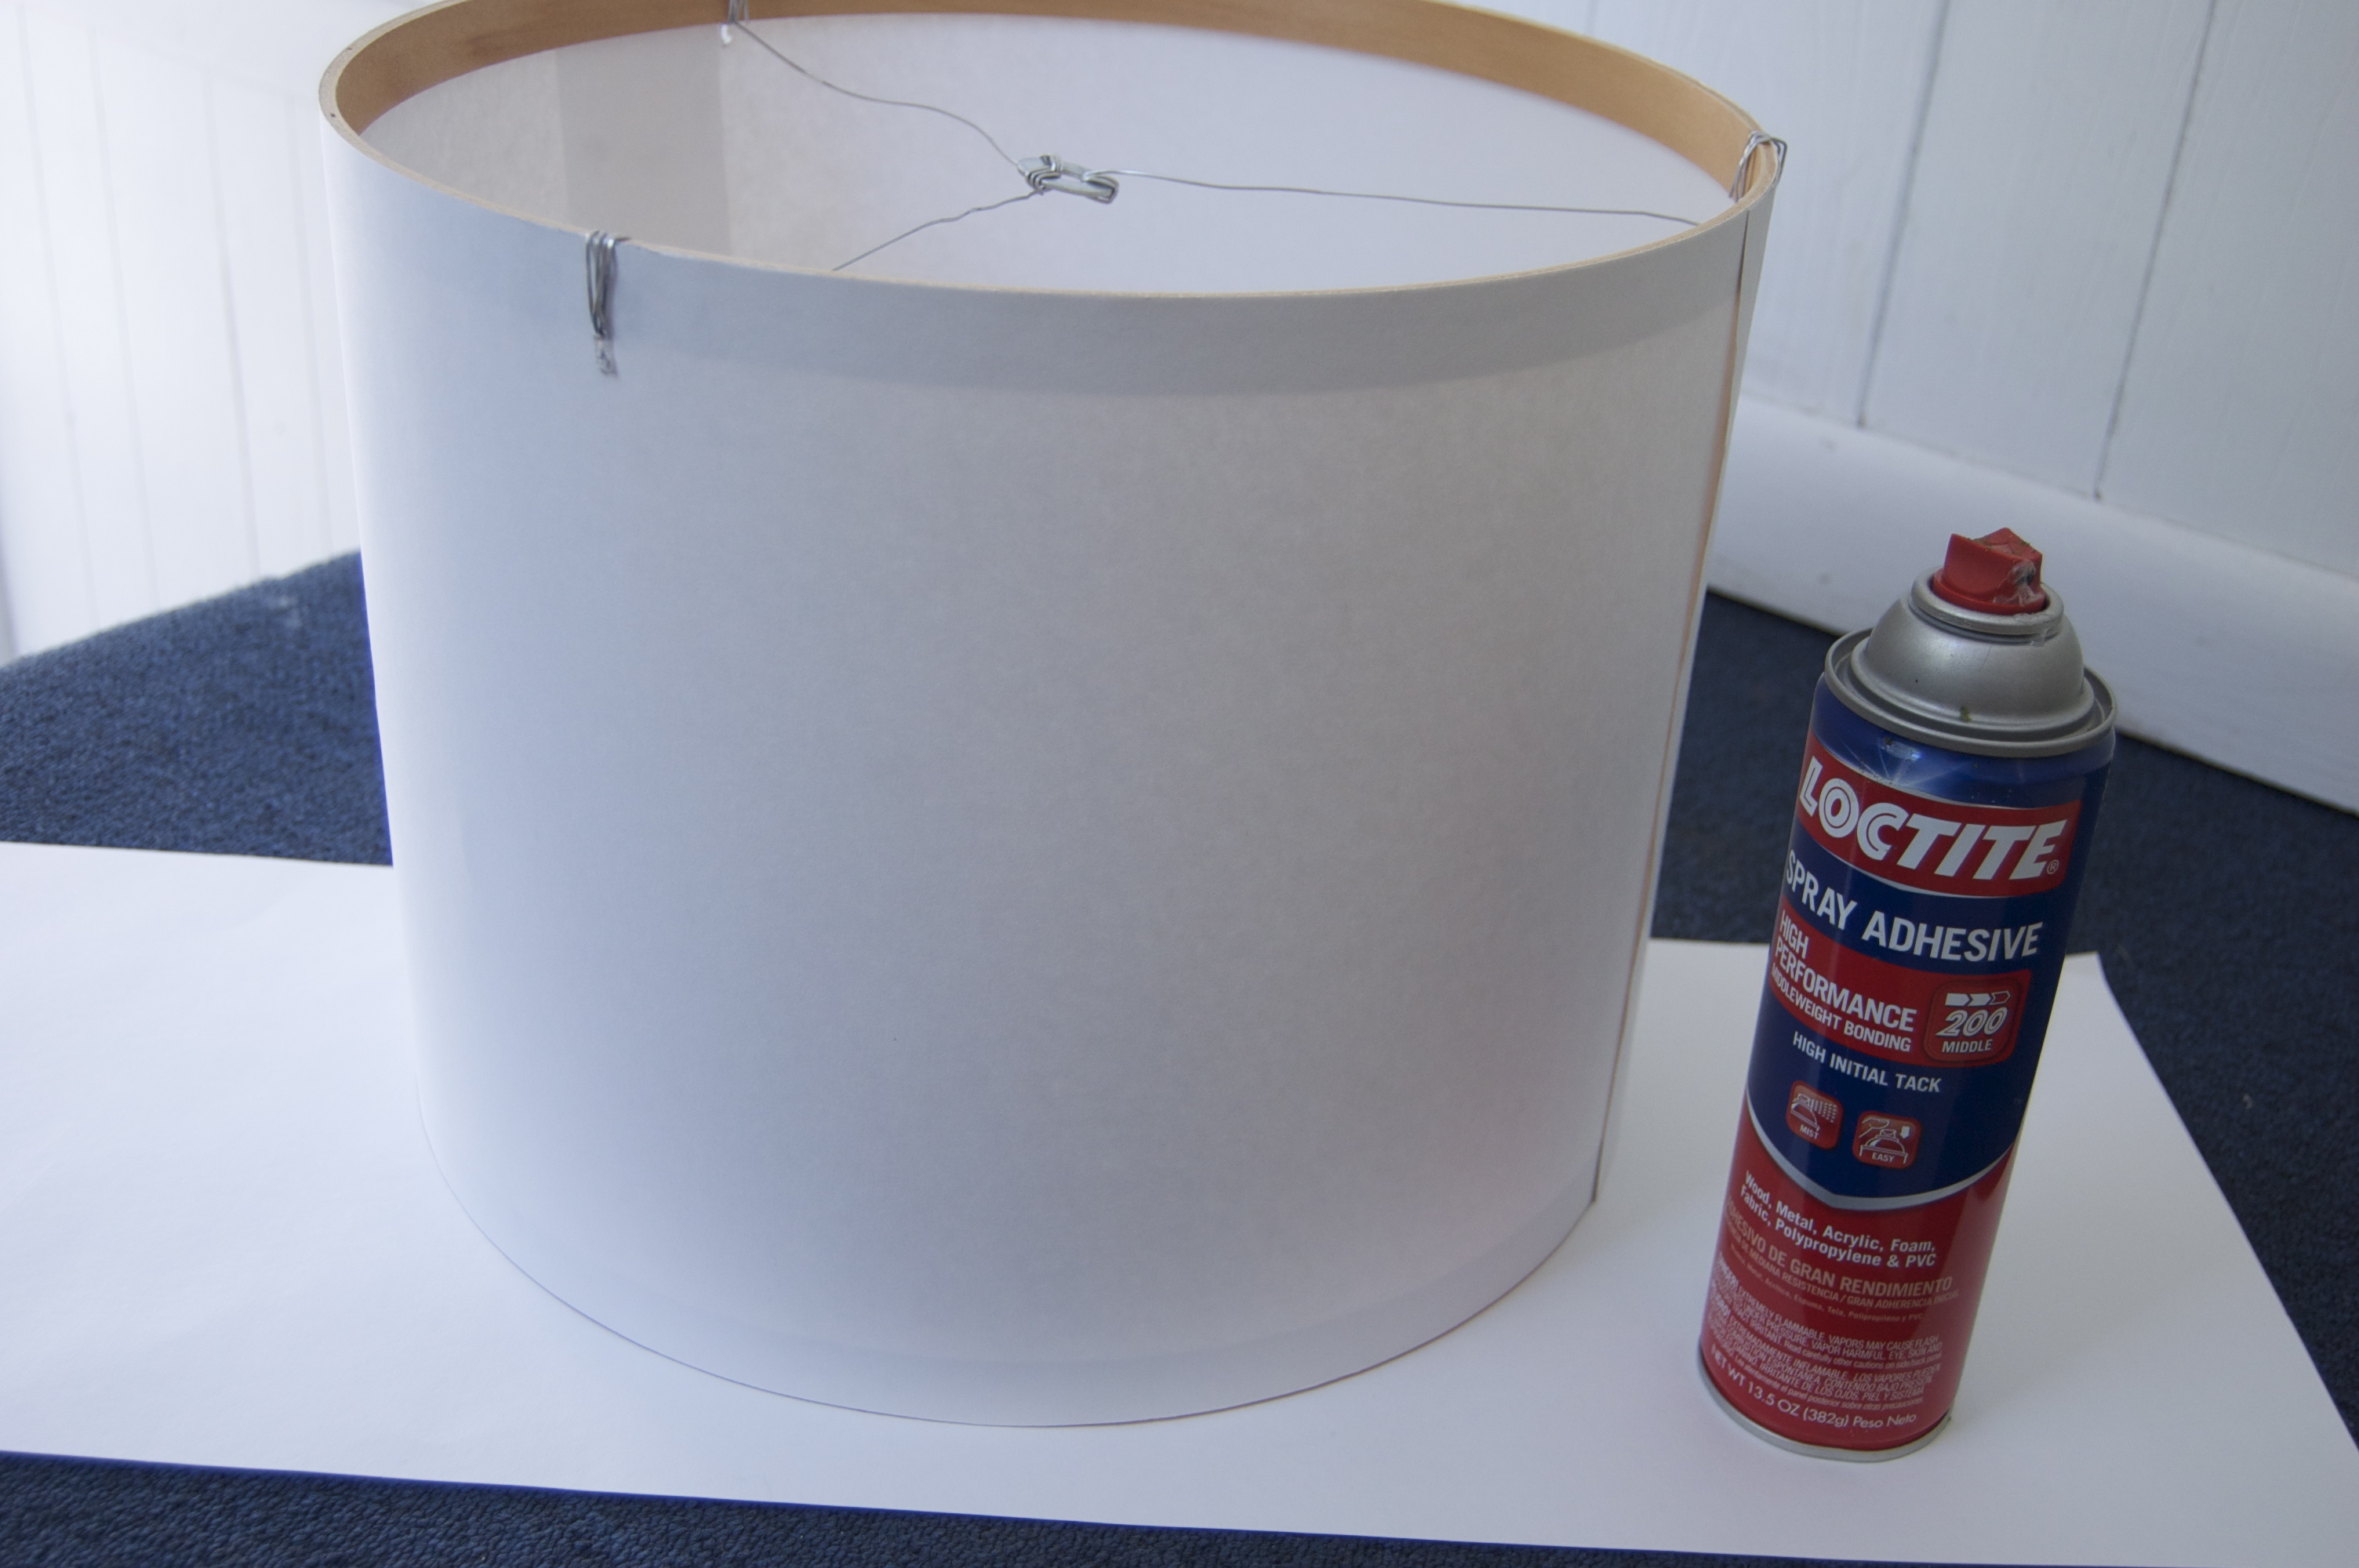
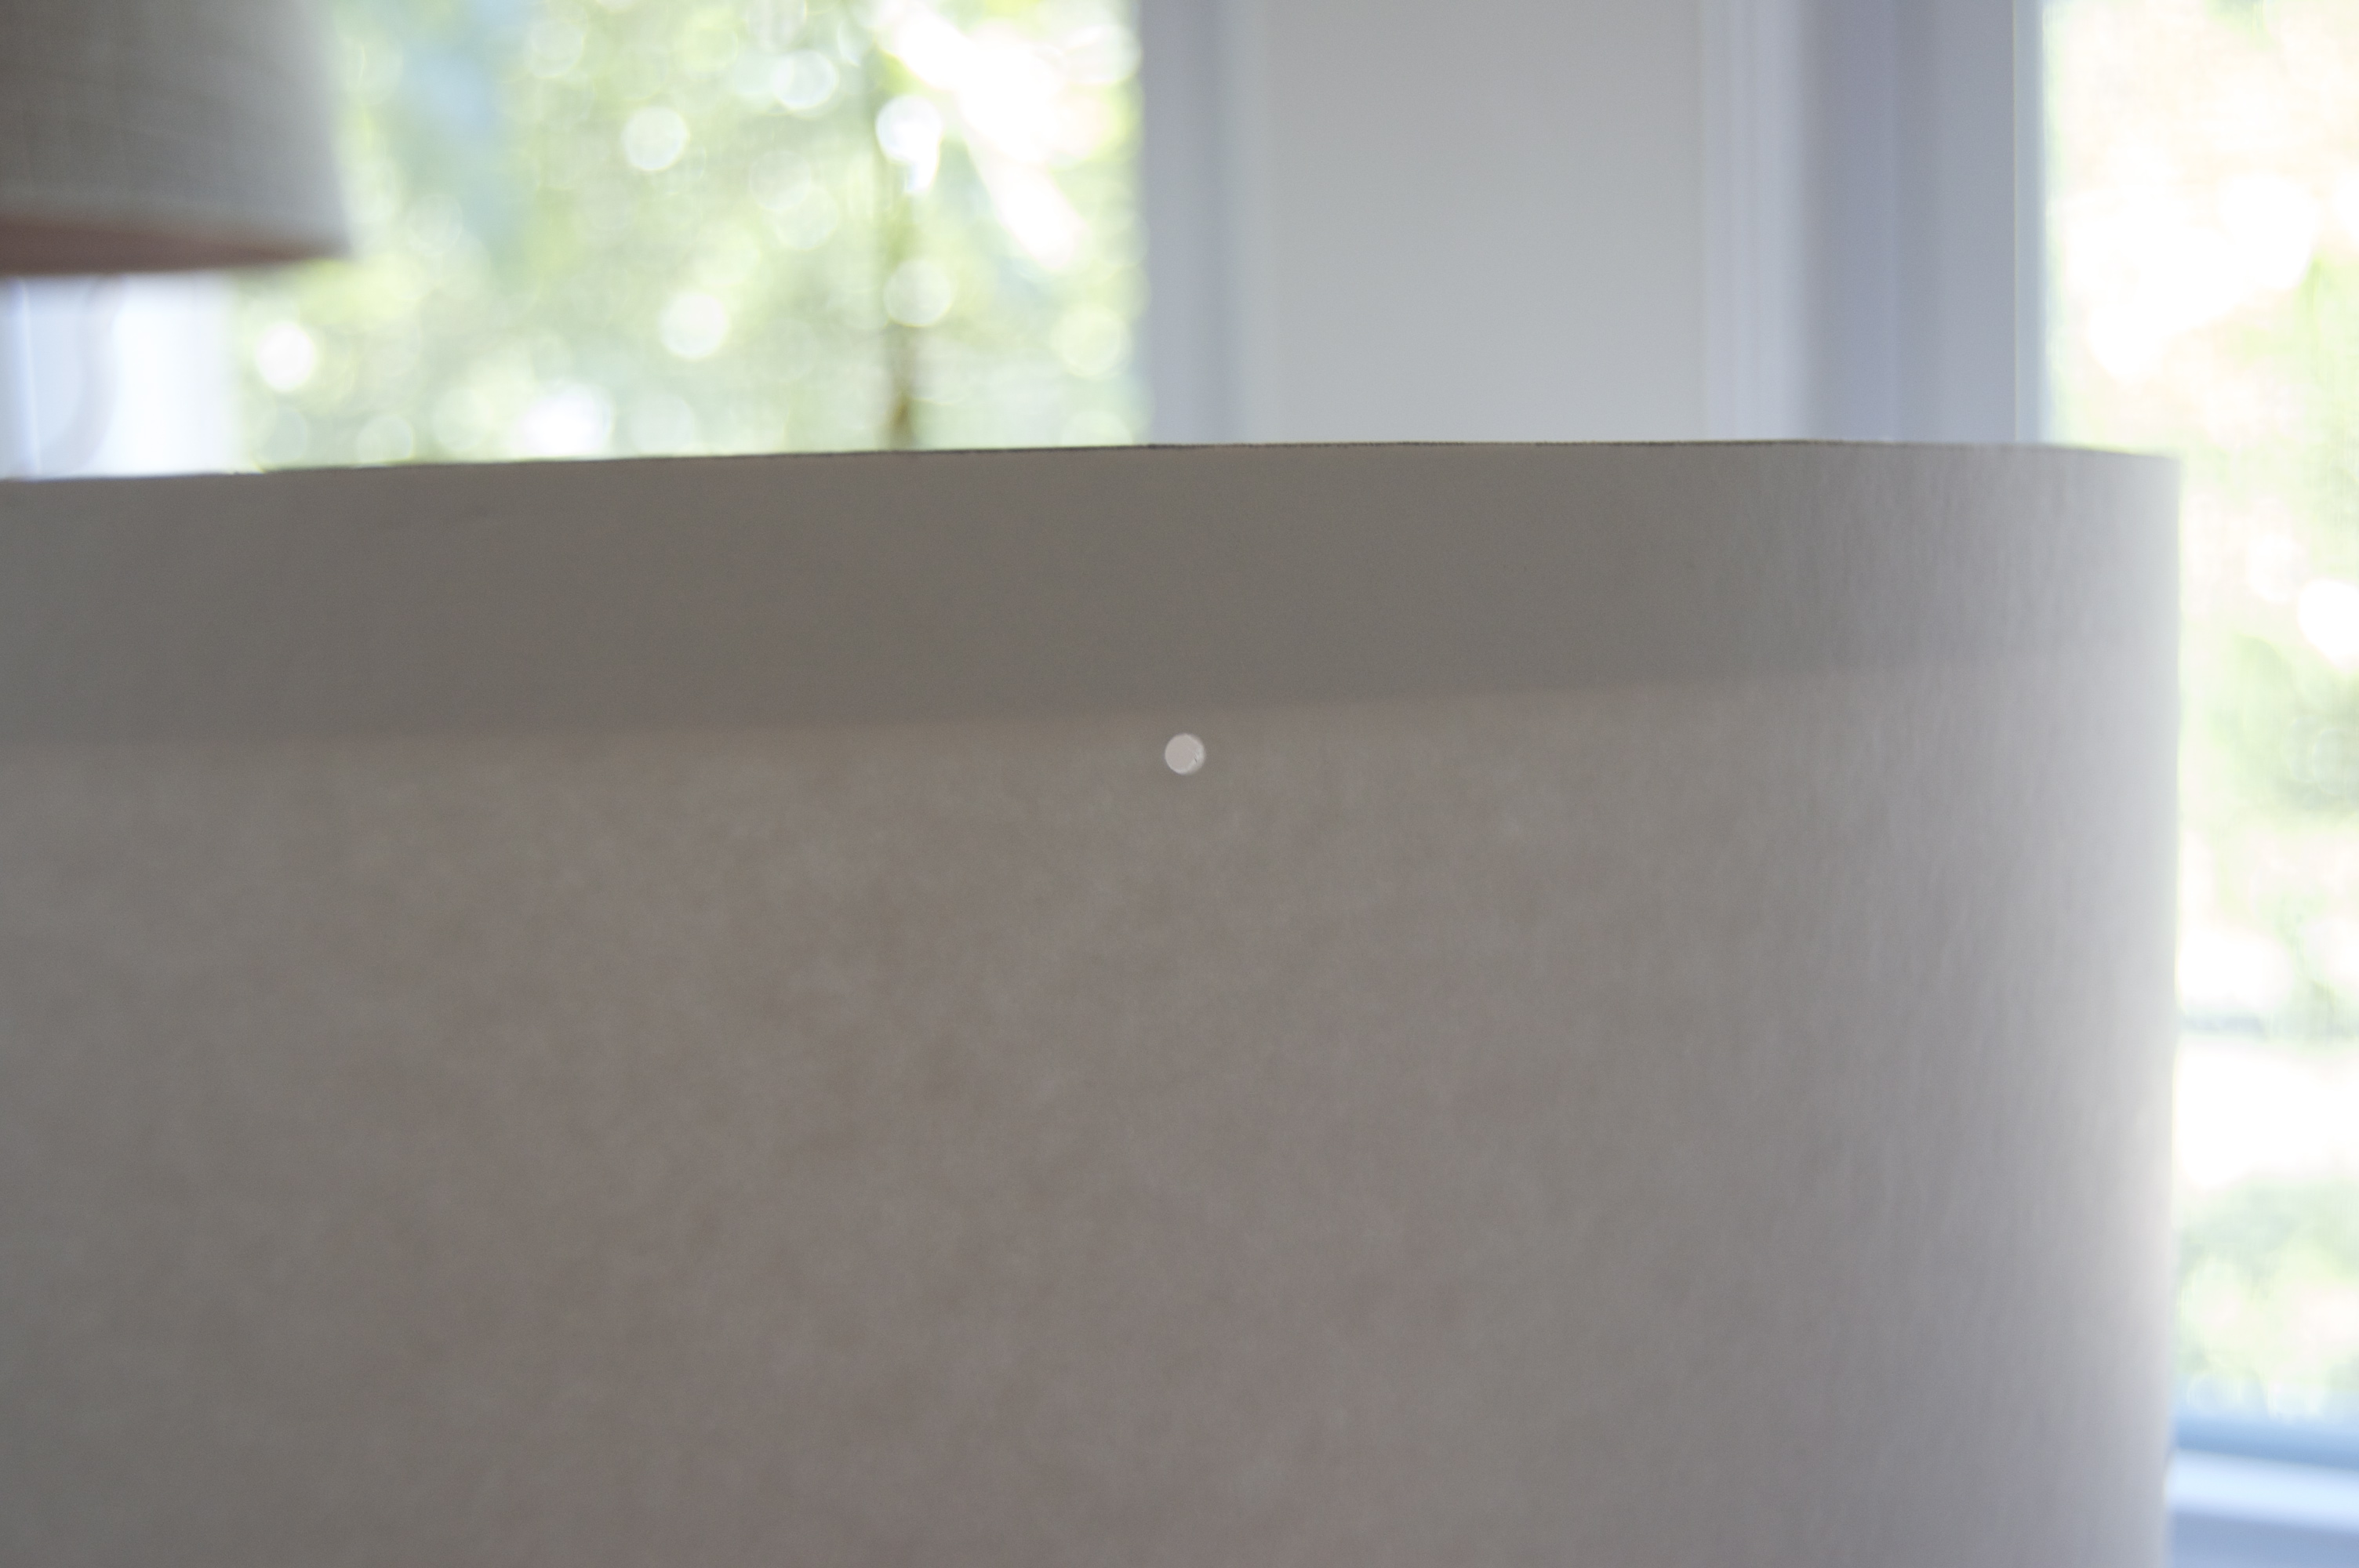
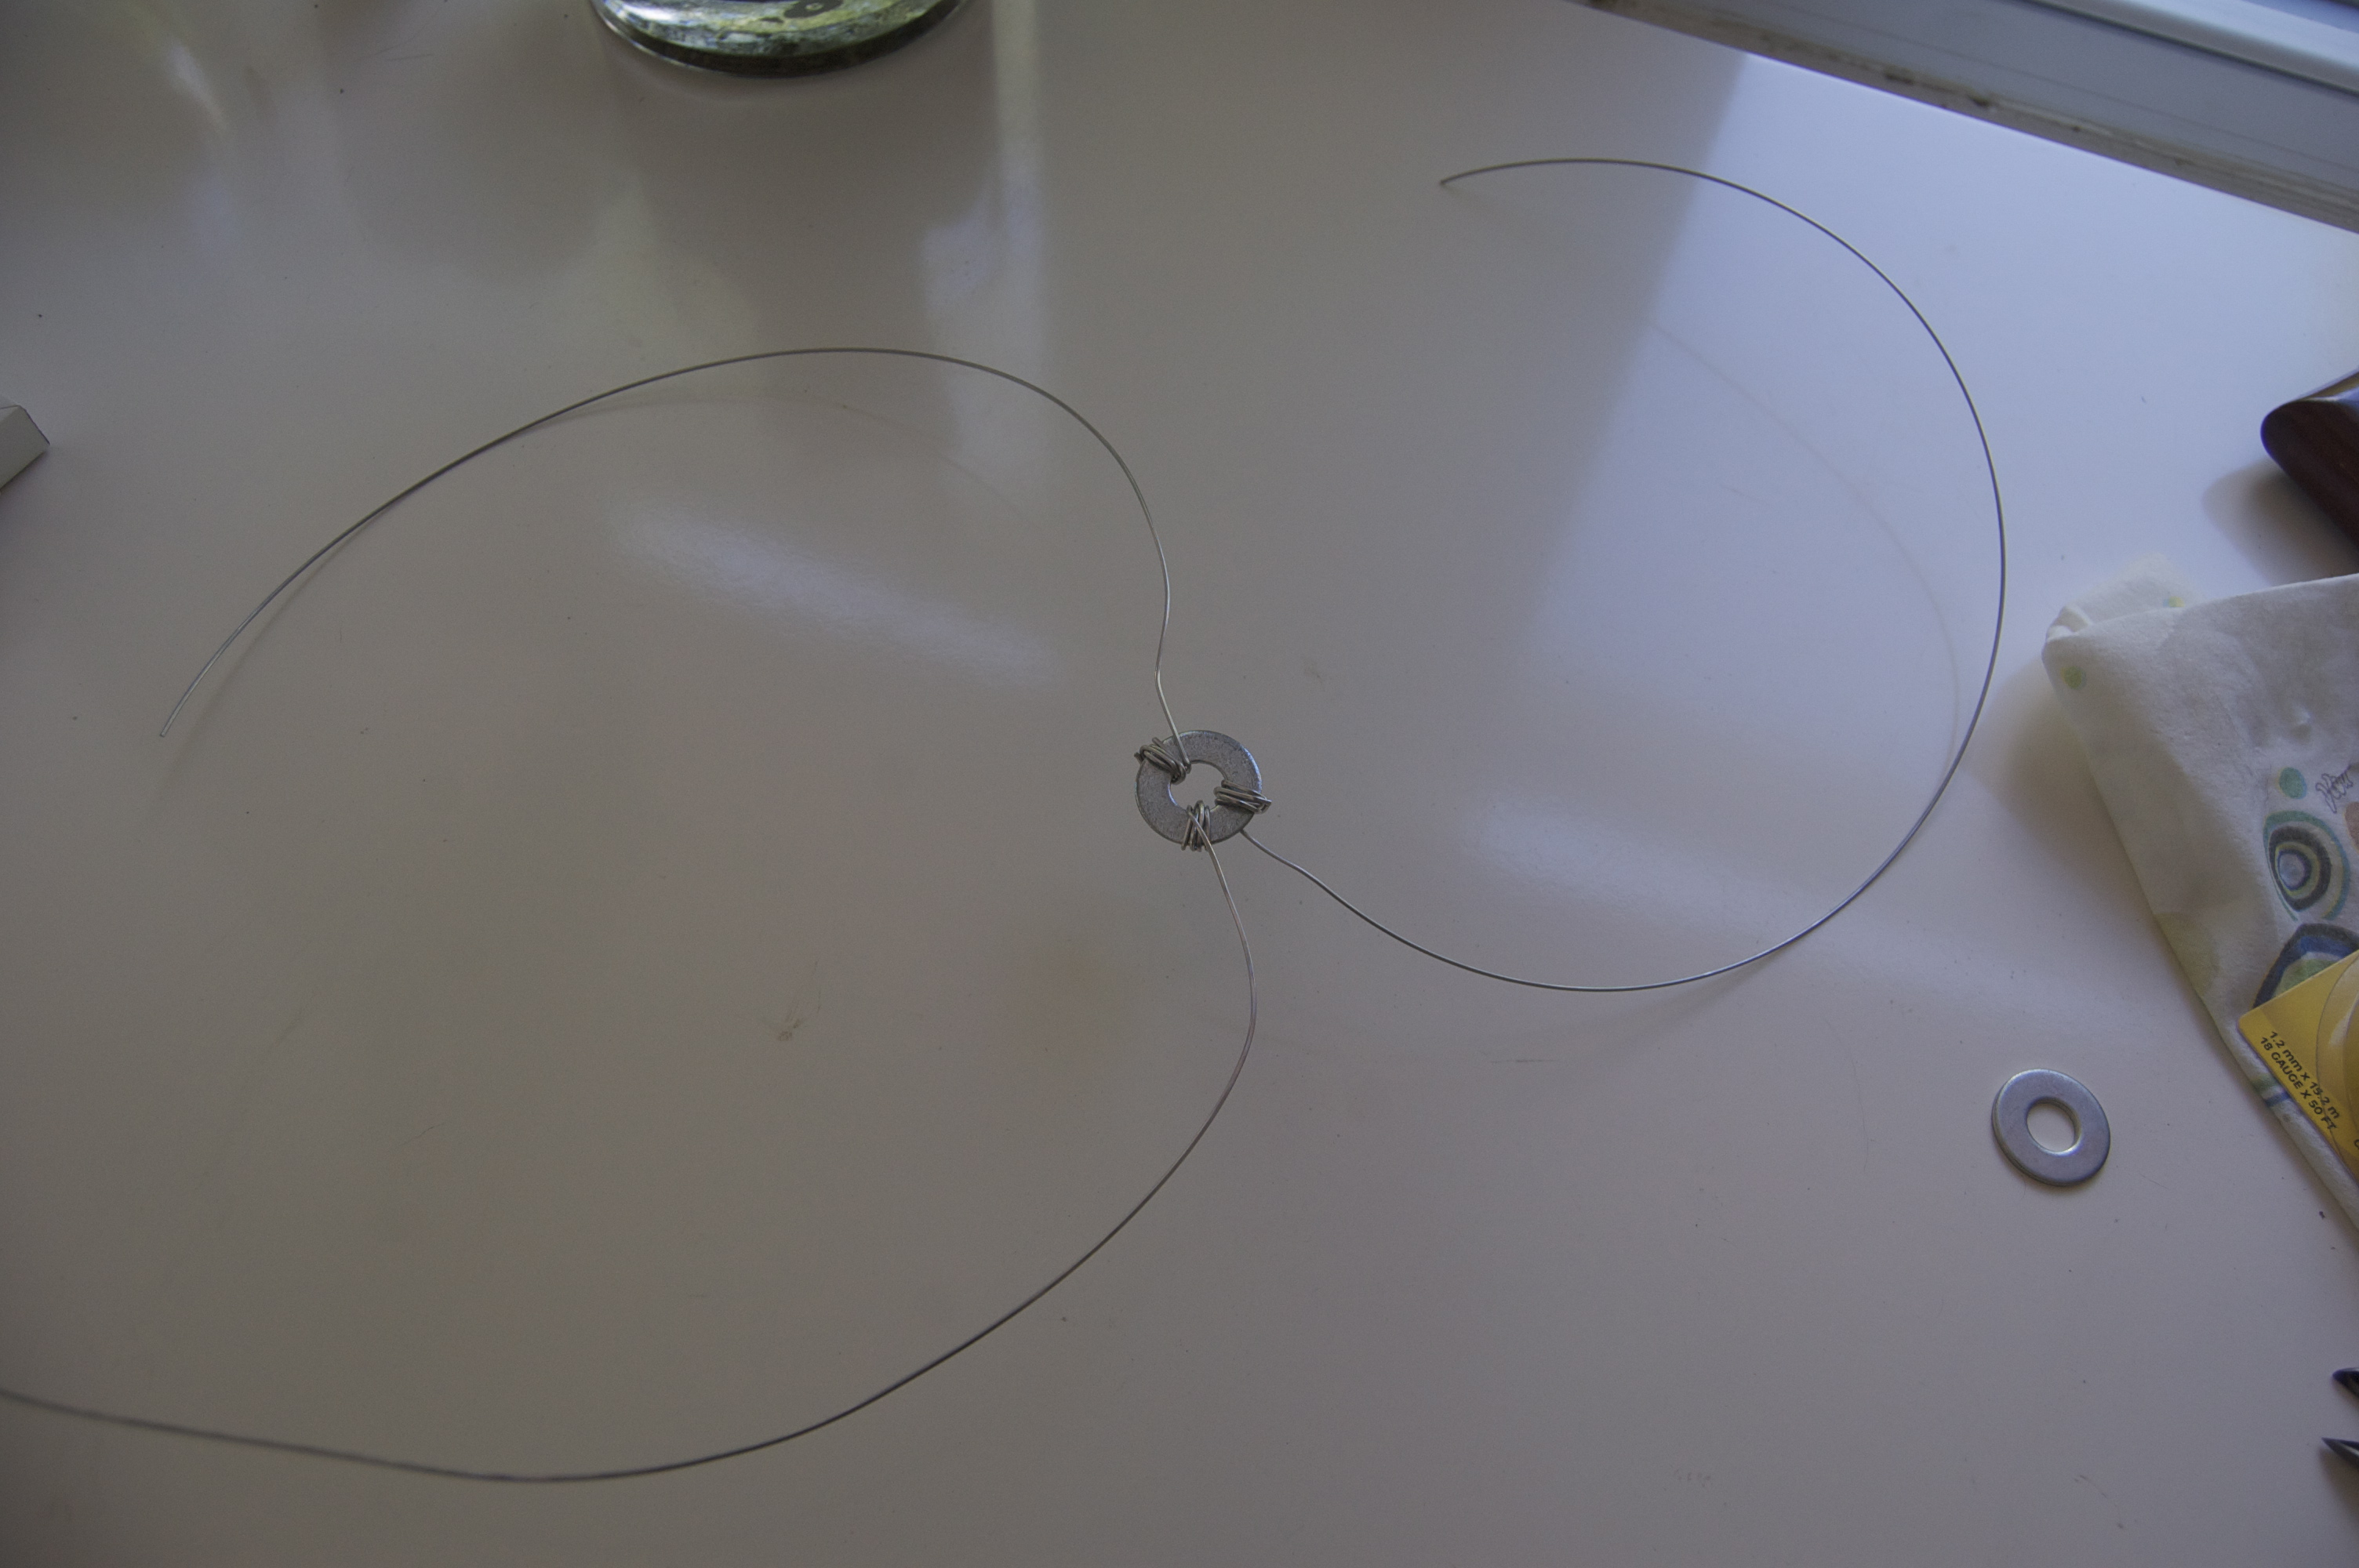
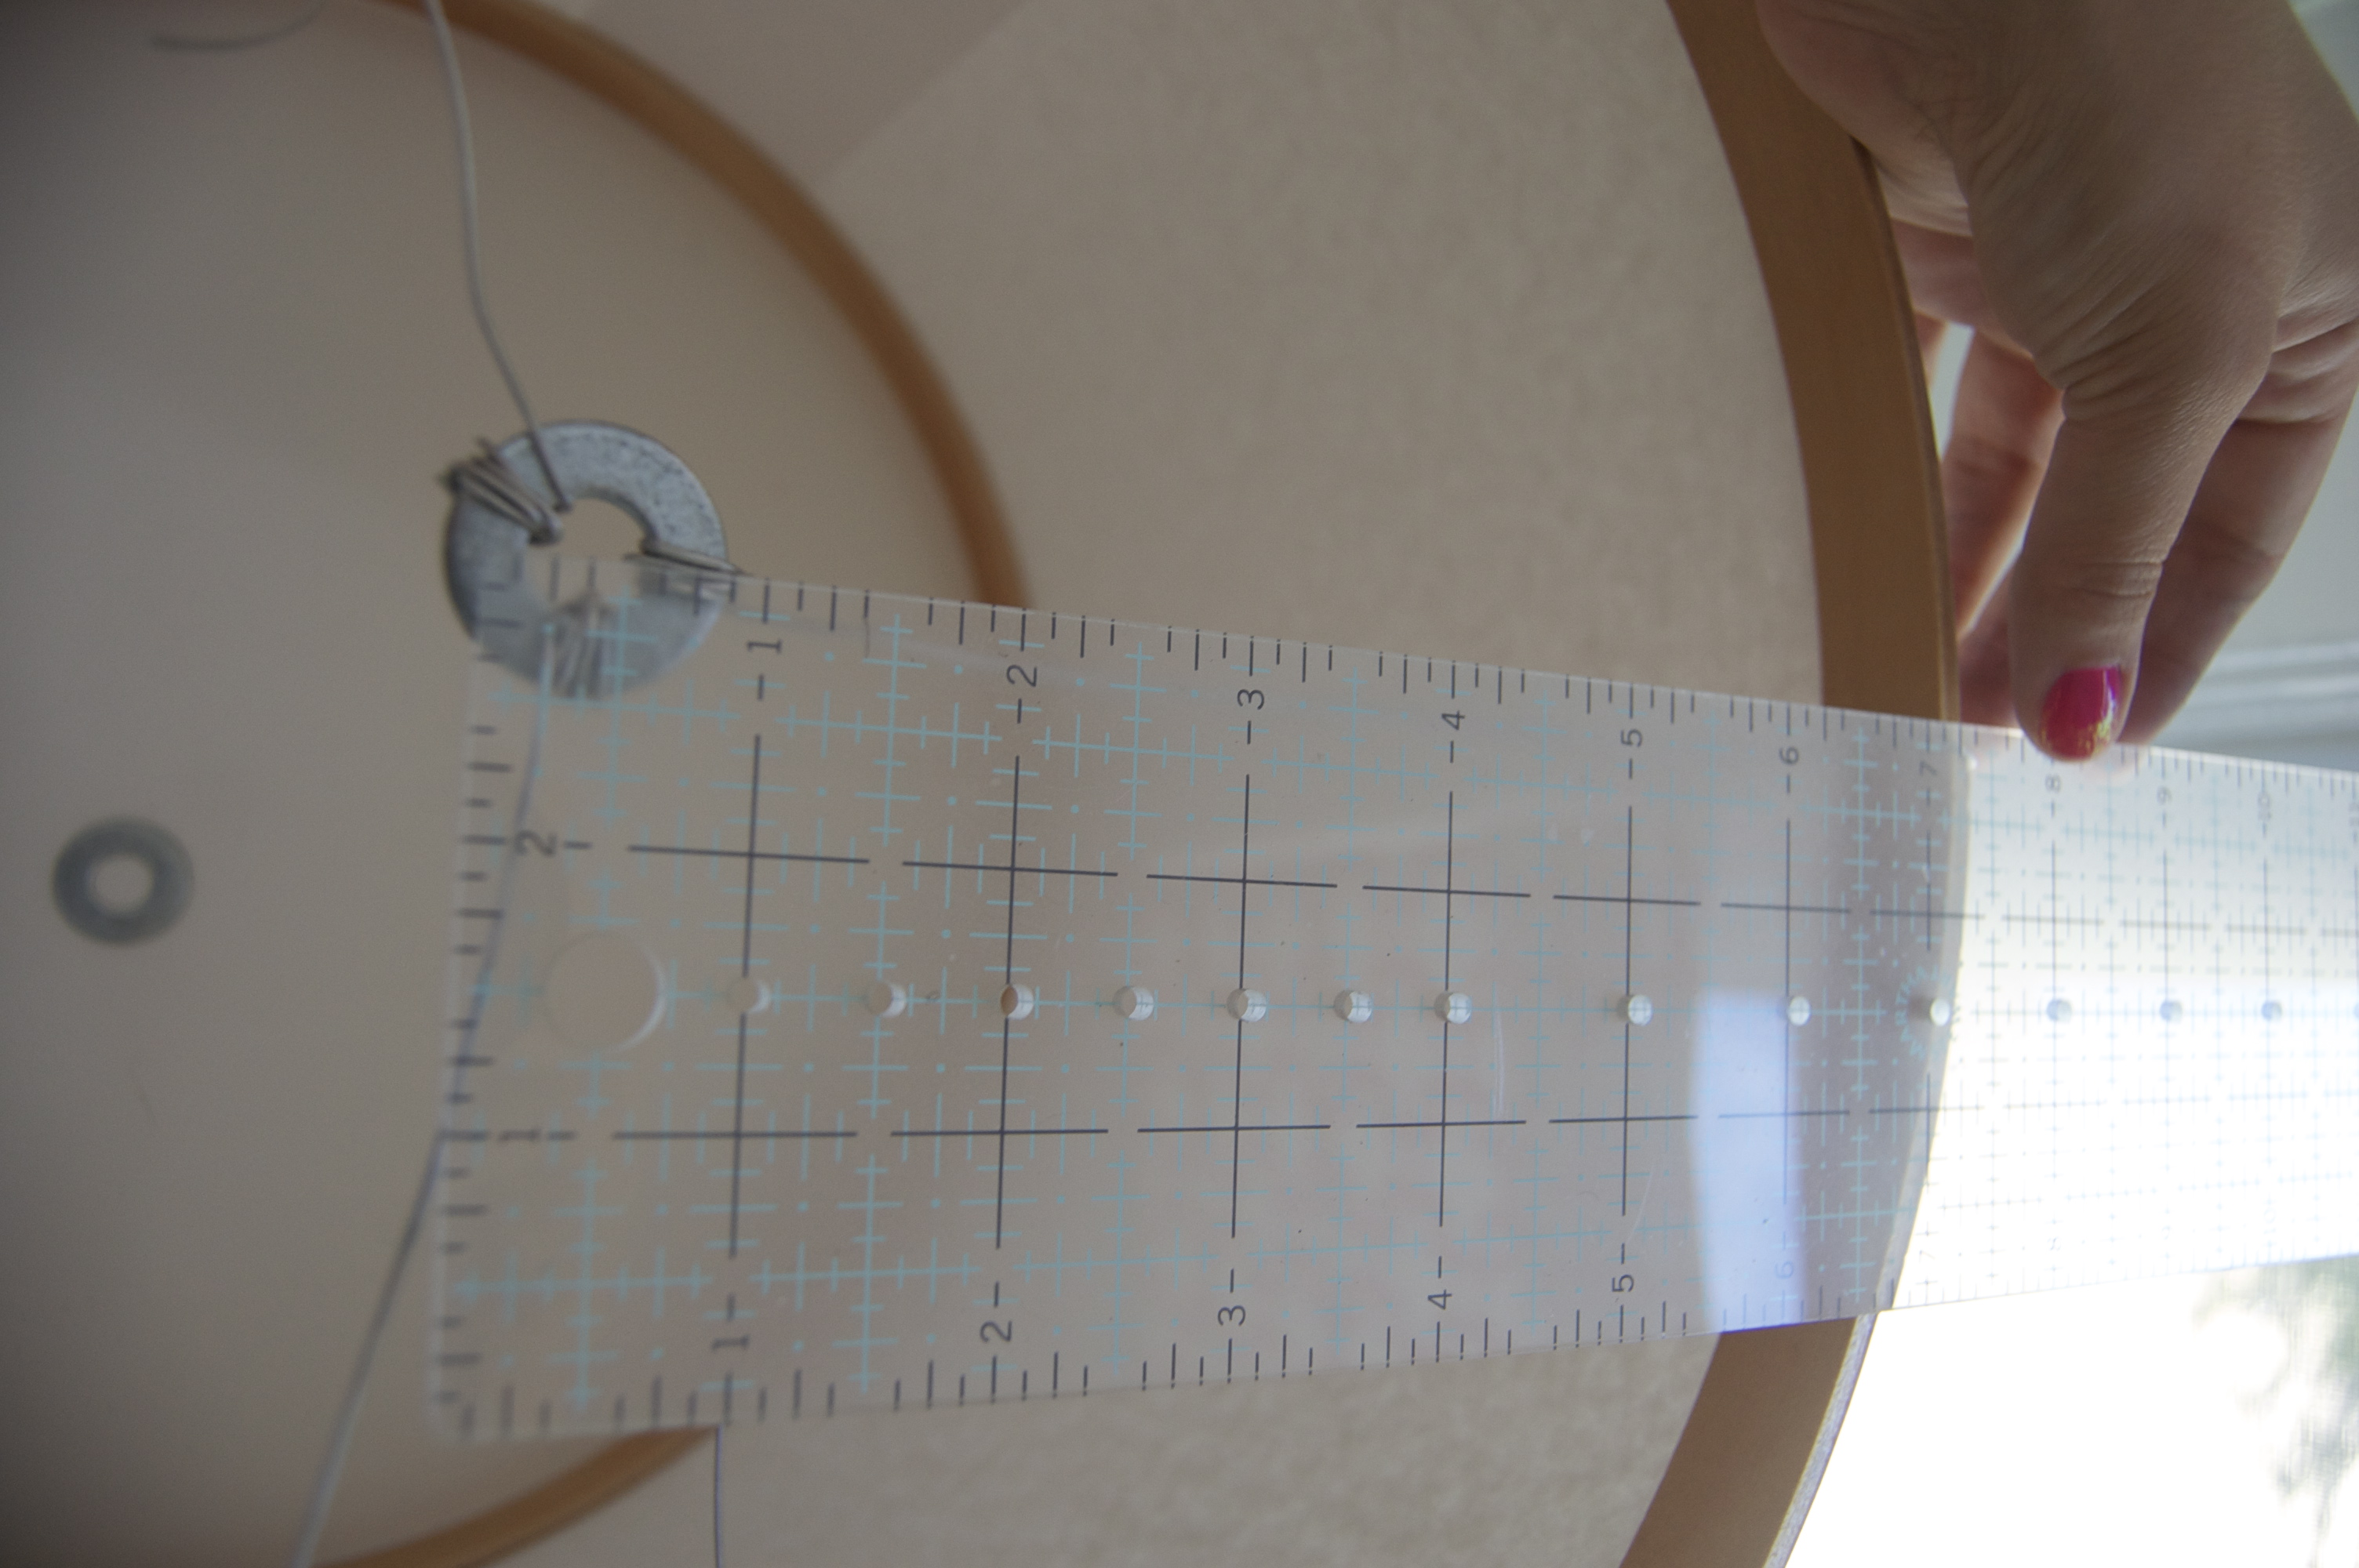
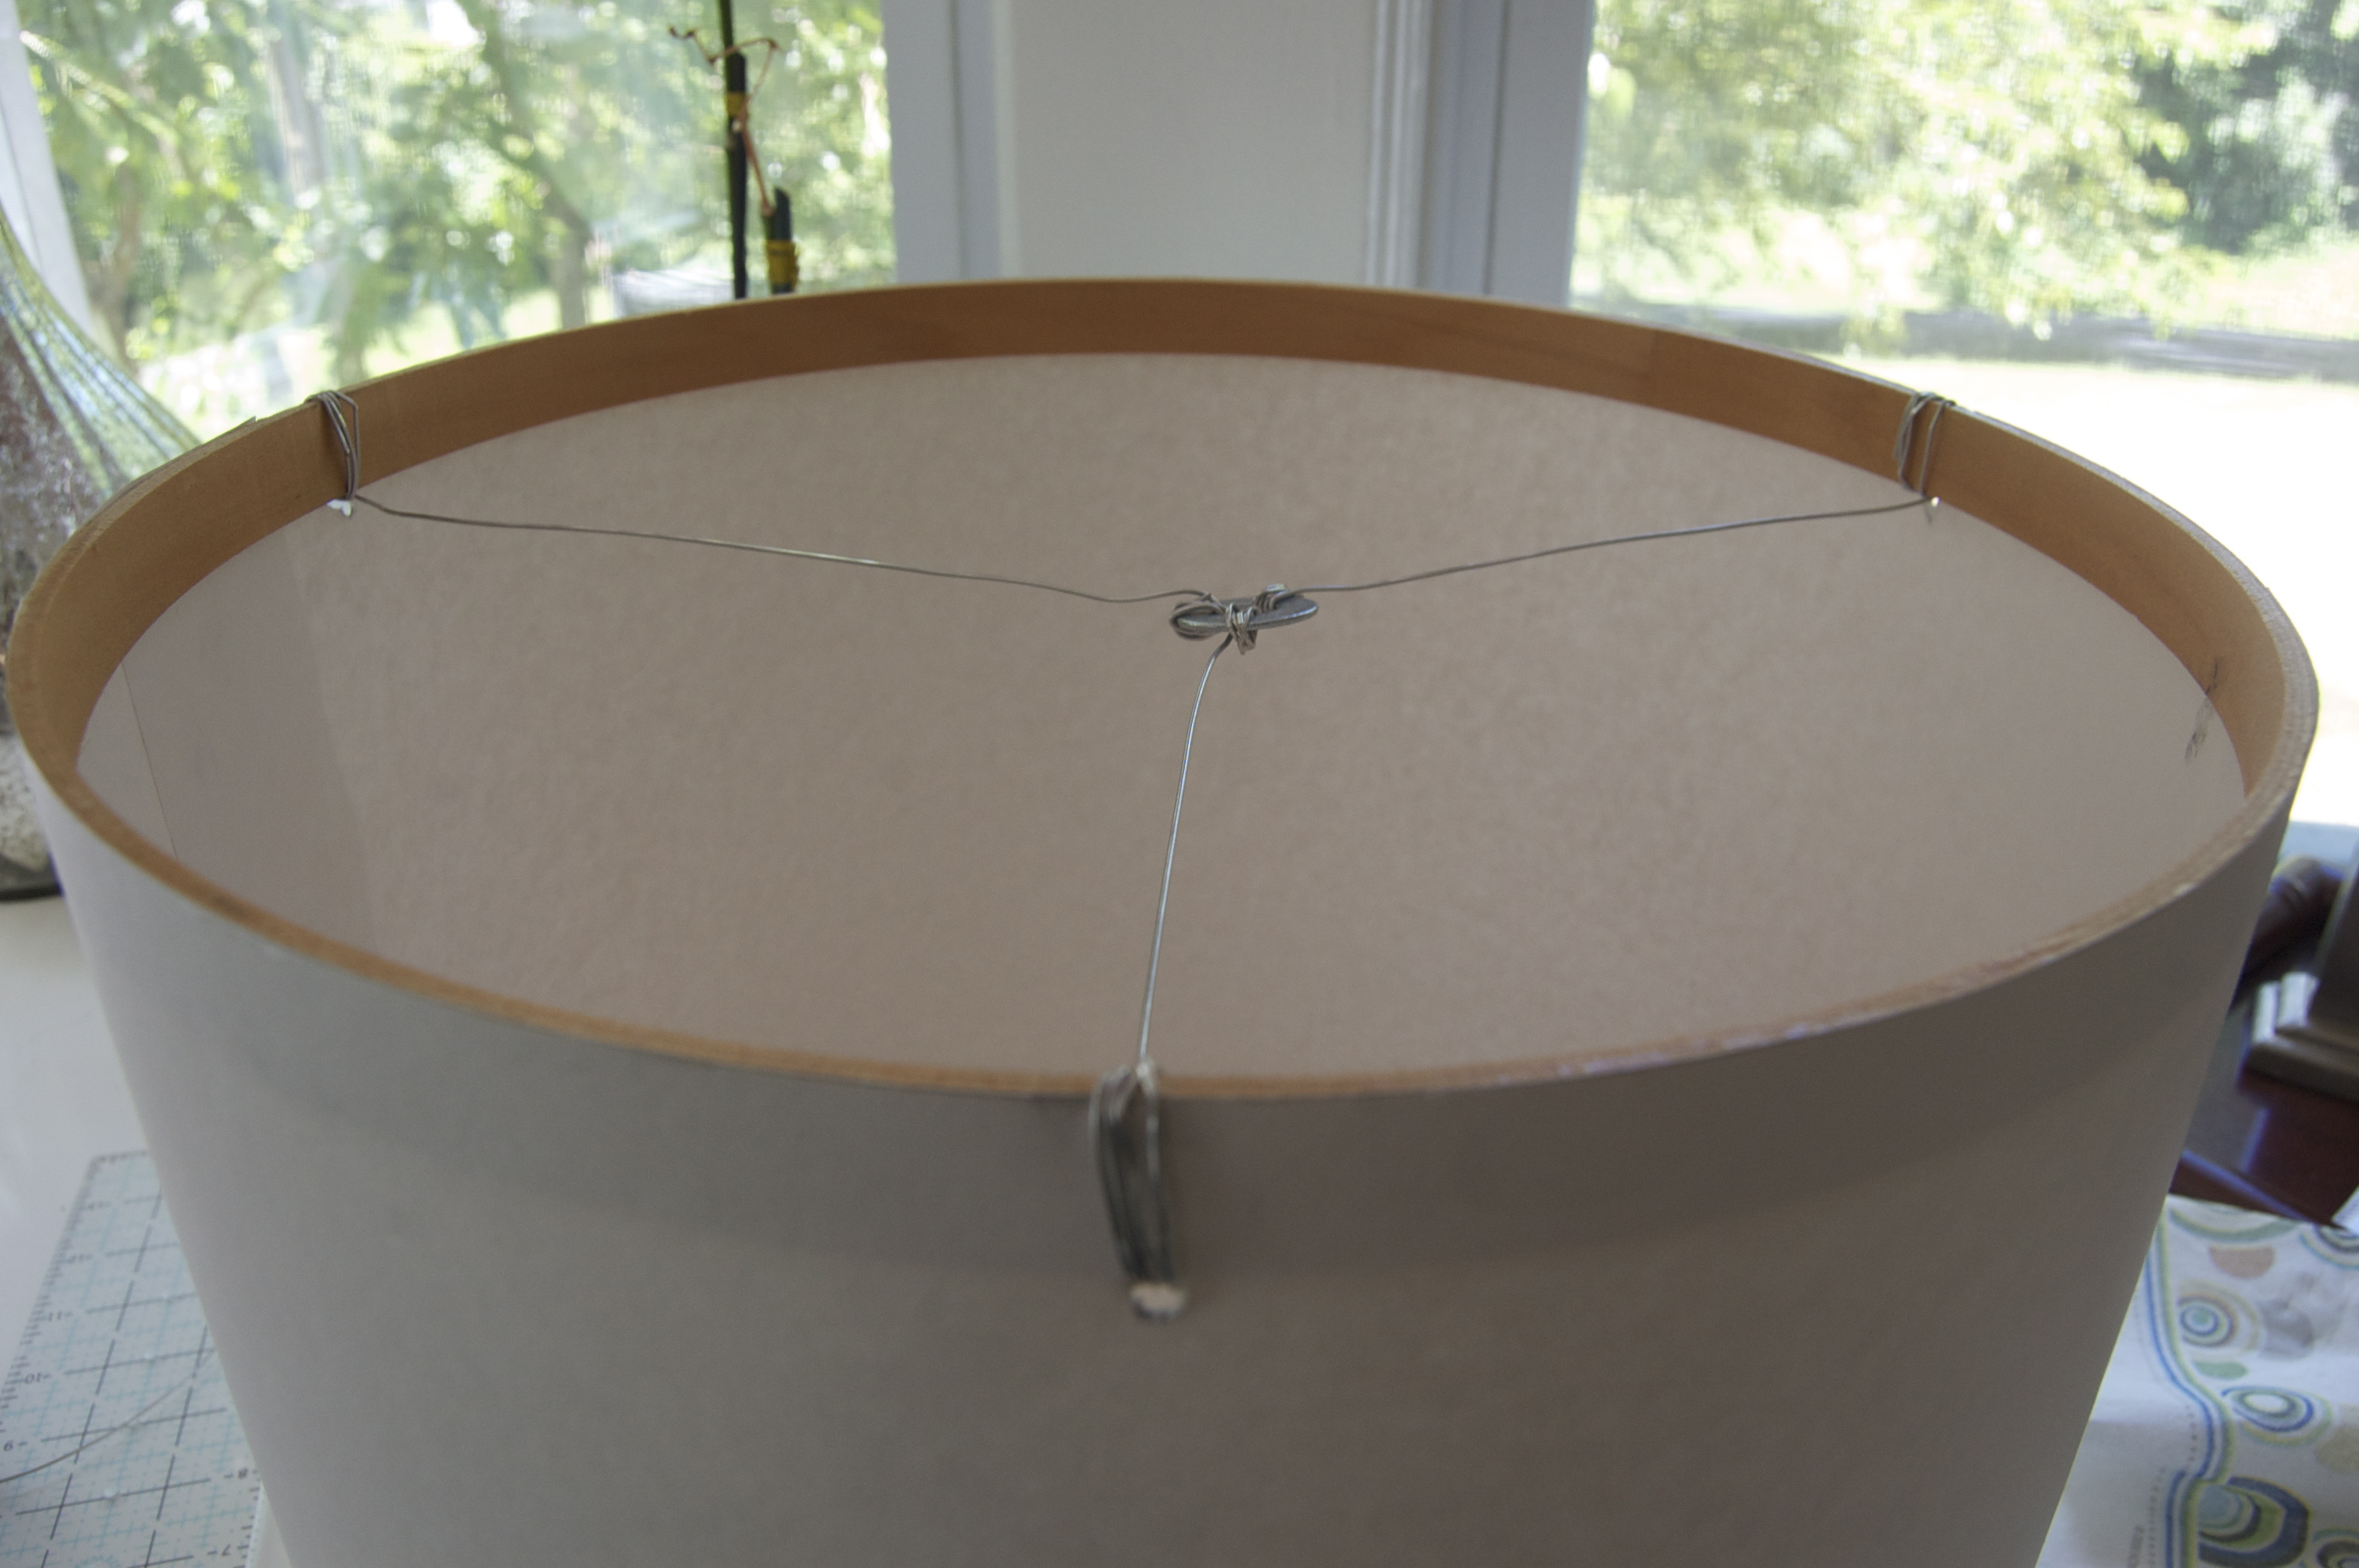
 7. To create the spider, wrap your wire around a washer and punch three holes in the shade.
Make sure the washer sits in the middle of the shade (I measured 7 inches for each wire) and pull tightly and wrap around.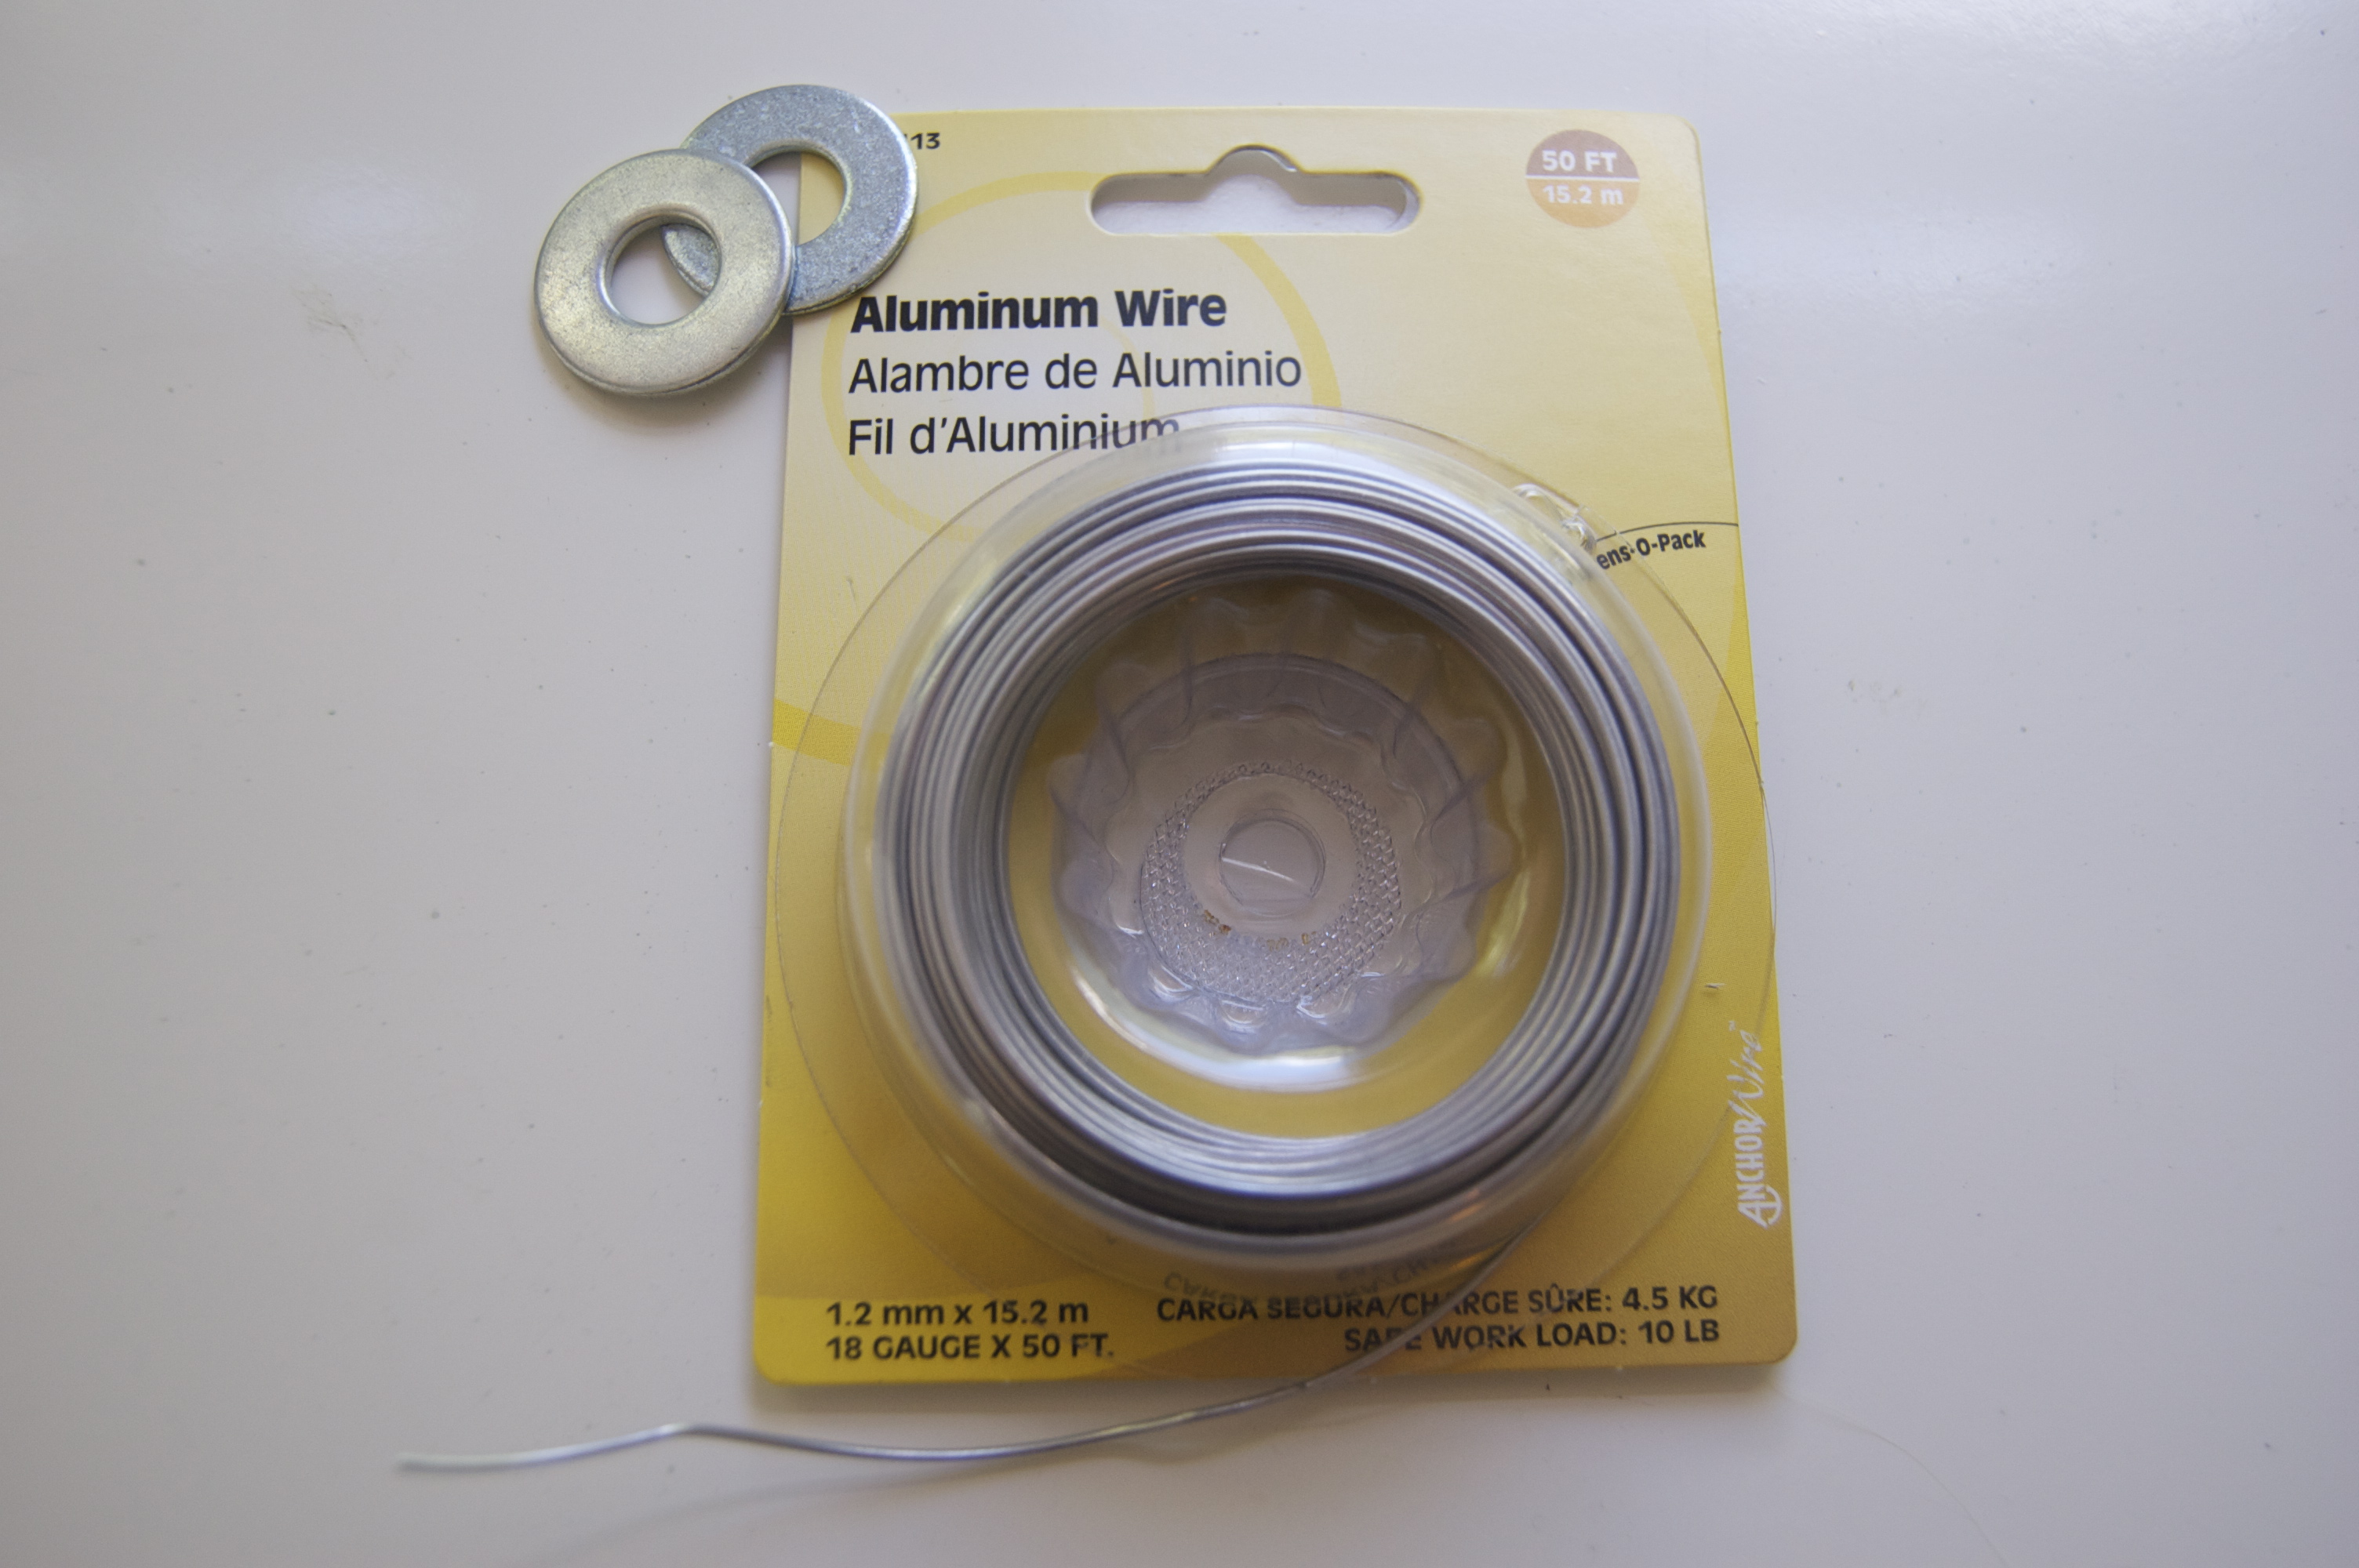
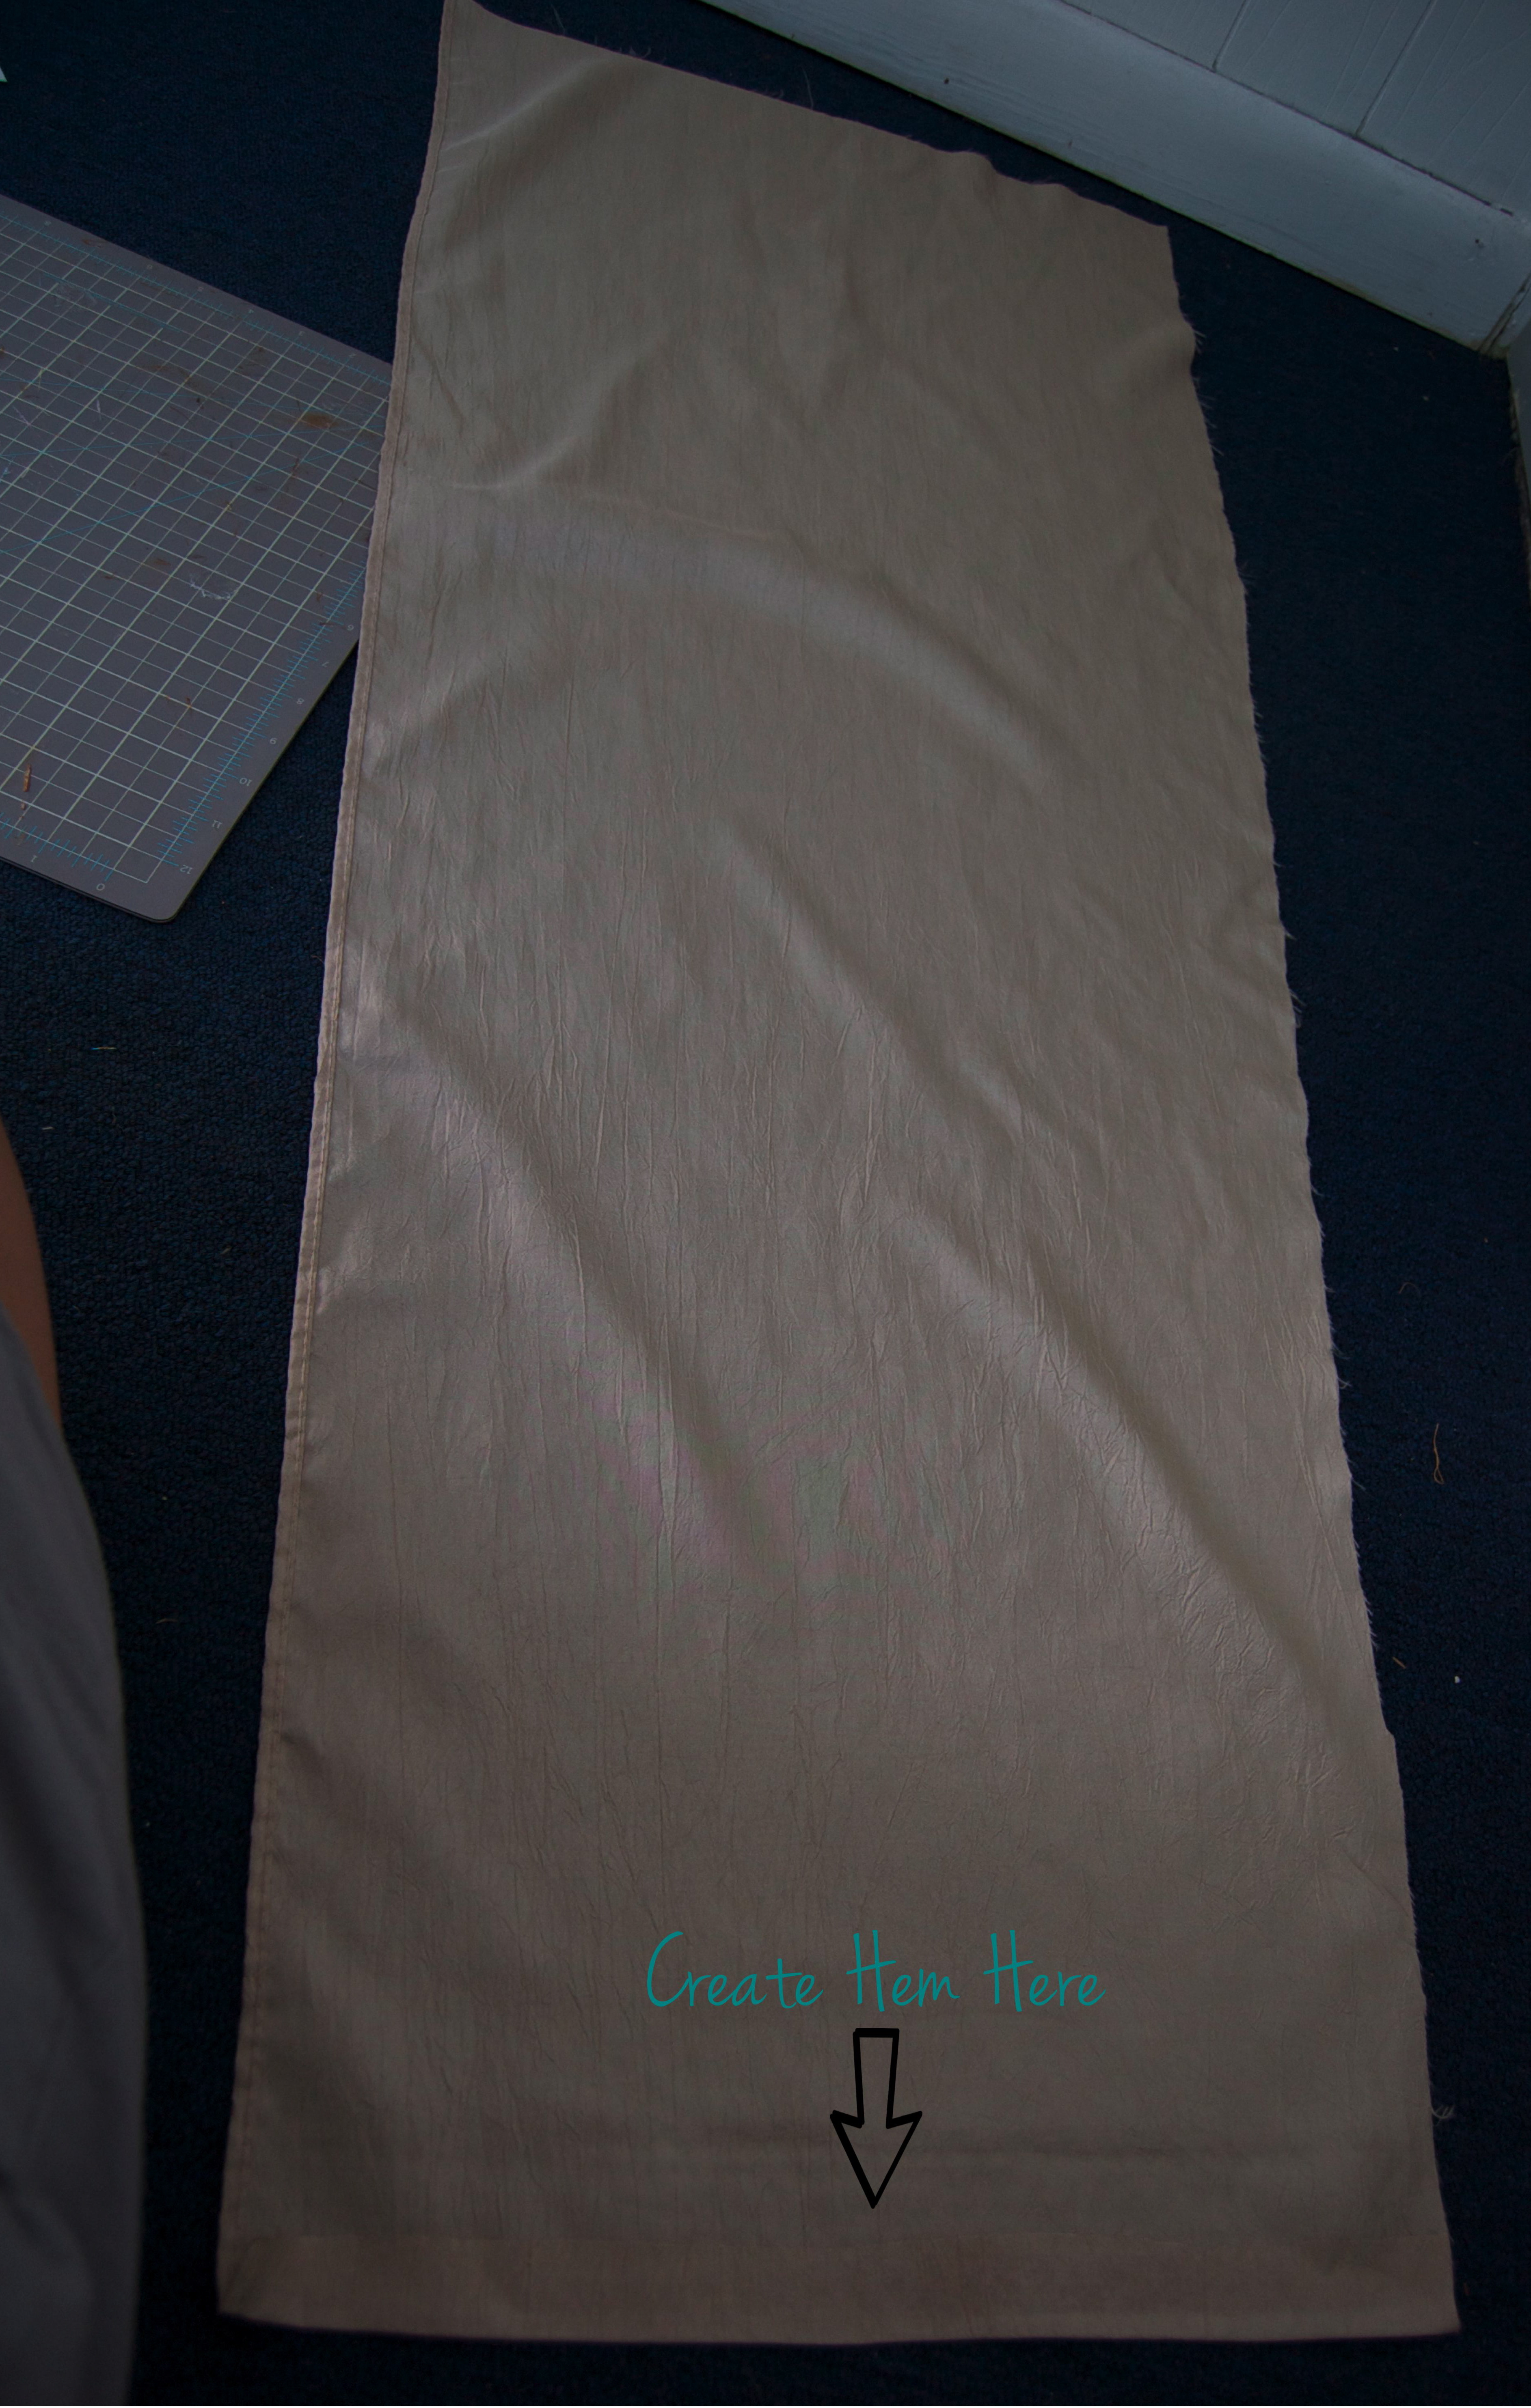
8. Cut your fabric to size leaving an inch on either side to fold over into the shade.
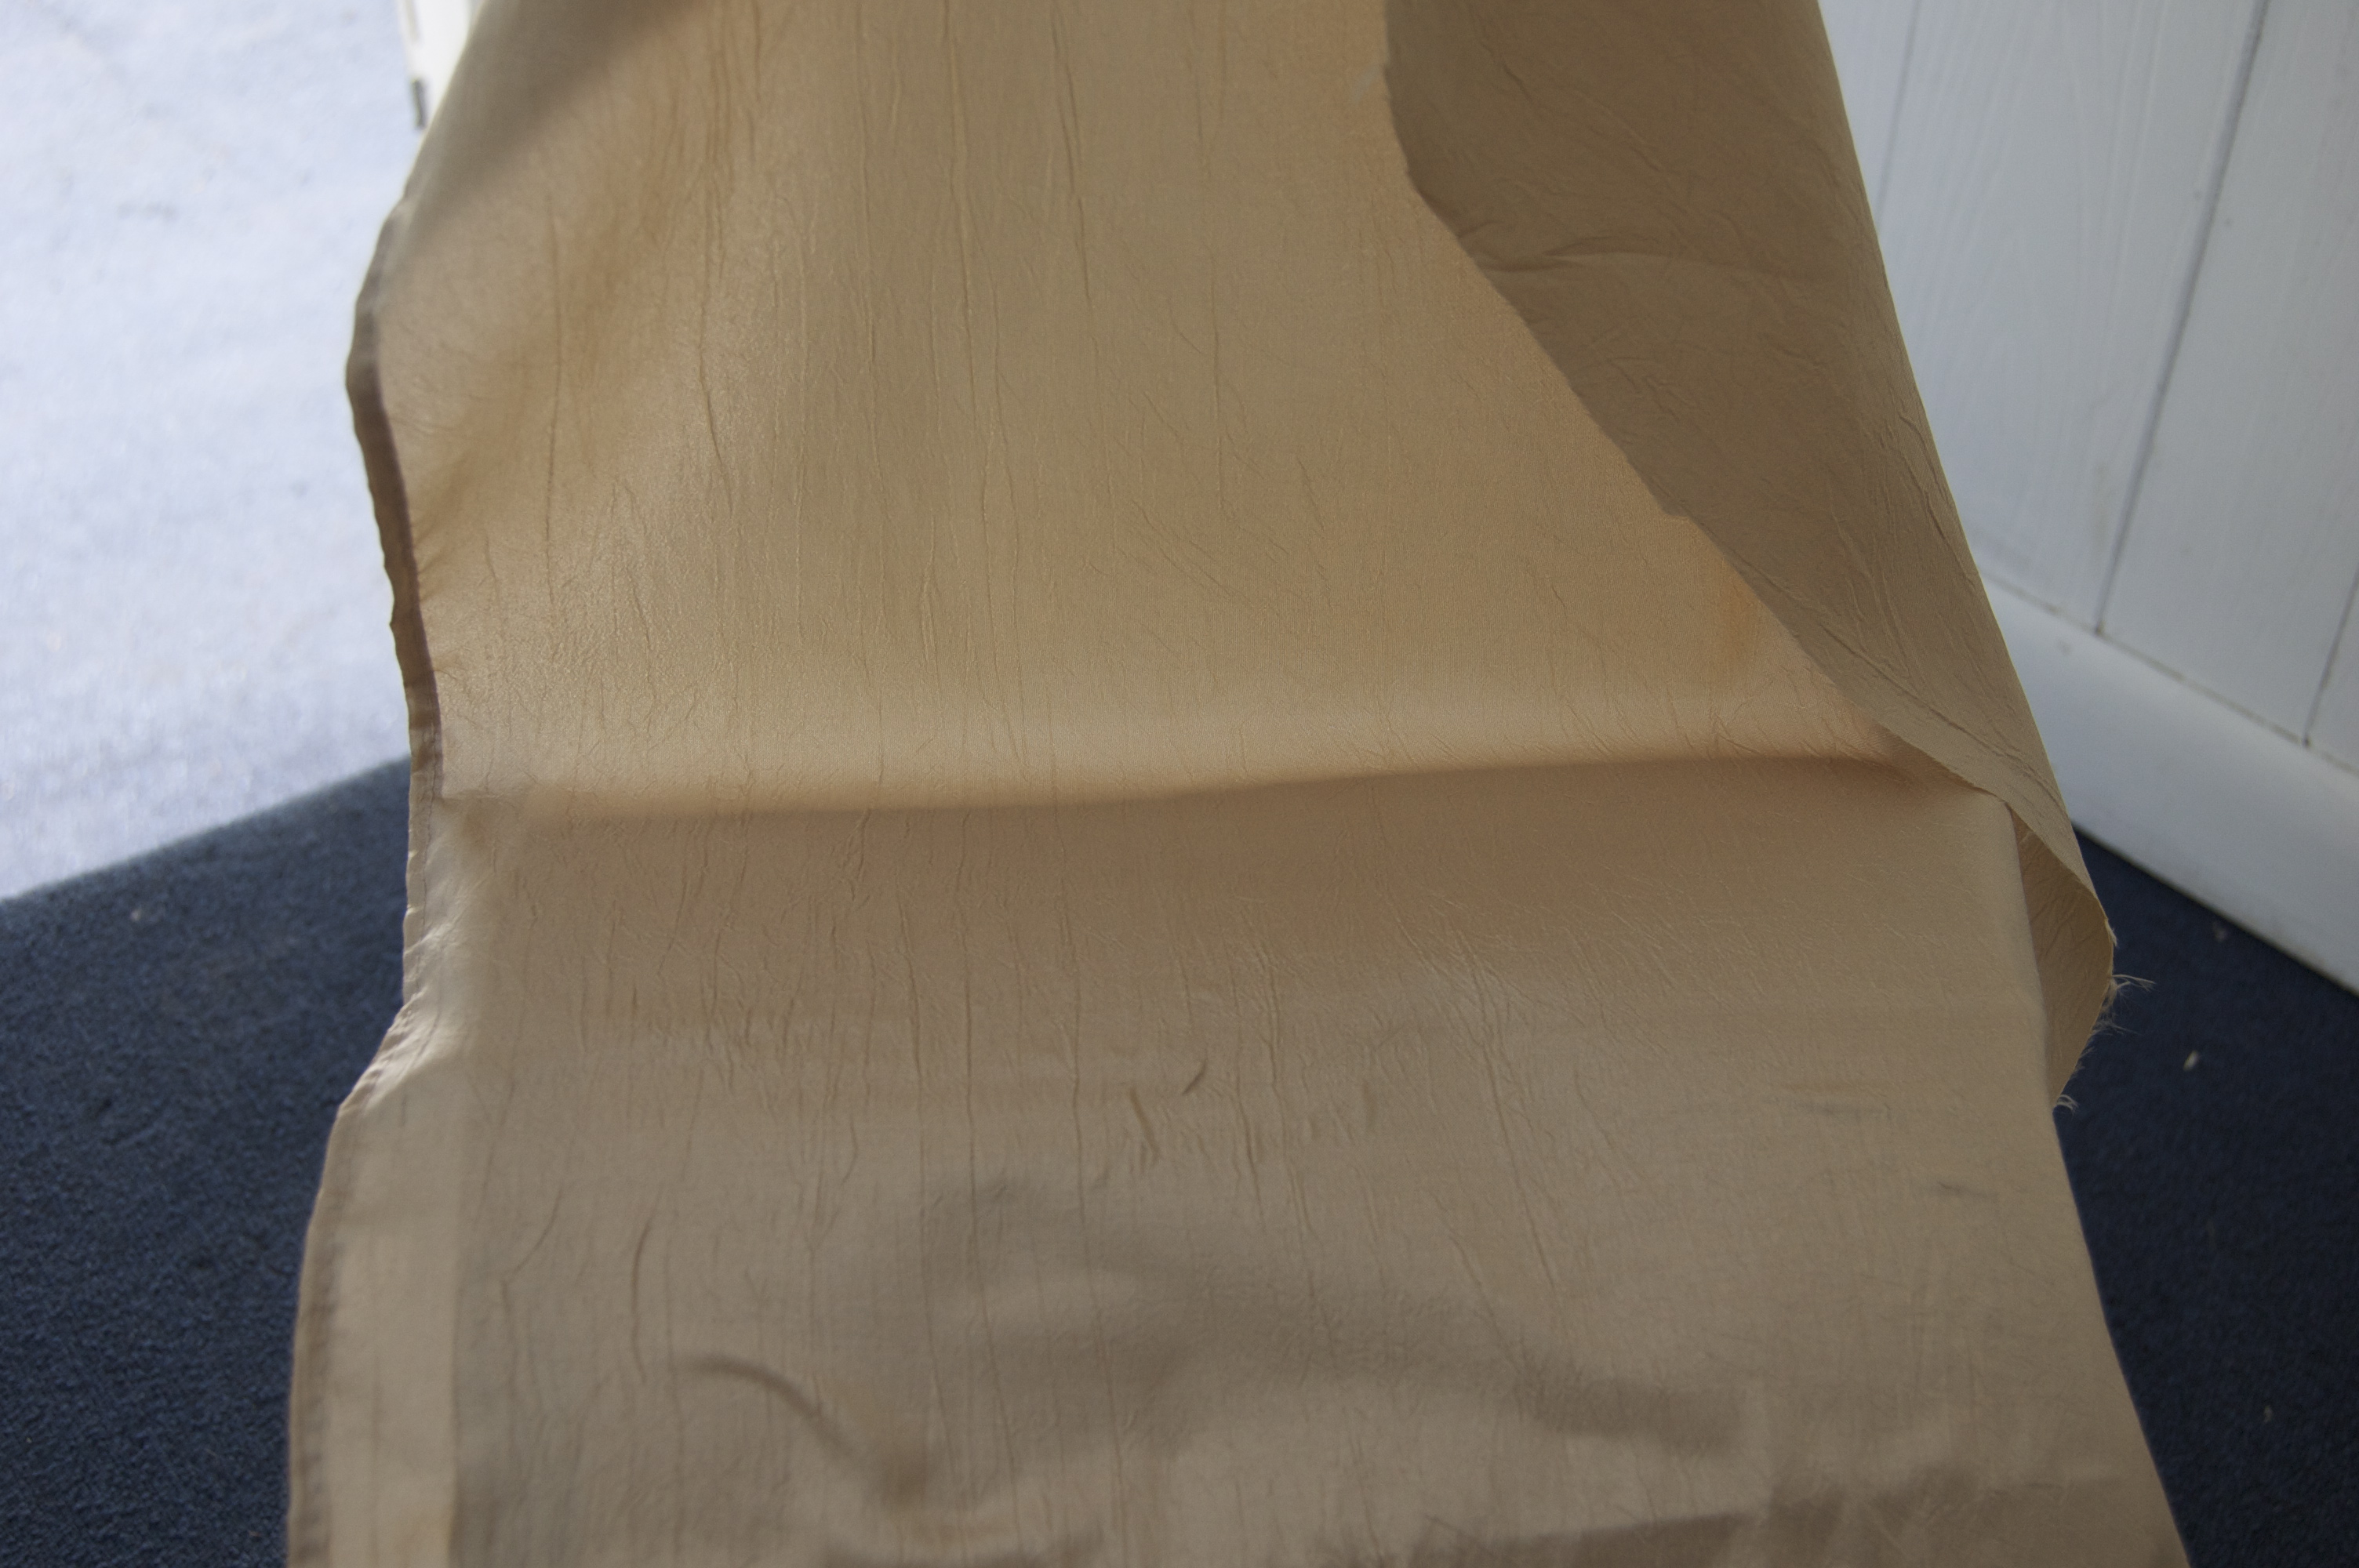
I used Heat N’ Bond to create a hem on one end of the fabric. I used an old curtain panel that I had.
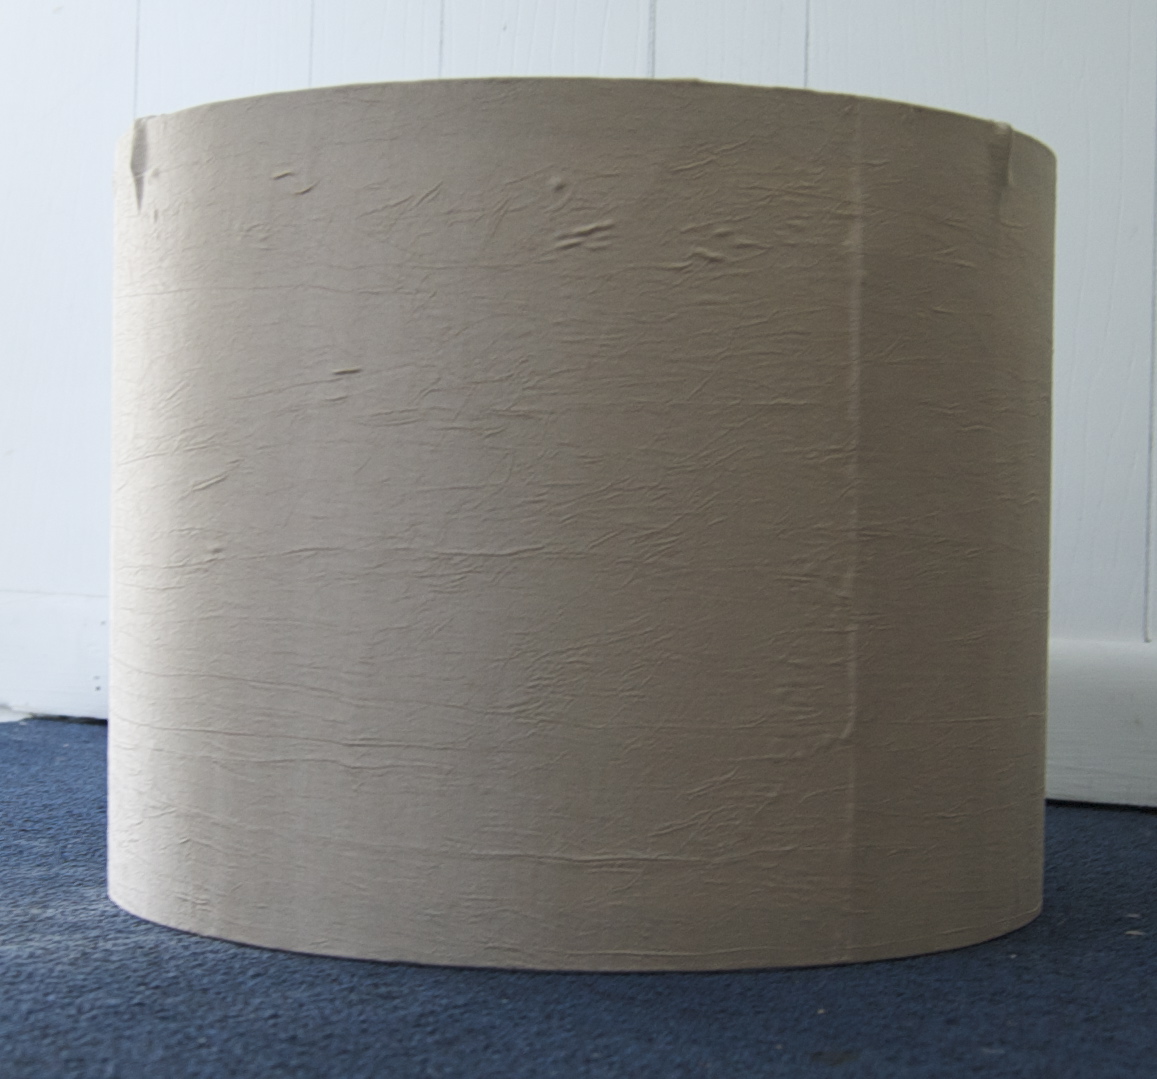
9. Spray your shade with spray adhesive and slowly place your fabric all around making sure to smooth out.
10. Place your glue along the inner rim and fold over the remaining fabric.
11. Finished Drum Shade!
Of course you could add trim to the top and bottom if you would like.
I still needed to paint those lamps that I had. I used Zinnser primer and sprayed them with Rust-Oleum Heirloom White.
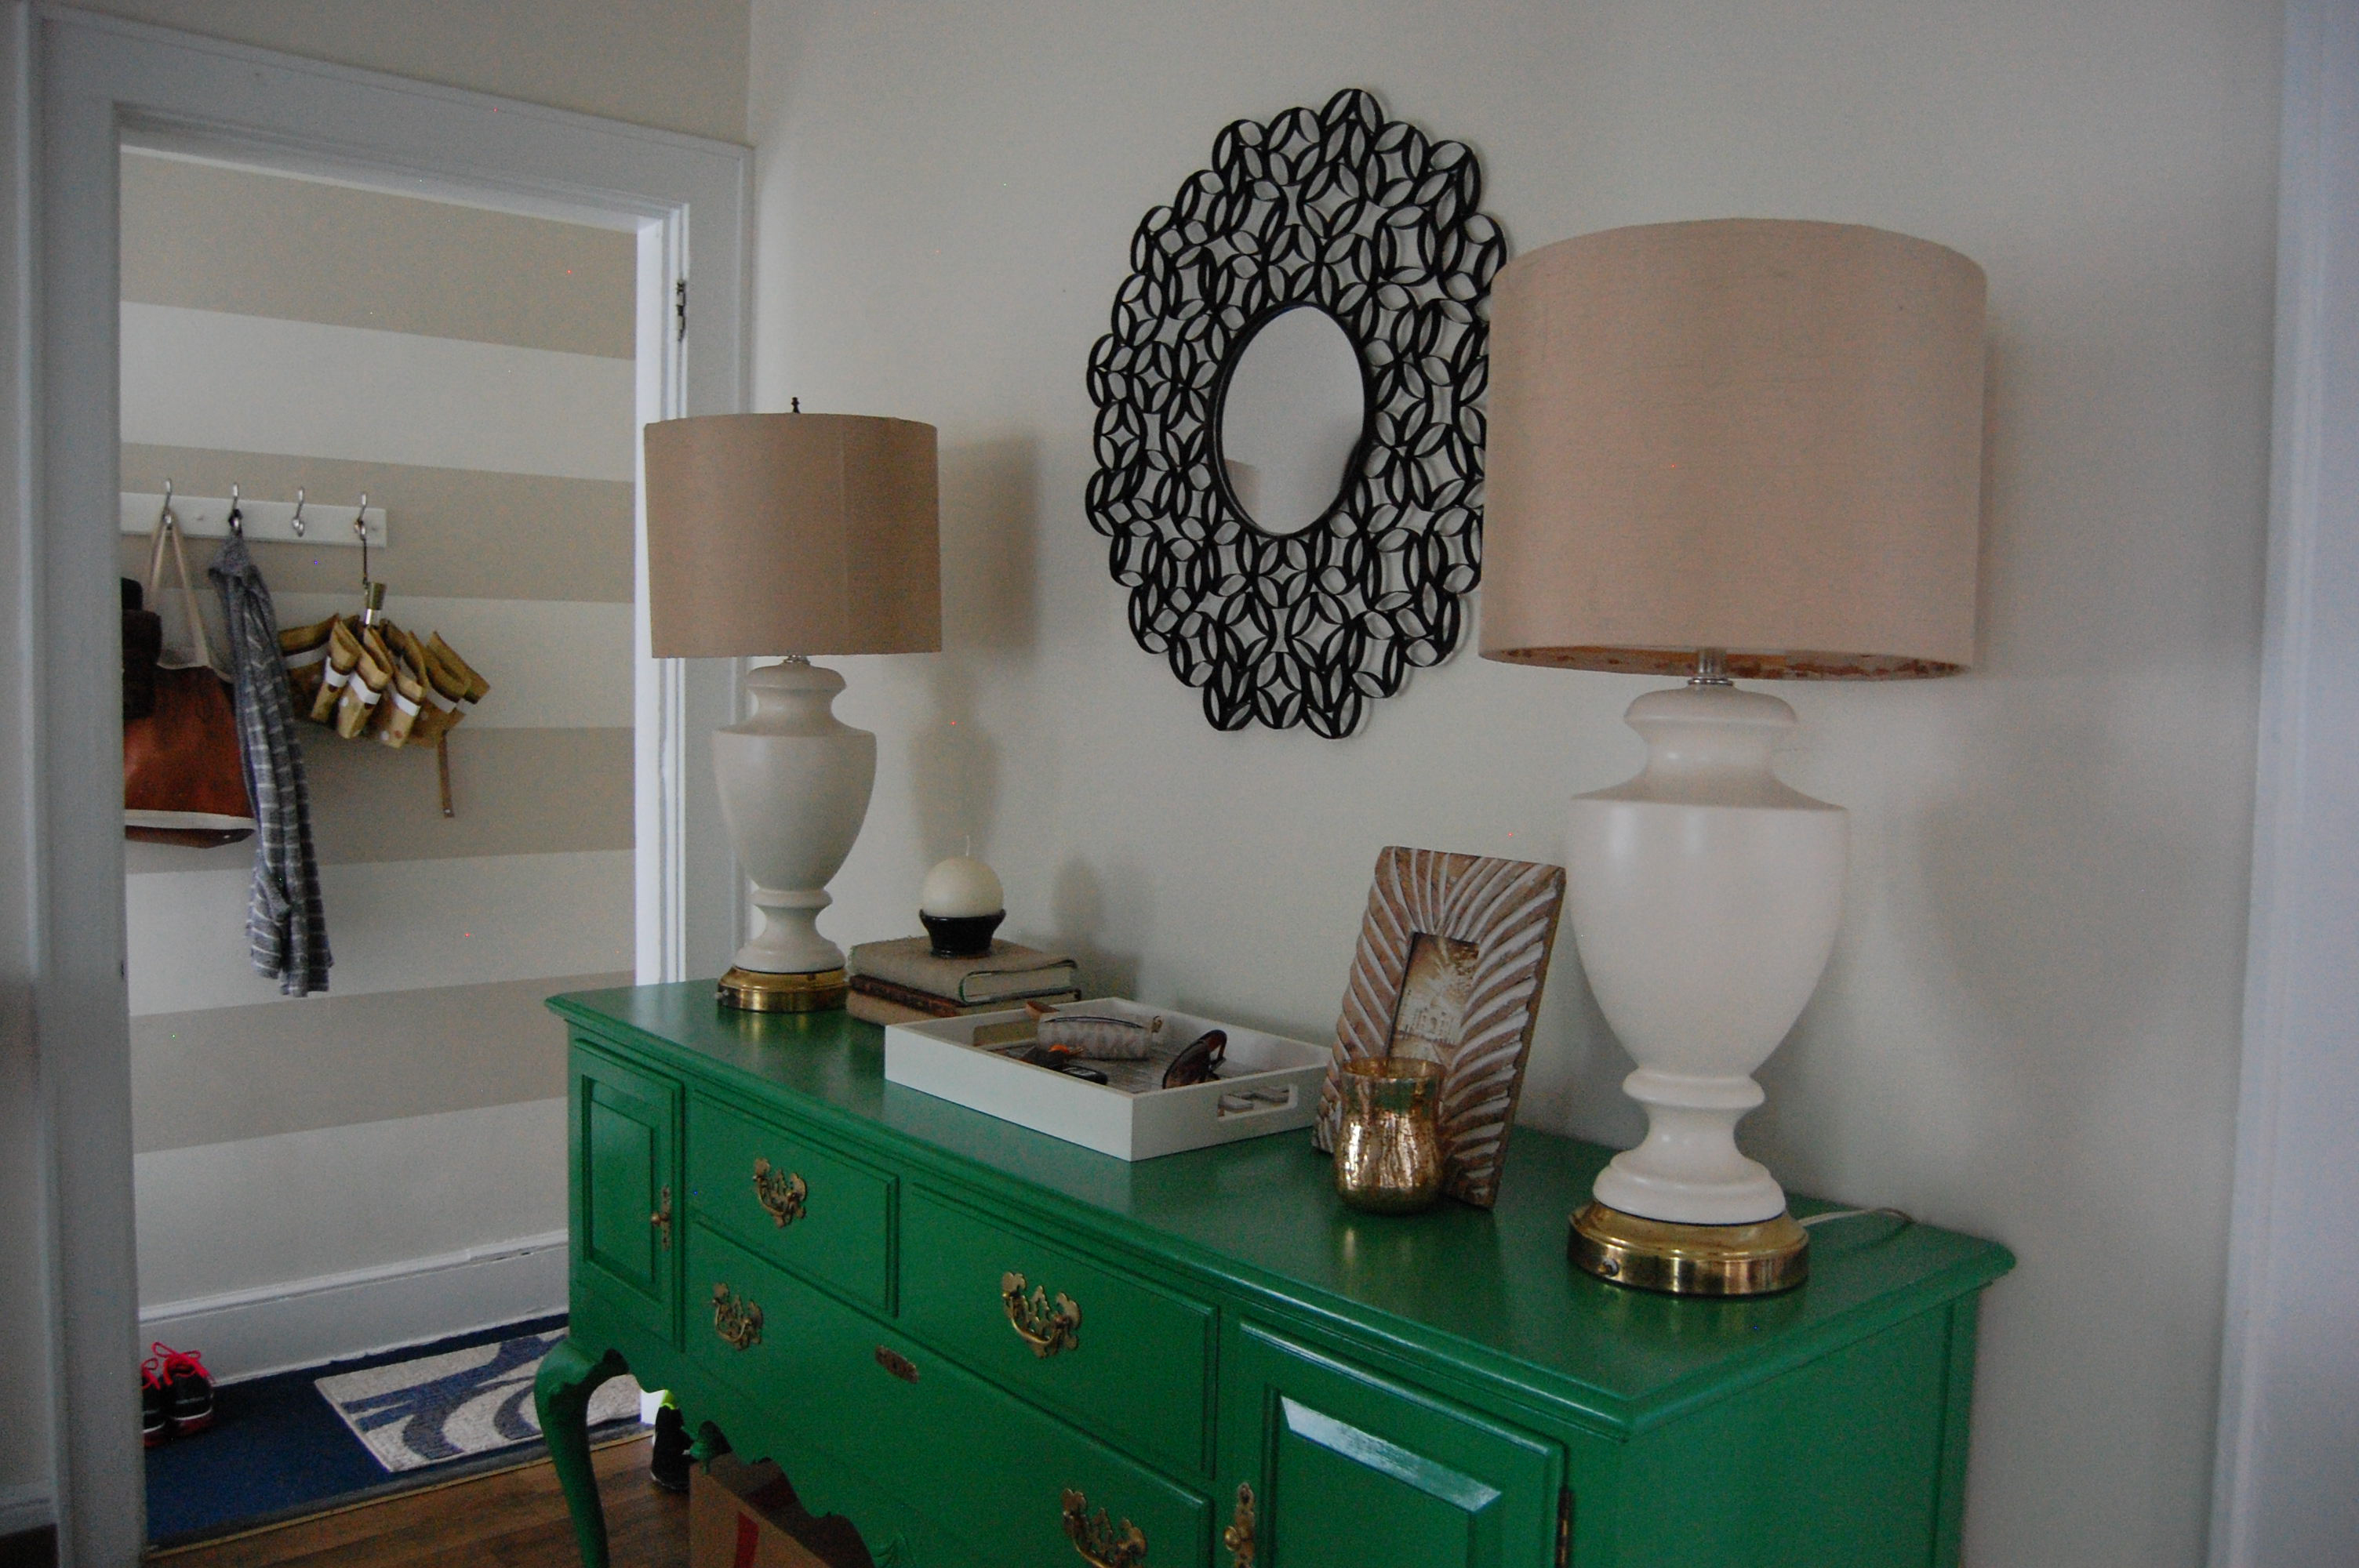
Here’s the complete finished product!
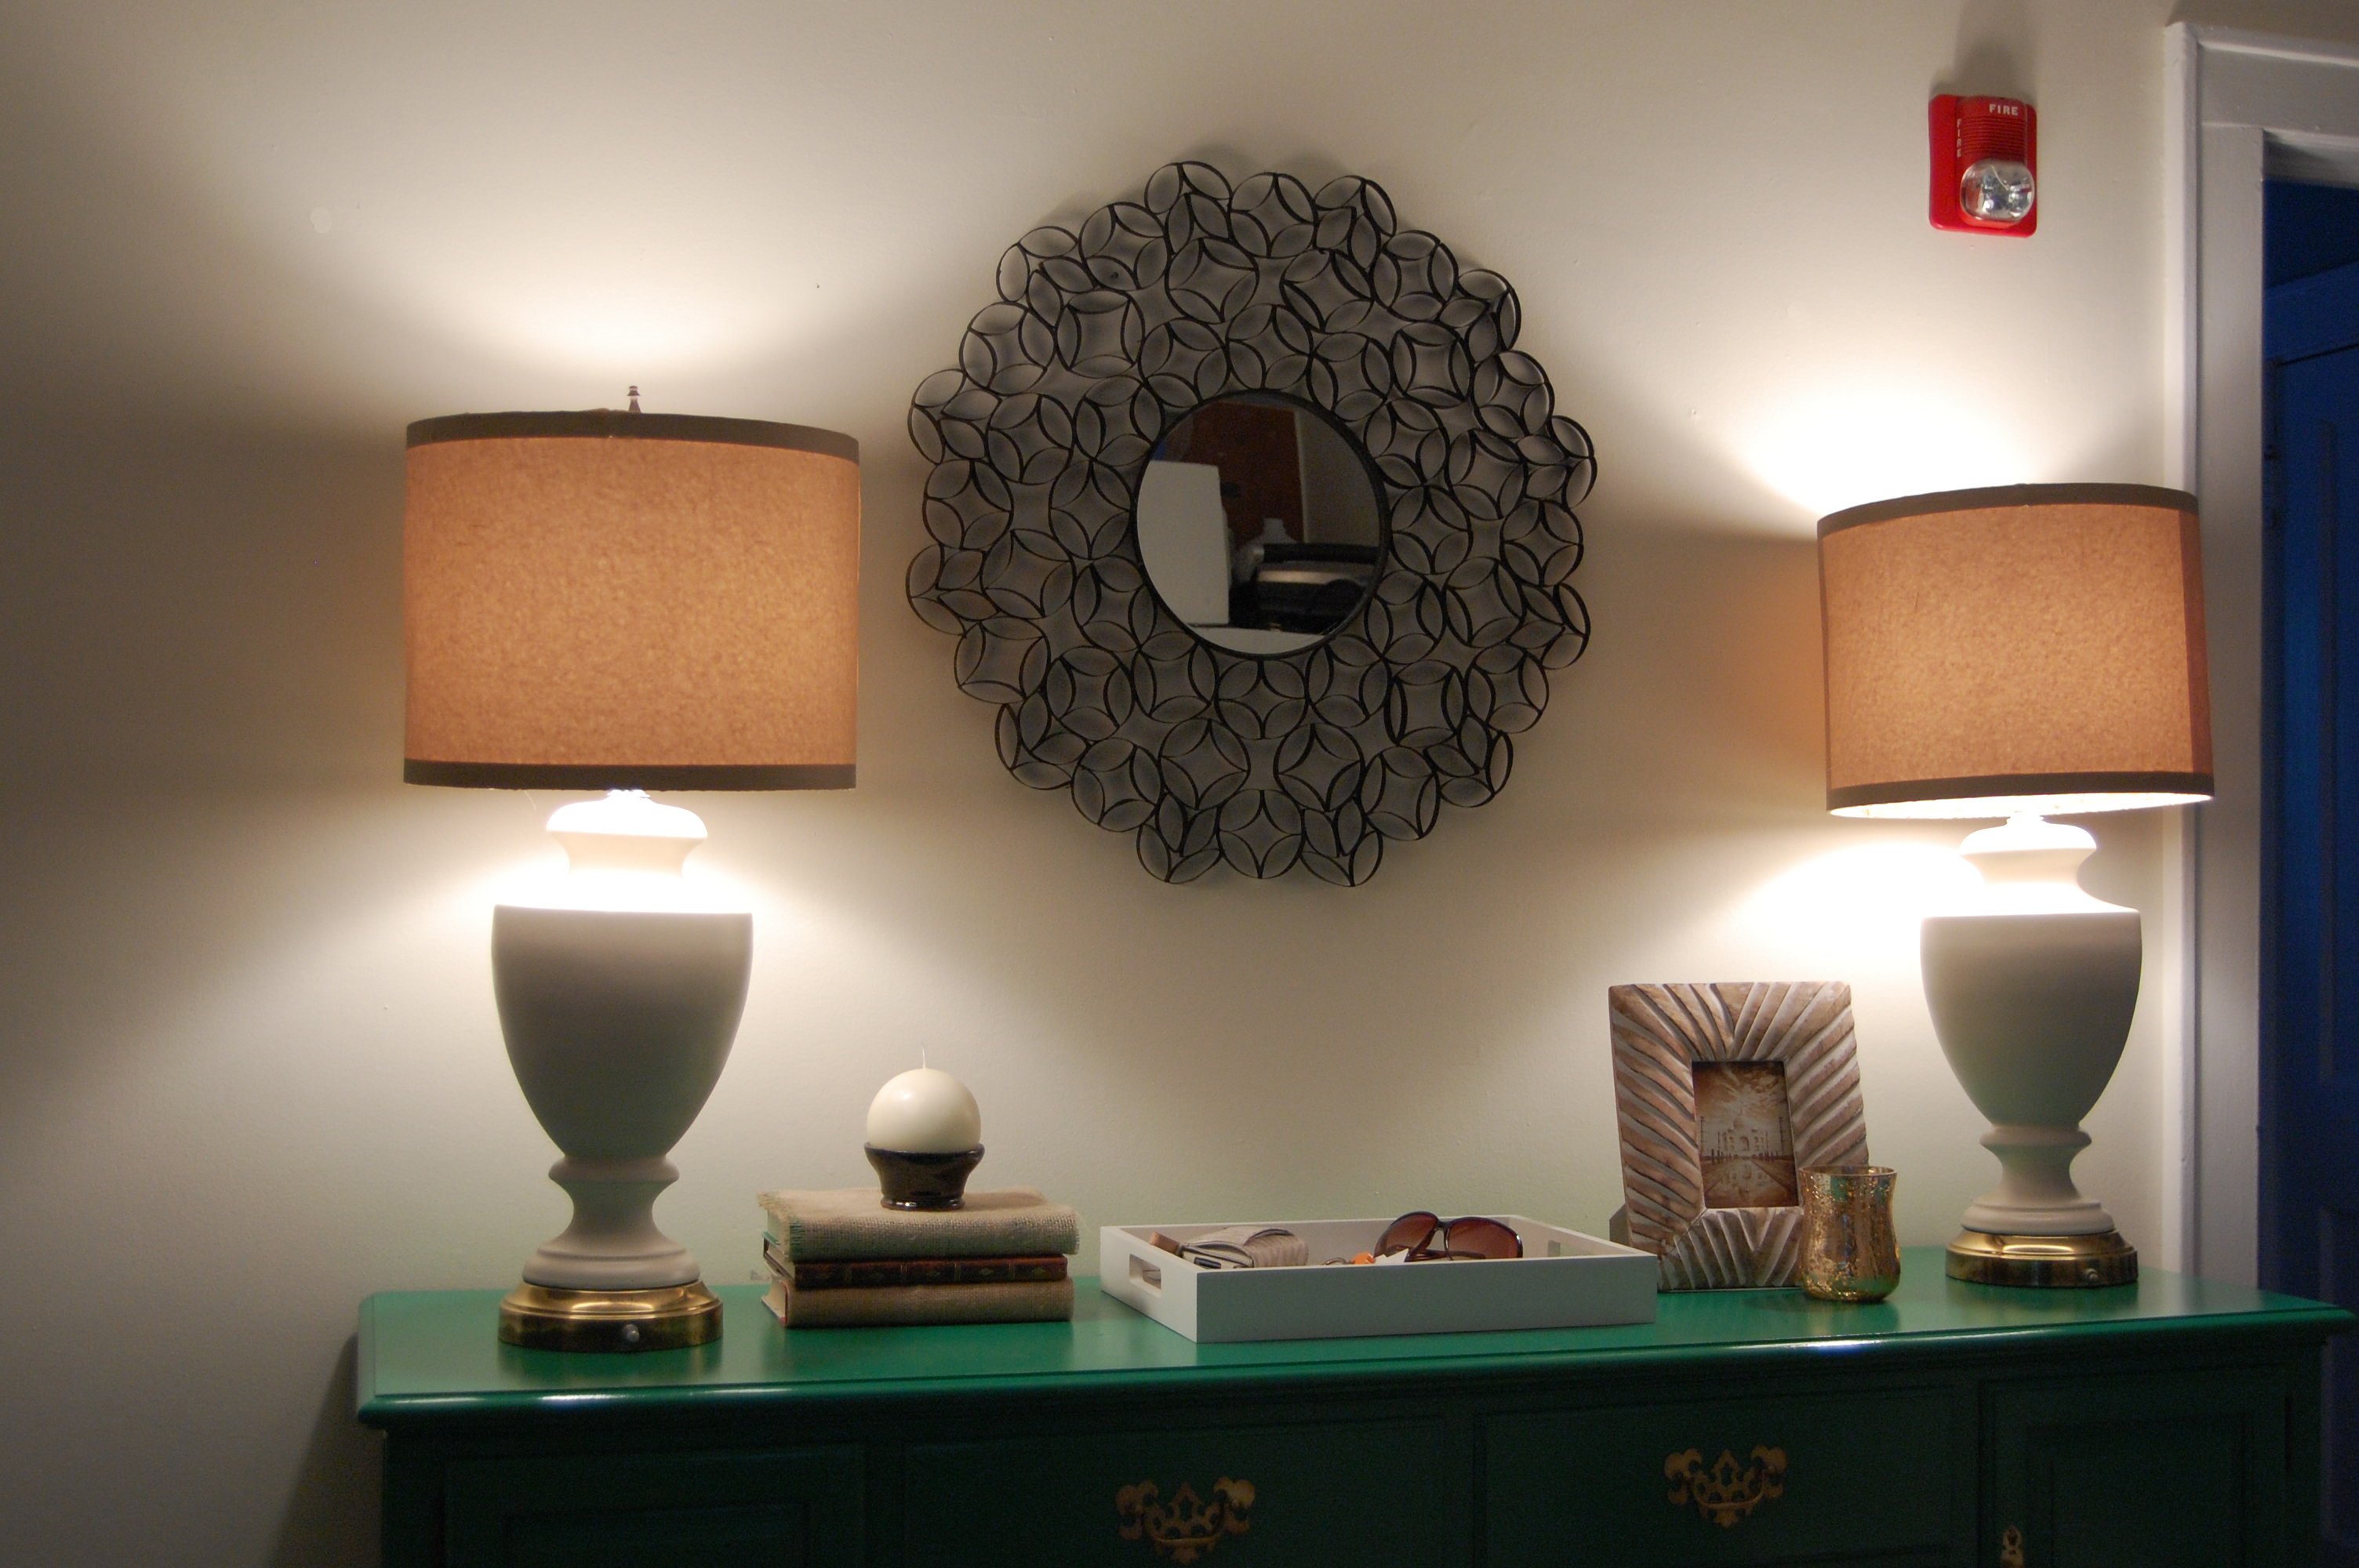
Here’s what they look like lit up. The hoops create the appearance of trim. If you use thicker fabric you probably won’t notice them.
I’m not completely feeling the lamps in this space due to the fact that they get lost with the wall so I may be finding them a new home but in the meantime they do make me happy!
If your curious about the mirror in the middle click here to see how I made it out of toilet paper rolls!
