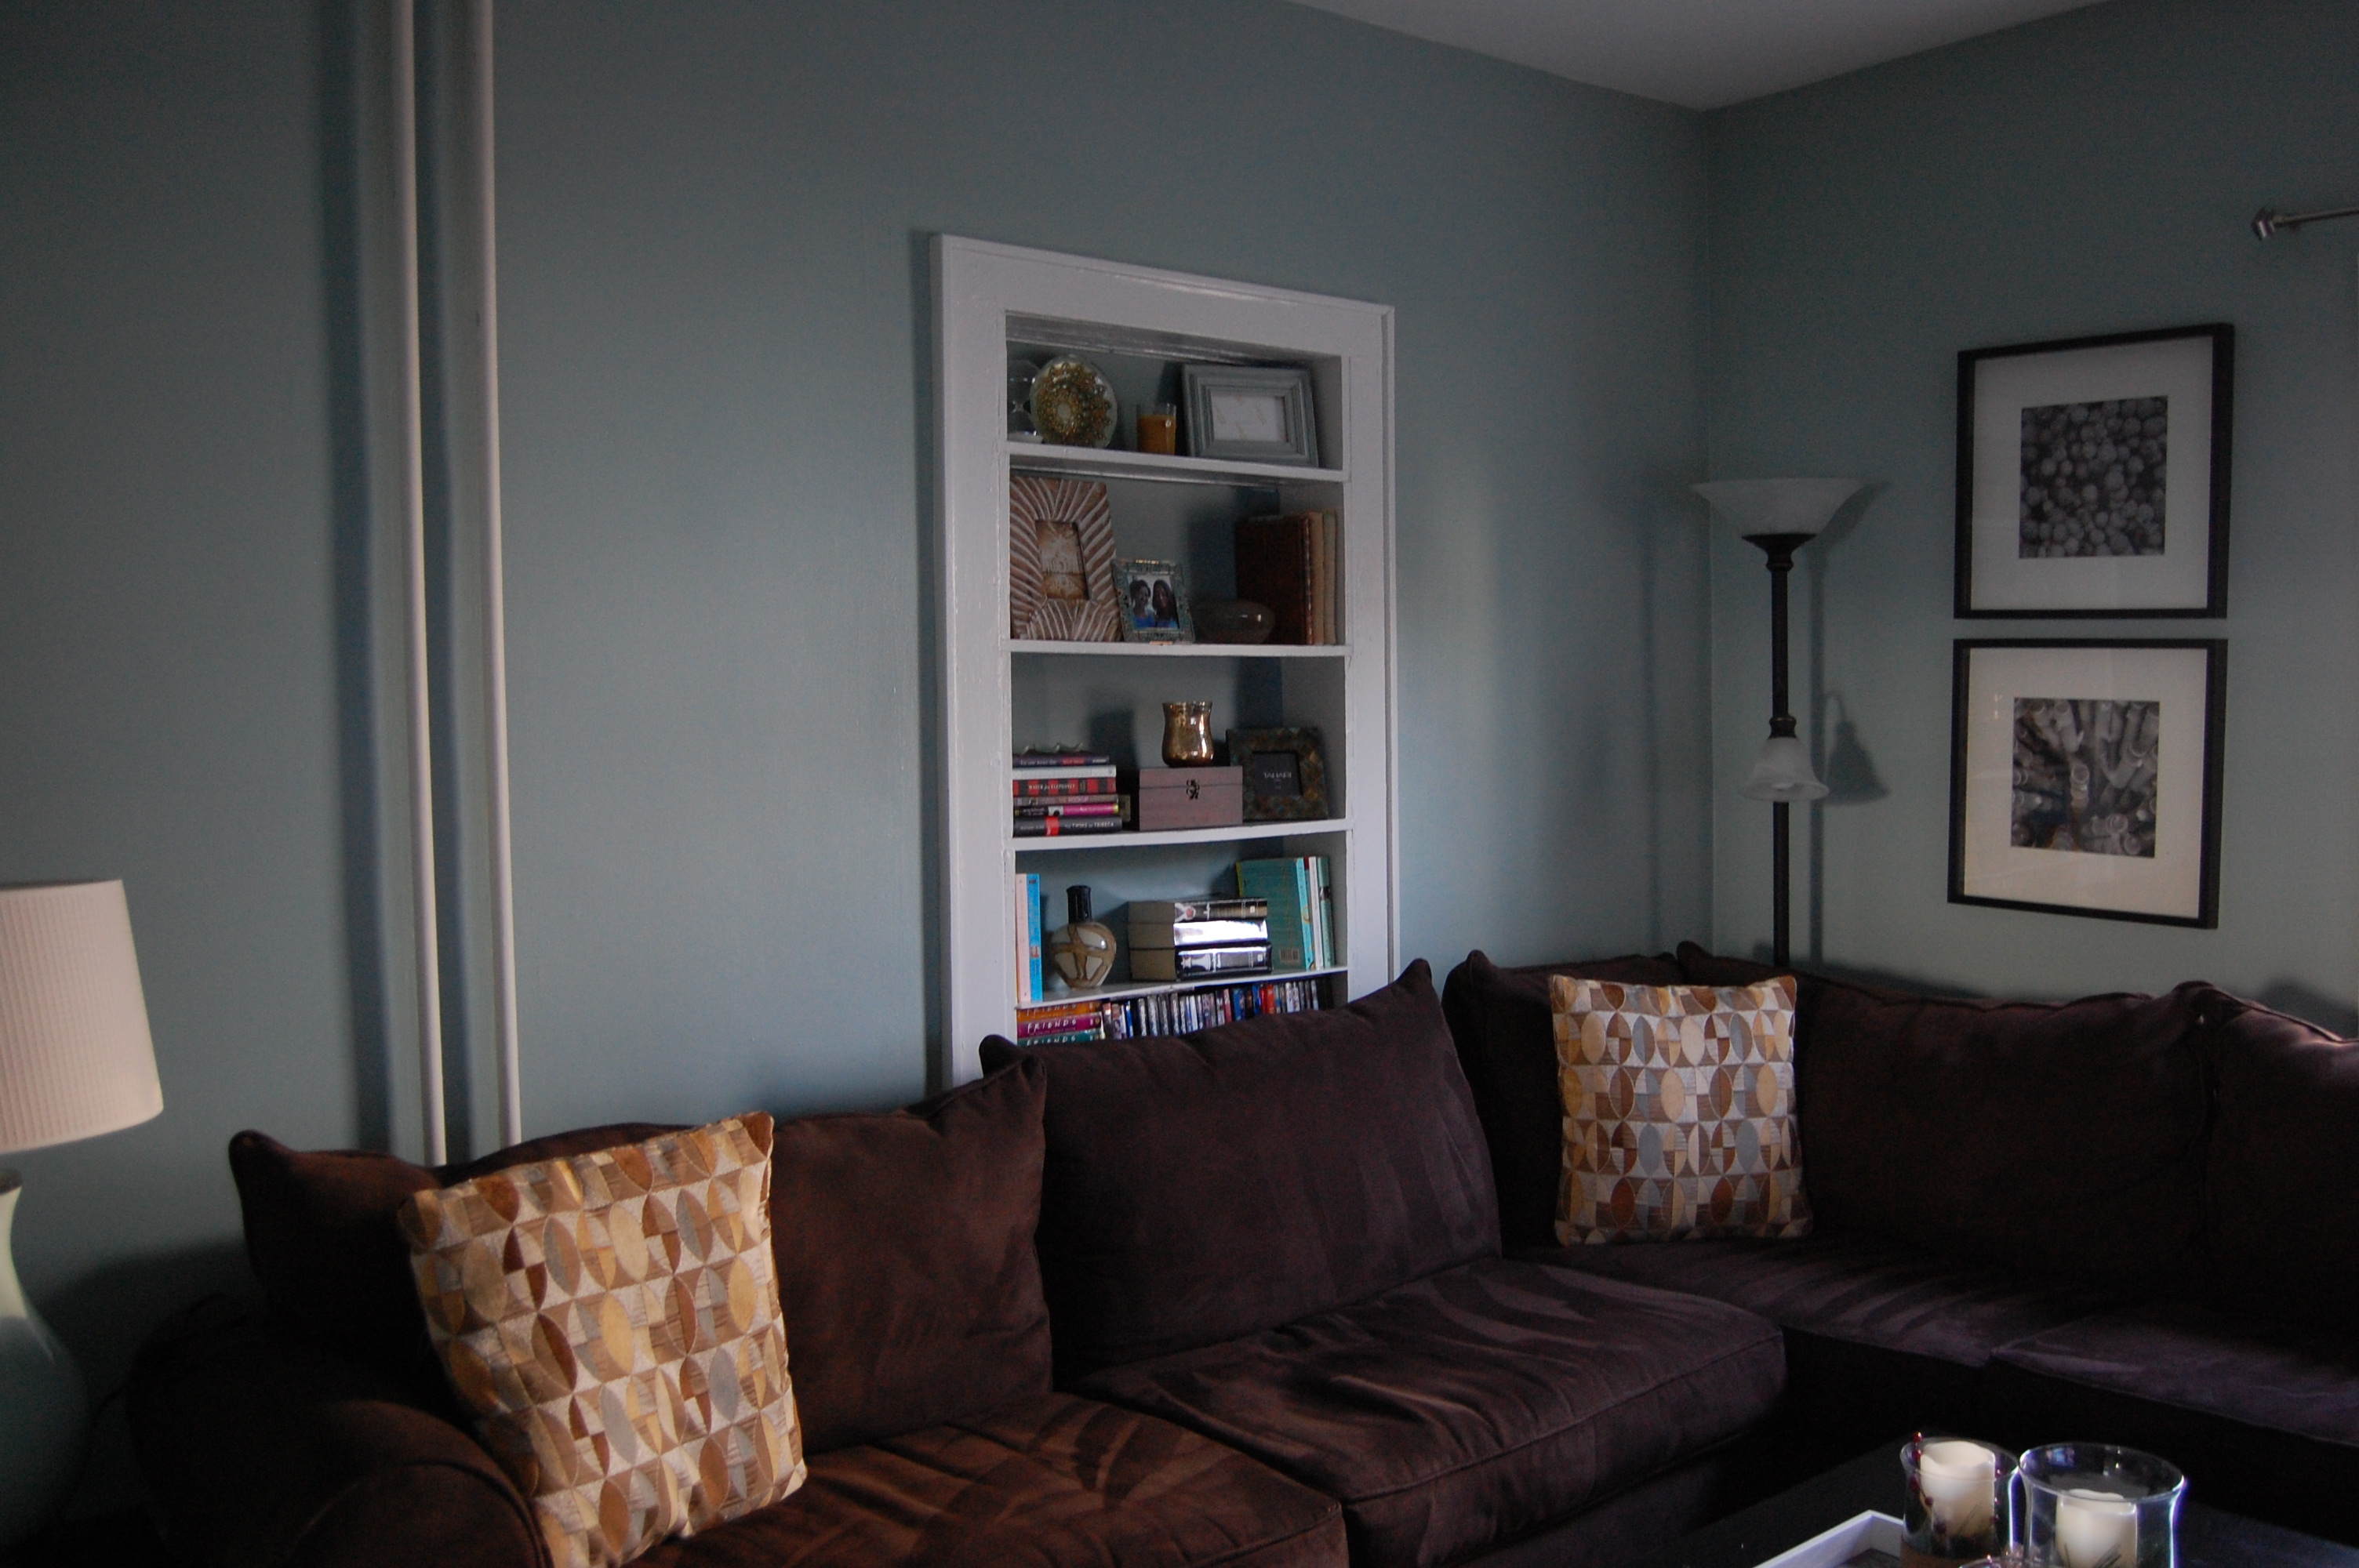
Around this time of year everything around the house tends to look really empty. That usually has to do with the fact that Christmas has gone away and all the pretty decorations are gone. It’s funny how I can live with my space looking one way, add some decor, take it away and everything looks so different. I constantly find myself asking, “Was it always so bare in here?” I knew that would be the case once the tree came down and the glittery vignettes were gone. This meant it was the perfect opportunity to redo my bookcase. This way I can notice how good it looked rather than how empty the corner will look where the tree is. The bookcase I decided to work on is a built in. It has 4 shelves and is pretty small. Of course I was super excited to get started that I never took a before shot but I do have one from a long time ago.You might notice the paint sample I have on the wall which is what I eventually chose.
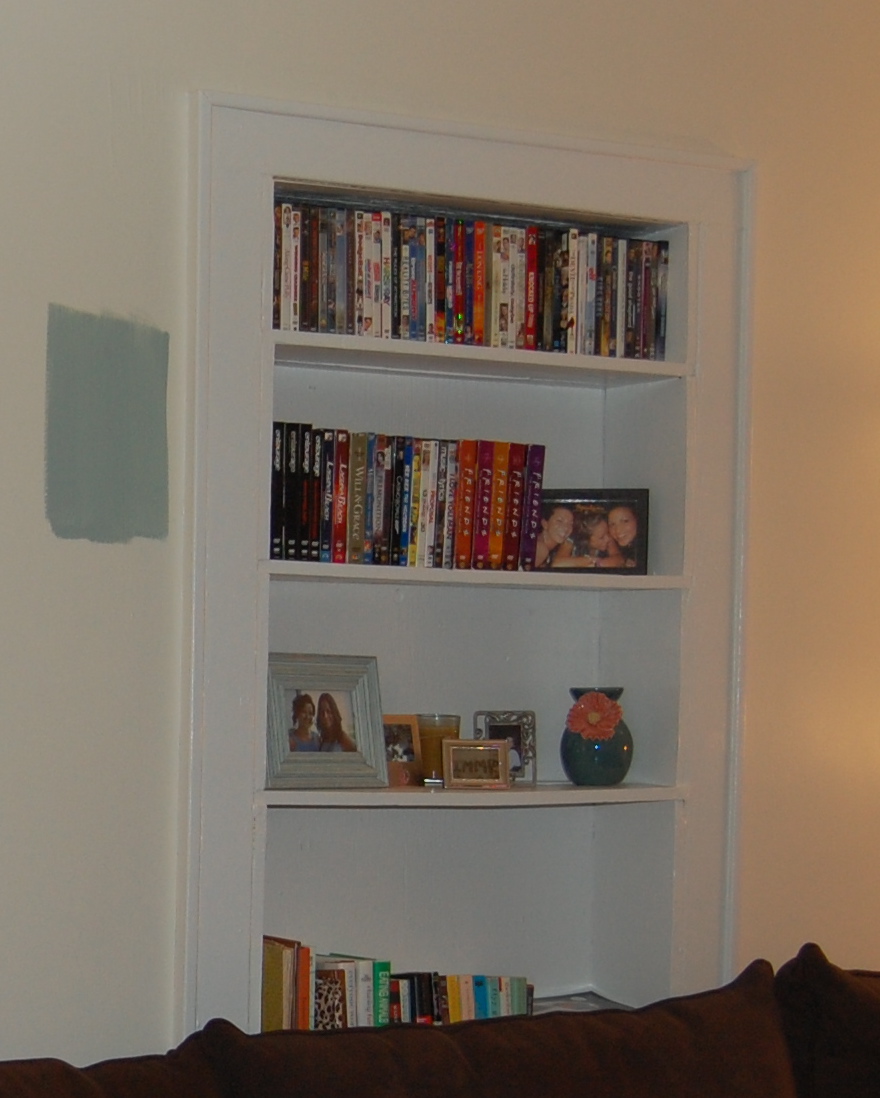 I am not the hugest fan of this bookshelf. It isn’t centered on the wall and the top of my couch covers a part of it. I also don’t like how the bottom shelf is so much bigger than the rest of the shelves but I had plans to fix it. The first thing I had to do was get rid of everything on there. All those DVD’s had to go! I found a place for them in my media console but I didn’t get rid of all of them. The next plan was to add color. I love the idea of painting the back of the shelves and thought about how I could do it without having to actually apply paint to the wall and after doing some research I decided to use foam board. Not only can I cut the board to fit the space but I can paint it, take it off paint it another color, flip it and paint the other side another color. I could change the color of my bookshelf every month if I want to! I went to Micheal’s and purchased some foam board and then went to my local paint store to get my paint. The color on my living room walls is Quietude by Sherwin Williams so I found the swatch and then went two shades darker. I definitely wanted the backing to be a nice rich dark color. I just picked up a sample of the color which cost me $6. The next thing to do was measure the space and cut the foam board.
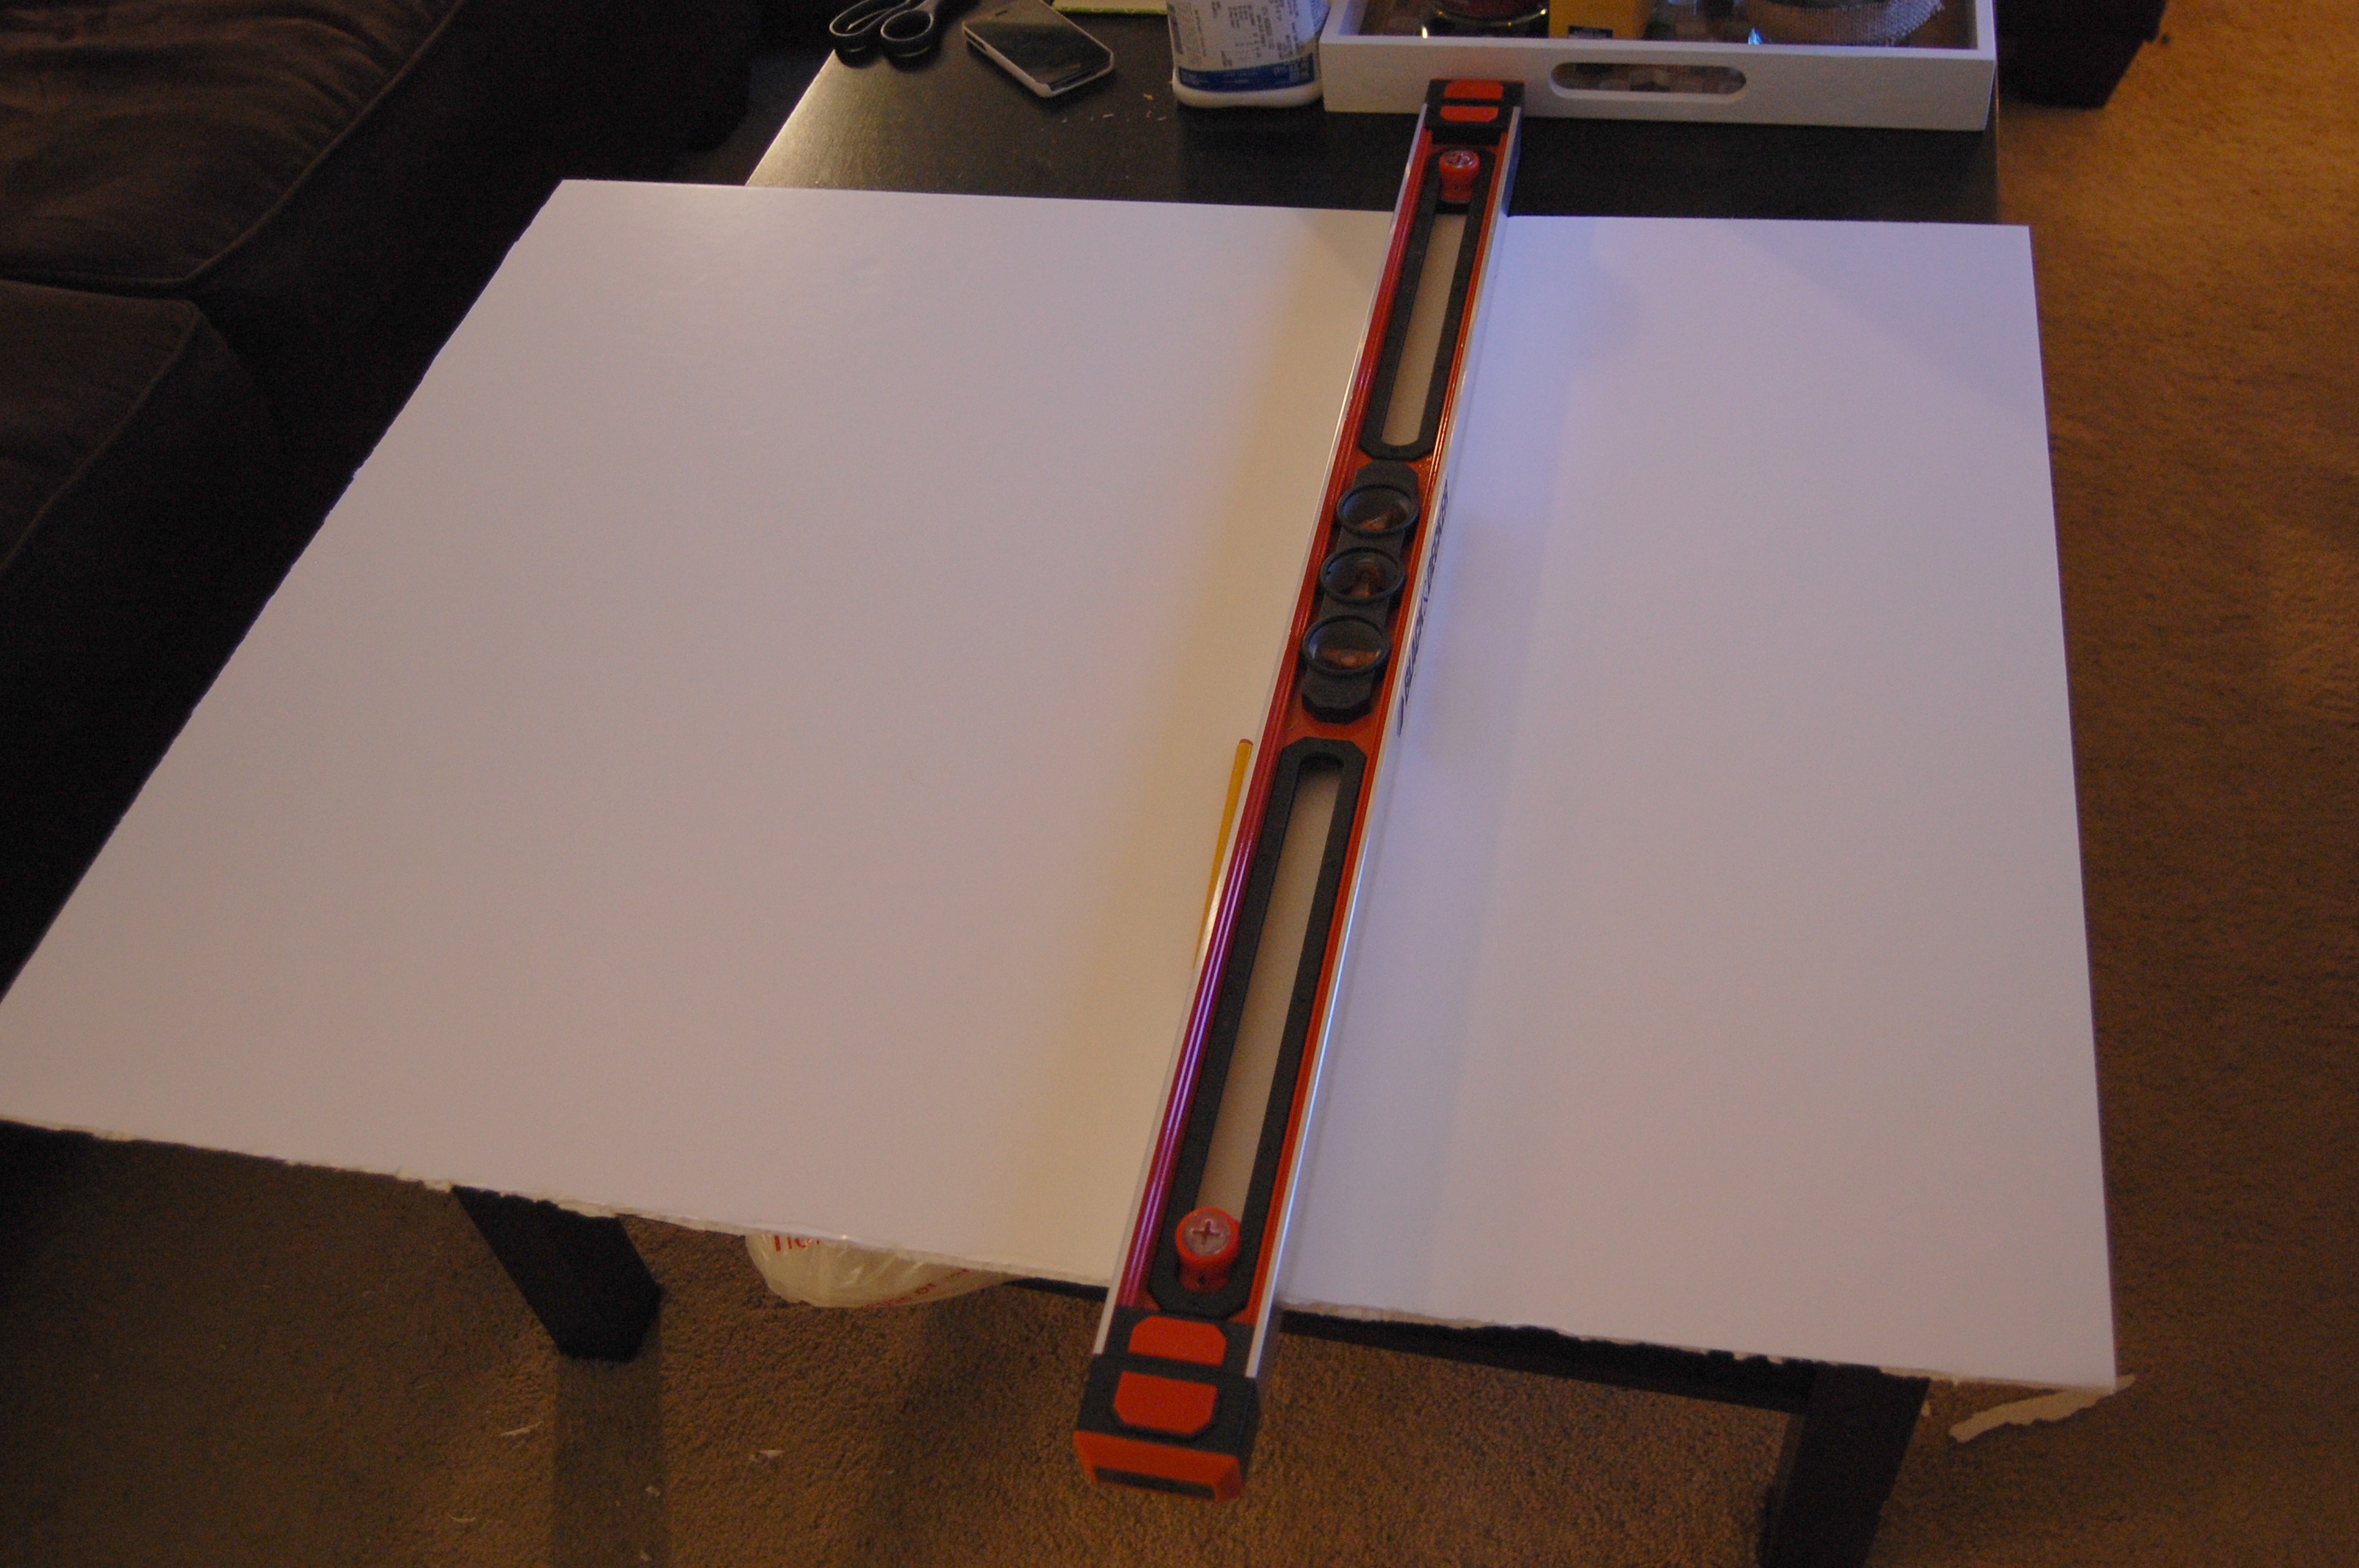 Some advice if you plan on doing this is give yourself some extra room. I first cut my pieces to the exact measurement but quickly found that because it was a perfect fit it was way to tight to fit the space. I could make the pieces fit but then I would never be able to get them out. I went back and took about 1/2″ to 1″ off each. I used an exacto knife to cut the board and I promise it took a lot of trial and error to get a clean cut. The foam board can easily make a rigid cut but slow up and down cuts were really helpful. Once they were all cut I just painted using a foam brush.
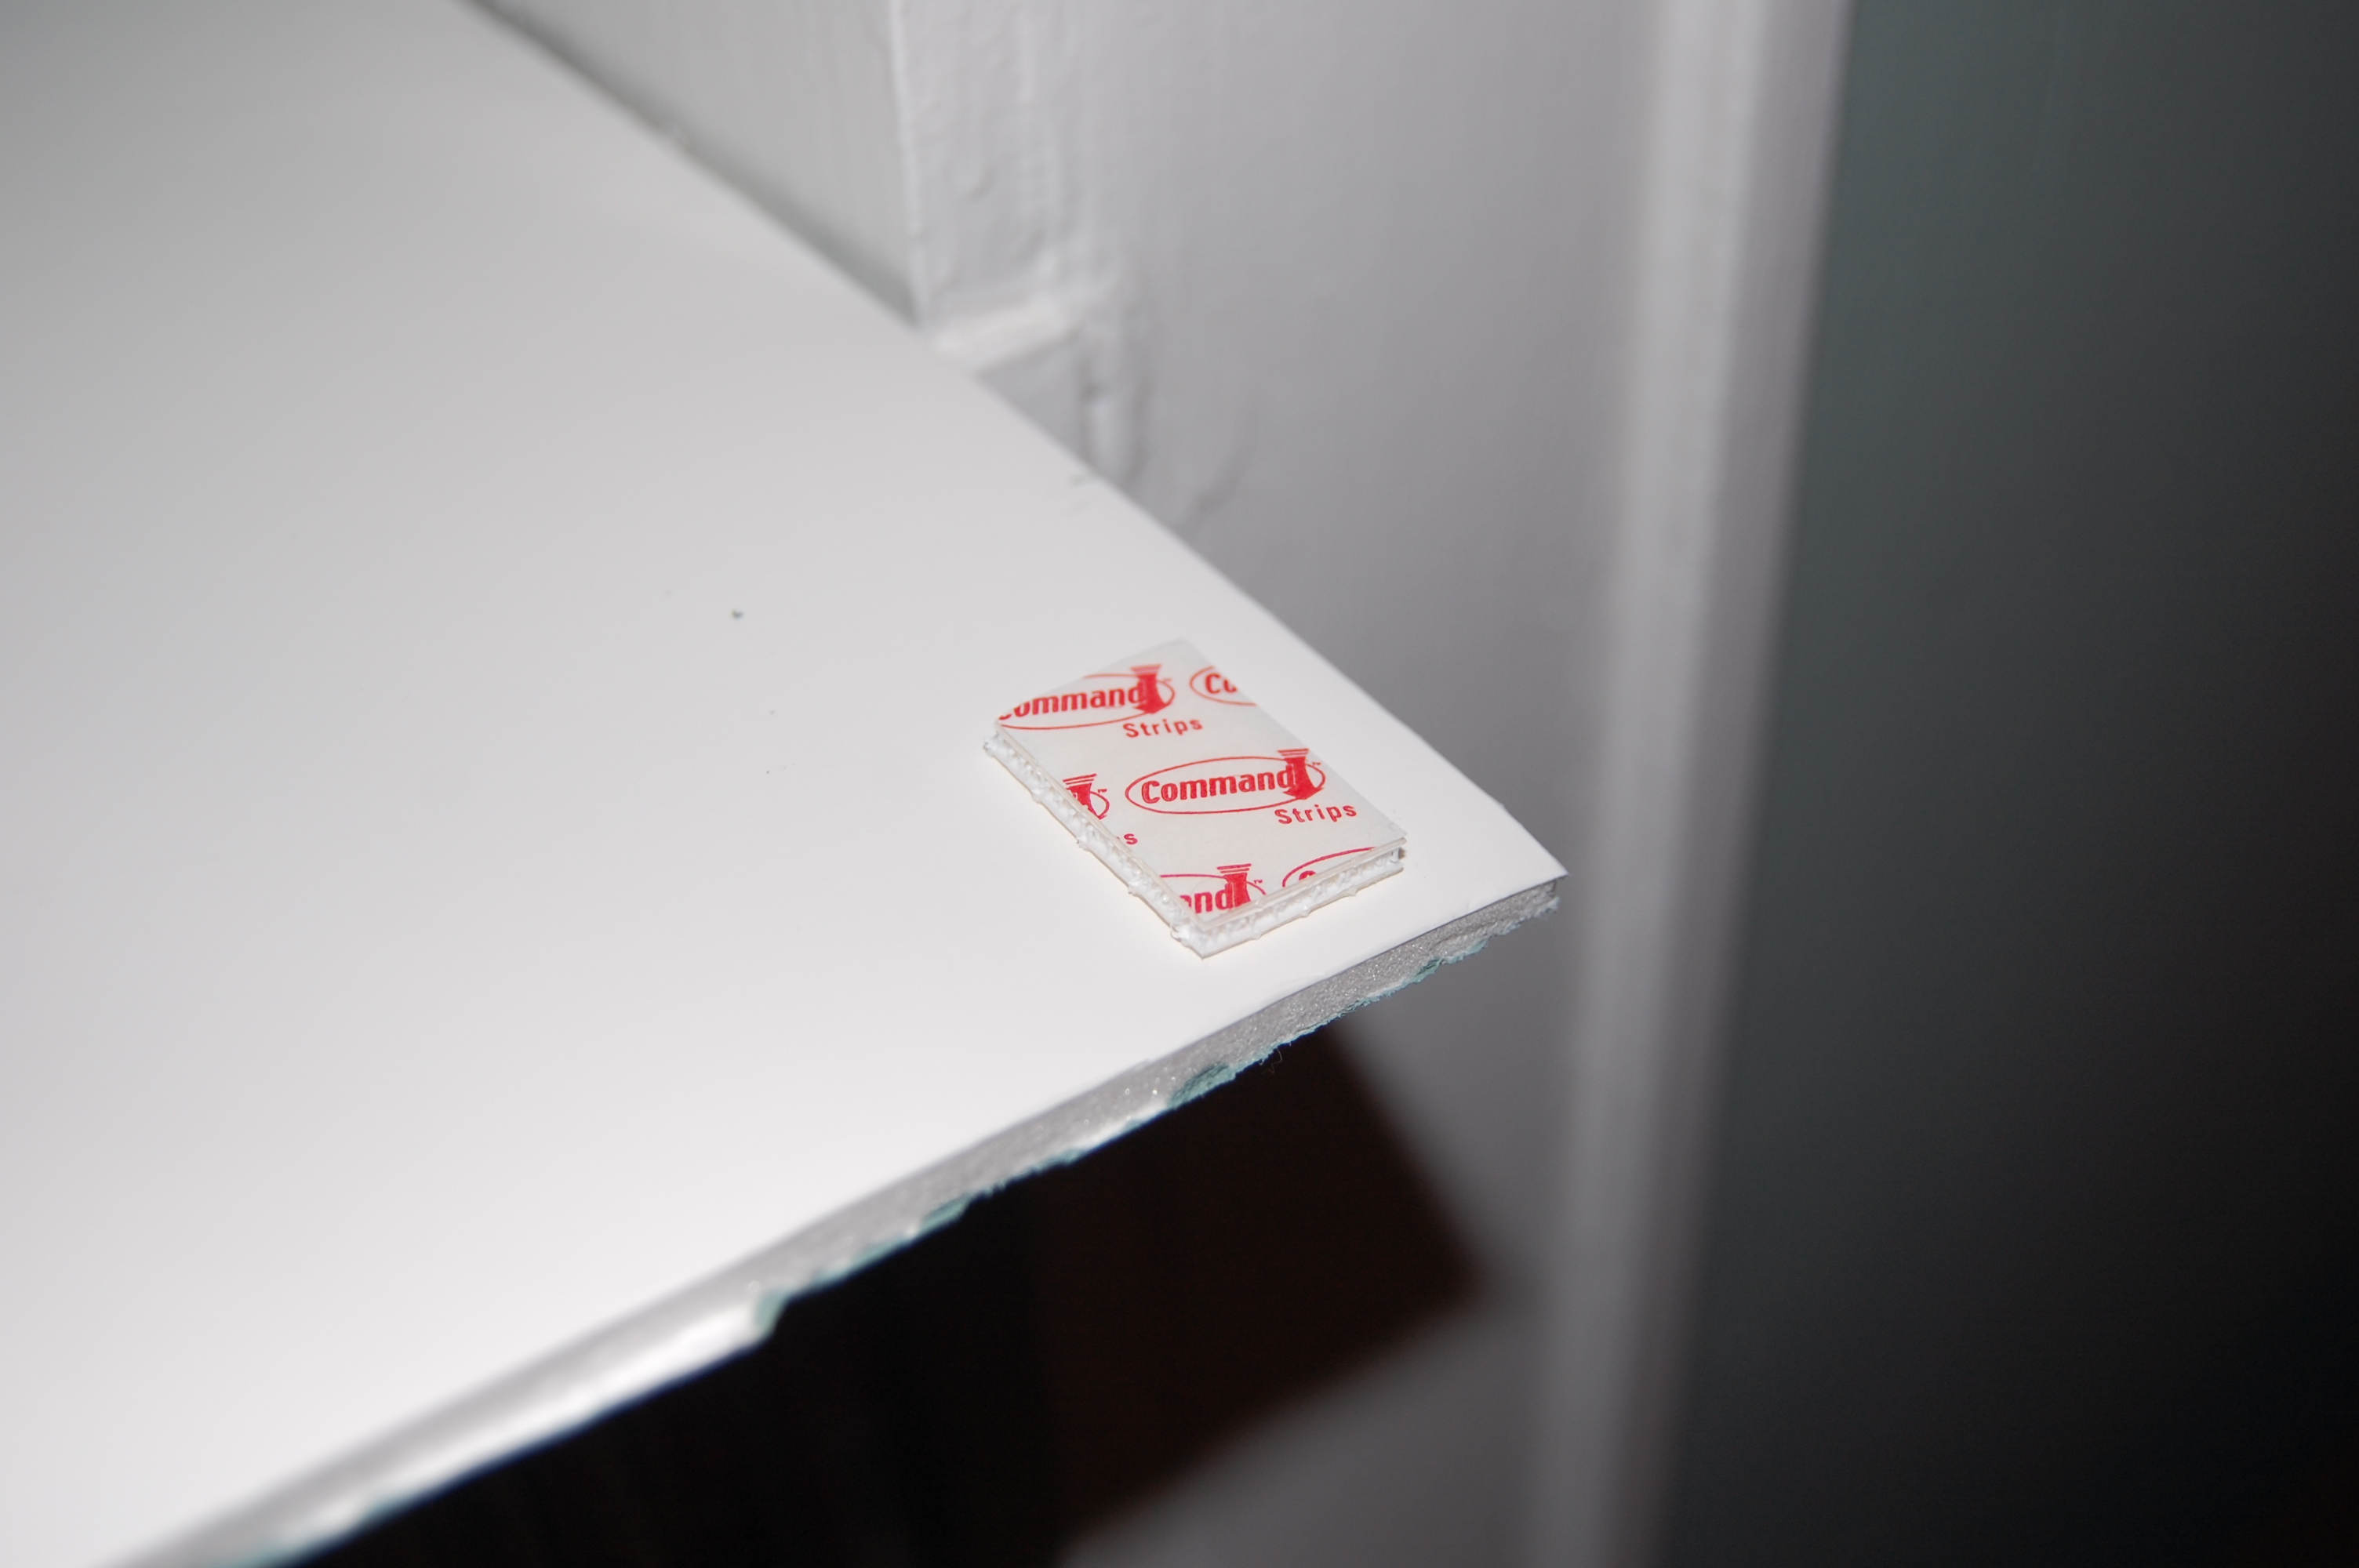
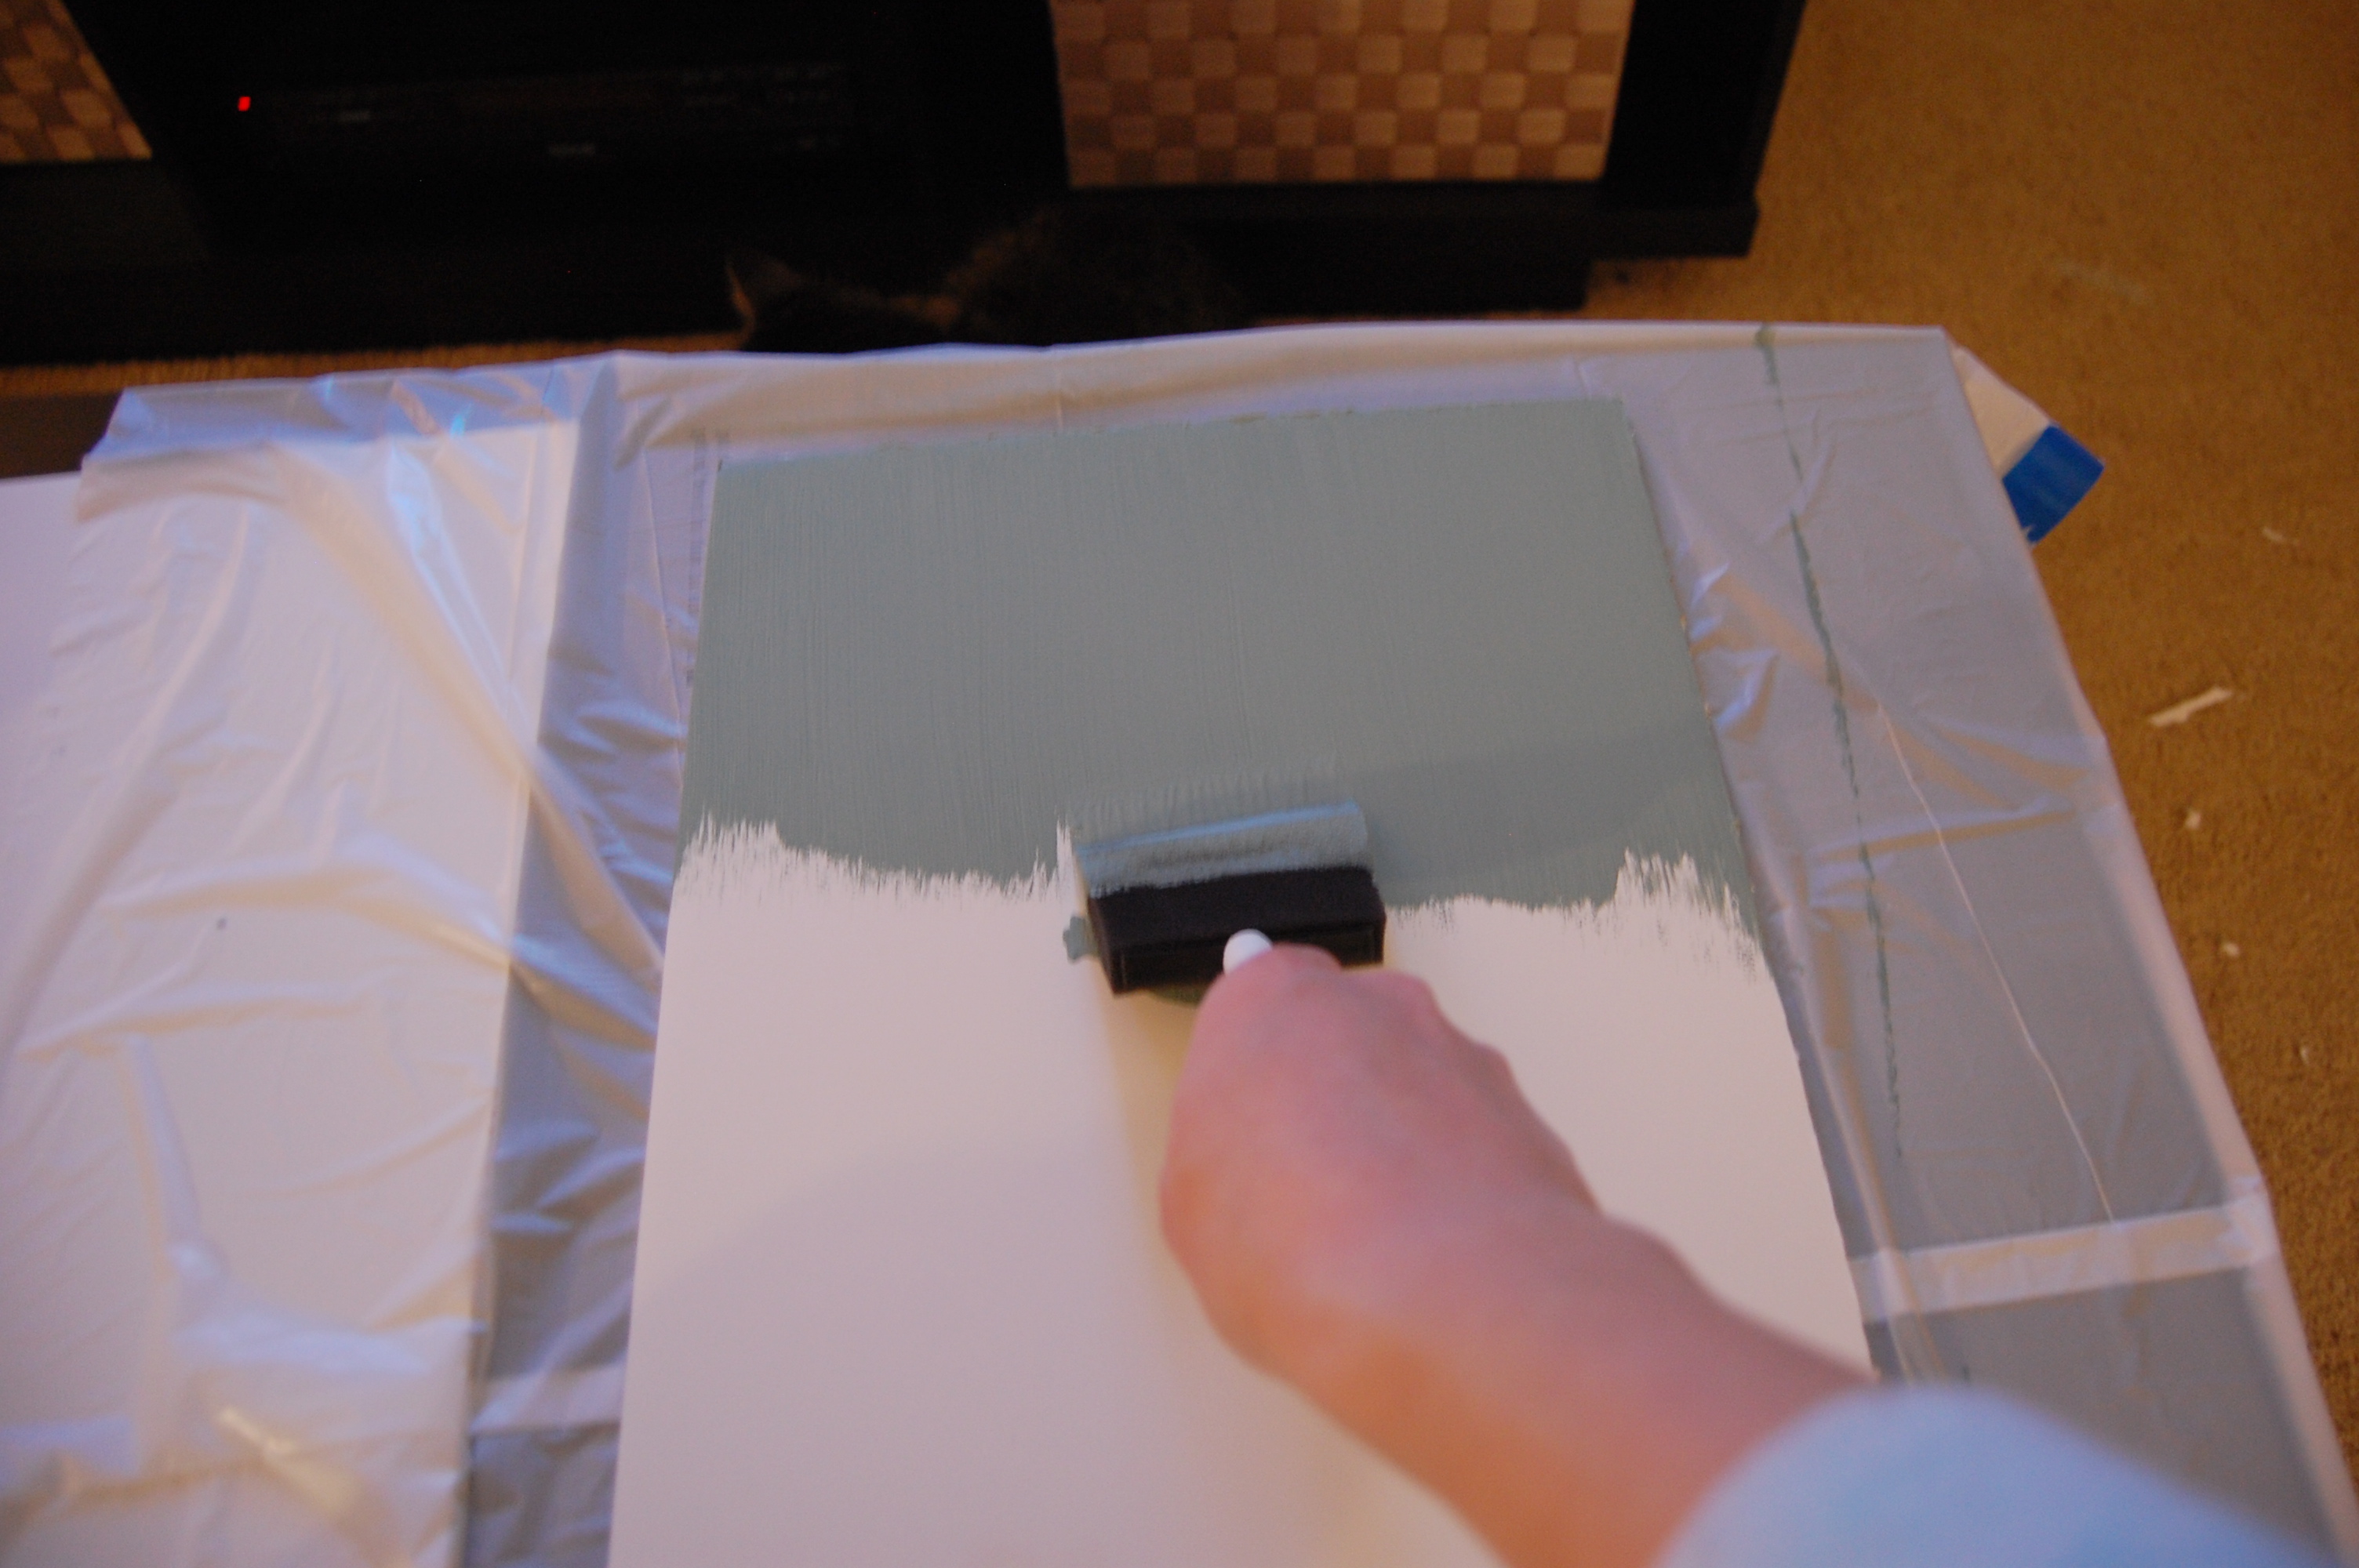 I let them dry for about 2 hours and since they weren’t cut to be a perfect fit I put some command strips on the back to help keep them secured.
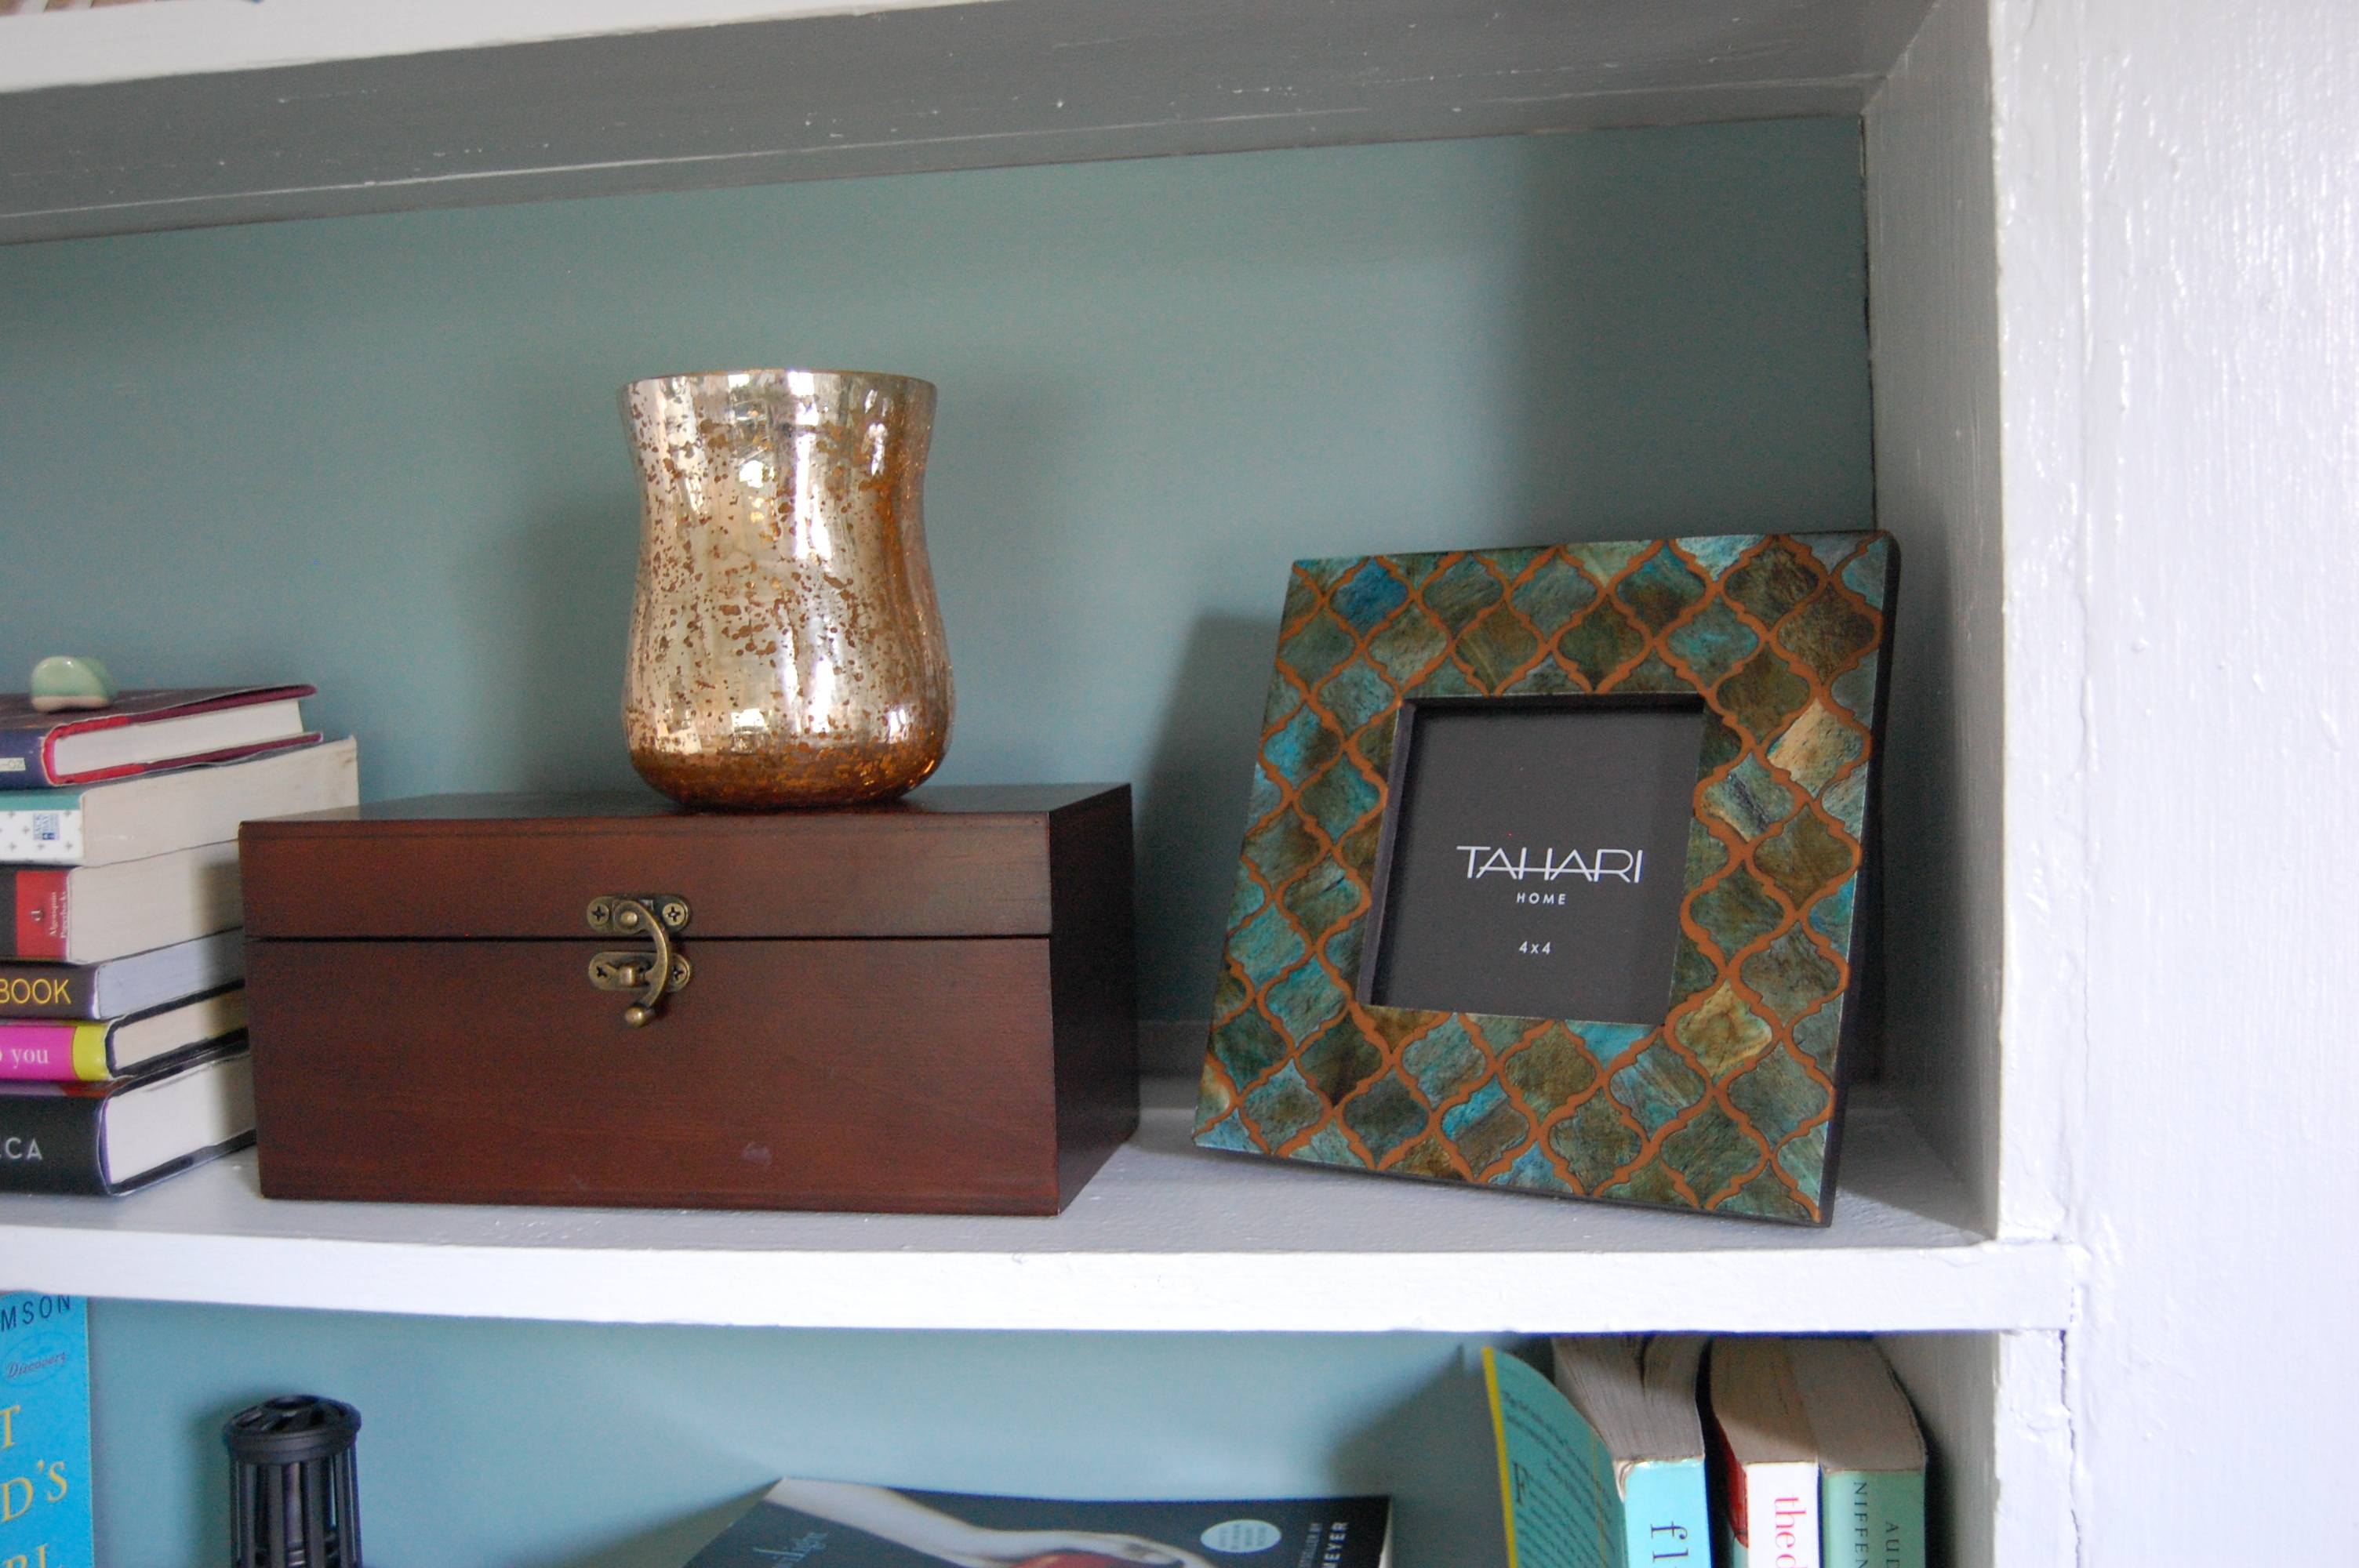
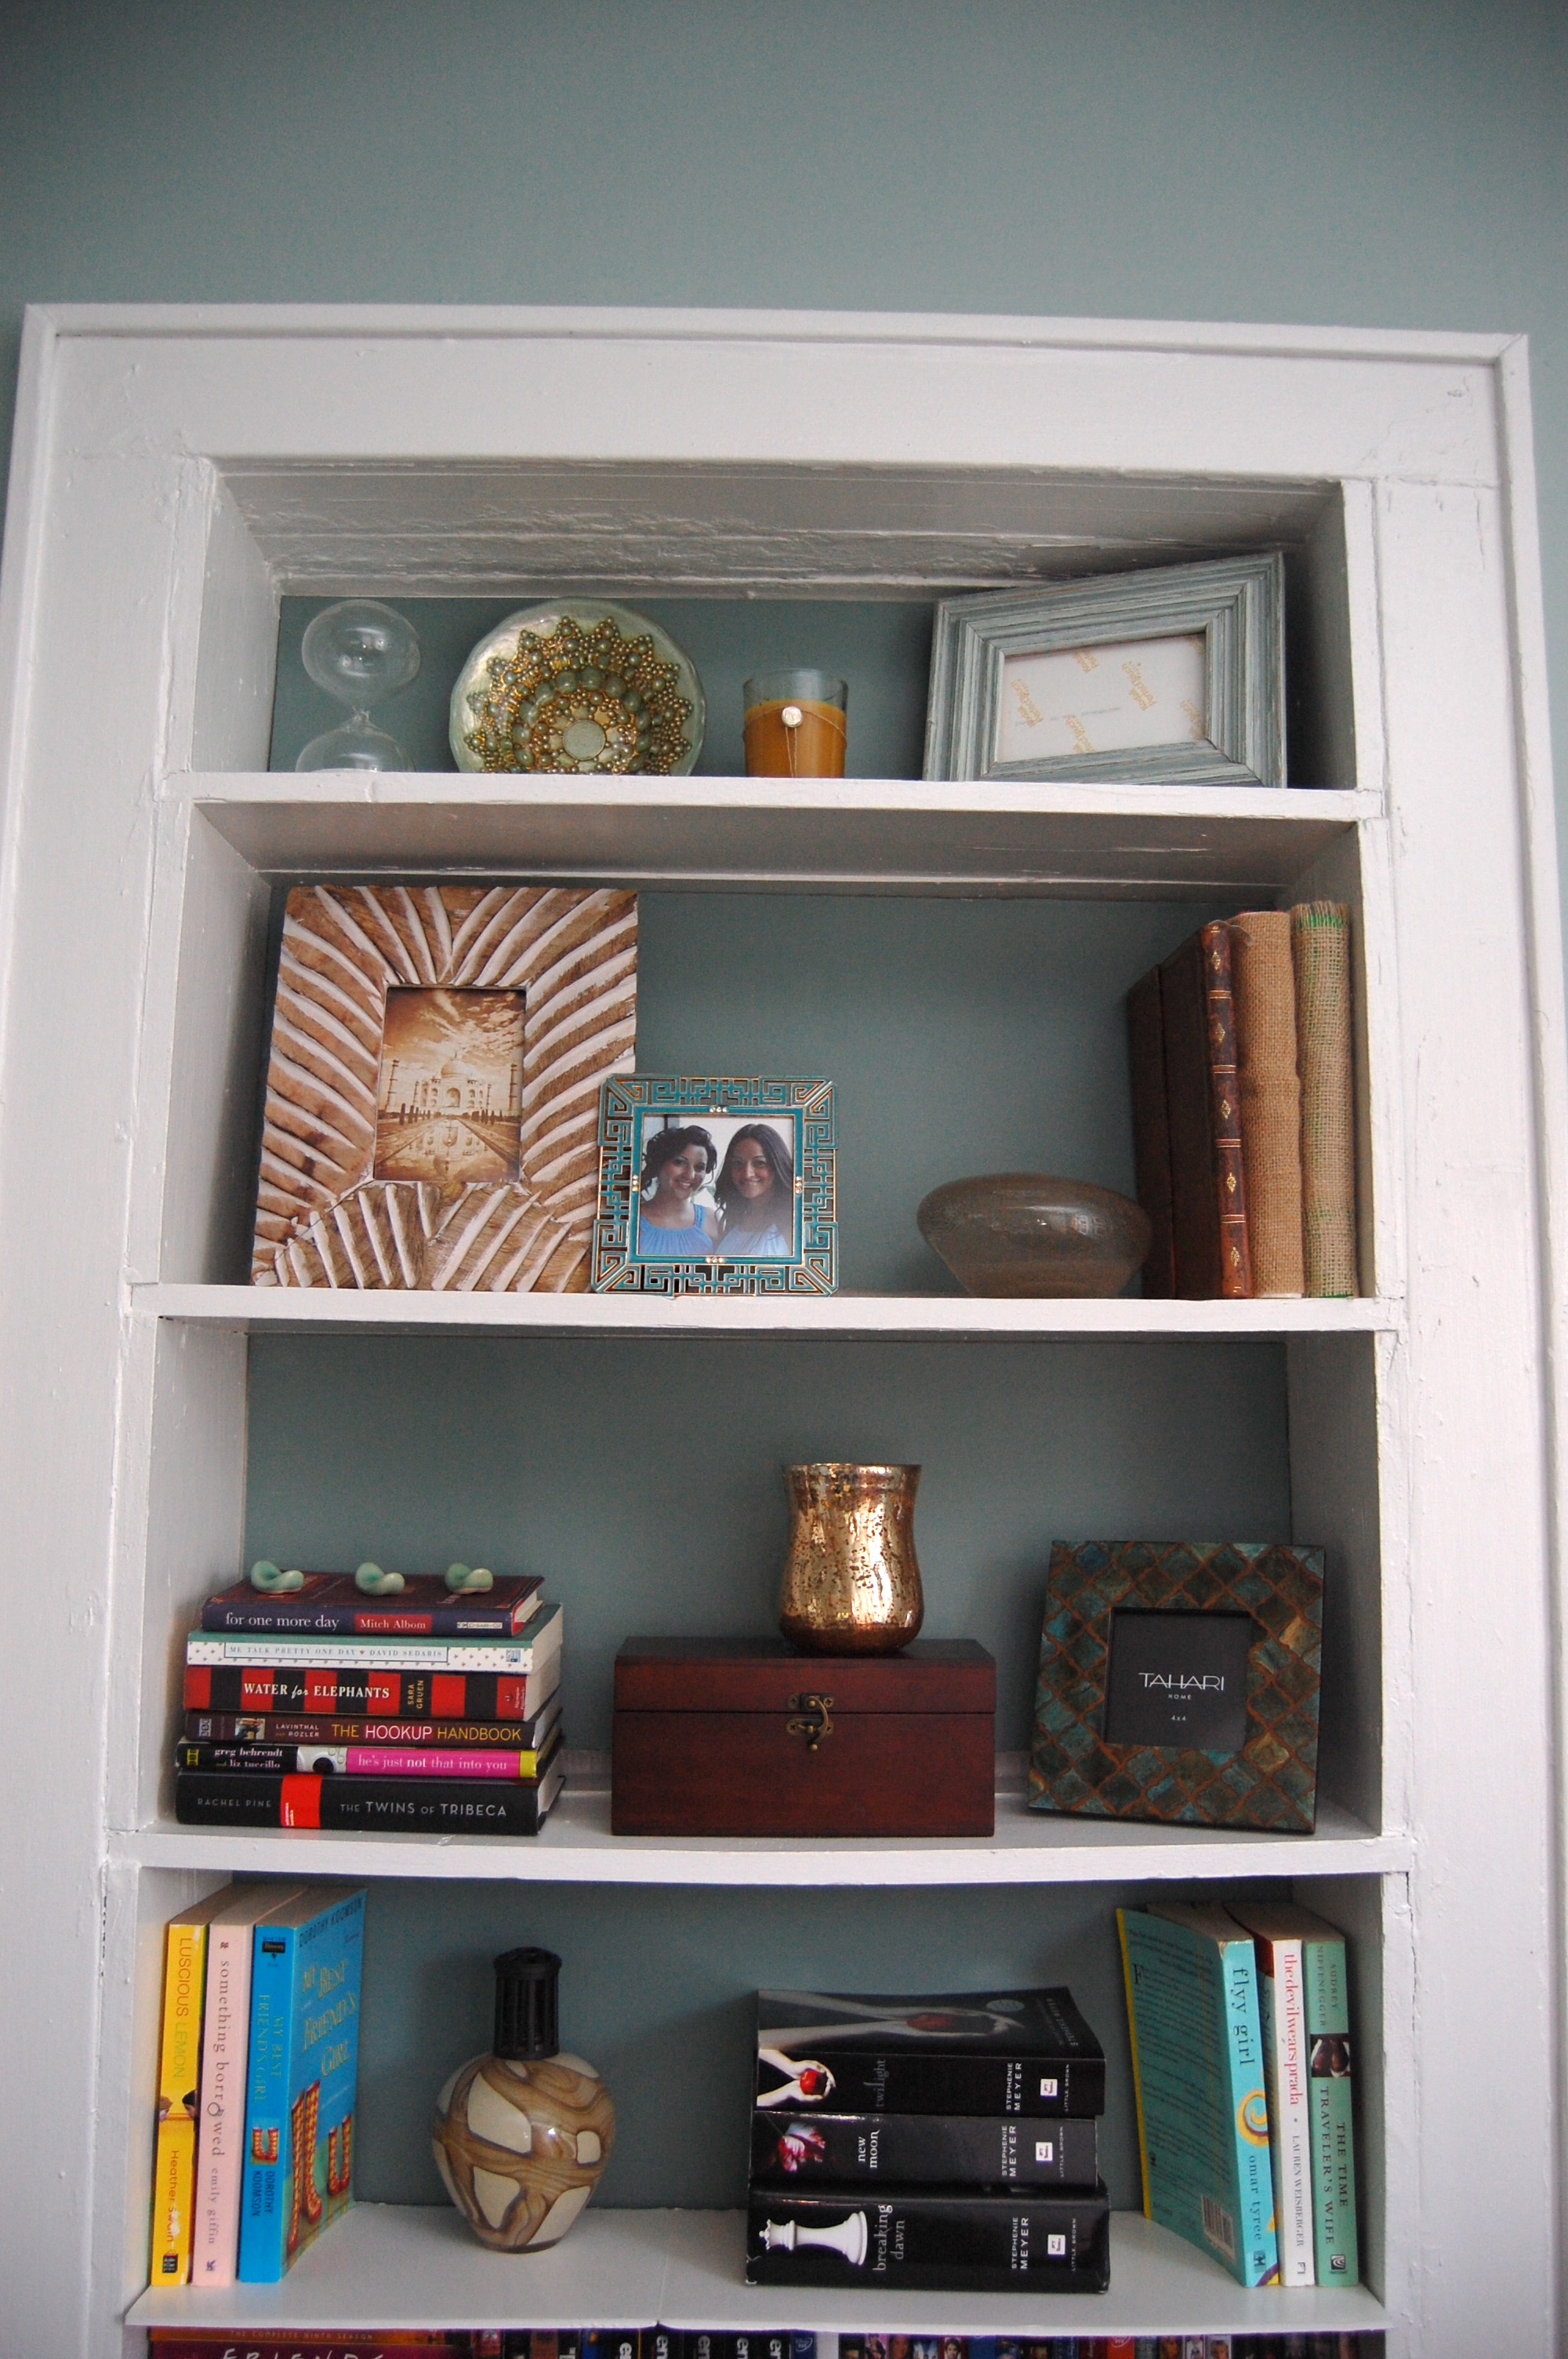
 When I got them all in place it was time for the best part…decorating! Here’s what it looks like now.
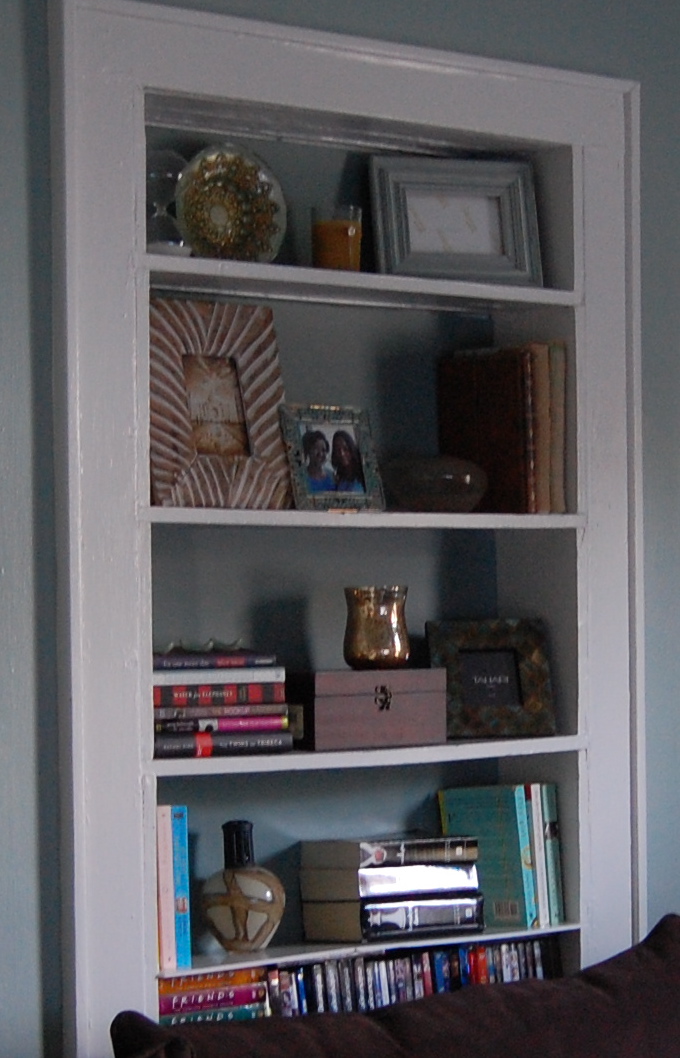
To help remedy the large bottom shelf problem I cut a piece of foam board and laid it to sit on top of some DVD’s as a make shift shelf. Looks a little ghetto but hey it works!
Now I’ve just got to find some pictures to put in those frames 😉
