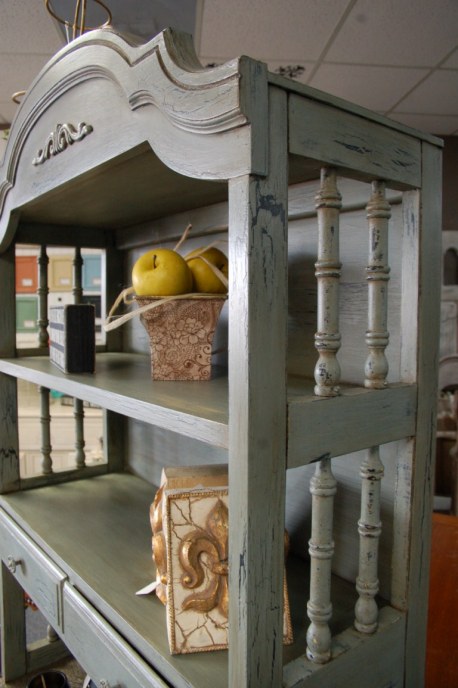
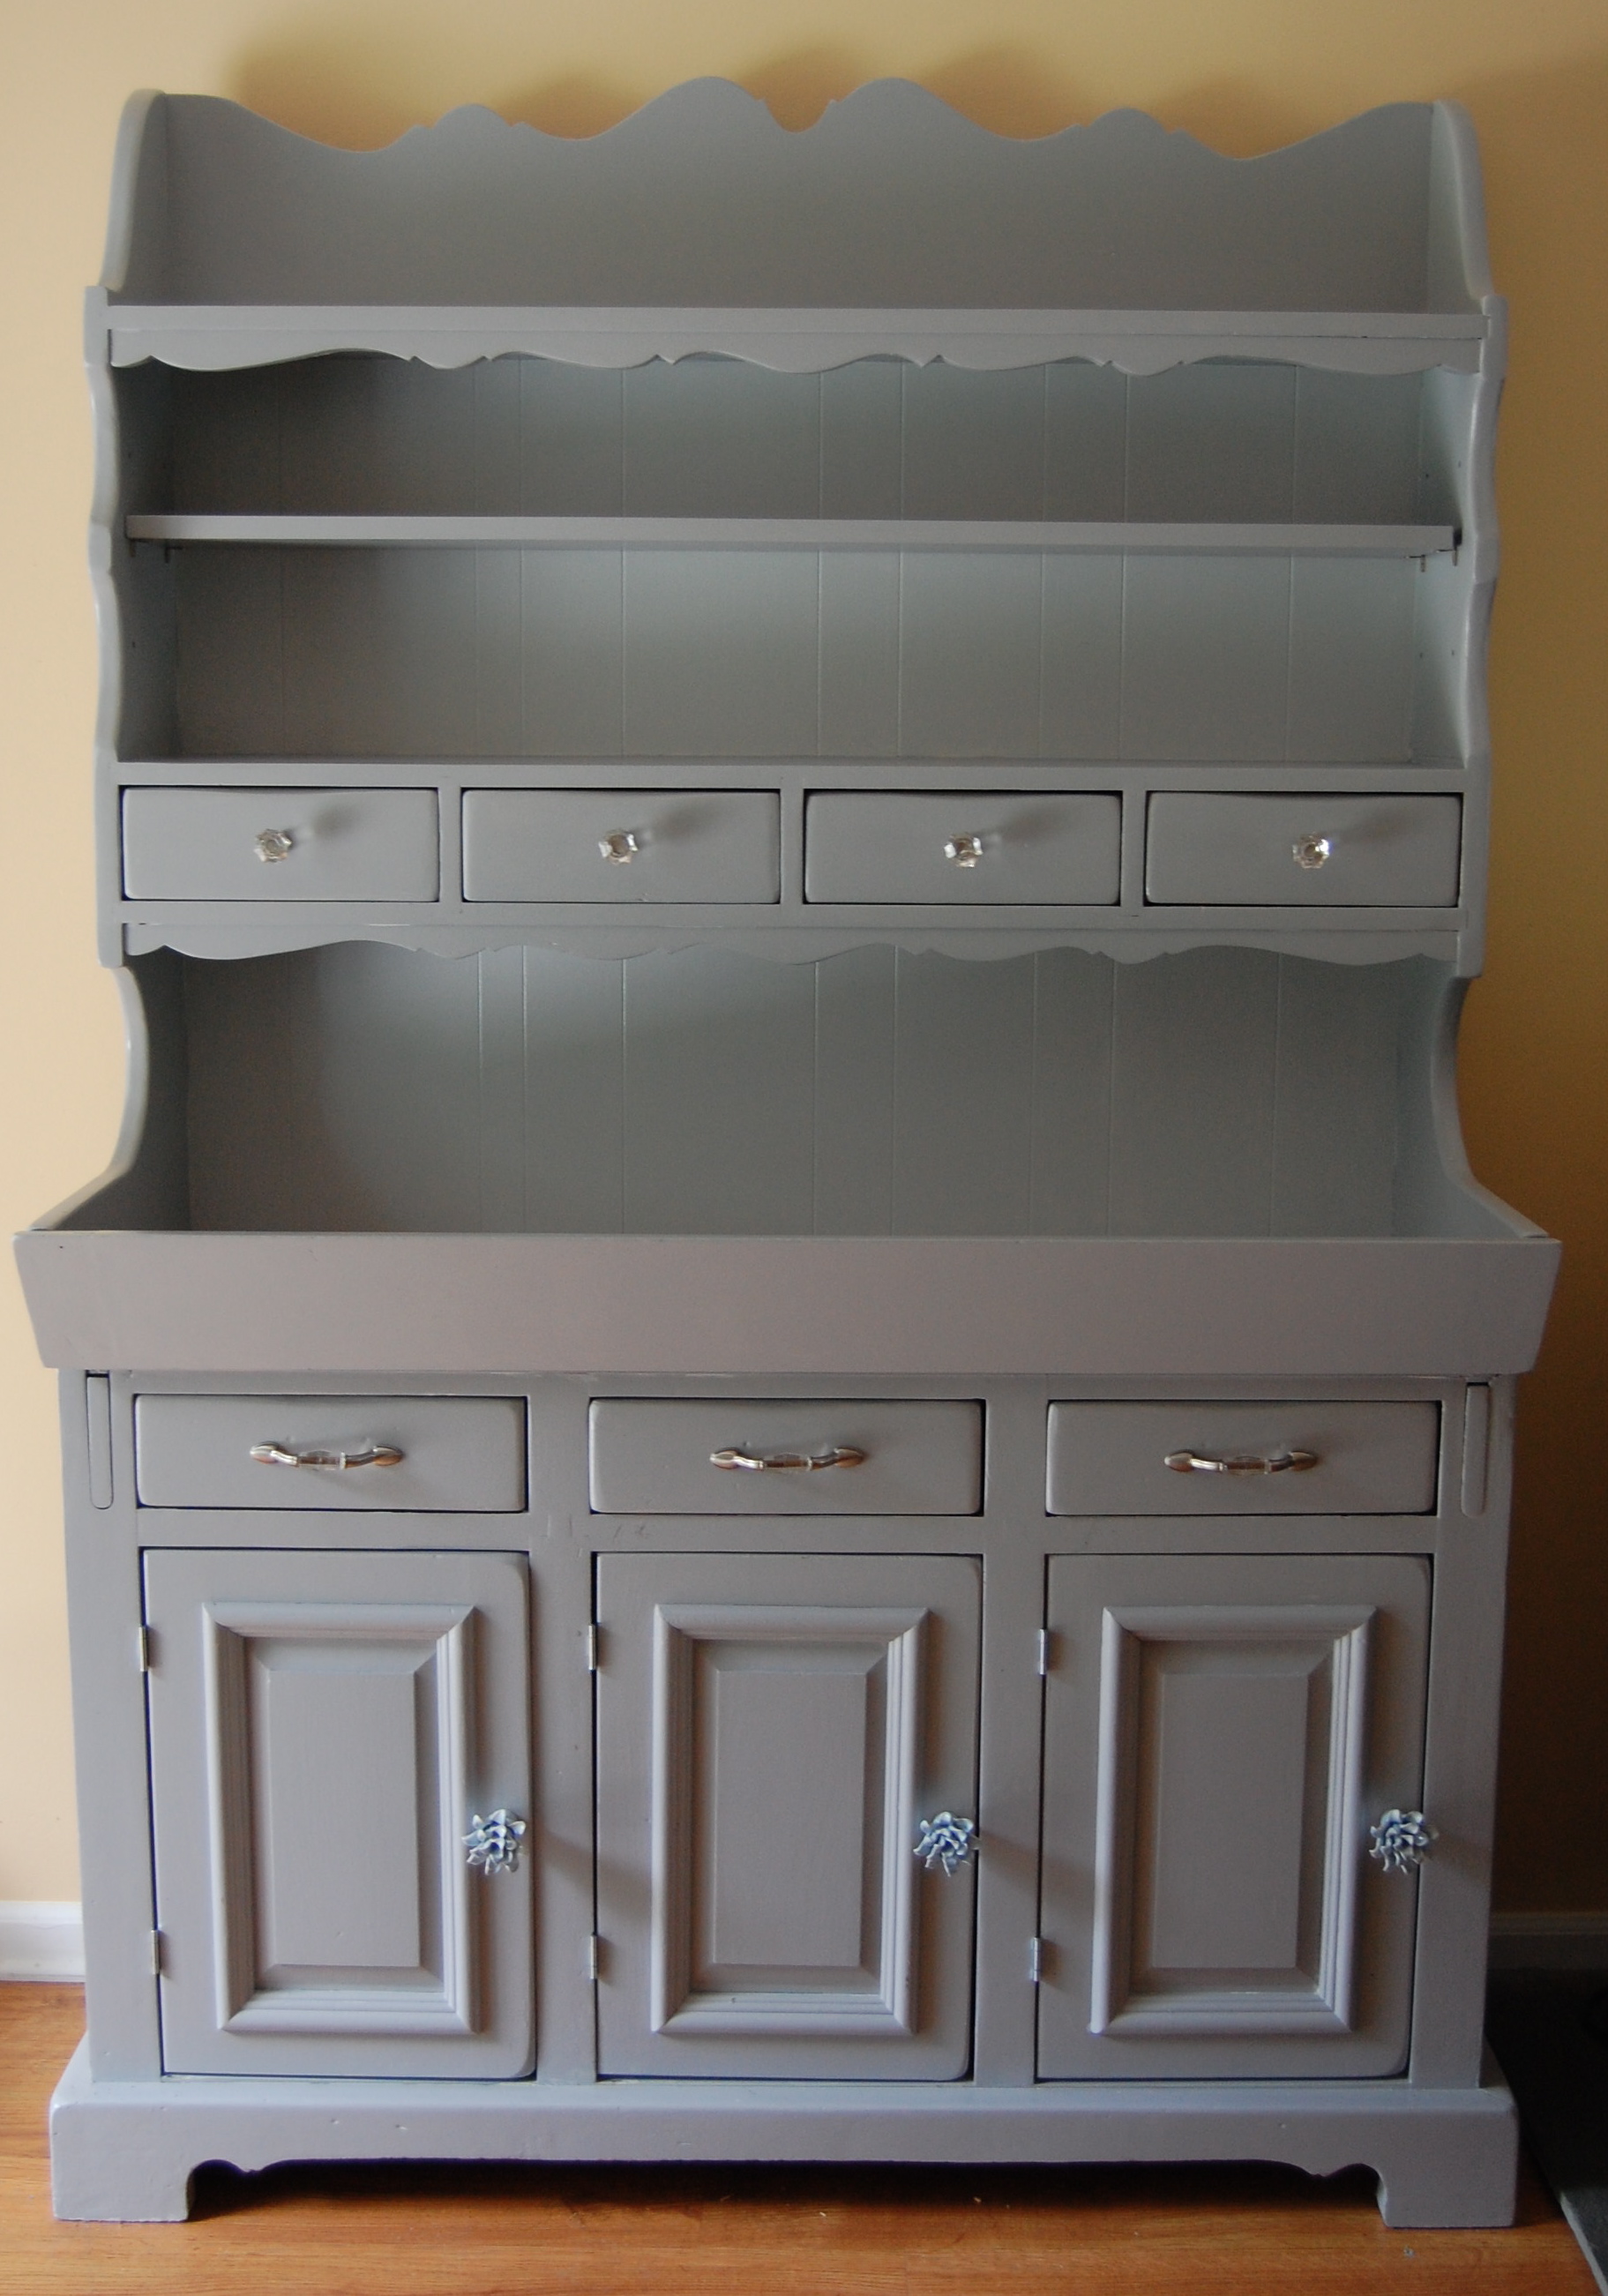
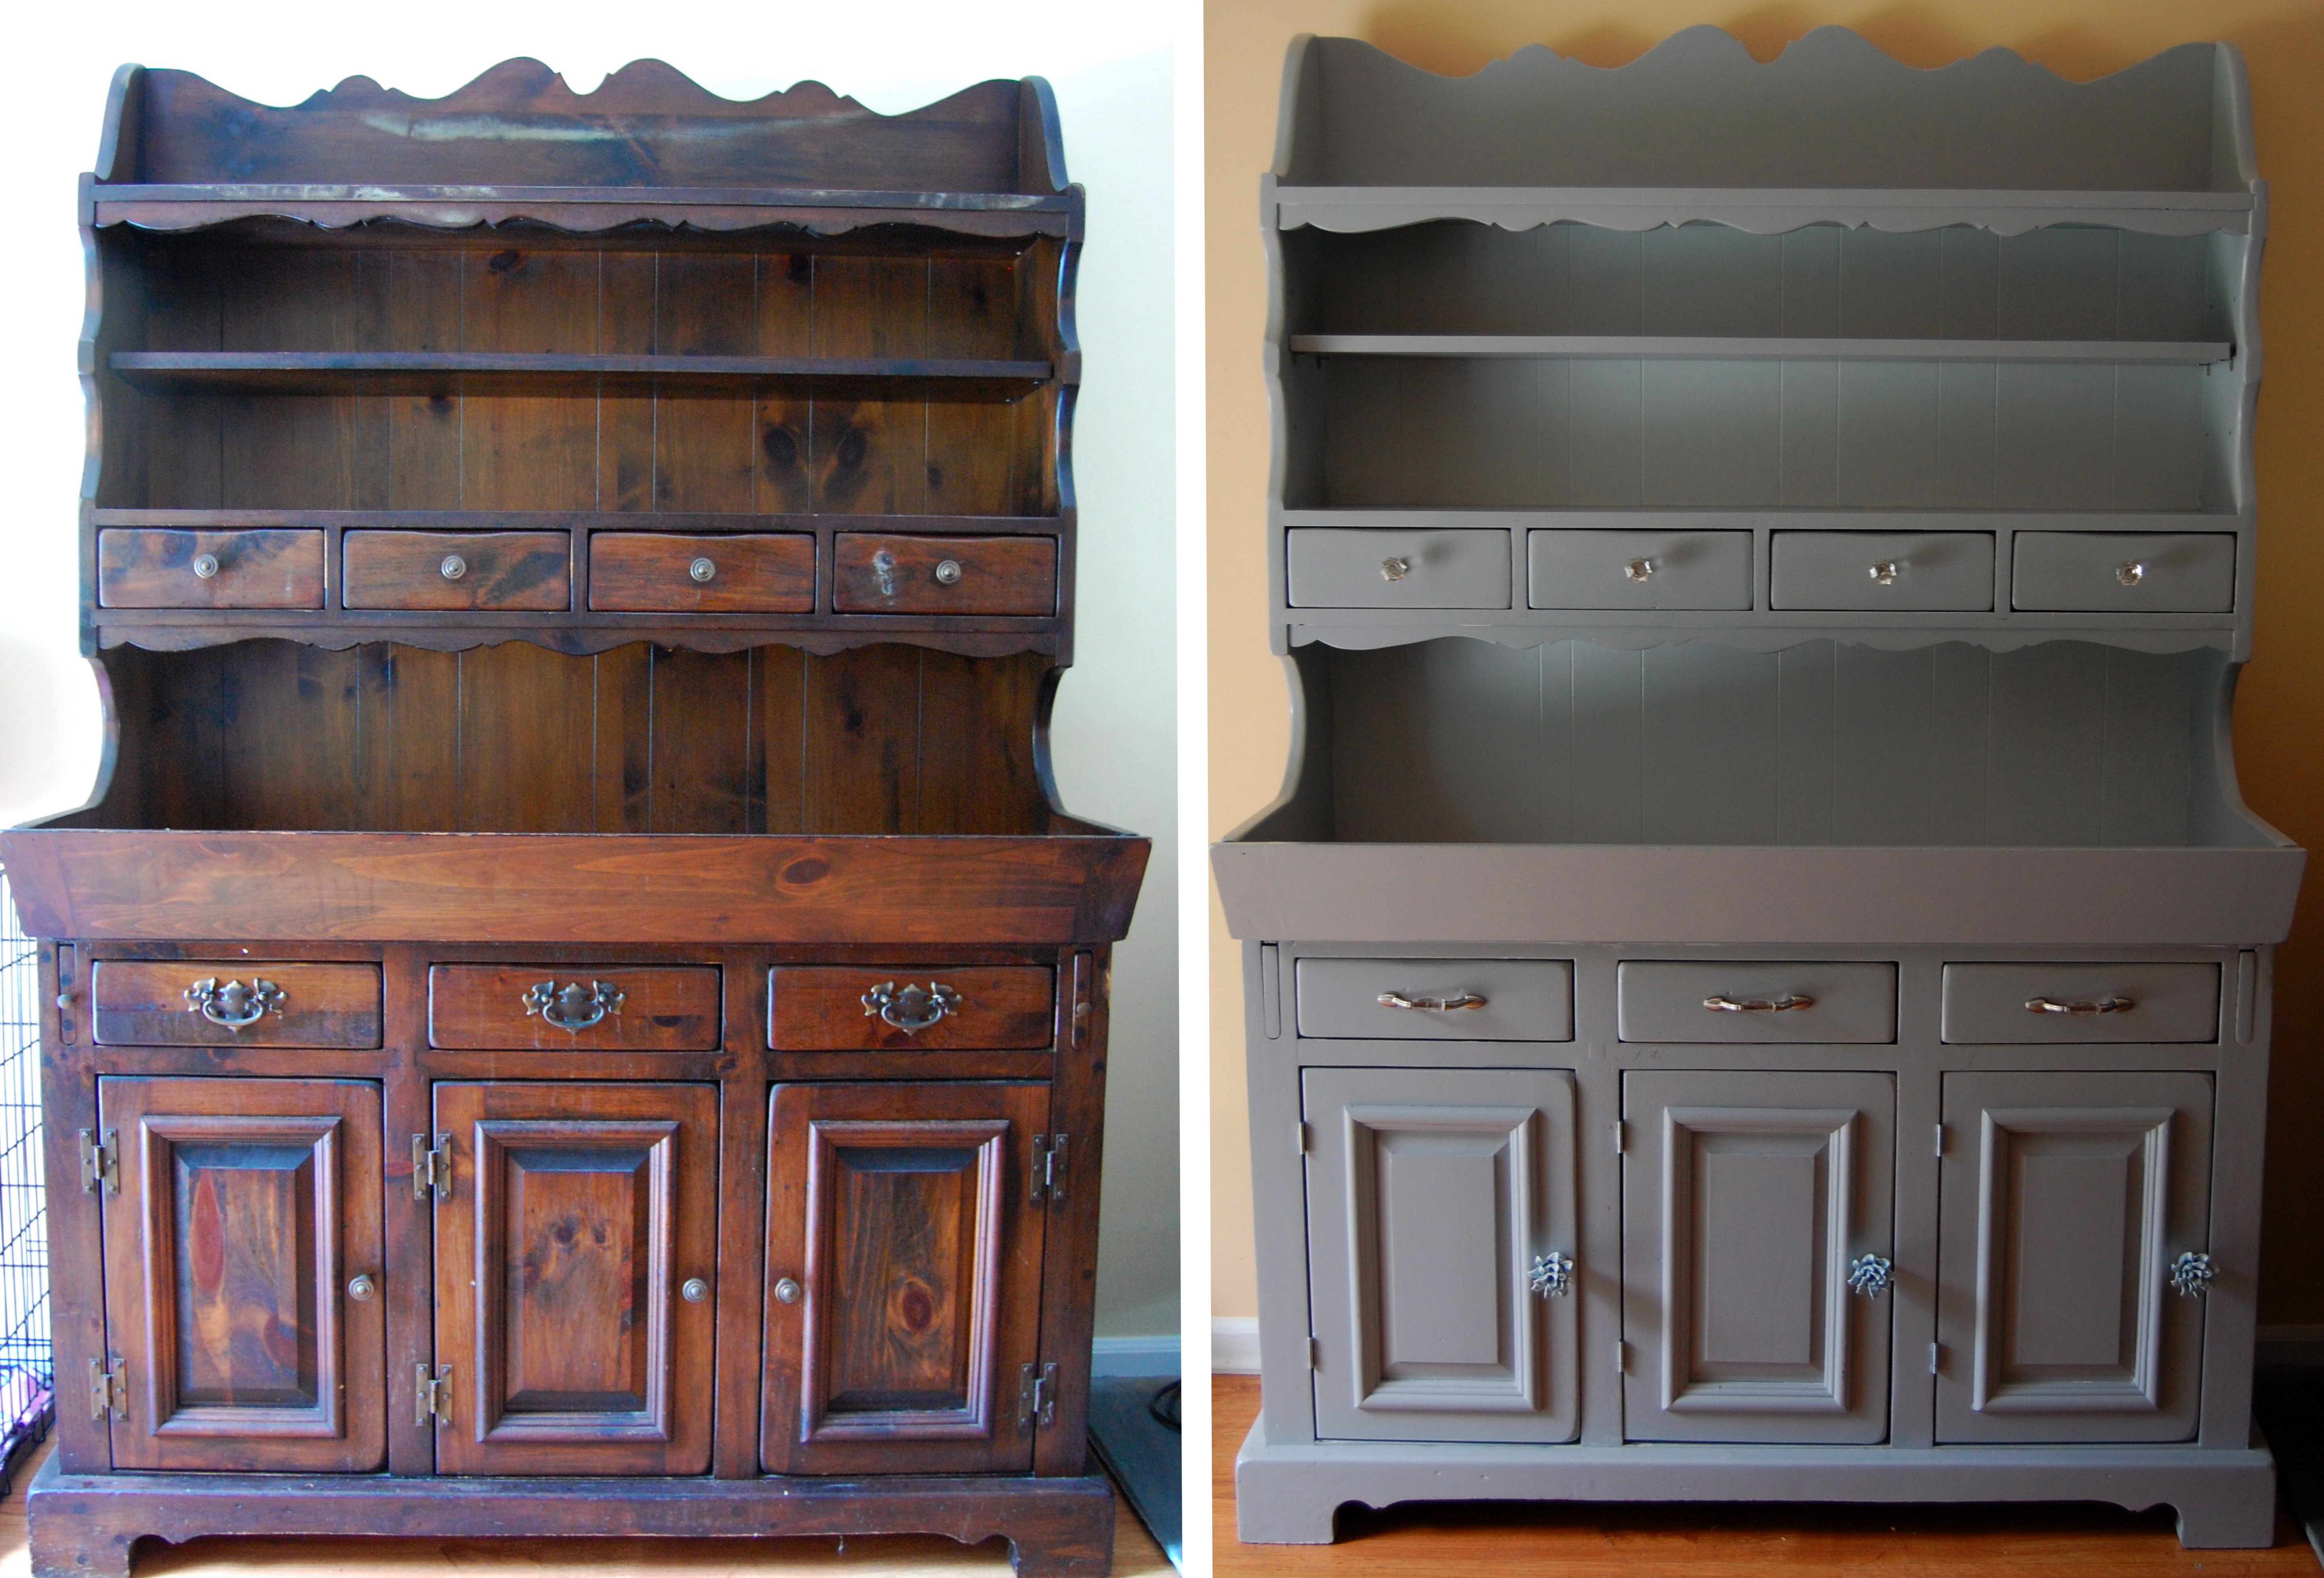
I did it again. I painted another piece of furniture. I think I’m officially addicted. The piece – an old hutch. If you follow me on Facebook or Instagram then you may have seen this image I posted the other day.
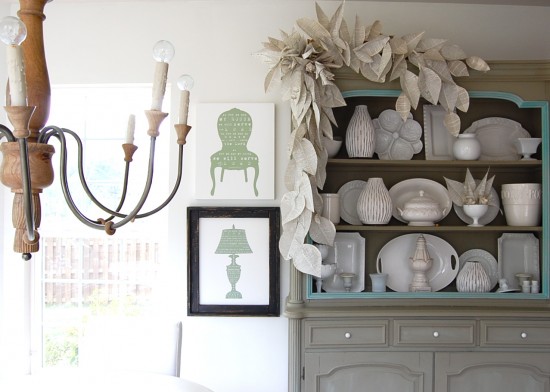
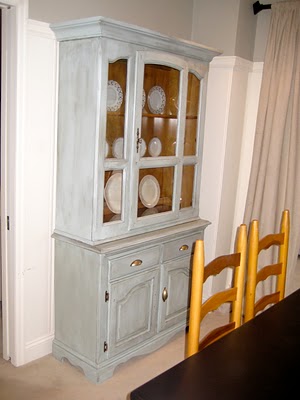
Now before I get into how this came to be let’s go back to when the desire to get my hands on a hutch came to be. It was March of 2011 and I was browsing my favorite blogs and Centsational Girl wrote a post on a hutch transformation she came across and when I saw the before and after all I could think was I need to redo a hutch! Since then I was always coming across hutch makeovers. Here are a few that I pinned that made me giddy.
Now let’s get something straight. Clearly this post is about making over a hutch. The hutch did not belong to me but that my friends did not matter to me. To give you a better understanding of the pure excitement that took place when I knew there was furniture that needed love, I refer you to a small piece of text I received from my cousin.
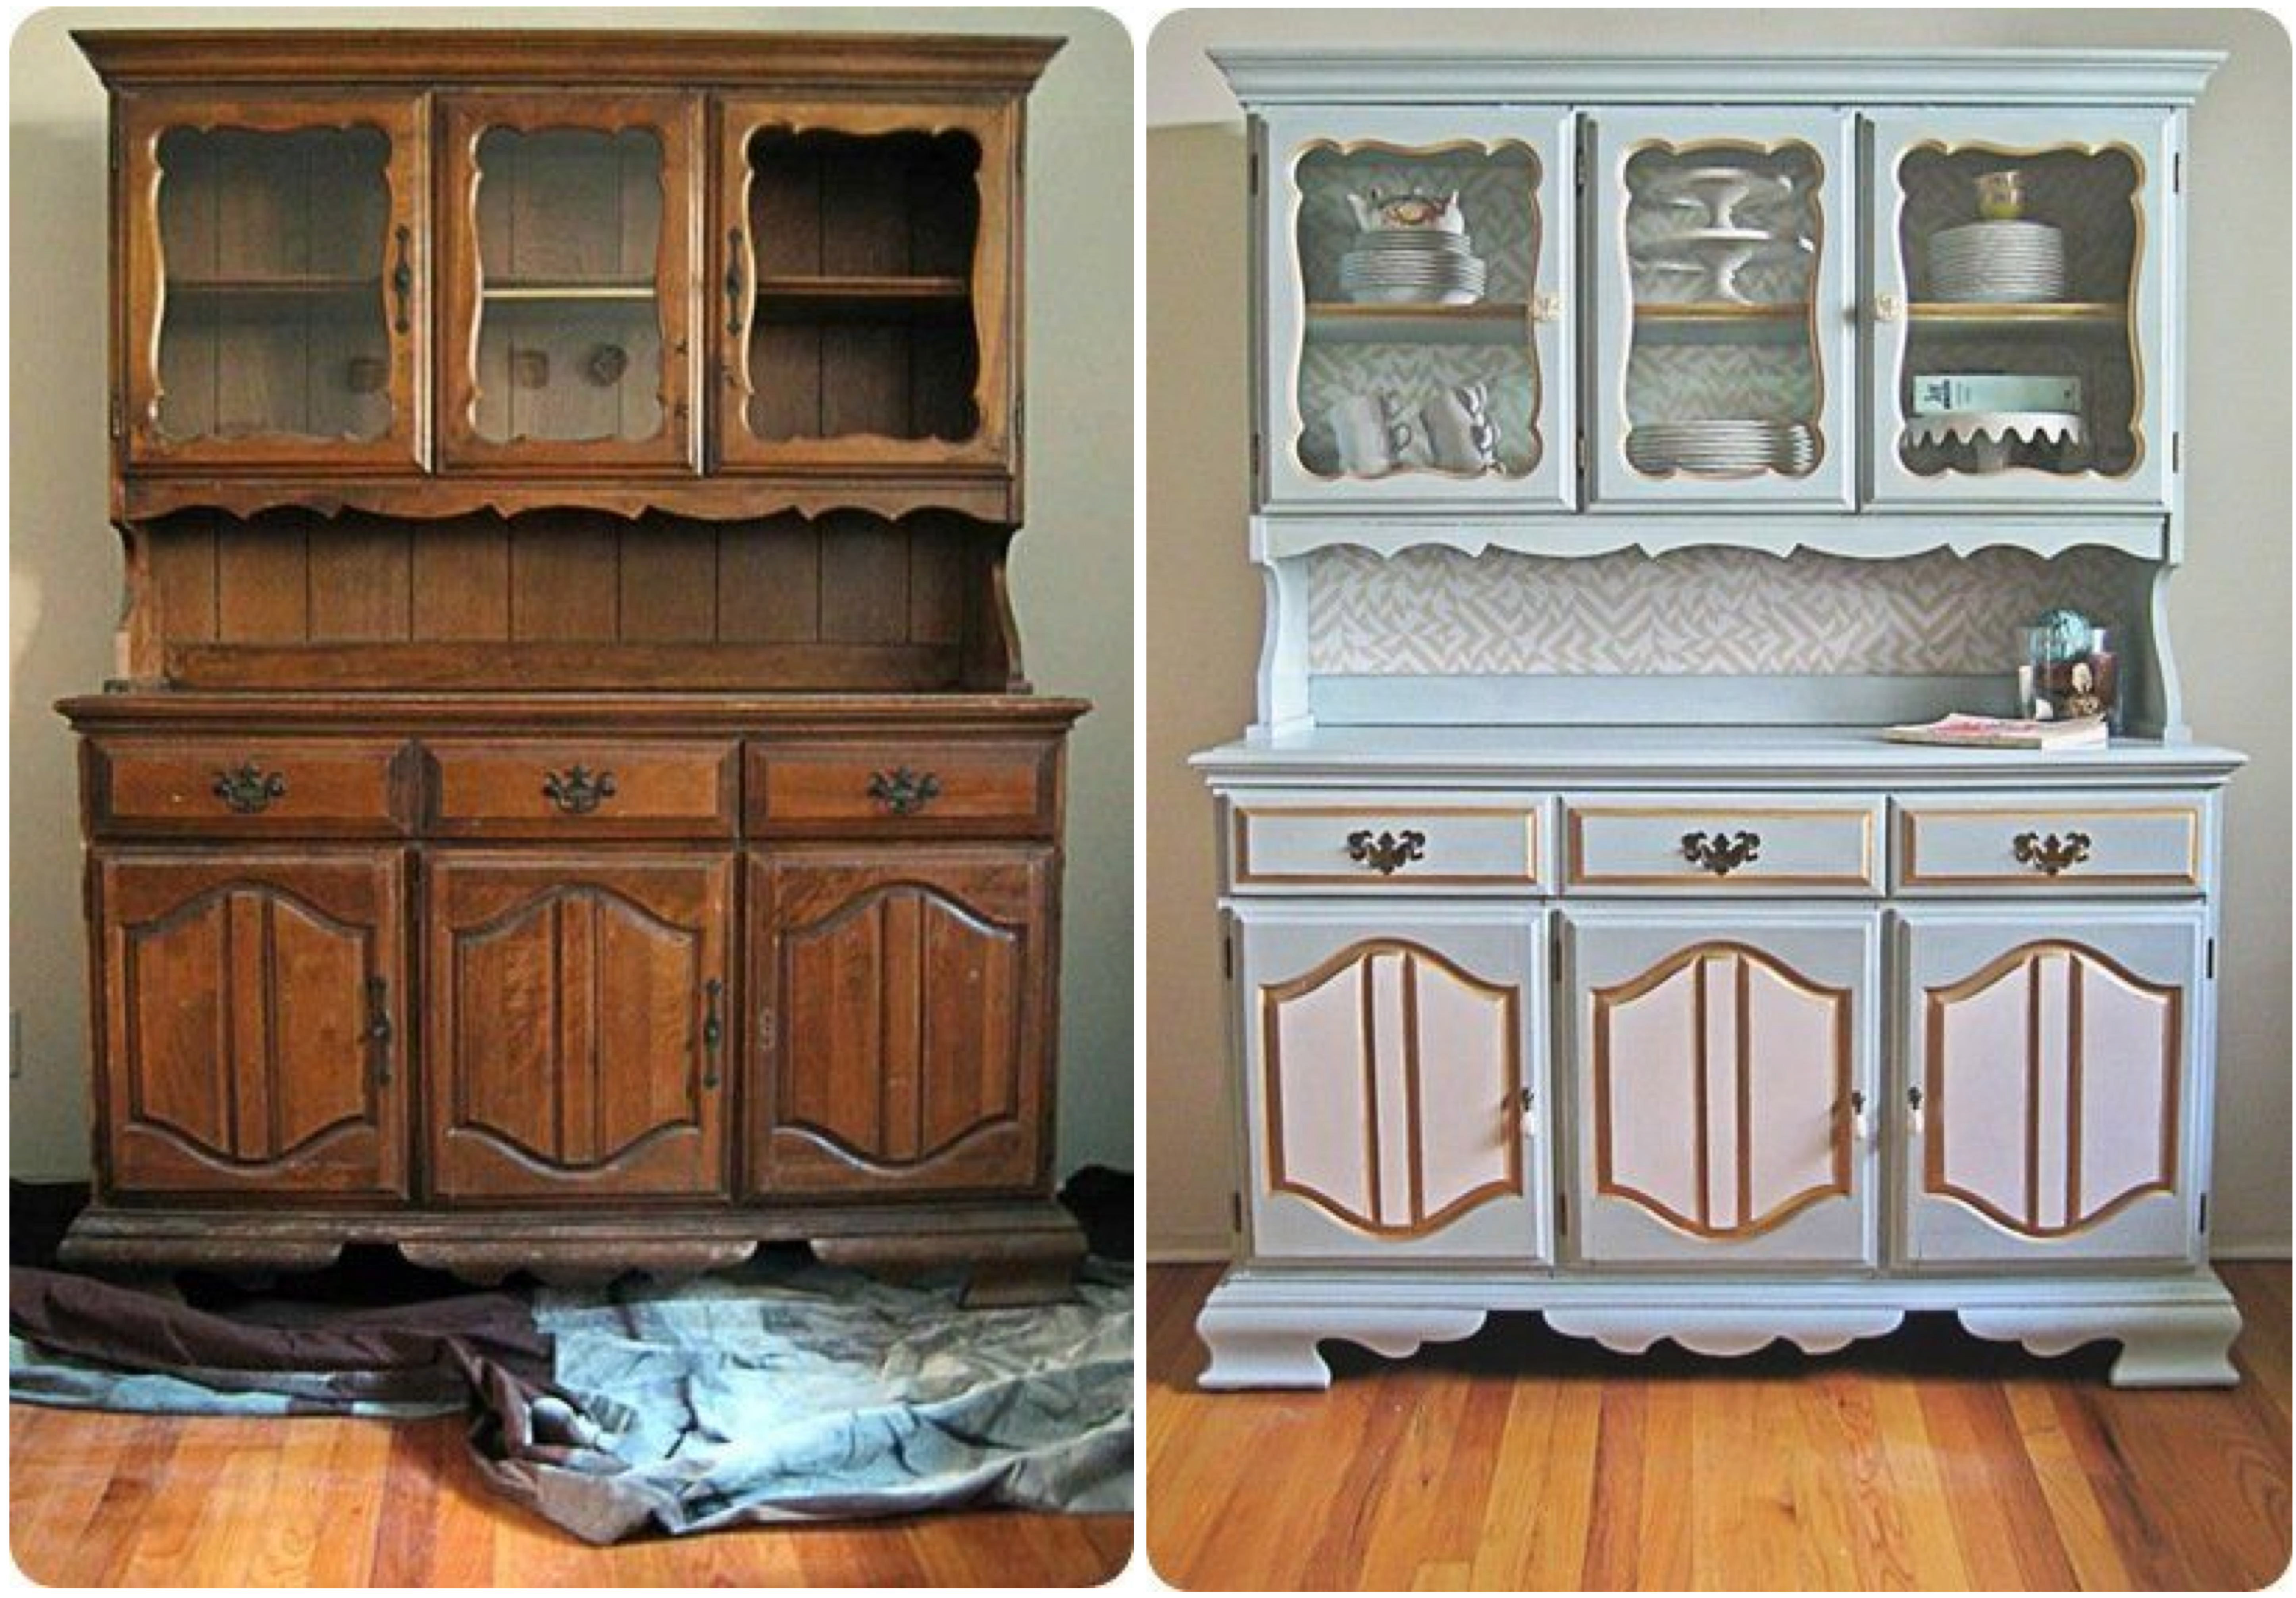
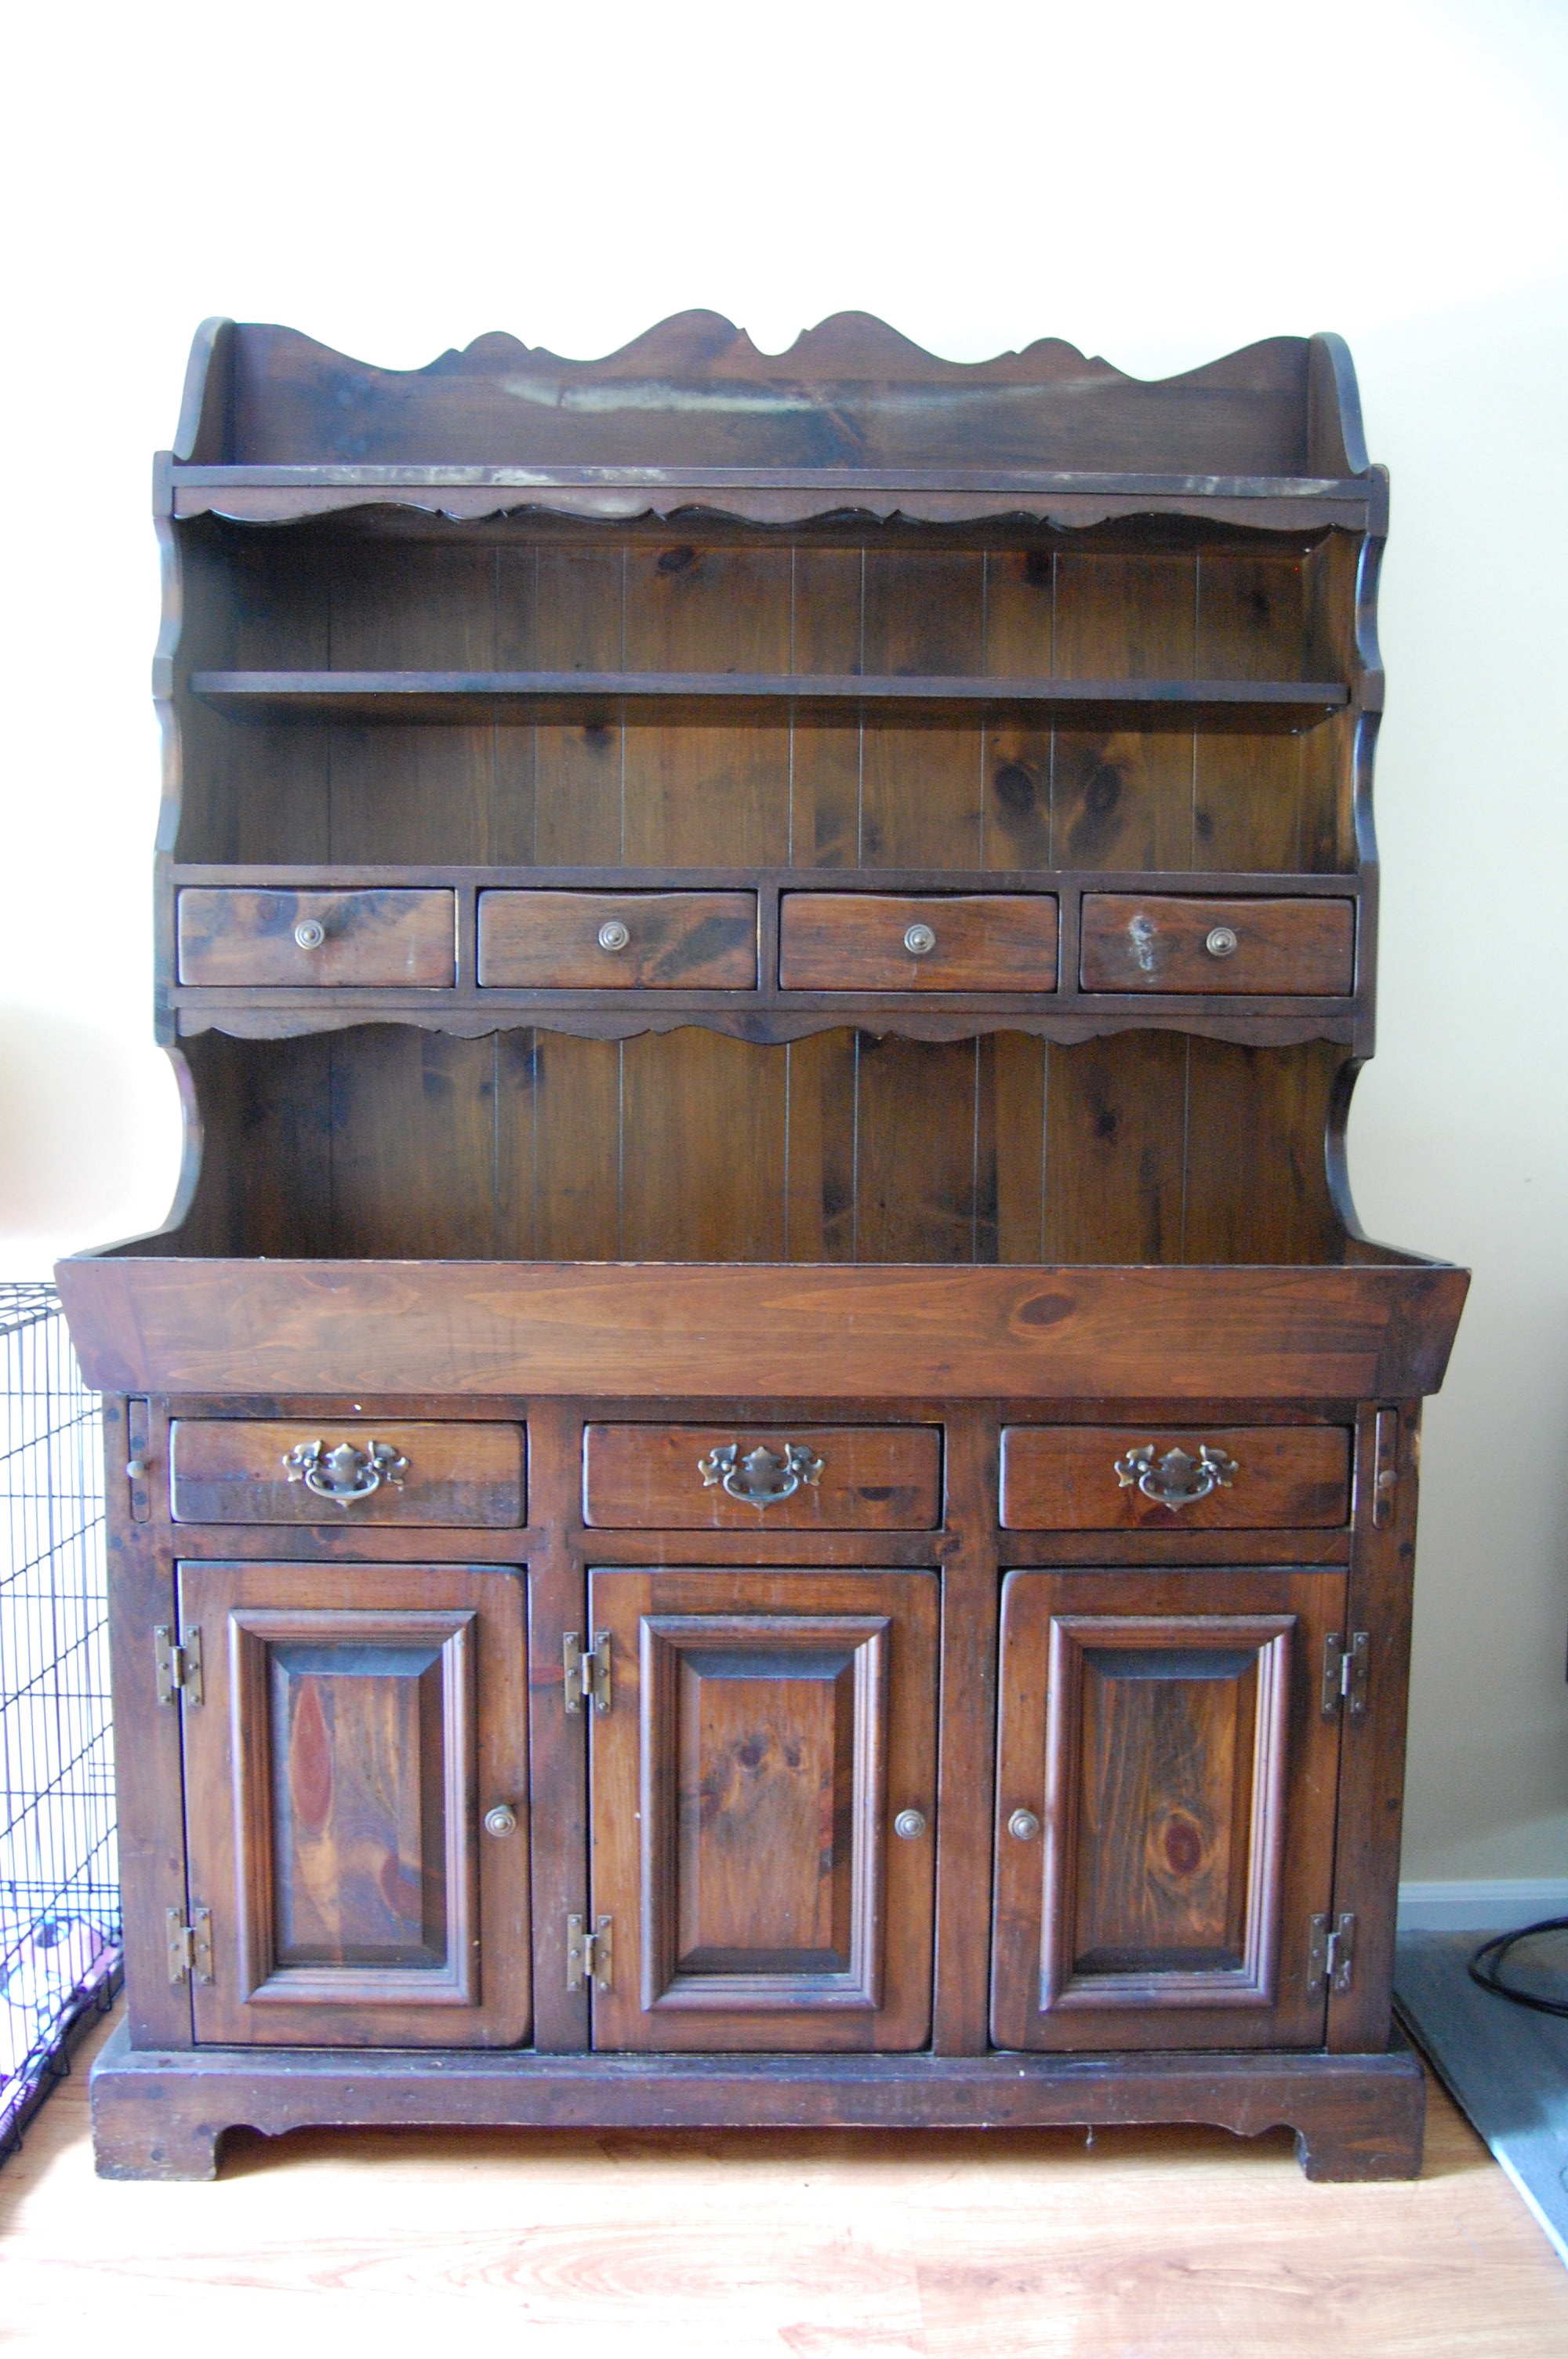
Yes, we are crazy! But woohoo a hutch! Ok enough talk let’s see some pictures. Here is what the hutch looked like when she picked it up…on the curb…outside…foe free (that’s for you KW2.)
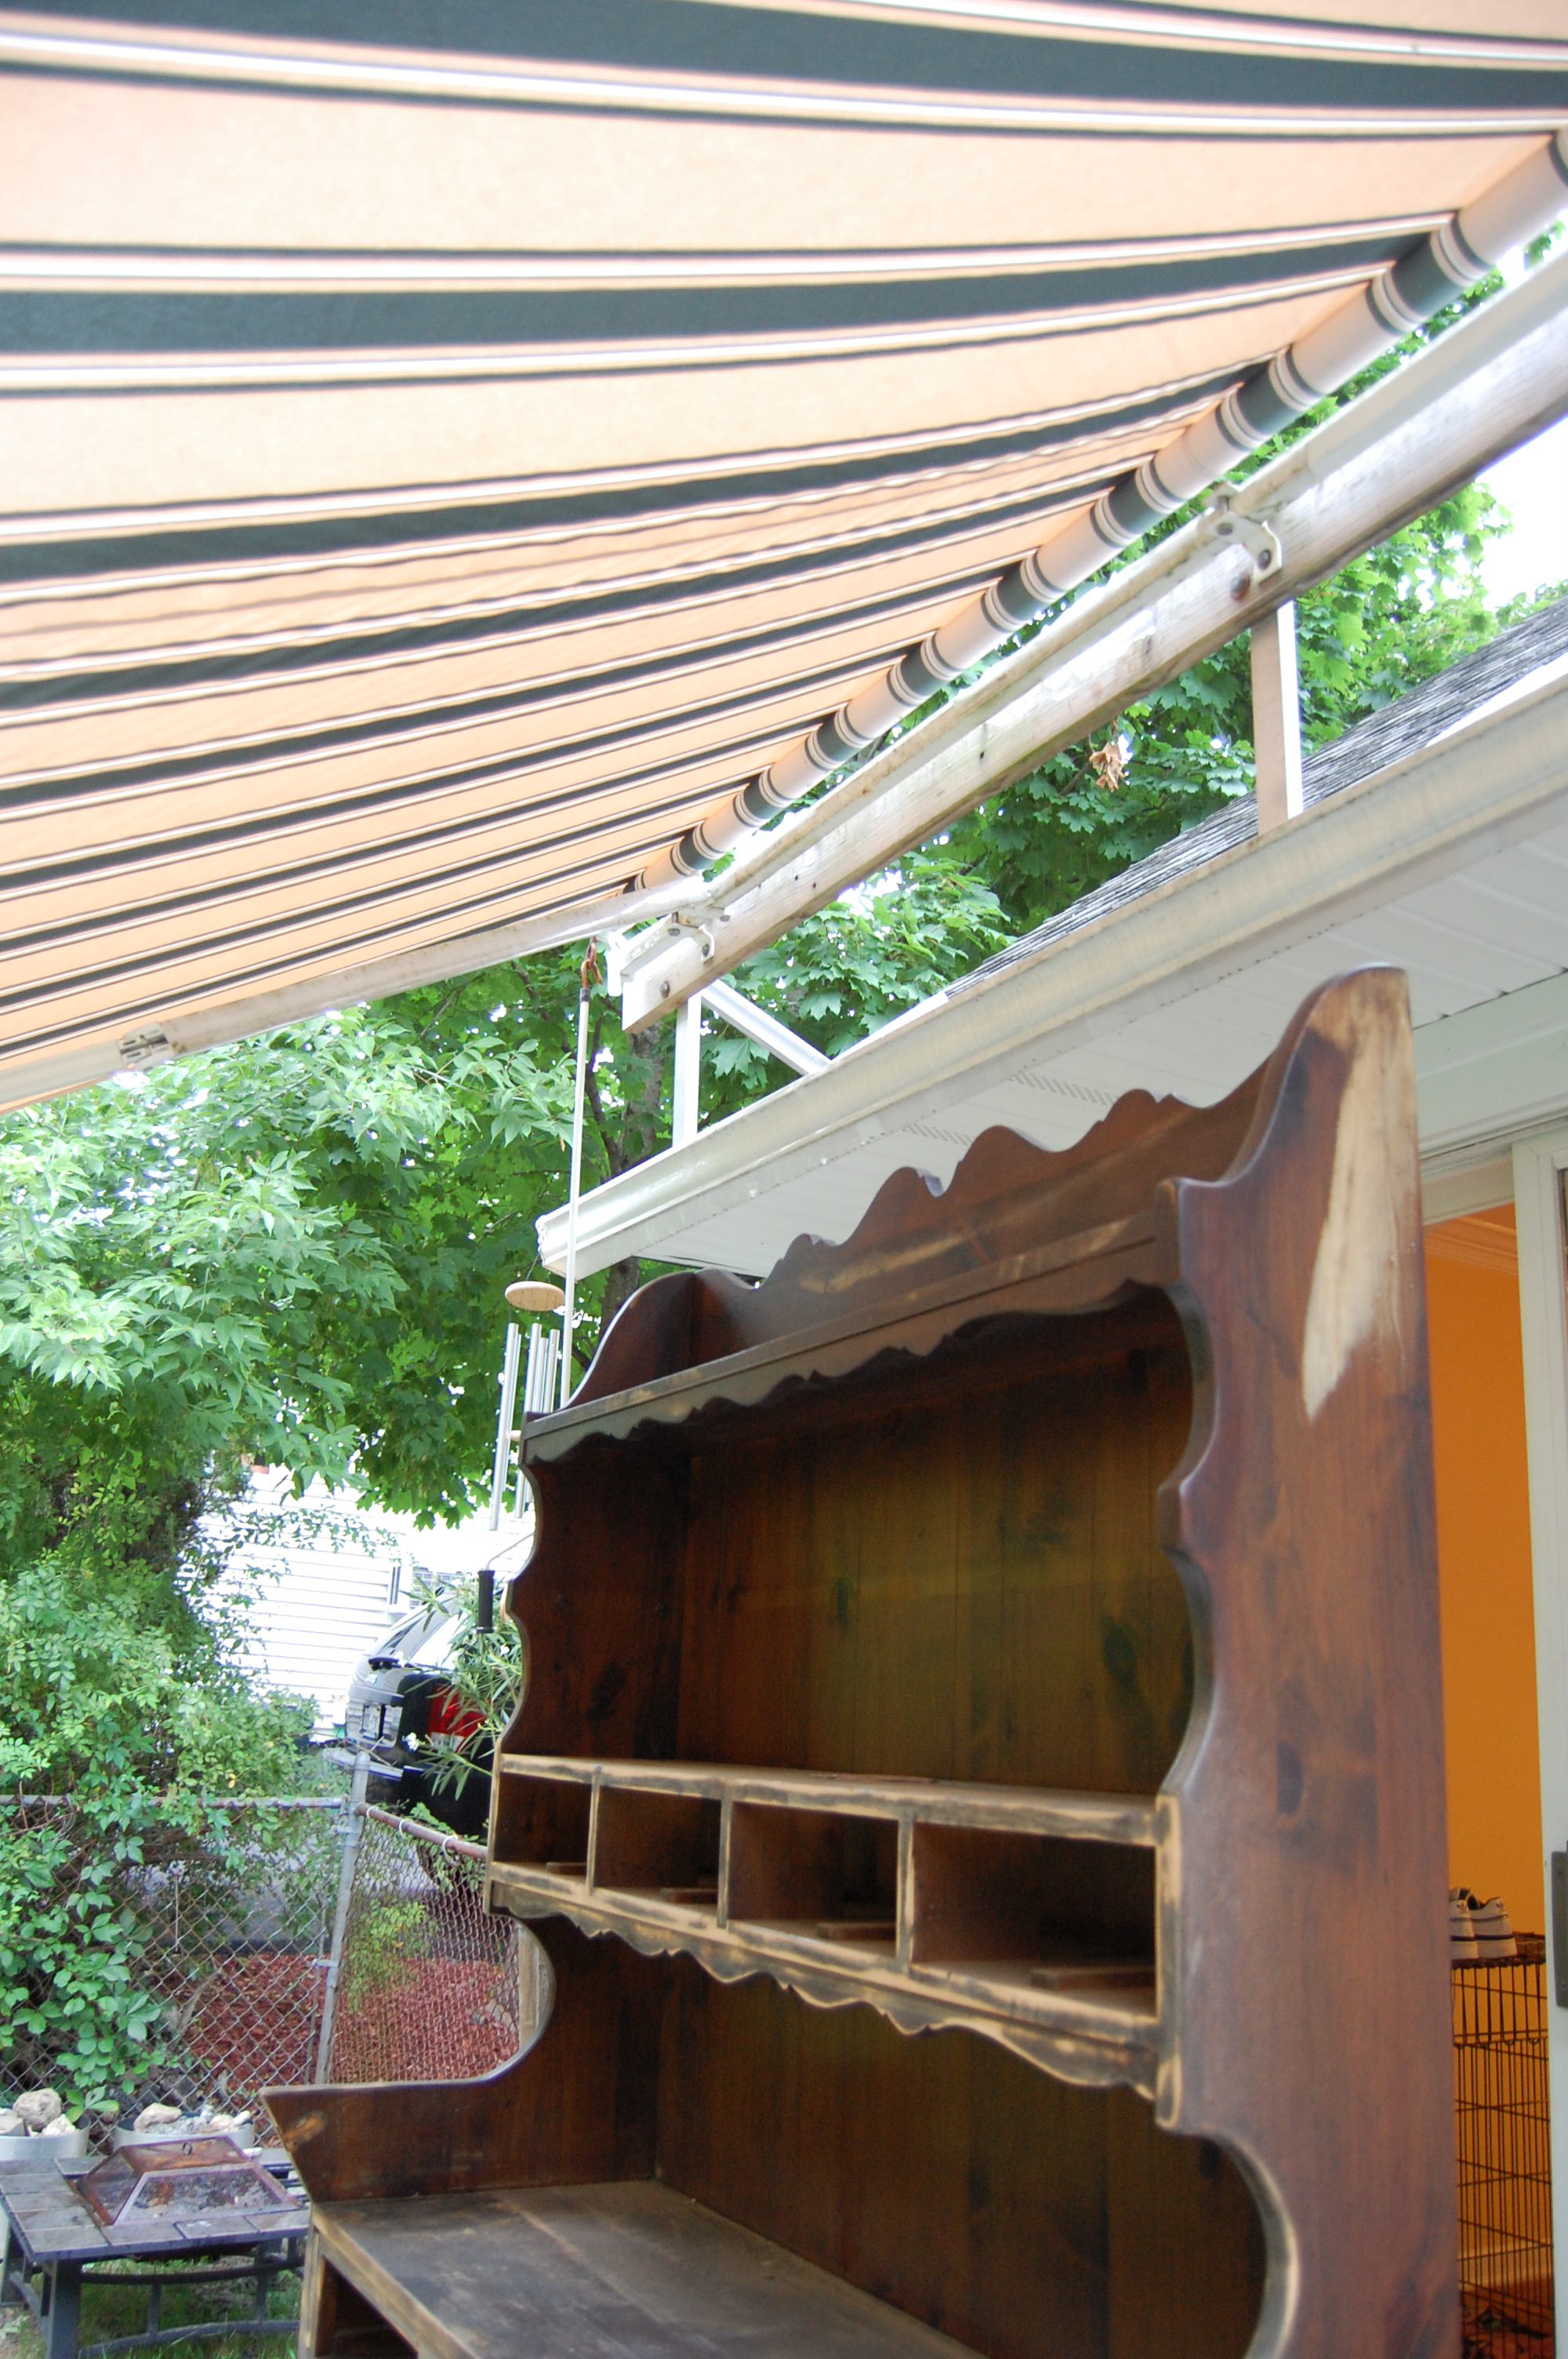
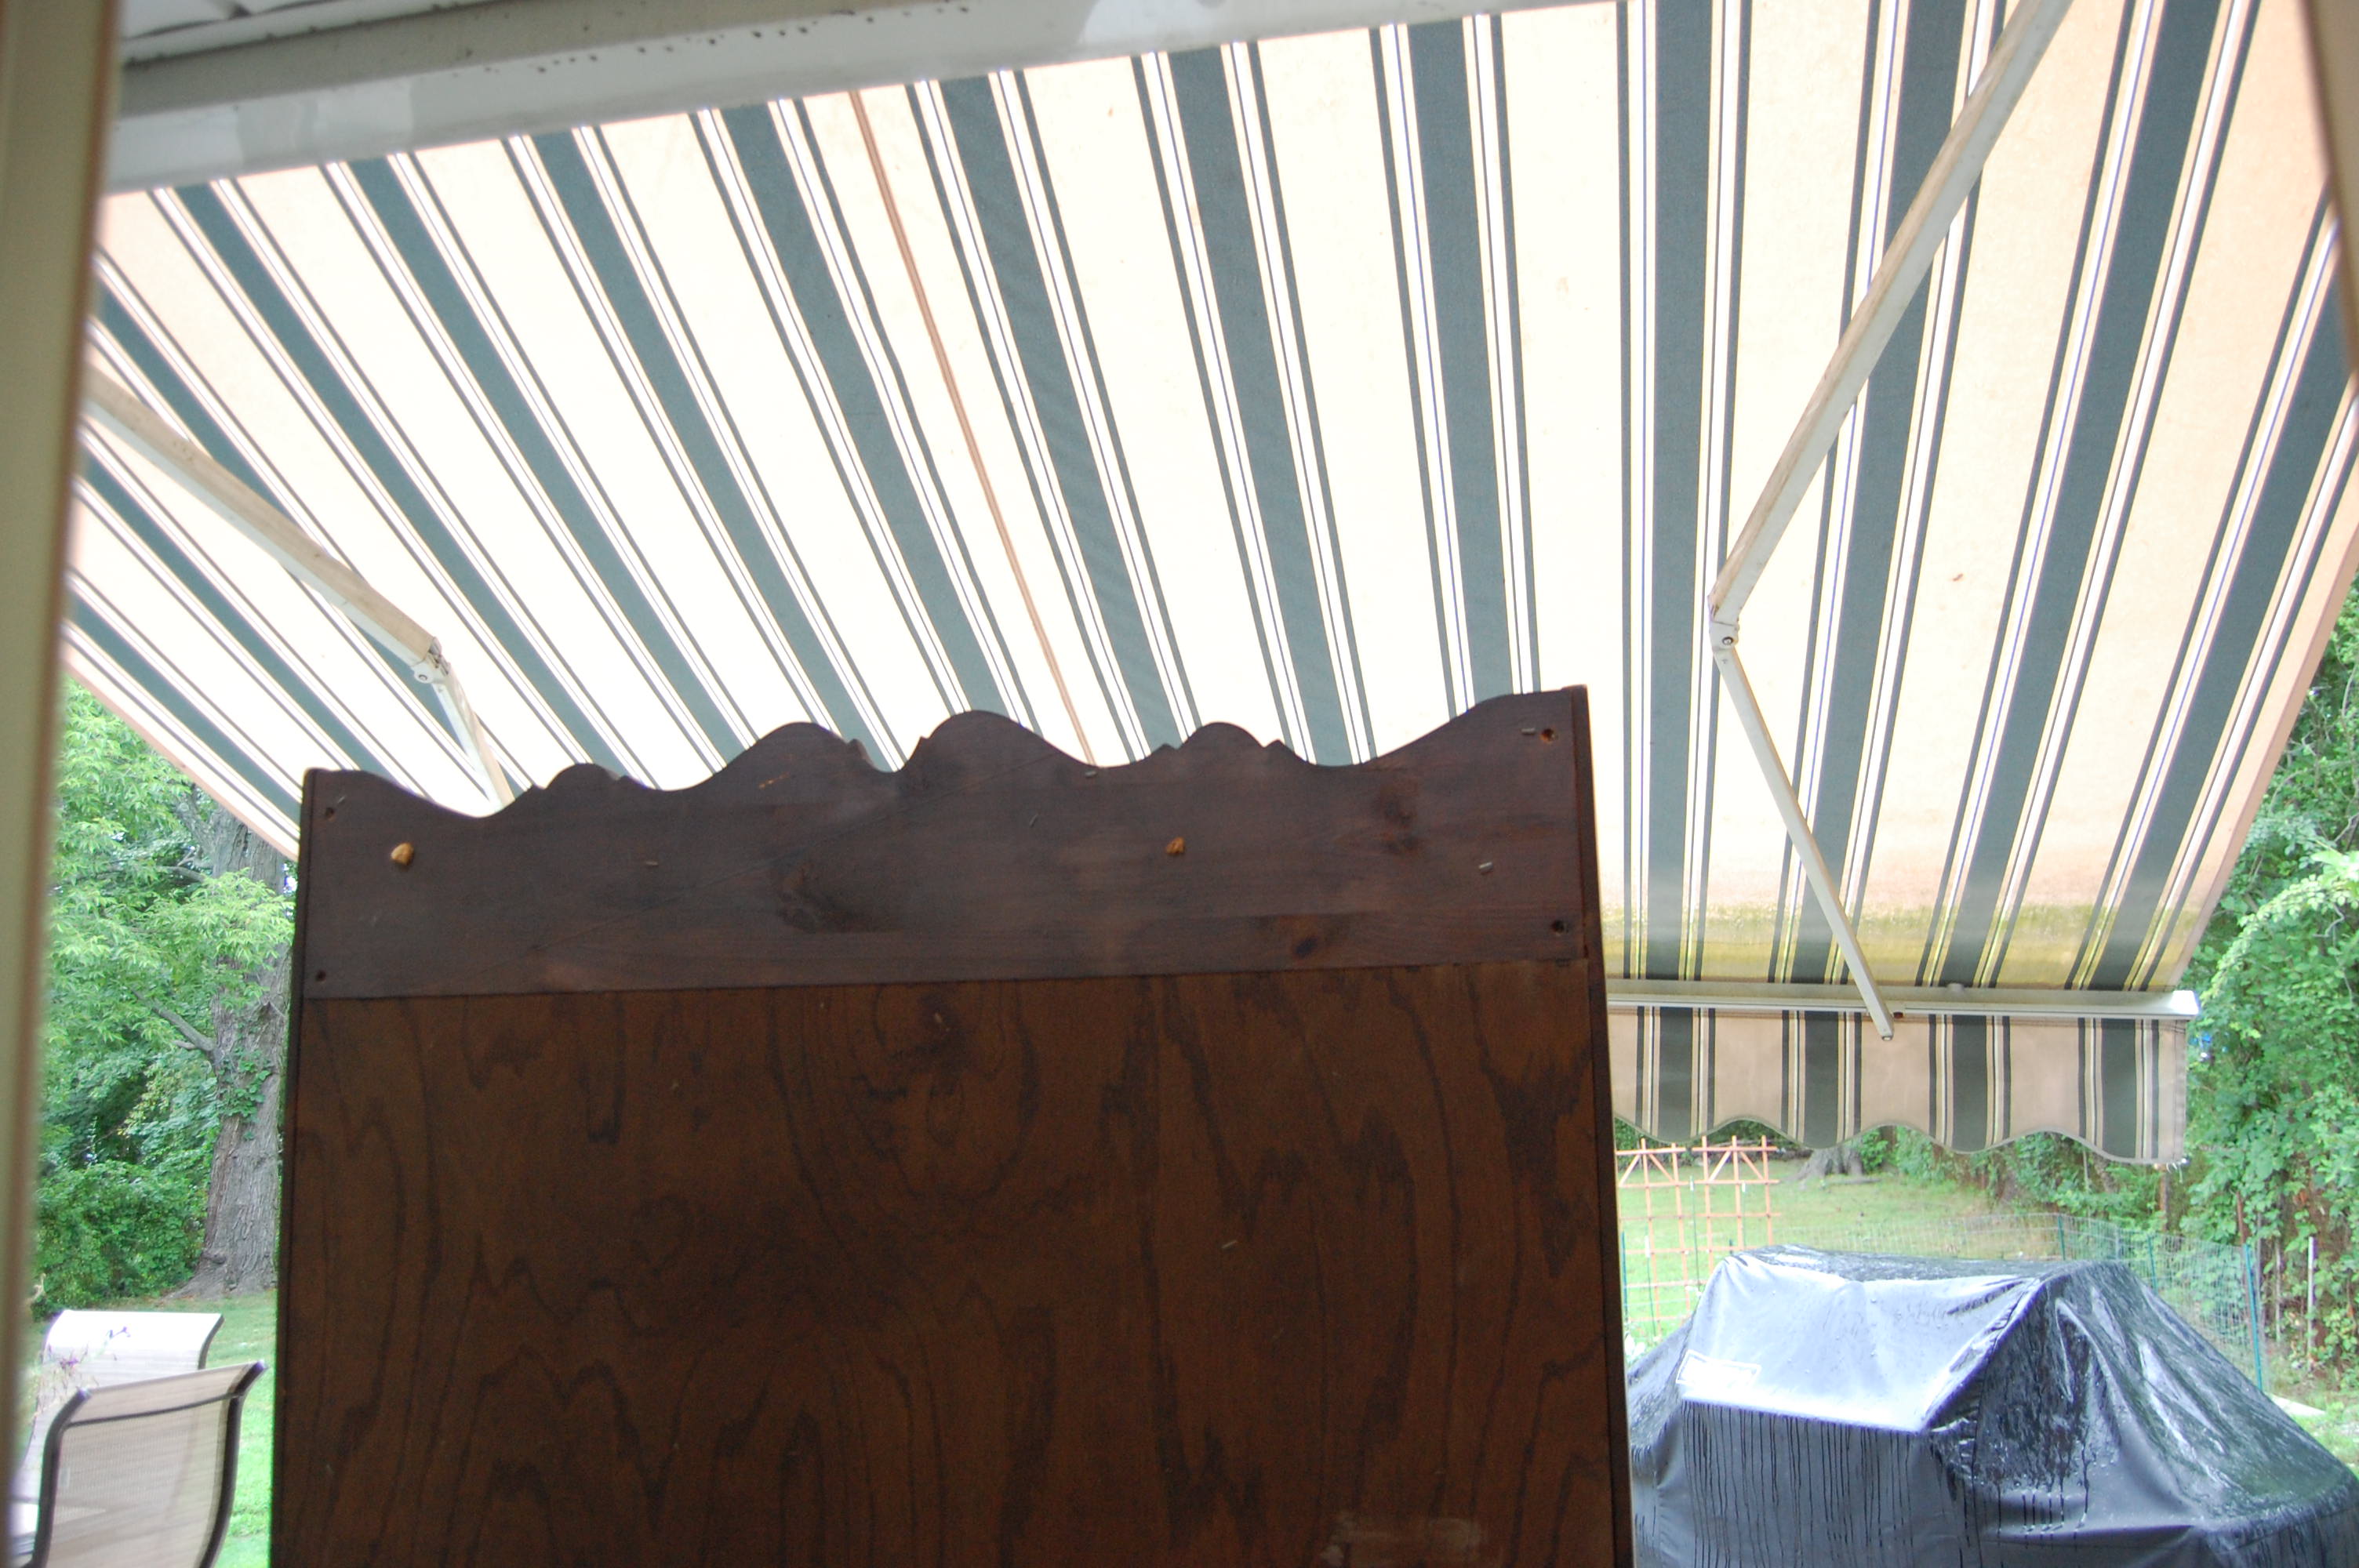
After heading out and grabbing our supplies like new hardware and paint we got to work. Remember when I said we were crazy? Well, here is part of that crazy. The day we were doing this it was pretty cloudy out and since she doesn’t have a garage we had that bad boy on her patio and hoped it wouldn’t rain. Sure enough, it started drizzling. Good news was that she has one of those roll out awnings so all was good. We just rolled it down and kept on sanding. Since we were using an oil based primer we didn’t go too crazy sanding but this piece was pretty old and dirty so we wanted to clean it up.
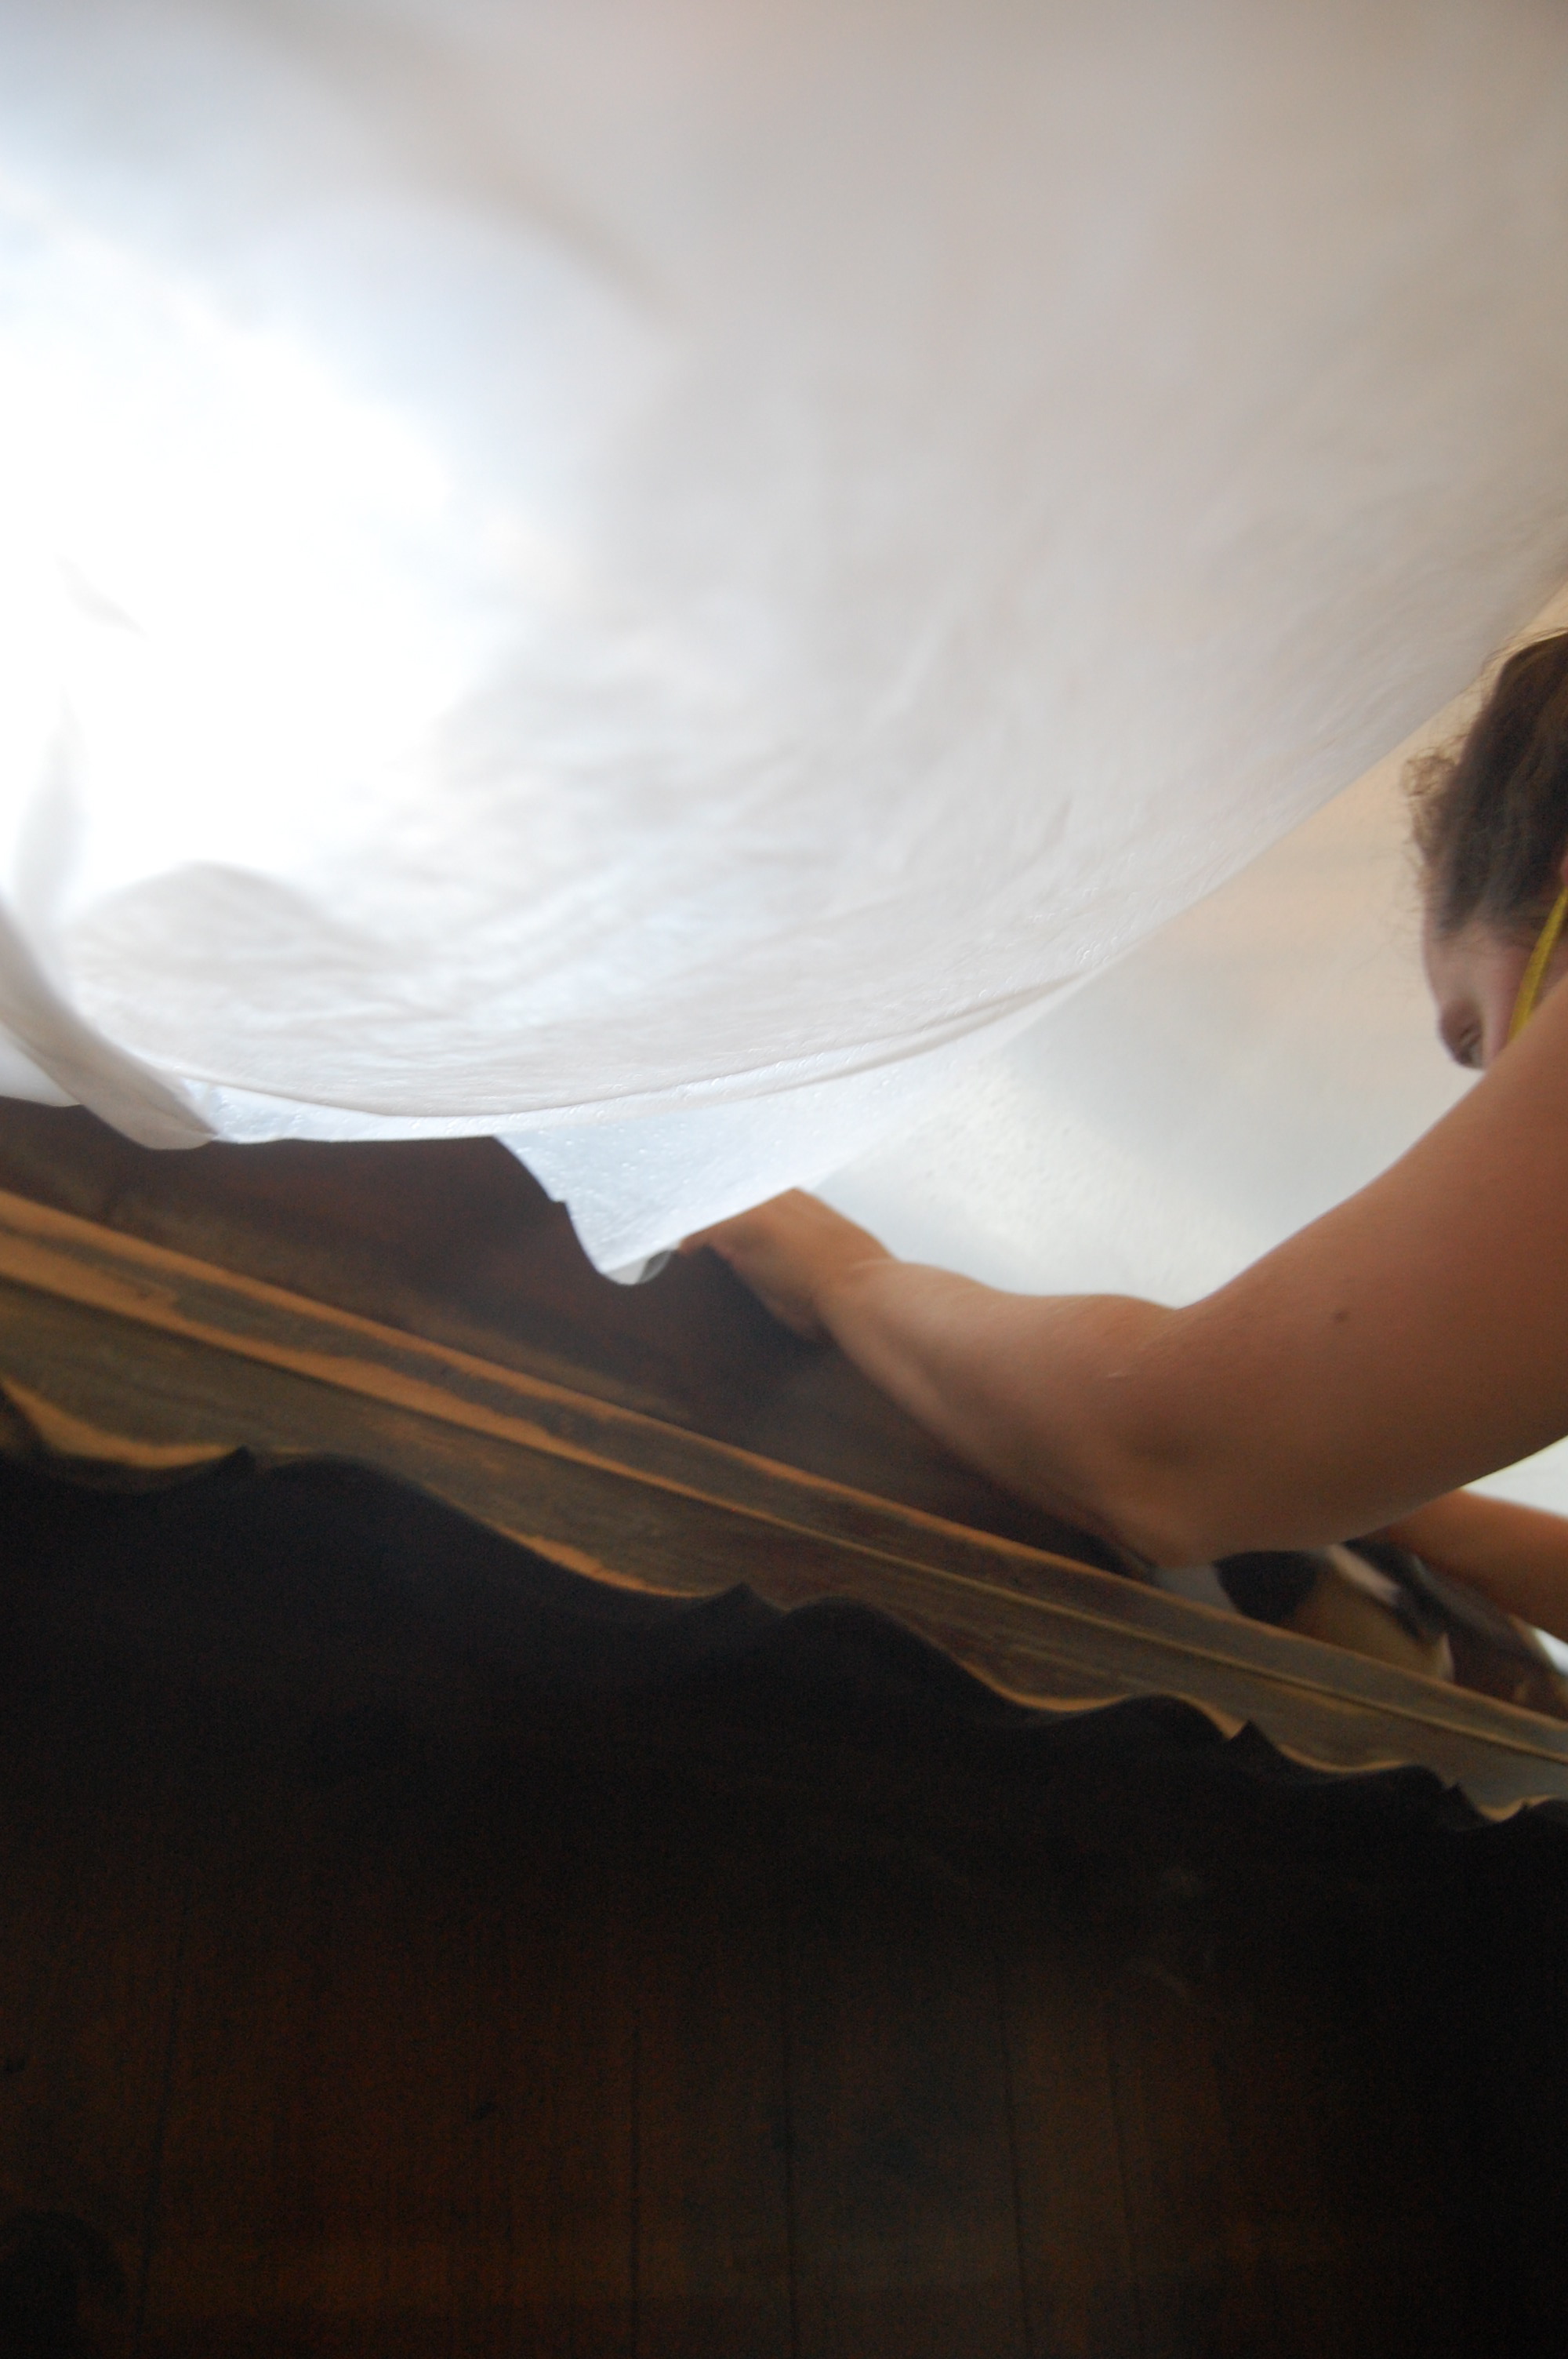
Funny thing is, when you have 2 sanders going off at the same time and your concentrating really hard you don’t seem to notice the downpour going on around you which is what happened. The drizzle turned into a monsoon real quick! We had just a bit left so we threw a tarp over the whole thing and worked underneath it…yup-crazy!
Once we were done we had to bring it inside or else it would have been ruined. We made sure to pump the AC and also open the windows for fresh air. Since the rain came through it wasn’t so humid but still not the best conditions for painting but we had to make do.
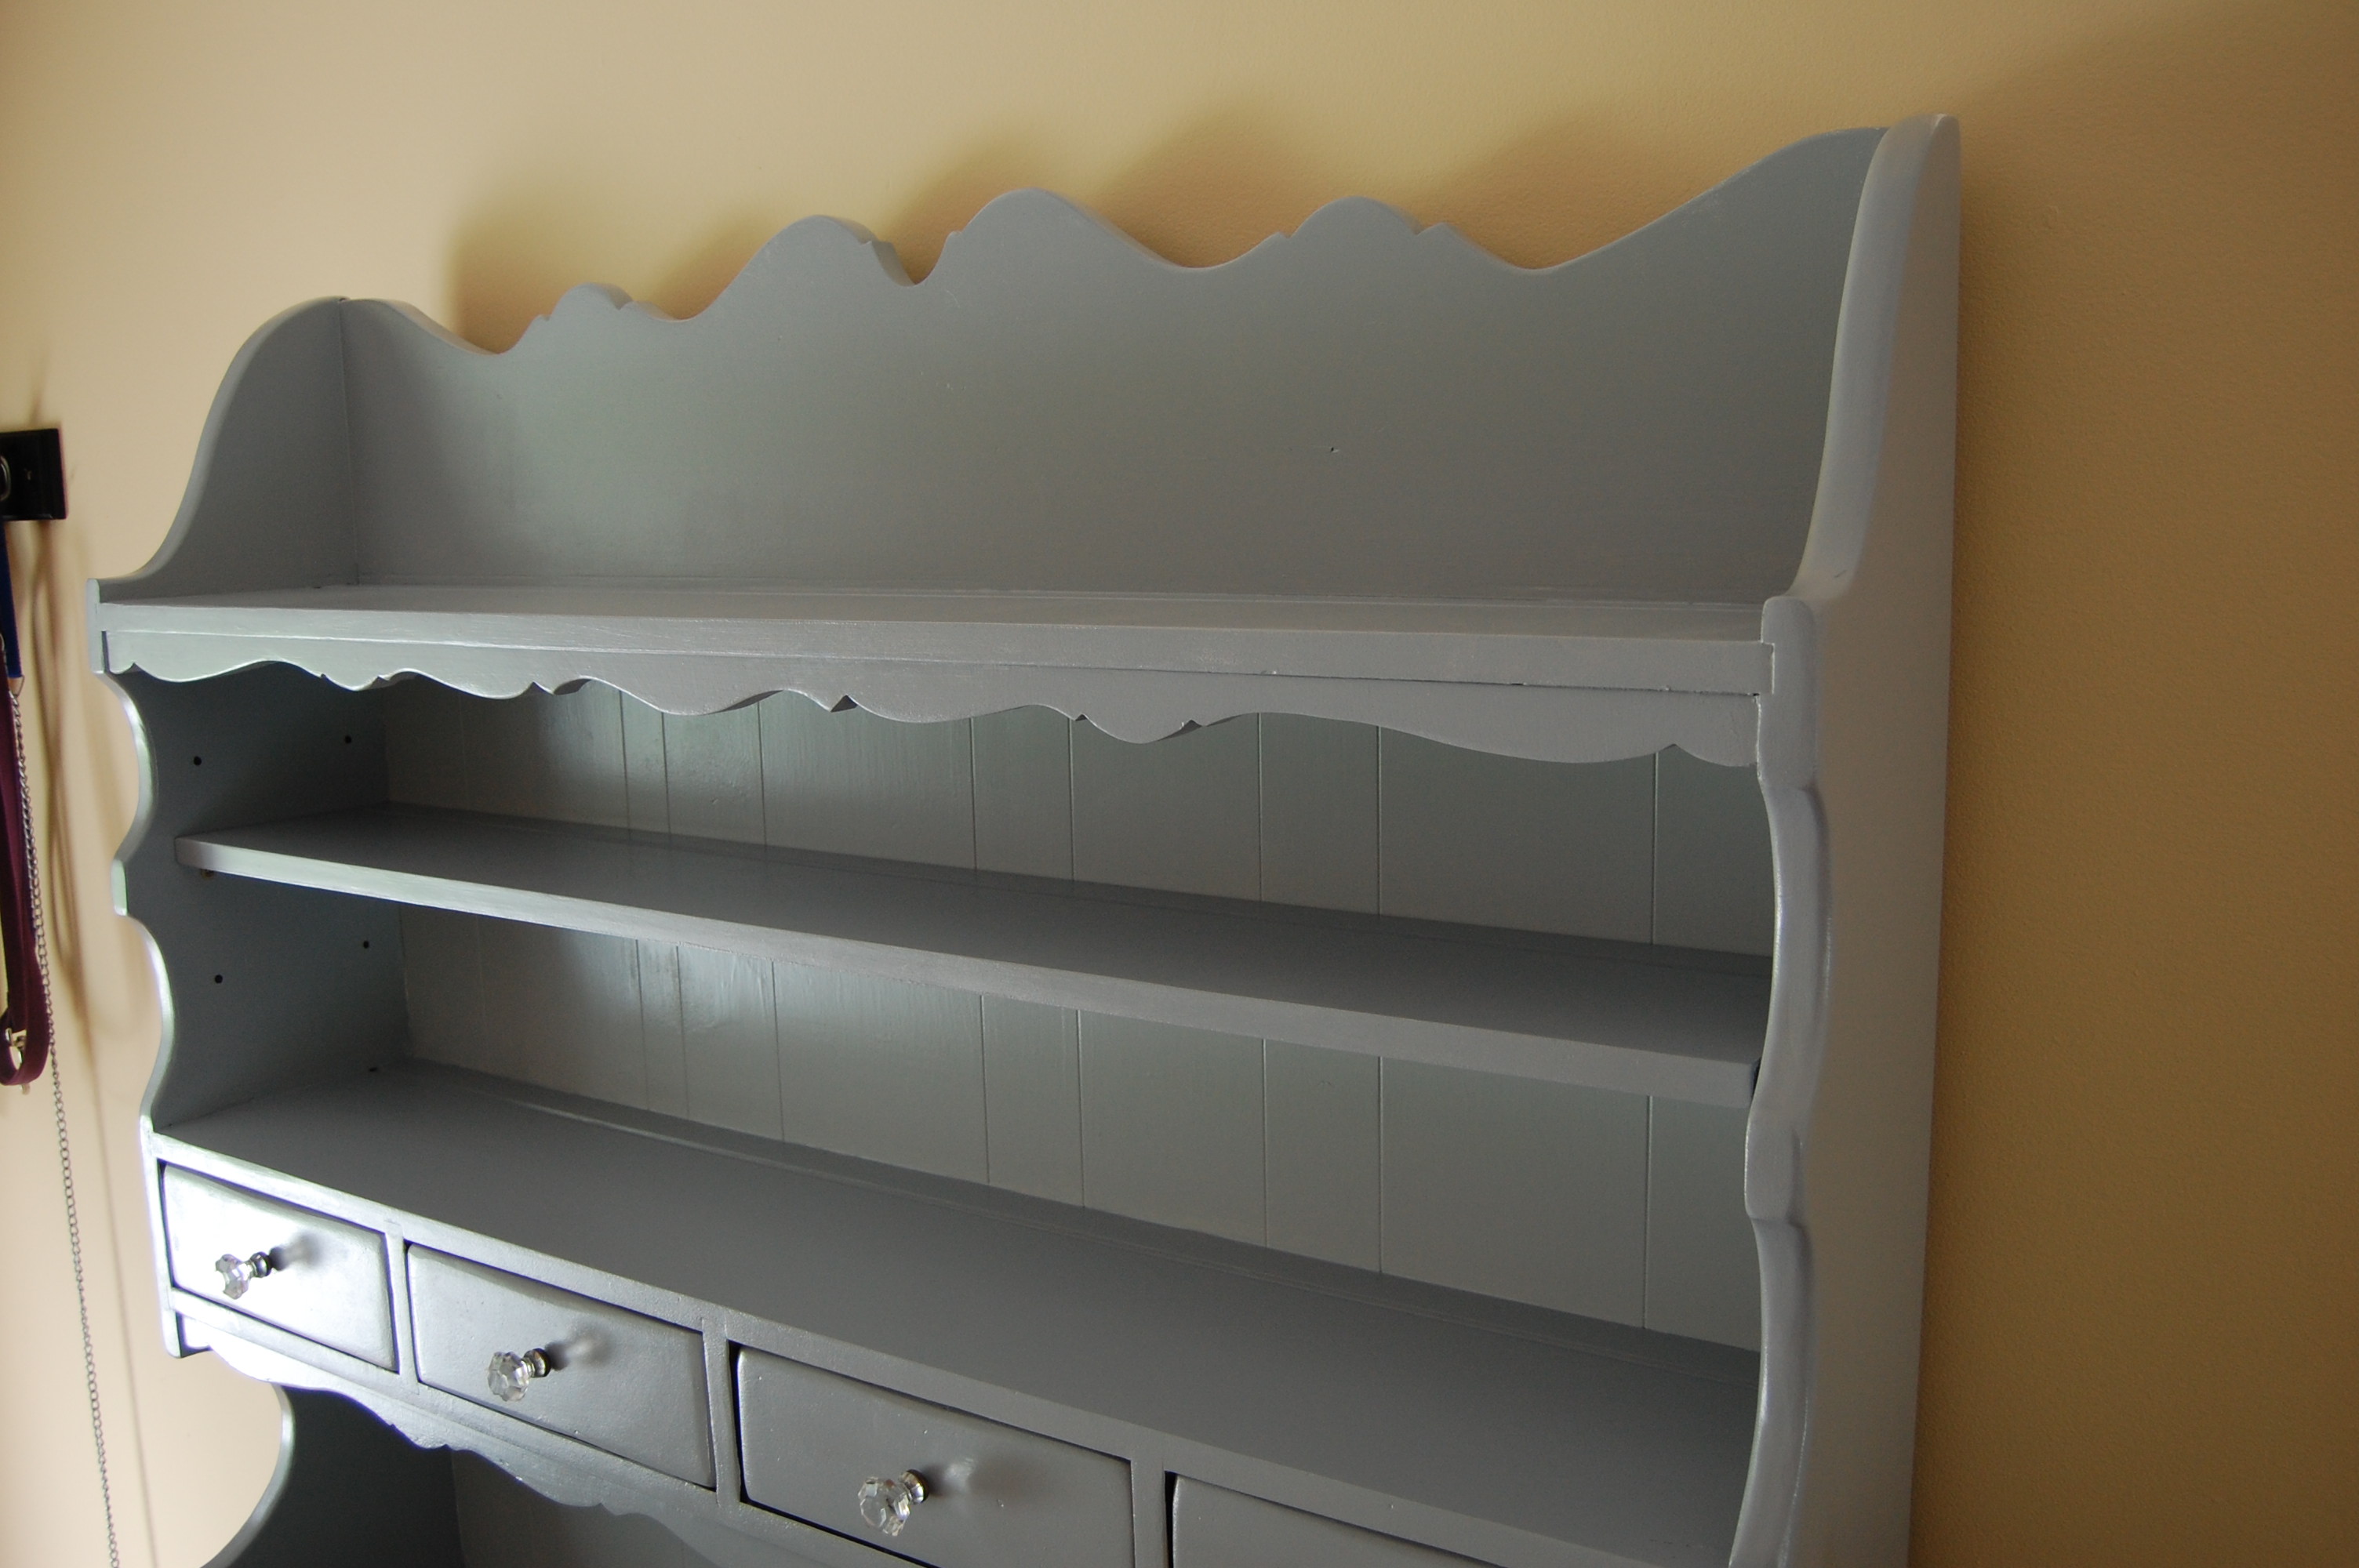
We primed and painted. Working together made the project go much quicker but it still was quite a job. After letting it cure for 48 hours I went back to install the hardware and put the drawers/doors back on. When all was said and done it looked fantastic!
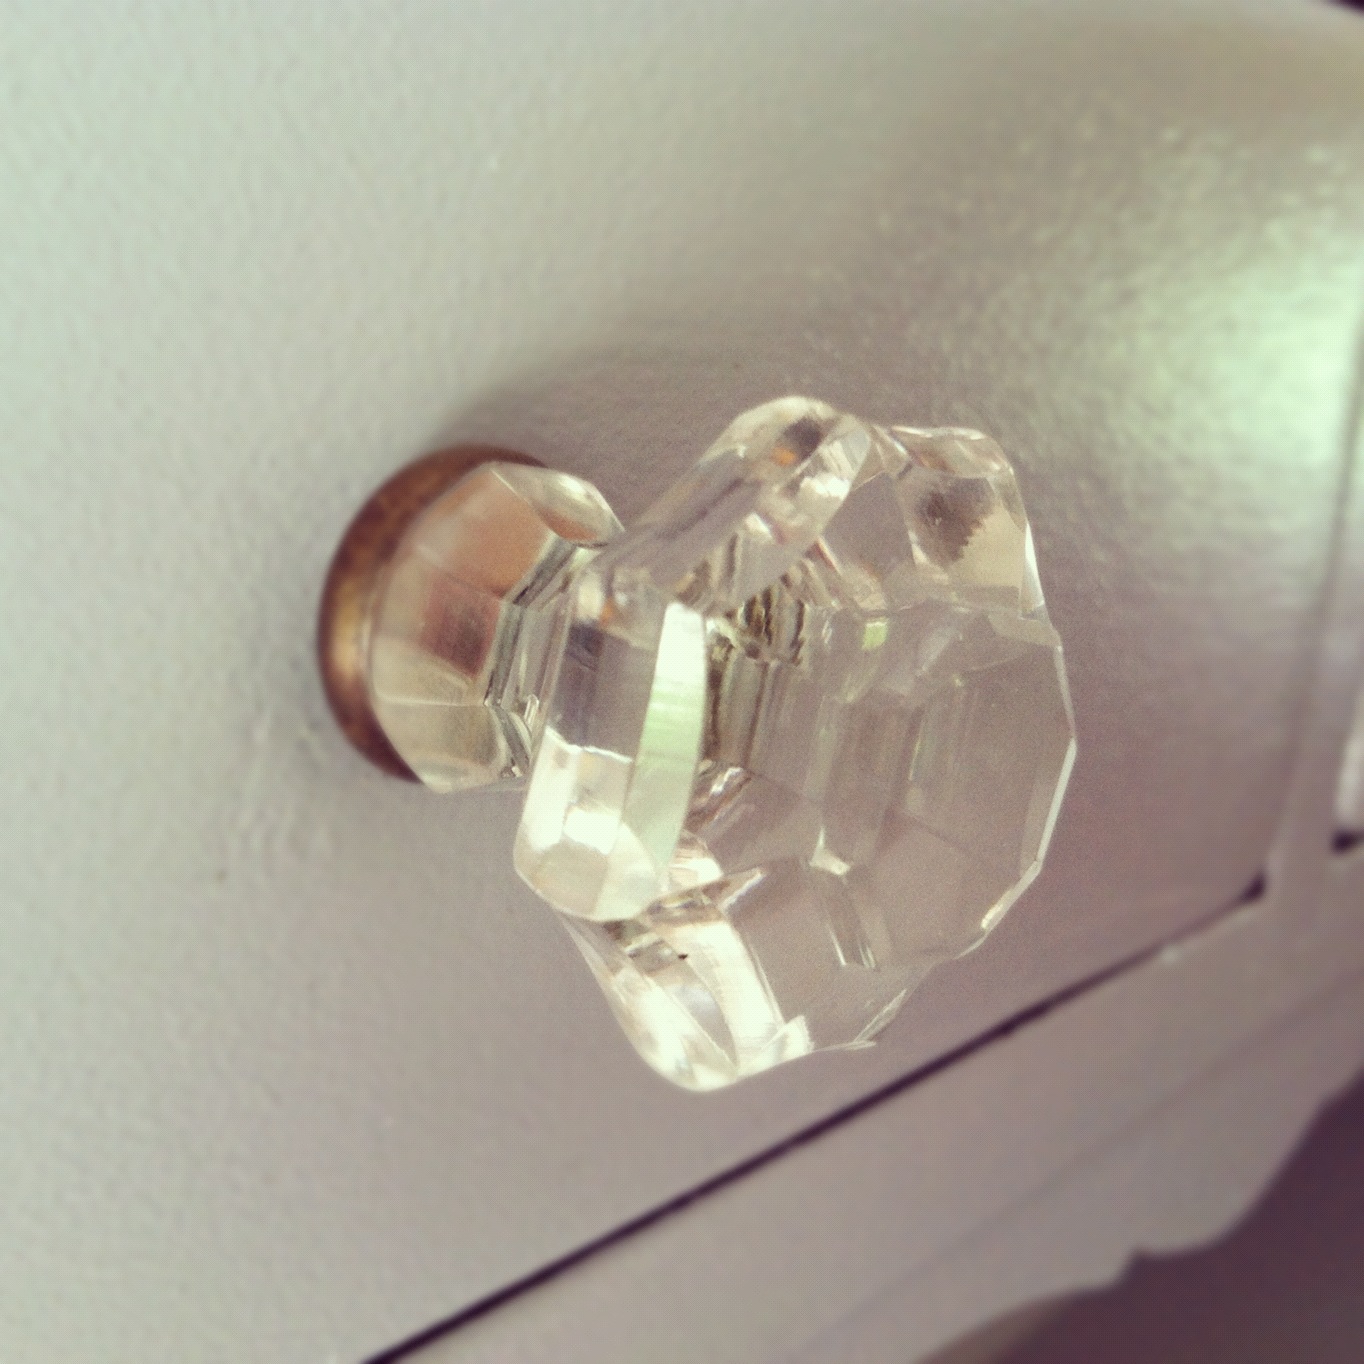
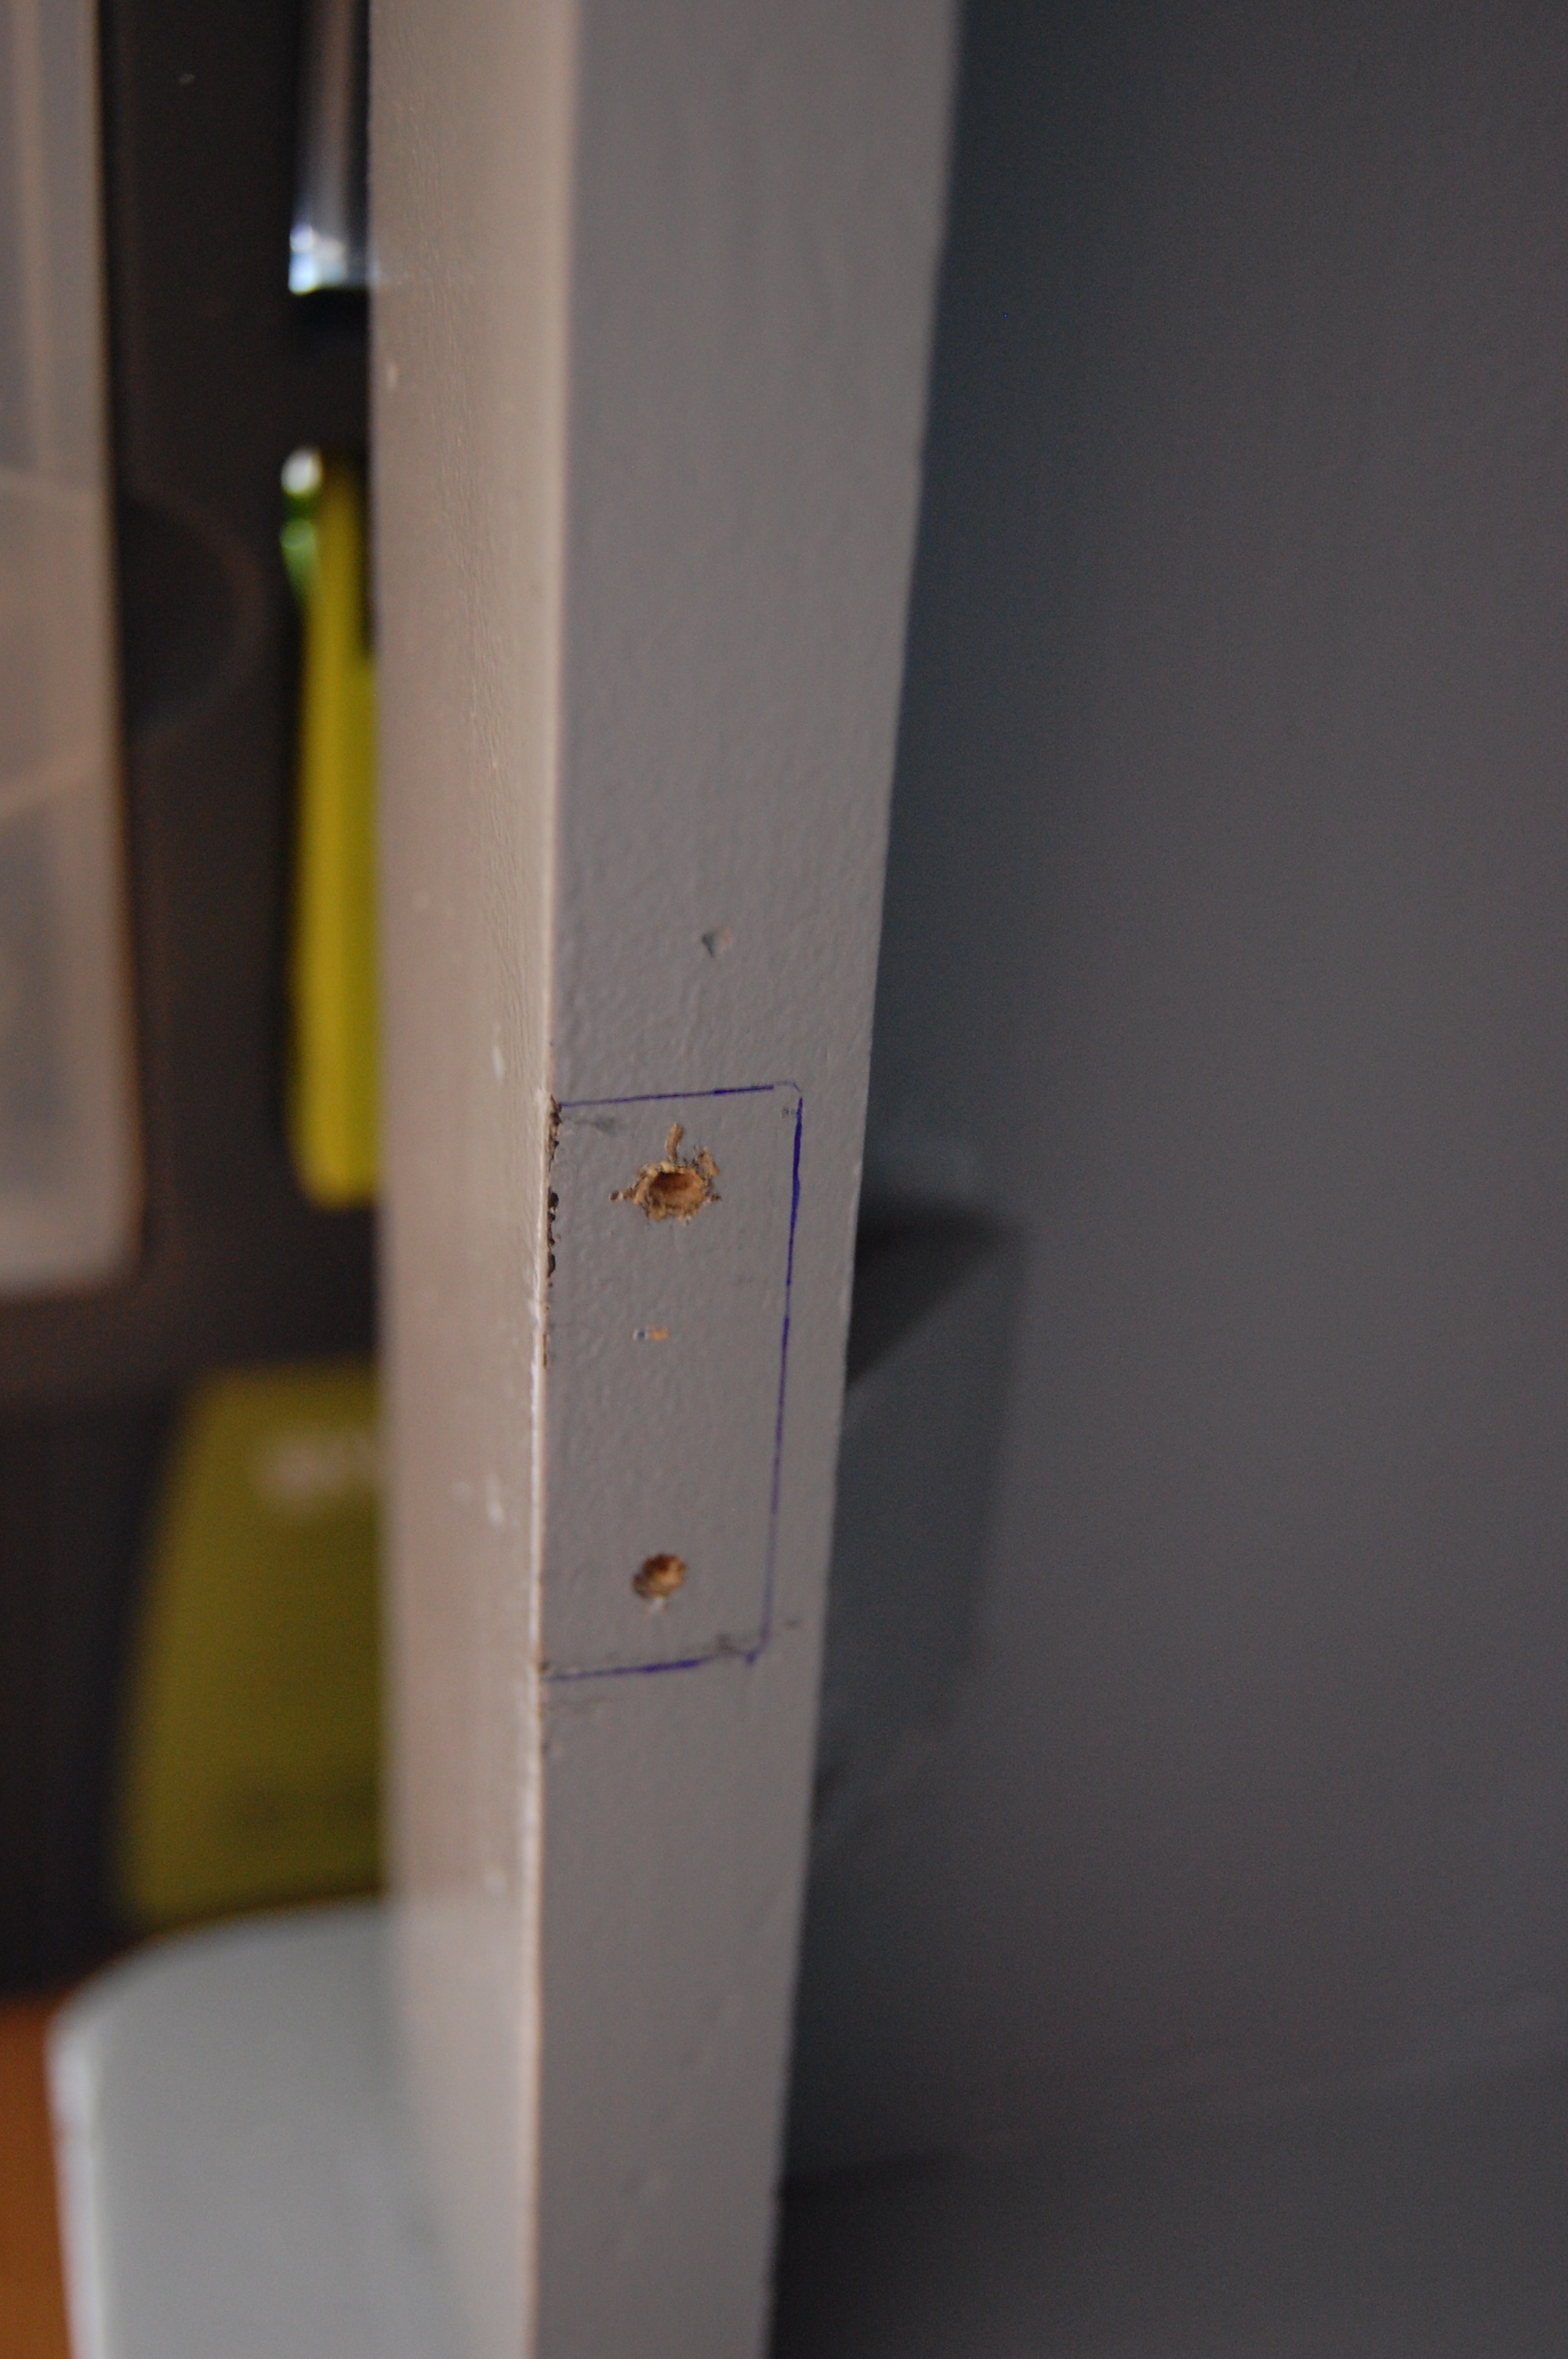
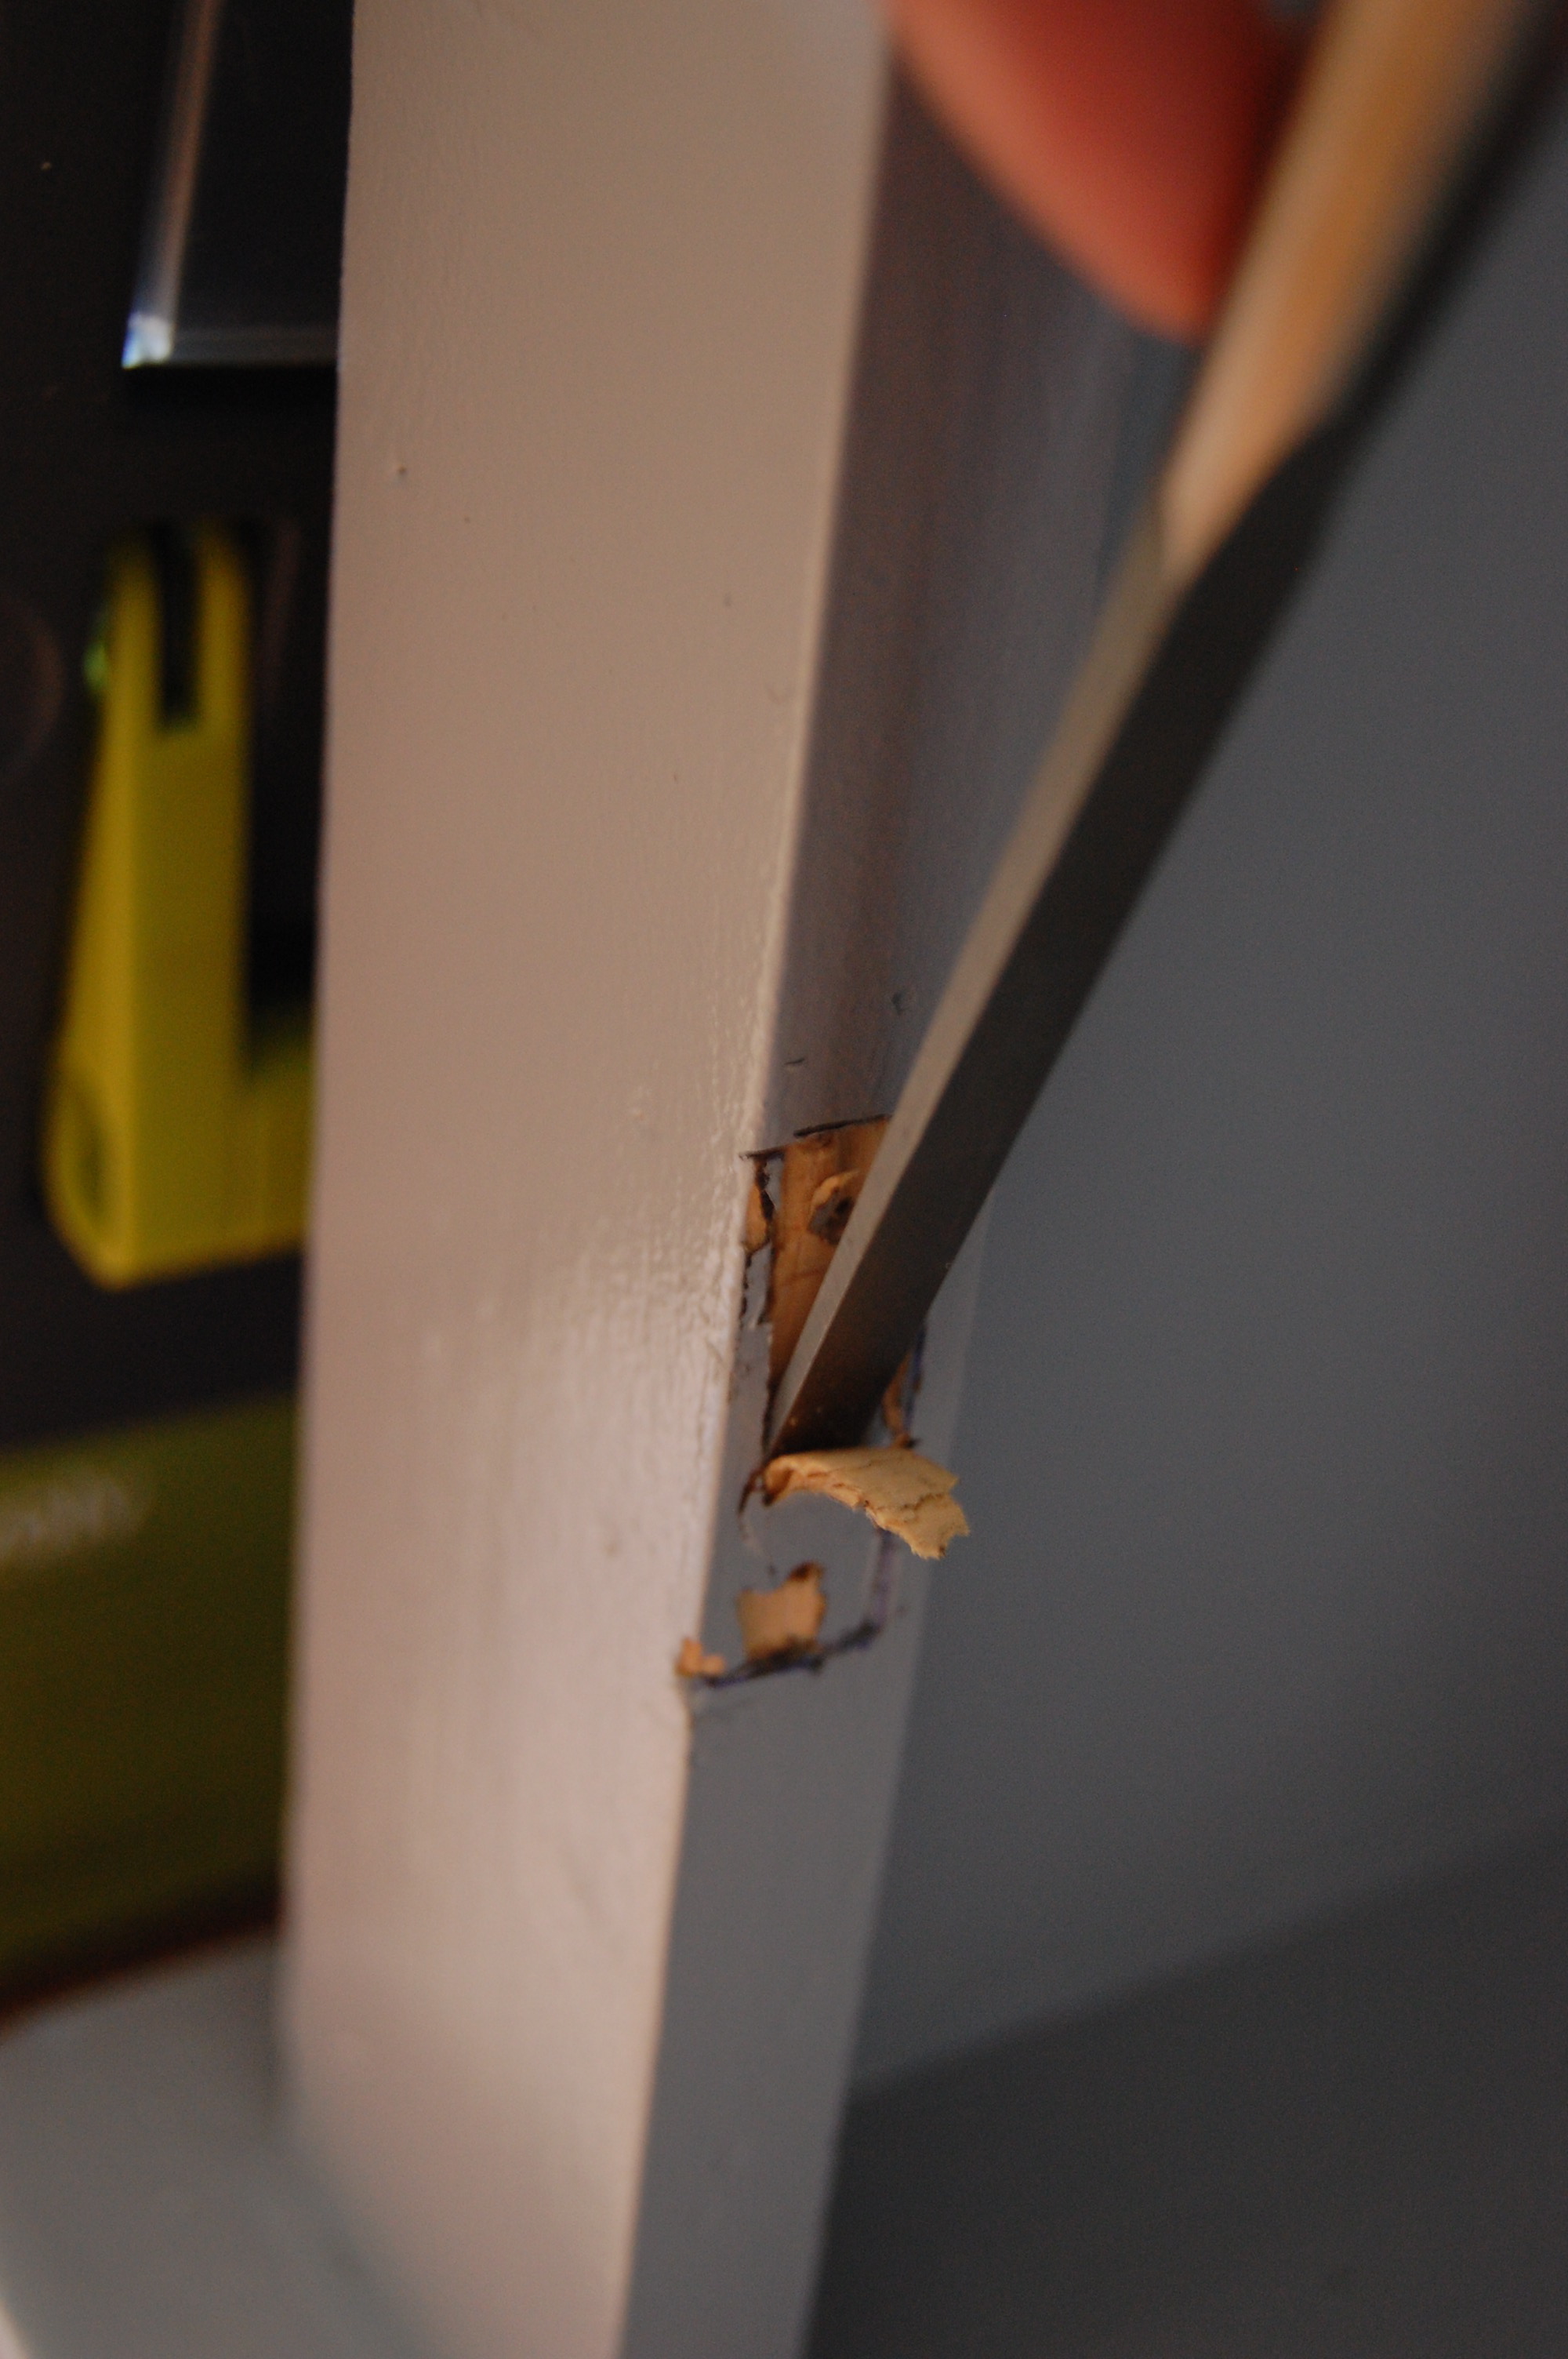
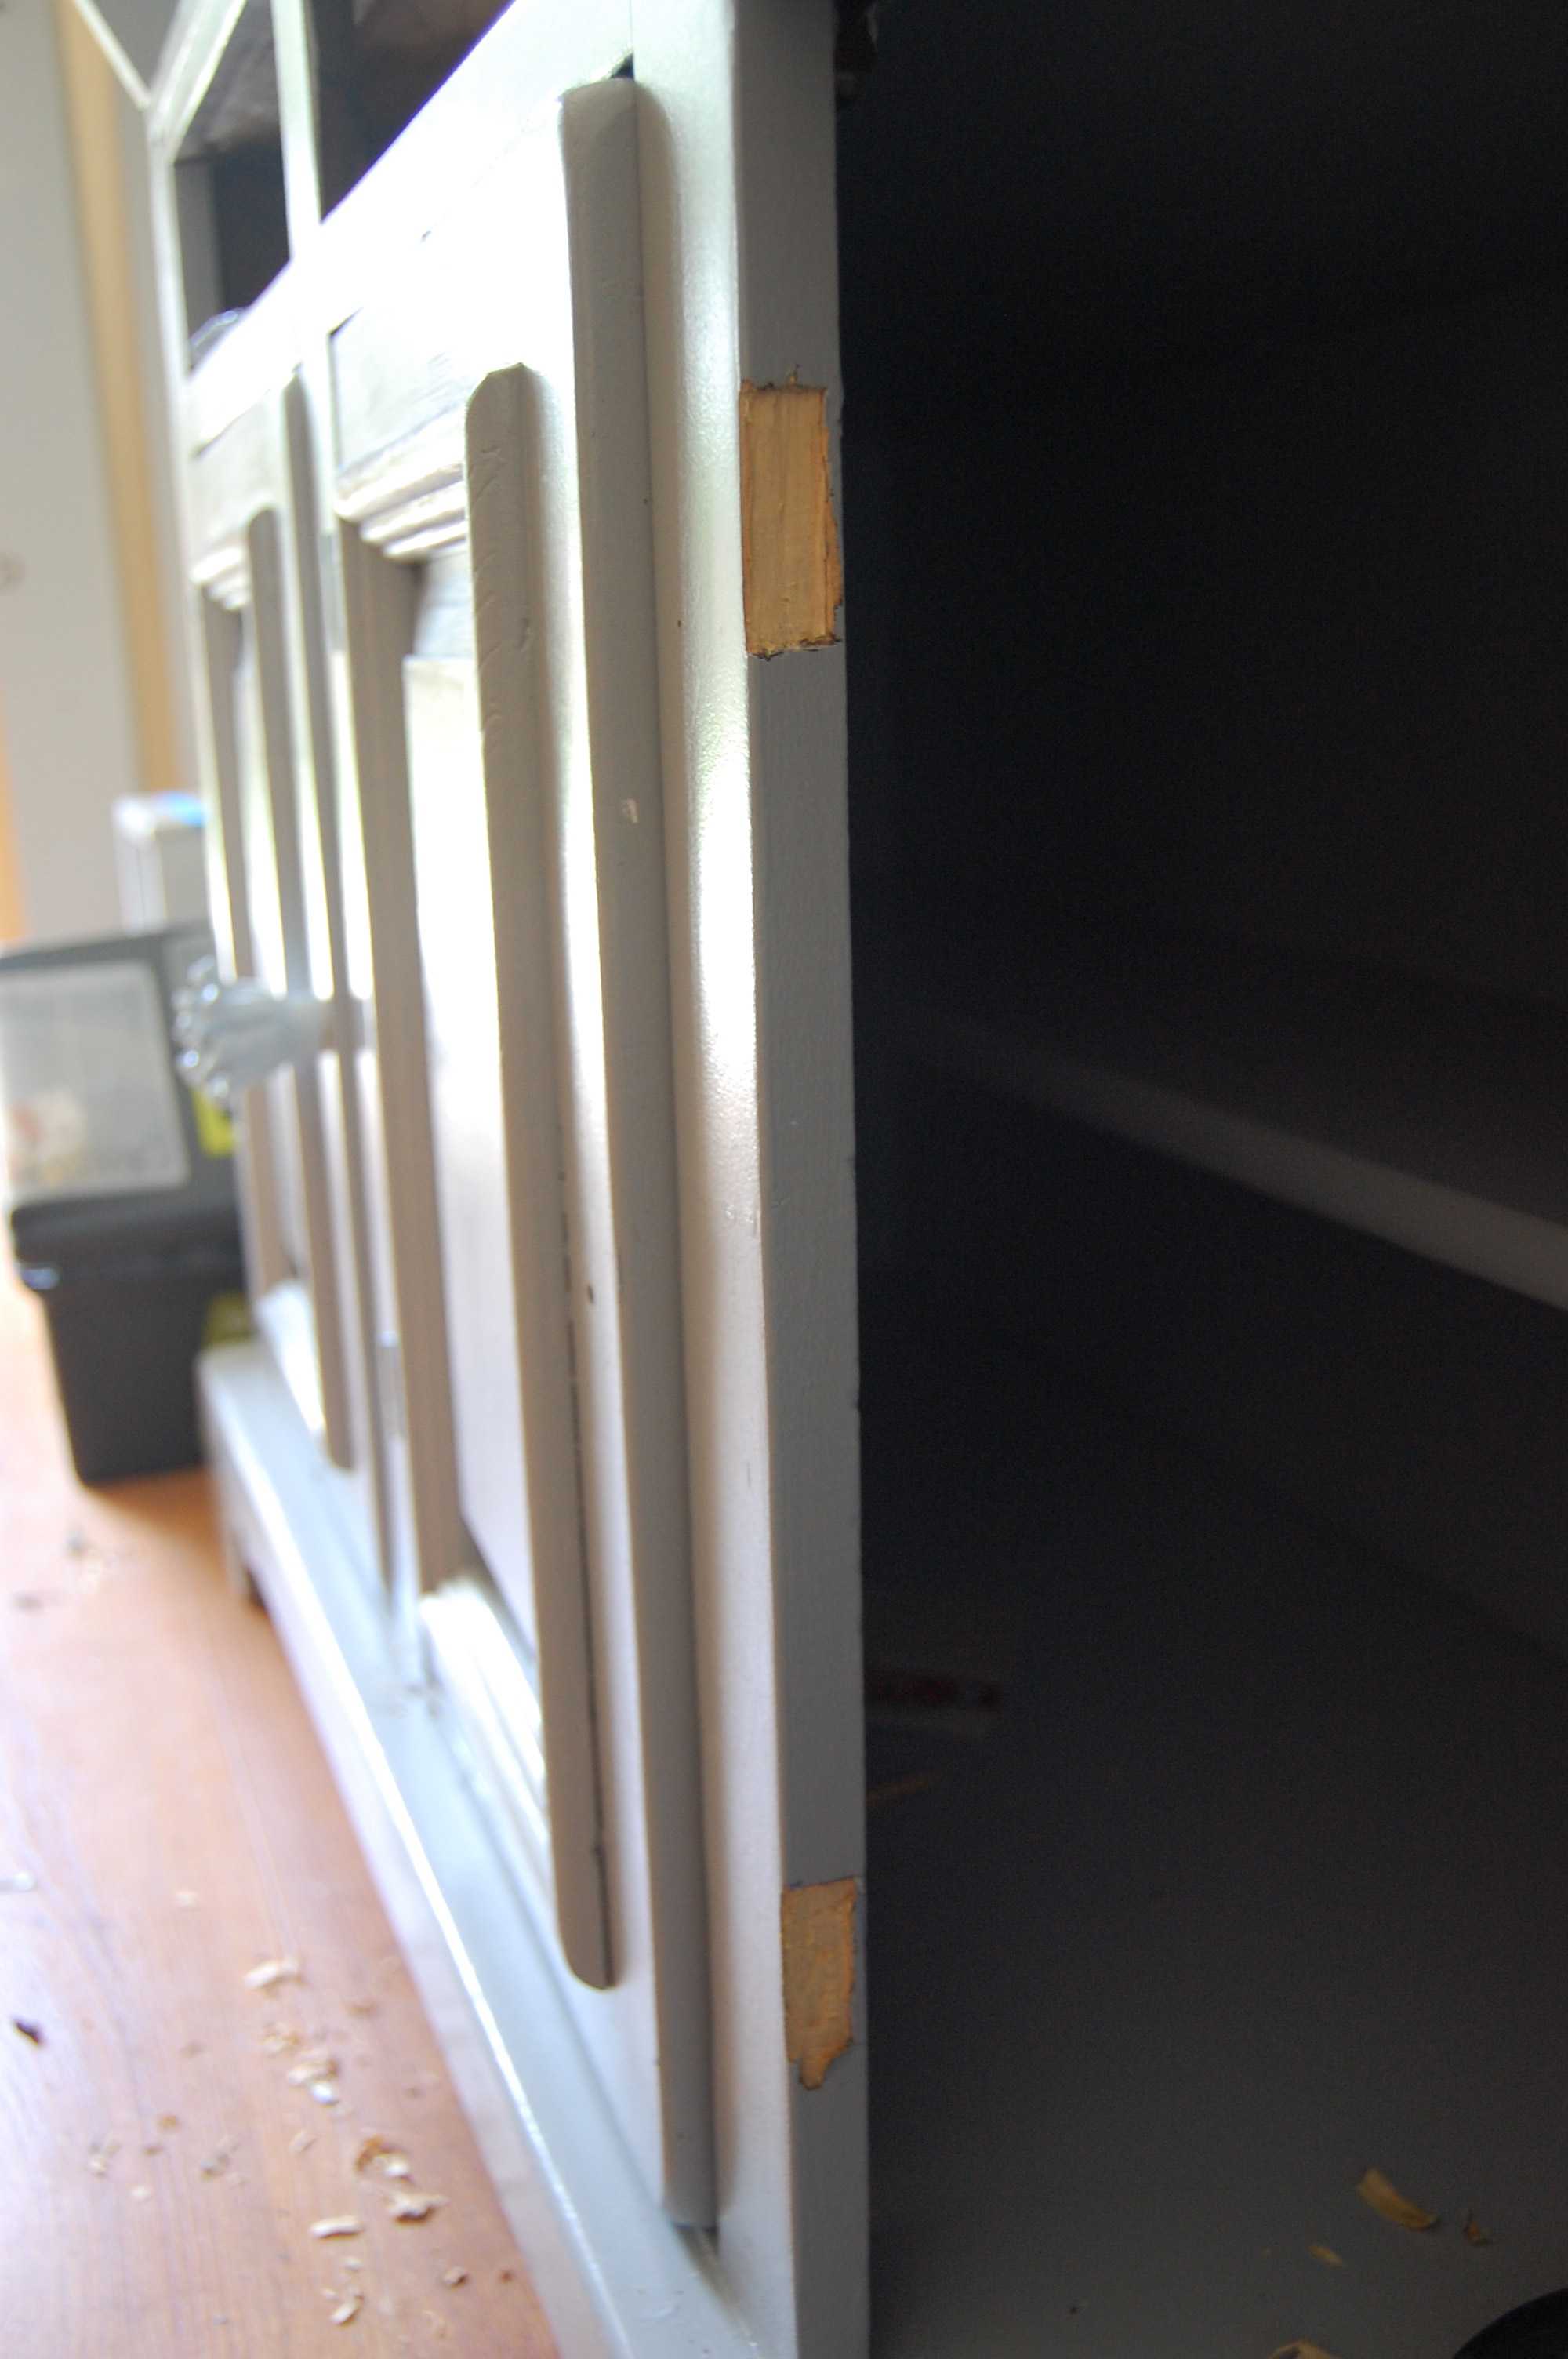
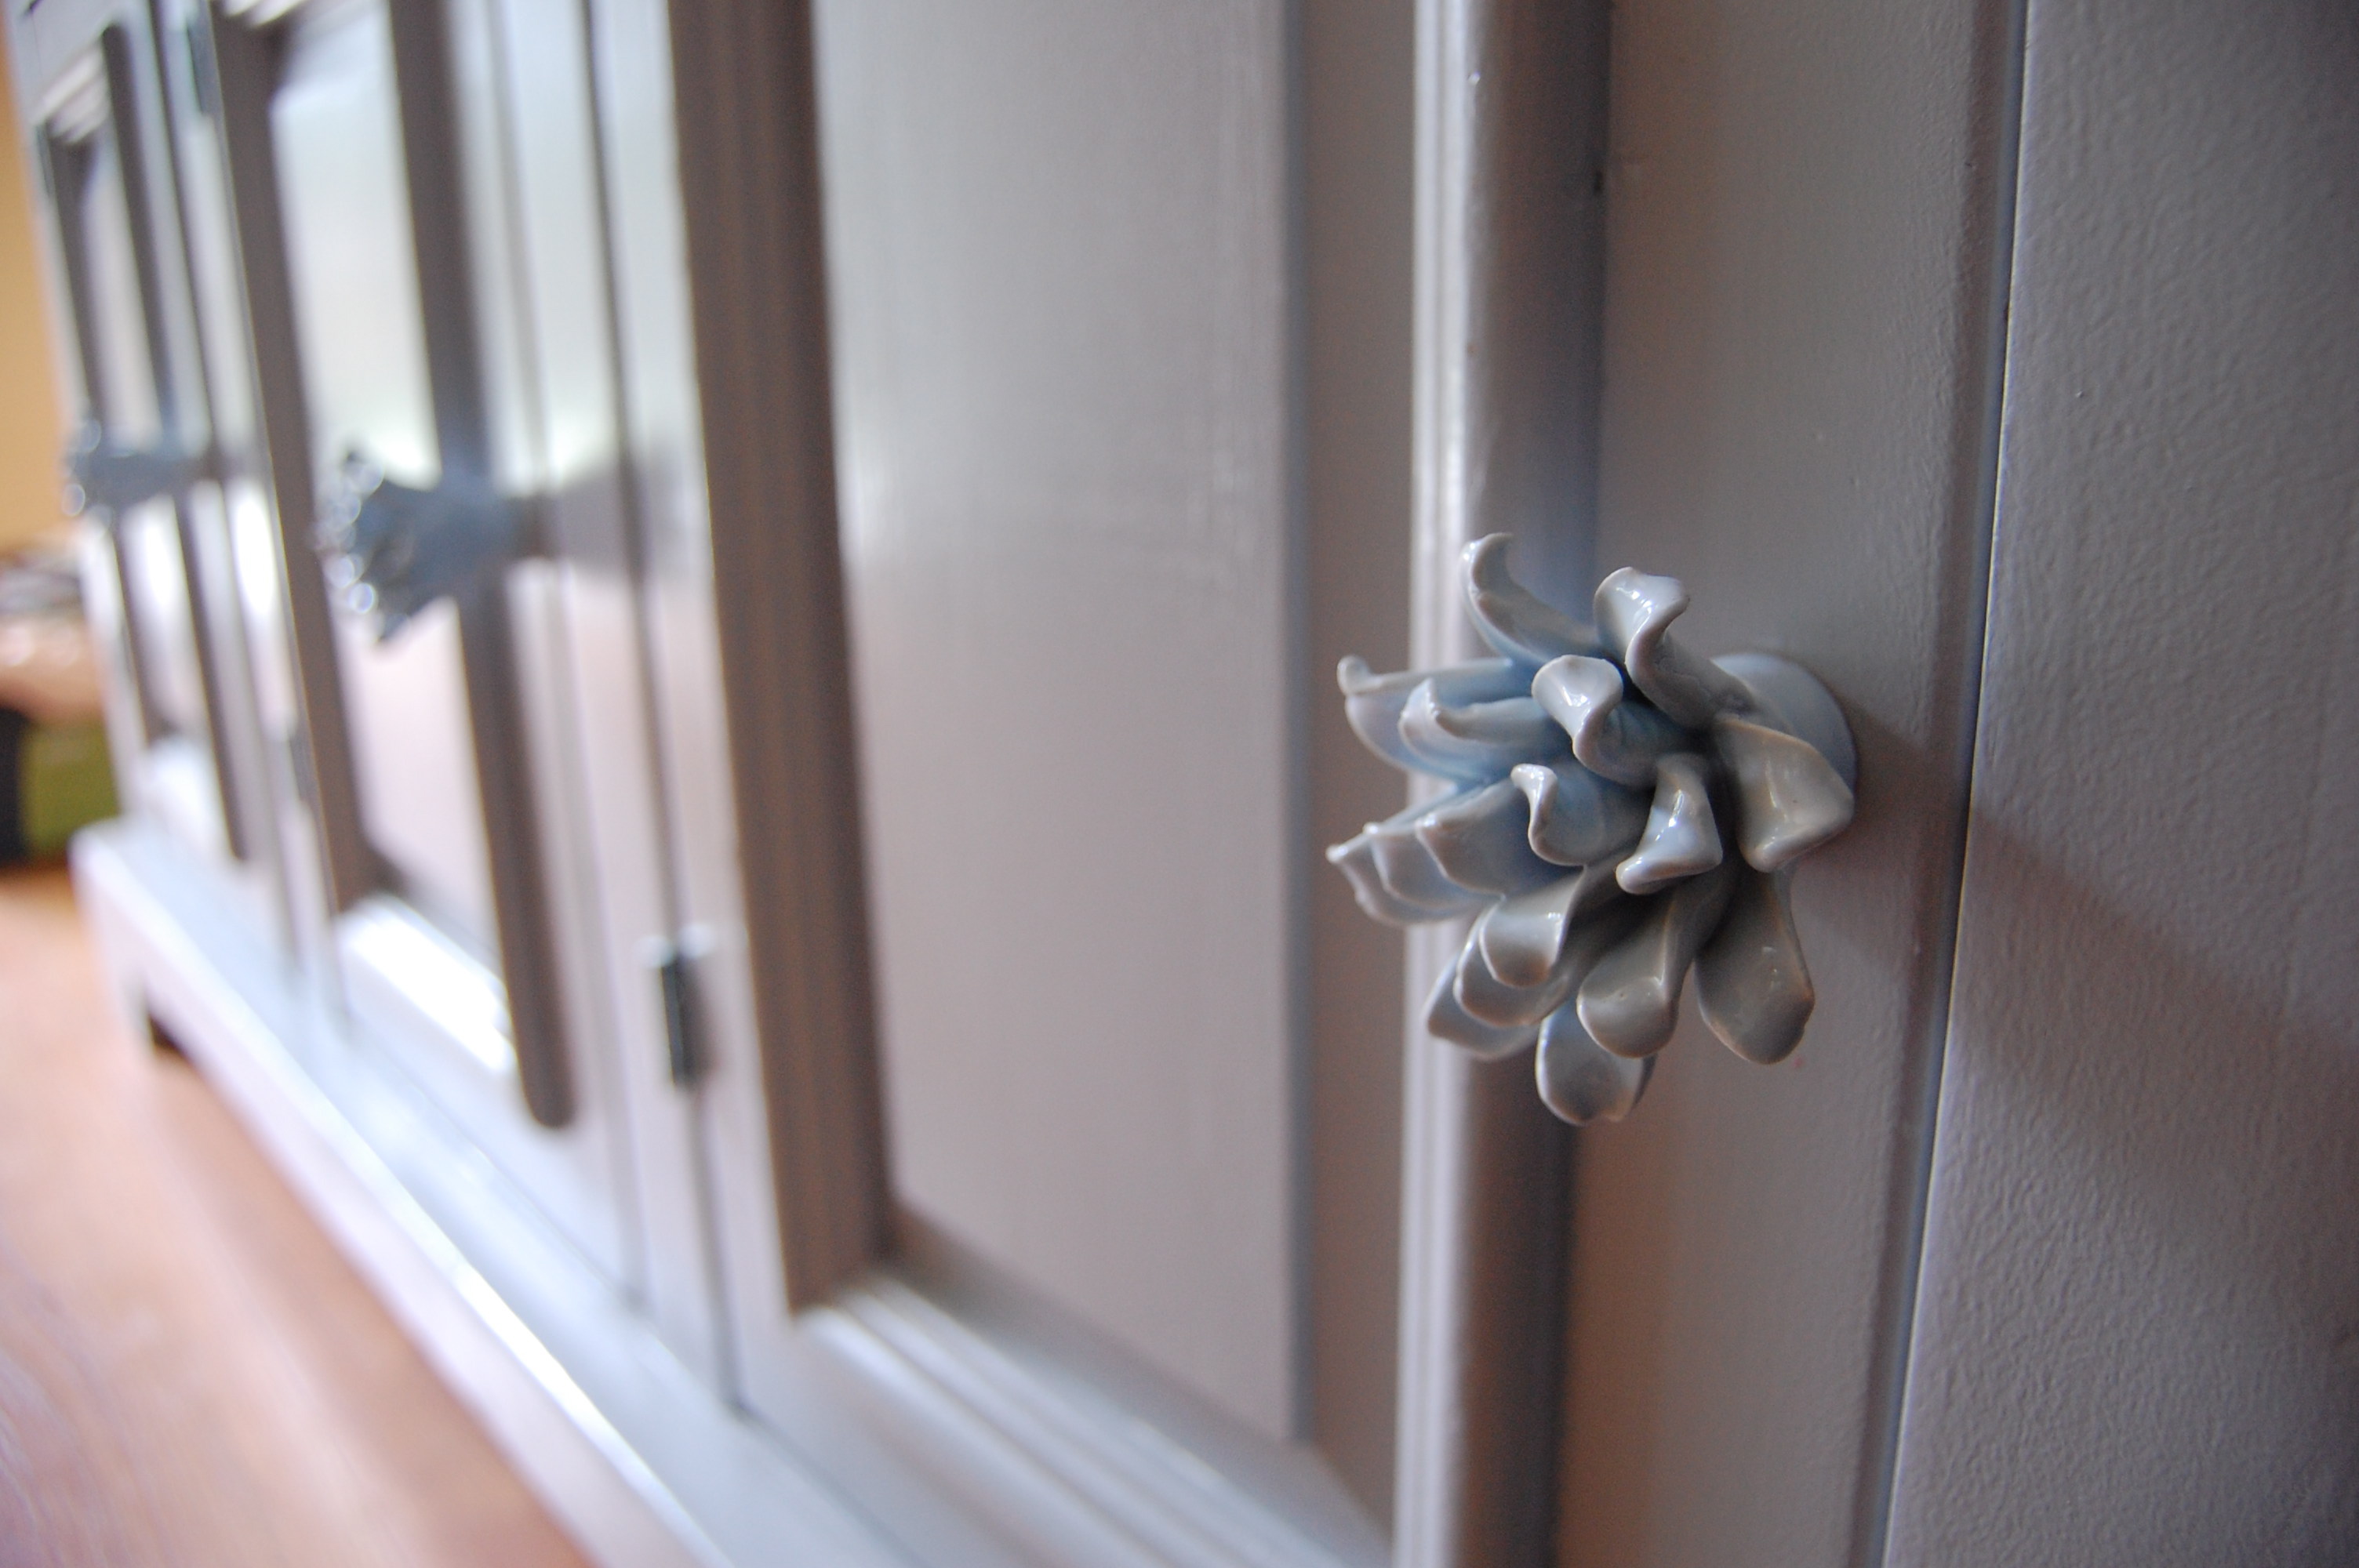
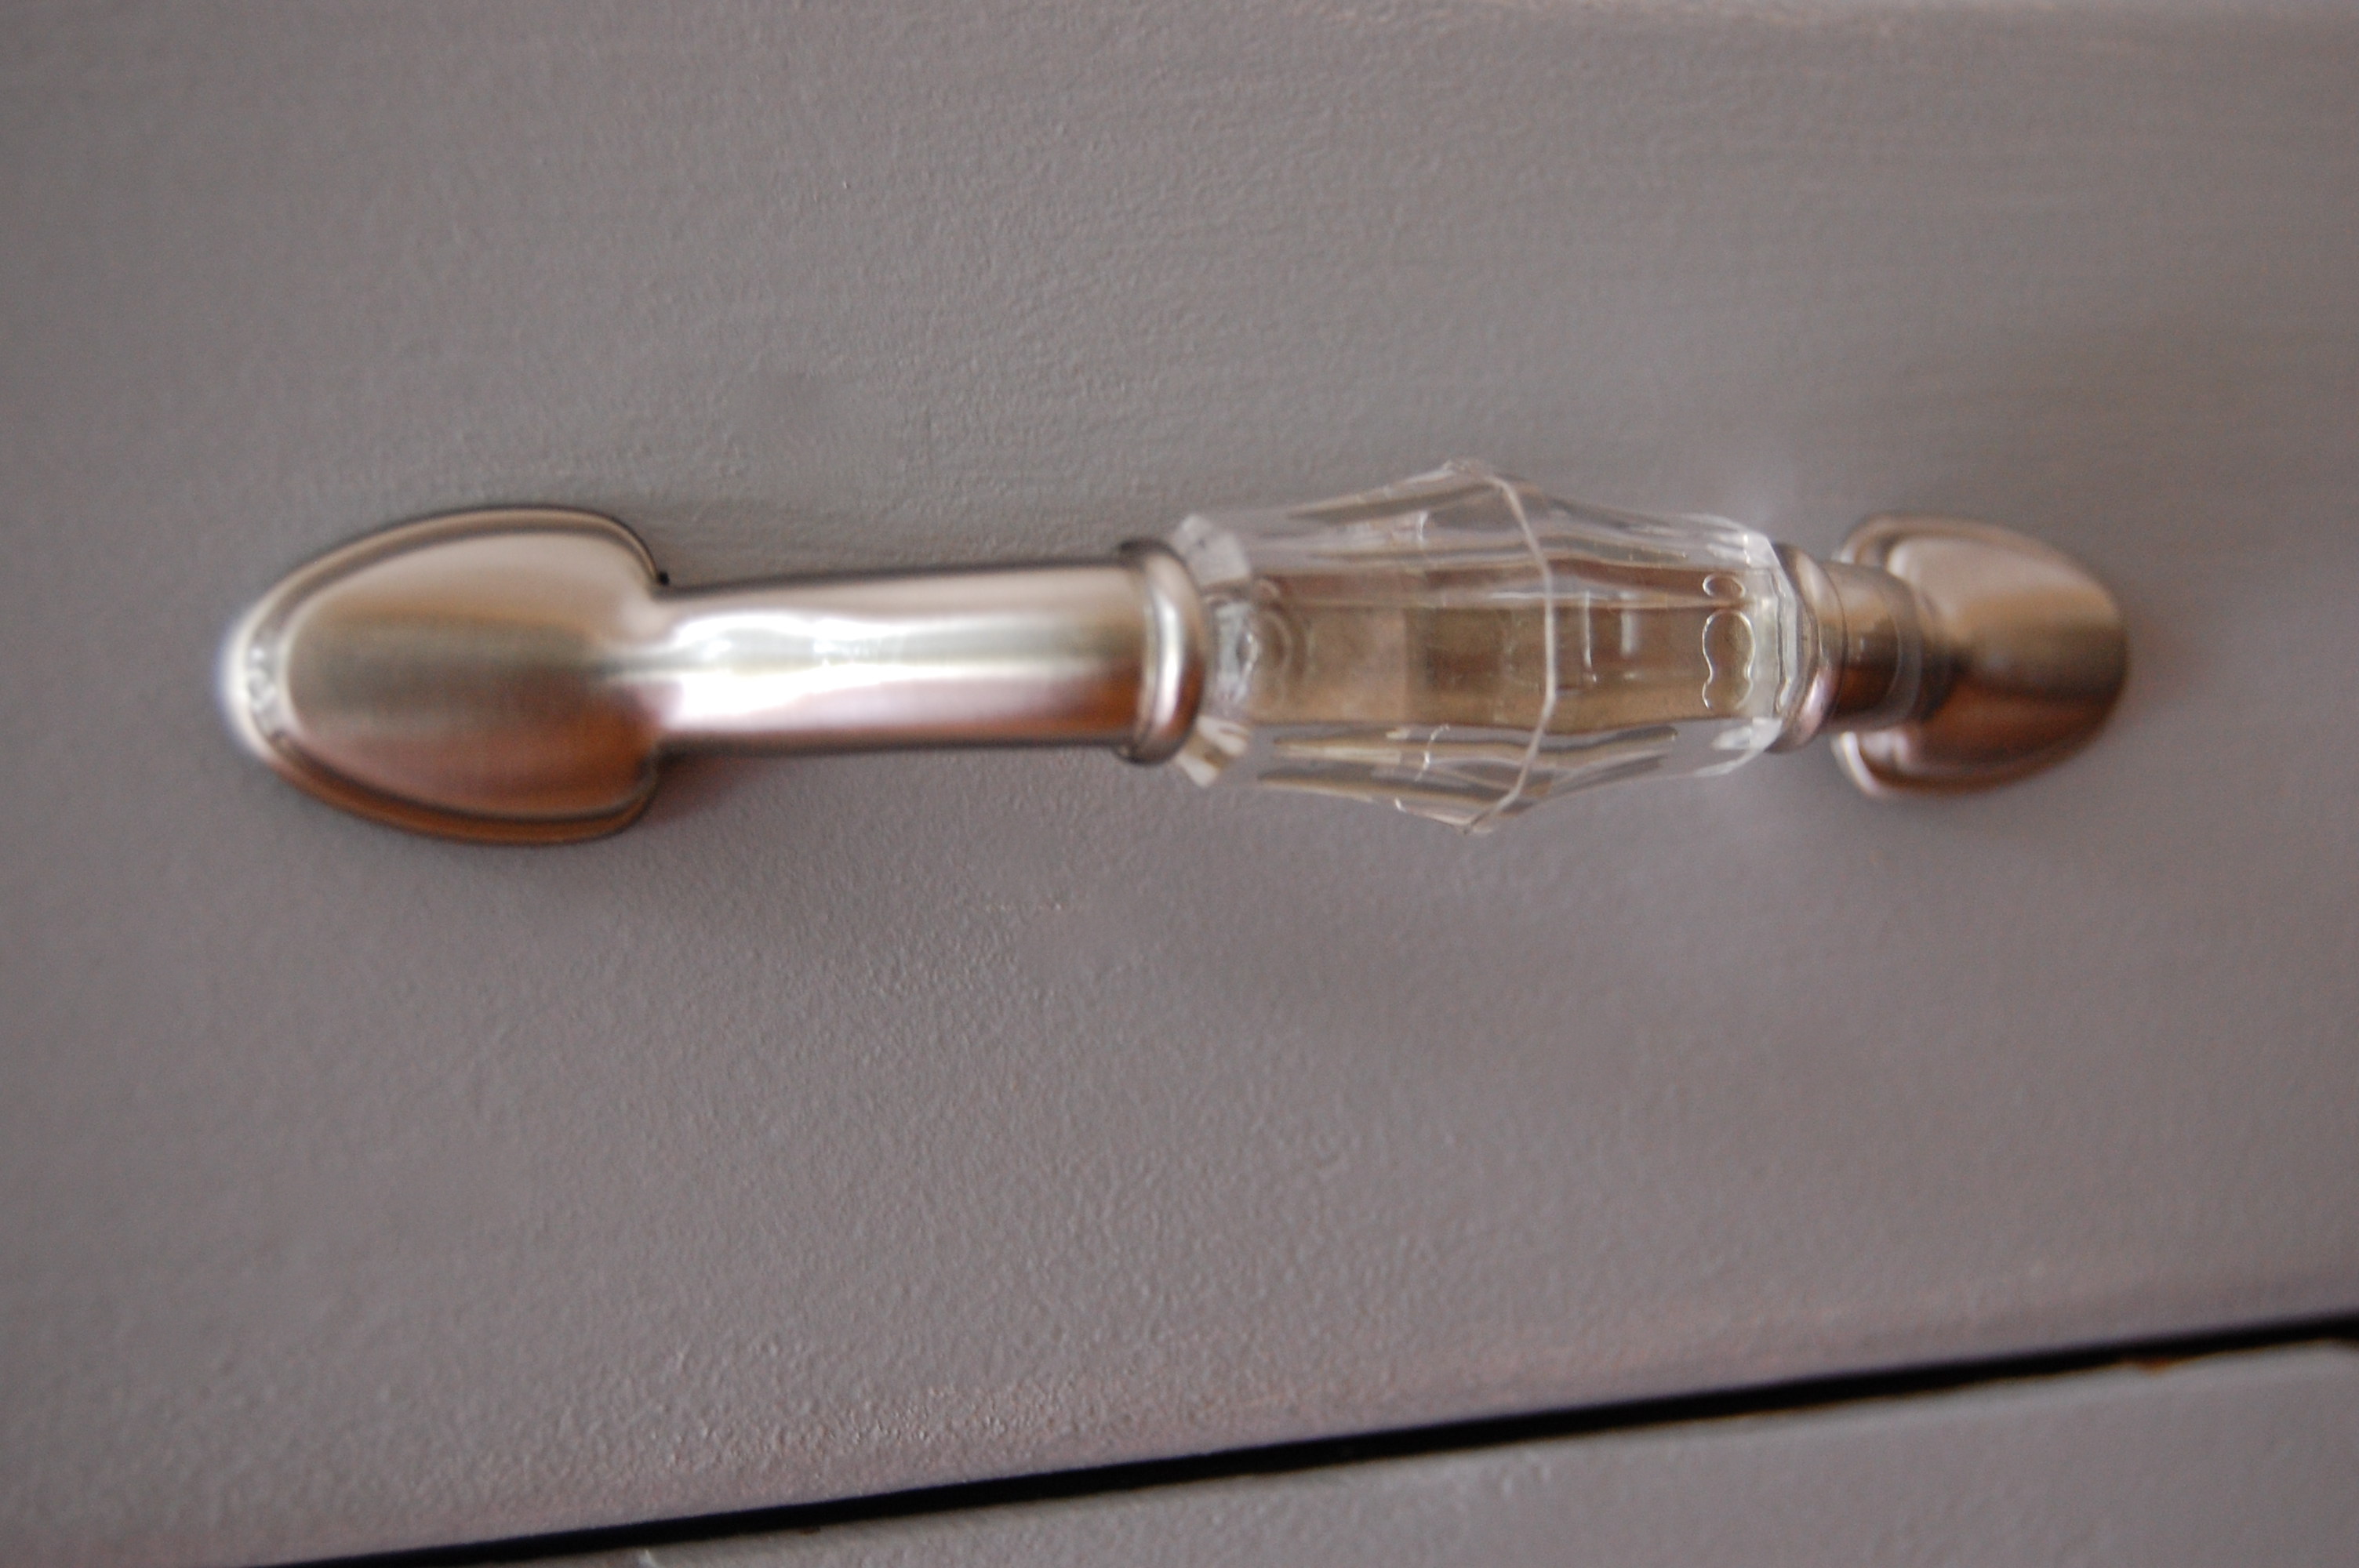
The knobs were replaced with ones from Anthropologie and the pulls were from Home Depot. I changed out the hinges as well. It was a bit tricky because when I first screwed them in, the door wouldn’t close so I had to use a chisel to slice through the wood so that the hinge would lay flush to the wood. I traced around the hinge and used that as a guide. I also flipped the last door so that they all faced the same direction.
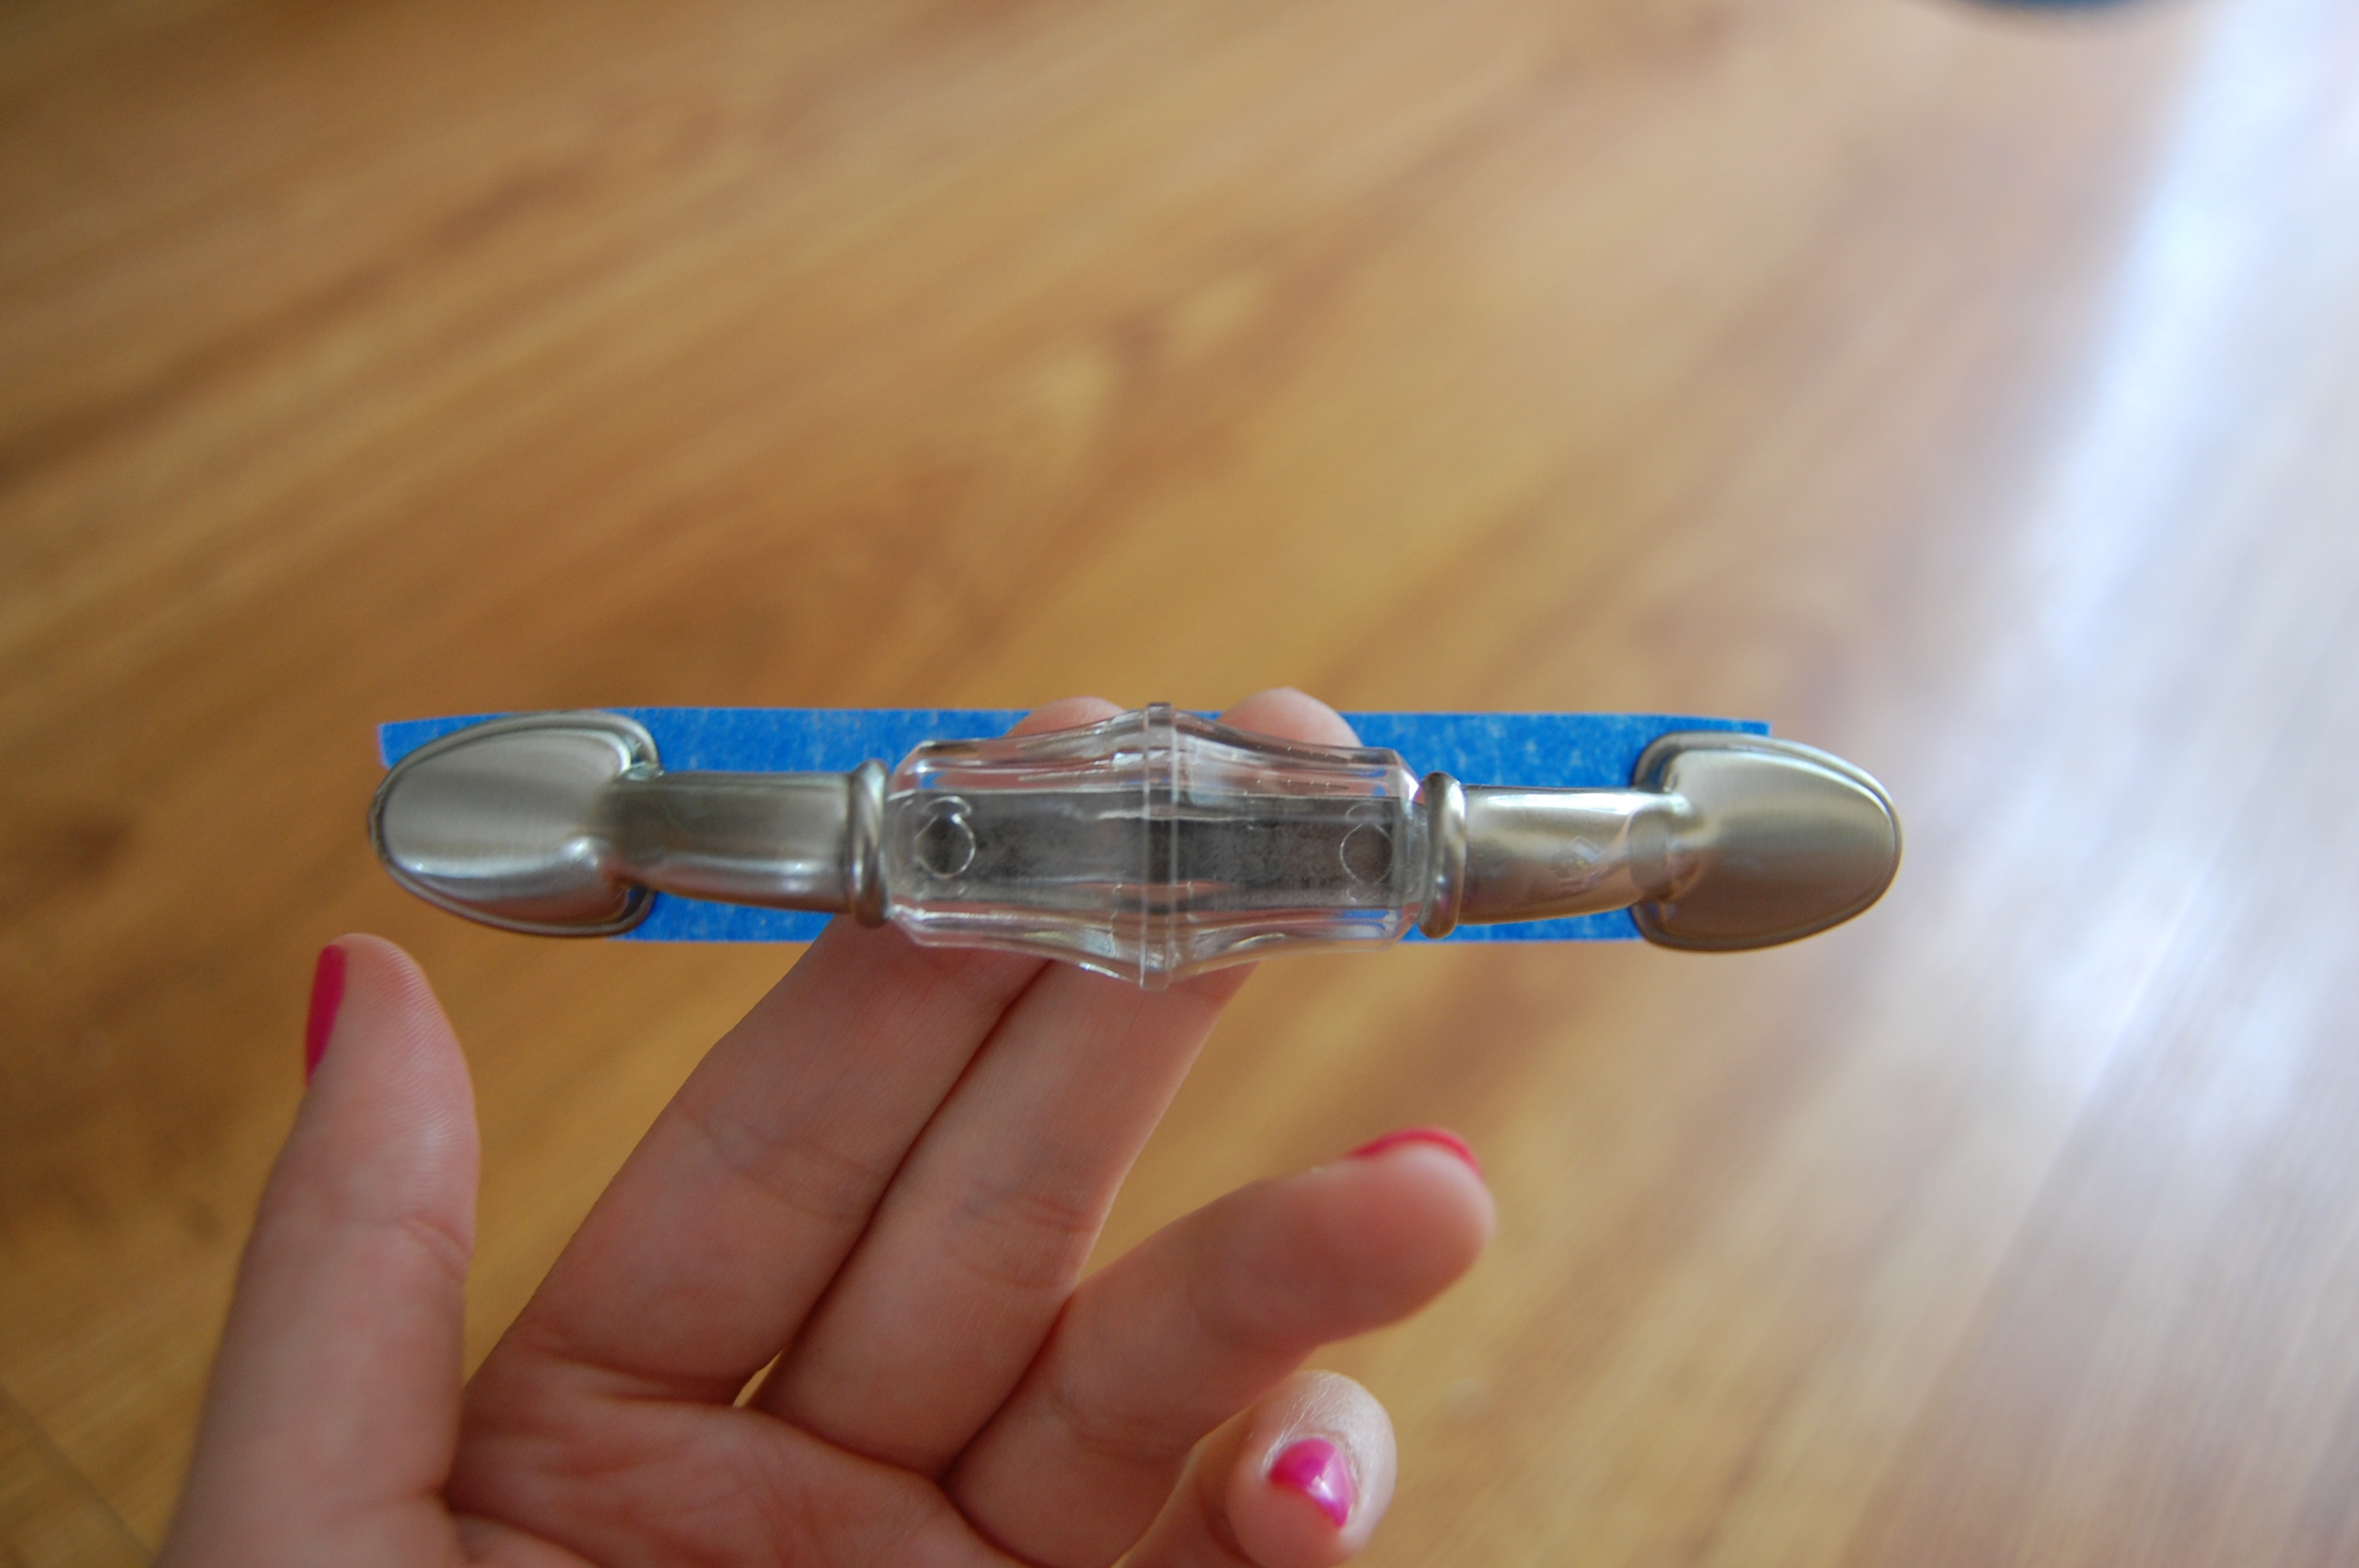
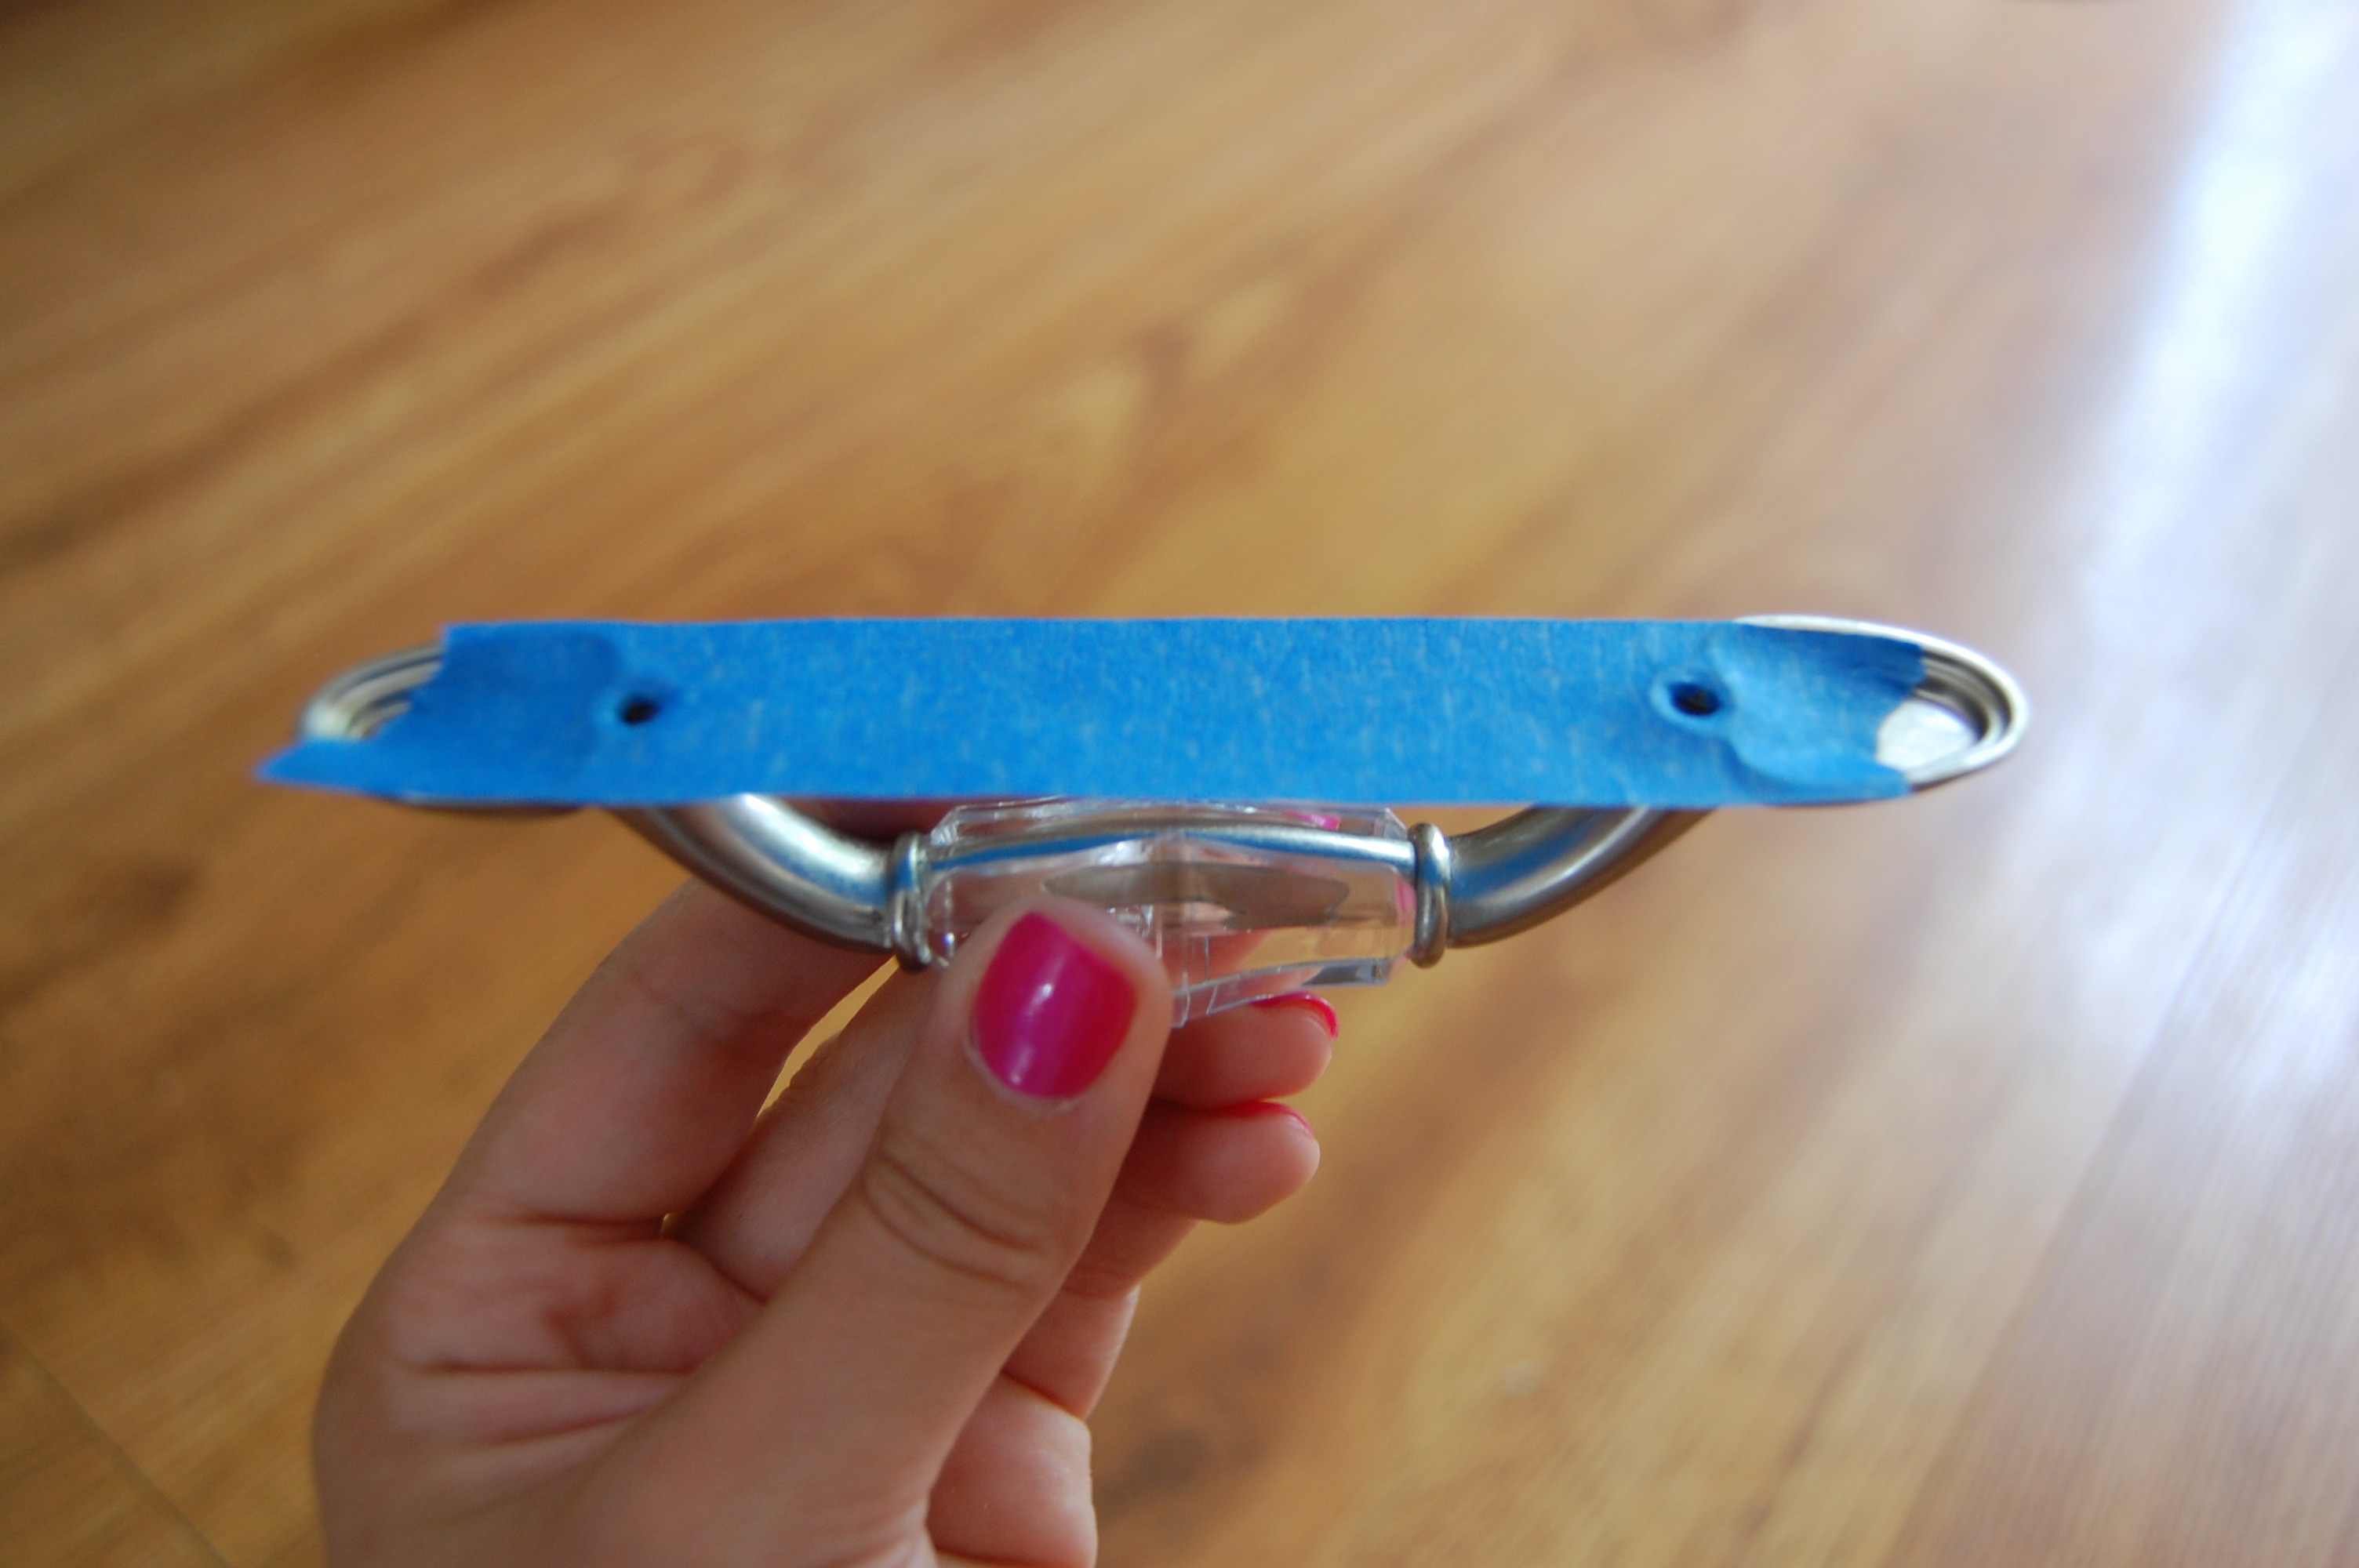
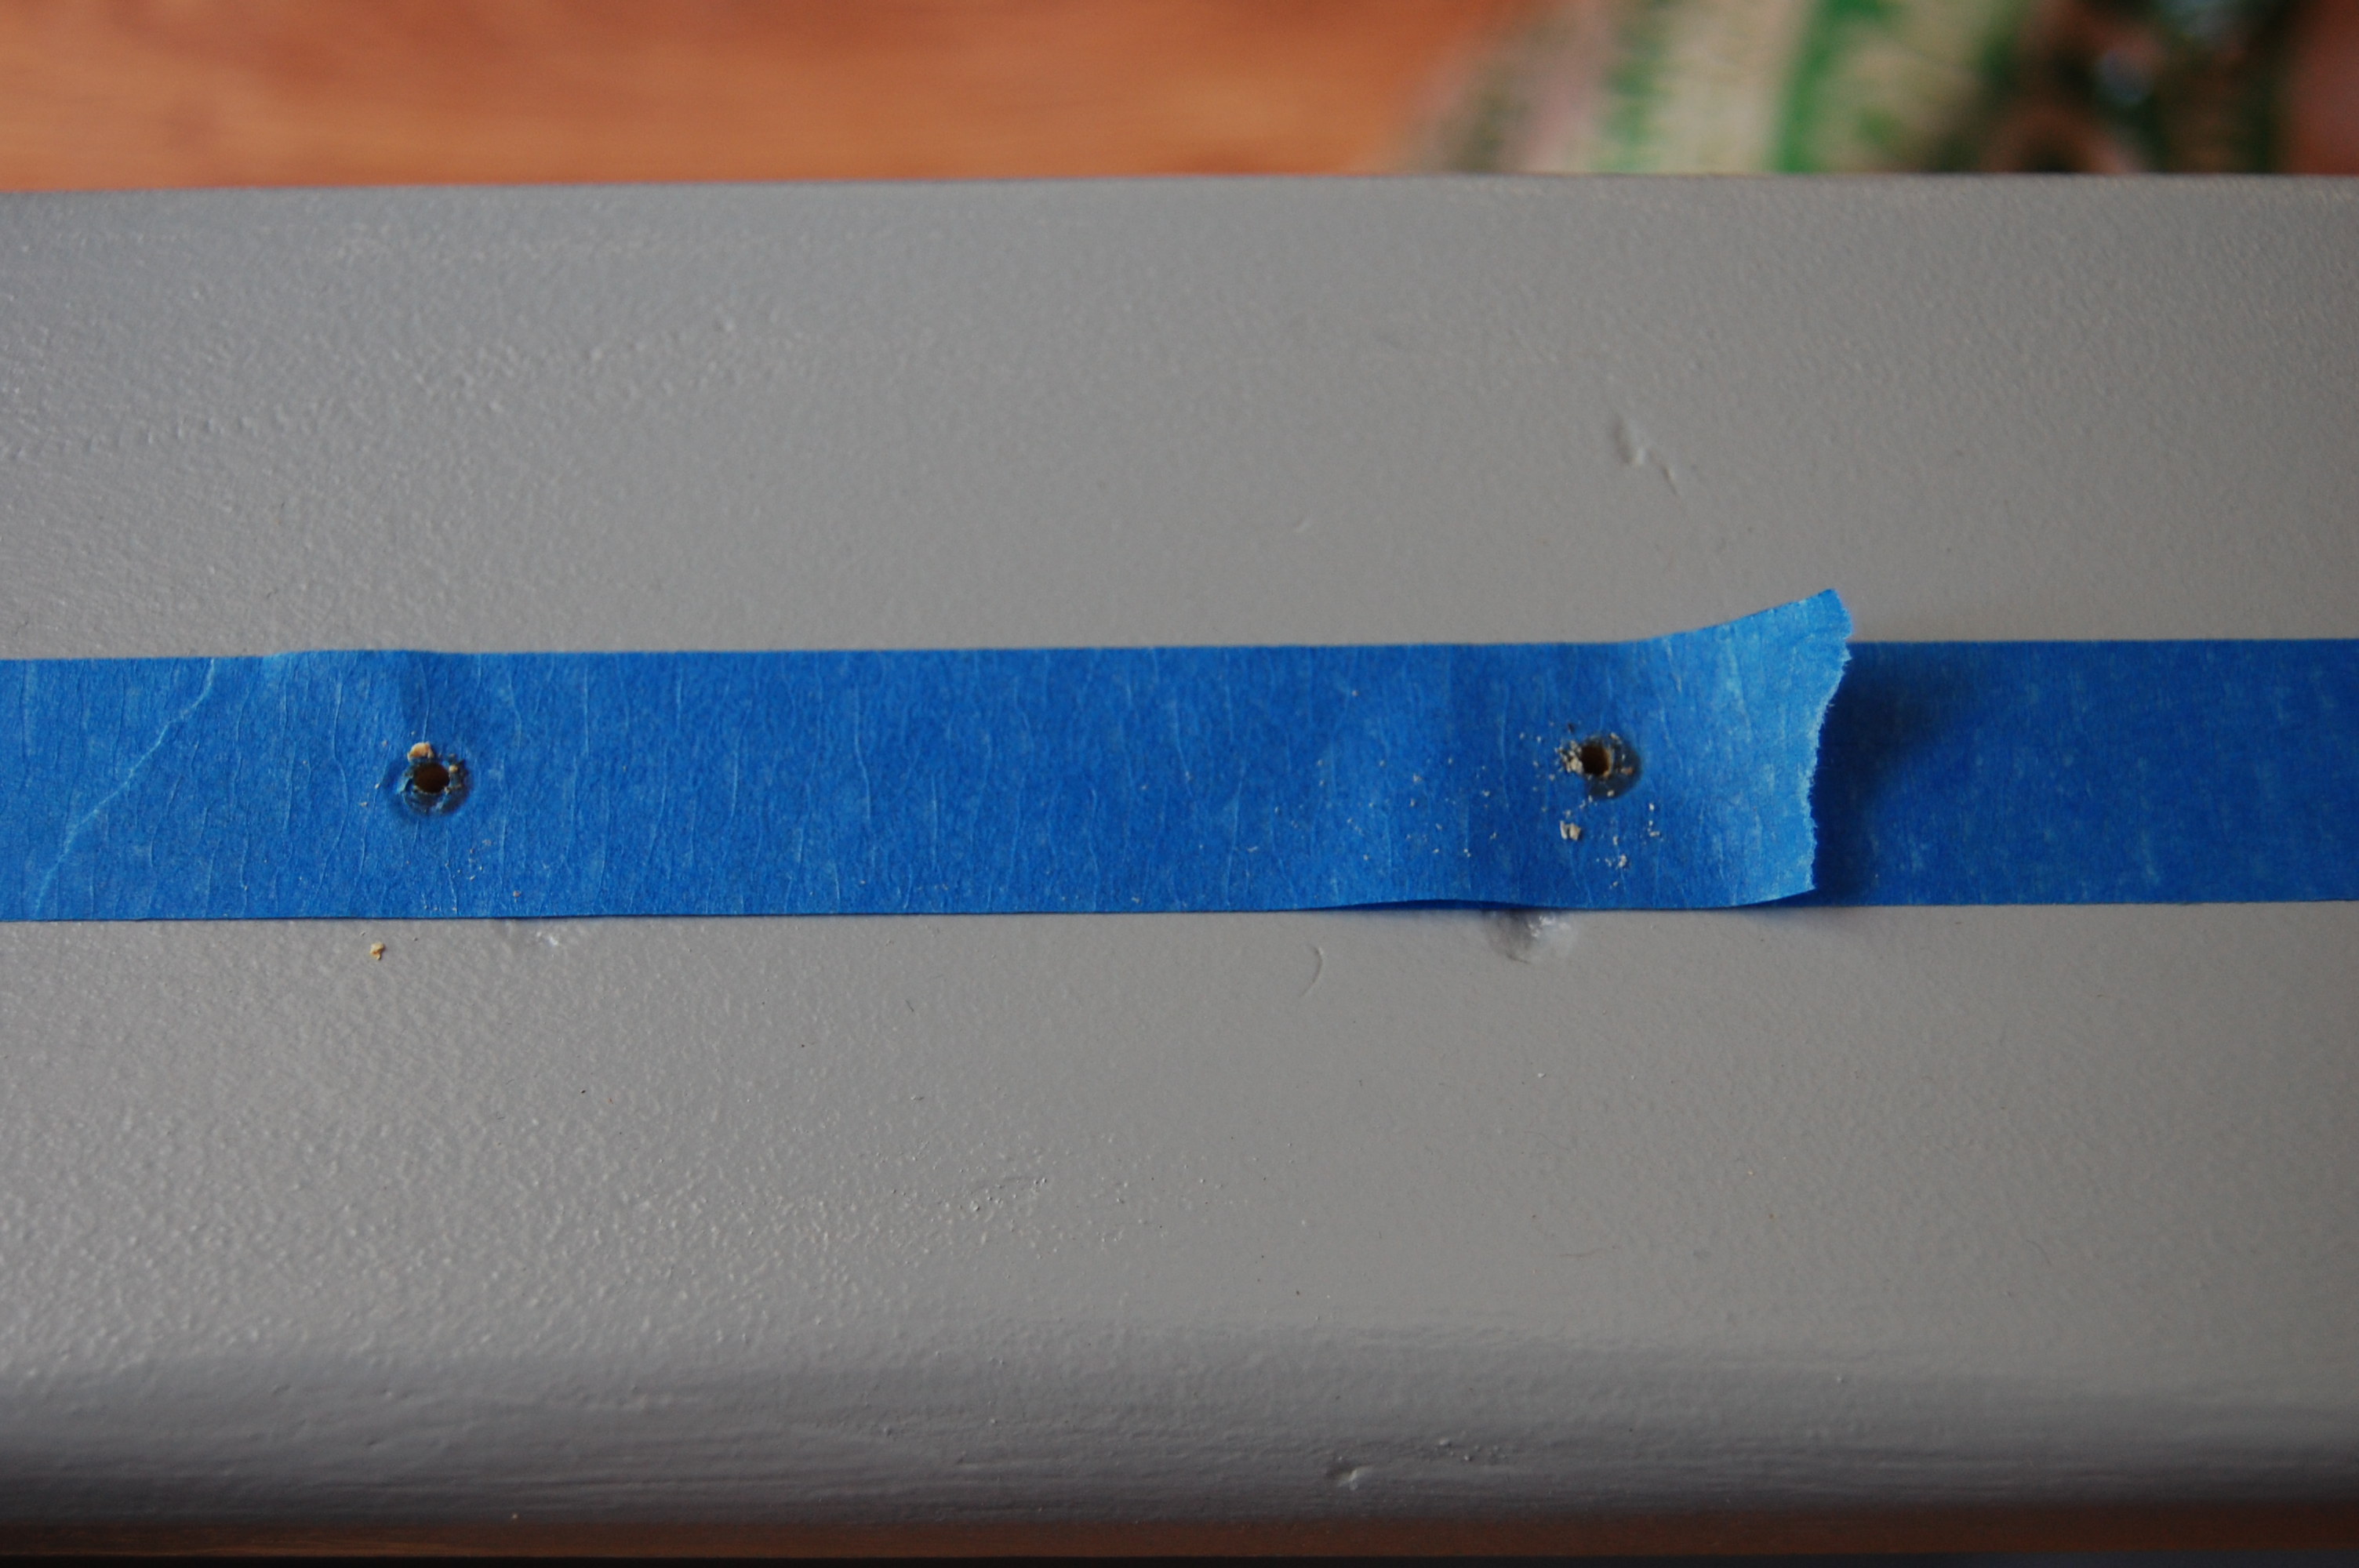
To install the pulls I stuck painters tape on the back and used a pen to pop out the holes for the screws. Then I centered the tape on the drawers and drilled through the holes.
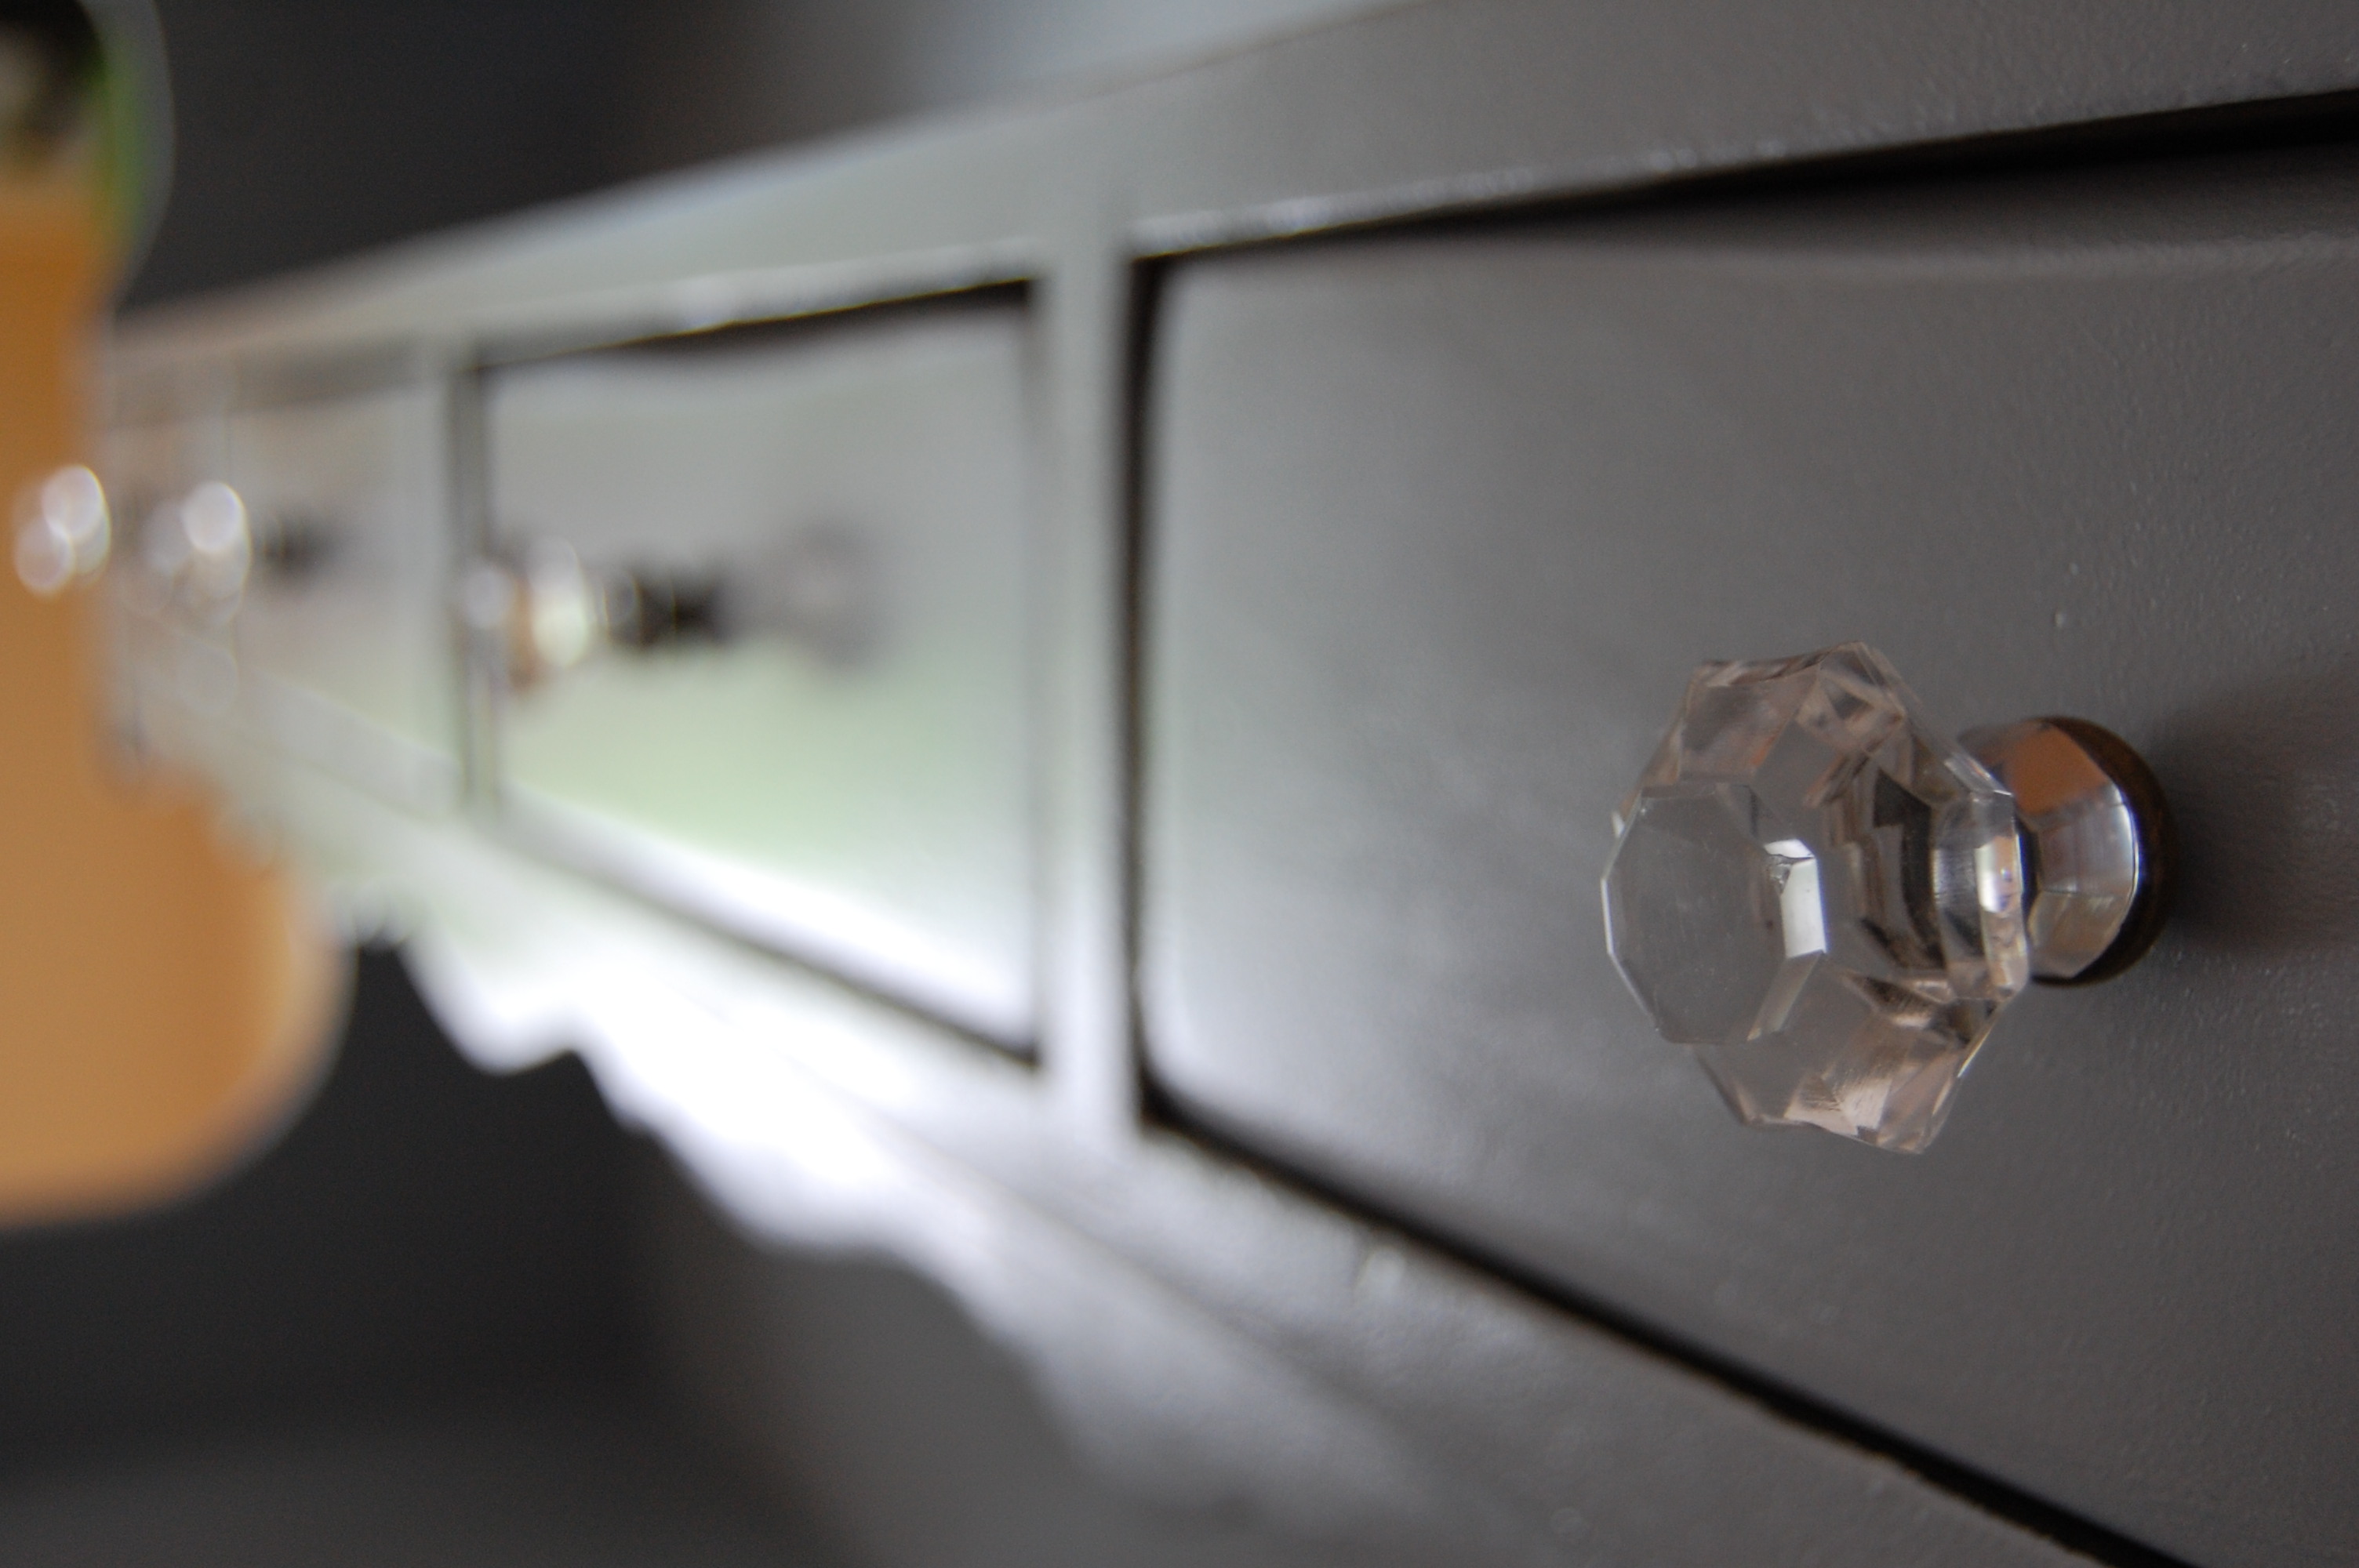
Here’s a close up on the other knobs. So pretty!
One other thing we did was paint the panel backboard a shade lighter than the hutch. You can see in this picture but up close it’s not that big of a difference.
Can’t wait to see it once it has all of her china on it!
Do you have an old hutch that you’ve been wanting to makeover? Have you ever found solid pieces of wood furniture on the side of the road?
