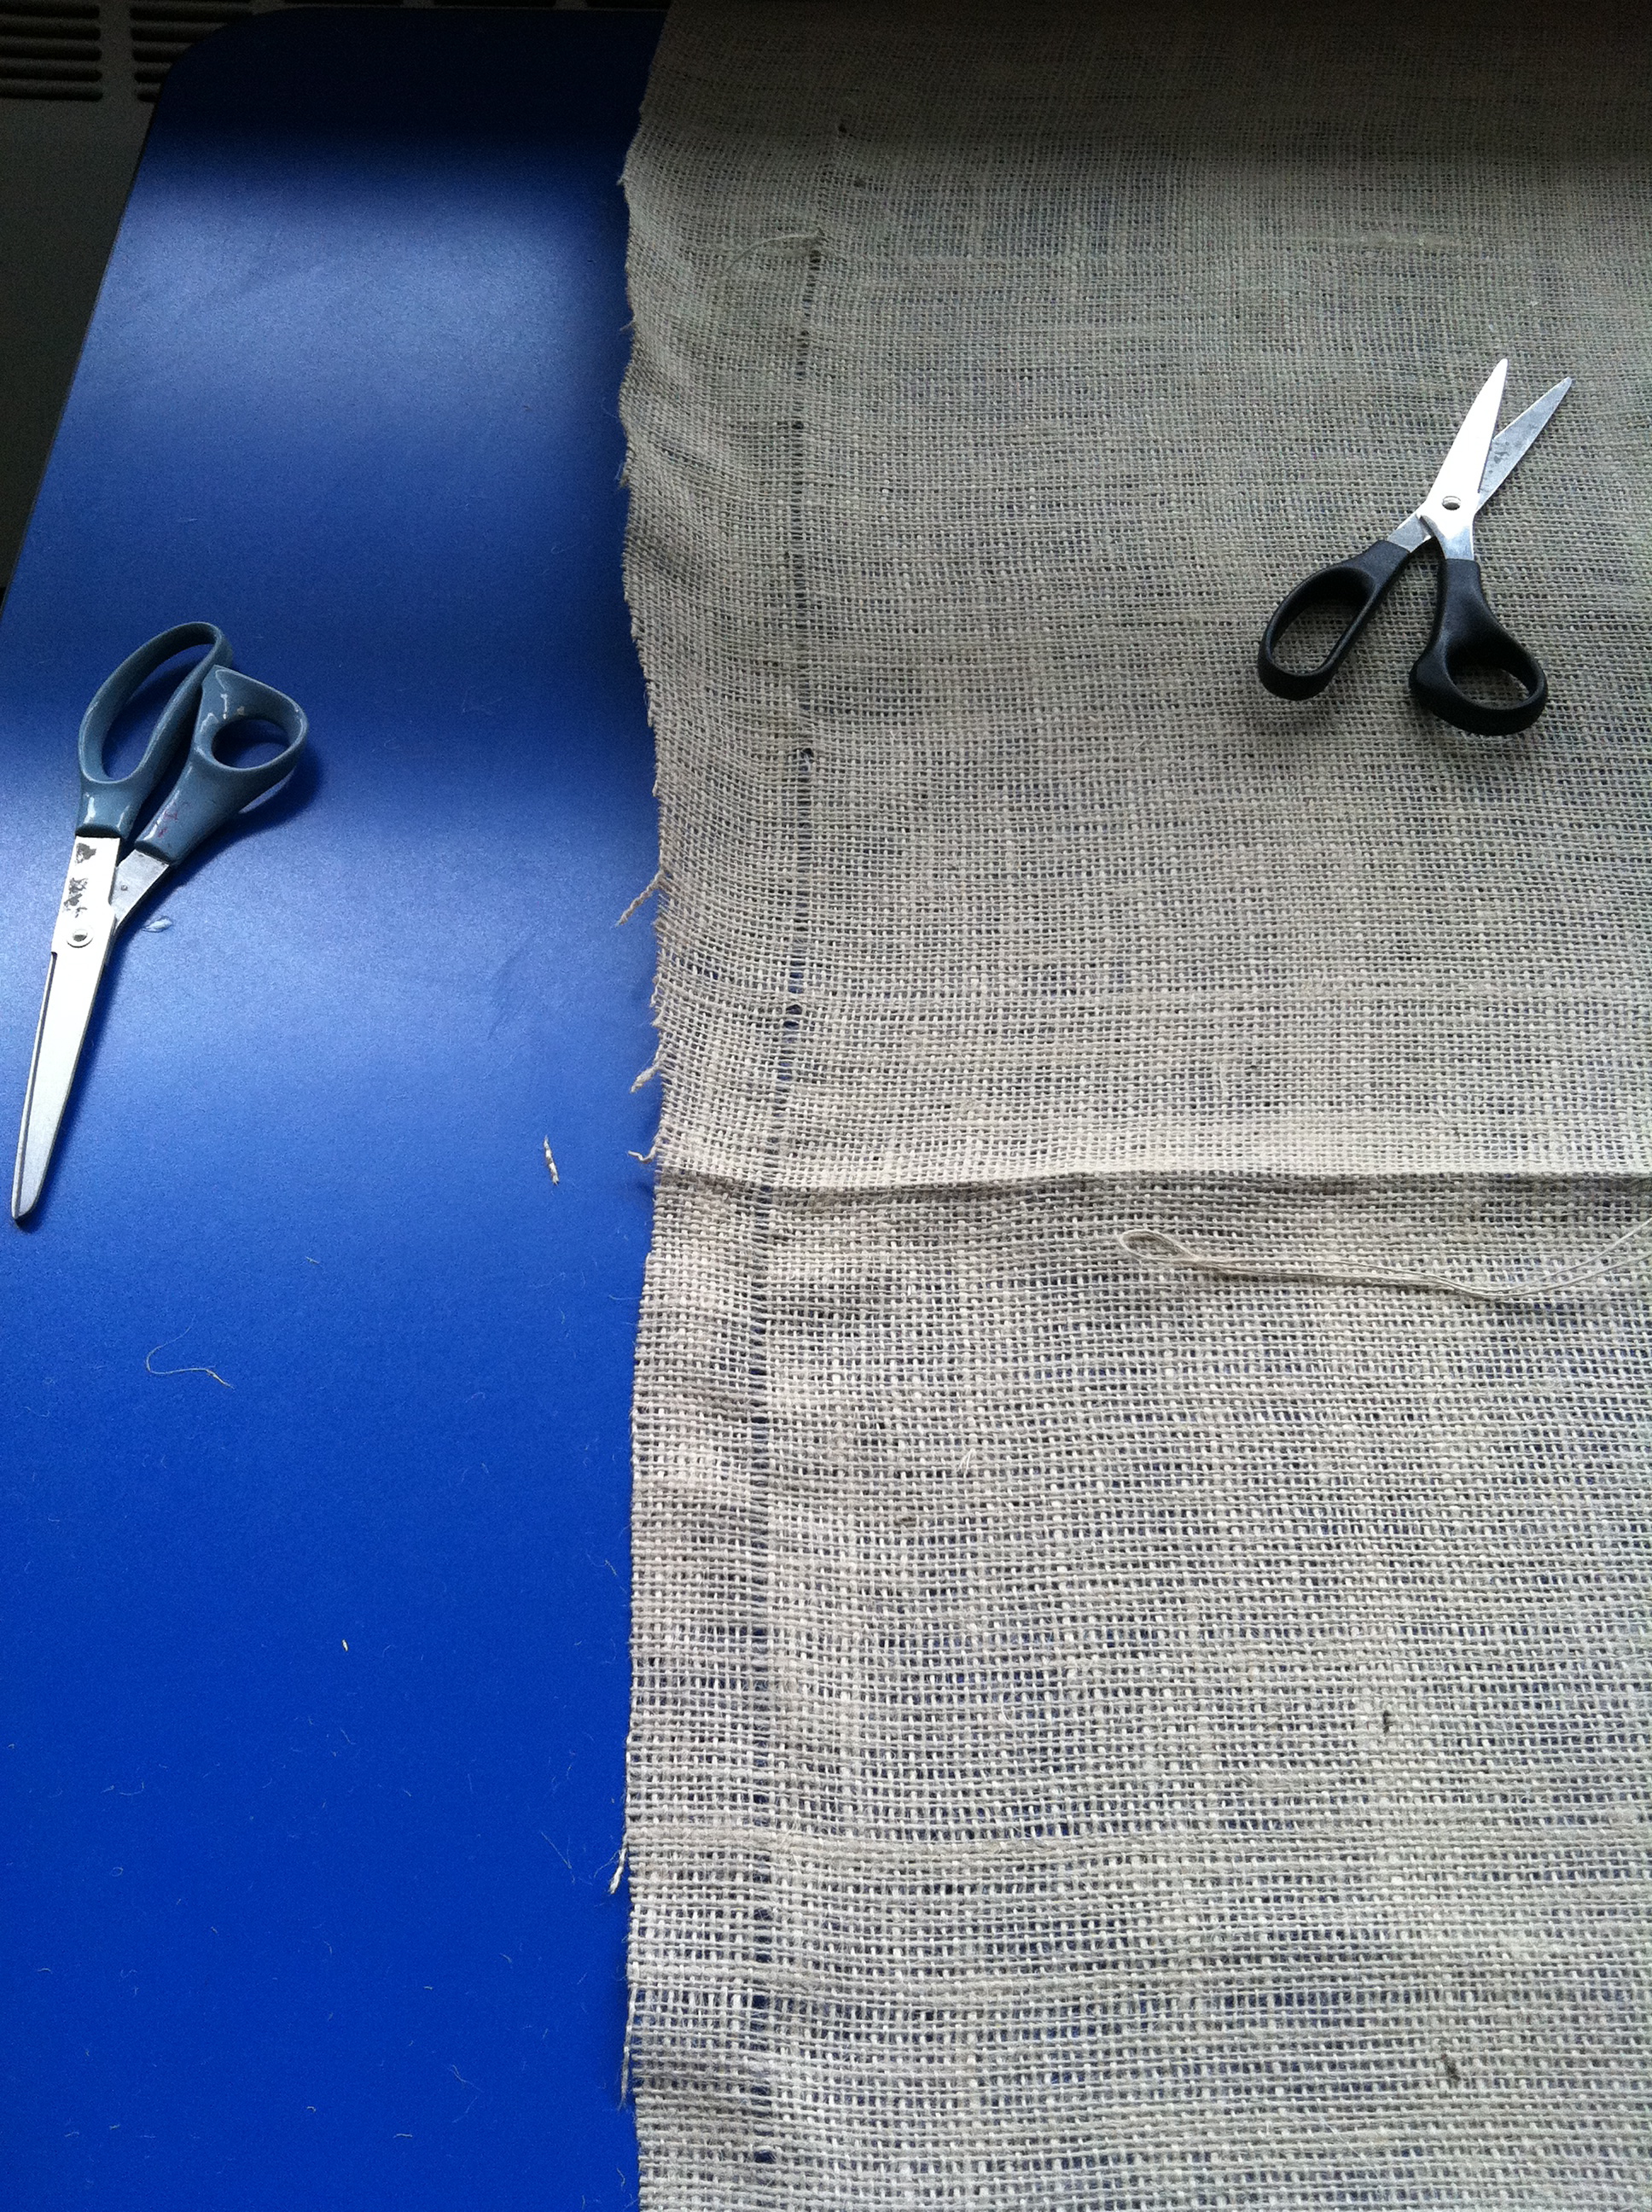
I recently mentioned how I wanted to make a burlap board in my class after seeing one here. After making a trip to Joann’s and picking up 7 yards it was time to put it up. Now if you have ever worked with burlap you may notice that it is pretty hard to cut straight but I’ve got just the trick for you! Here is what the edge of my burlap looked like after I gave it a try free hand.
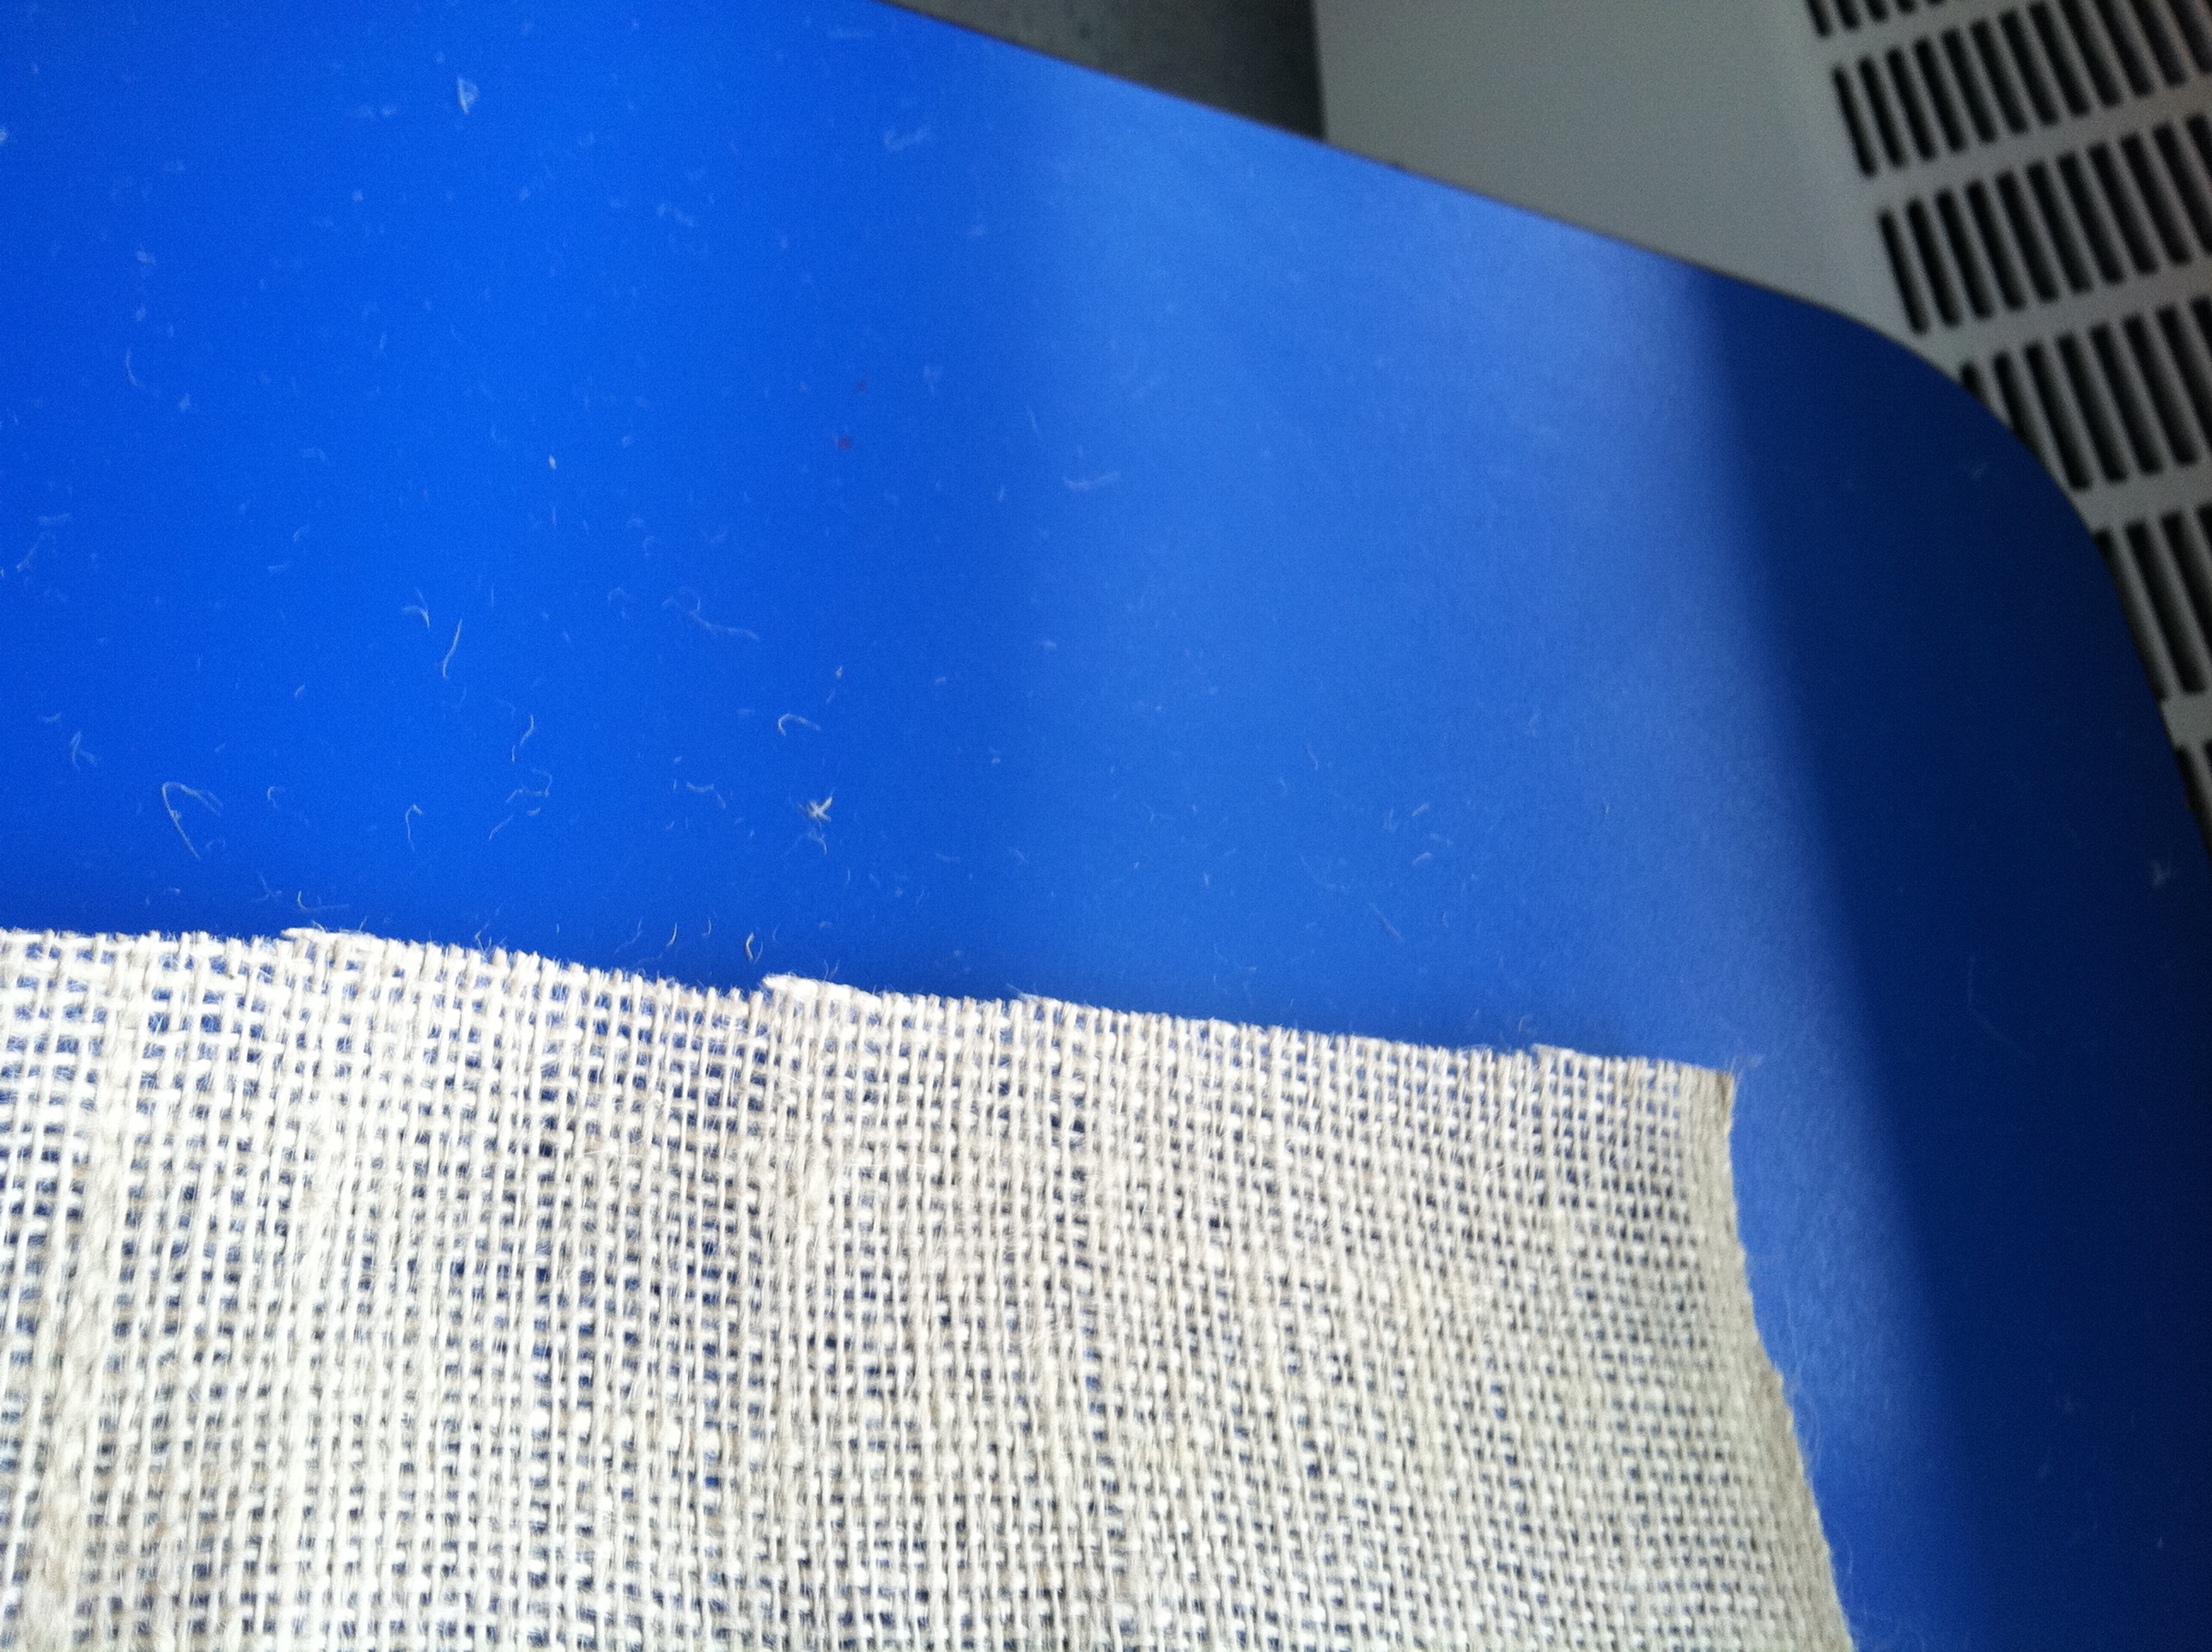 Not so straight. So what is the secret to getting a straight line? All I did was take one thread at the bottom of the fabric and then continued up the burlap pulling the thread out like below.
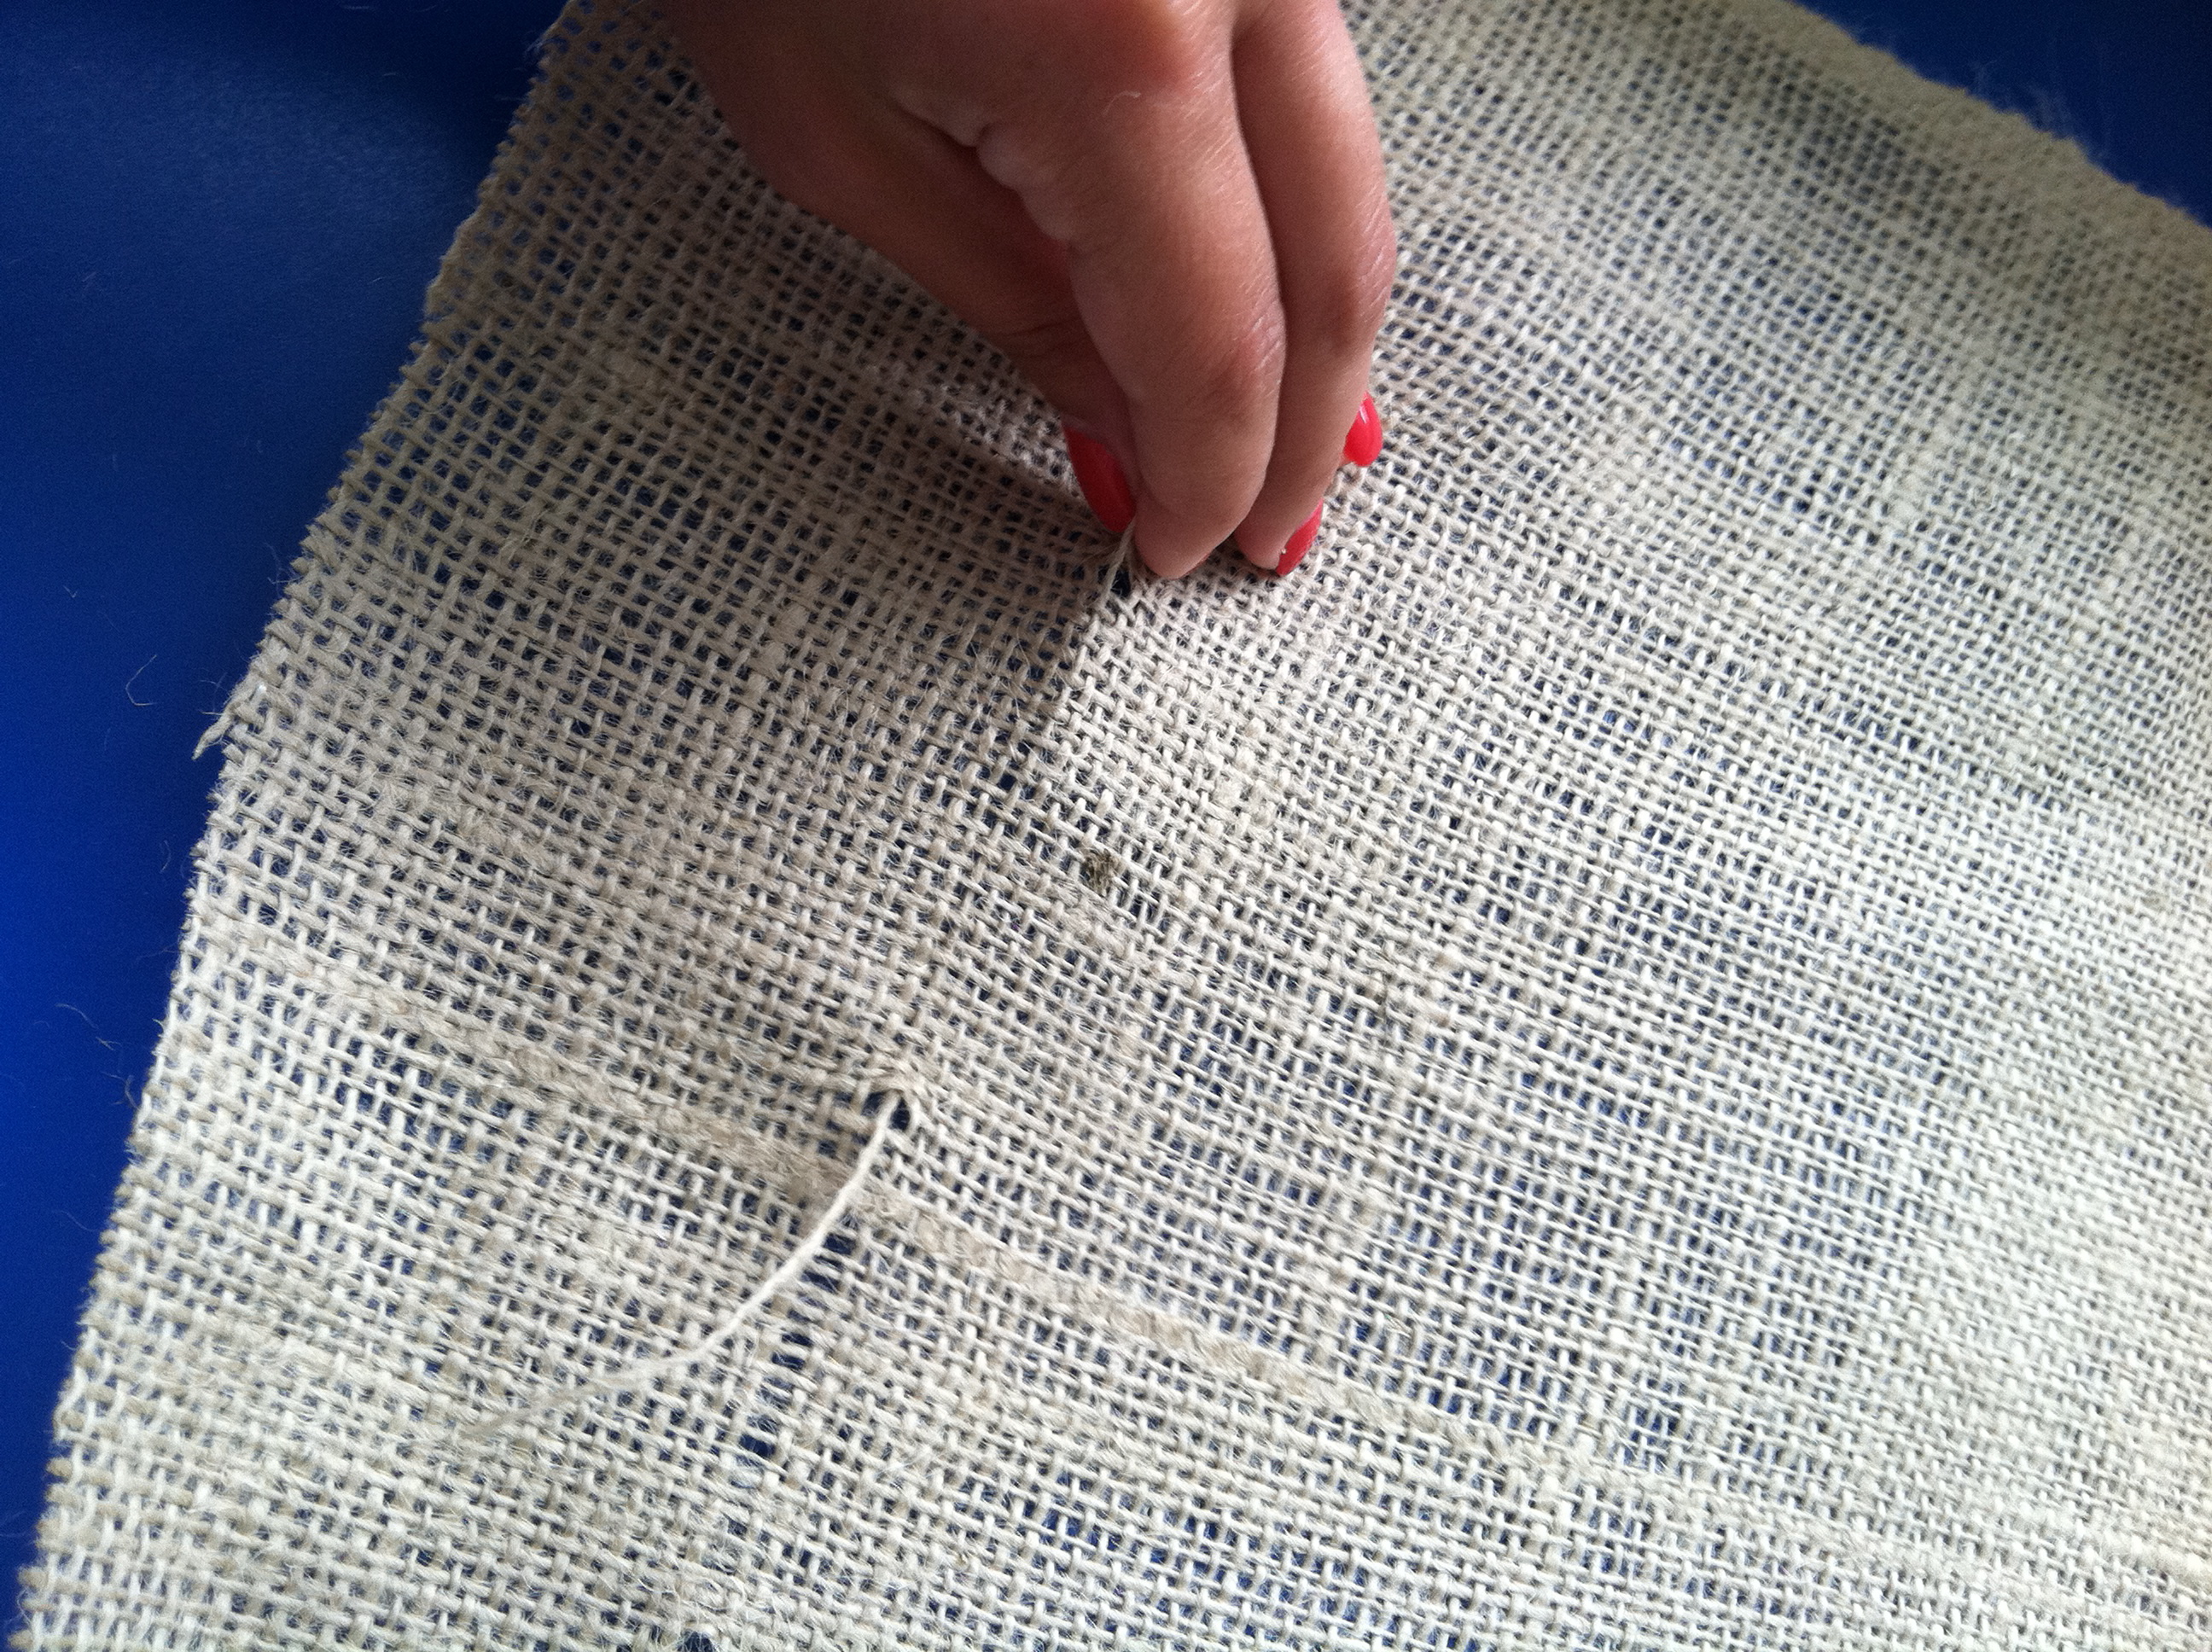 When I got to the other end there was a perfect guide for me and I ended up with a straight cut.
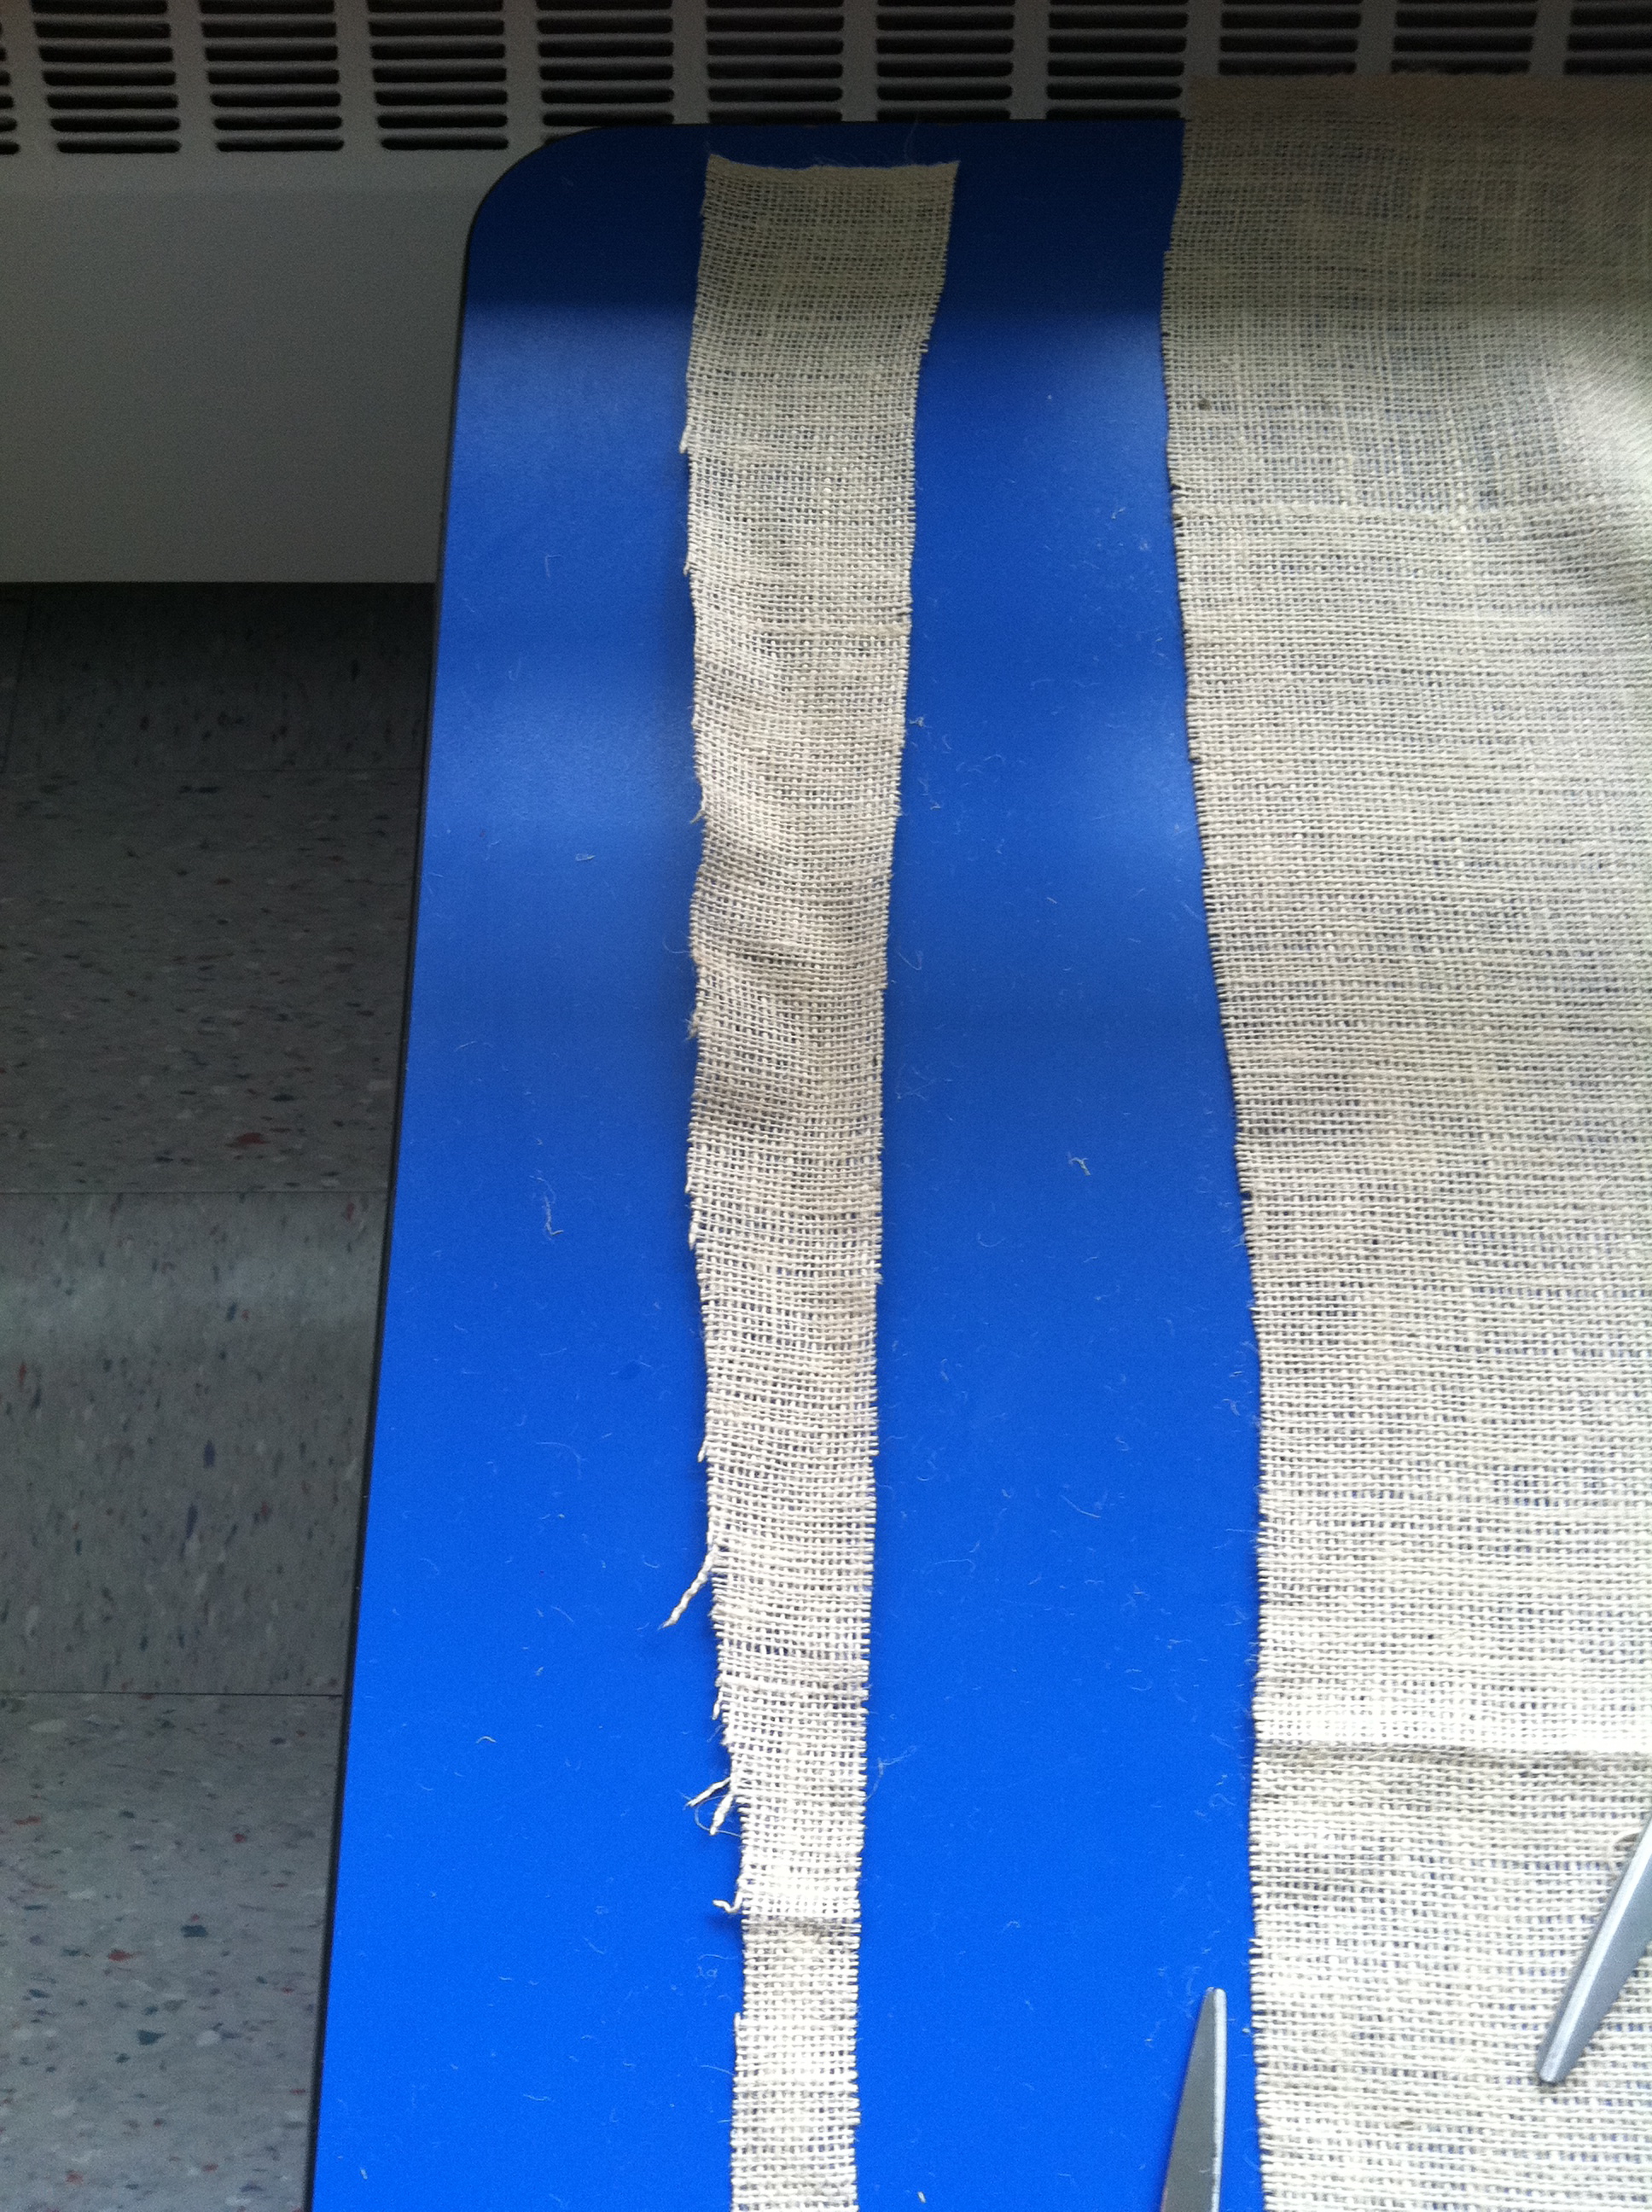 Clearly you can see how uneven my original cut was! Now that I had my fabric cut to size I needed to iron out the creases. I was a bit nervous about putting heat straight on but it turned out to be able to take it. I let a little mist of water lay on it and put the iron on medium heat and presto it came right out.
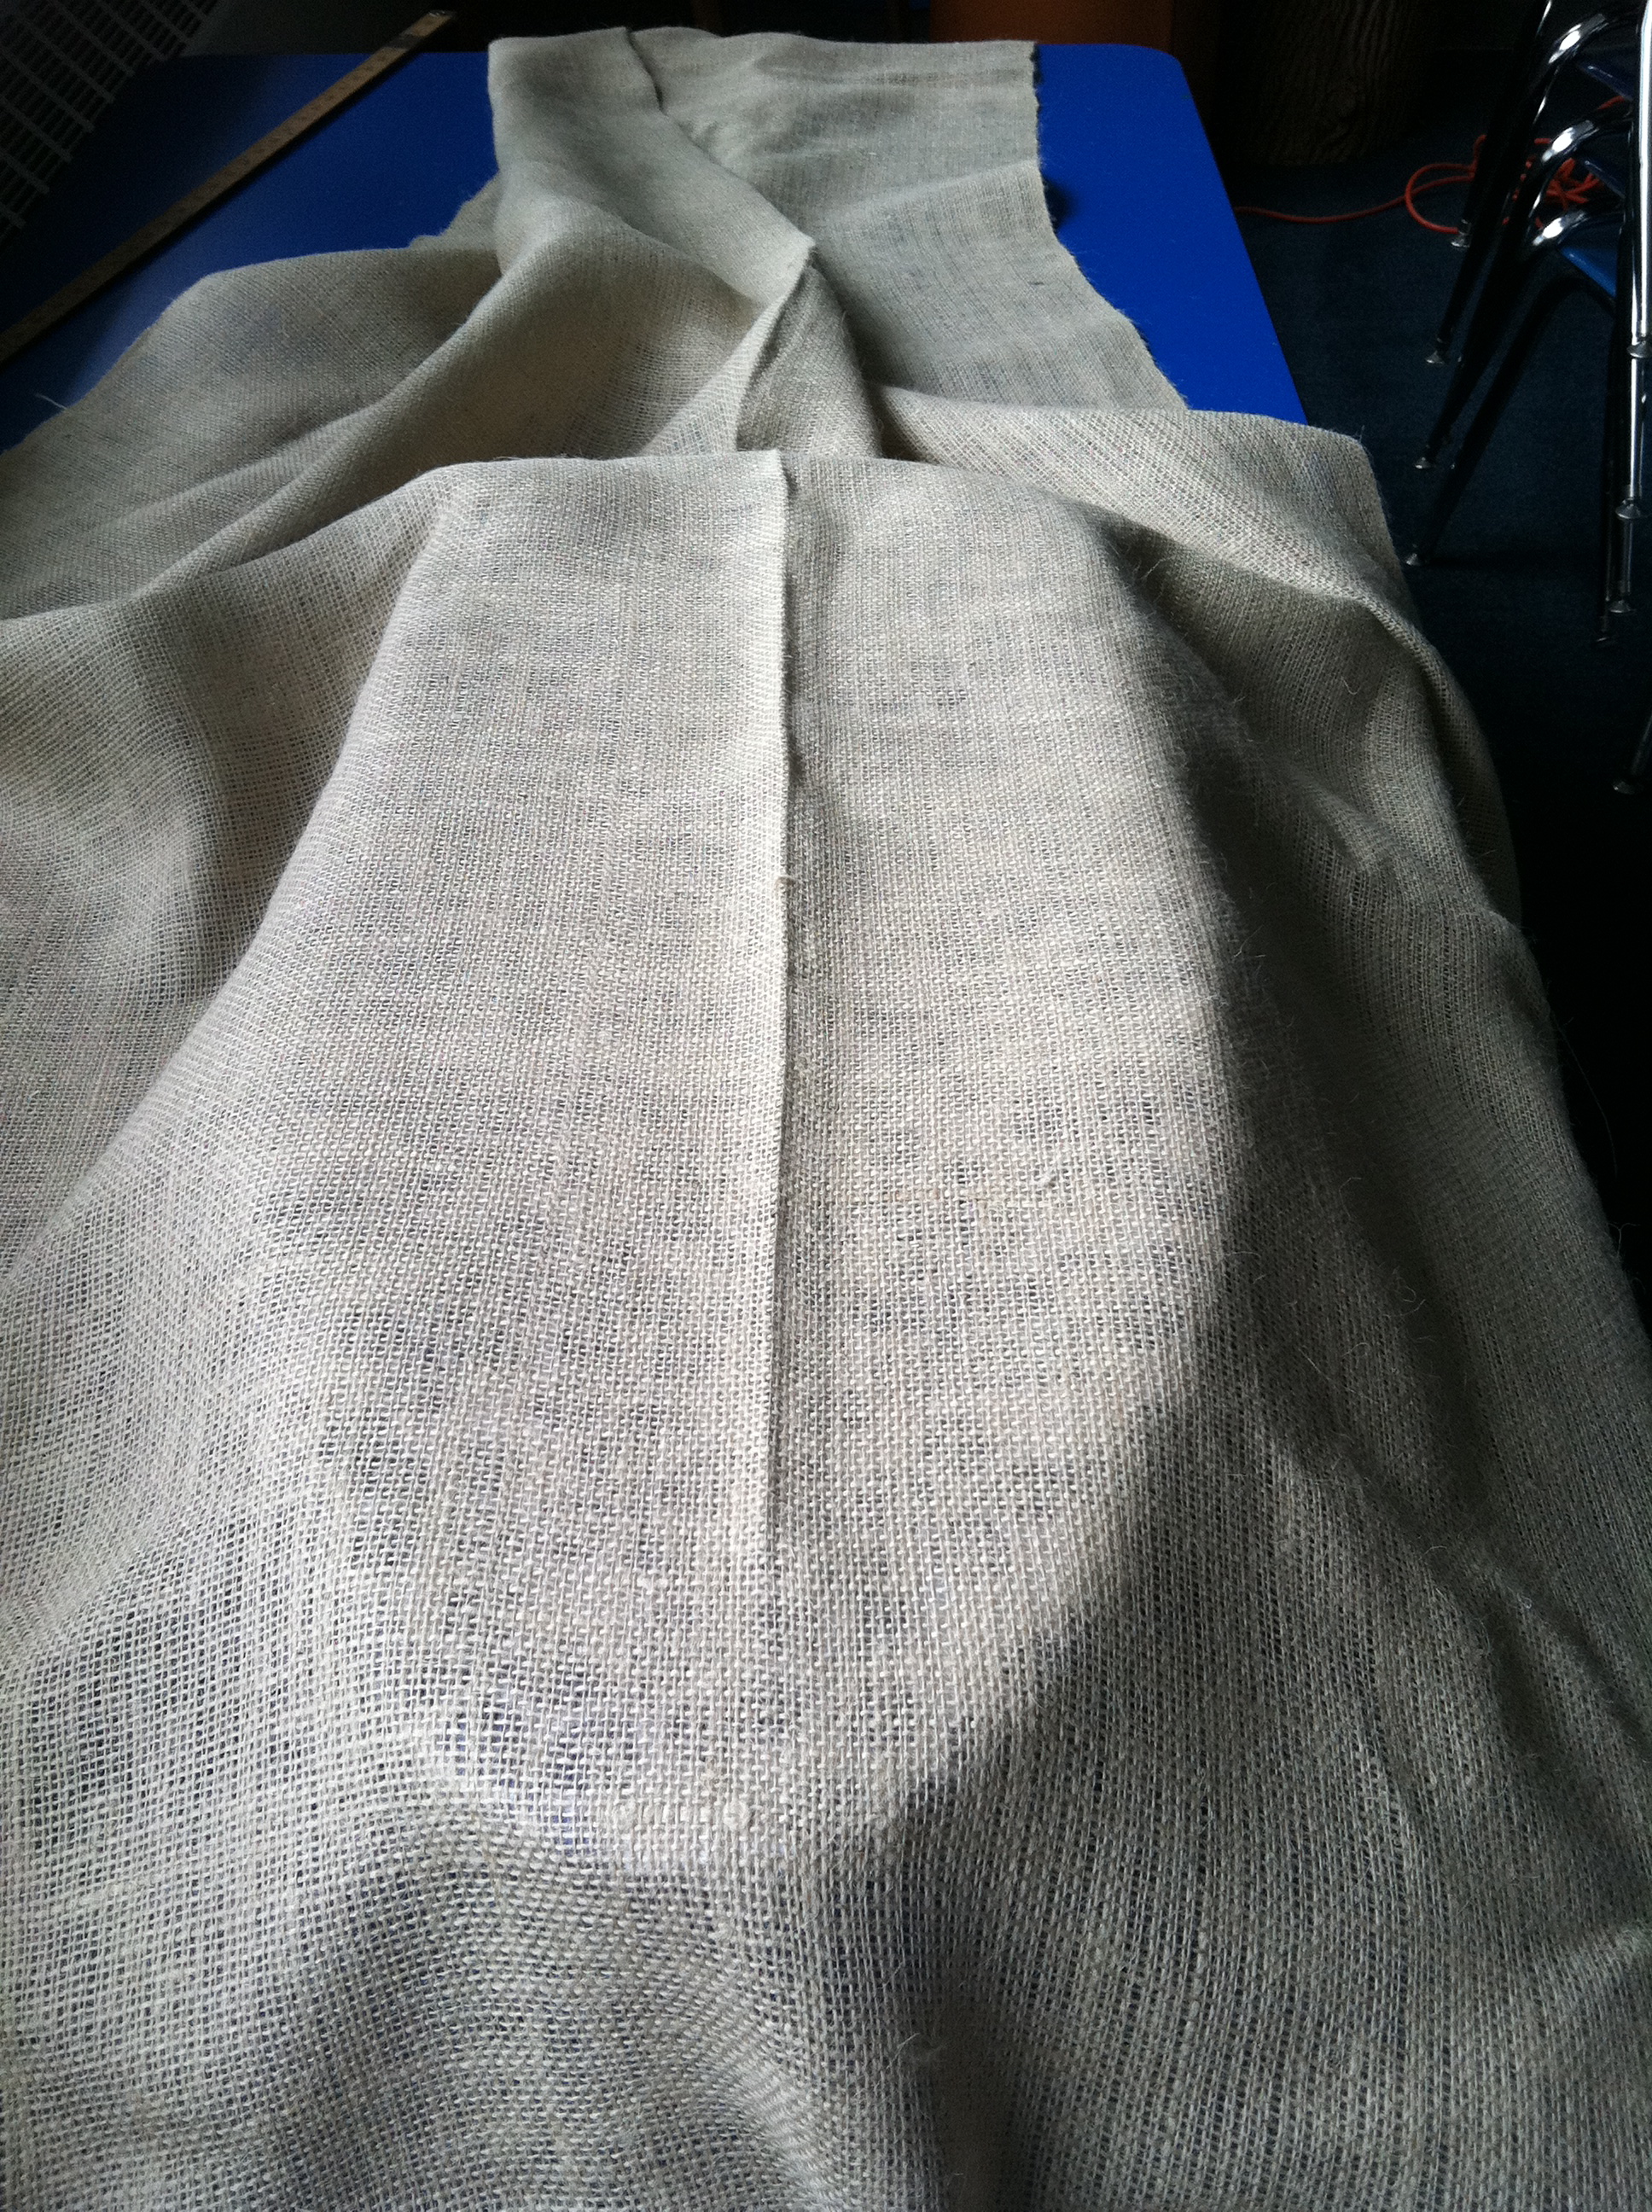
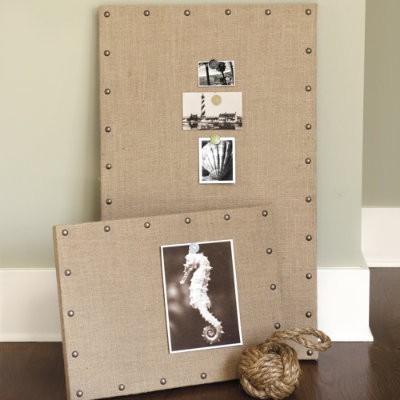
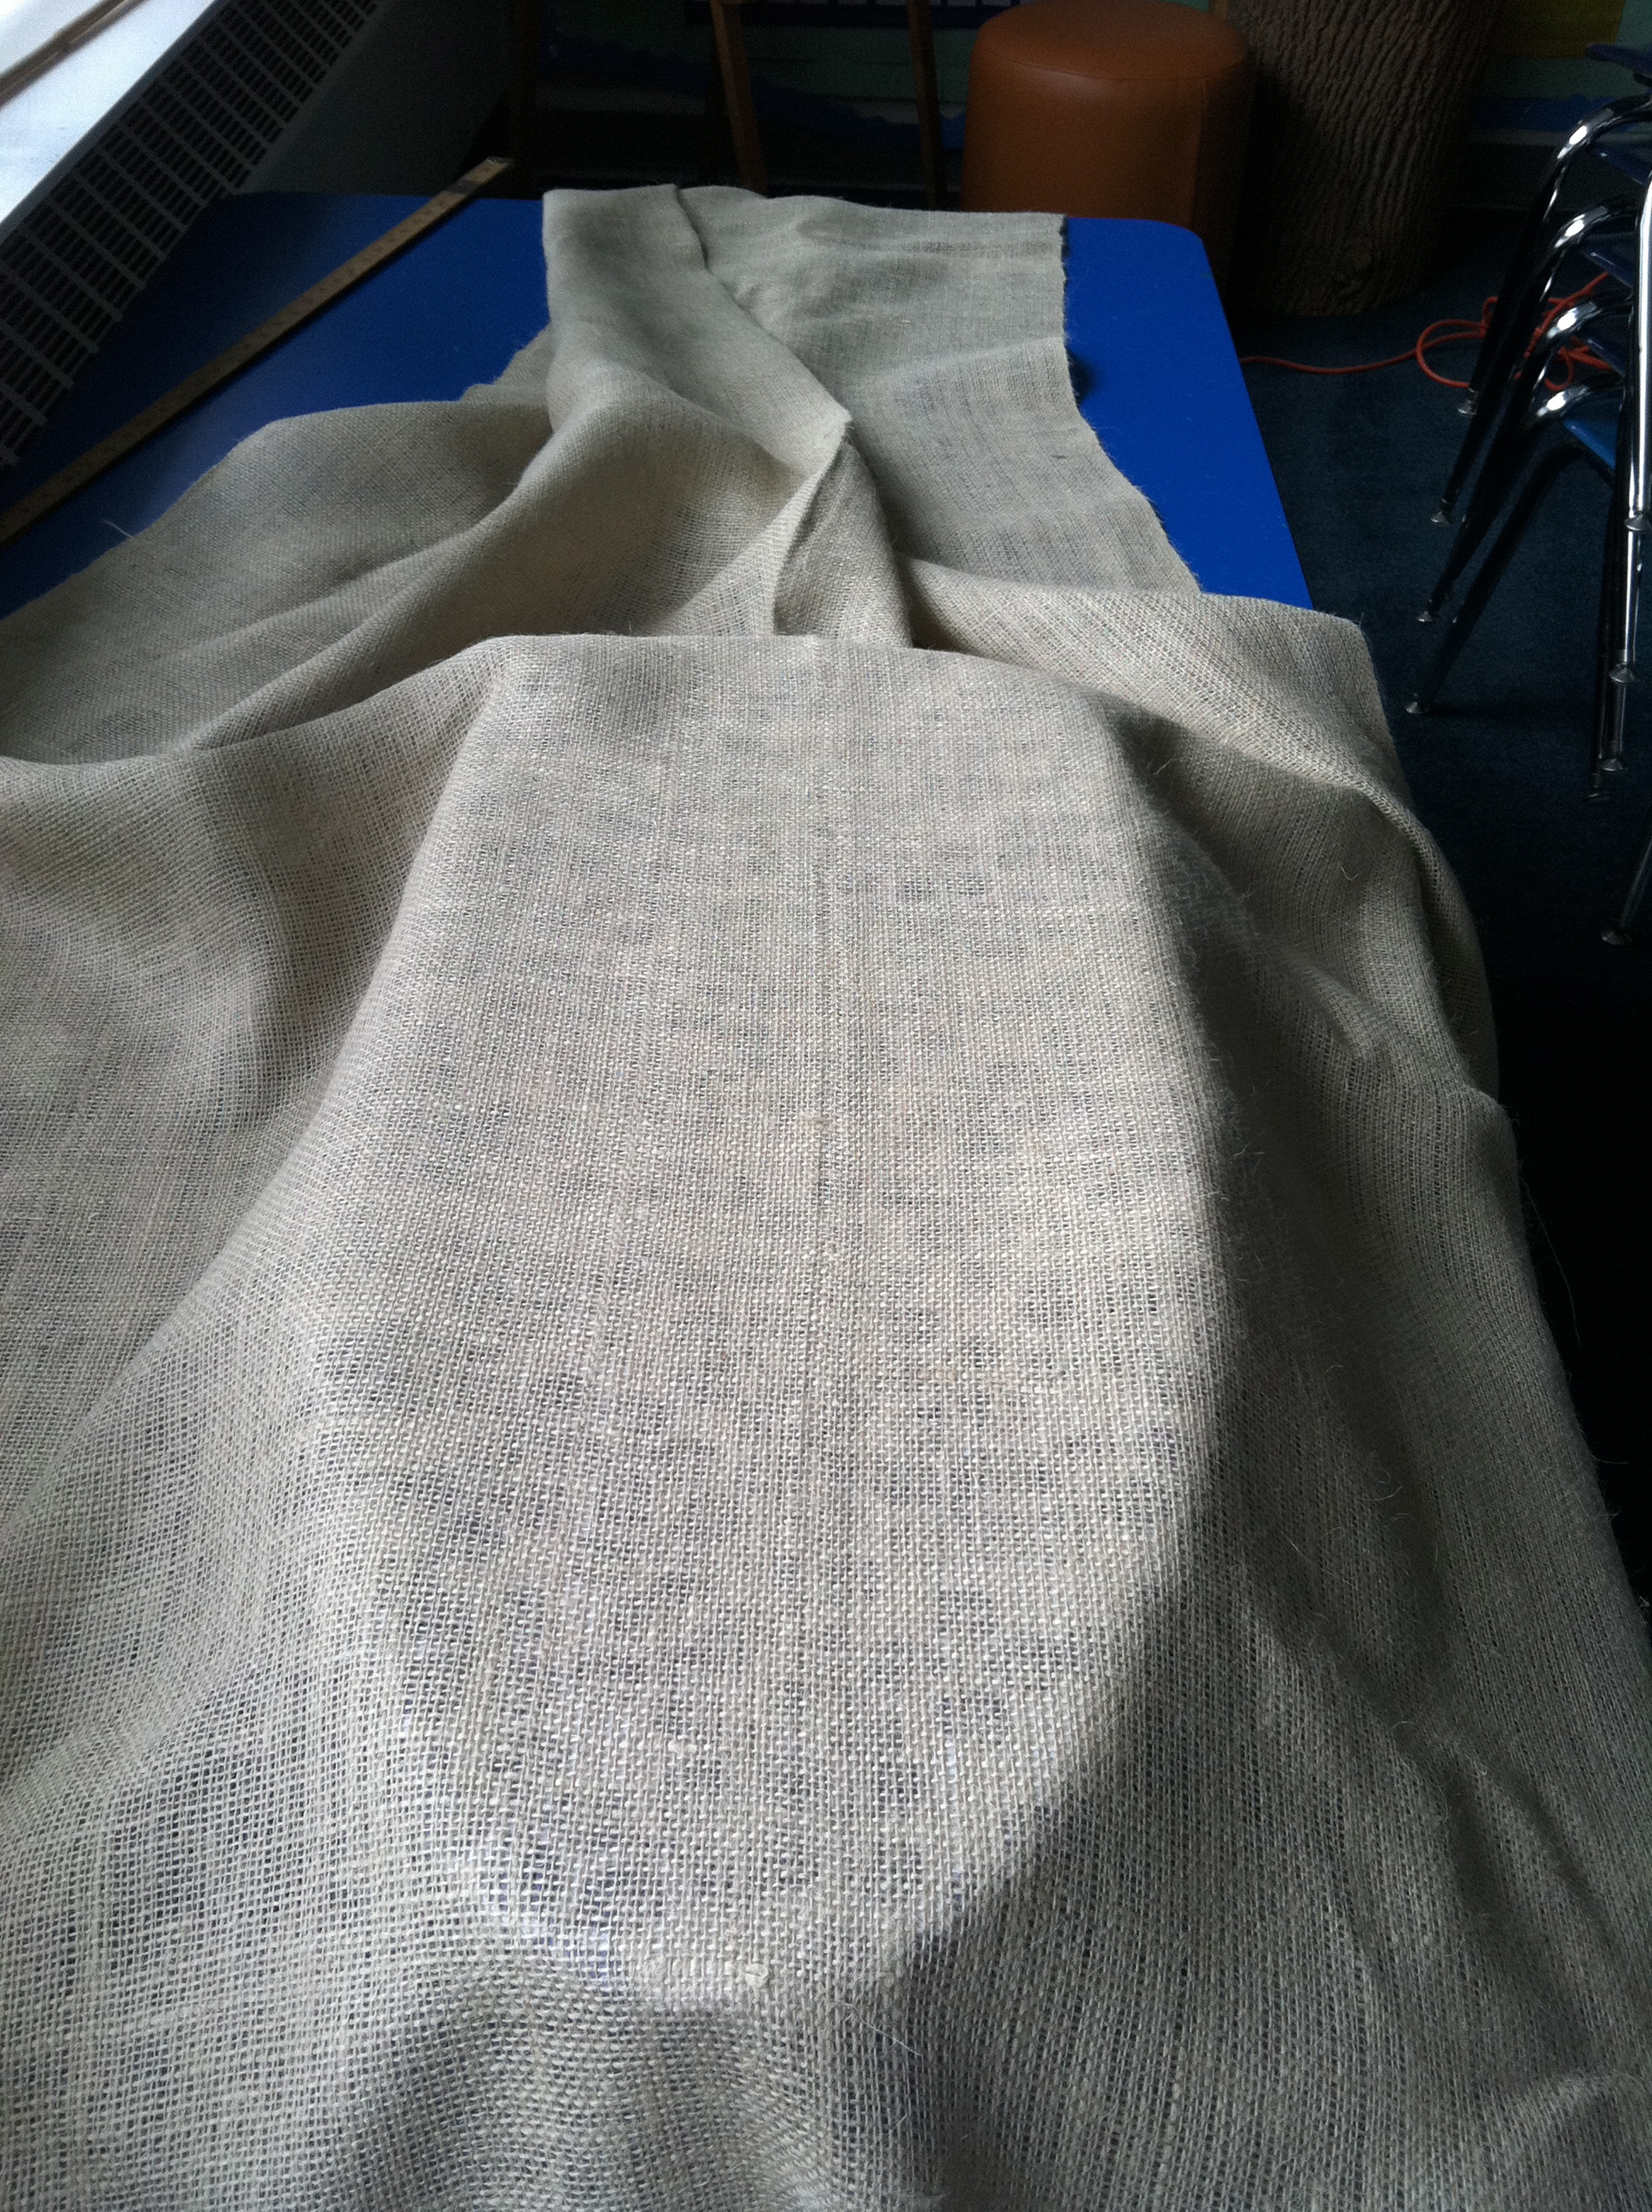 I then just took down the paper on the old board and put up the burlap. To give it a finished look I ordered nail head trim to add all around.
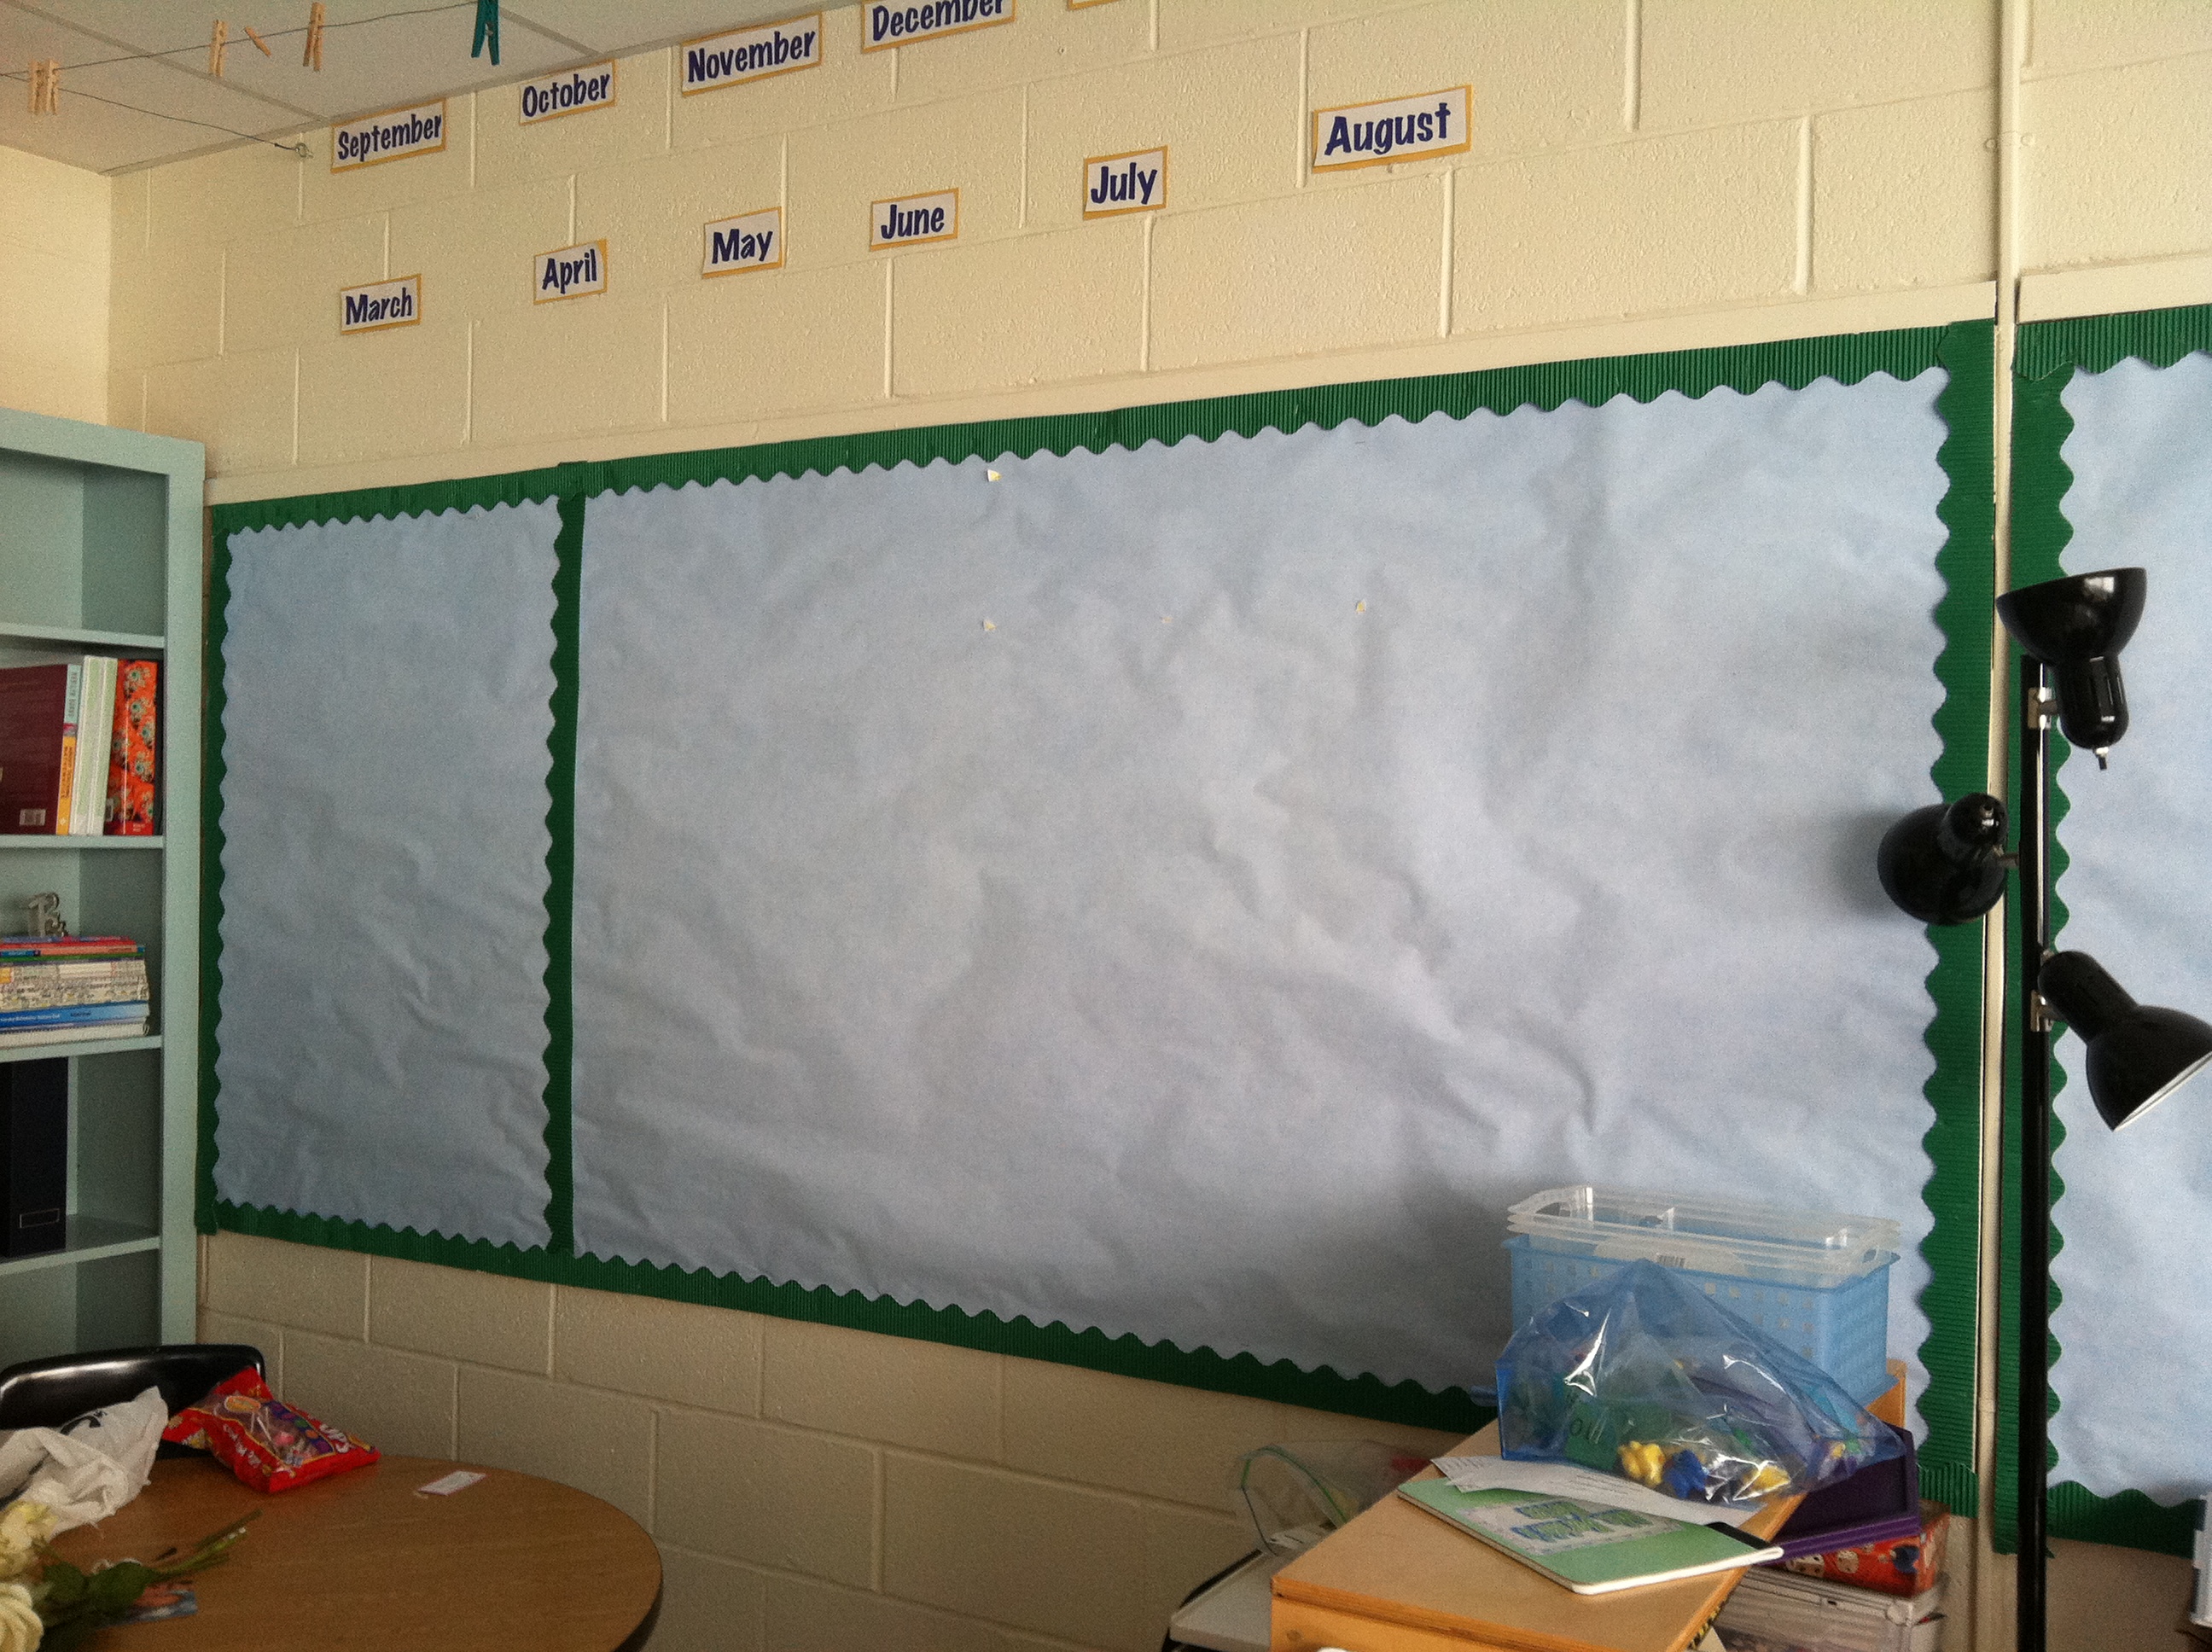
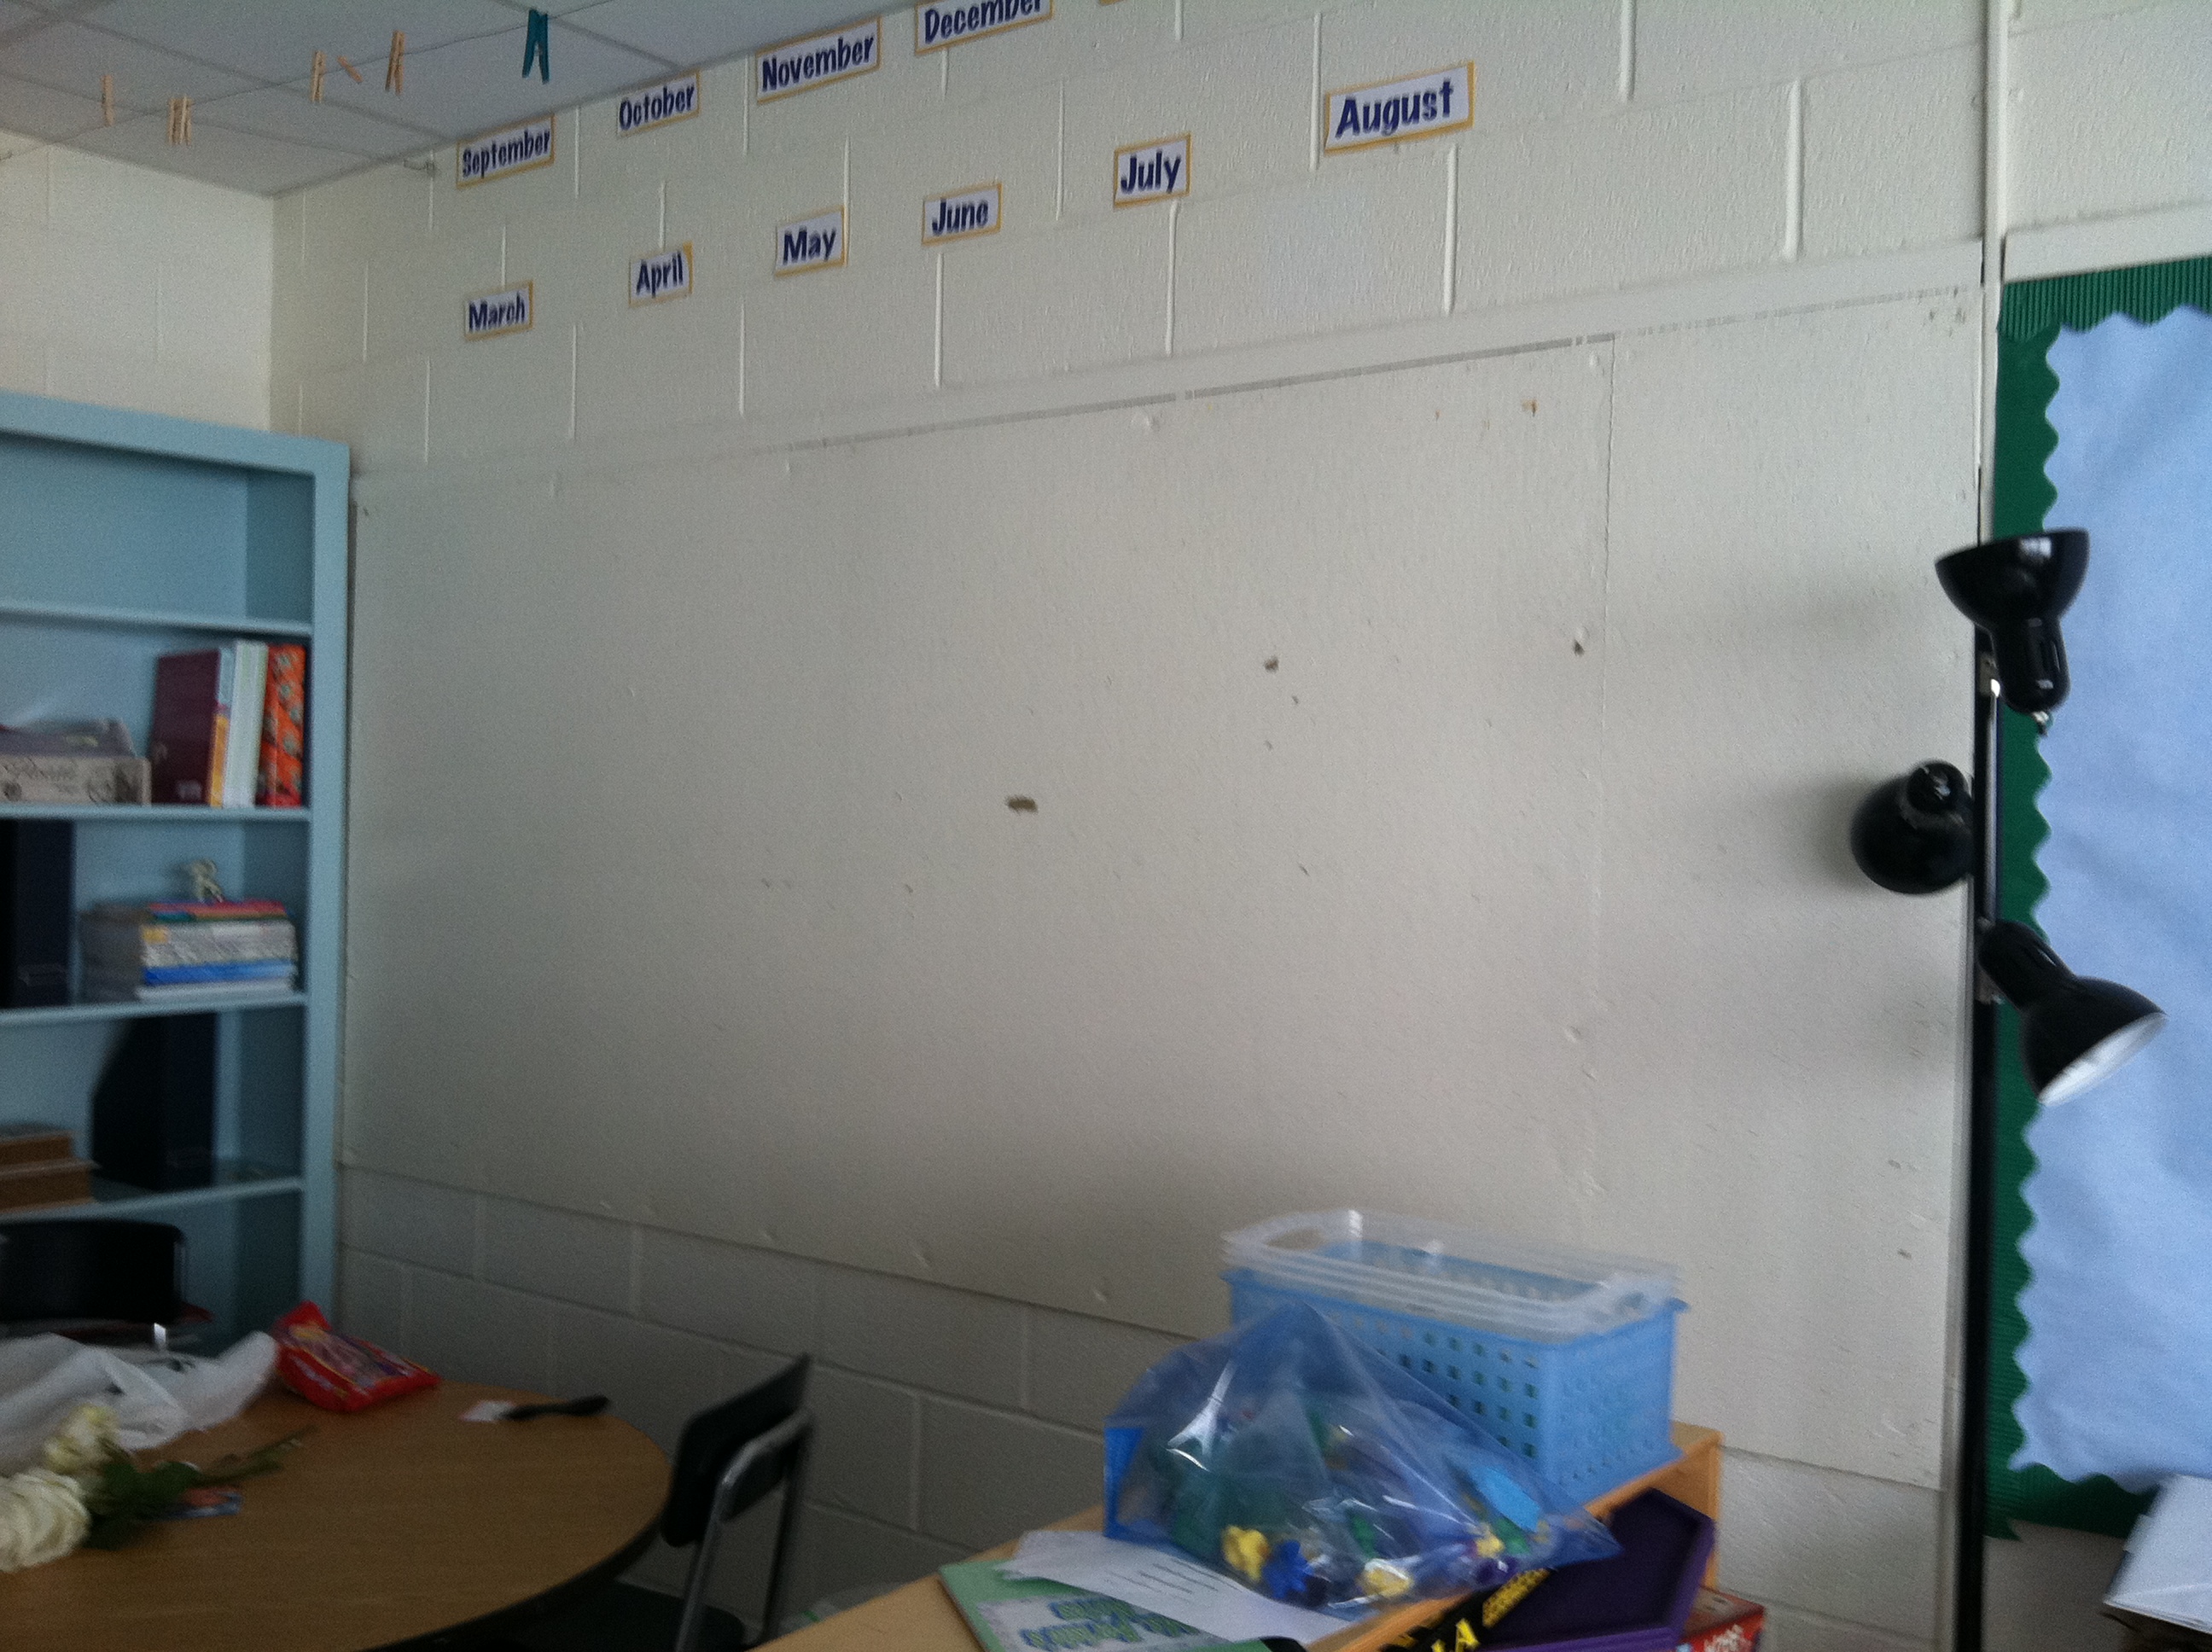
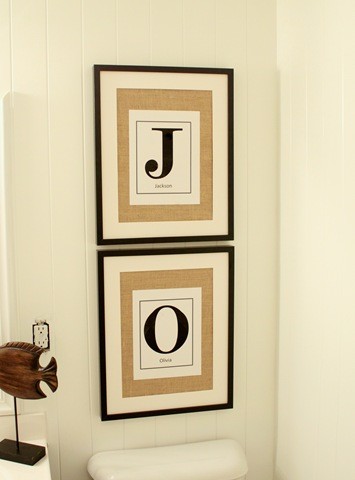
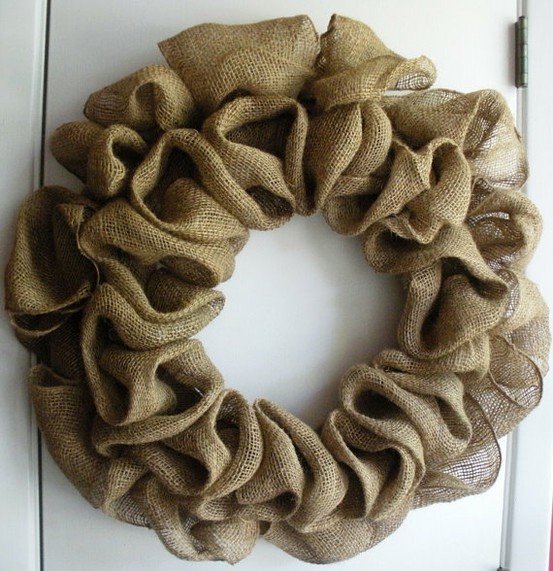
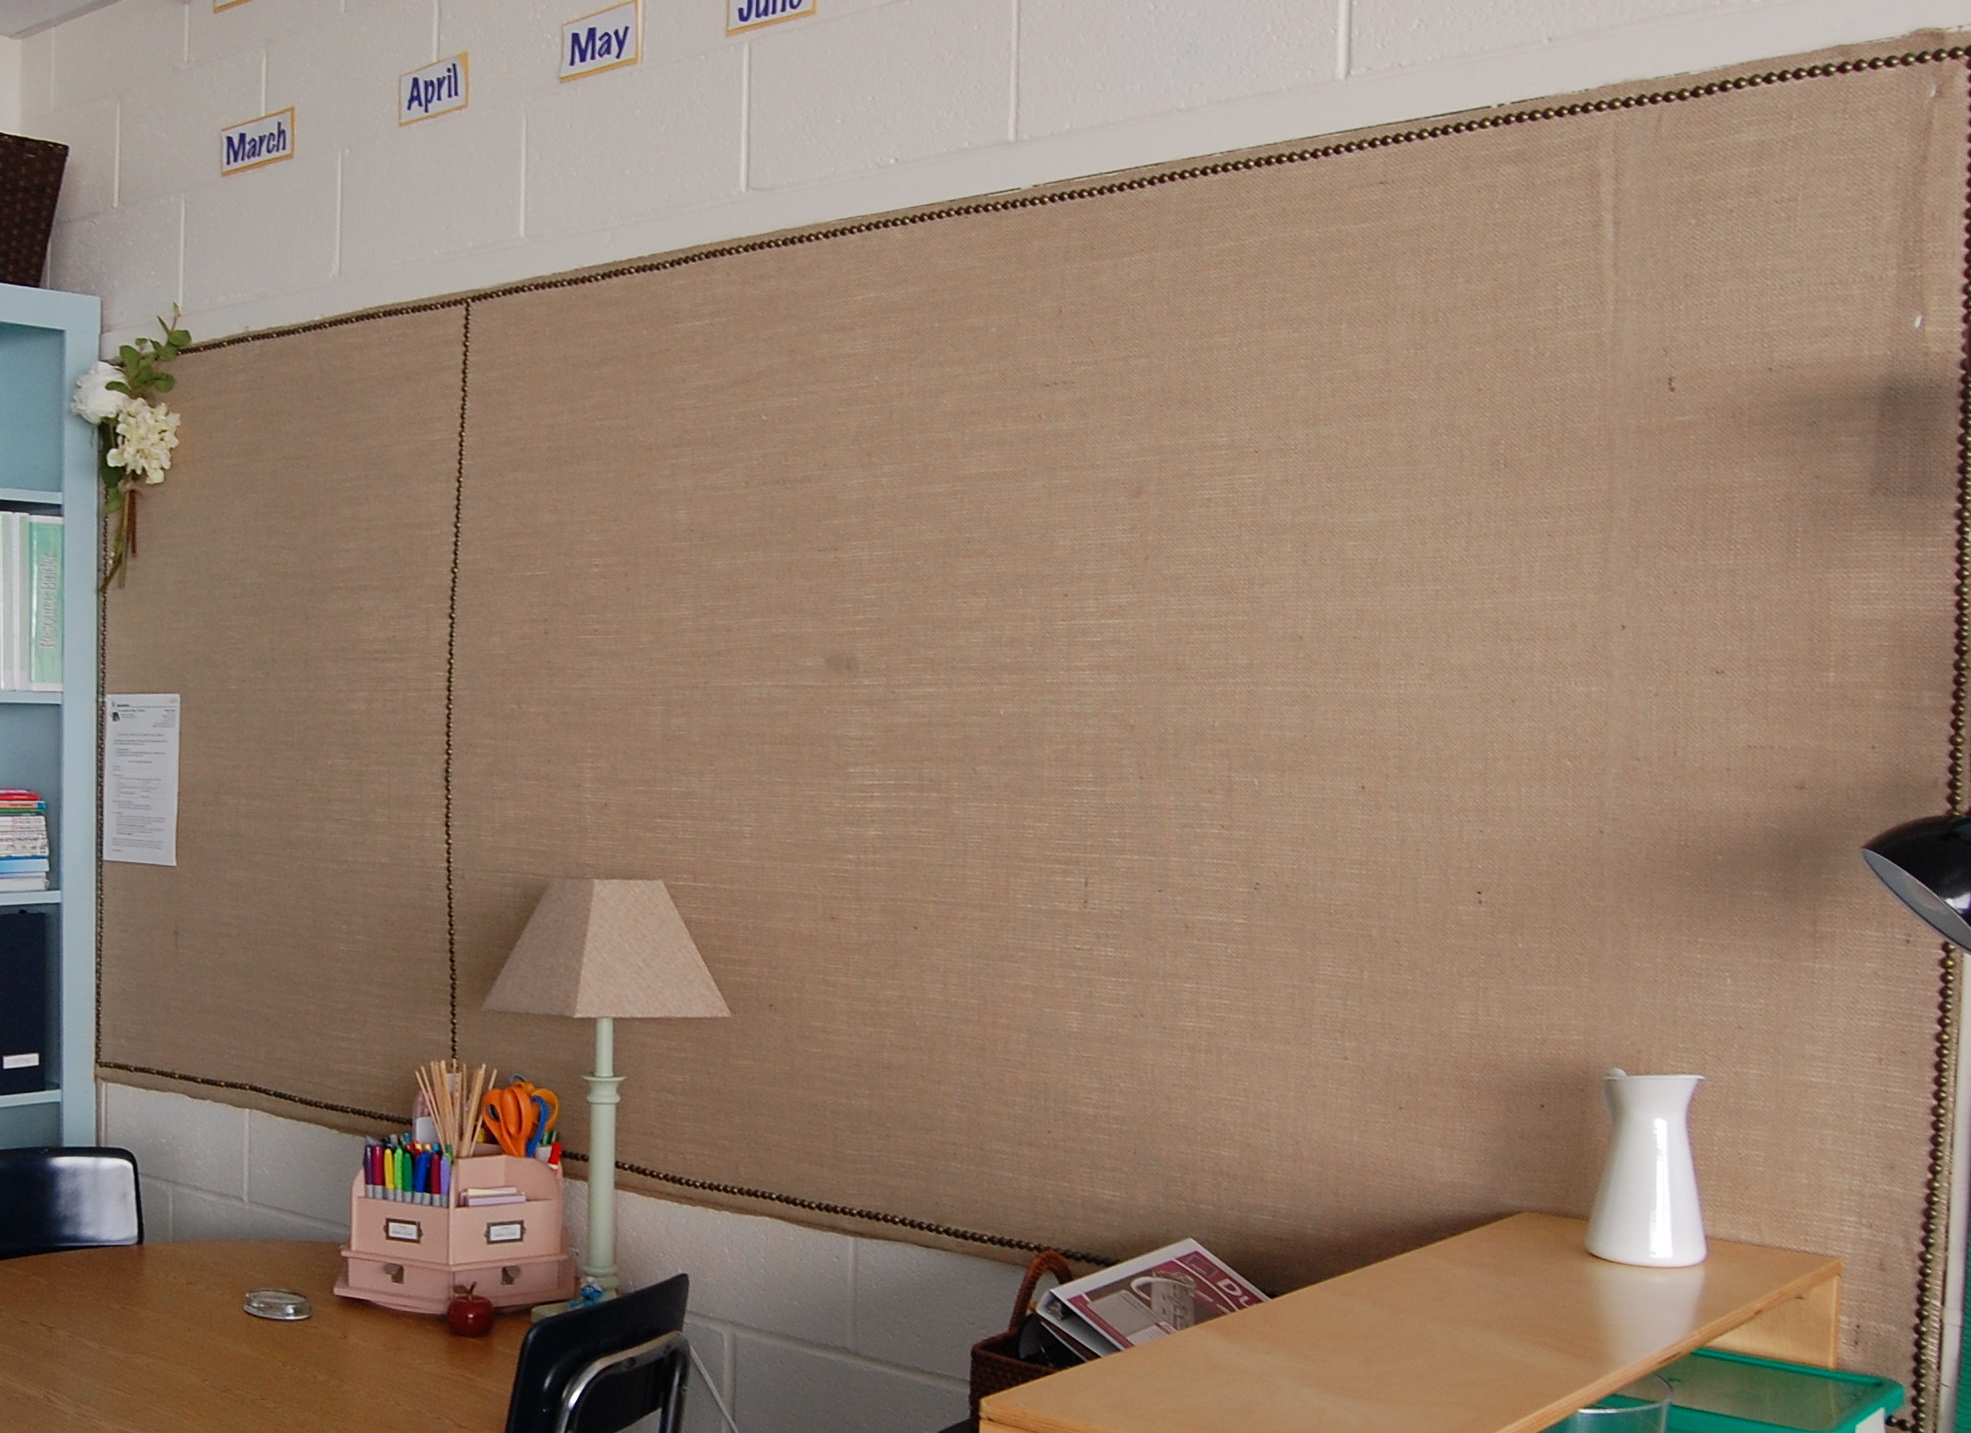 It was very simple to put the fabric up and the best part is that I no longer have to waste paper every school year because this will last for a long time. Burlap can be great to work with because it is so durable. Here are some other things you can do with burlap:
