
The time has finally come. I have seen so many different versions of burlap wreaths online and have always wanted to try one and I finally bit the bullet and gave it a try and I LOVE the results. I had no idea how I was going to go about making this wreath so I pulled up all those images I had been checking out to see where I would take mine. Here are a few inspirations:

 Source

They were all fantastic looking wreaths but I wasn’t feeling the whole frayed look. My eyes were more drawn to the bubble looking wreath that would hide the edges. I also wanted to do more of a uniformed piece rather than many pieces. I’m not sure if that makes sense but it sure did in my head. I went out and got my material which included:
about 2 yards of burlap
a 16″ wreath form
straight pins
 That of course is not 2 yards but you get the idea. The first thing I did was wrap the wreath in burlap so none of the green showed.
 I honestly didn’t know what I was going to do at first. It was a lot of trial and error which I will spare you! After trying so many different ways I figured out how I would make it work. I cut about 6-8 strips that were 22″x6.” There was no science to that, I just measured the first cut that worked and kept it consistent. I then curled the fabric and used straight pins to hold it together. When it was finished it looked like a tube.
 At this point I just started pinning the tube and going up and down making an S shape.
 I pinned at the bottom and also on the top making sure to keep the fabric in place.
 Not sure if you can see the teeny tiny pin. The lesson I learned with the pins was to pin through the actual fabric and not just stick it in since the burlap had such open spaces many times it didn’t work. I picked up on that pretty quickly! I continued going all the way around.
 When I had made my way all the way around I secured all the extra frayed pieces with more pins until it looked like this:
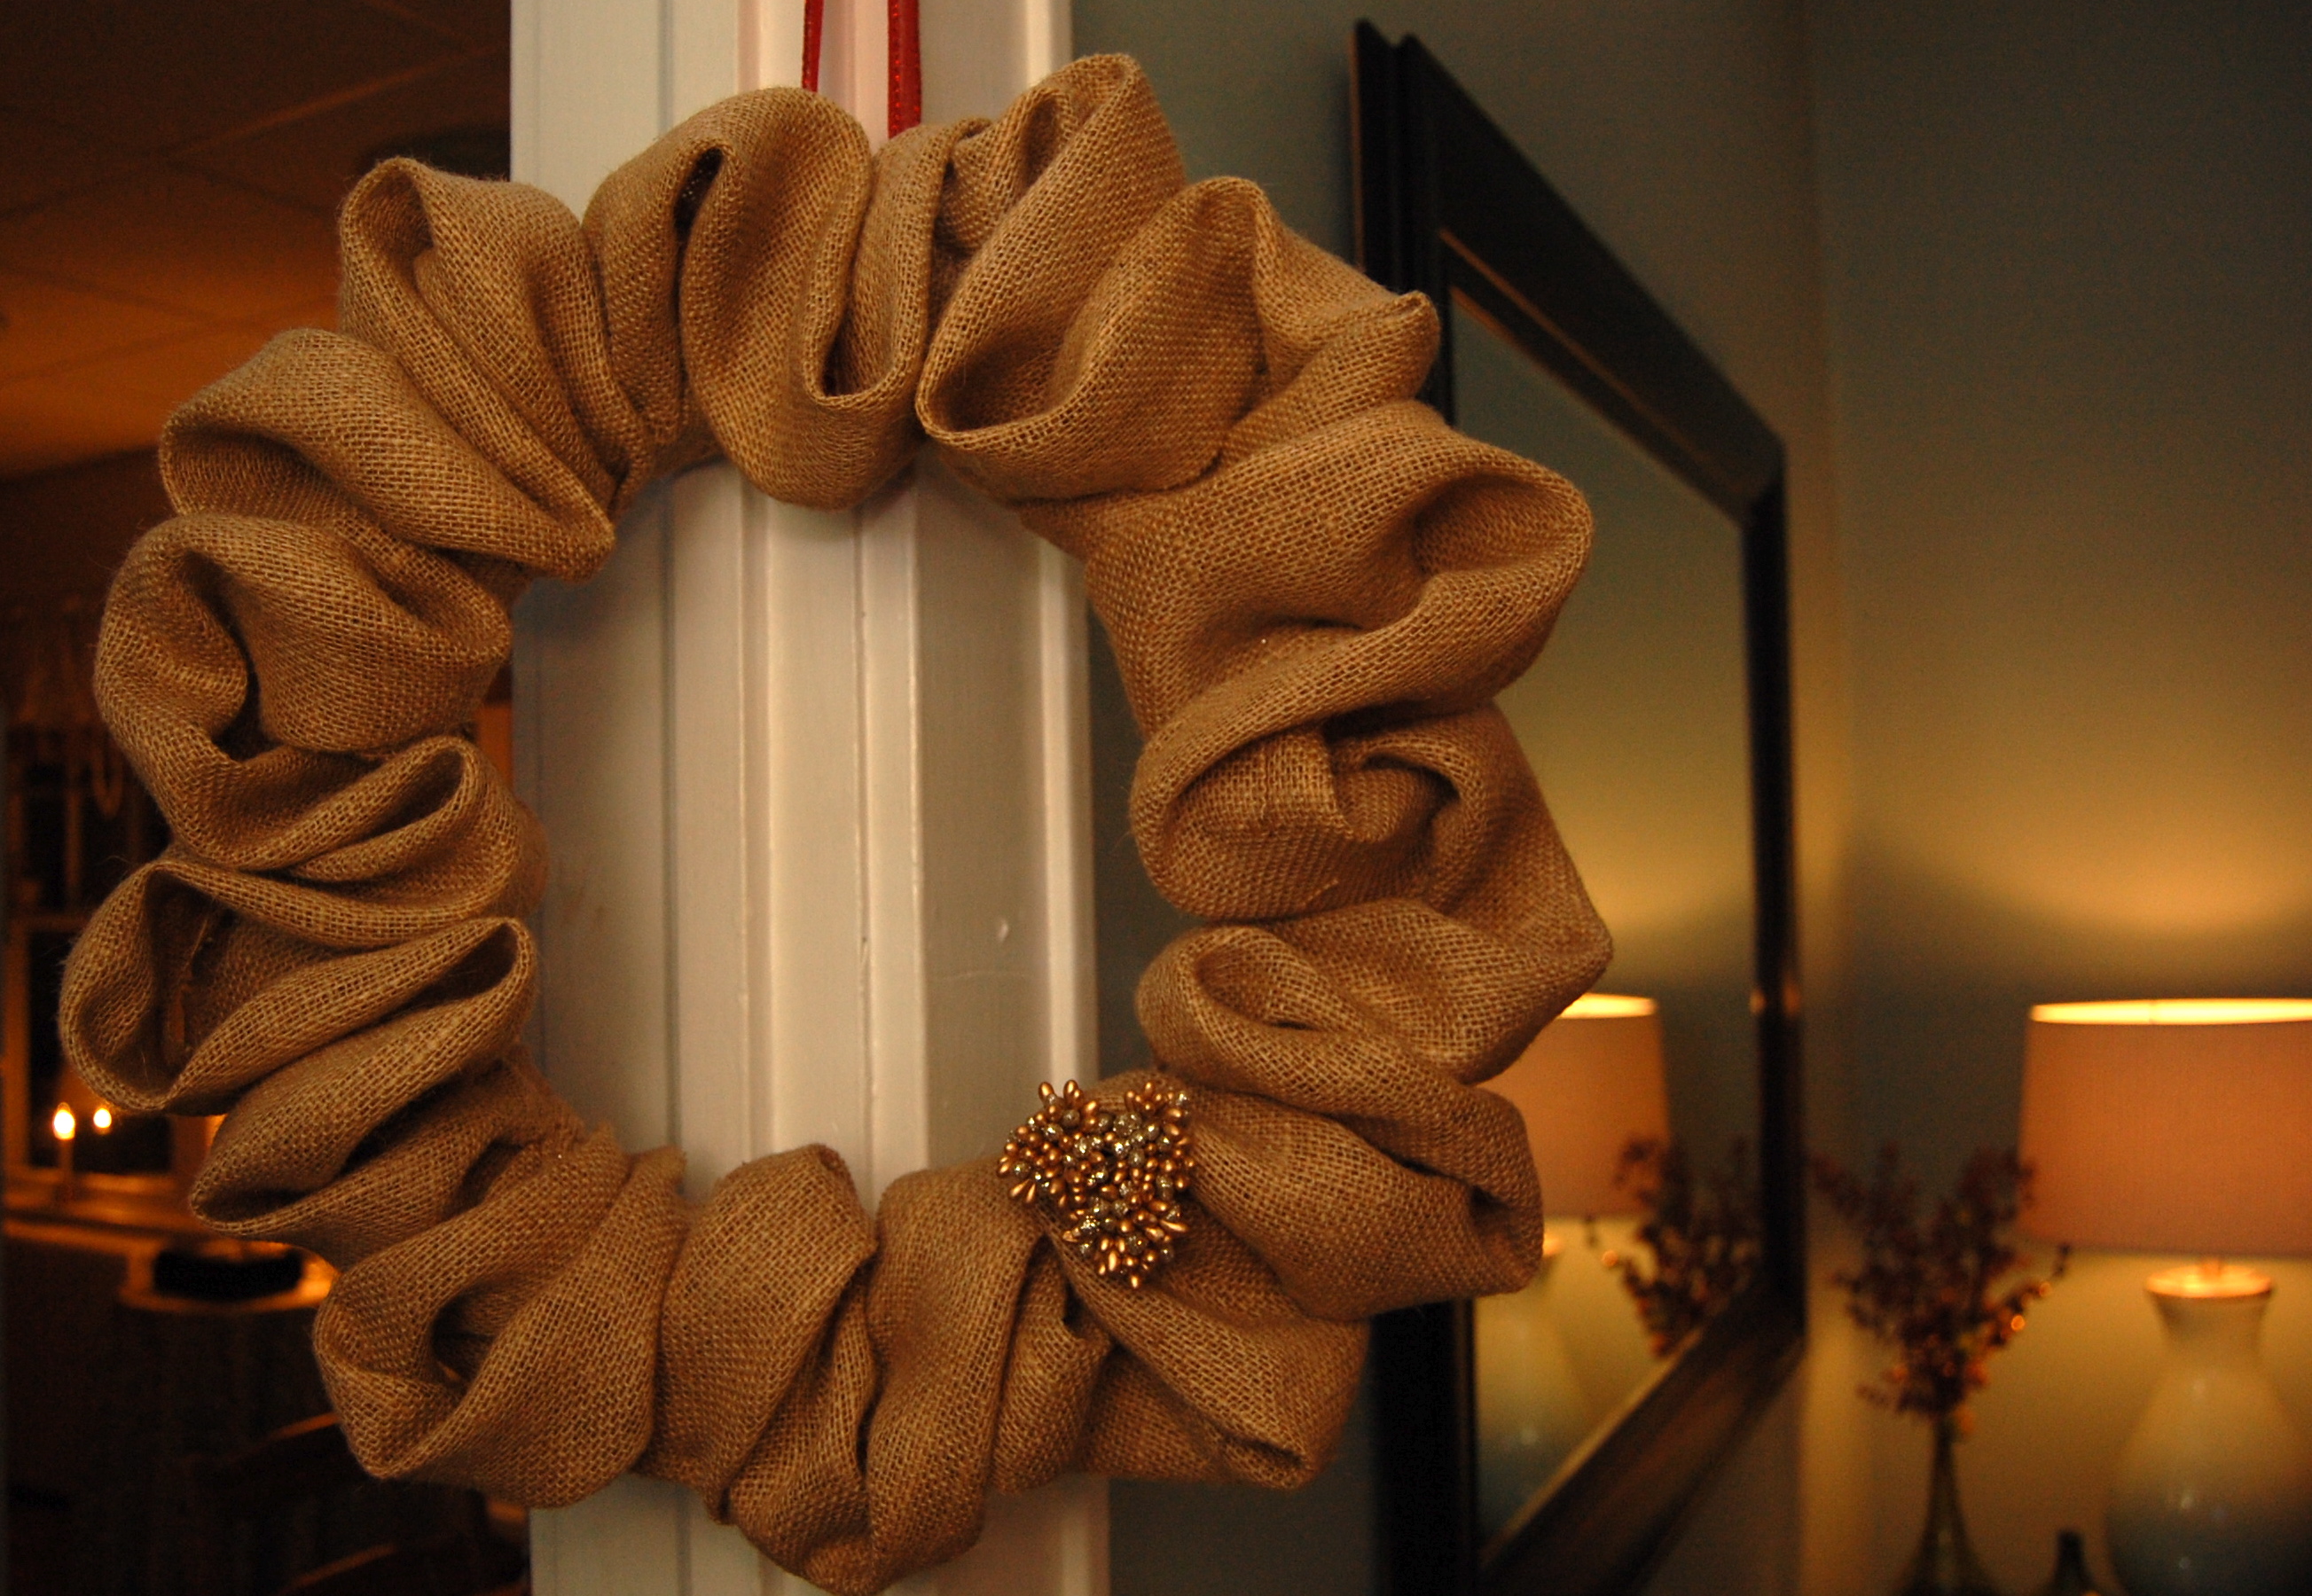
 Then I just went around it and opened up parts that looked folded by simply pinching and pulling apart. I also added a red ribbon to hang and some embellishments to spice it up.
 I love how organic it is and how there is no right or wrong way to do it! I hope the tutorial is helpful and that some of you give it a try. I looks great on a door or window or hanging from a mirror. It also makes a great gift!

