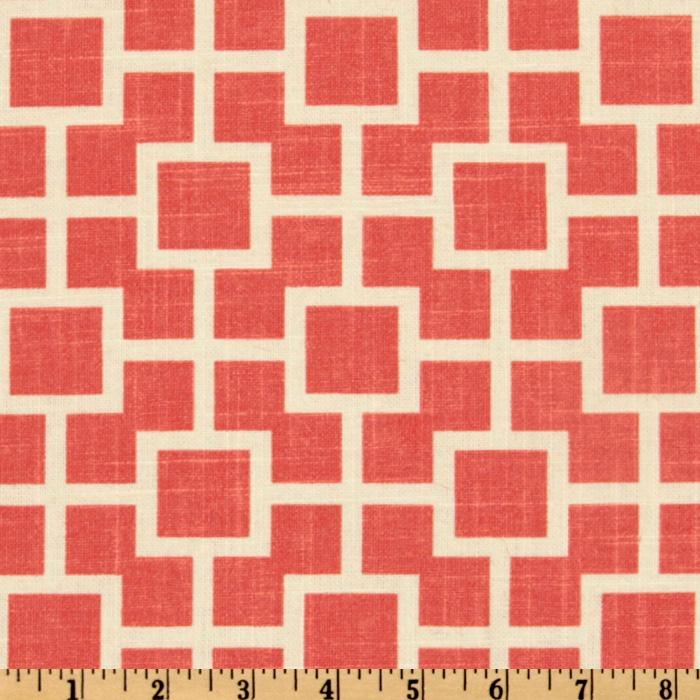
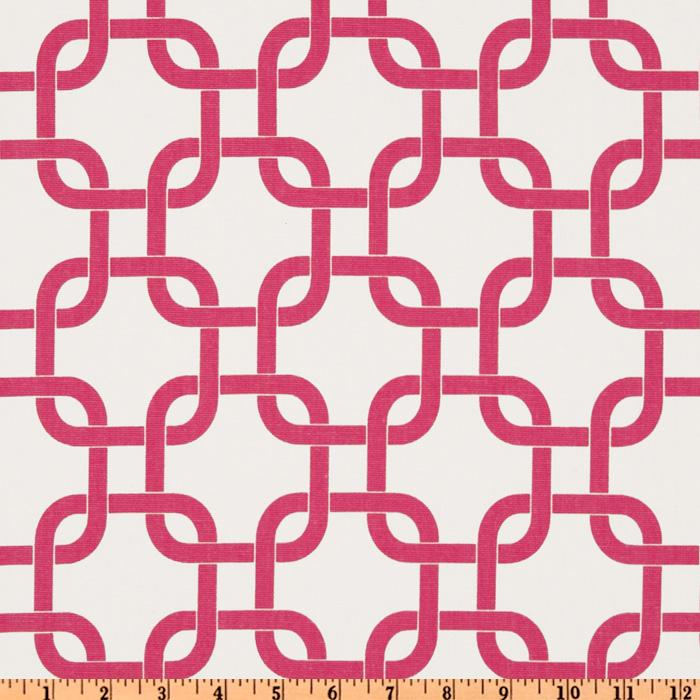
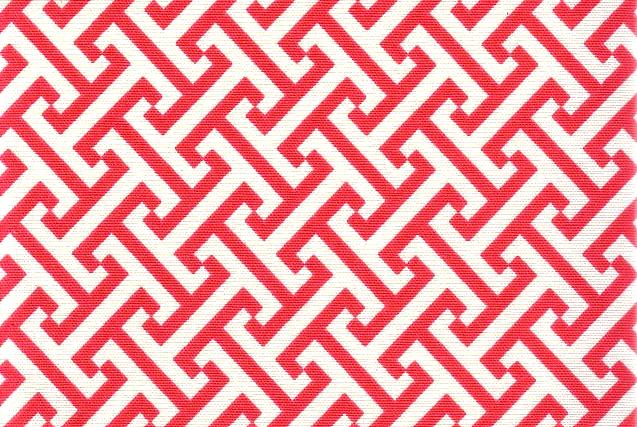
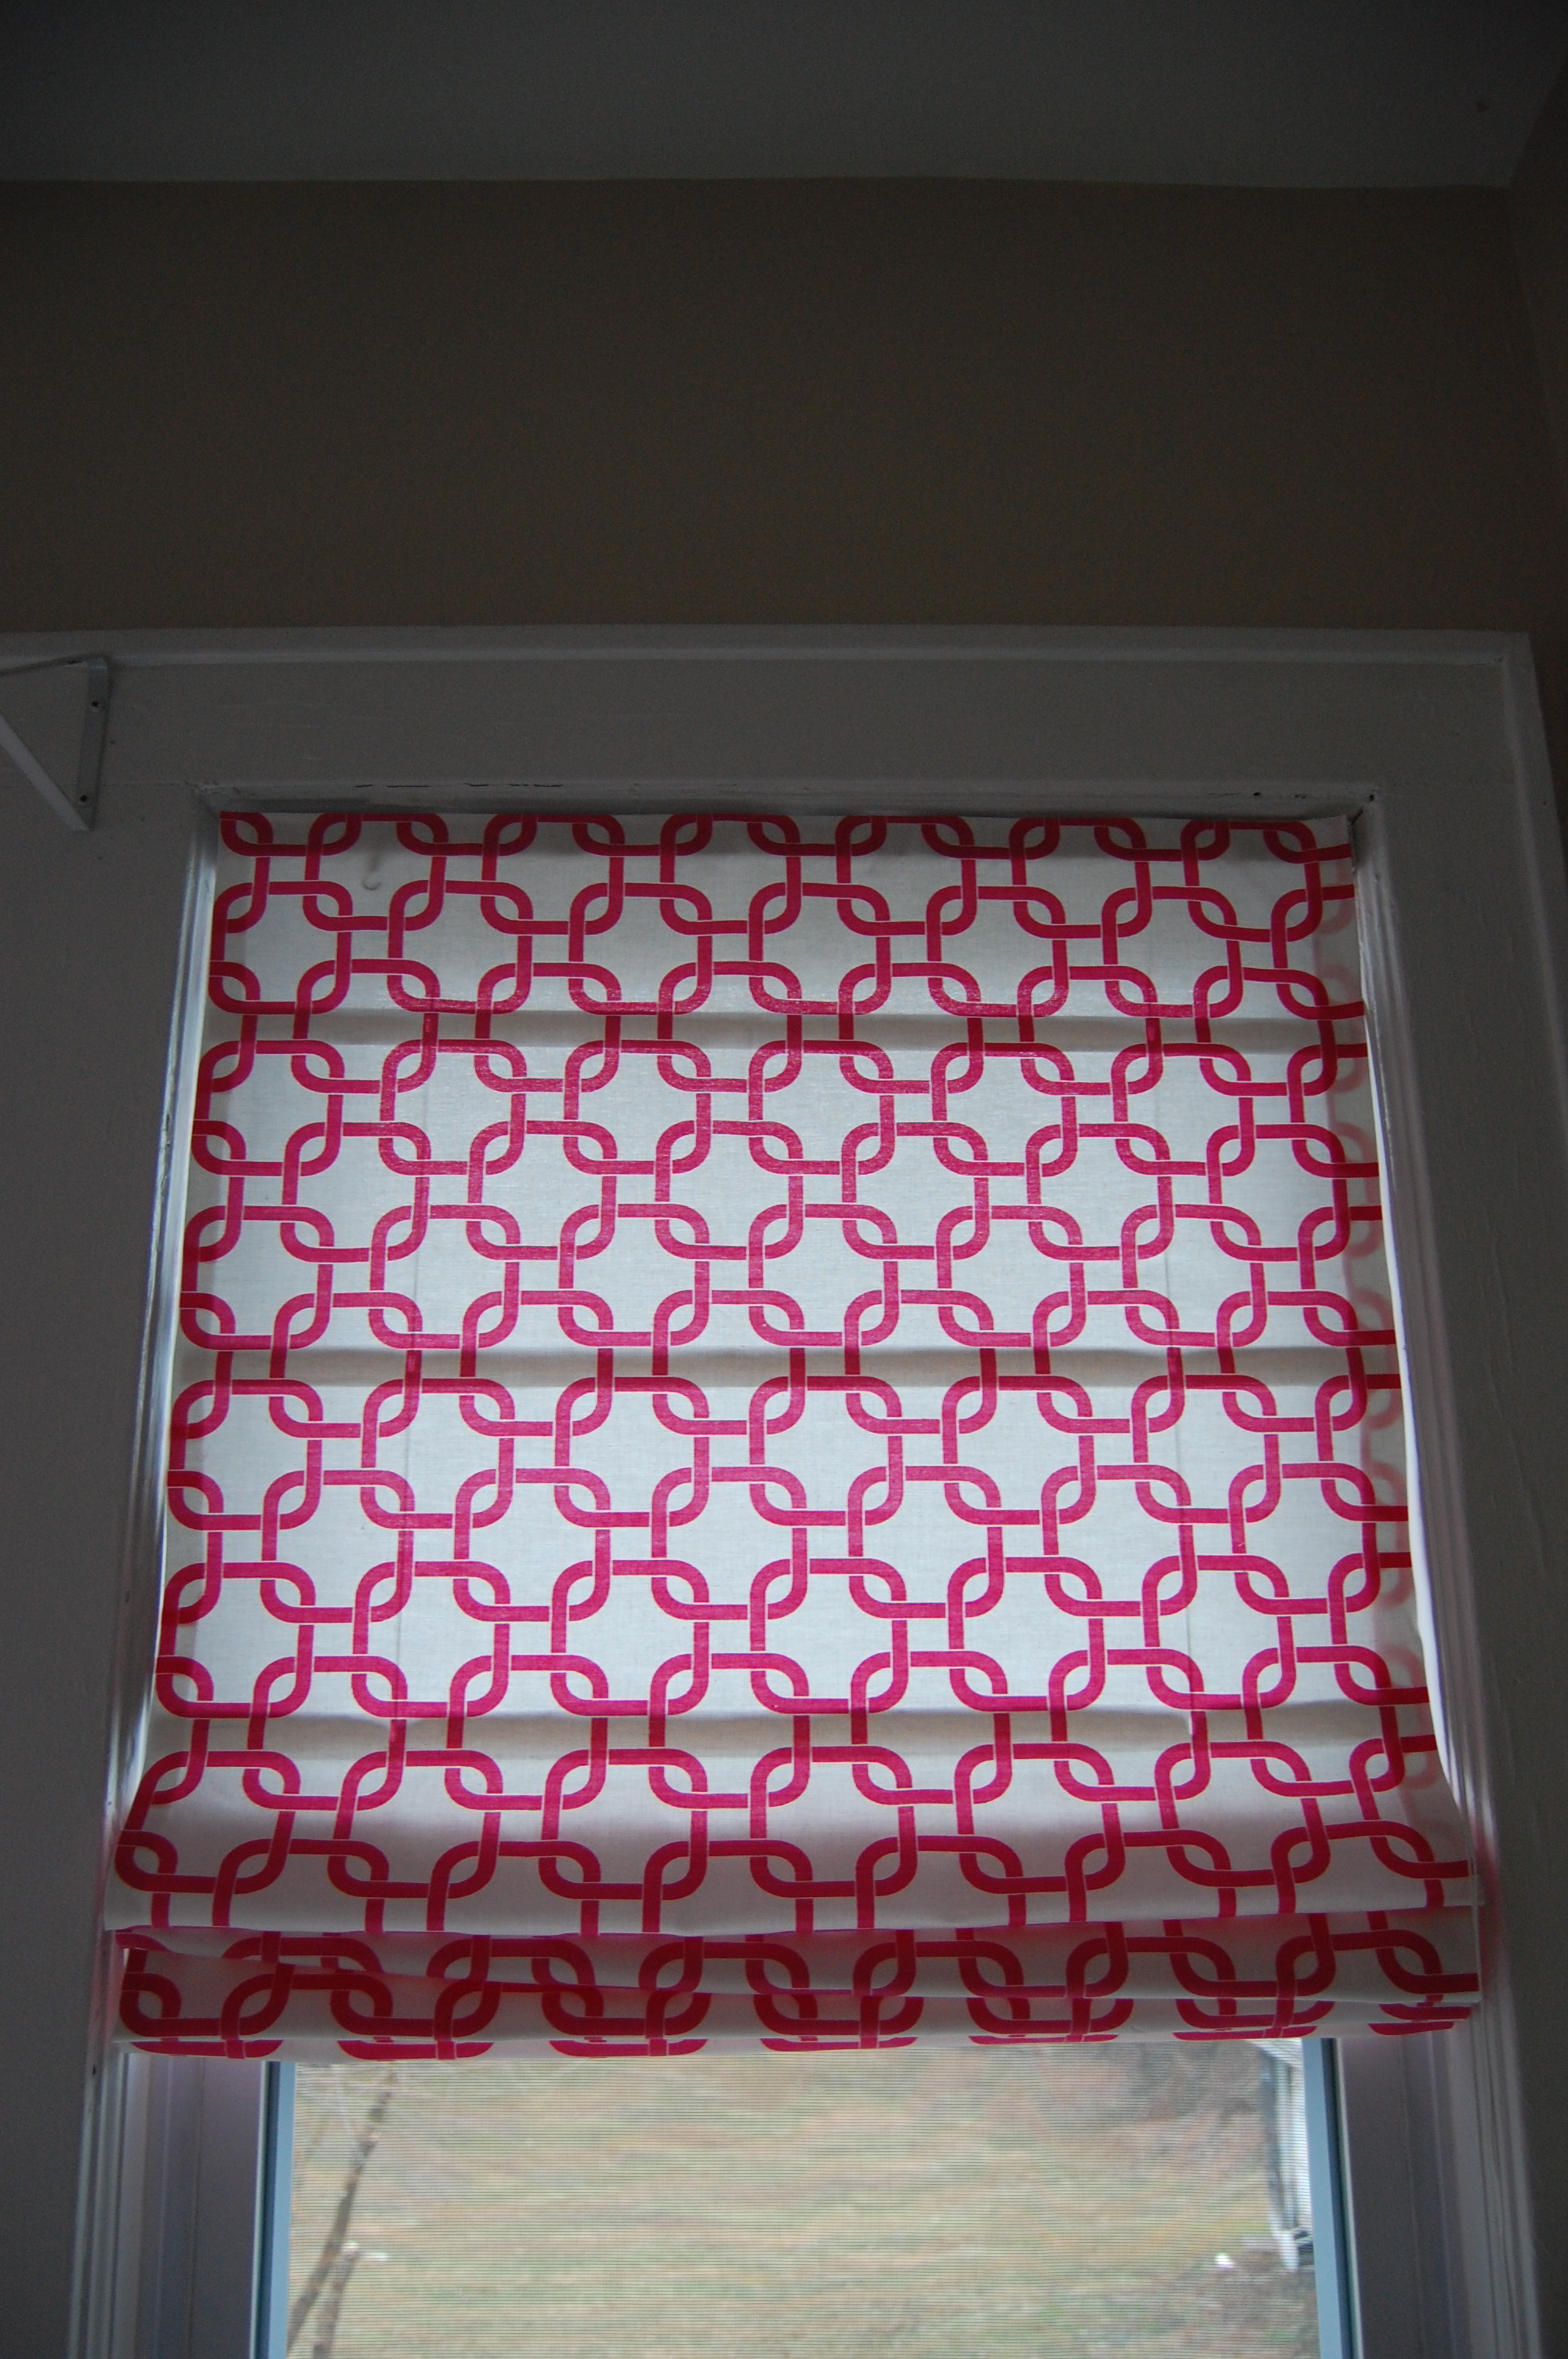
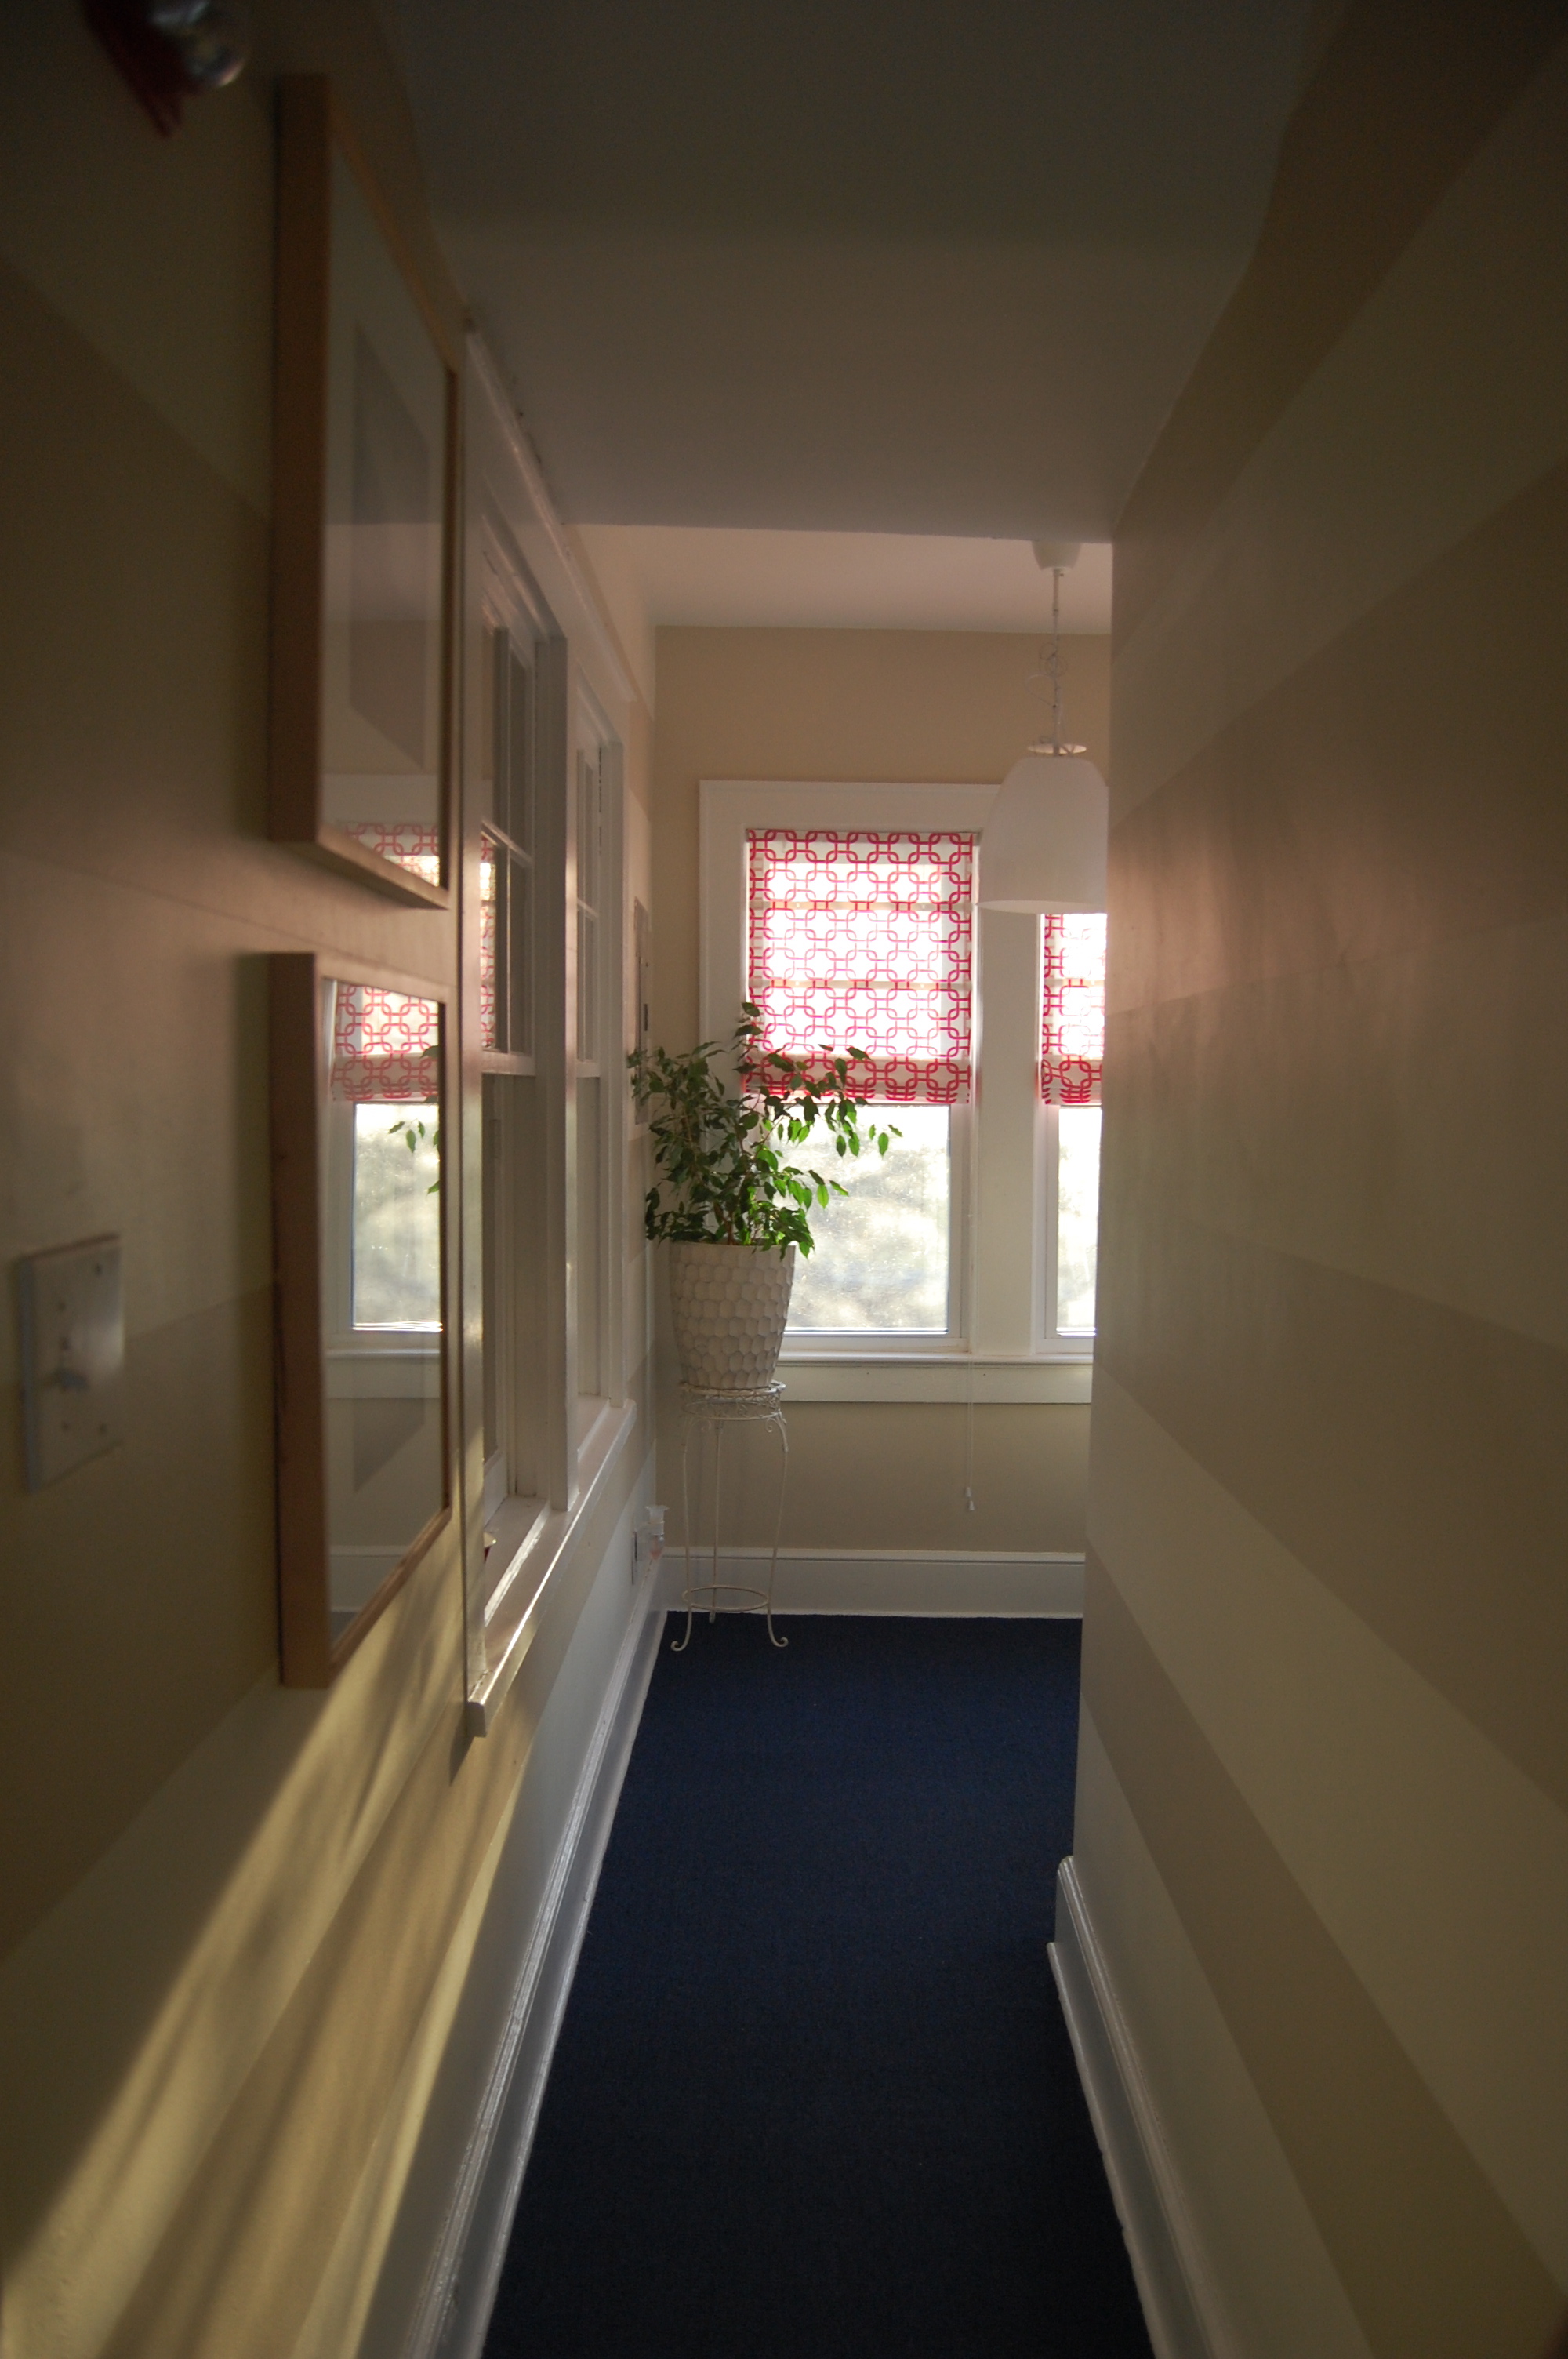
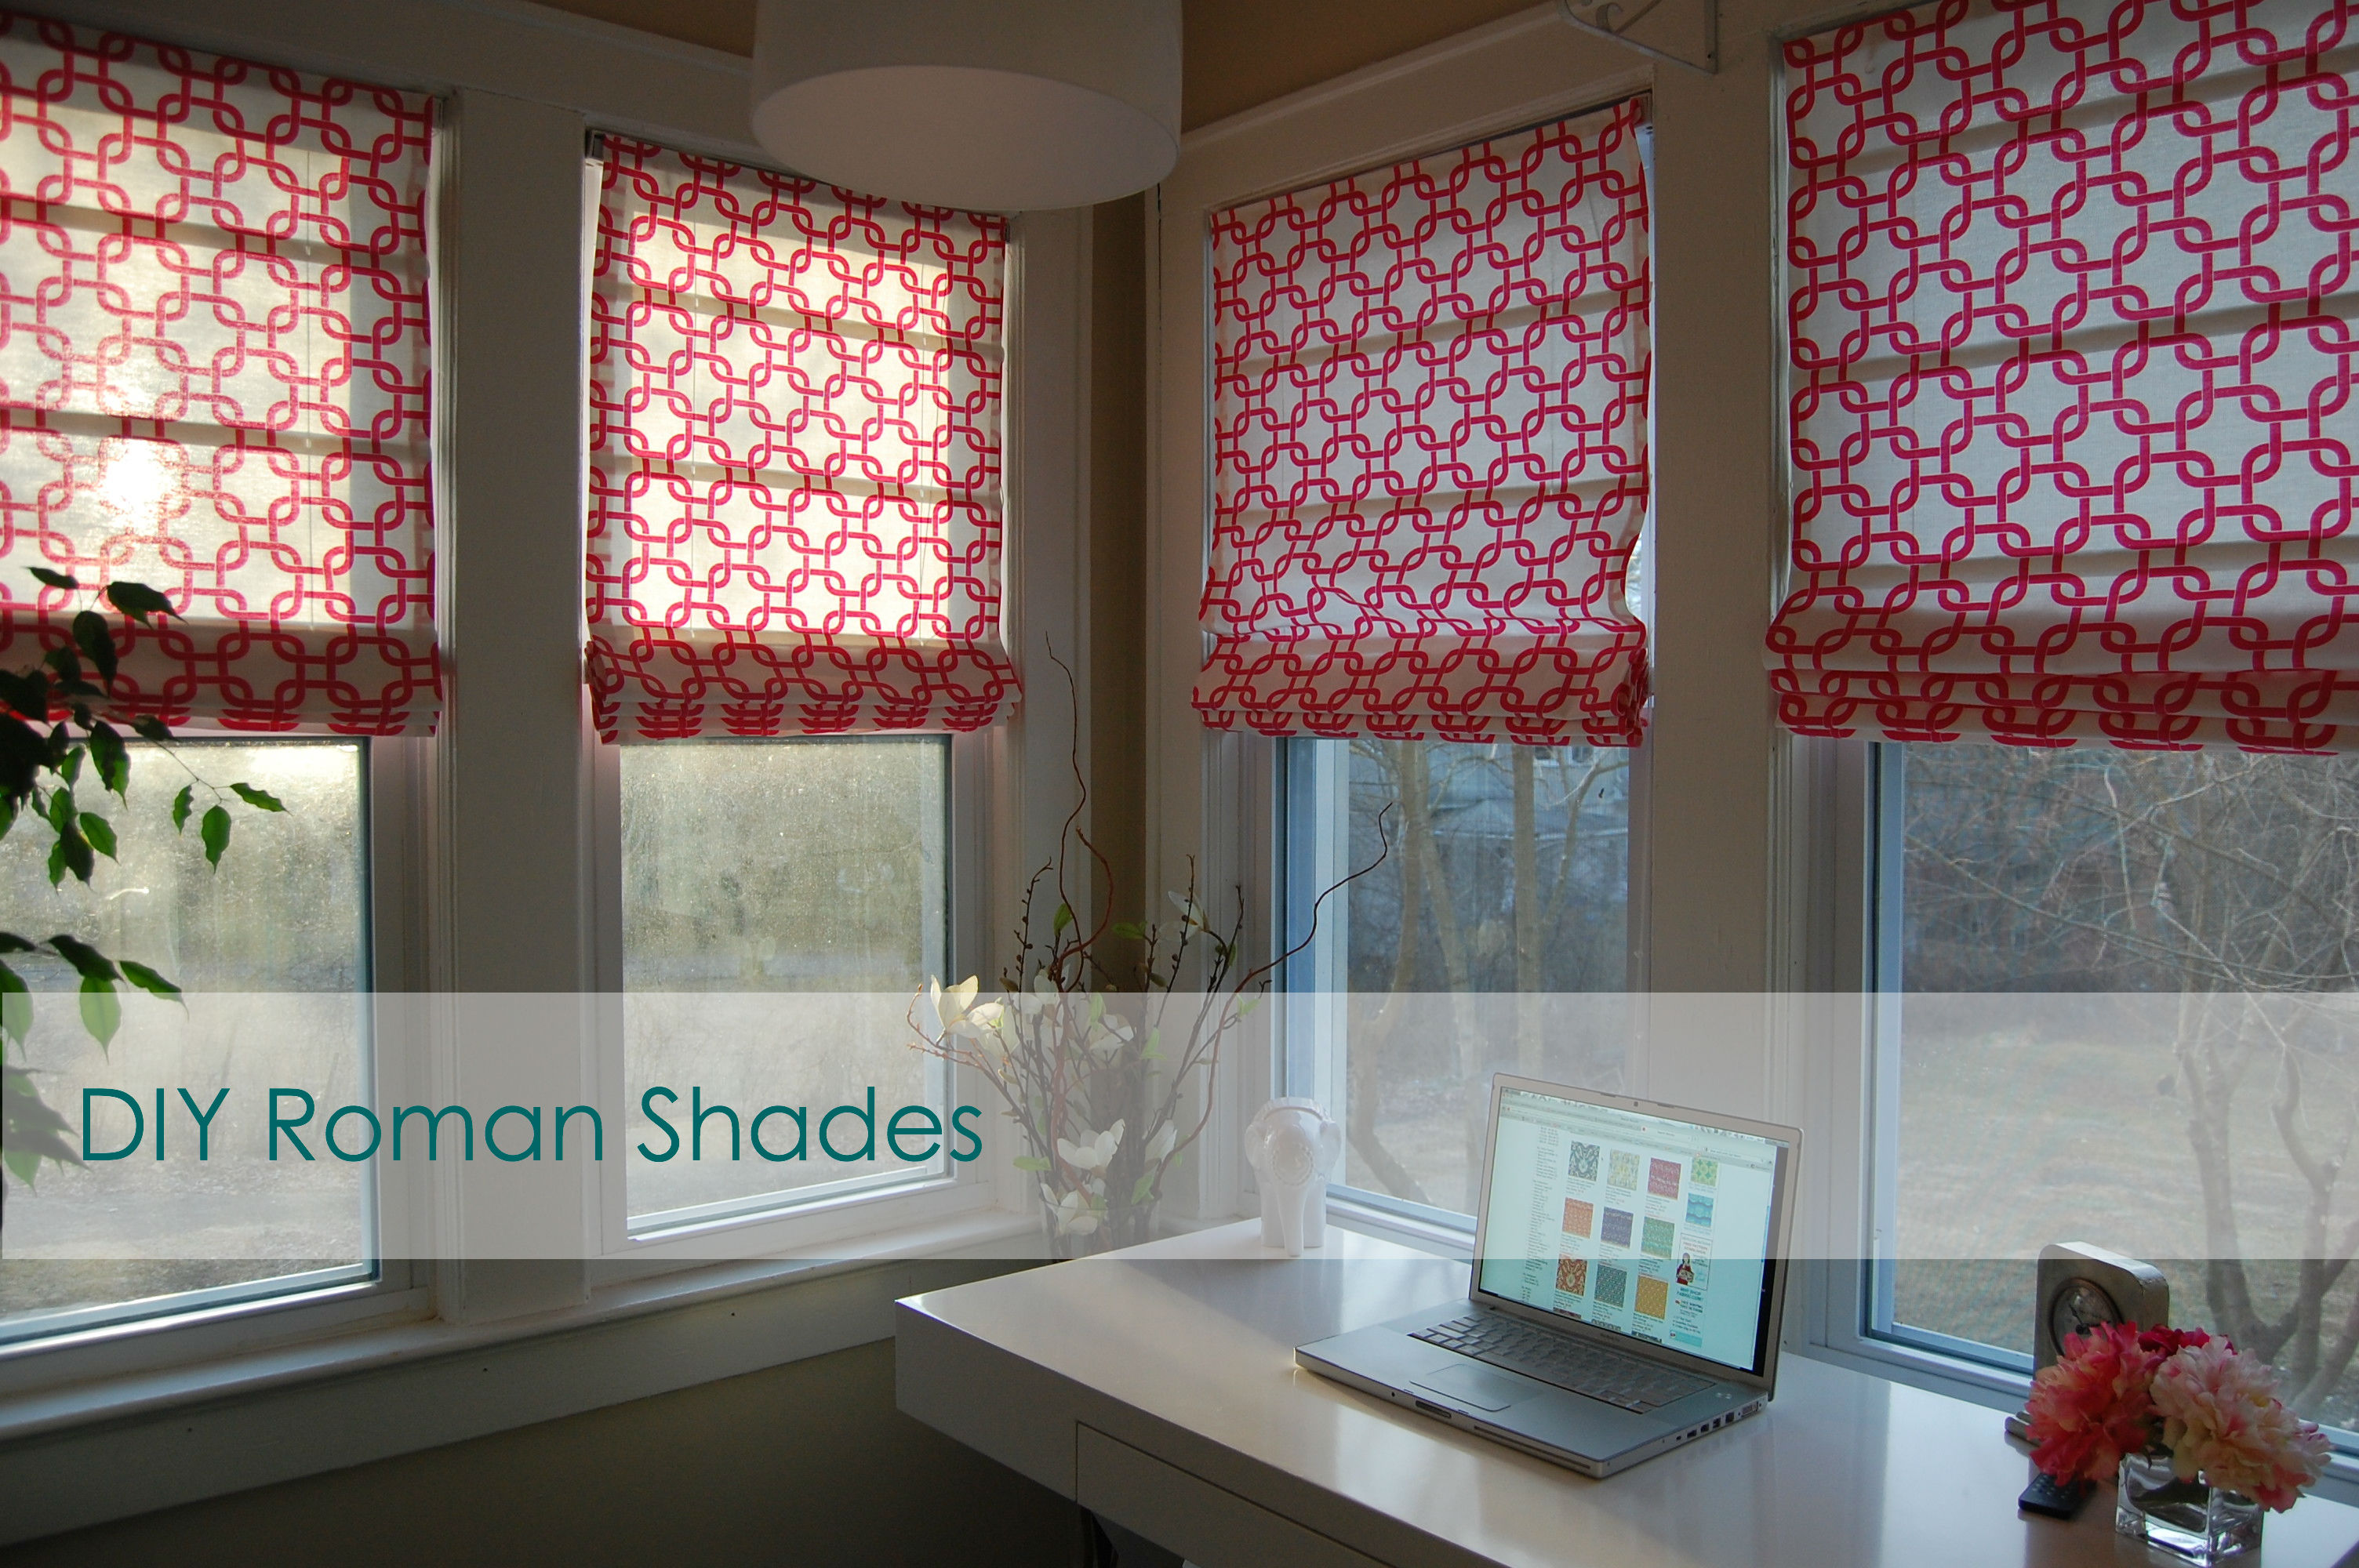
It always feels great when you have your mind set on how you want something to look and then it all comes together. This is exactly what has happened with my entry way/porch area. I knew I wanted to put stripes on the wall but it was a matter of finally getting around to it. Once that was done and the porch was all cleared out I knew I had to make it something that was worth having. That’s when I ordered my desk and watched the space slowly turn into what I had envisioned. I had my cream and tan stripes, I had my white lacquered desk, now it was time for some color. With all those windows in that space it was the perfect opportunity to add a fun hue! For the most part, I love calming colors in my space like soft muted blues, greens and gray and dare I say beige! Well, not this time! I was looking for a straight up girly space and what is more glamorous and girly than PINK! I decided to use my existing blinds to create some roman shades with some awesome pink fabric! I had to first find the right fabric and I forced myself not to over think it because oh lord I could spend months trying to pick the right fabric. Just ask the pillows on my couch that I have been trying to replace forever now! Here were some of the options I gave myself.
I knew I wanted a geometric pattern so that almost immediately eliminated the second fabric (Waverly Chippendale) and I wasn’t too sure about that first print because of the whole papaya part. Didn’t sound so pink to me. So that left me with the cross section print and the third link print. I’ve seen the cross section print used many times for curtains and upholstered pieces and while it is nice, the cross section print is a little too small for me. That left me with the link print and how can you say no to a print that is called Gotcha White/Candy Pink! Did I forget to mention that it was only $7.48/yd. As the Kardashians say “oh yeah, oh yeah, oh yeah!” I measured out my blinds, 2 @ 22 1/2″x 52″ and 2 @ 26 1/2″ x 52″ and ordered 4 yards. Once it arrived it was time to get started on making the blinds. Only 5 materials are needed for this project:
Fabric, Measuring Tape, Scissors, Fabric Glue, Mini Blinds.
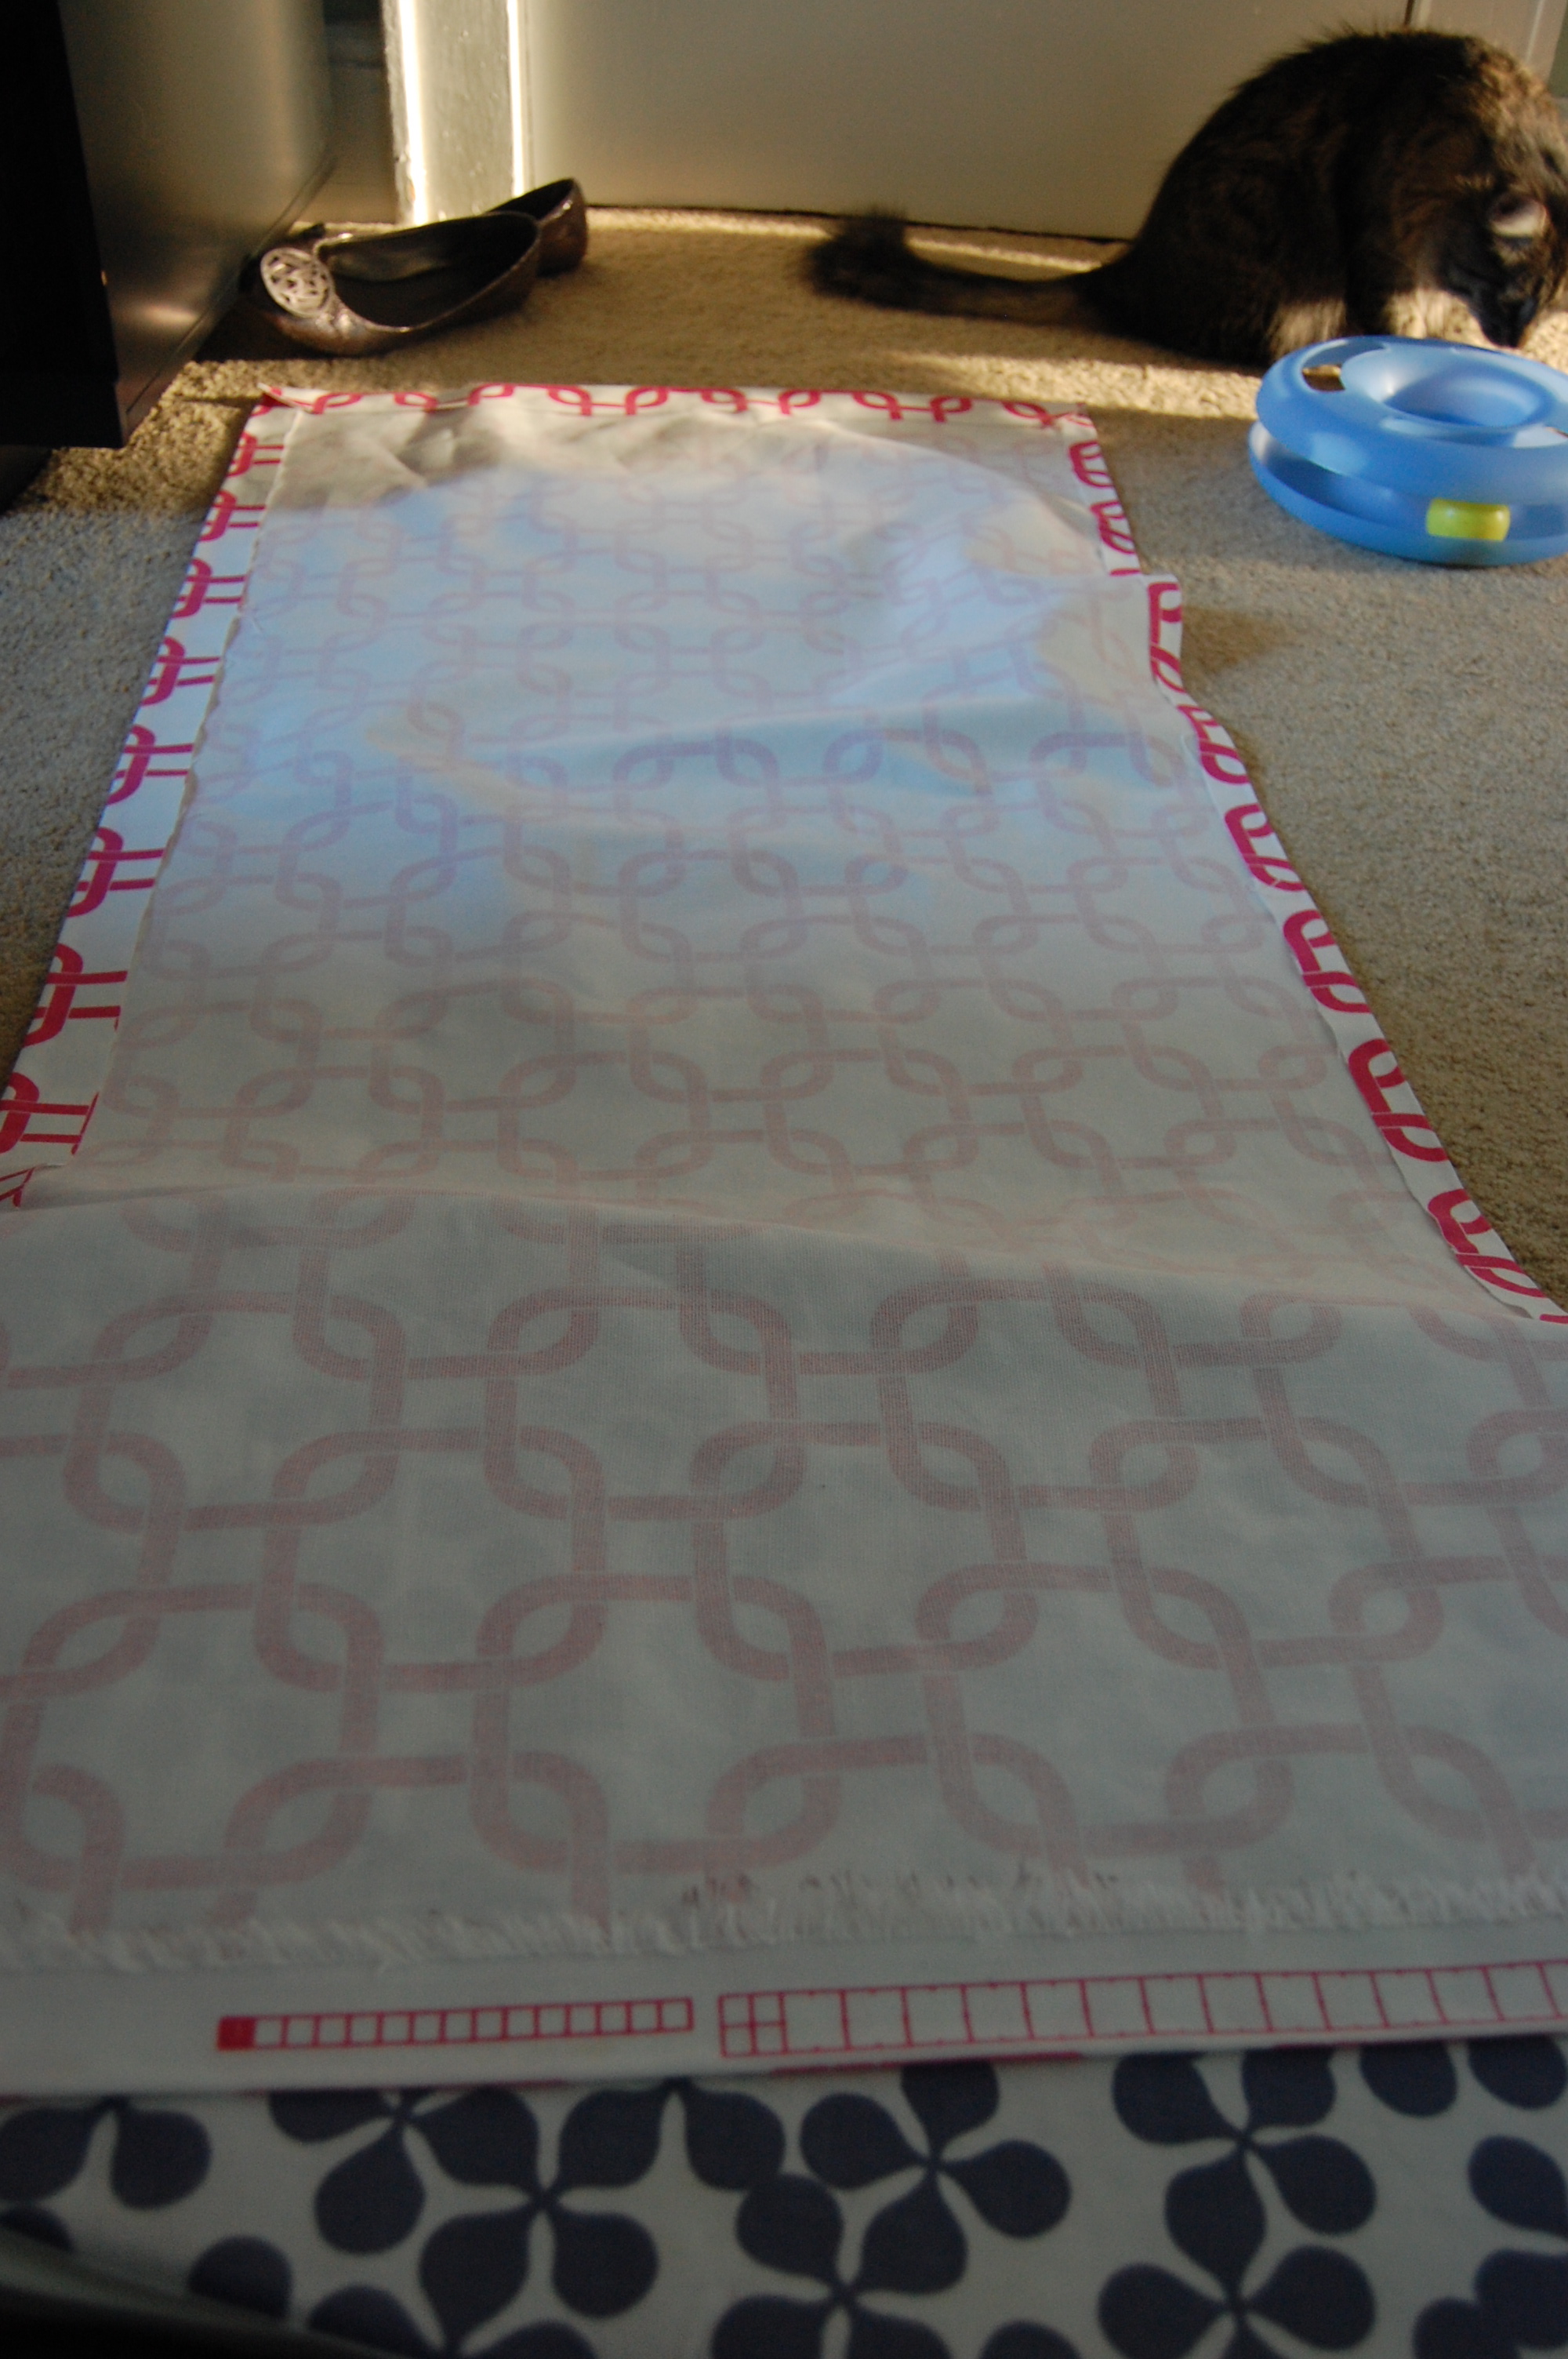
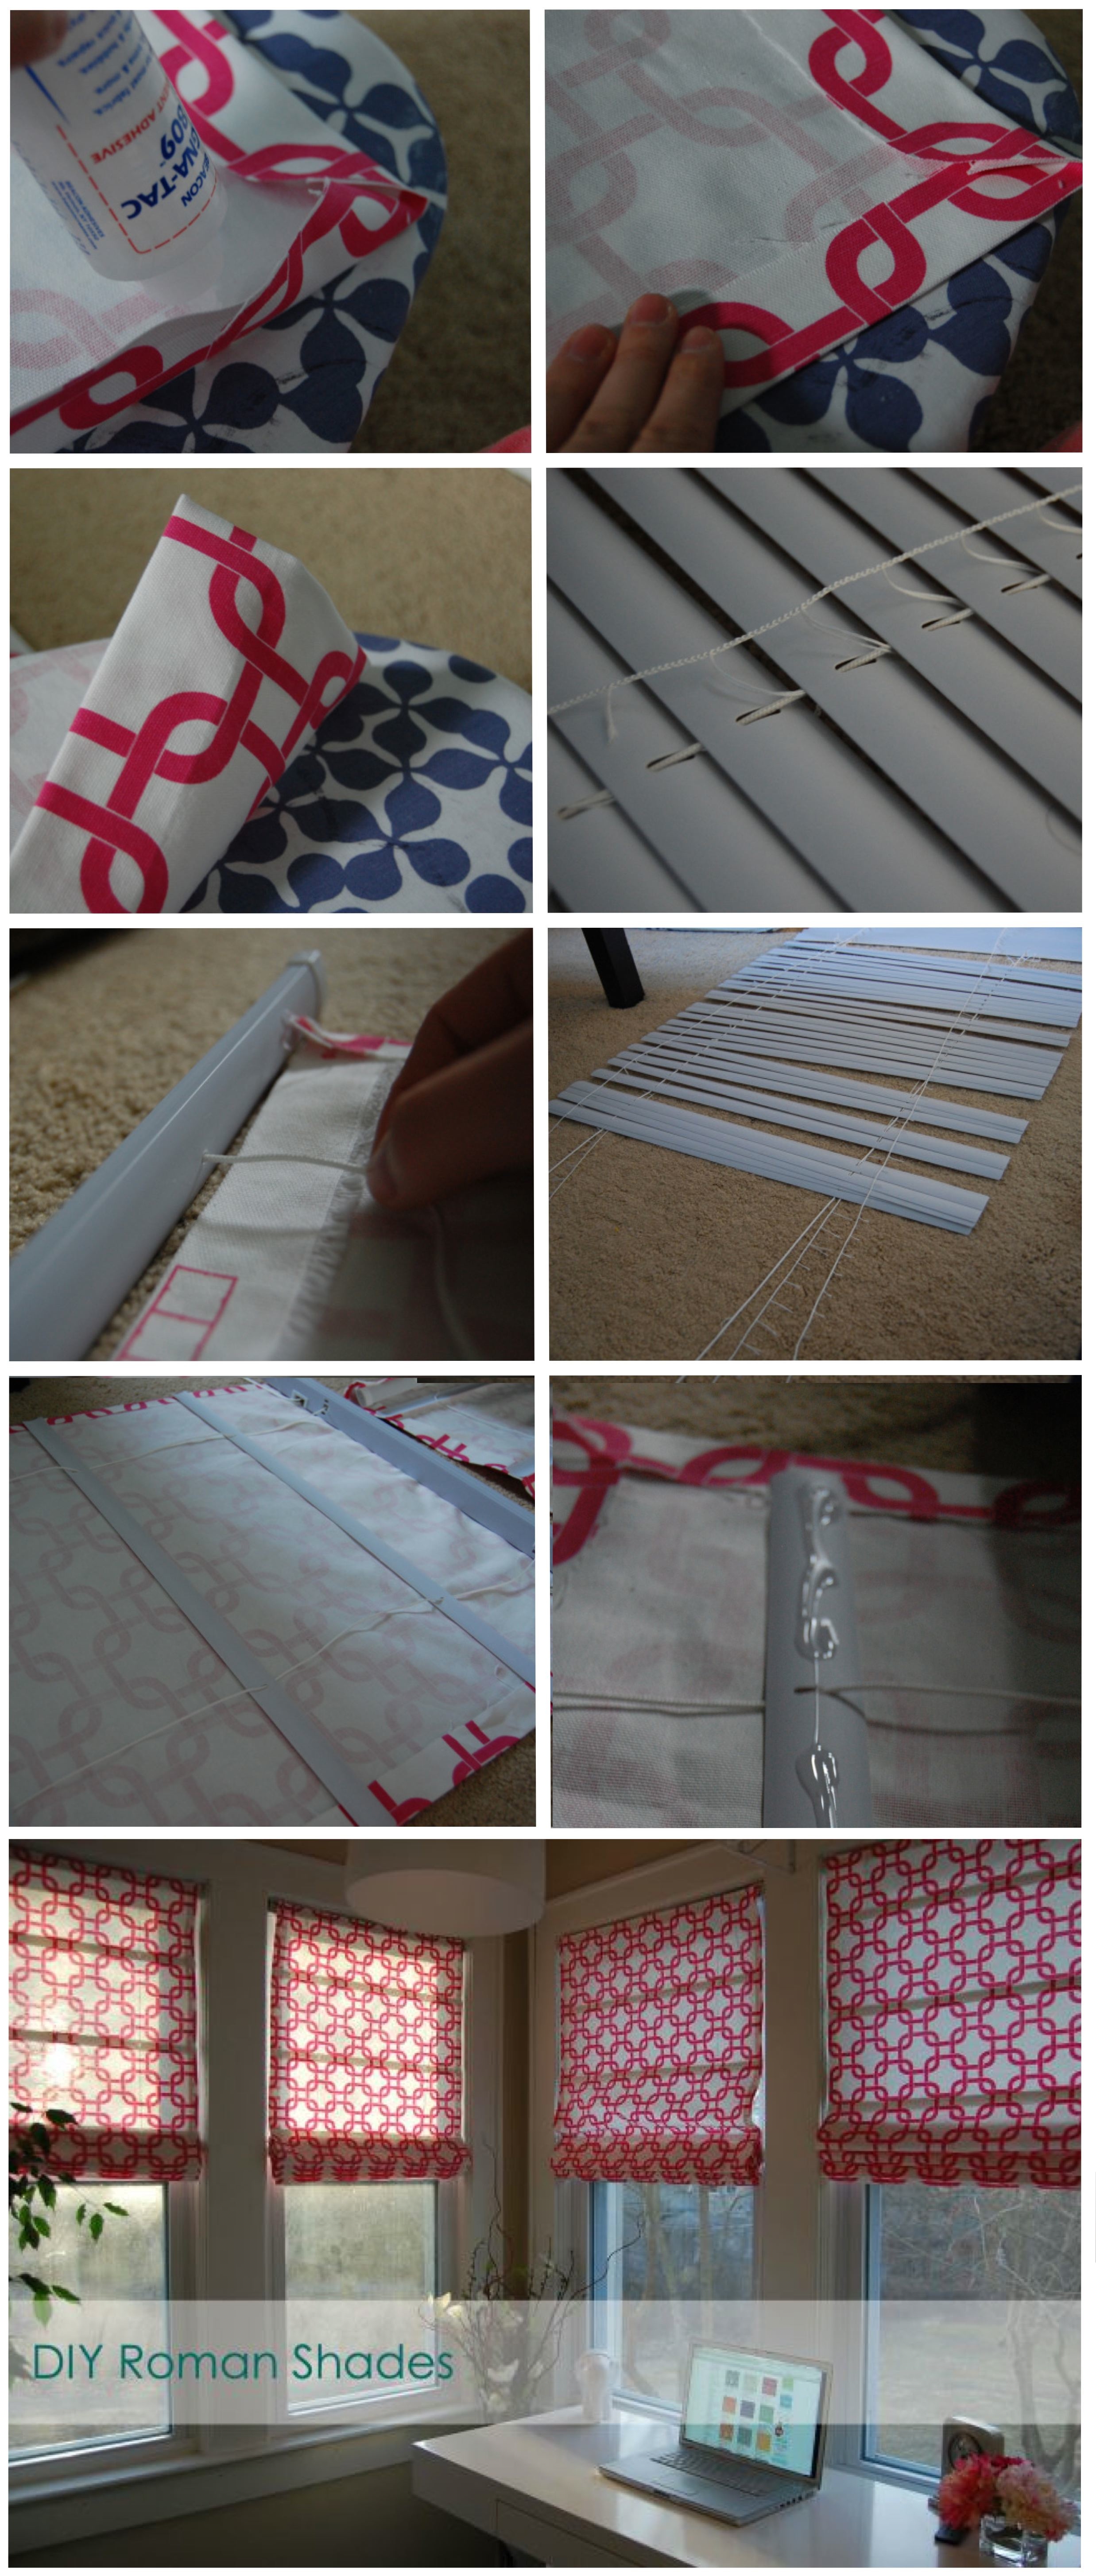
1. Cut your fabric 2″ longer than your blinds, width and length. Since one of my blinds was 22 1/2″x 52″ I cut my fabric to 24 1/2″ x 54″. The reason for this is so you can fold all the edges over. You may want to iron a crease on the edges to make it easier.
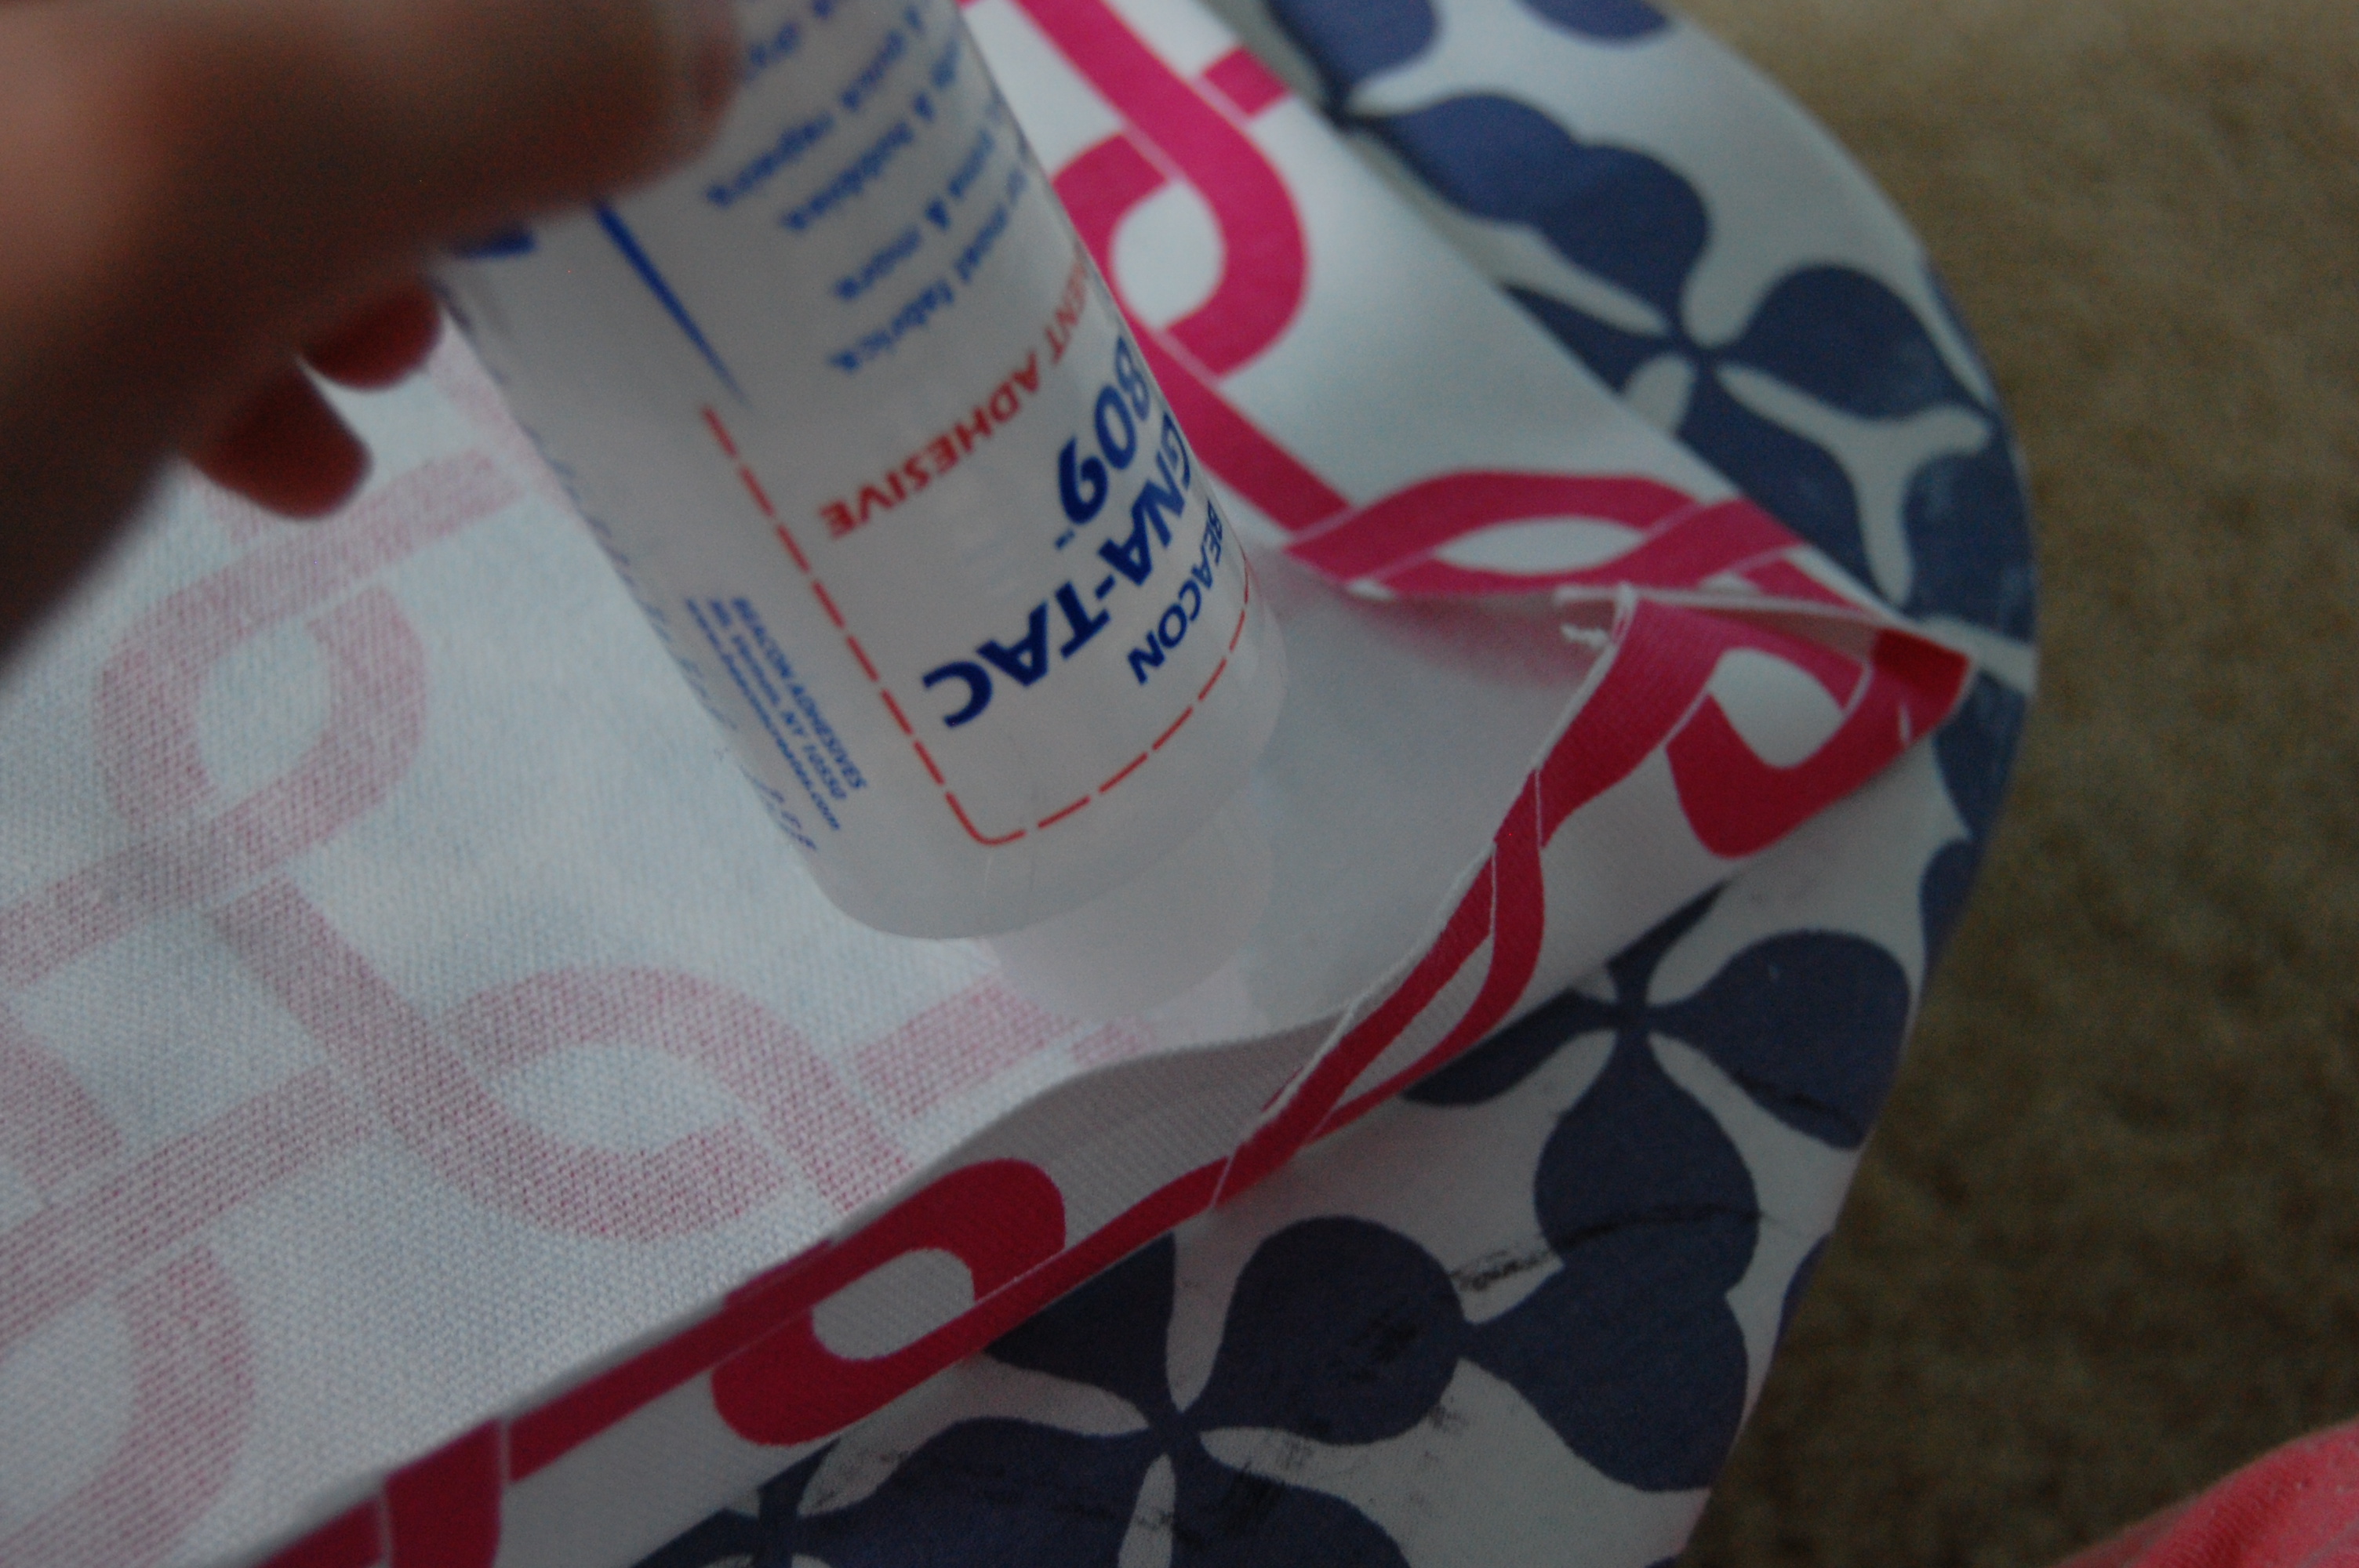
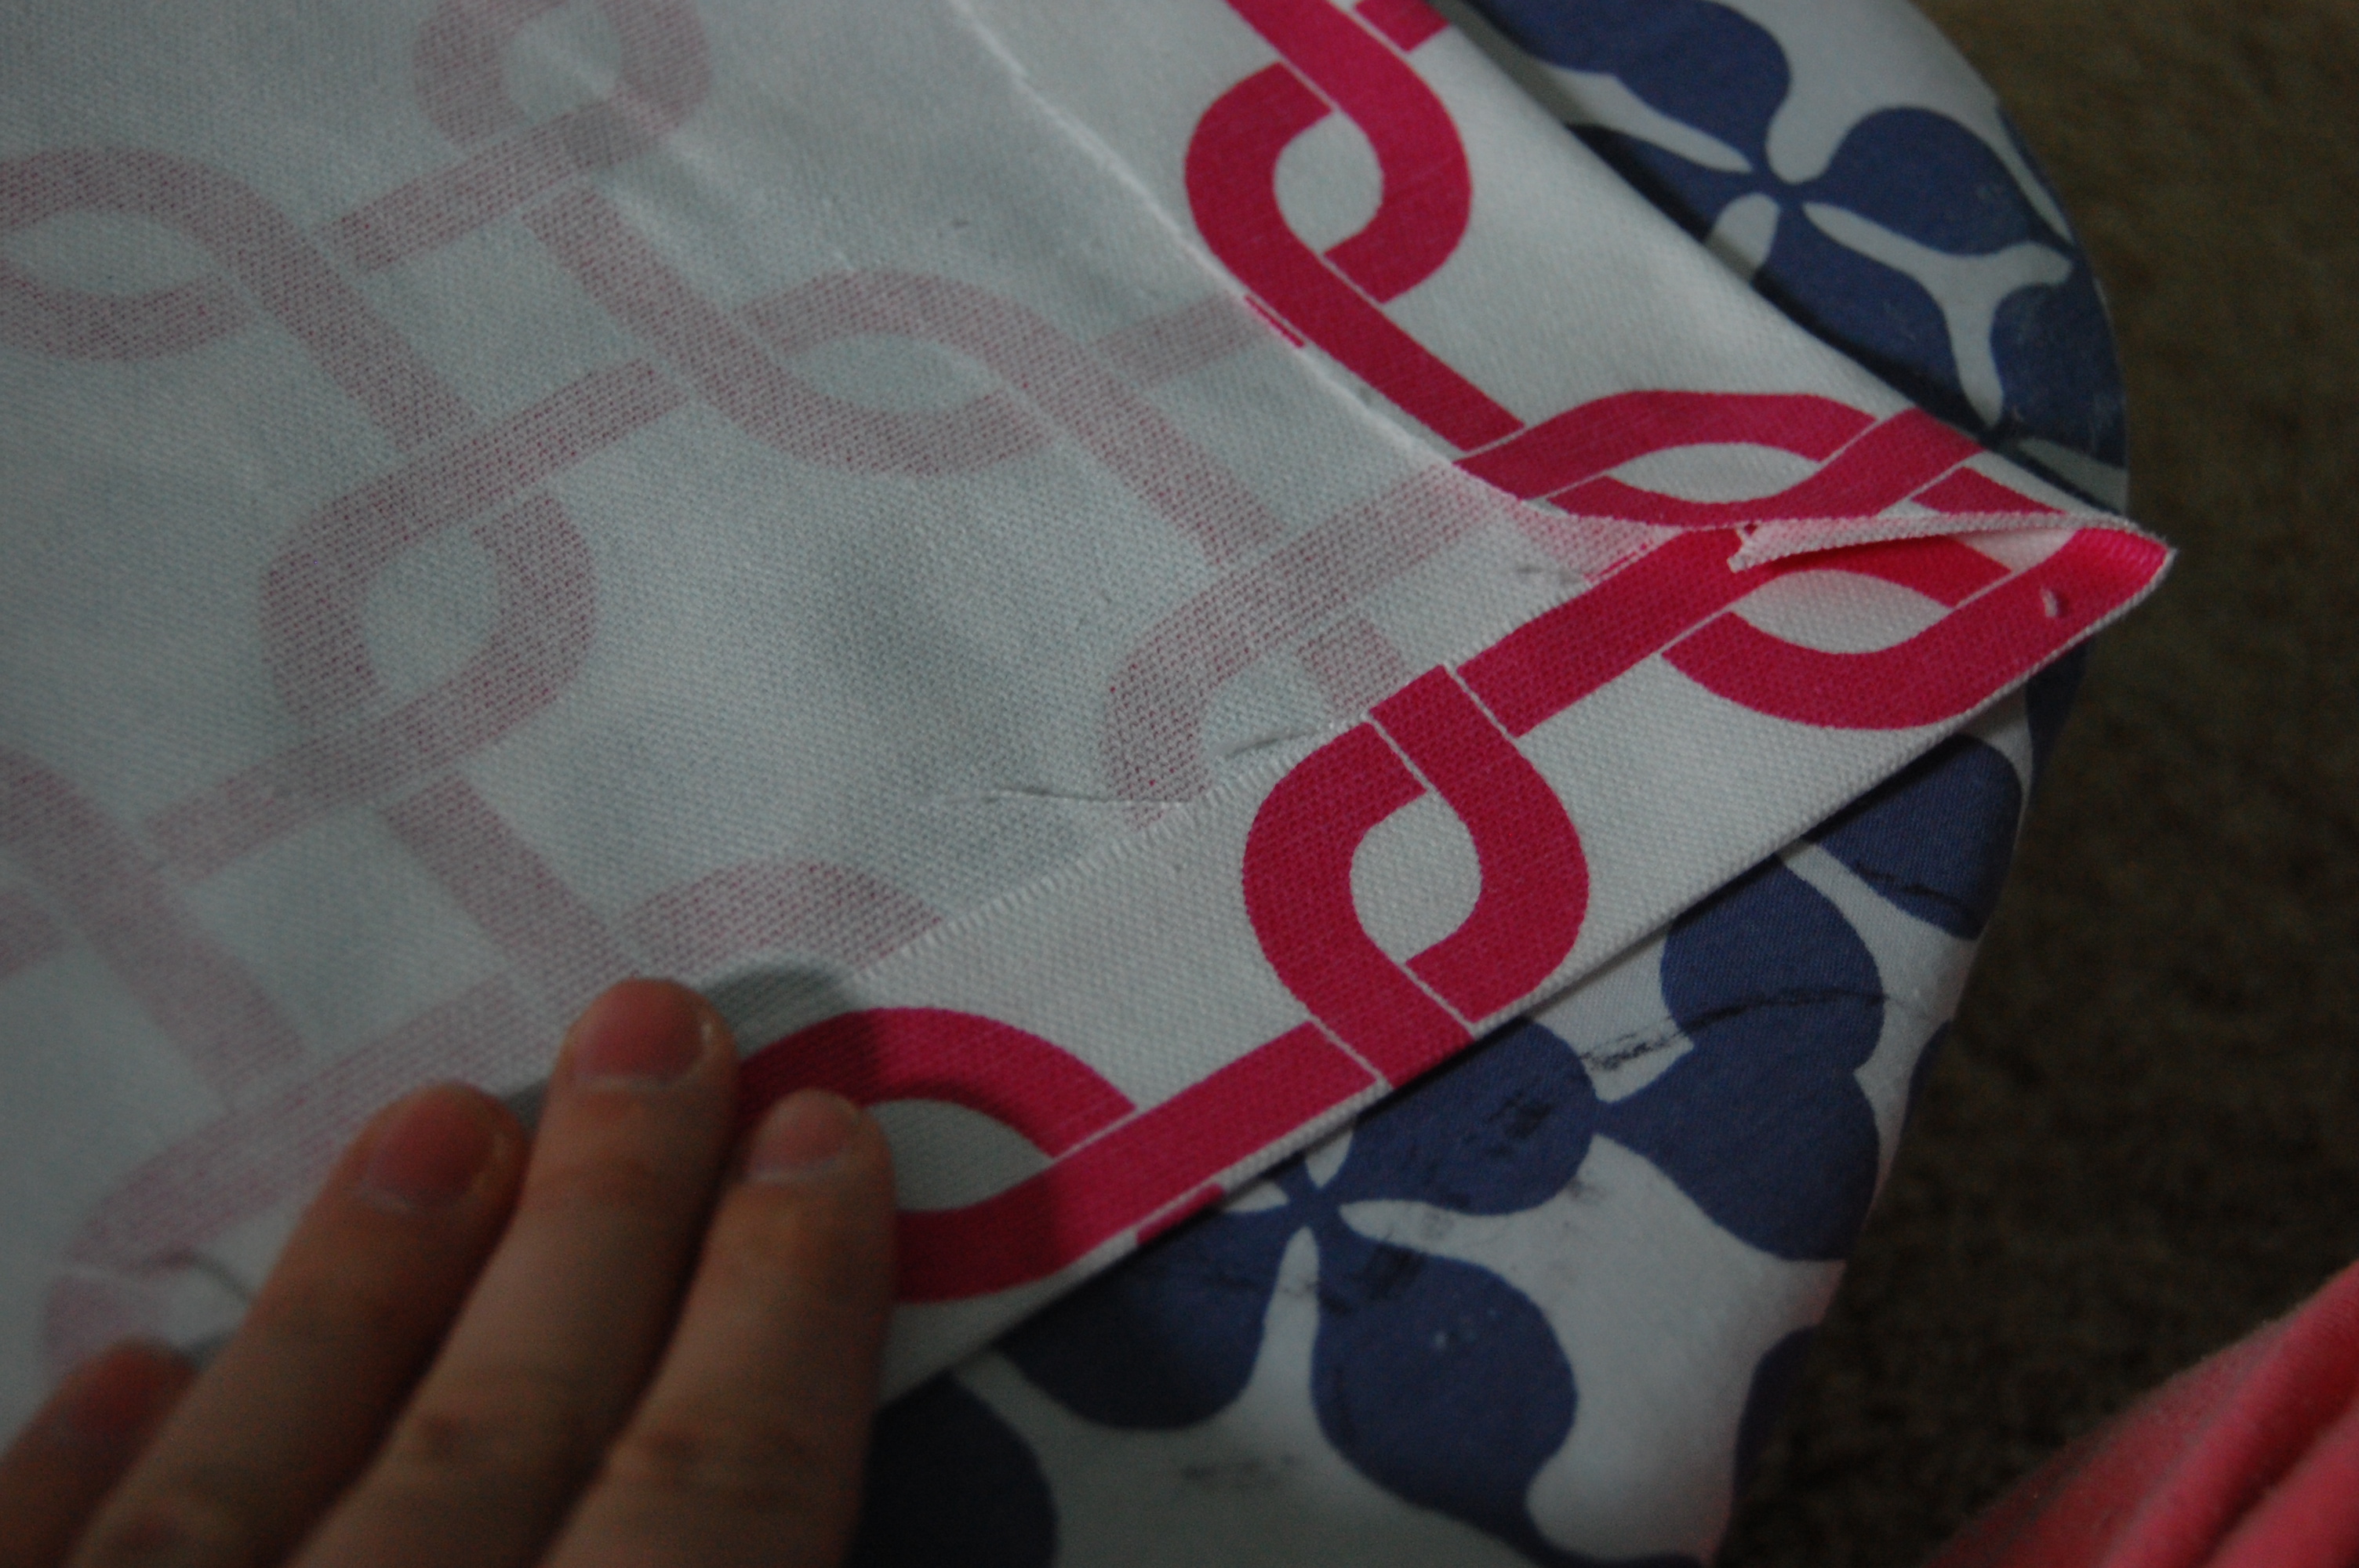
2. Use fabric glue to create your hems all around. You can also sew this if you want a more tailored look. You may also use Heat and Bond but trust me it’s more work and you can’t tell the difference between that and fabric glue.
Should look like this when it’s all done. If it does than you’re ready to prepare your blinds!
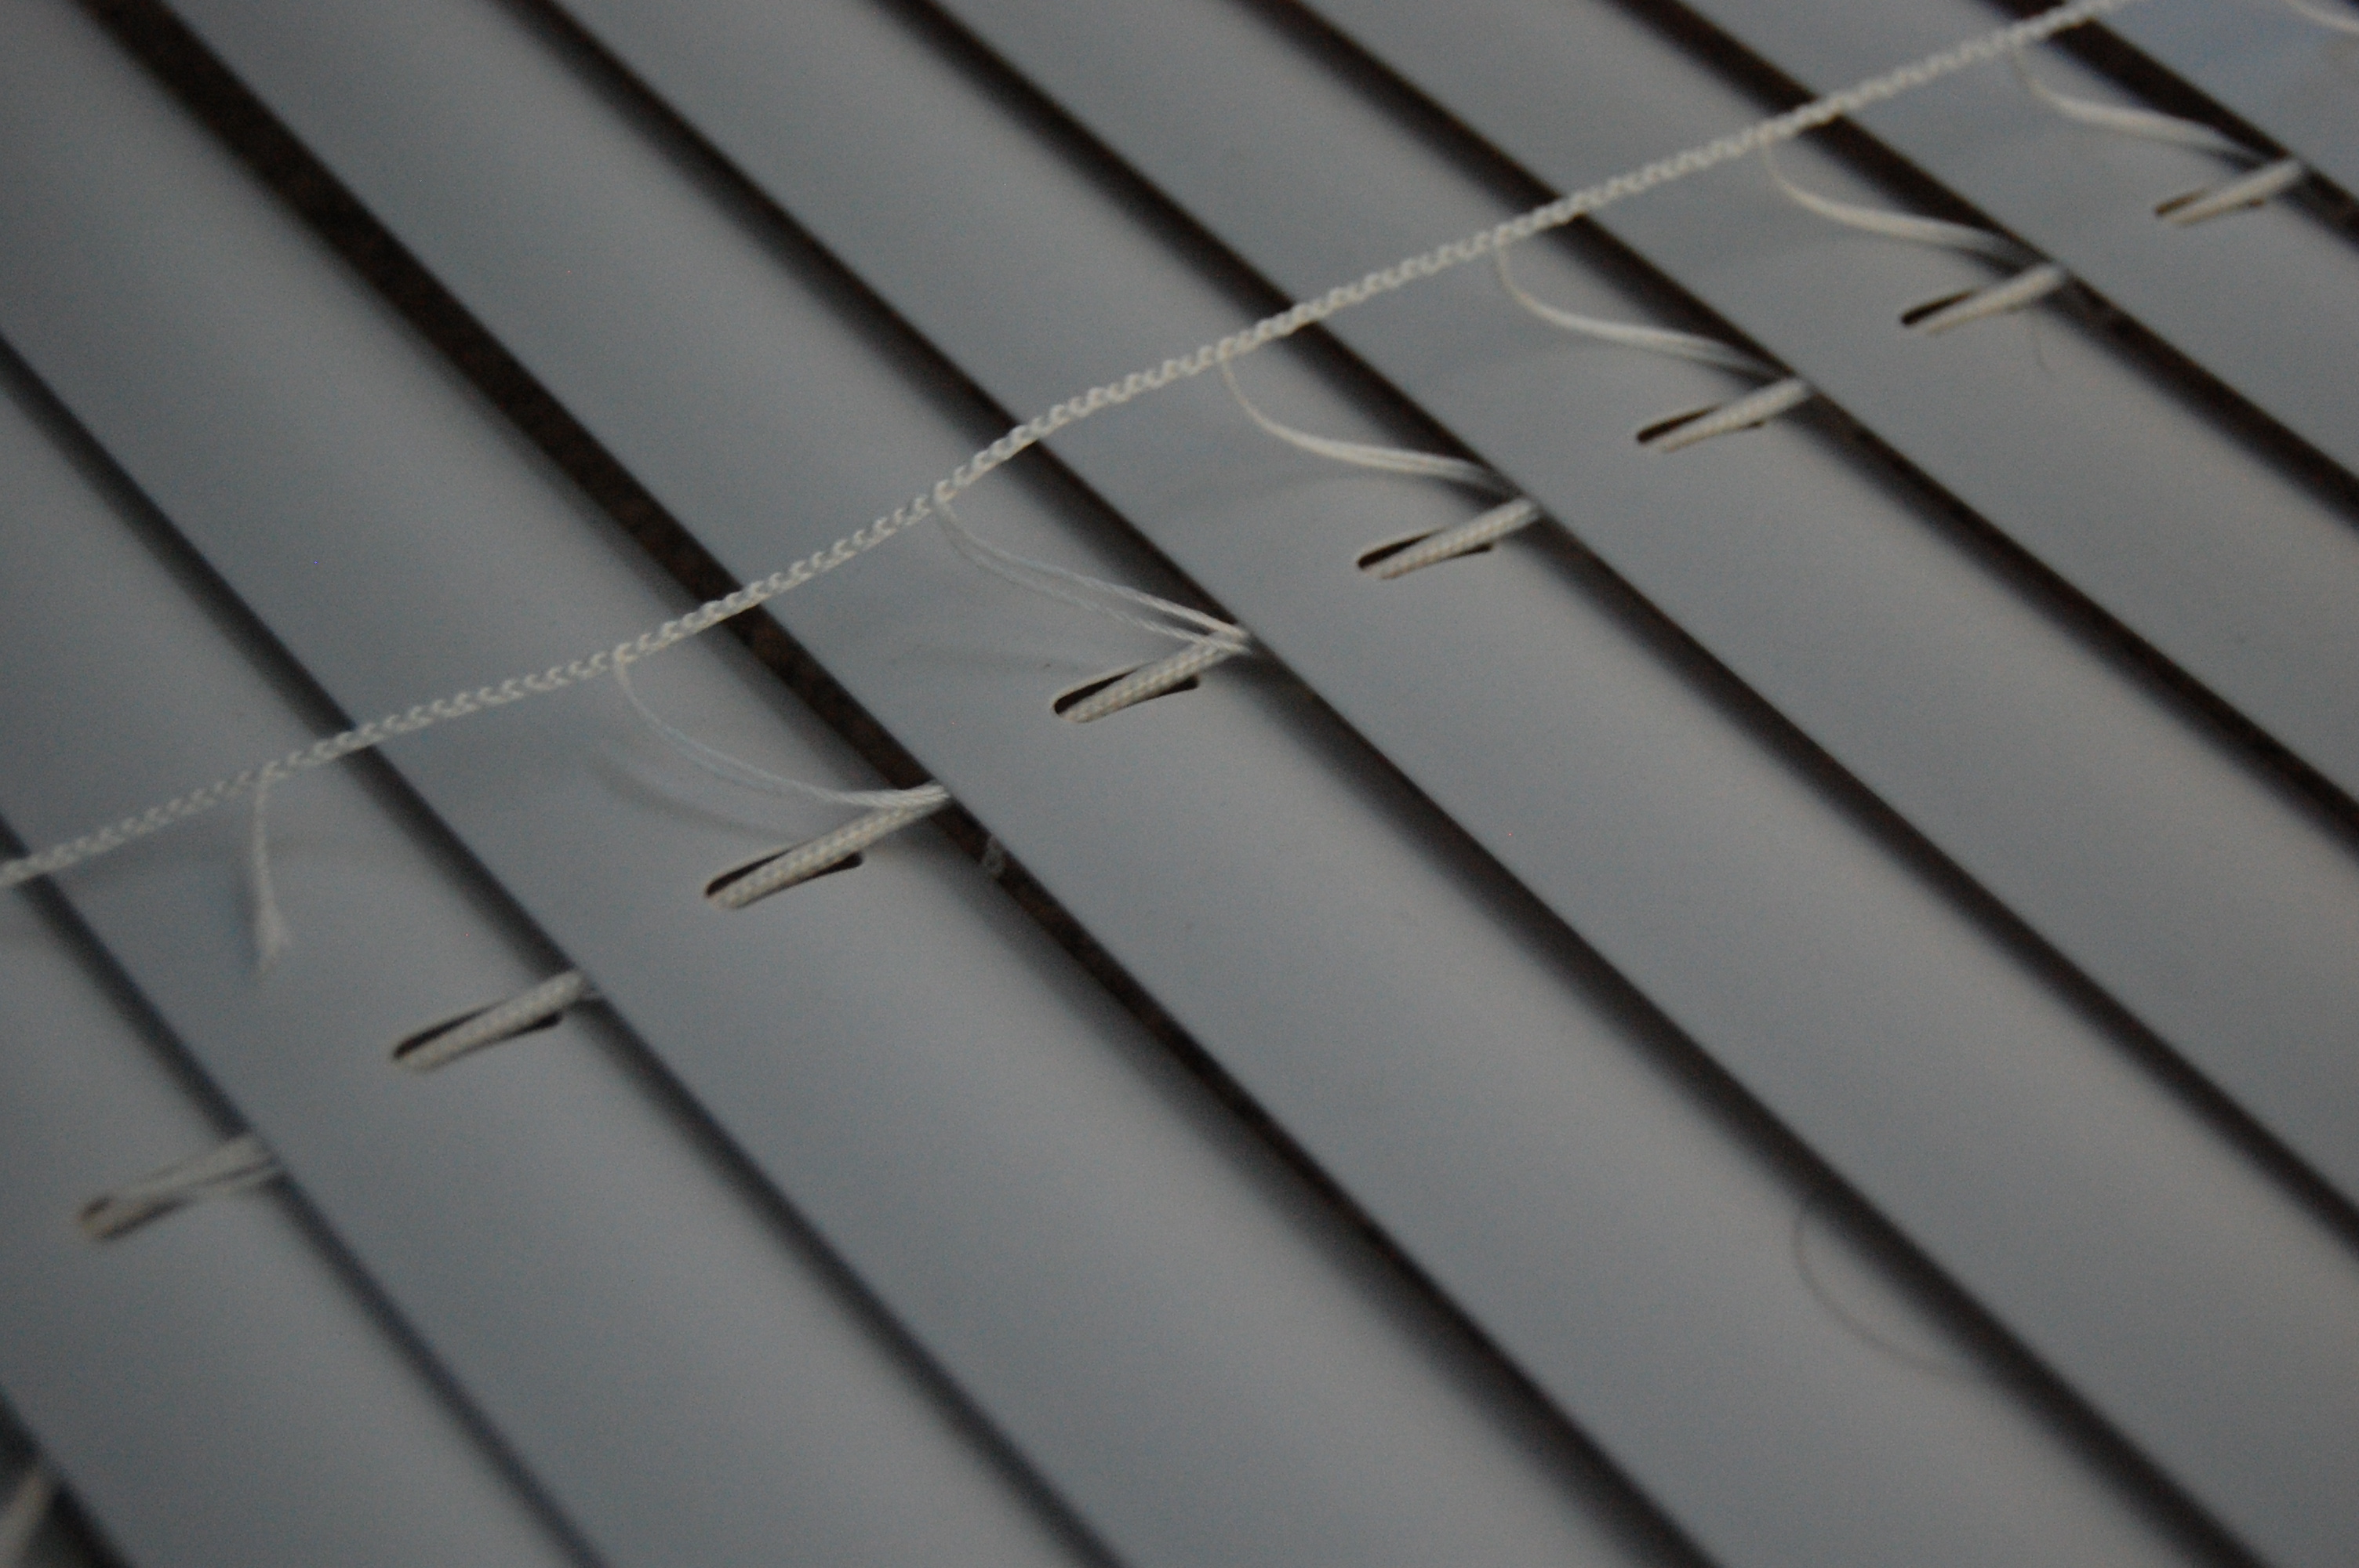
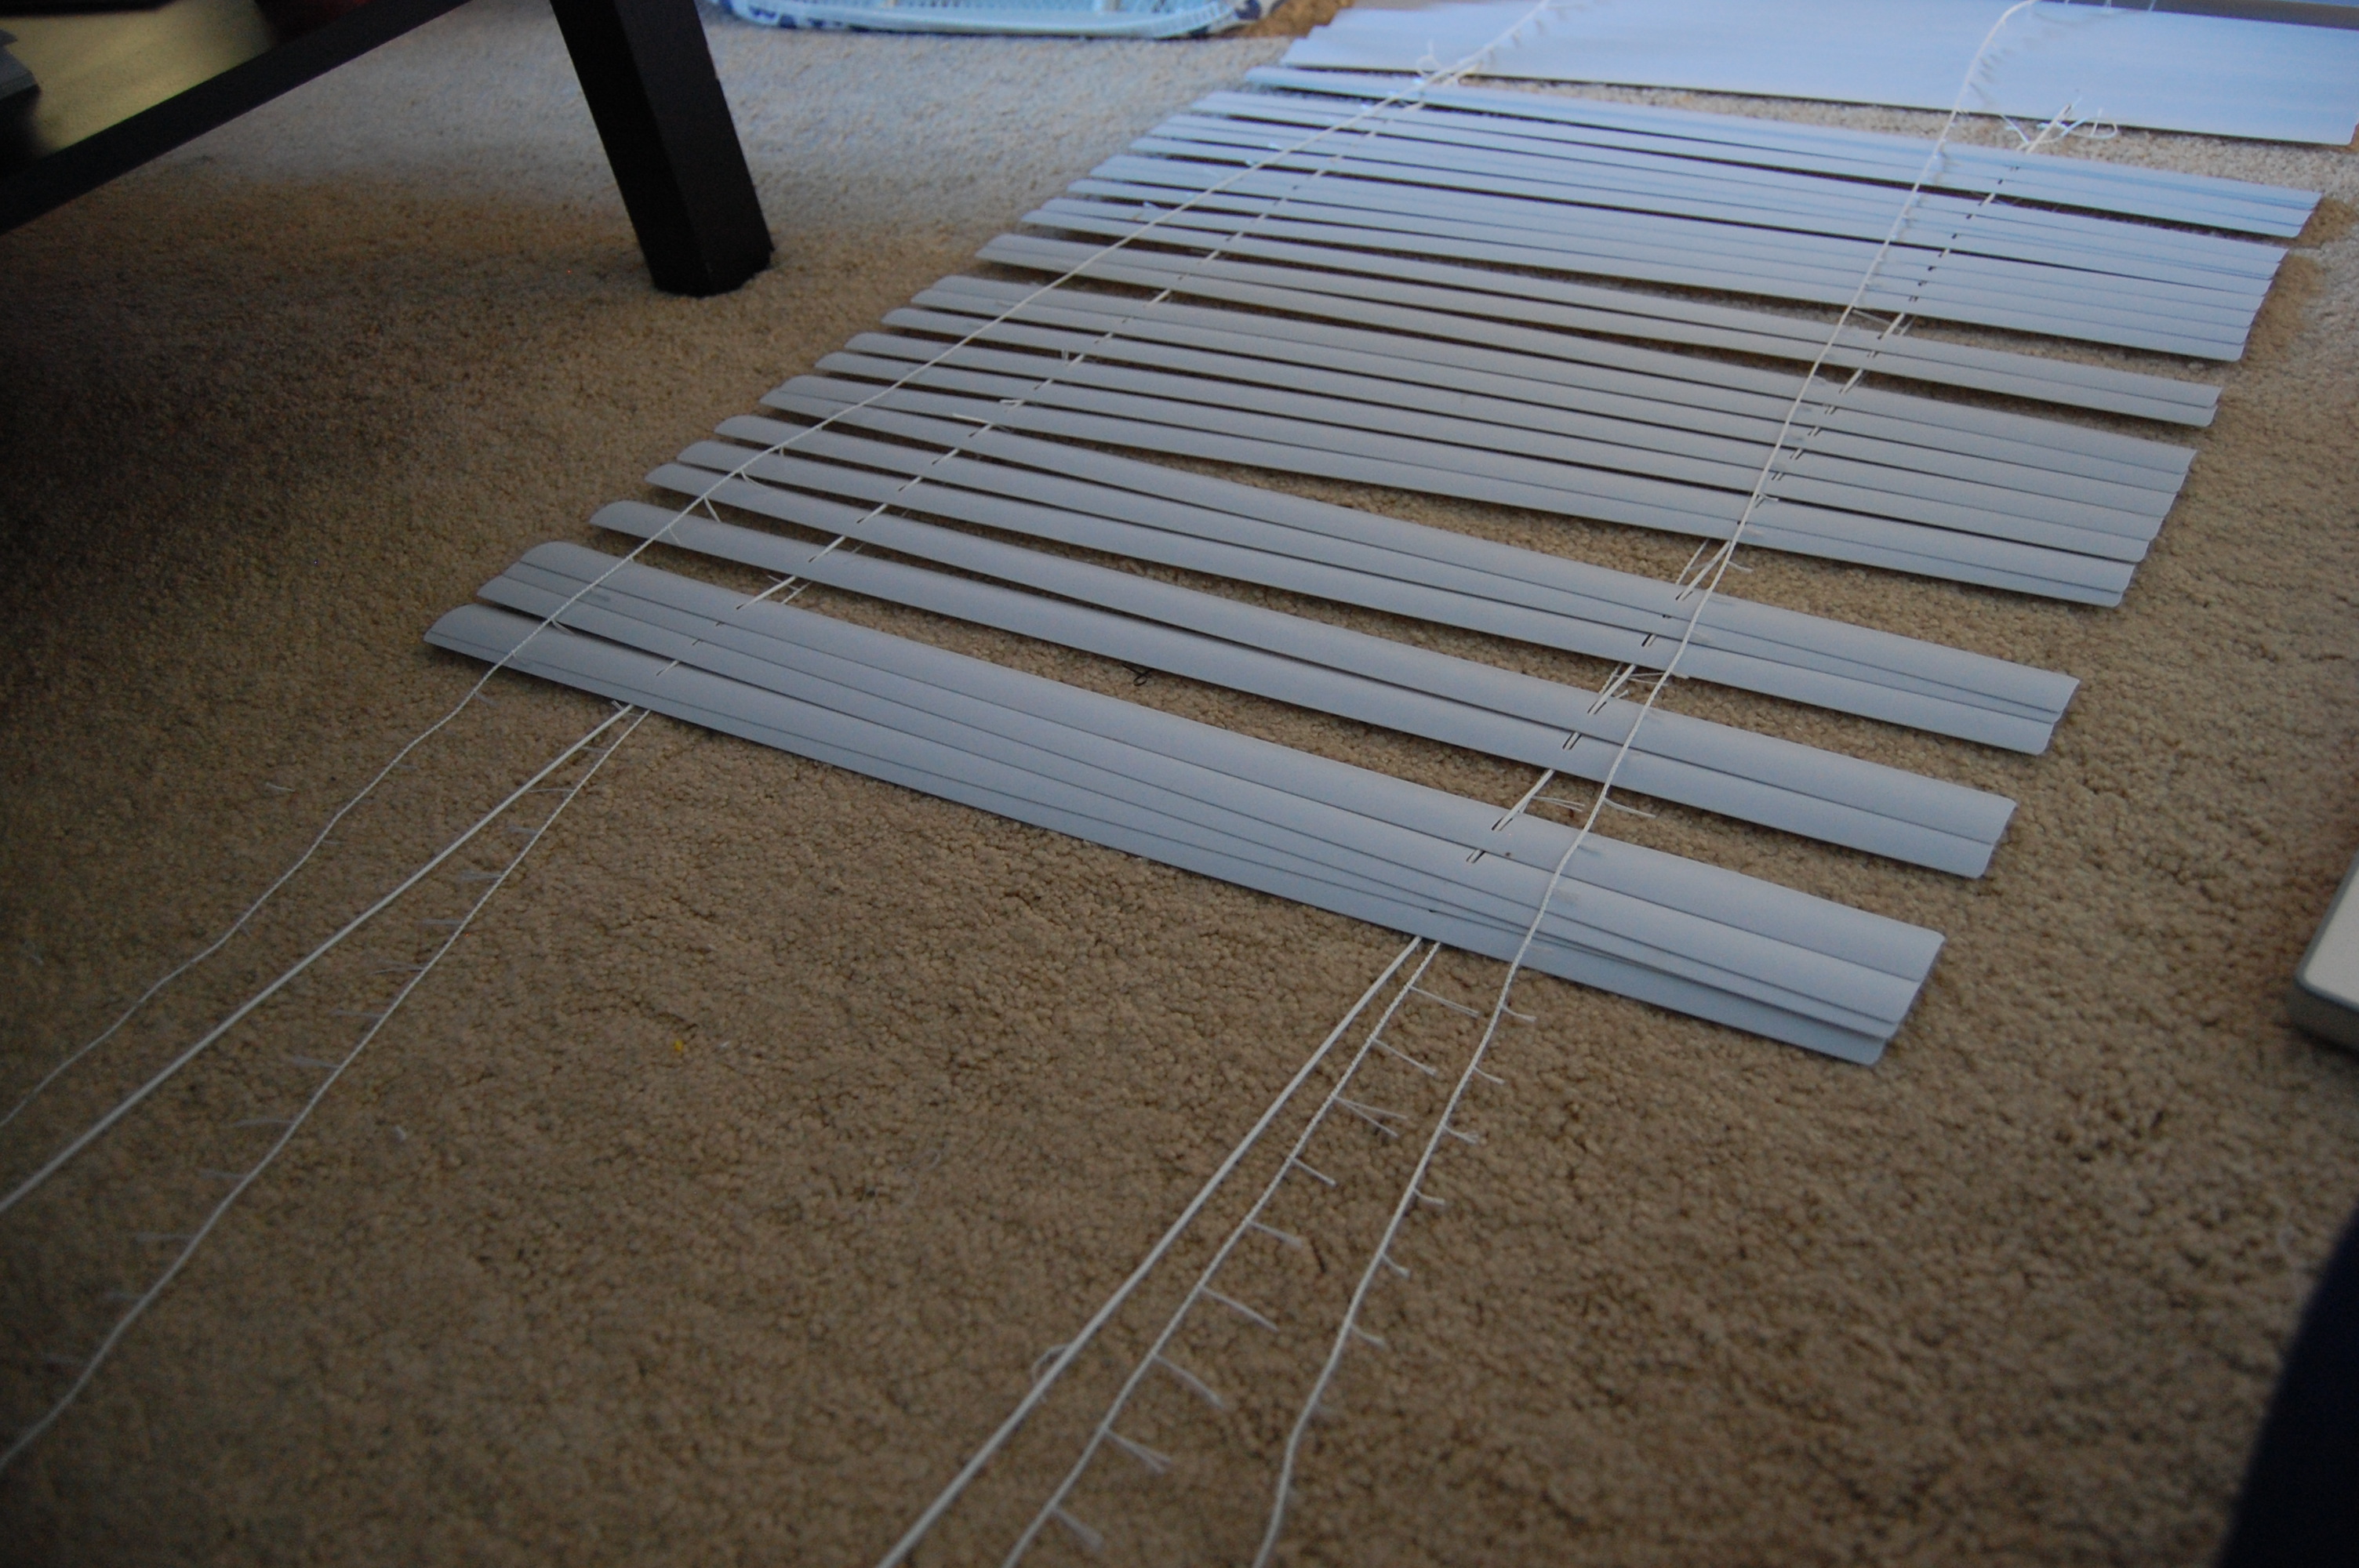
3. Open your blinds fully and cut the ladder part that holds all the blind slats in place. DO NOT cut the cord that runs straight through each slat.
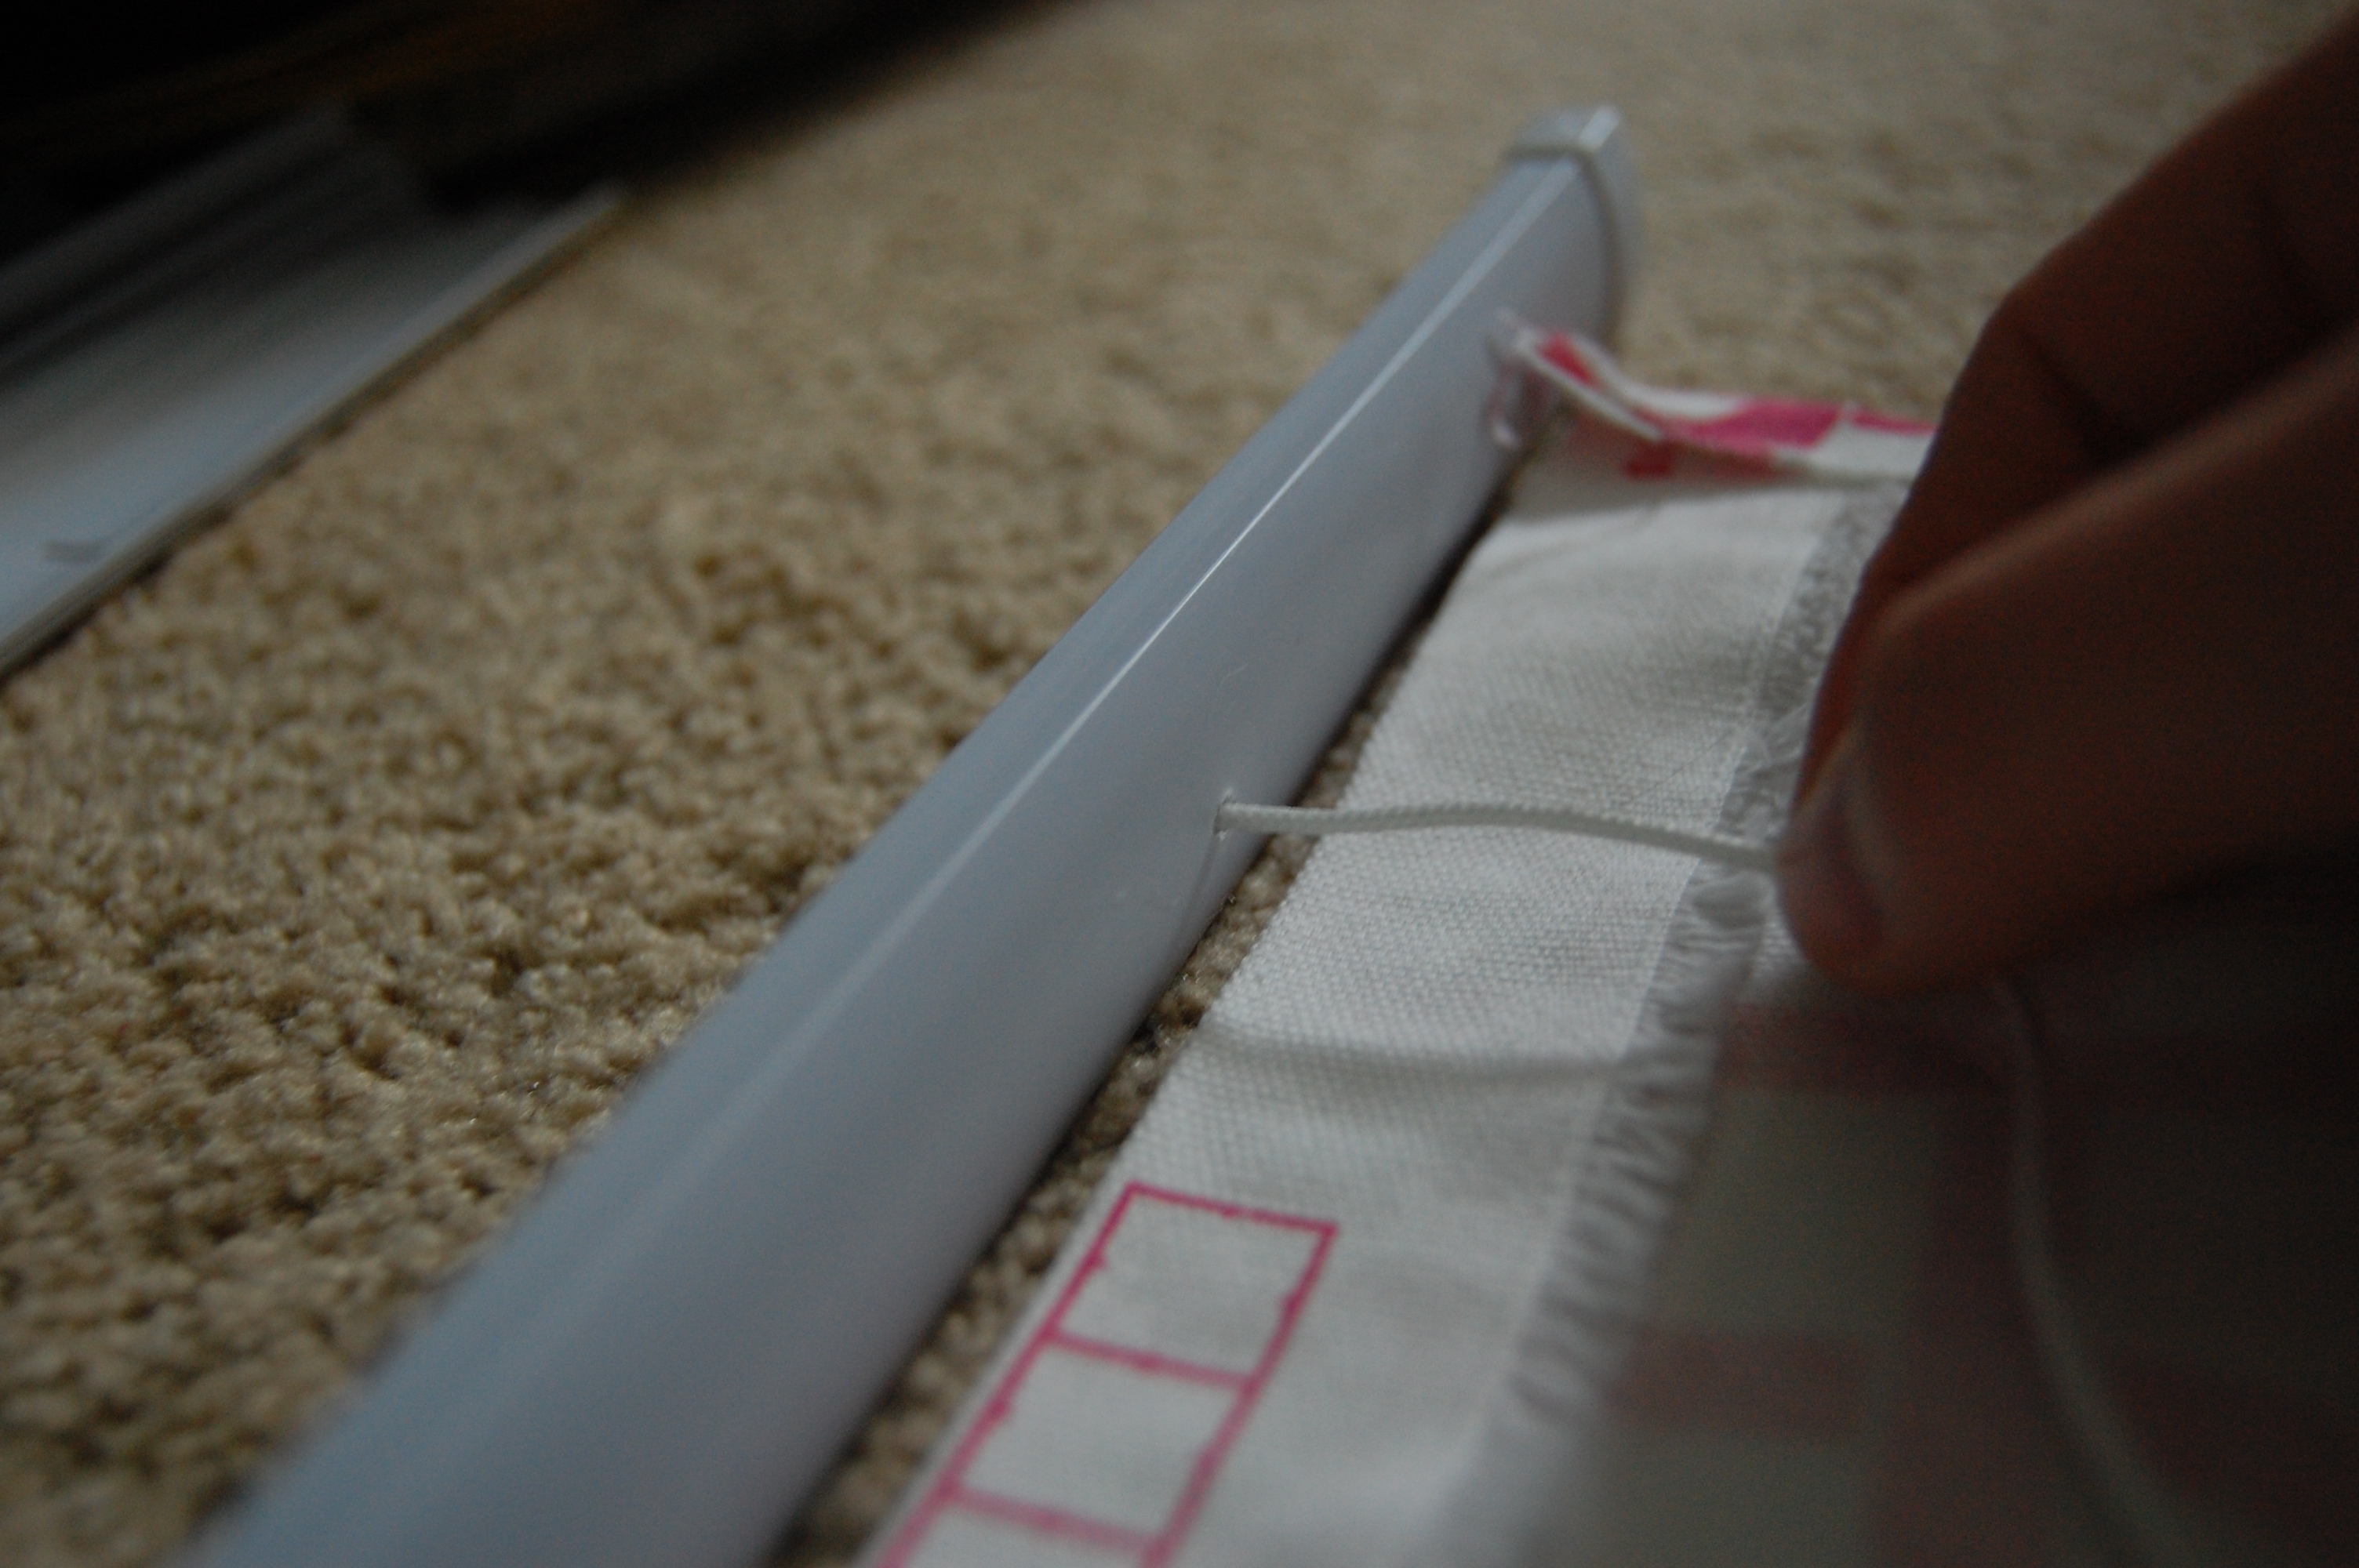
4. Pop the button on the bottom that holds the thick cord that runs through the blinds and pull that cord out.
5. Remove all the slats and the cut-up ladder pieces to reveal nothing but the top bar and the thick cord.
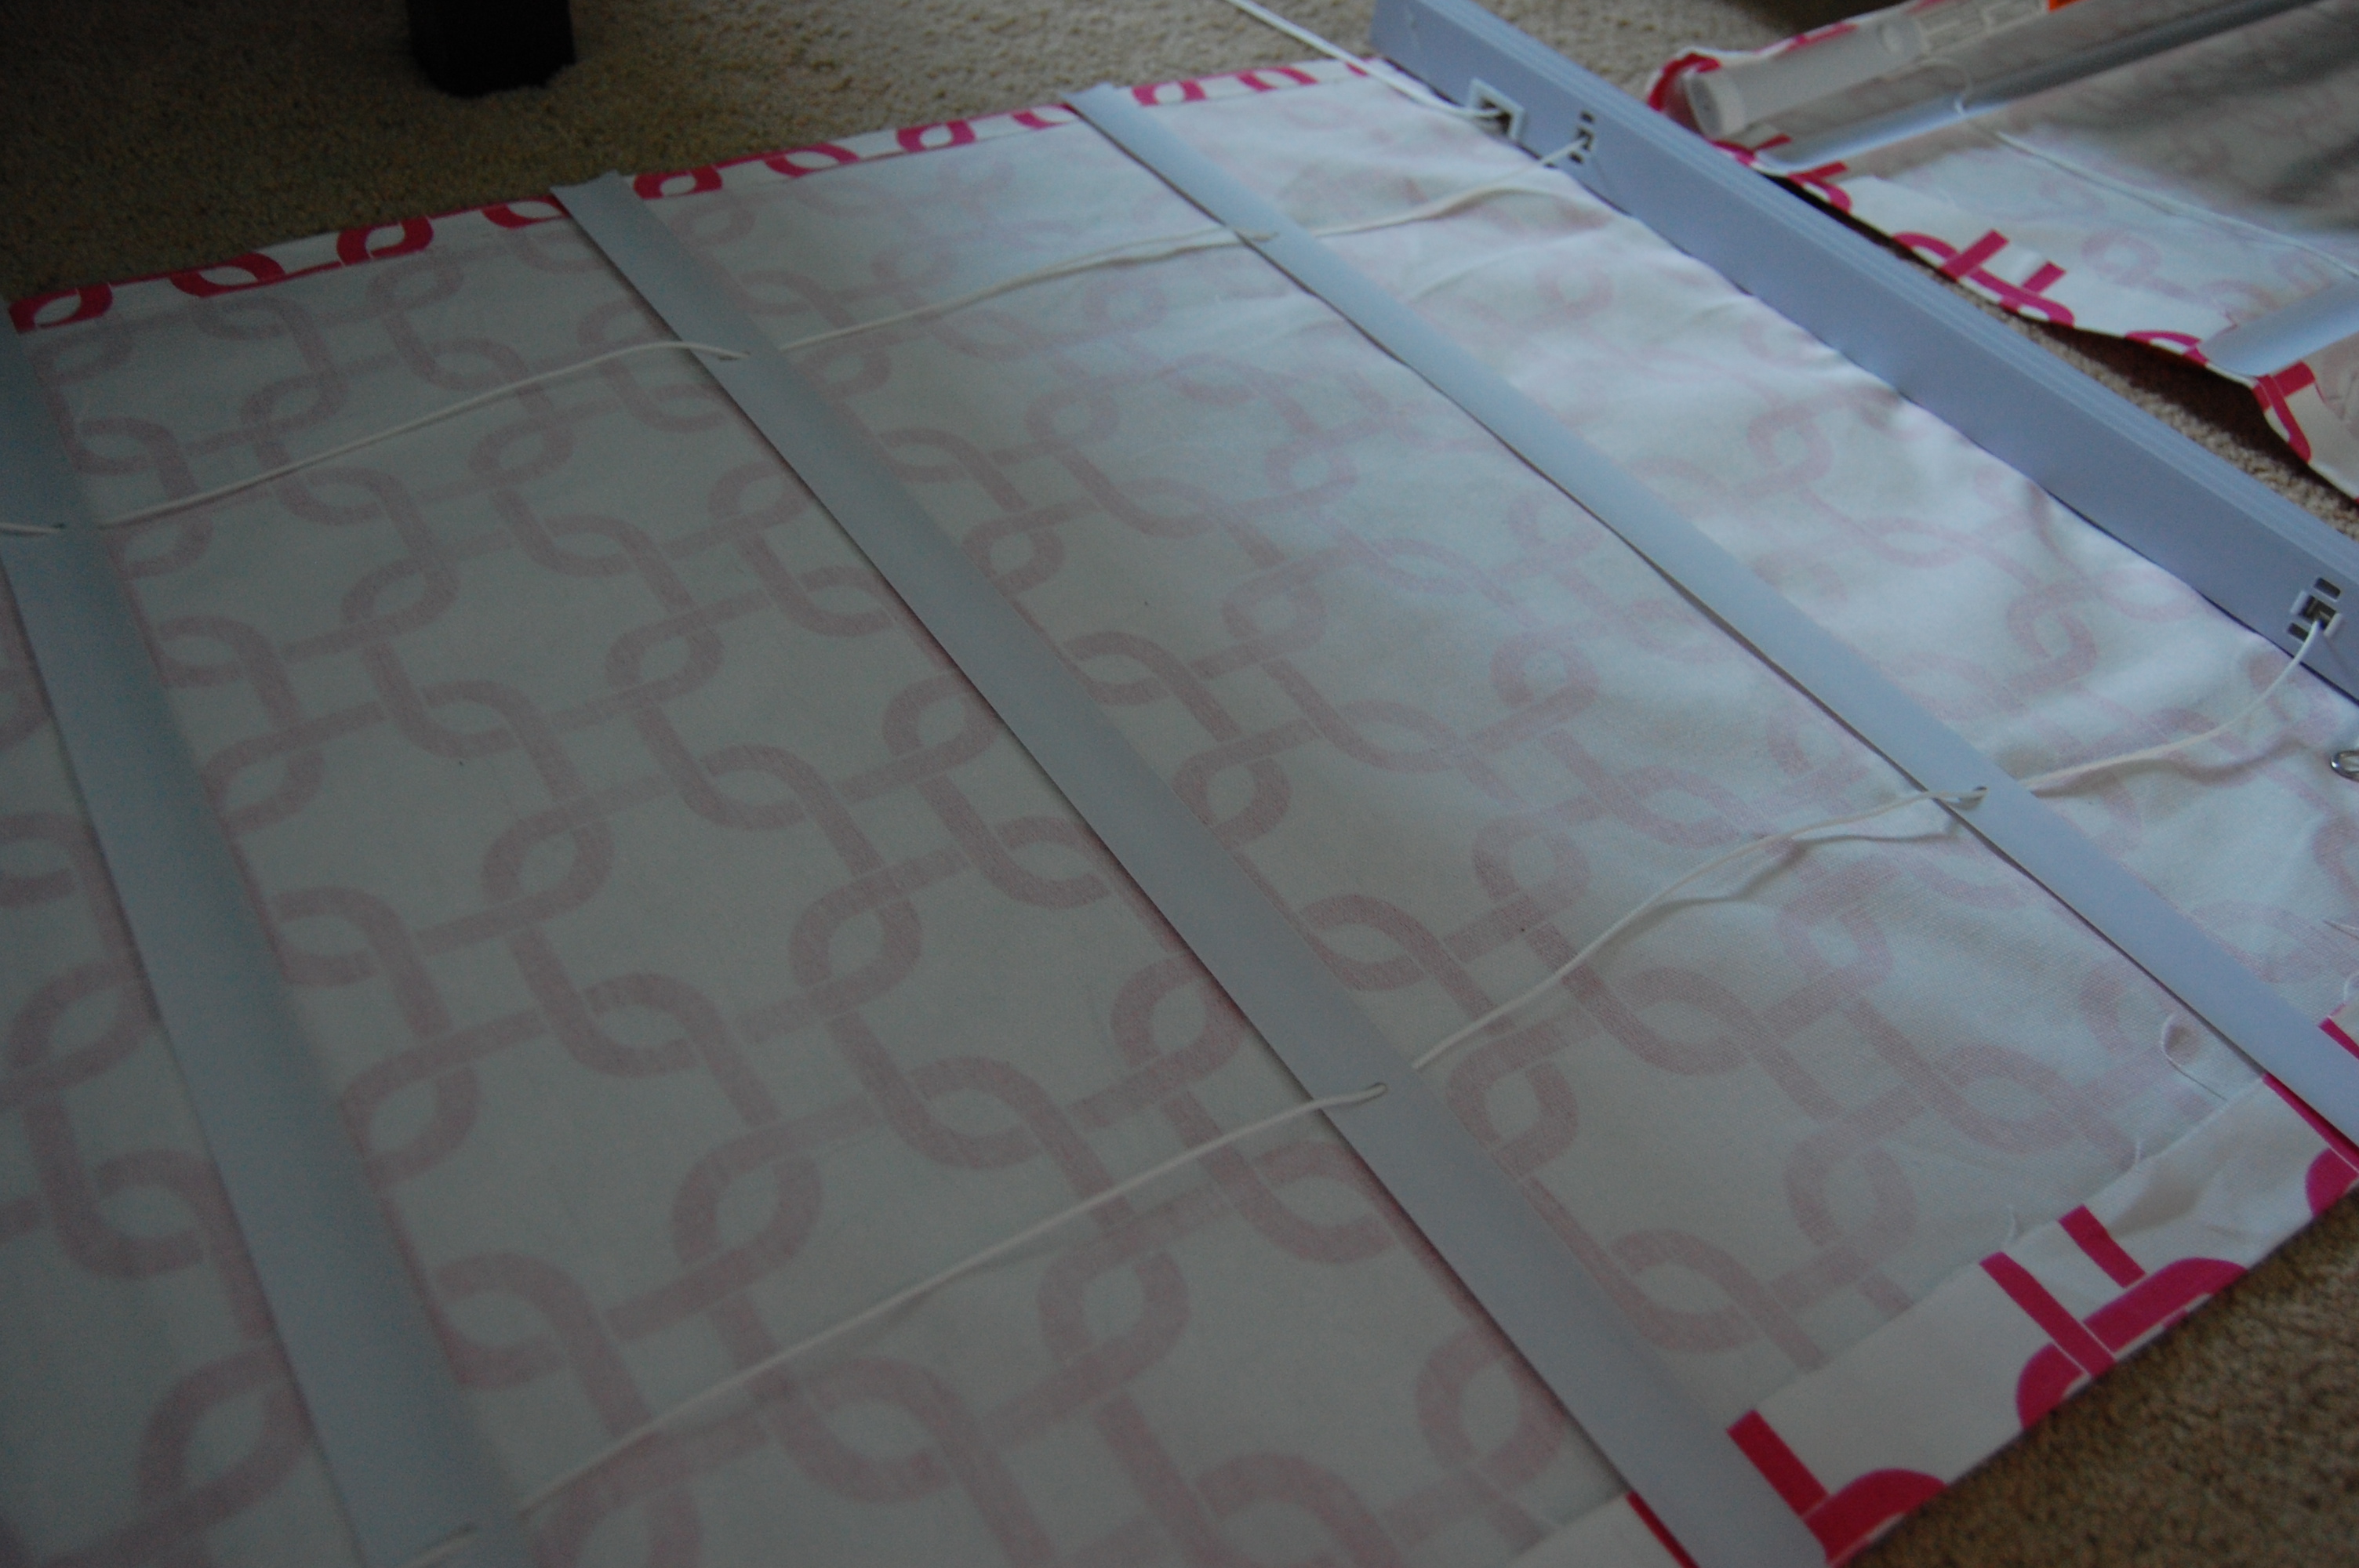
6. Lay your fabric down (print side down) and place the skeleton of the blind on top. Measure where you want your folds to be when you hang your blinds. I believe I did every 8″. Make sure you run that cord through the hols in the slats.
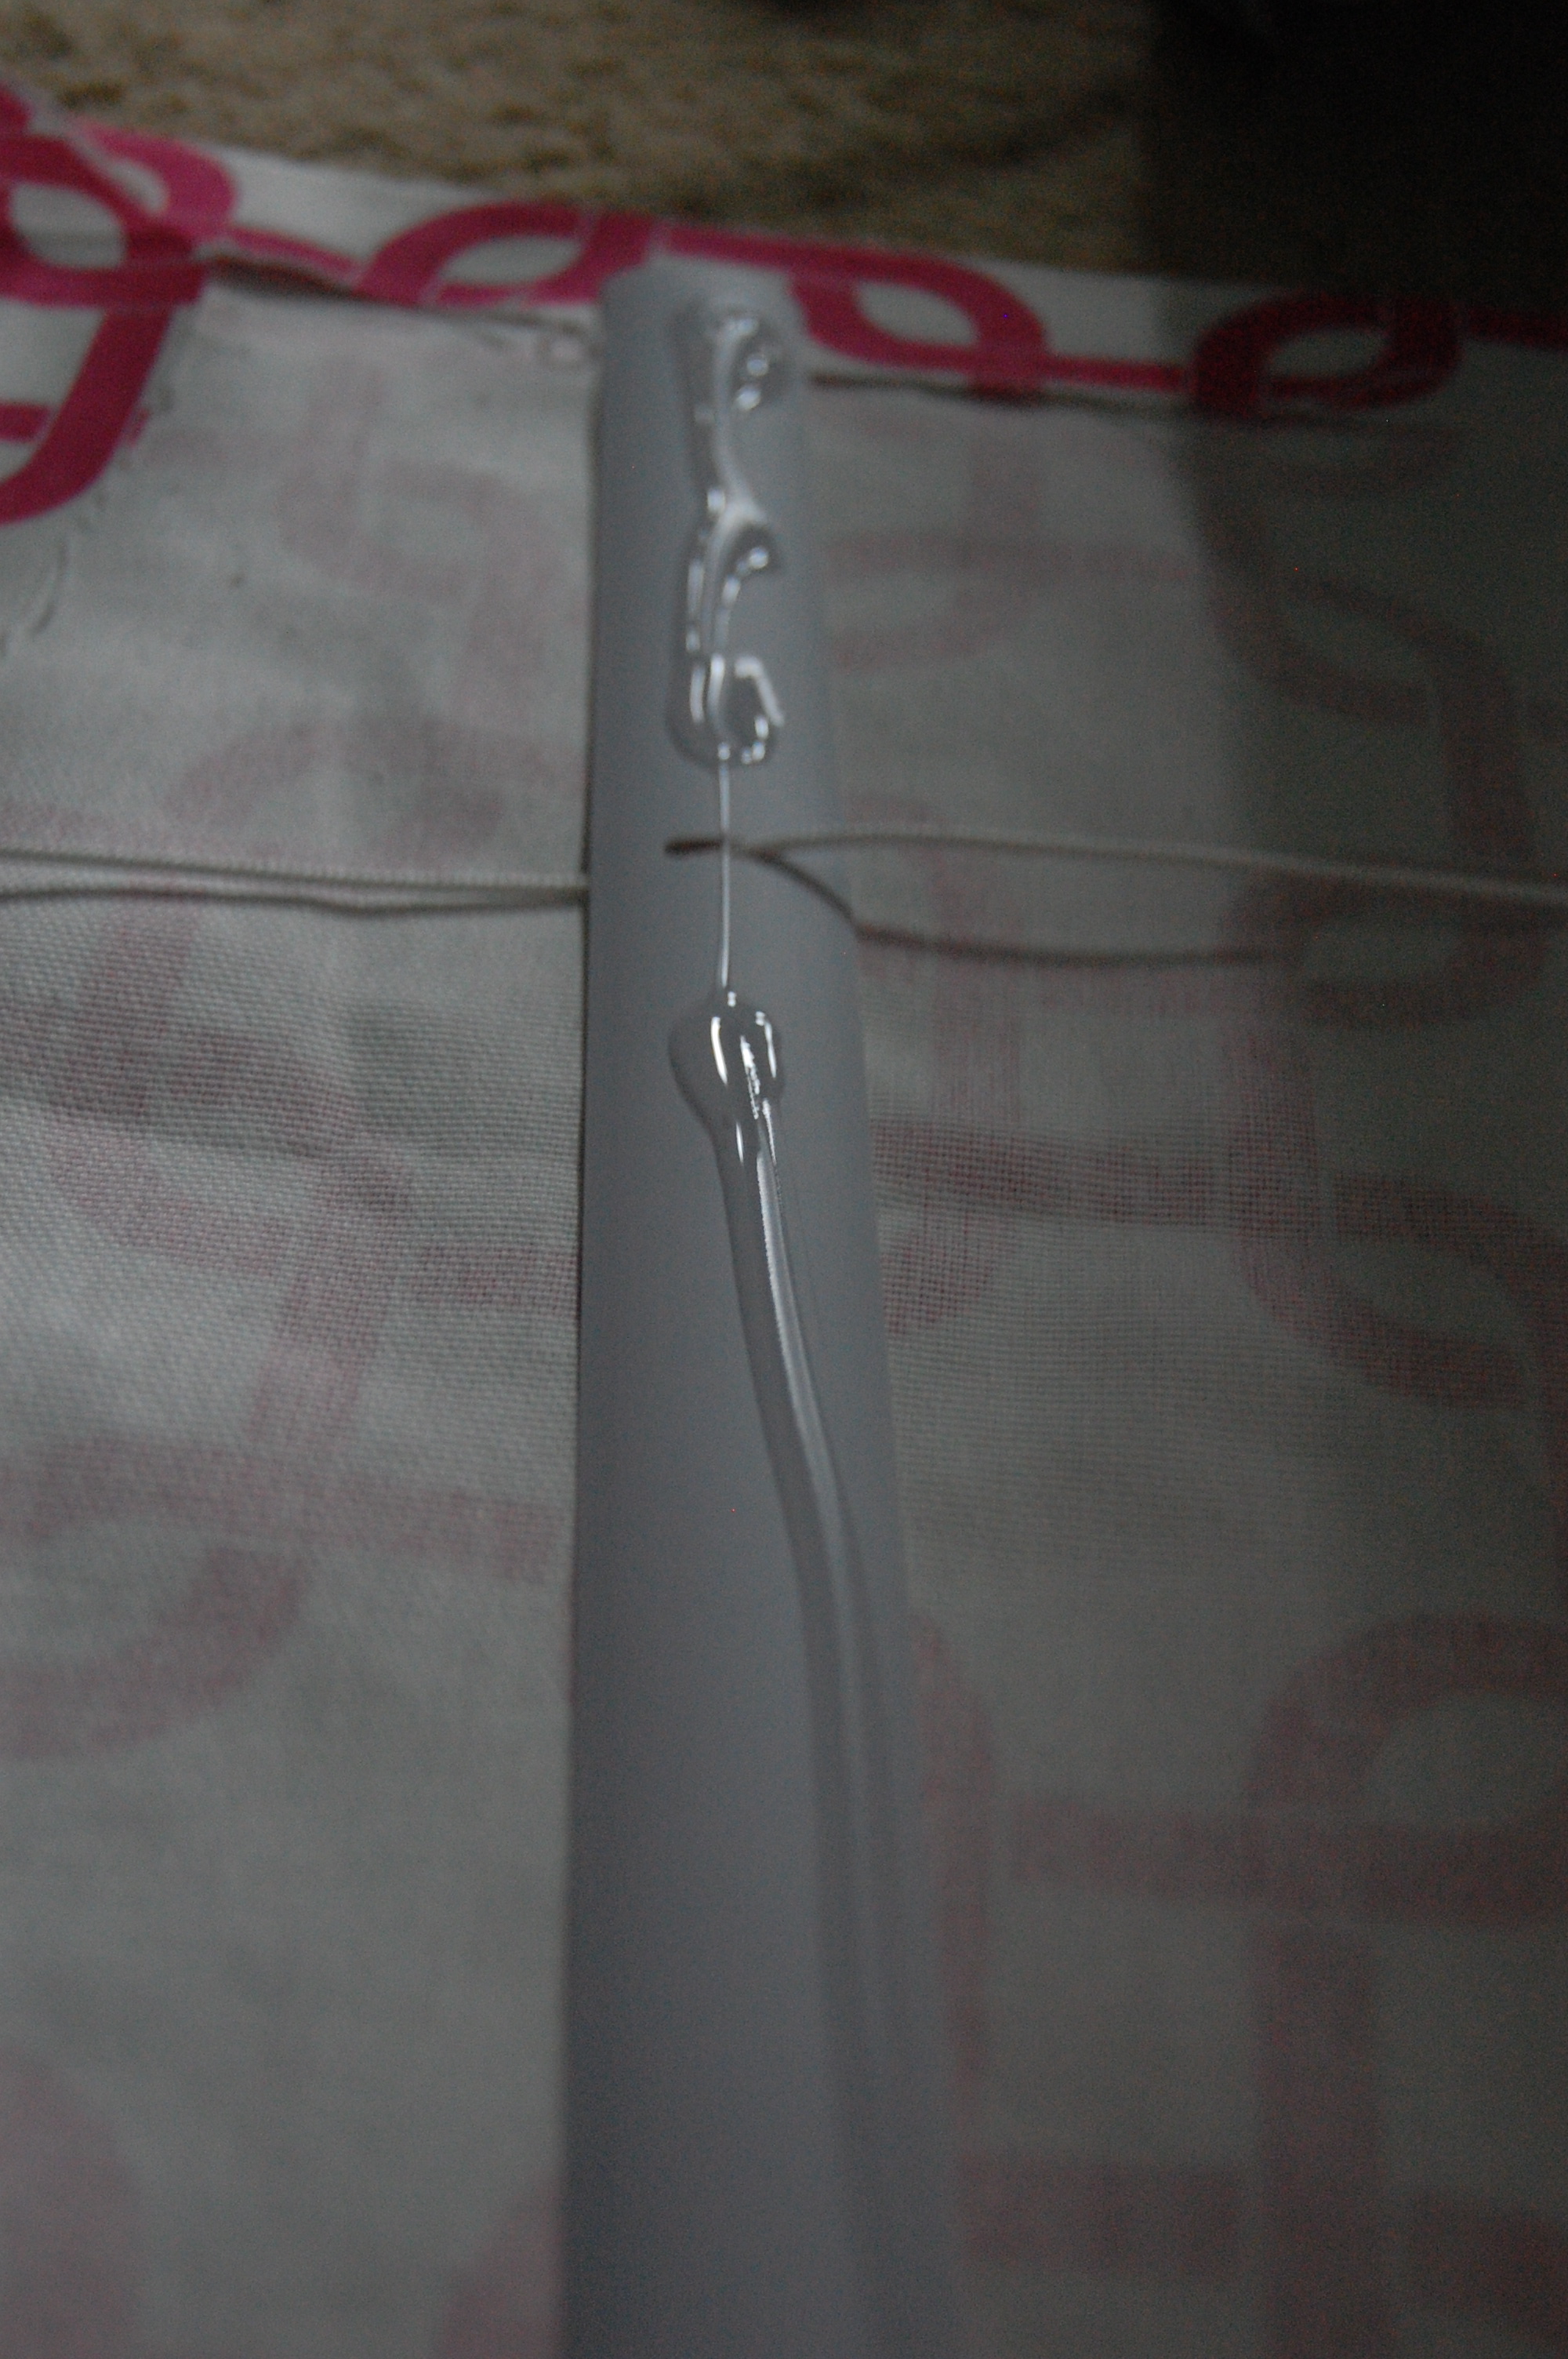
7. Using your fabric glue, glue down the slats the to fabric, curve side down. After applying the glue I brushed it down so that it would dry nice and smooth. DO NOT glue the cord to the fabric you need that to be able to move.
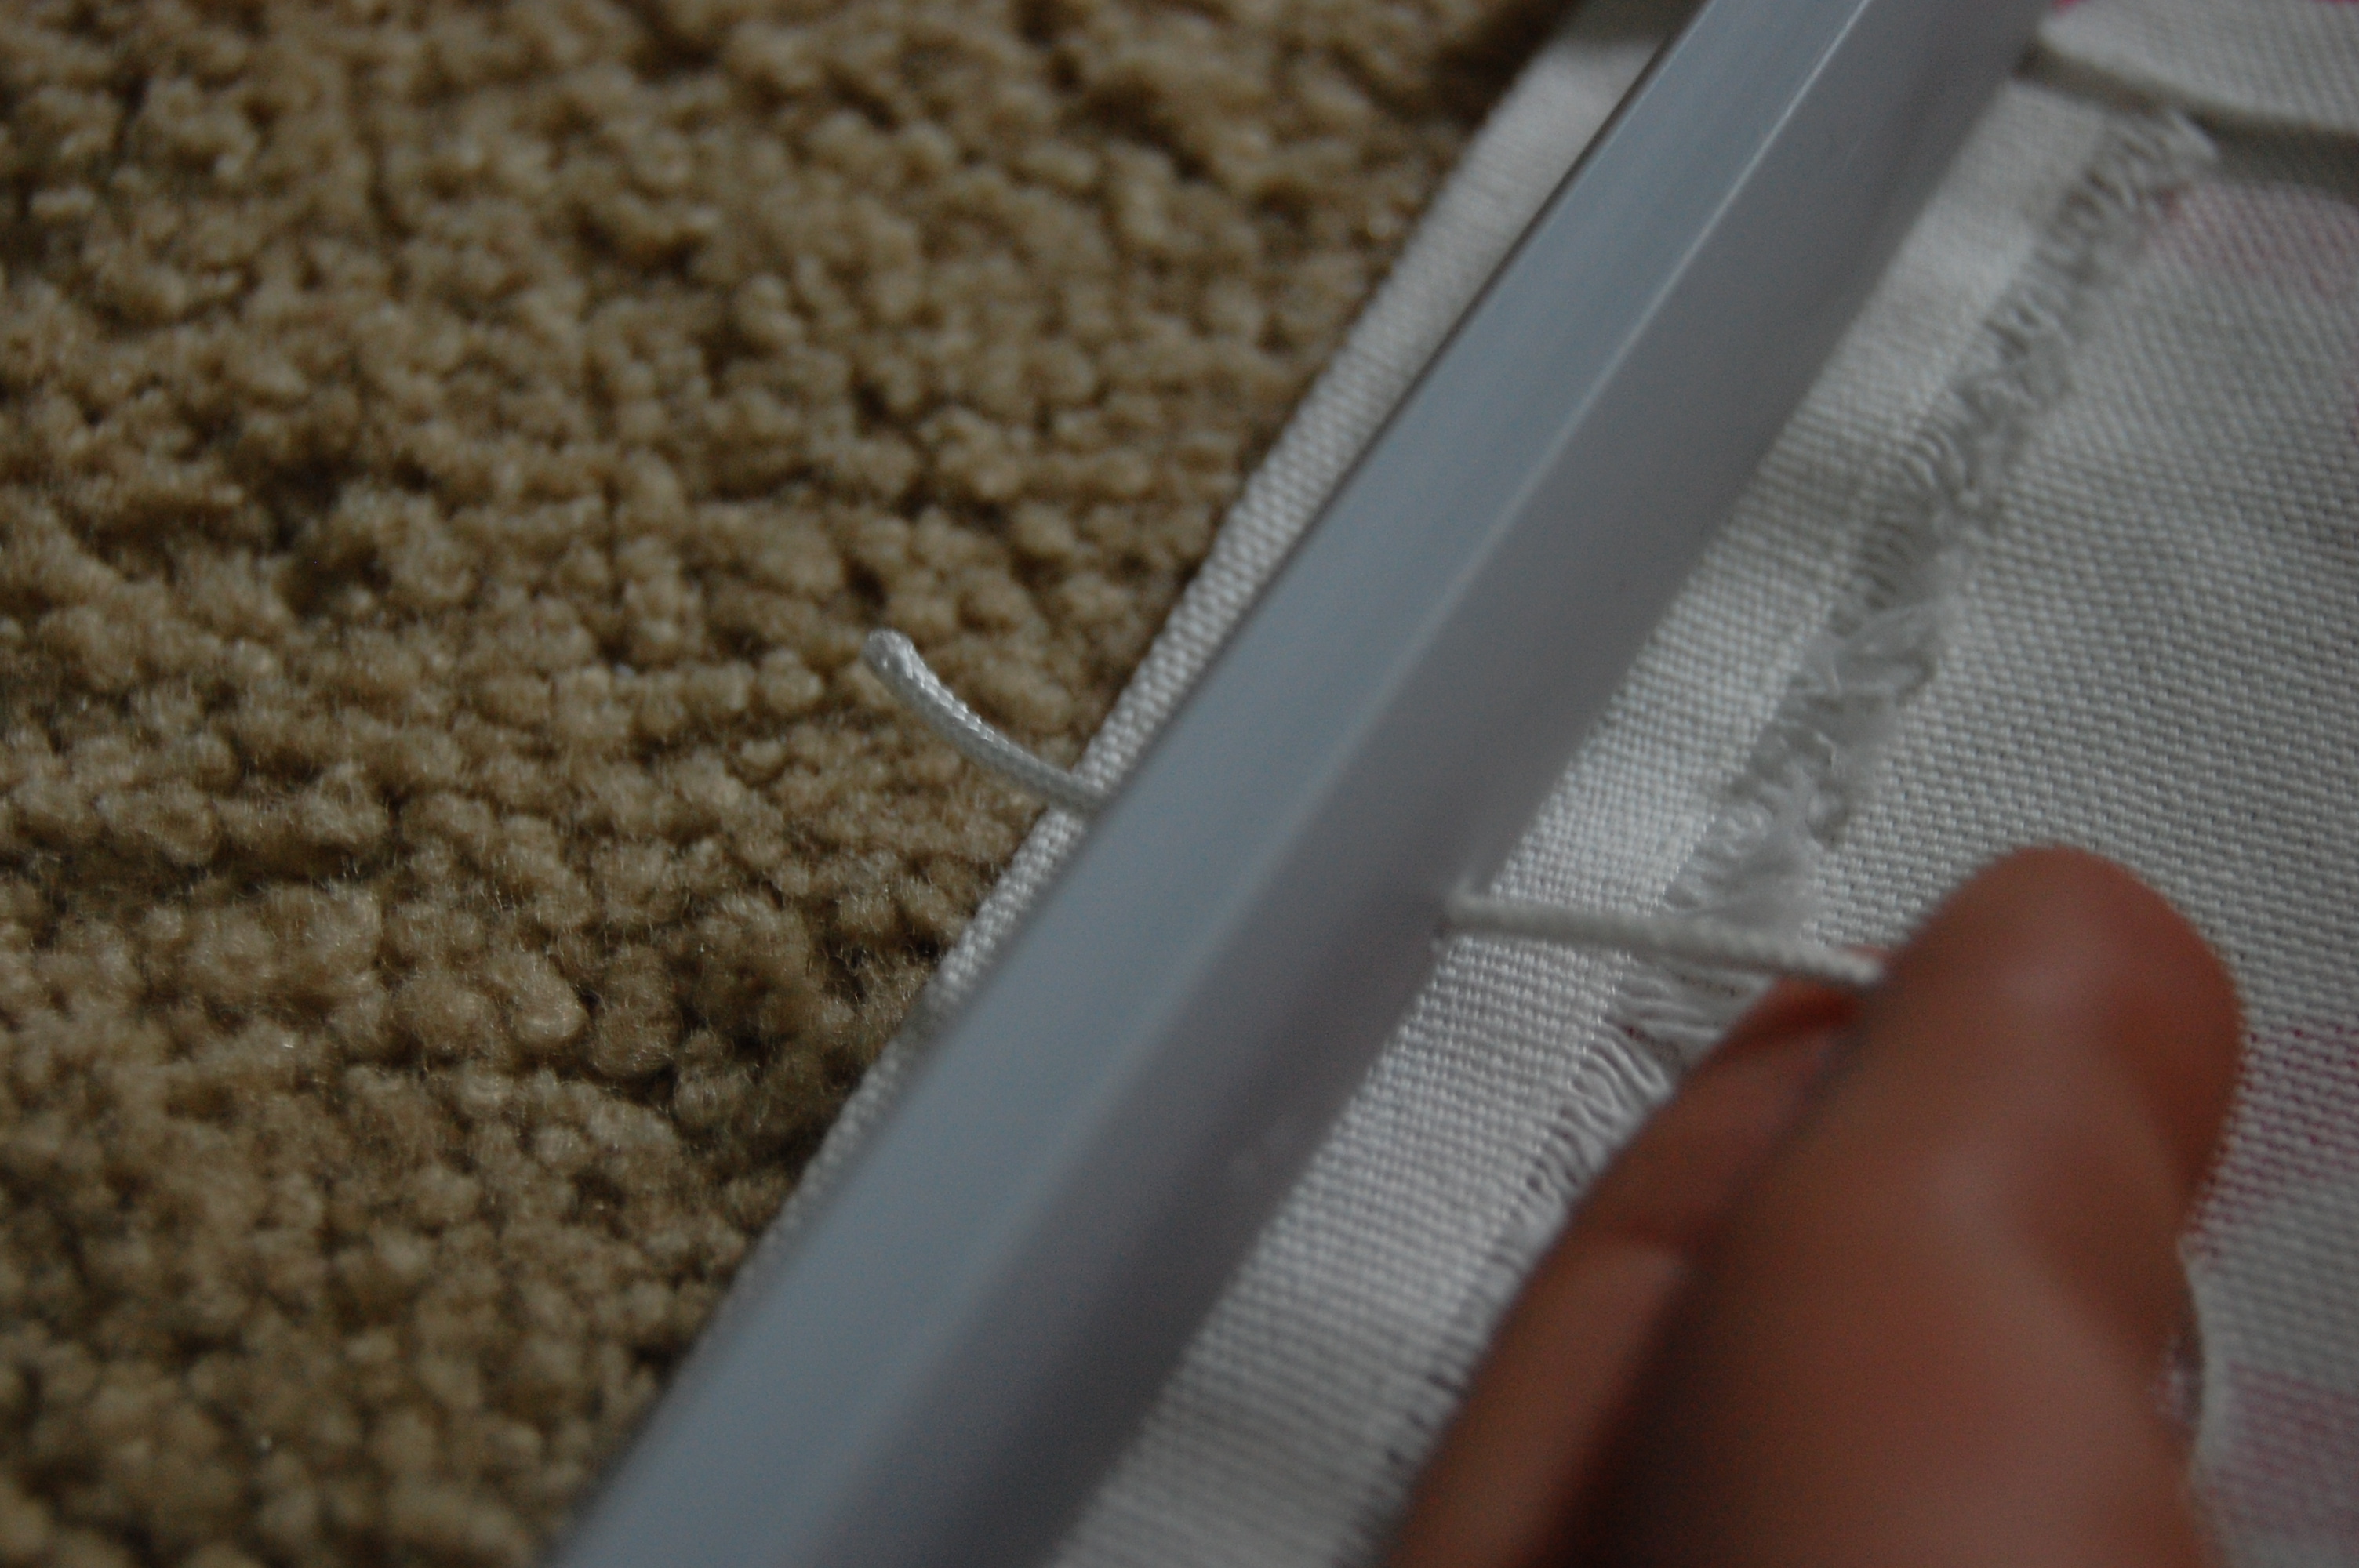
8. After all the slats (along with top bar and bottom piece) are glued down take the end of the cord and put it back into that bottom hole, tie a little knot and pop the button back on.
9. Hang your gorgeous custom-made Roman Shades!
LOVE LOVE LOVE!
I know it seemed like a lot of steps but trust me it is so simple and quick! Just need to hang some frames, find a table lamp and a chair and I am all set!
