
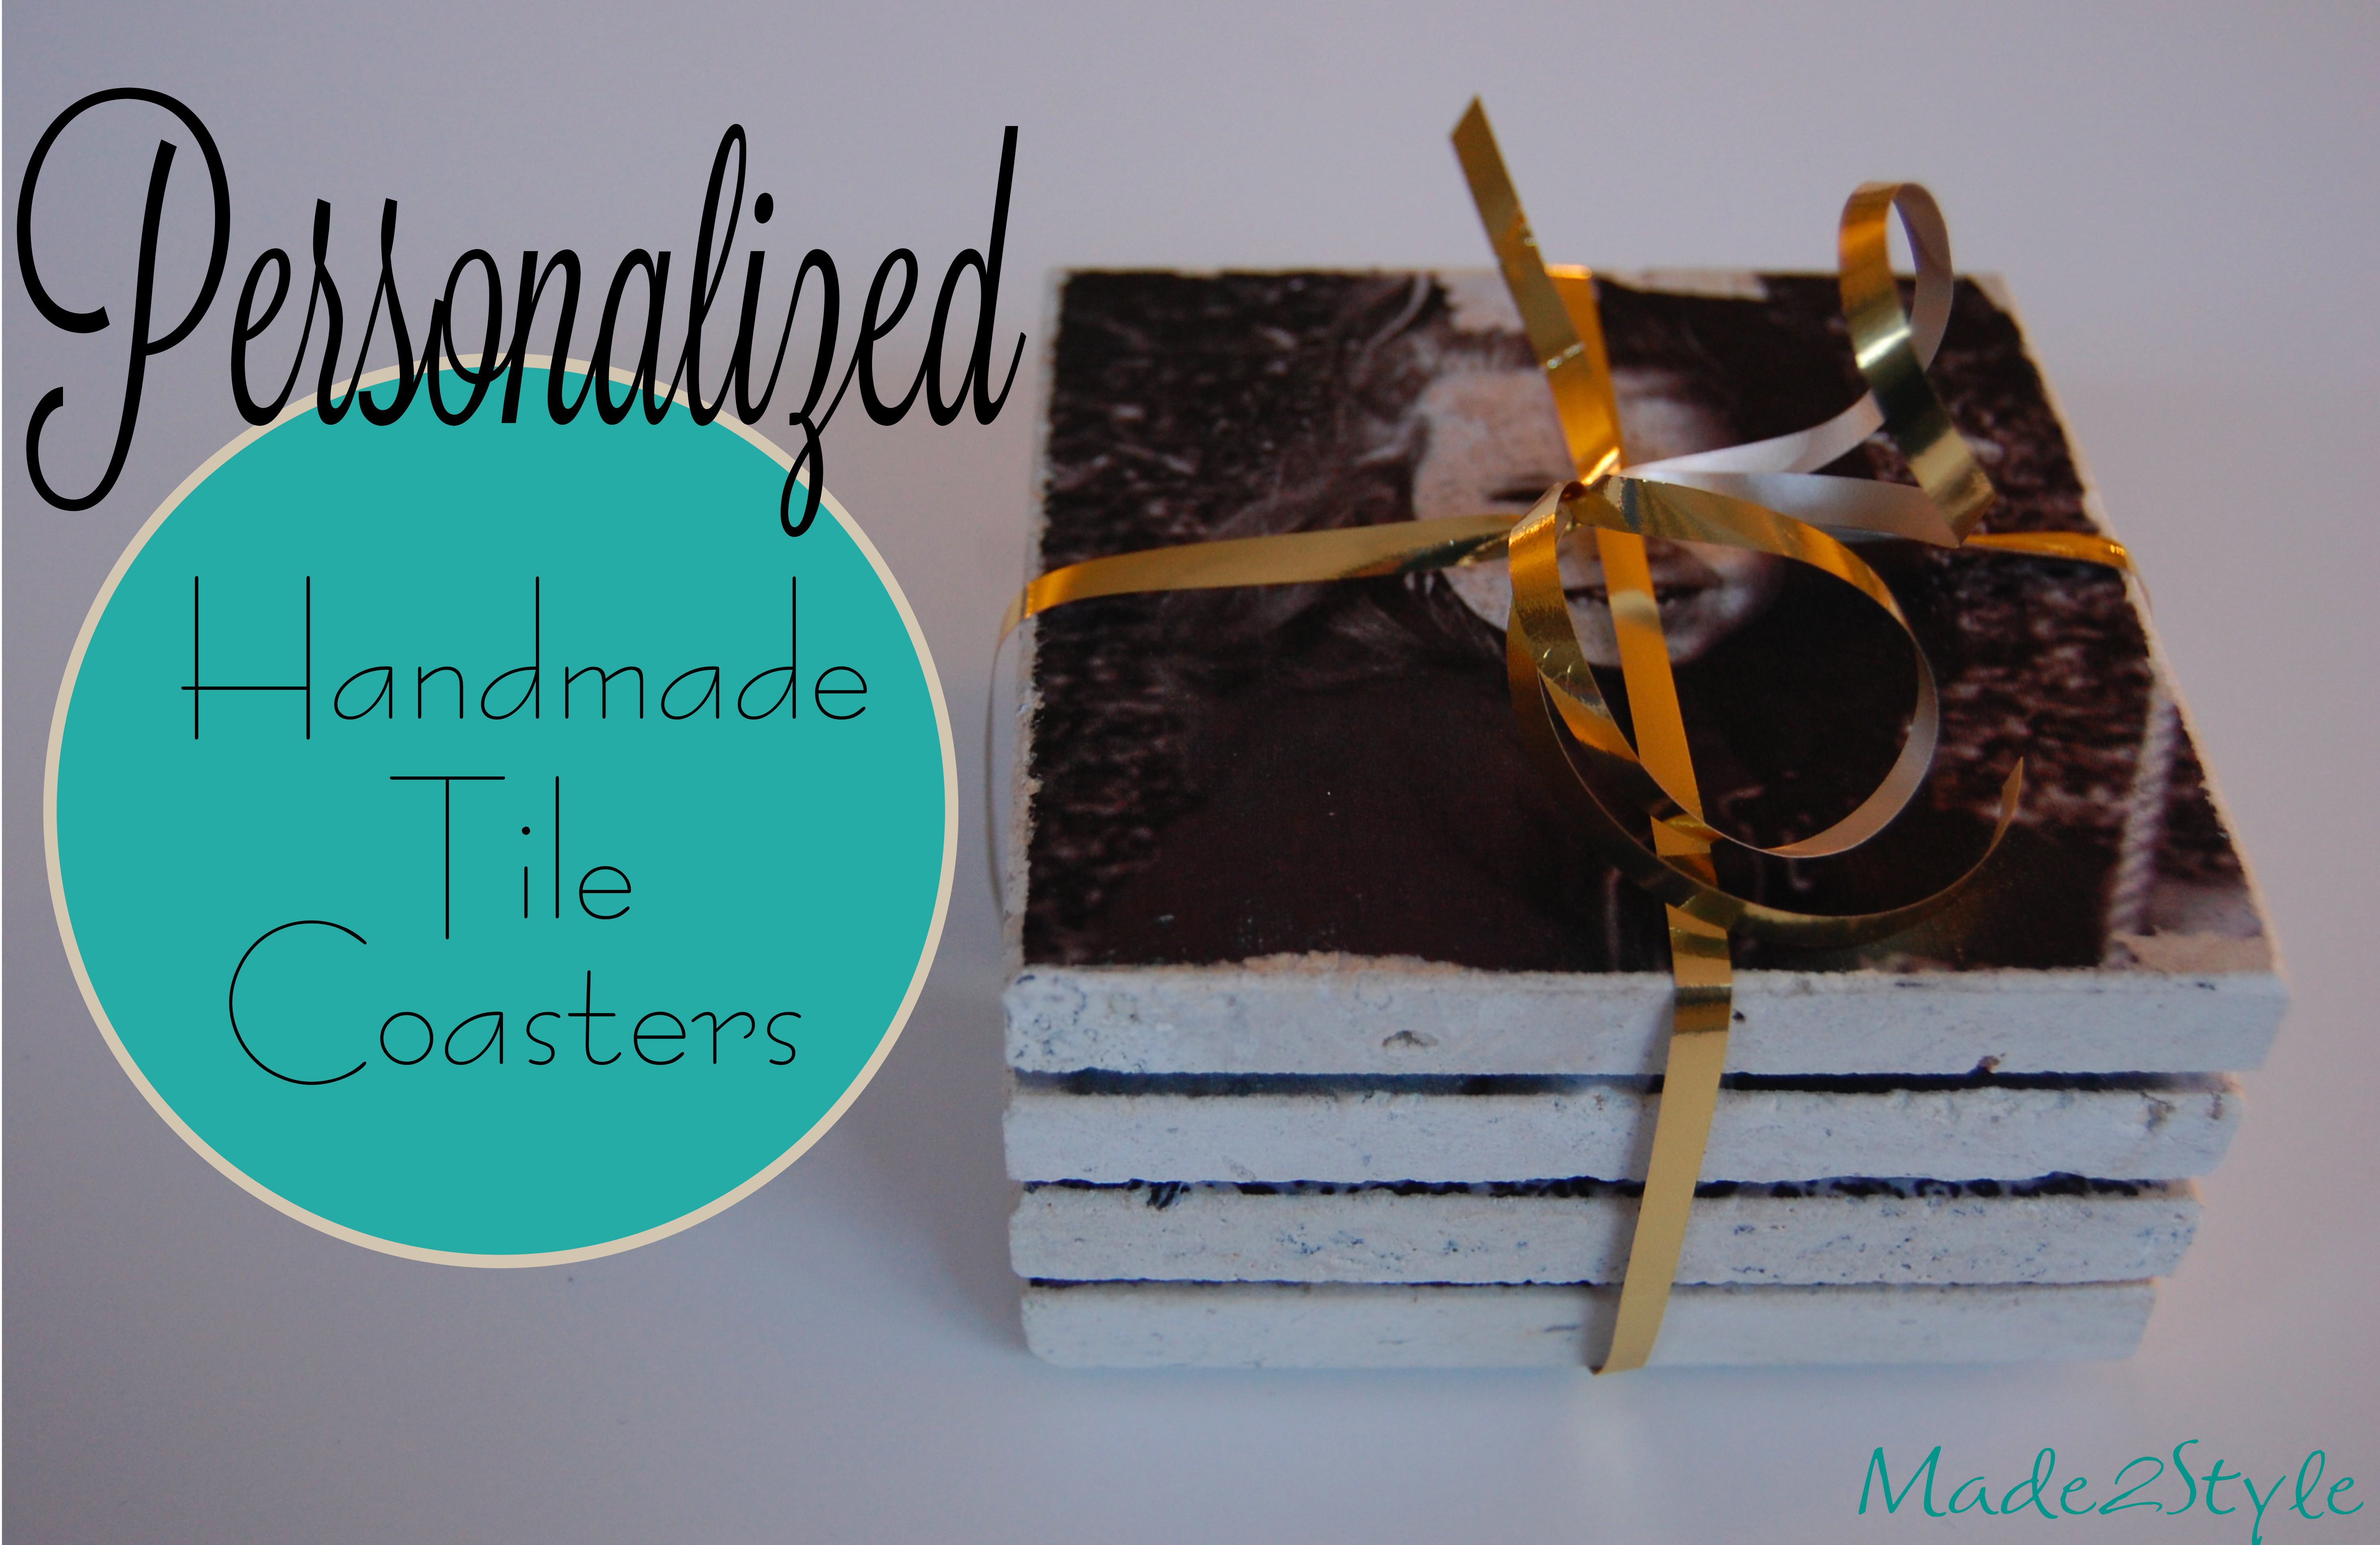
It’s Handmade Gift time!! I’ve teamed up with some awesome bloggers to help bring you guys 9 Handmade Gifts!

The gift I’m bring you today is a quick and certainly usable gift for anyone! I’ve seen coasters that had decorative paper on them for design and then I saw a way to place an image on a canvas using tissue paper so I simply took two great ideas and that’s how I came up with this idea!
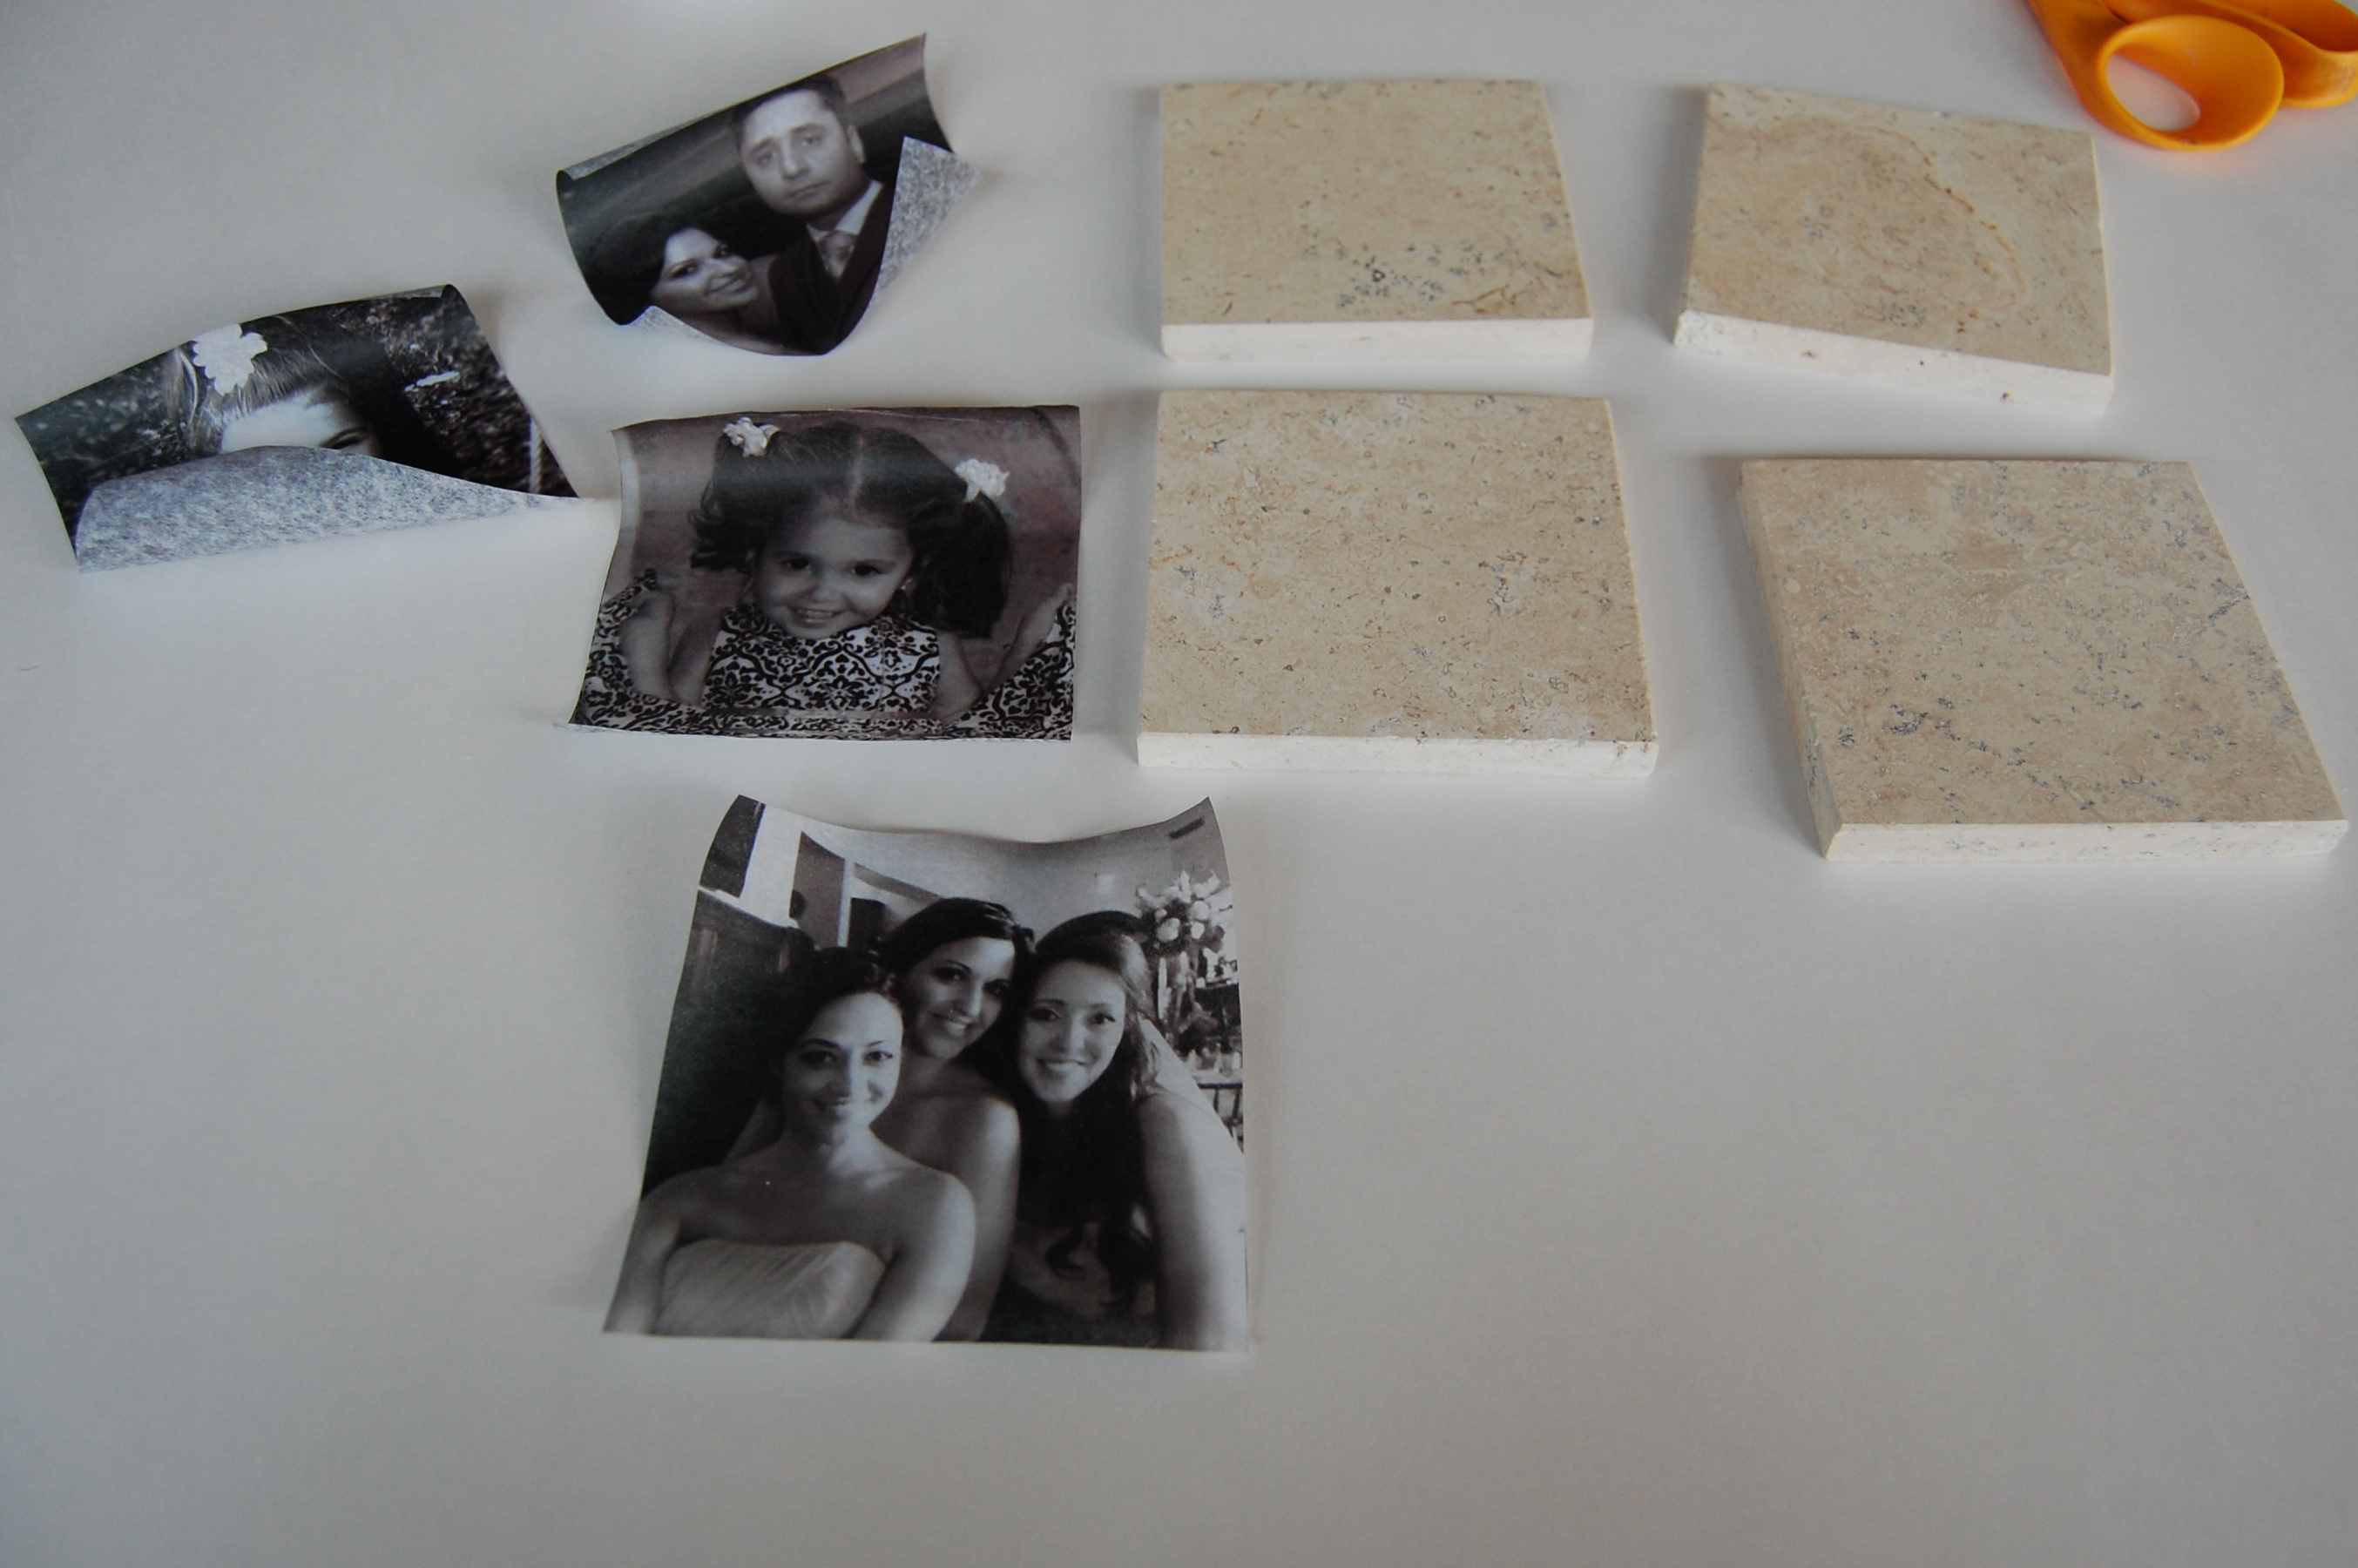
Here’s what you’ll need to make your own:
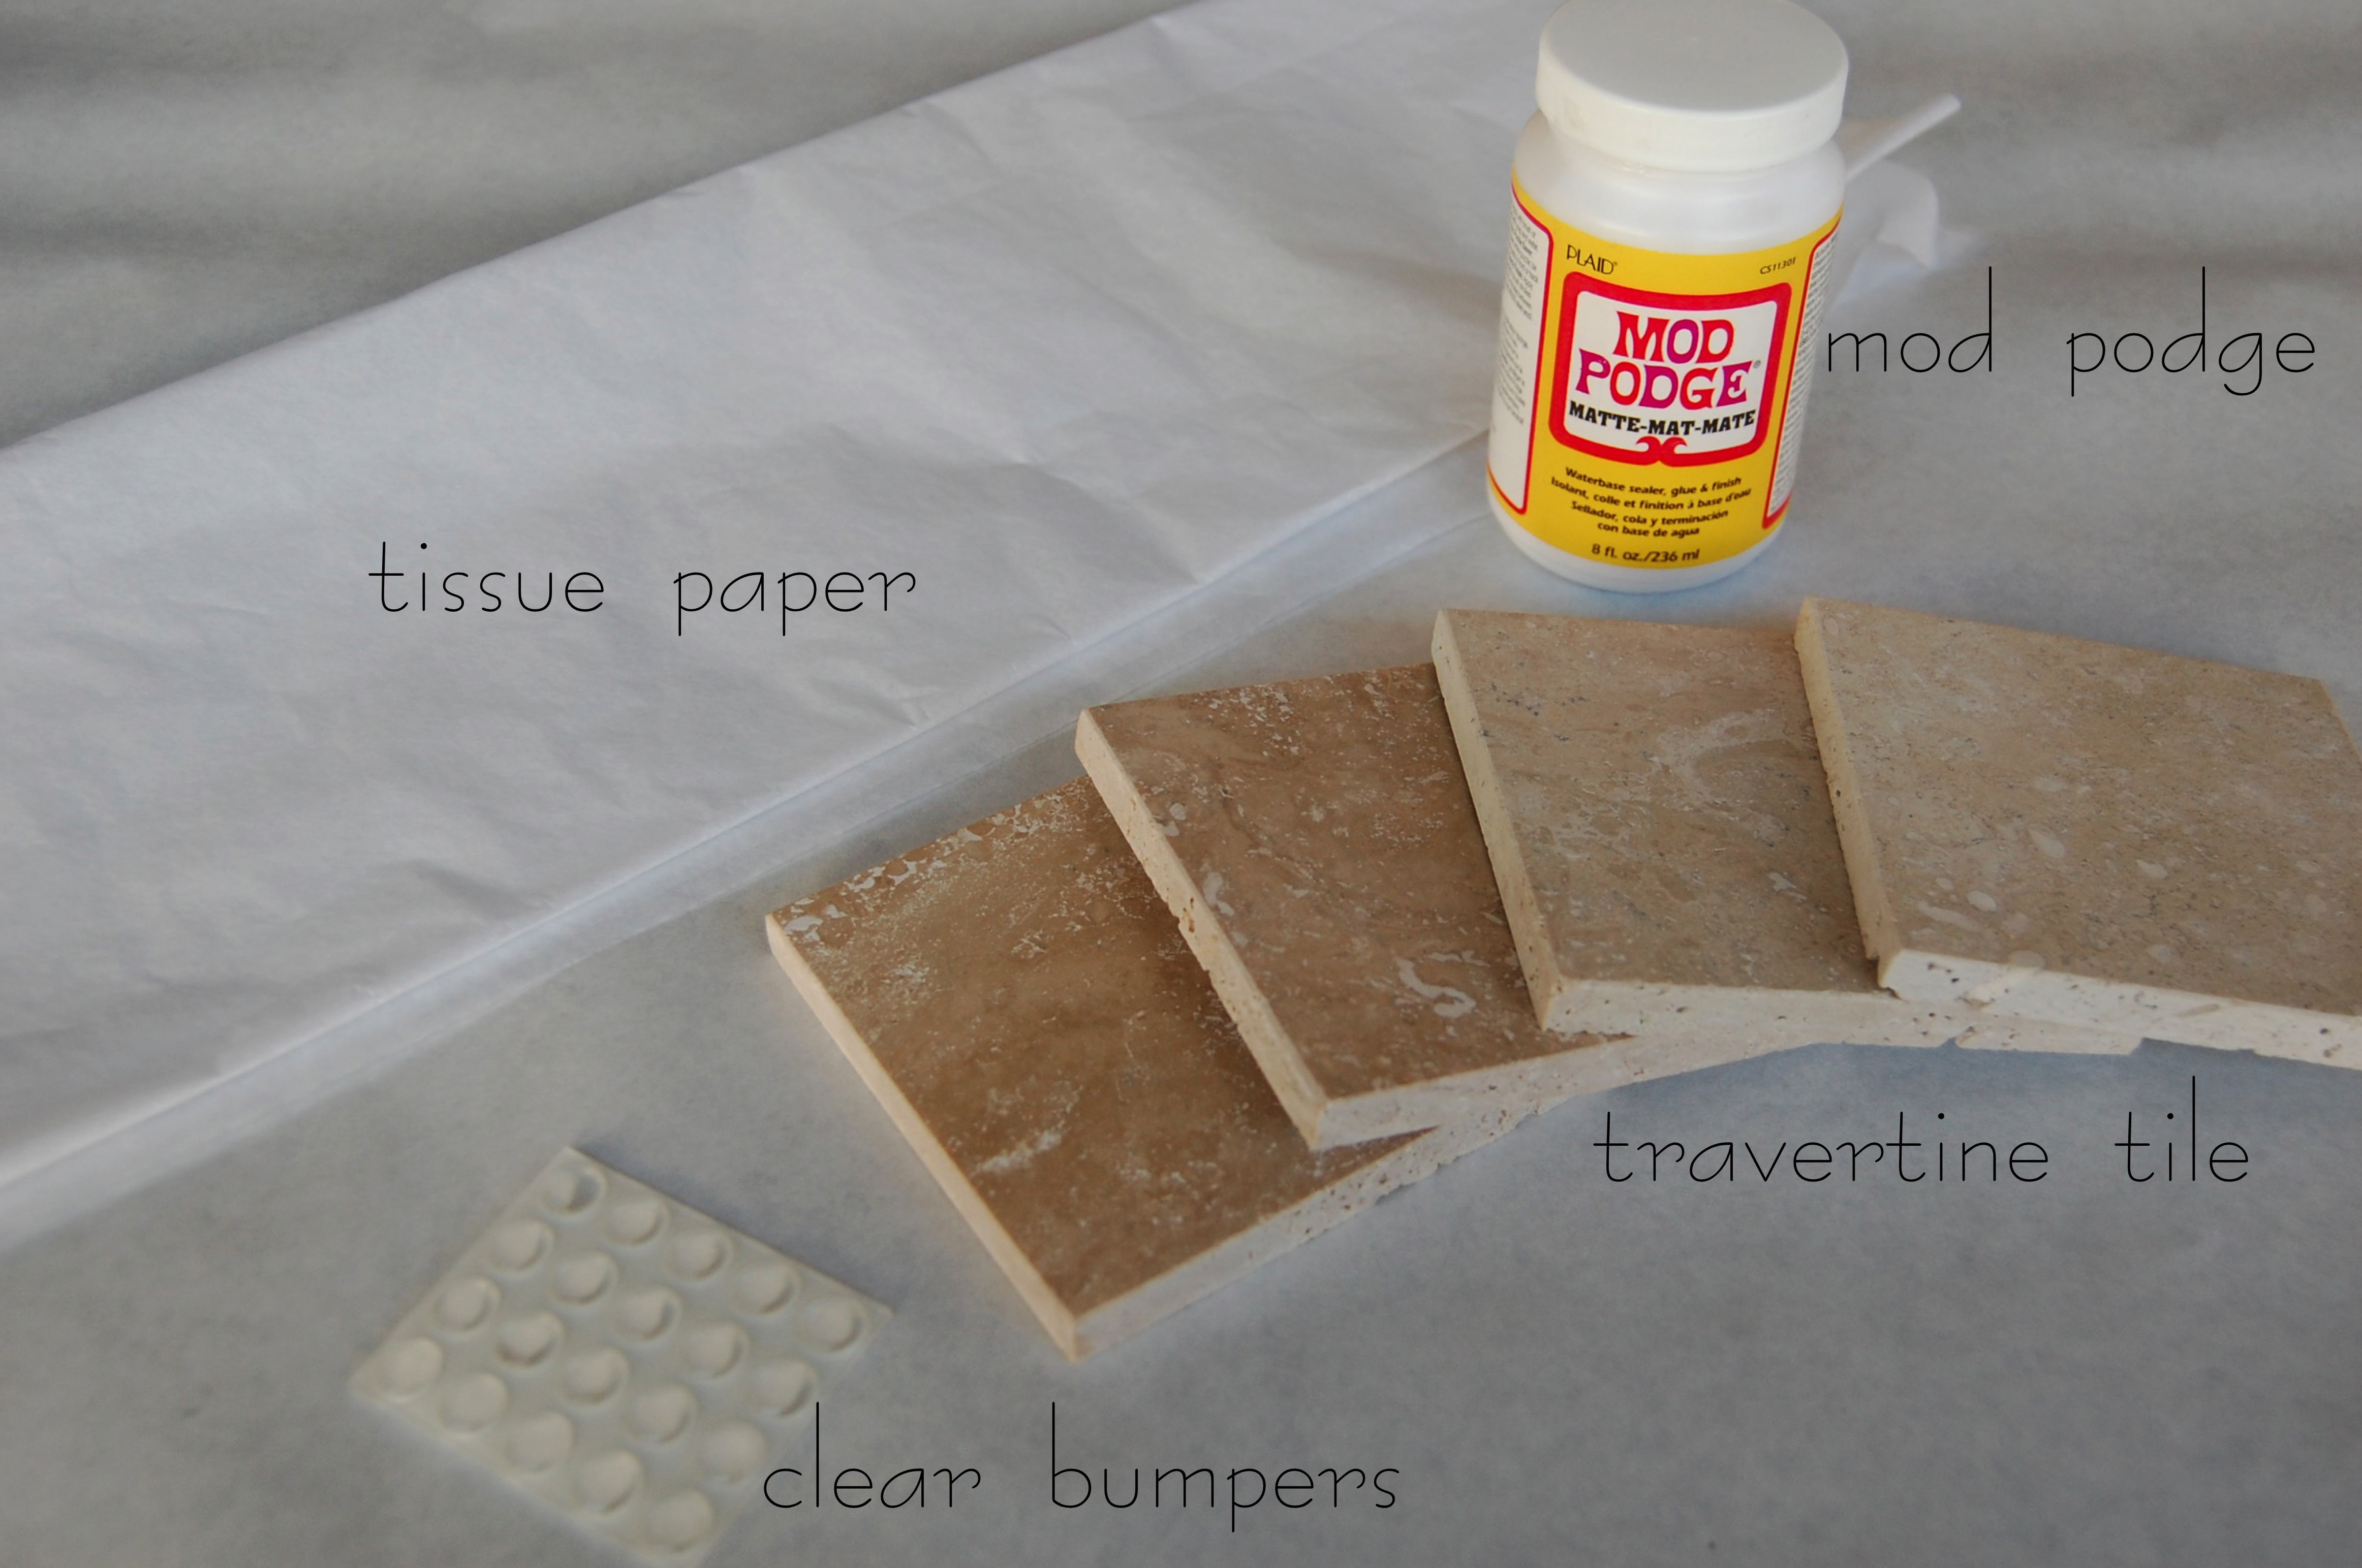
You’ll also need a printer, 2 standard sheets of printing paper, scissors, and a small craft brush. The first thing you will need to do is choose the images you want on your tile and crop them into a 4×4 size and then change them to black and white prints. I used Print Shop to help me do this but you could also use Pixlr.
Next, I cut the tissue paper a little smaller than my printer paper and then taped it down on all sides.

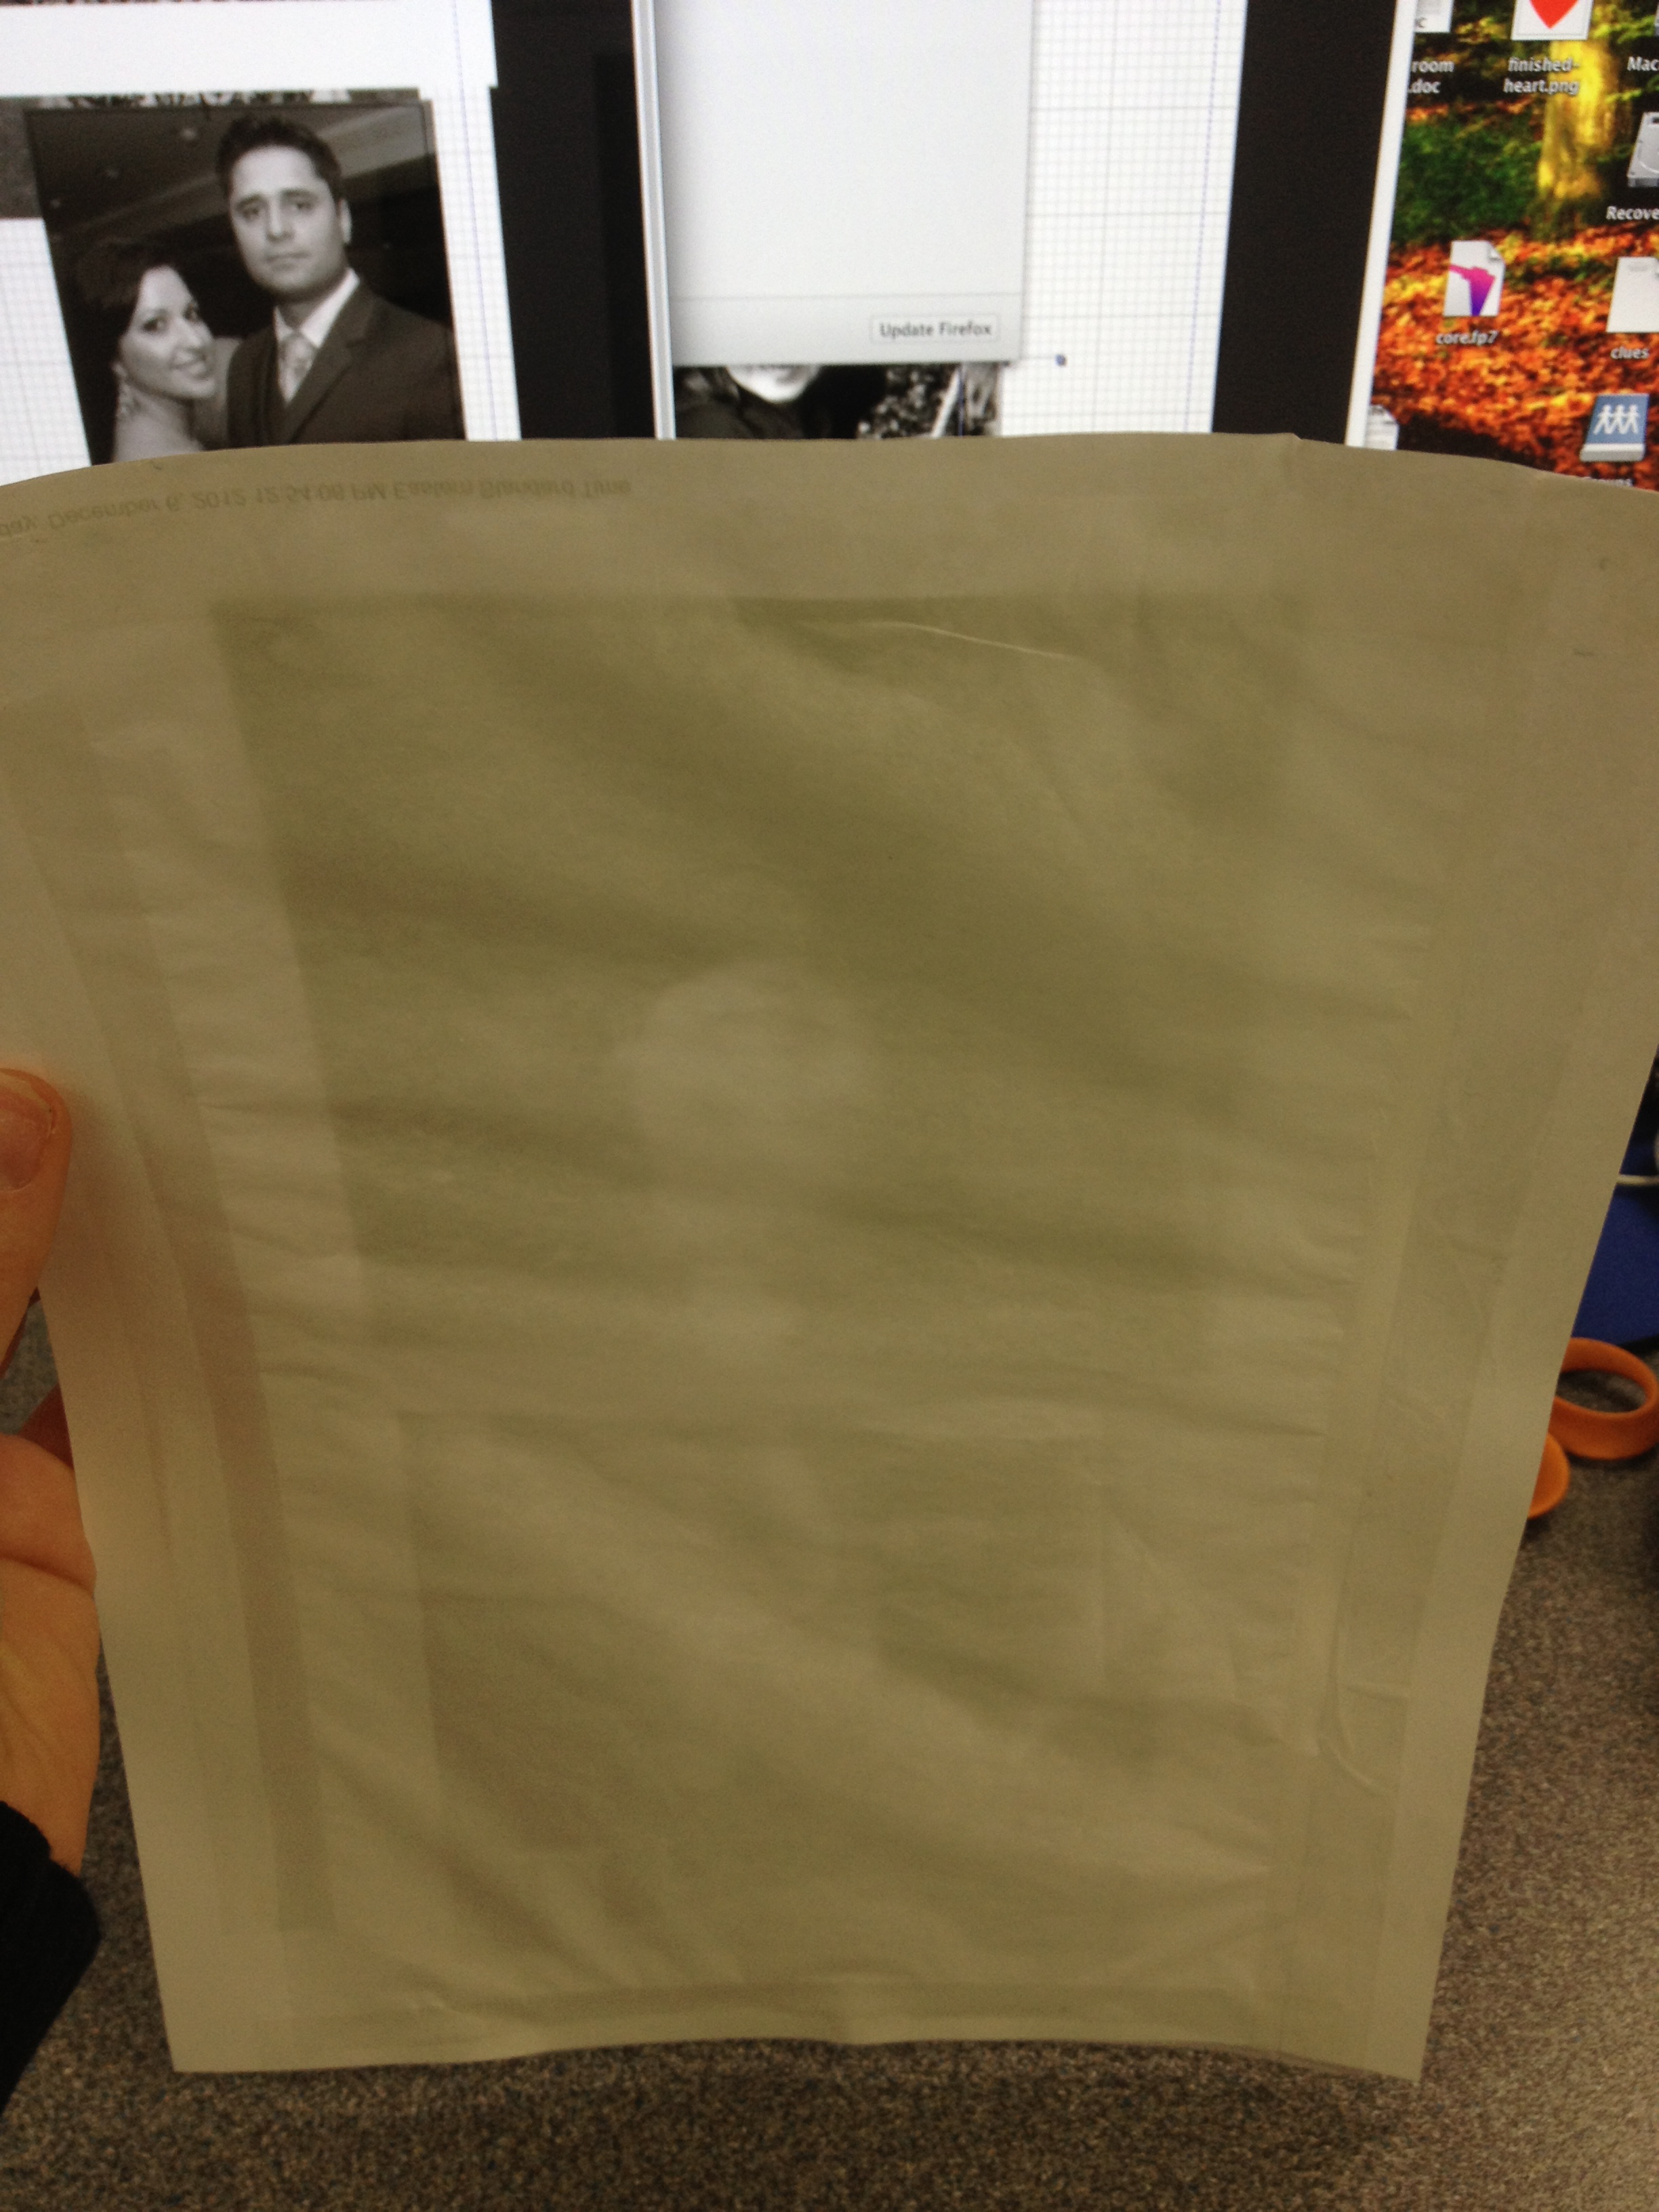
Try your best to keep the tissue paper as smooth as possible
Then you will just feed it through your printer as normal and the images will print right on the tissue paper!
 Once this is done you can simply follow the next steps!
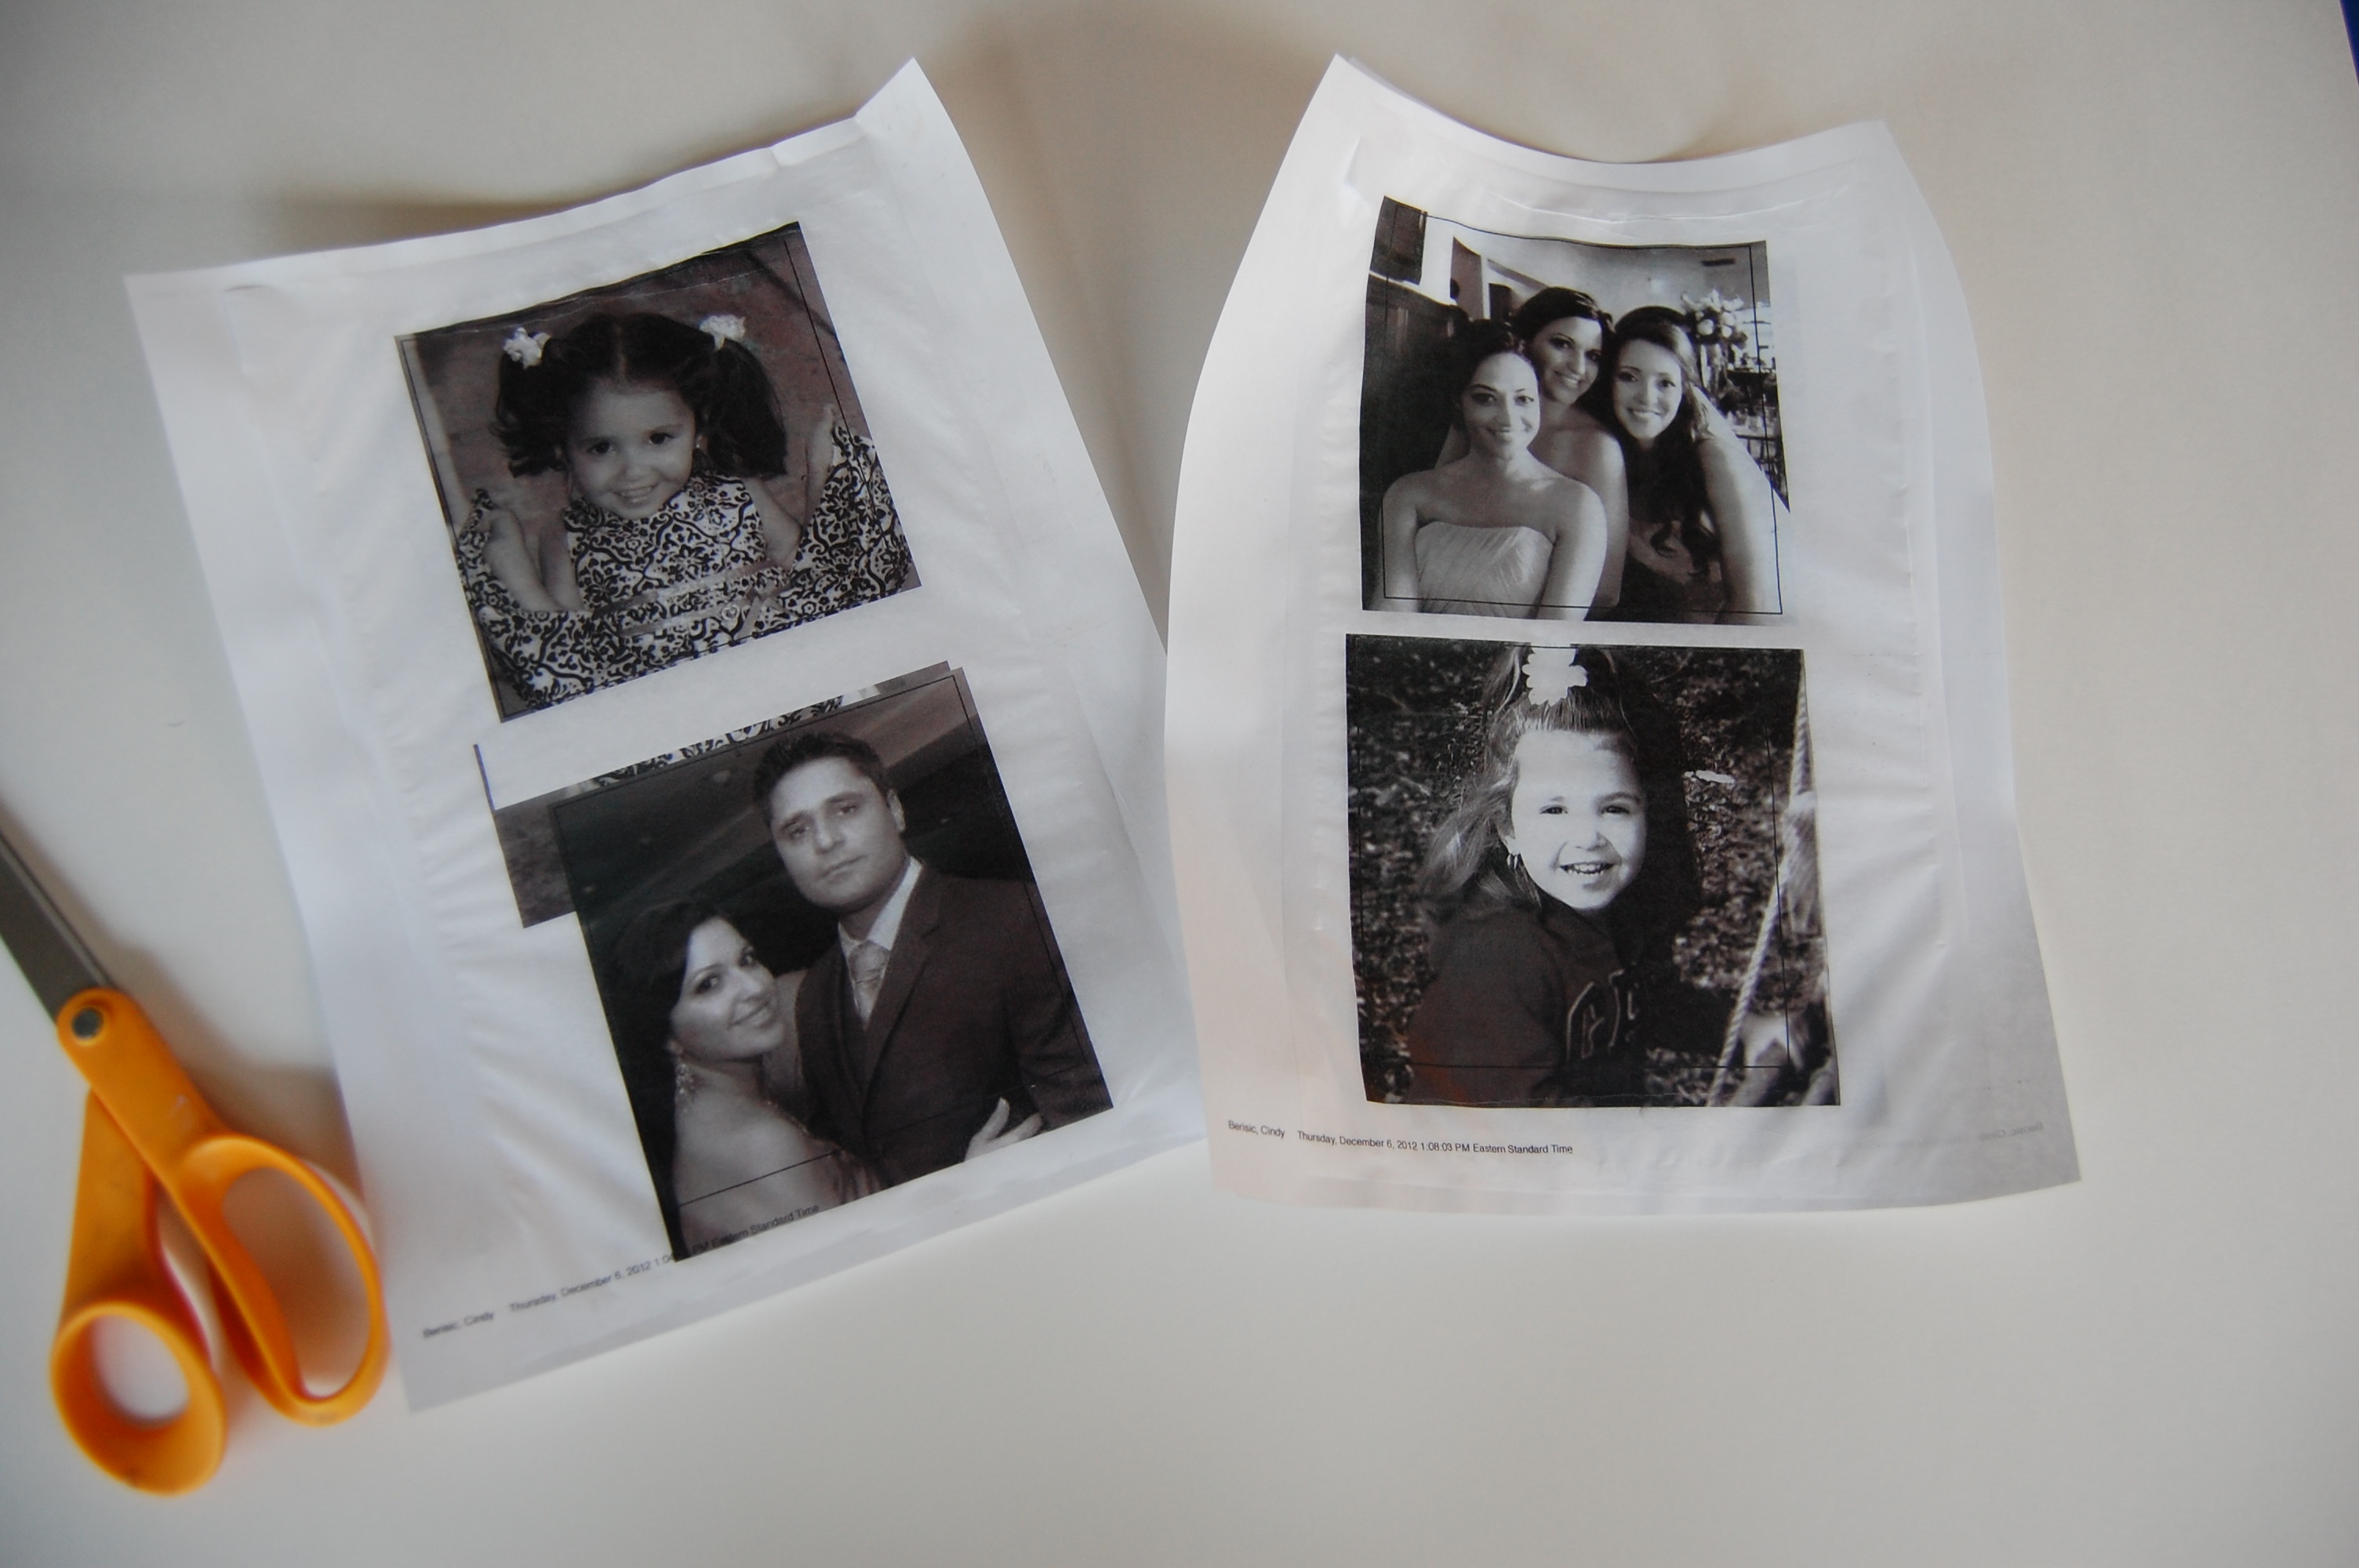
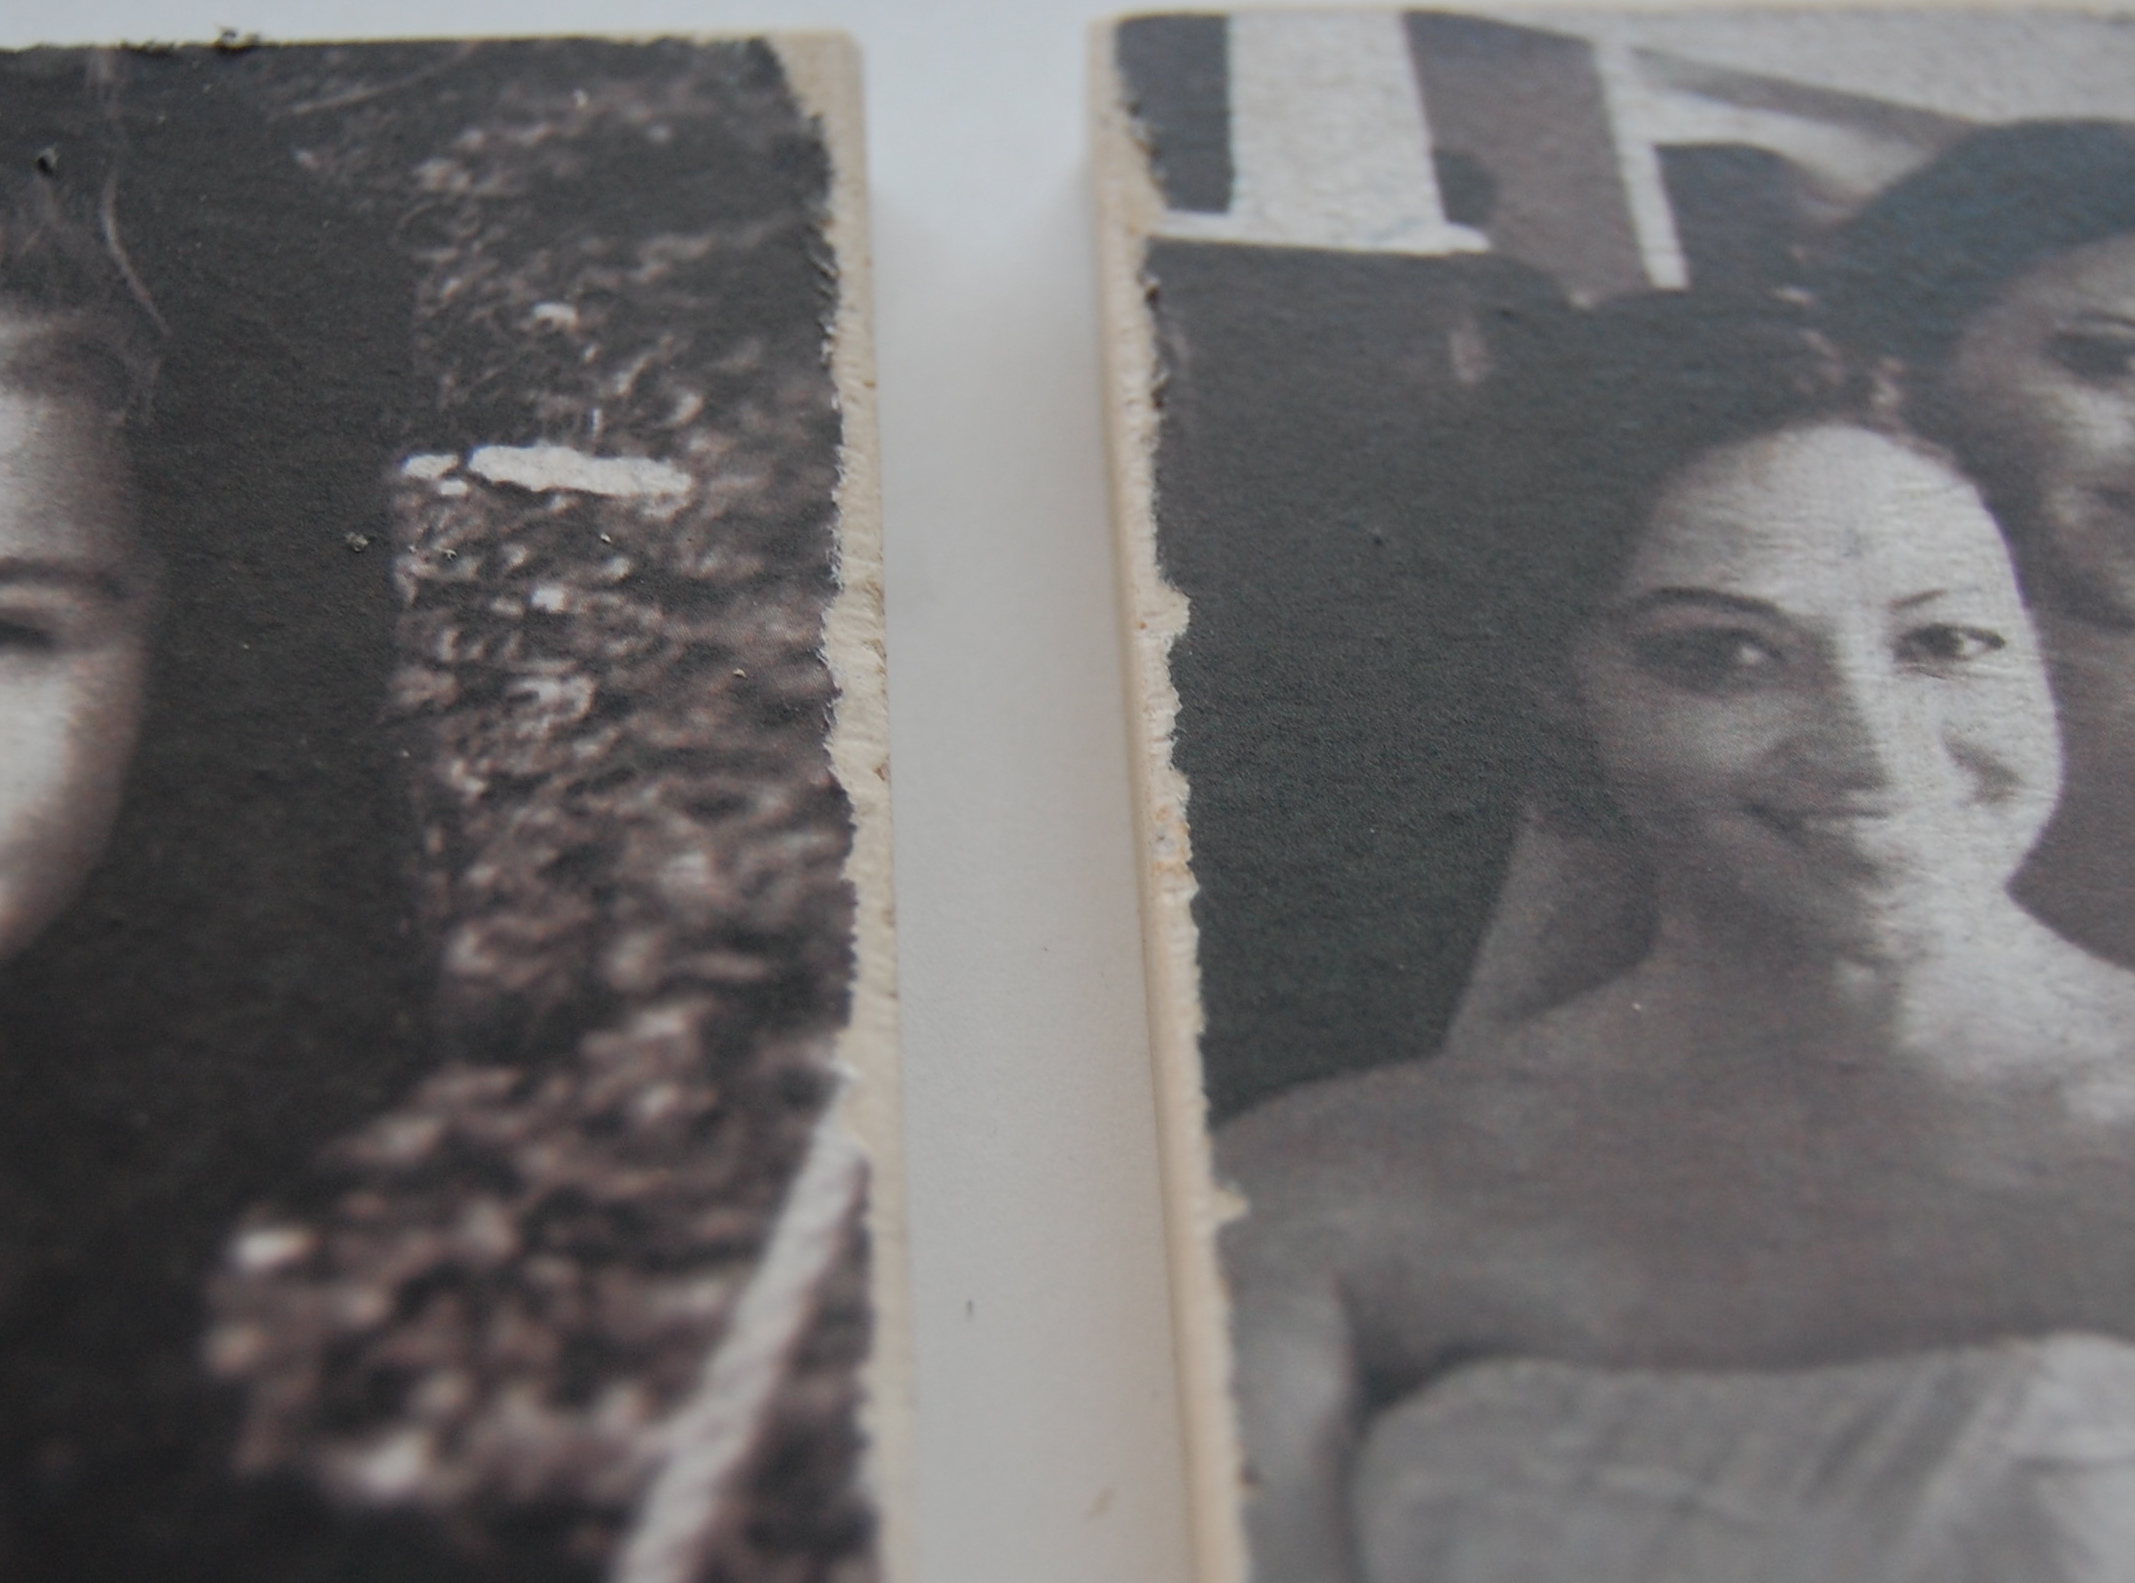
1. Cut out your images.
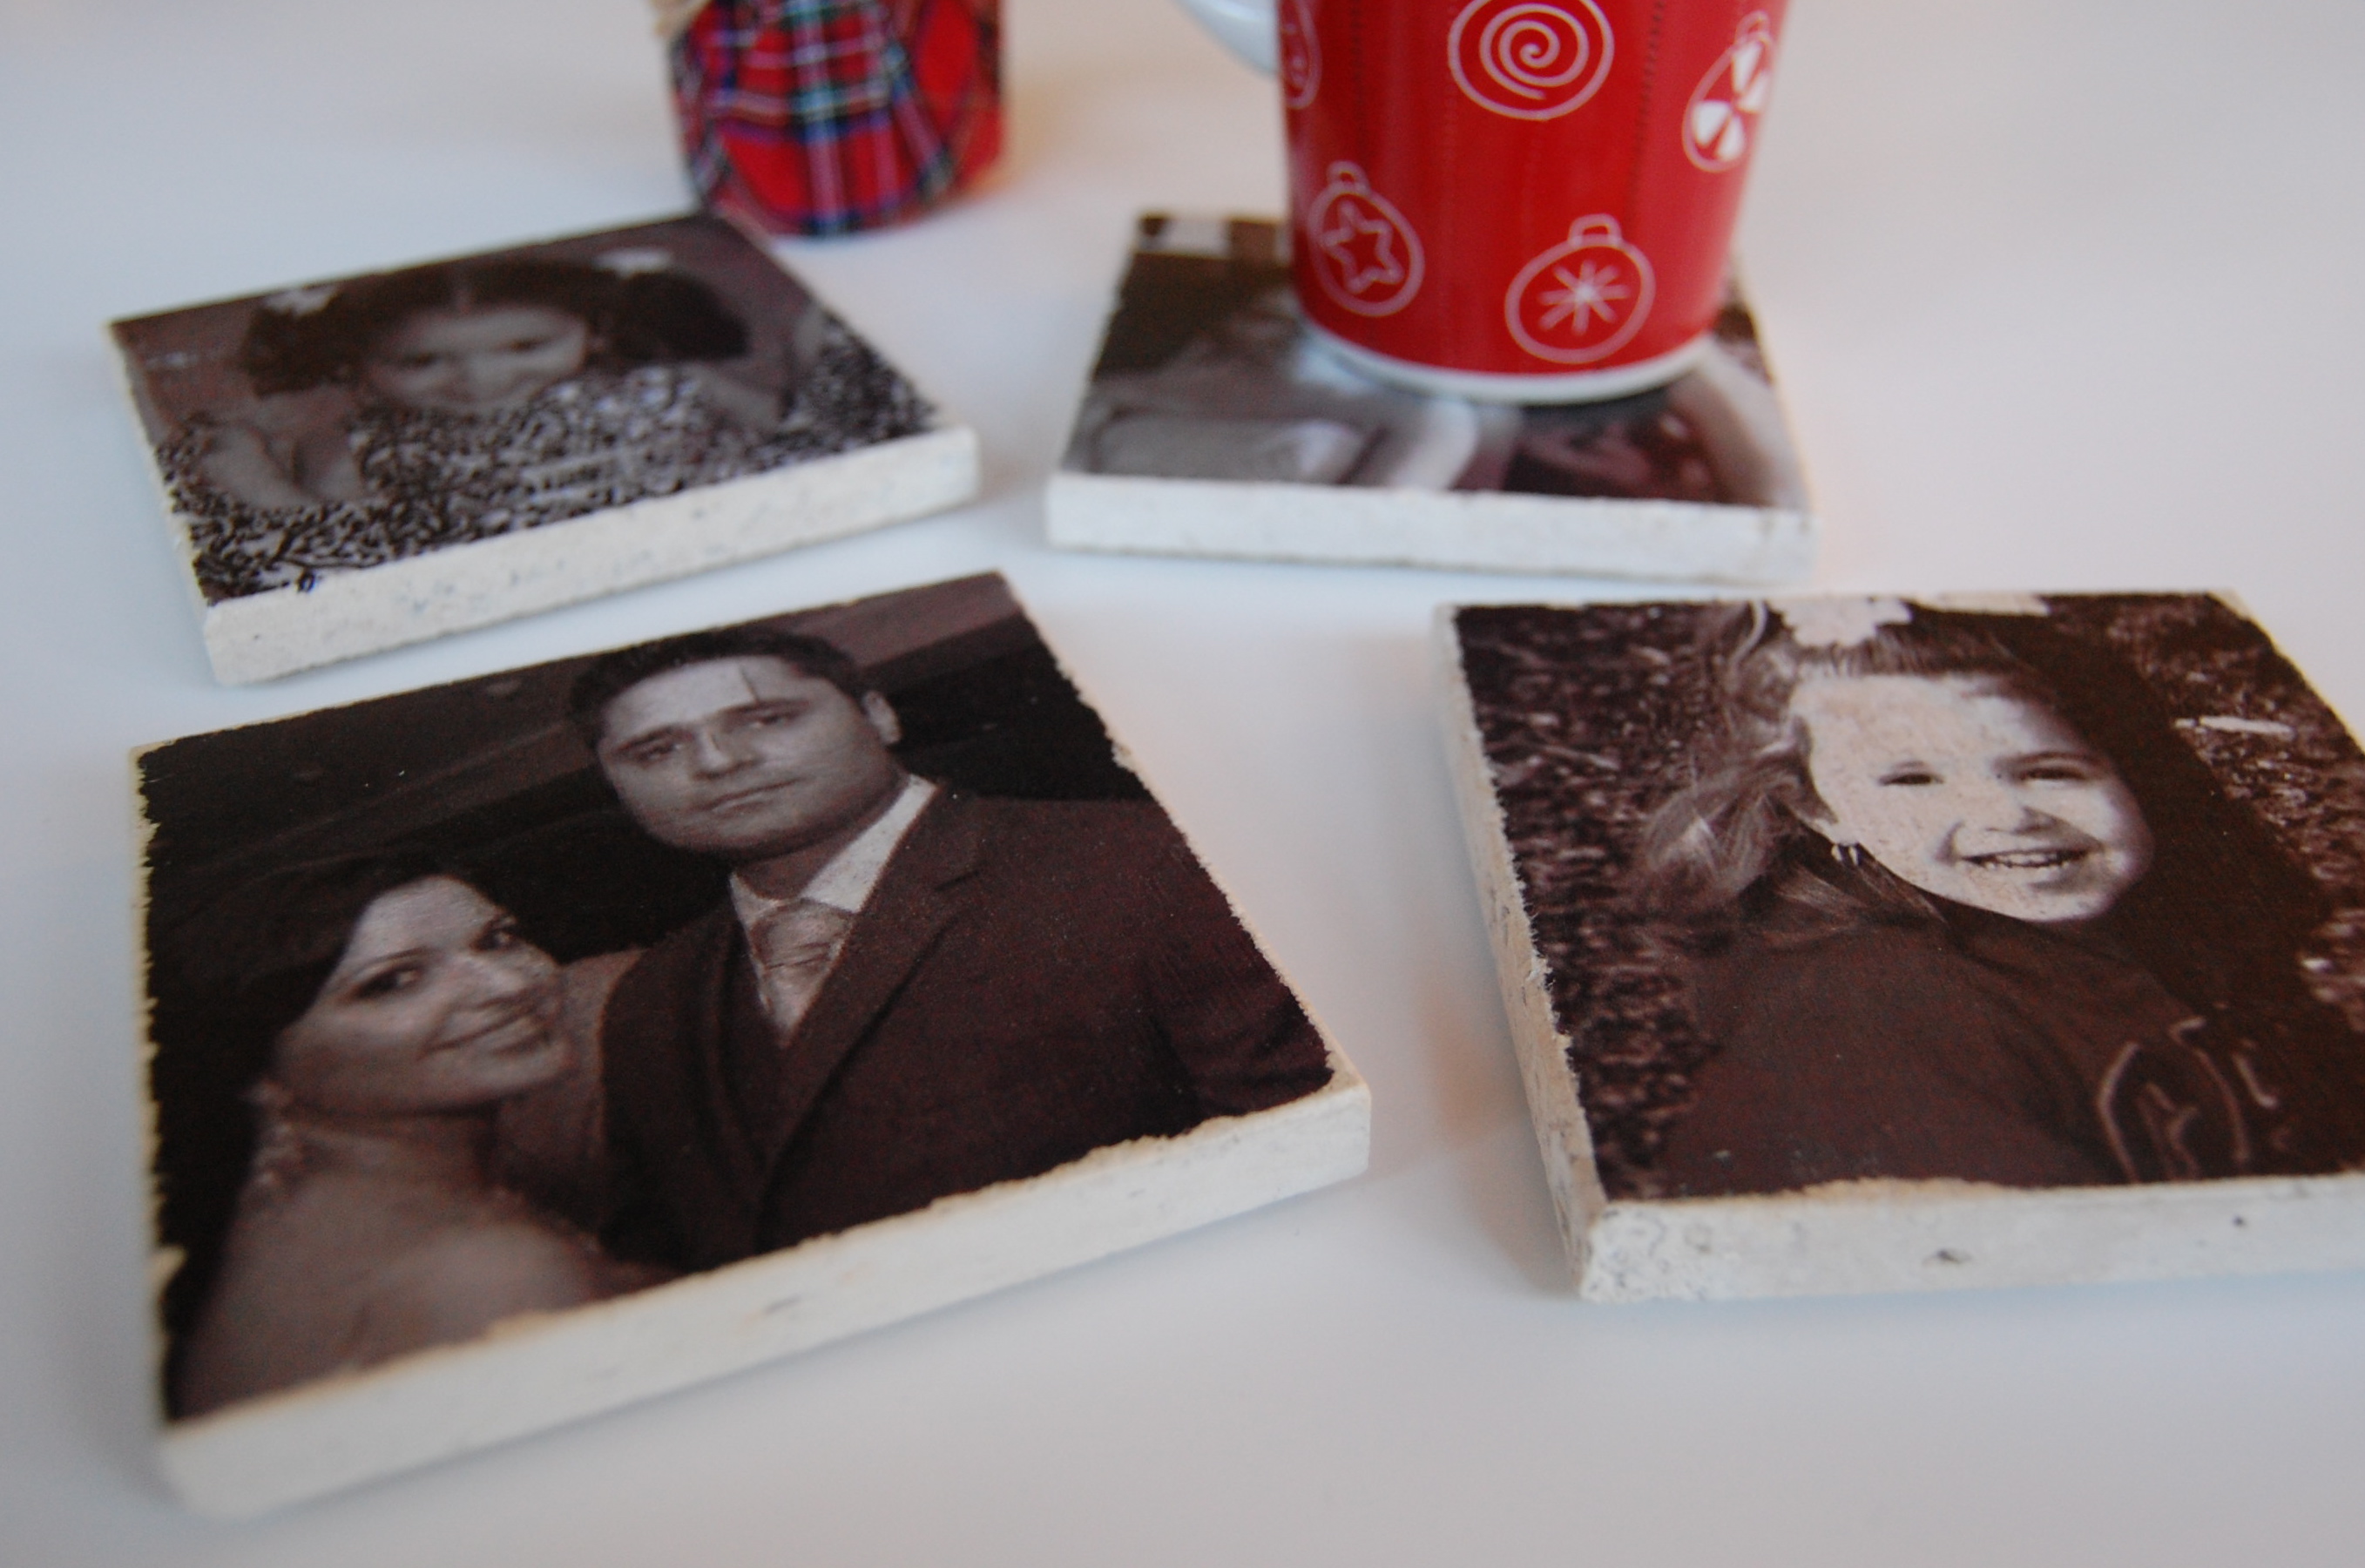
I printed a 4×4 box around the images to help me with my cutting. You may be able to see it on the top right photo above. By the way, I decided to make these coasters for my best friend and that gorgeous little angel is her daughter!
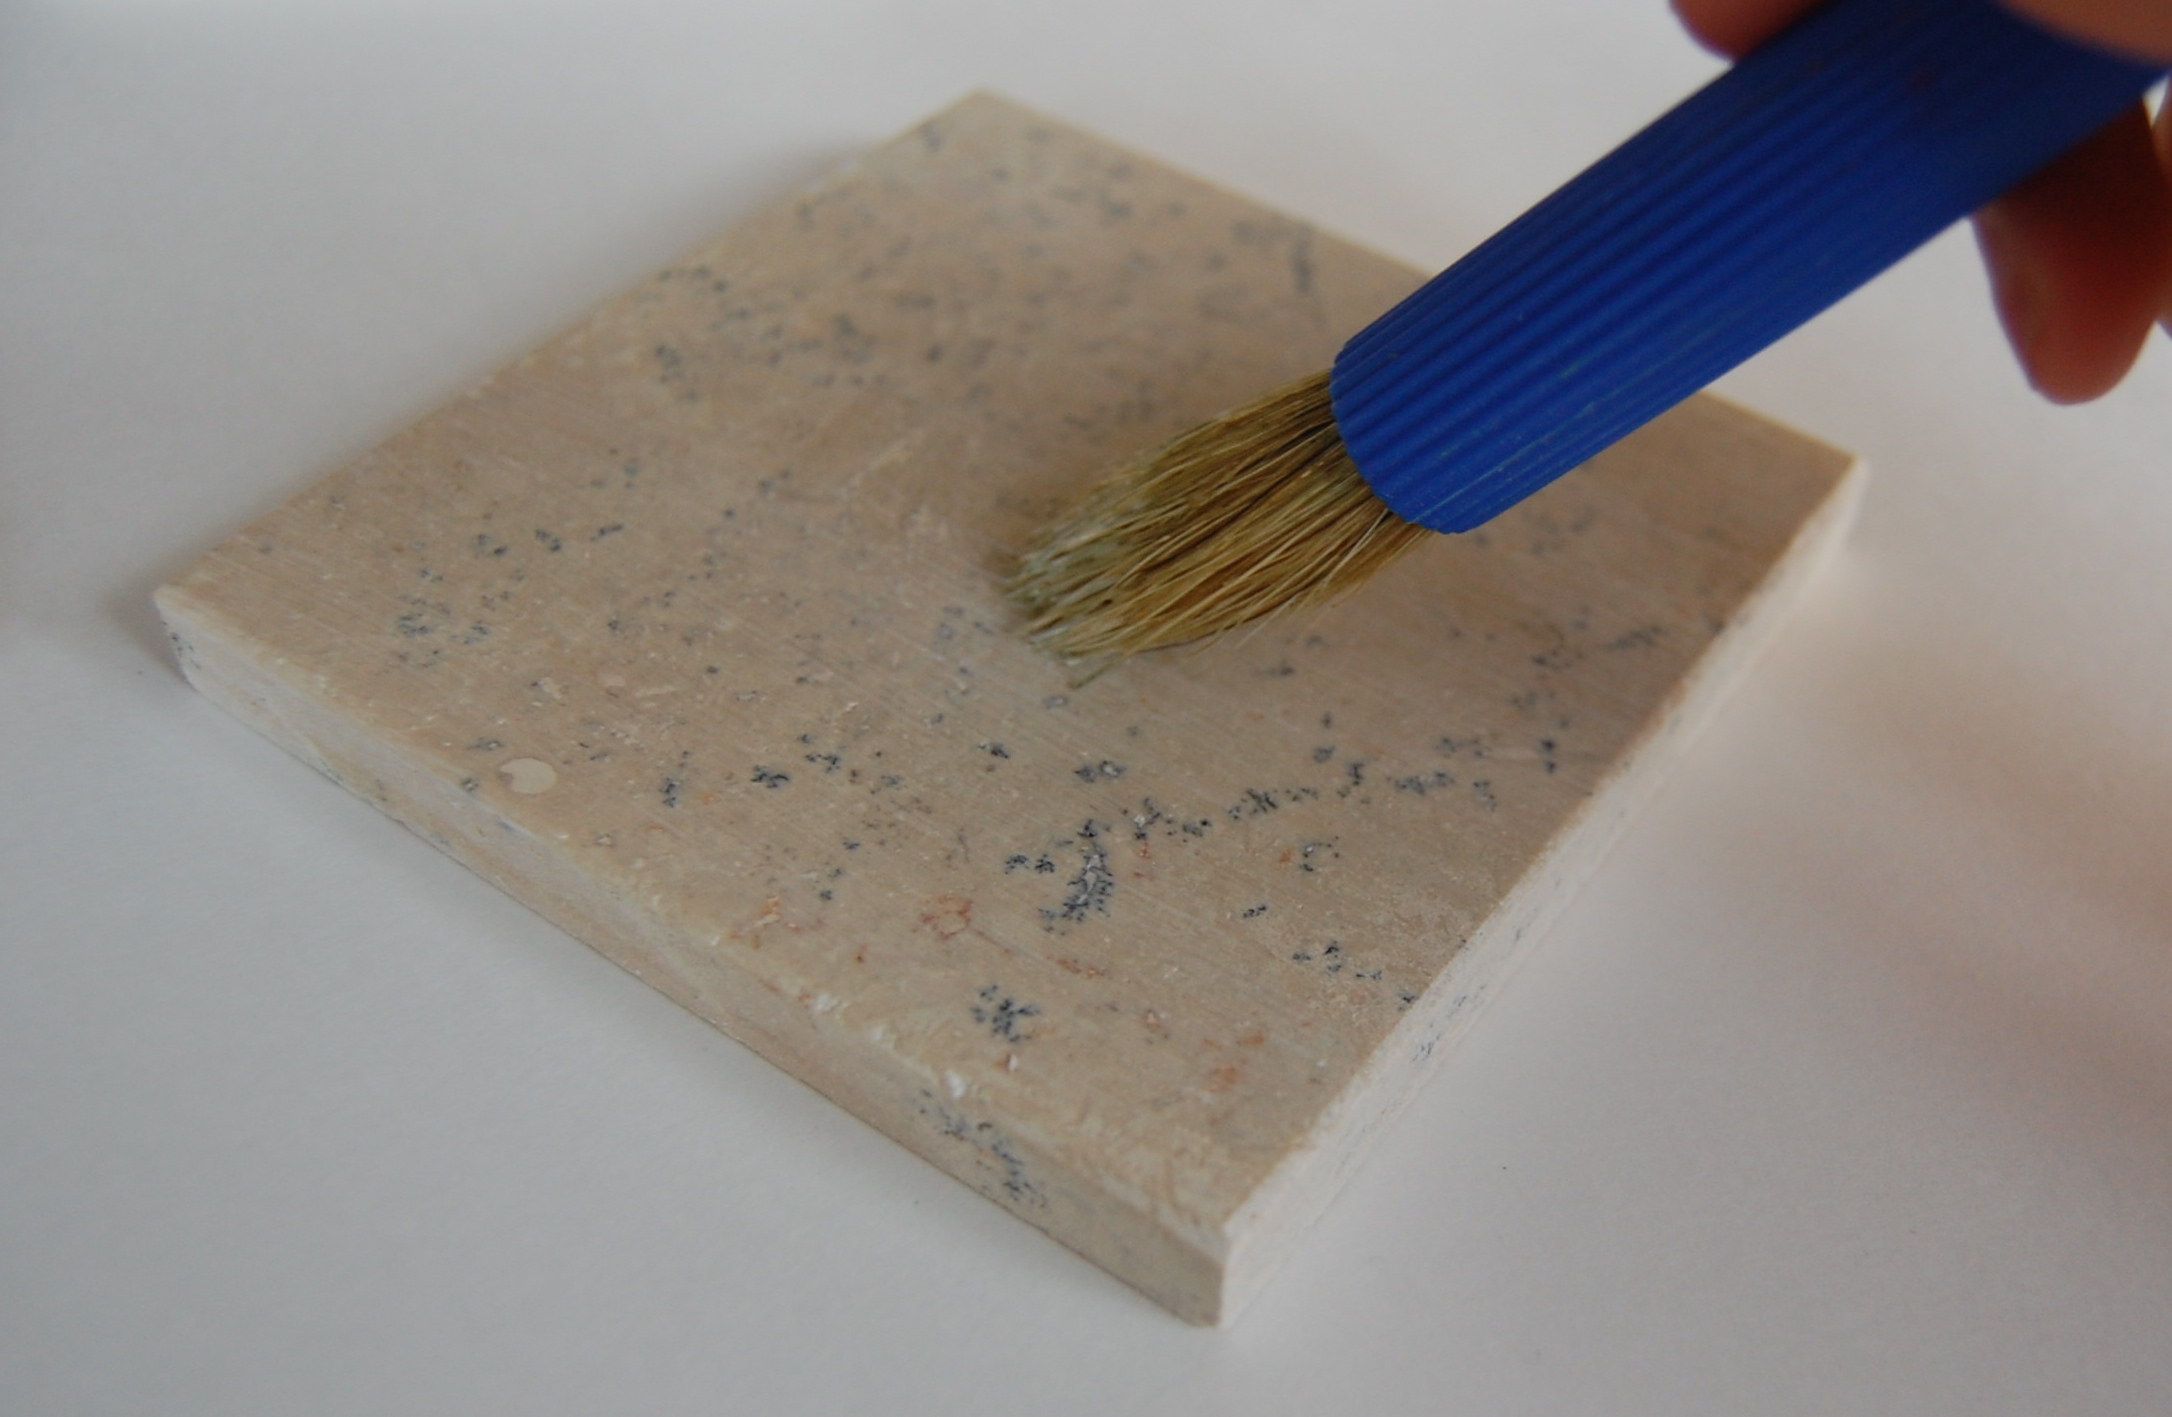
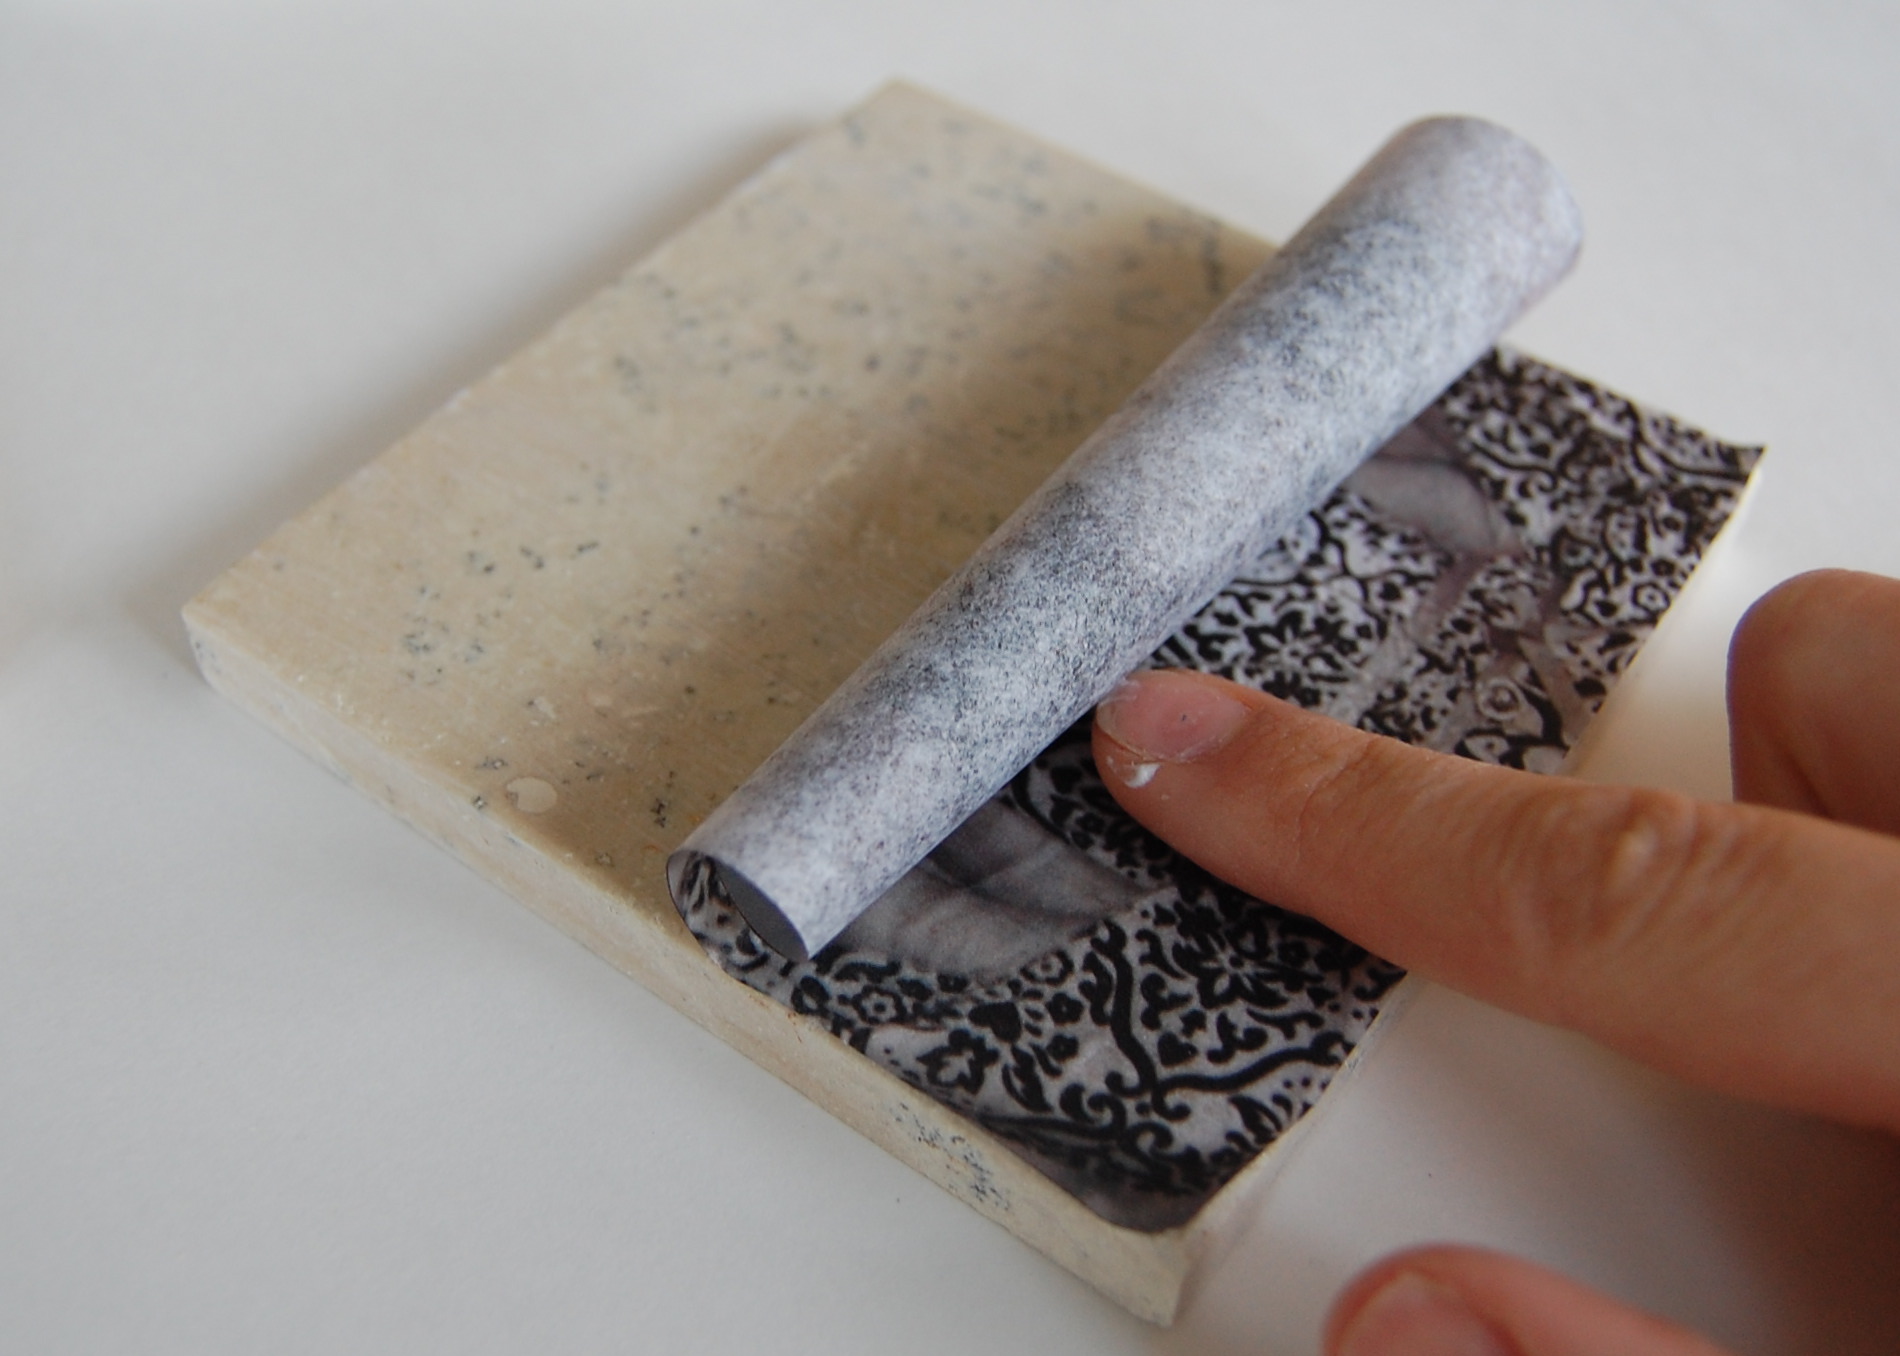
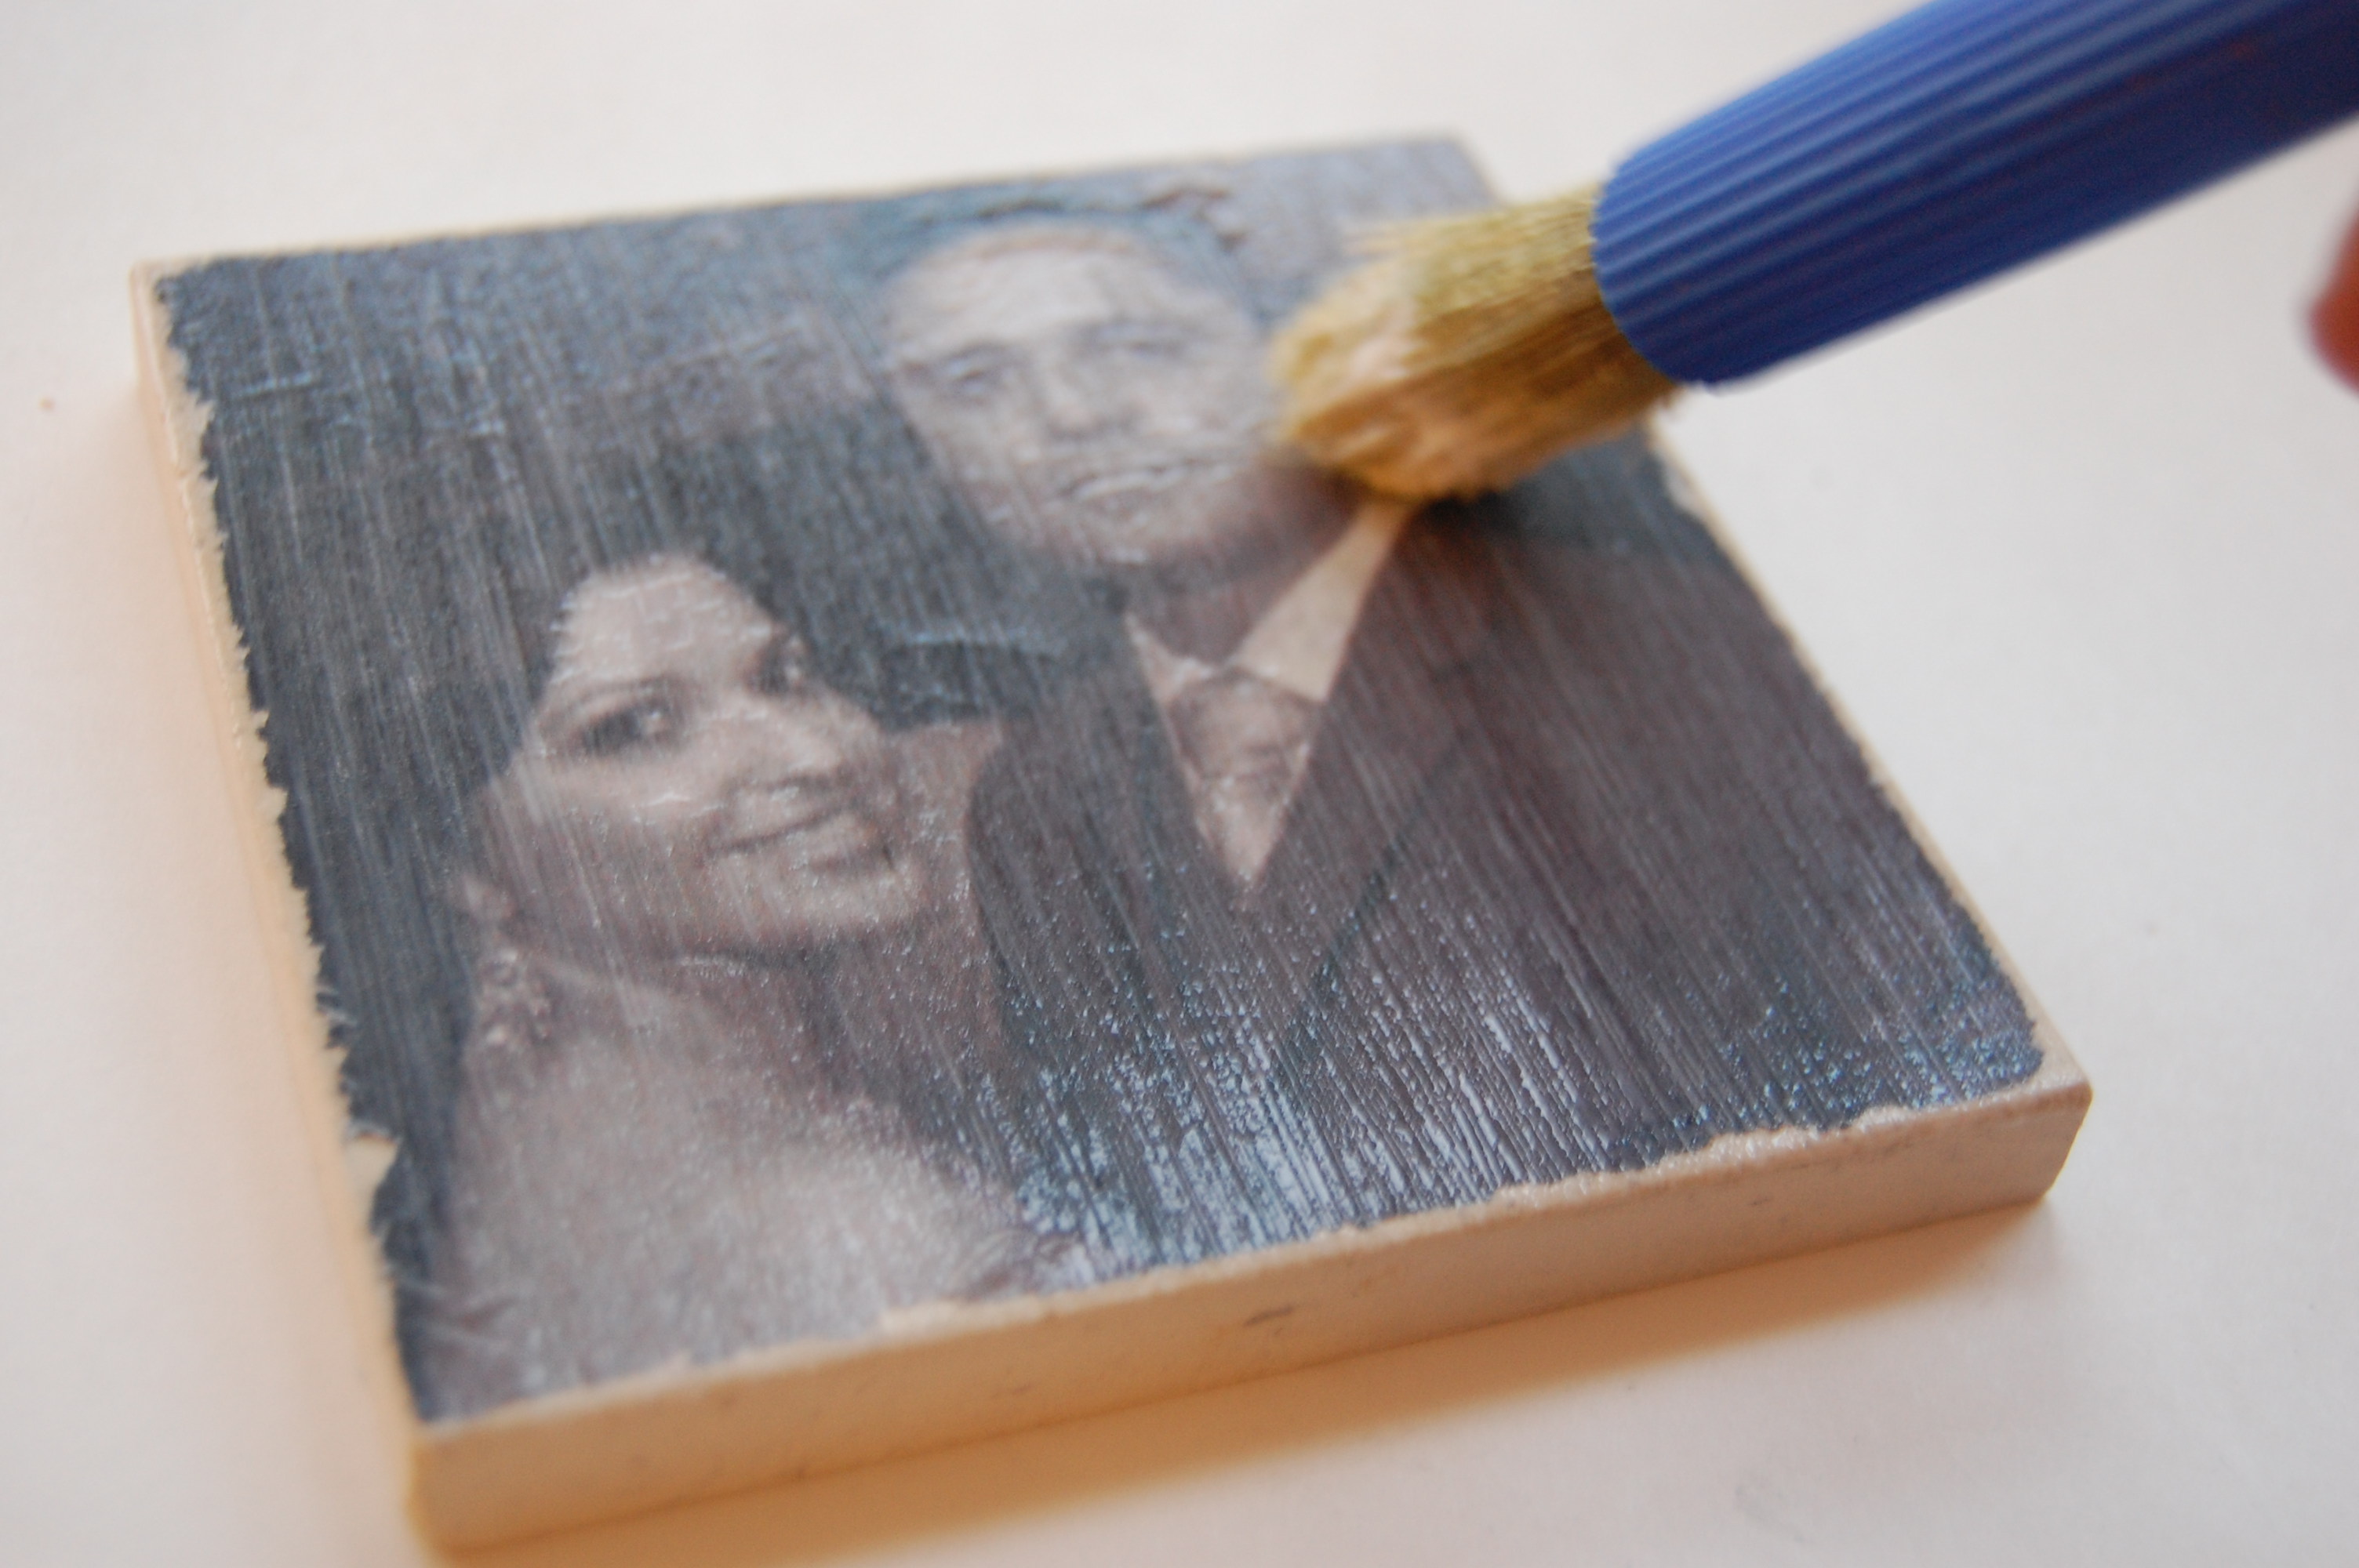
2. Apply a thin layer of mod podge on the tile and then starting at the bottom,
place the photo down and slowly lay it whole thing down until you reach the top.
 3. Once it has dried (I waited about a half hour) trim the edges, if there is an
overhang, and then take your scissors and scrape the edges to create a distressed look.
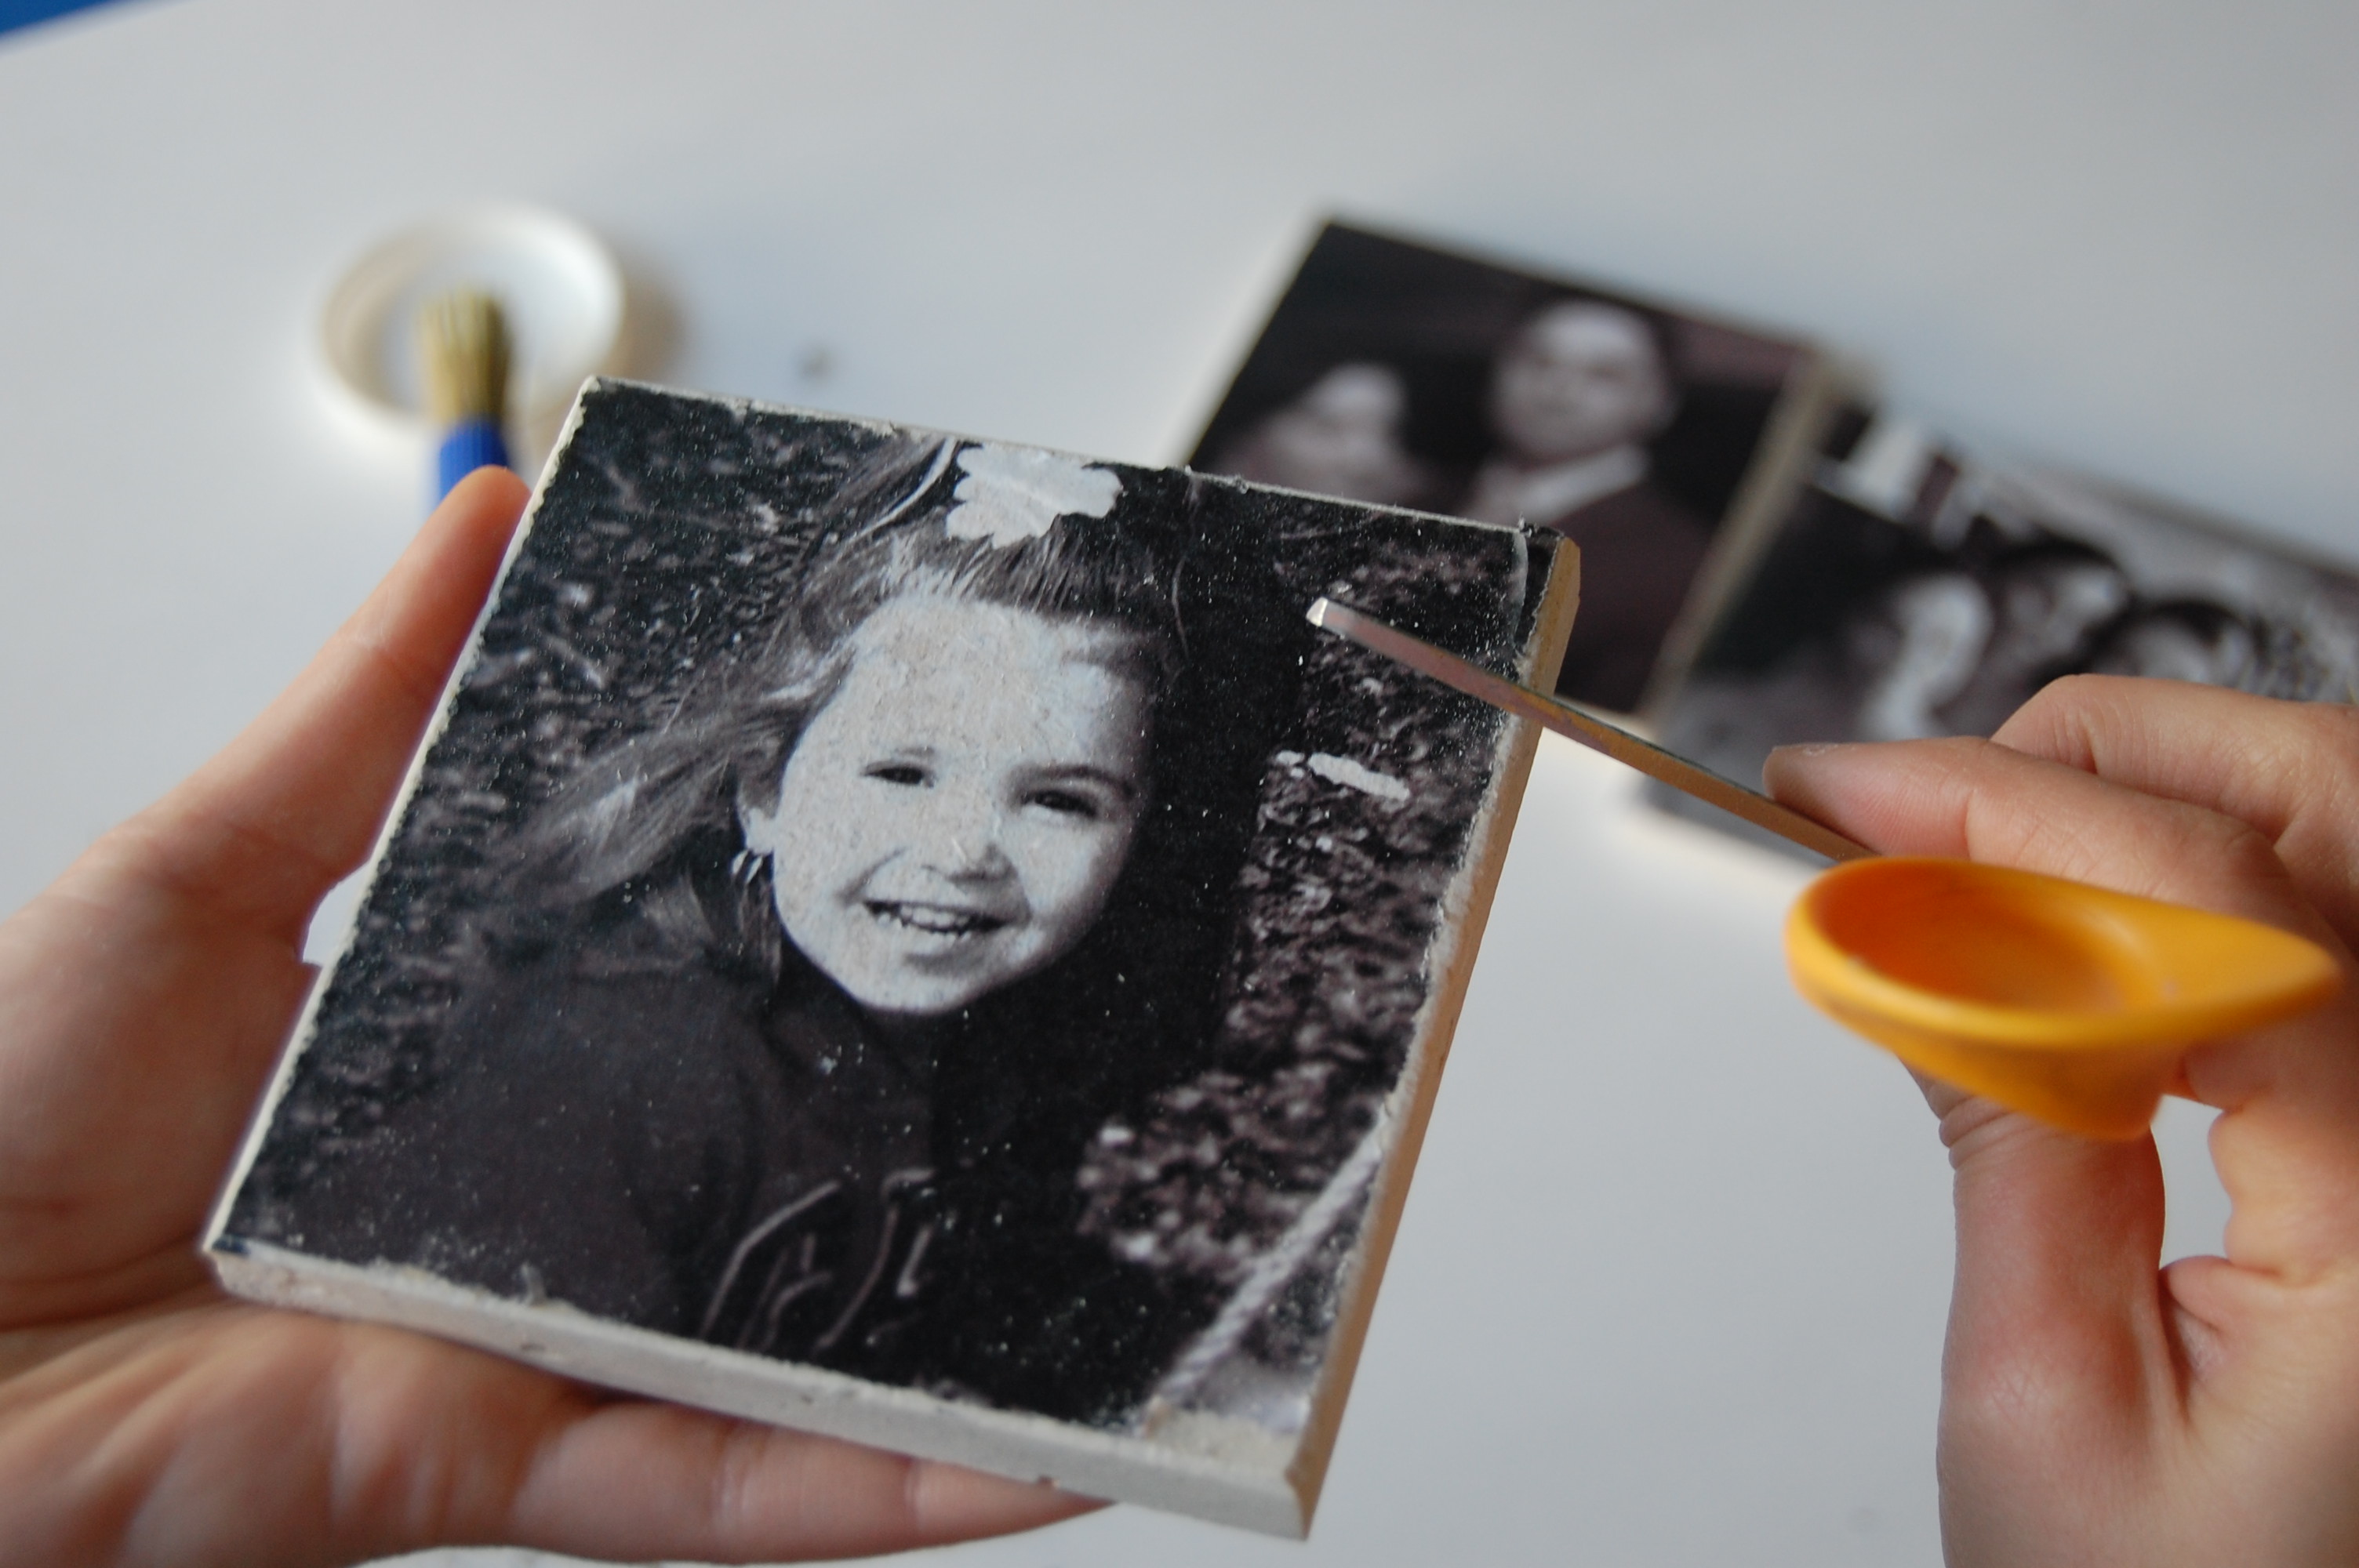
Distressing it really makes it look like the photo was almost painted on!
4. Apply another thin layer of mod podge on top
(make sure it’s thin – don’t forget it is just tissue paper after all).
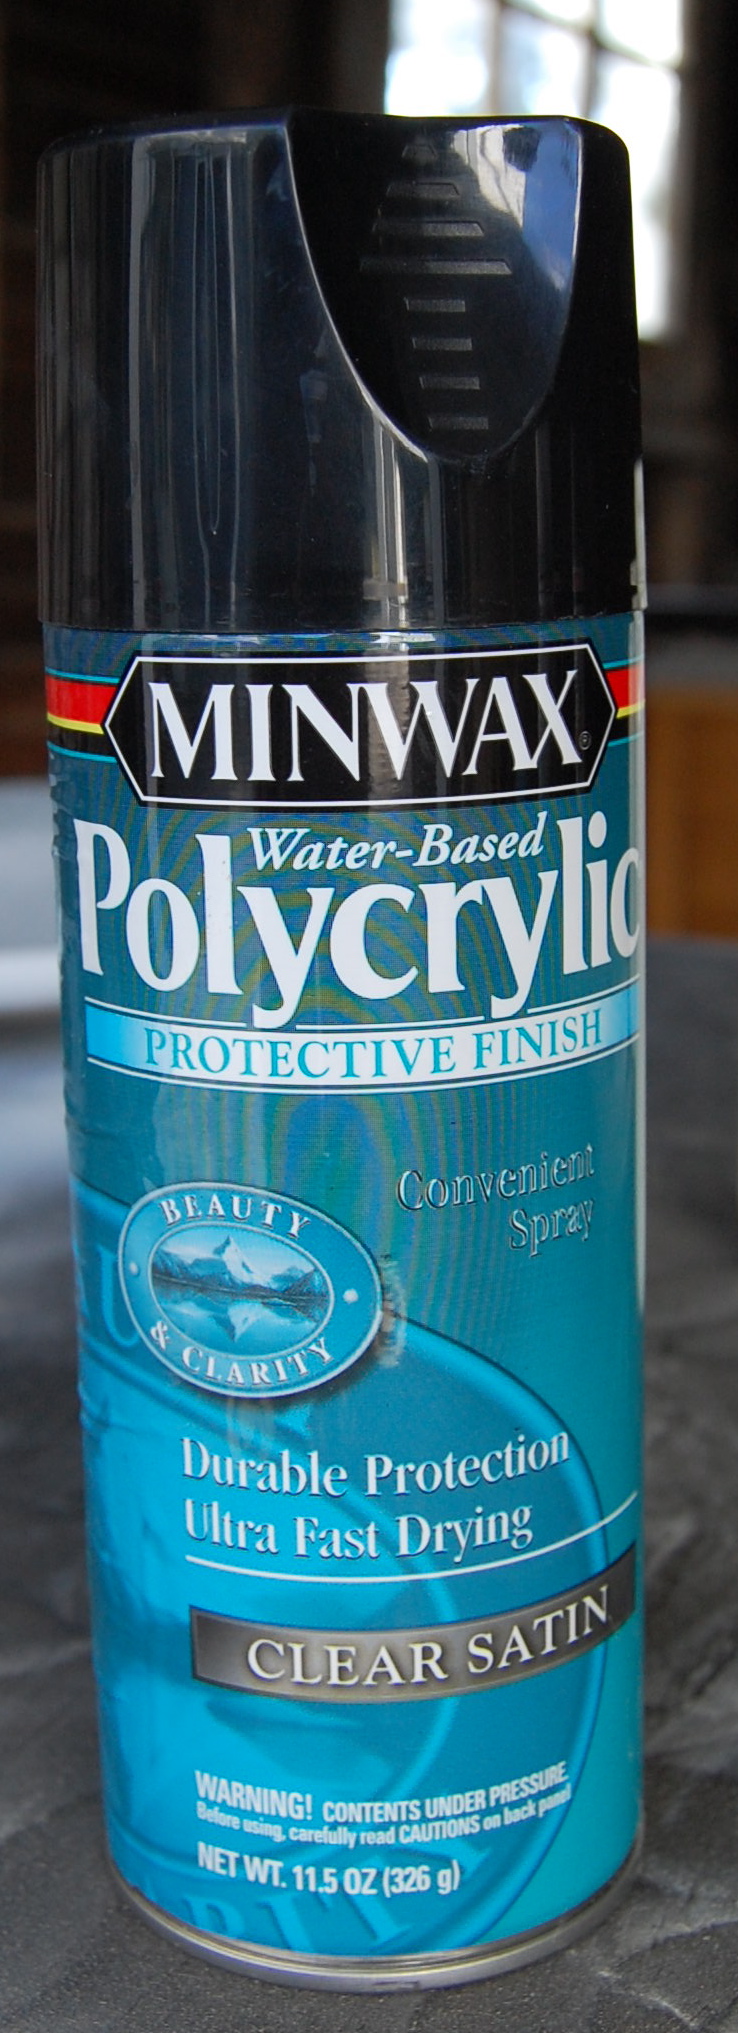
 5. Once that has dried (it dries rather quickly) spray two coats of a protective finish over each coaster.
I used this Minwax one. You can use any type of protective finish, brush or spray.
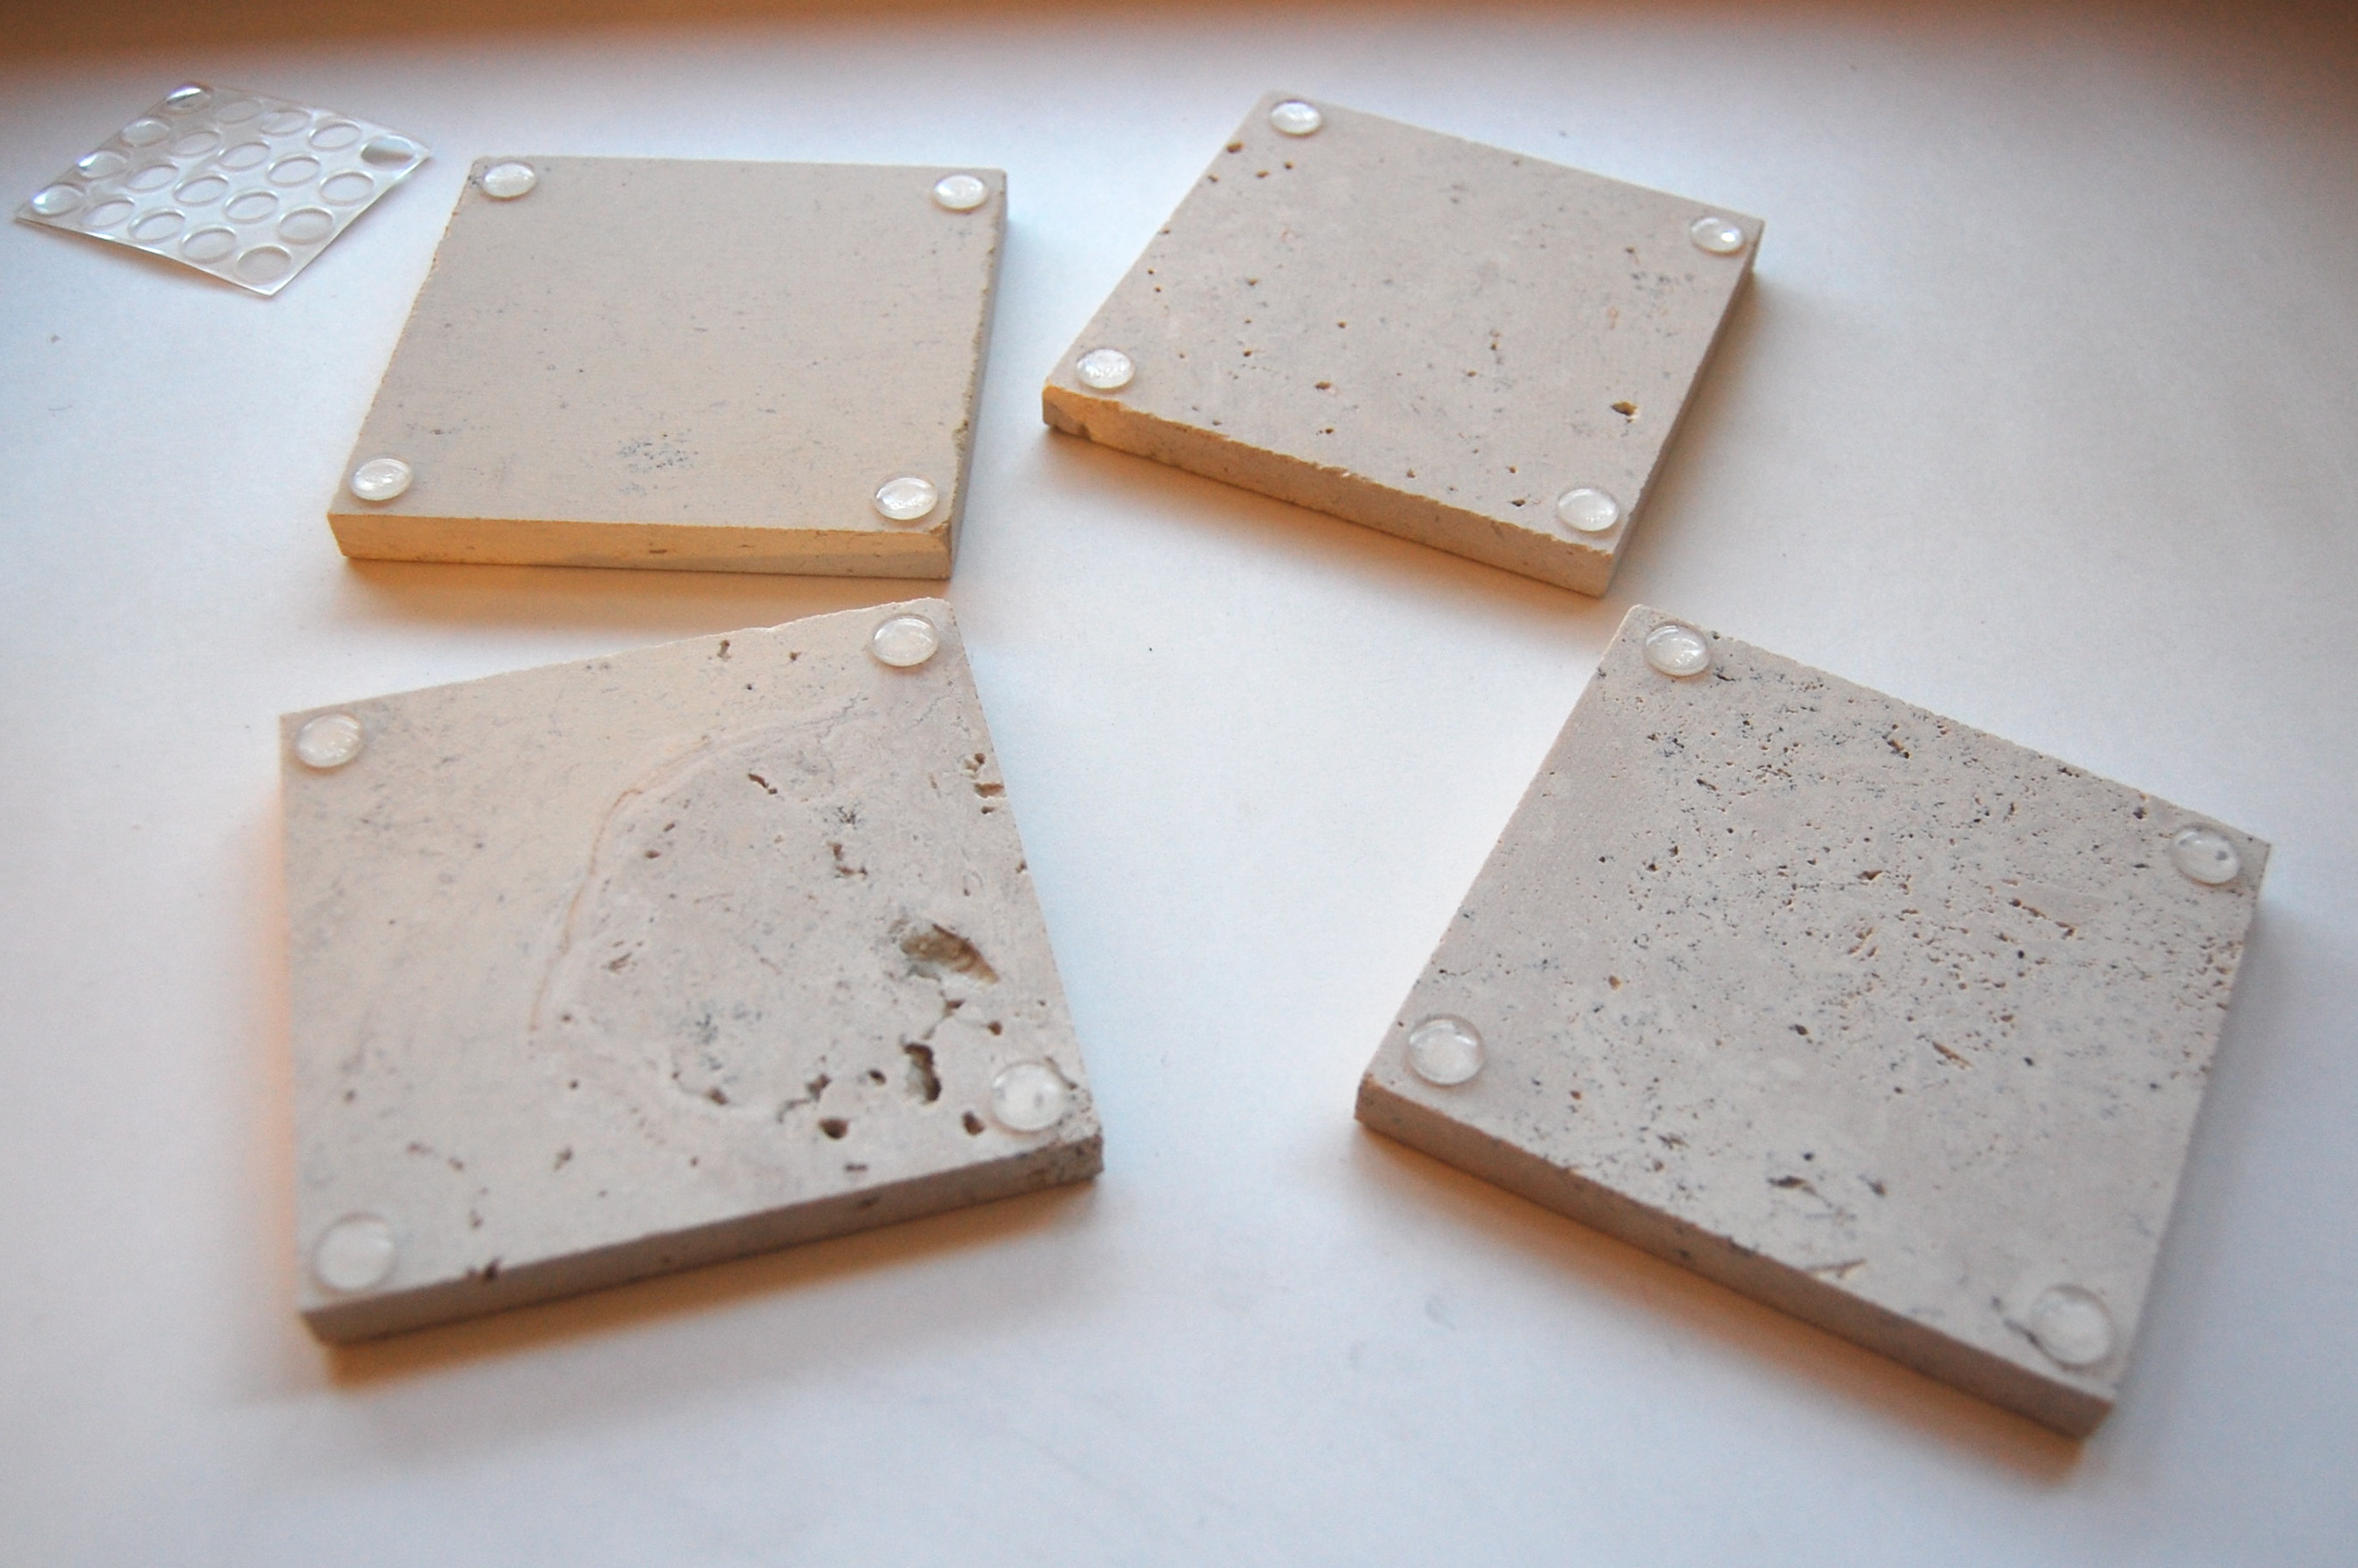
6. Last, just add your clear bumpers!
You could also add cork to the bottom by using spray adhesive if that’s what you have on hand!
 I kinda love them. I mean it’s hard not to love anything with that cuties face on it!
Don’t forget to check out all the other great handmade gift ideas!


