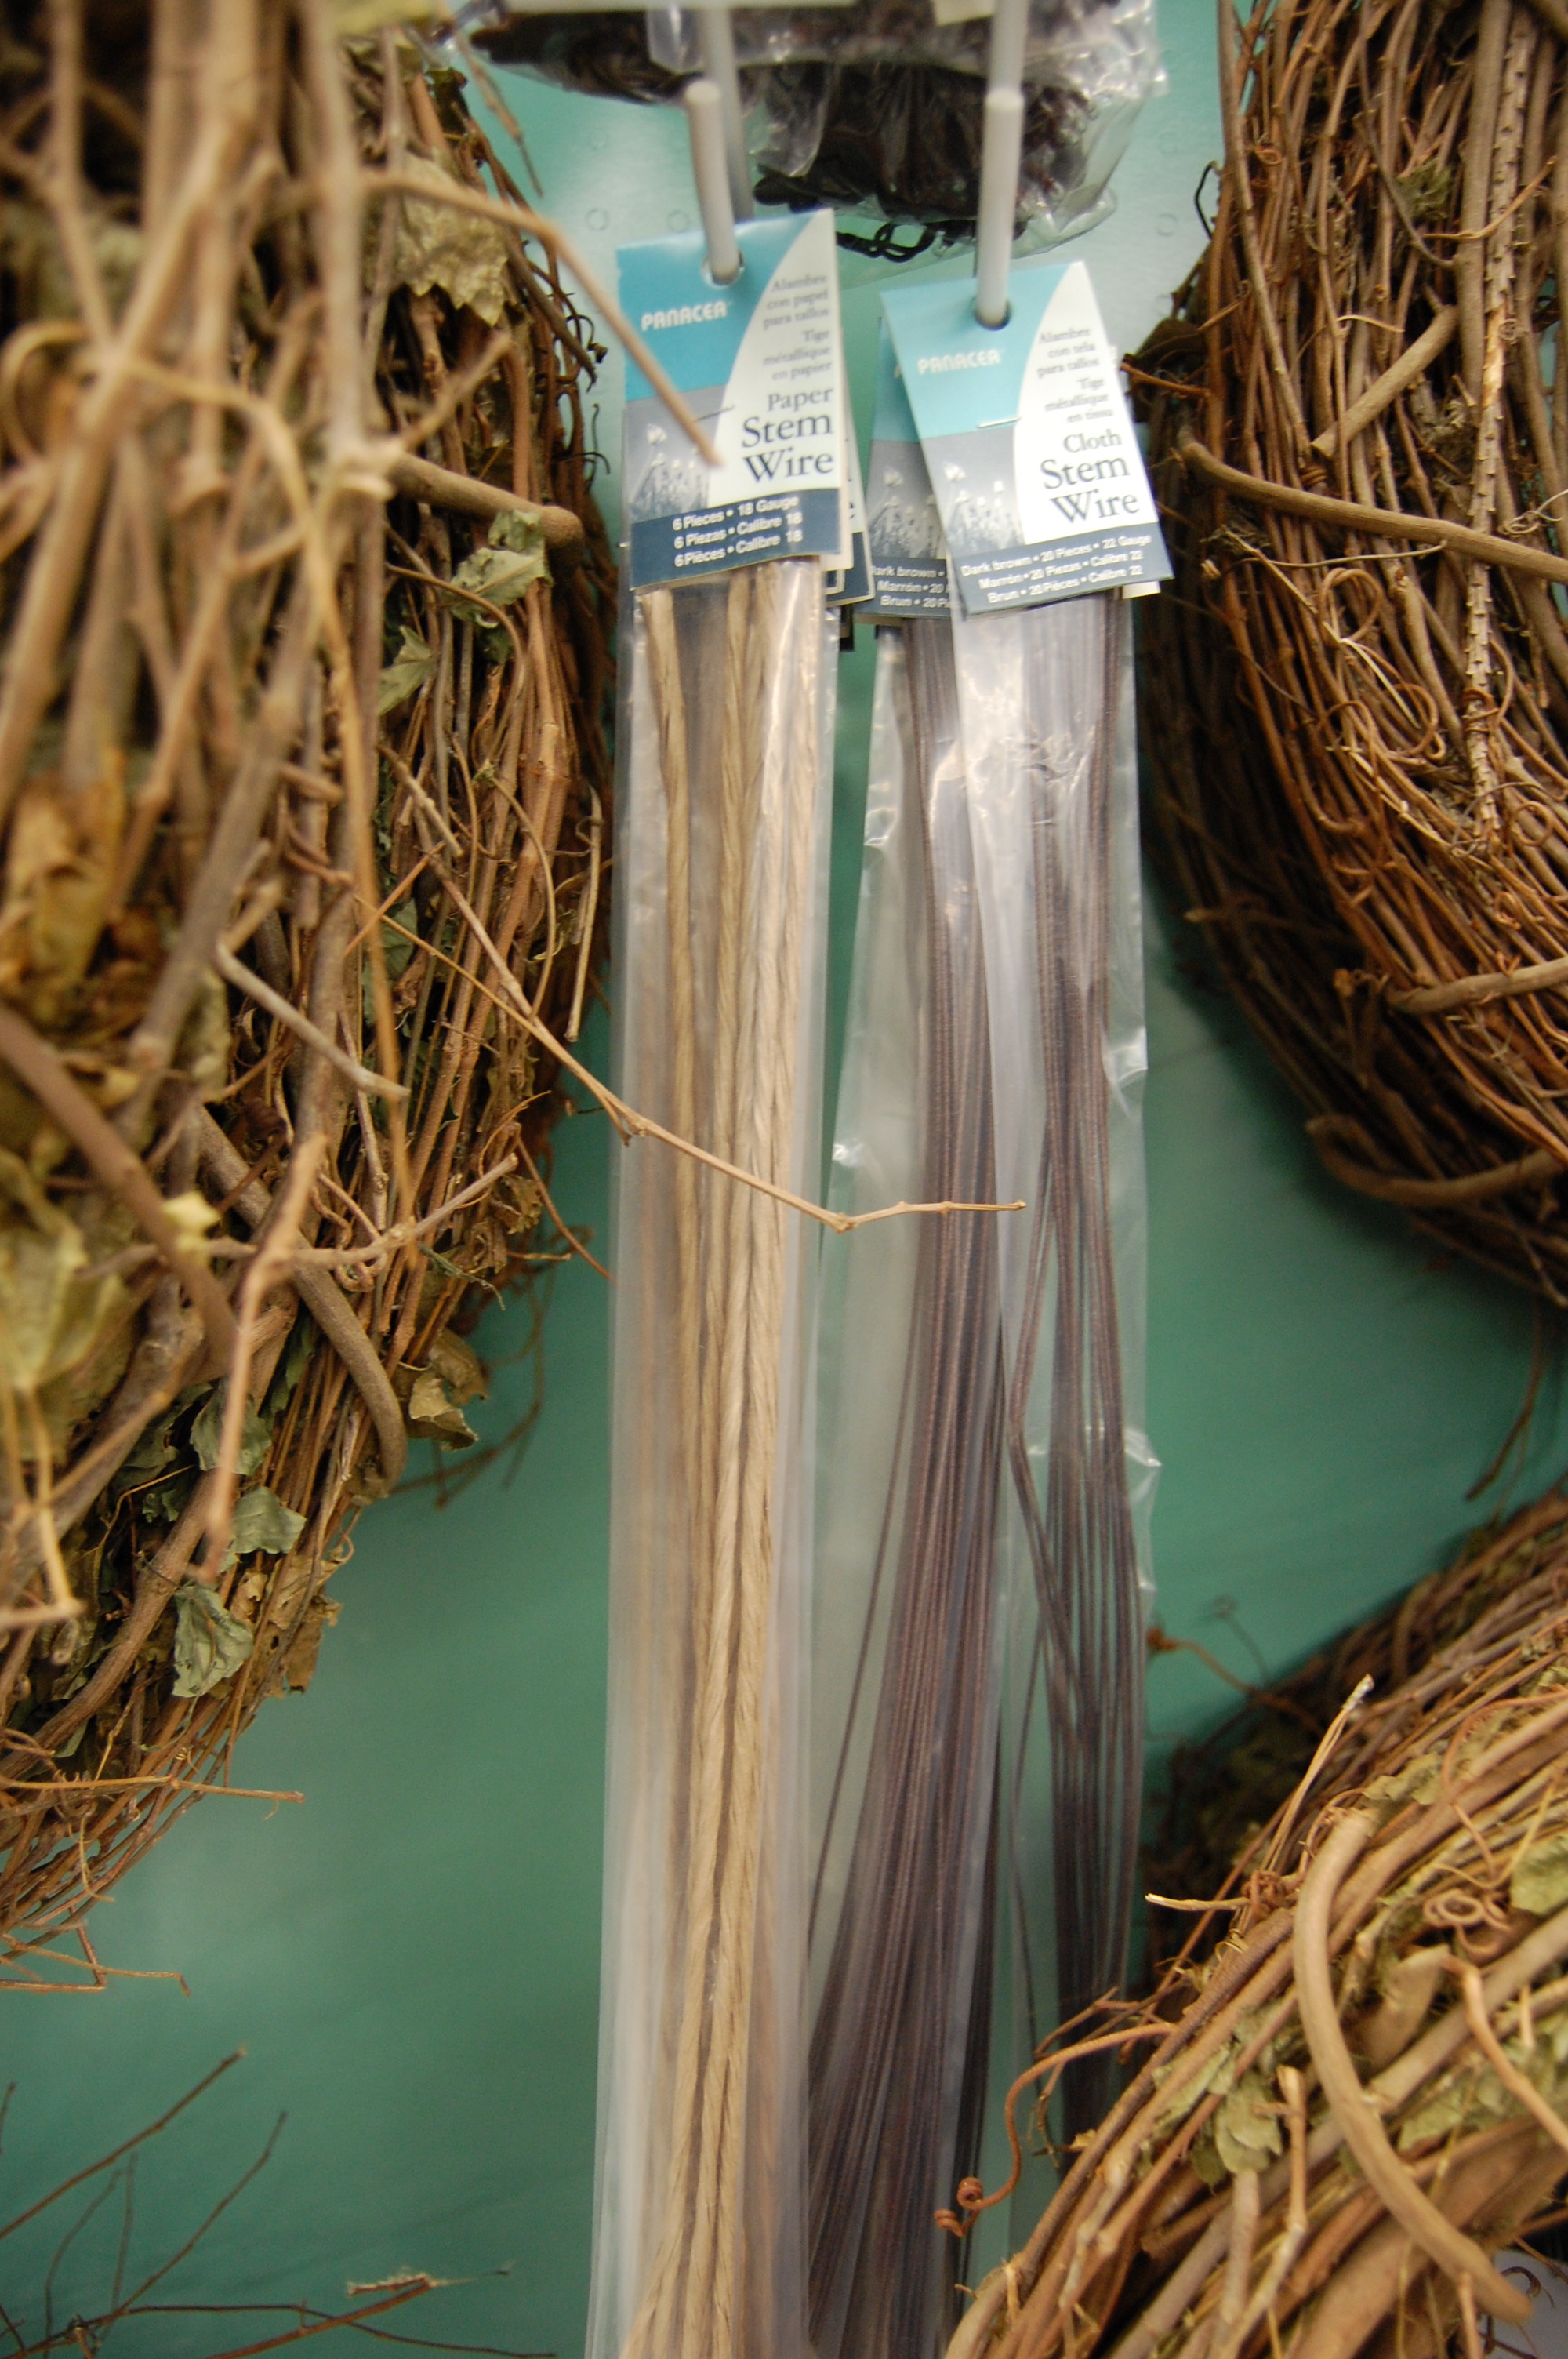
I’ve finally completed the sunburst mirror (sort of) which I have to say was an un-sticky situation! To remind you let’s take a look back at this post. I knew I wanted to do the mirror but I wasn’t sure what materials I was gonna use yet or how I wanted the shape of my mirror to be. While at Joann’s last week I came across some stem wire which I thought would give the effect of branches but I was worried that it would look flimsy.
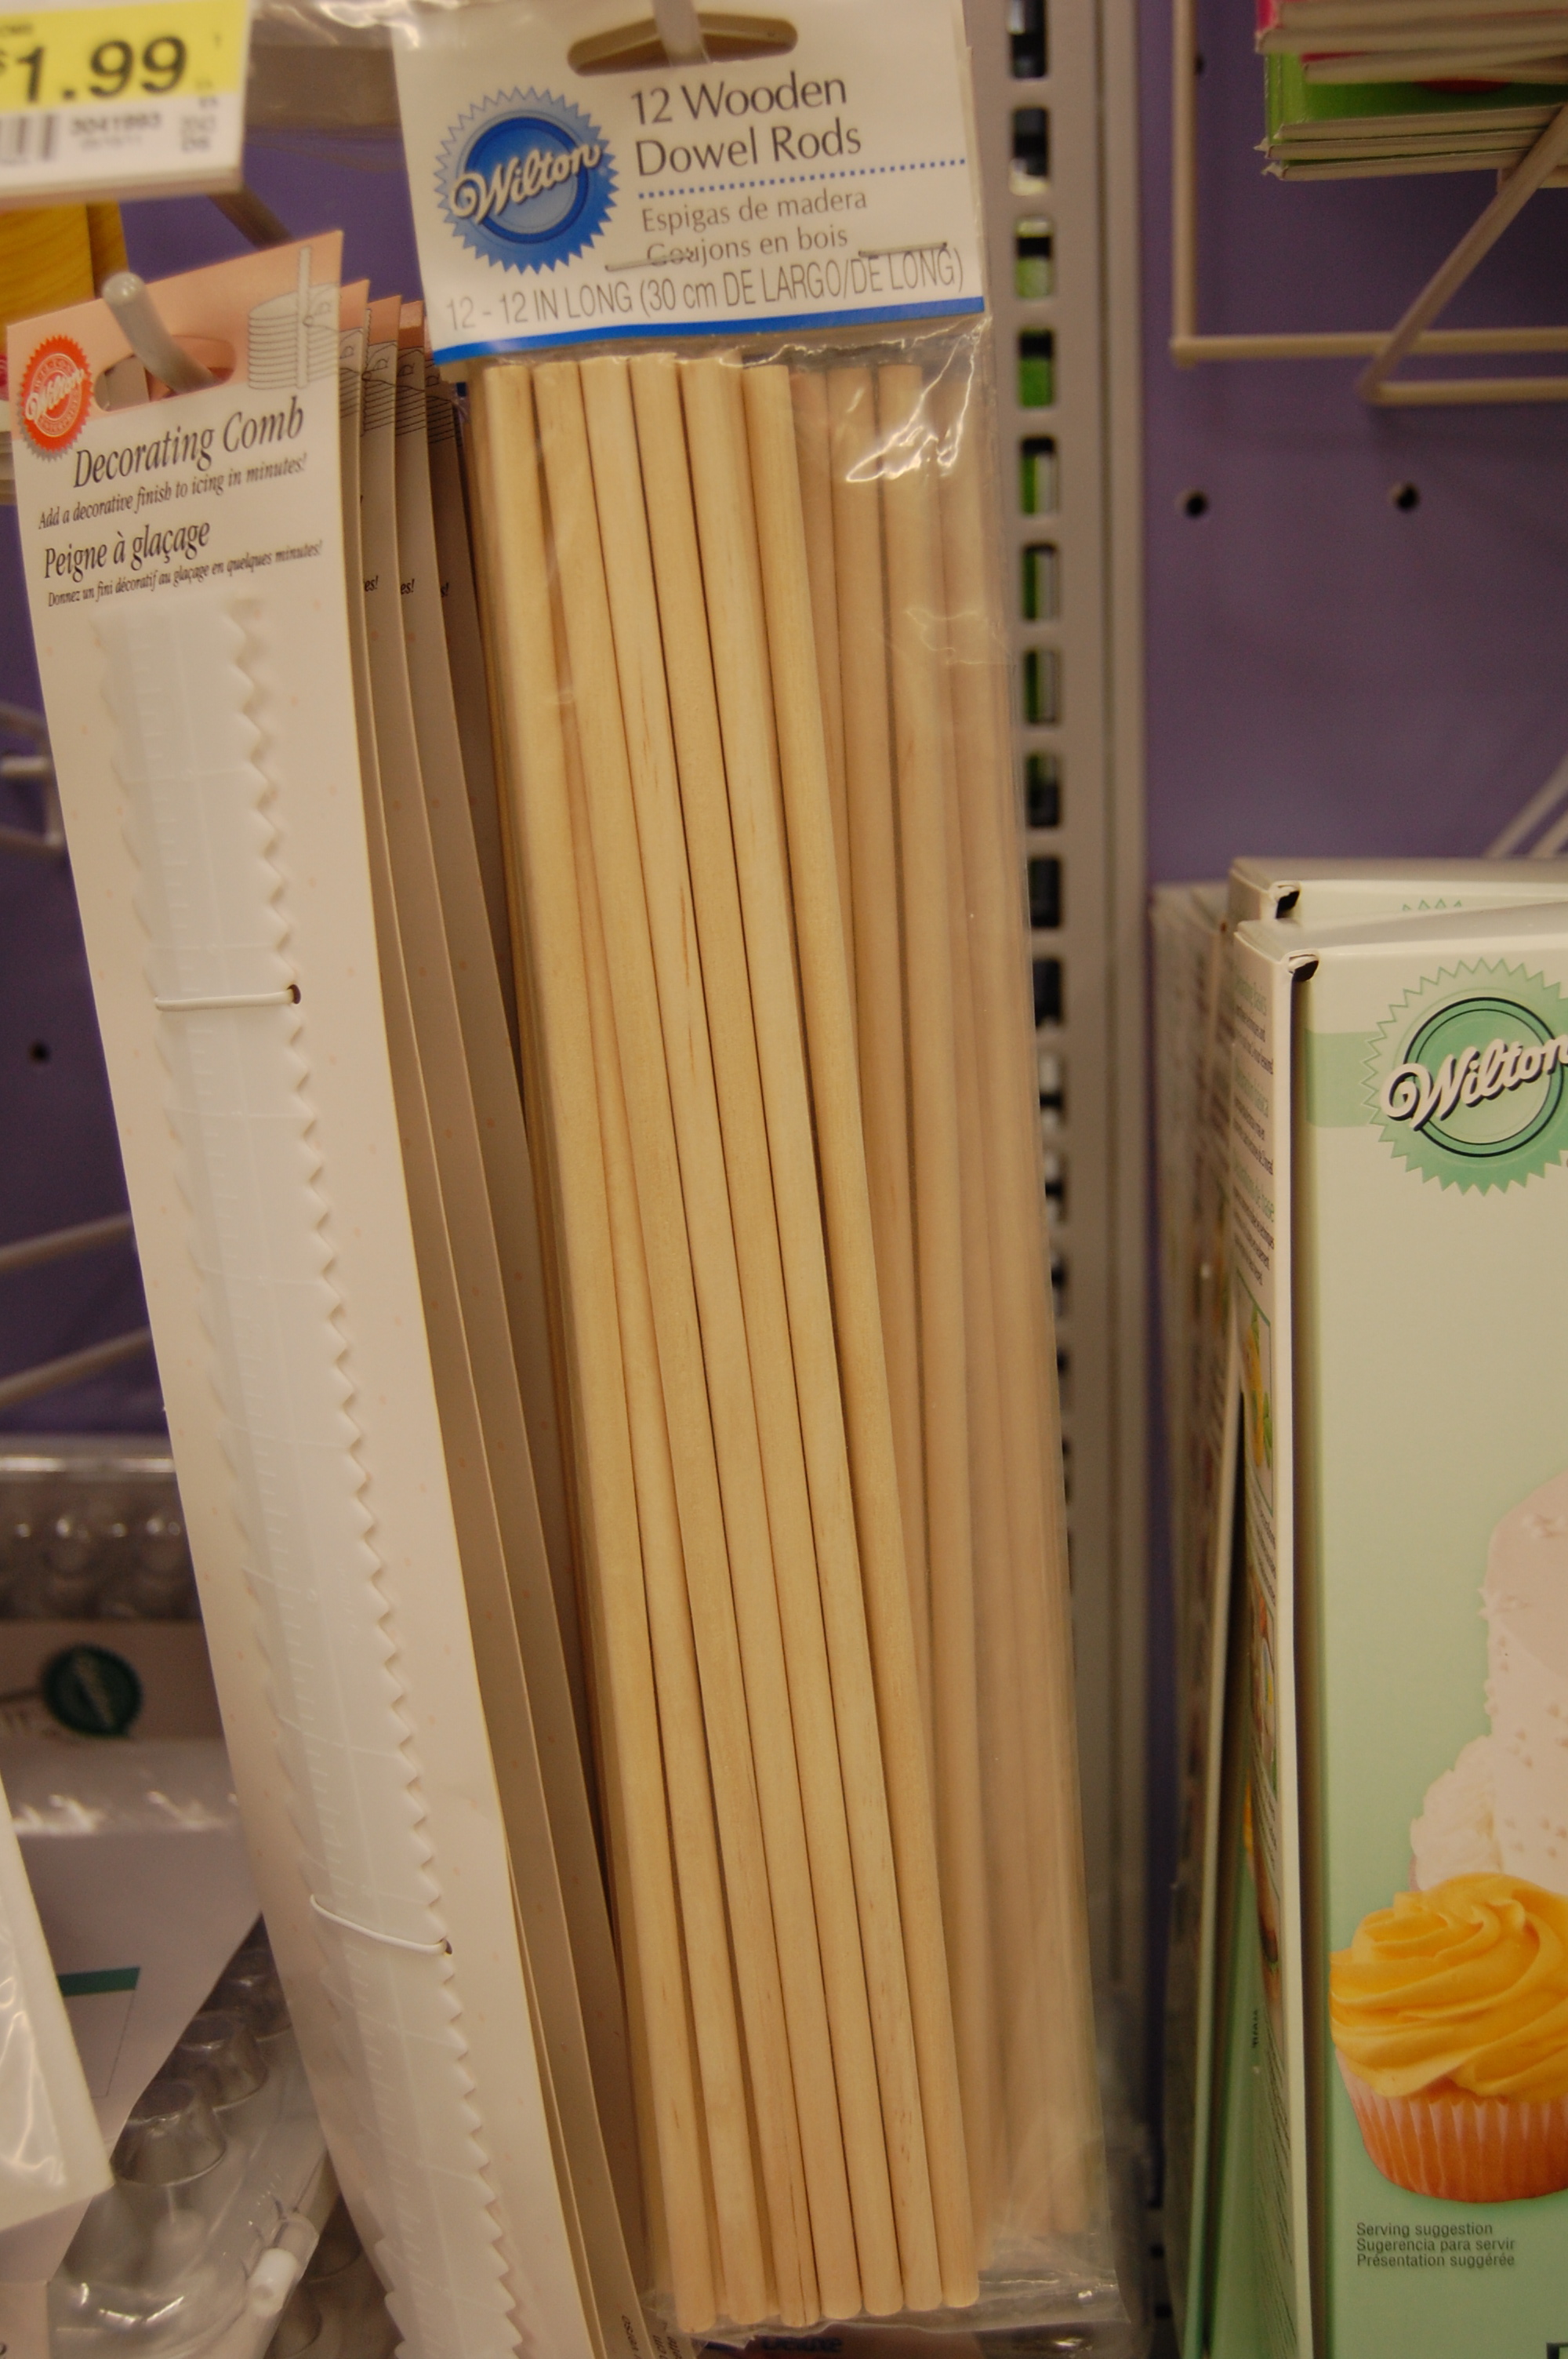
So I kept looking and long behold I found just what I wanted, dowel rods!
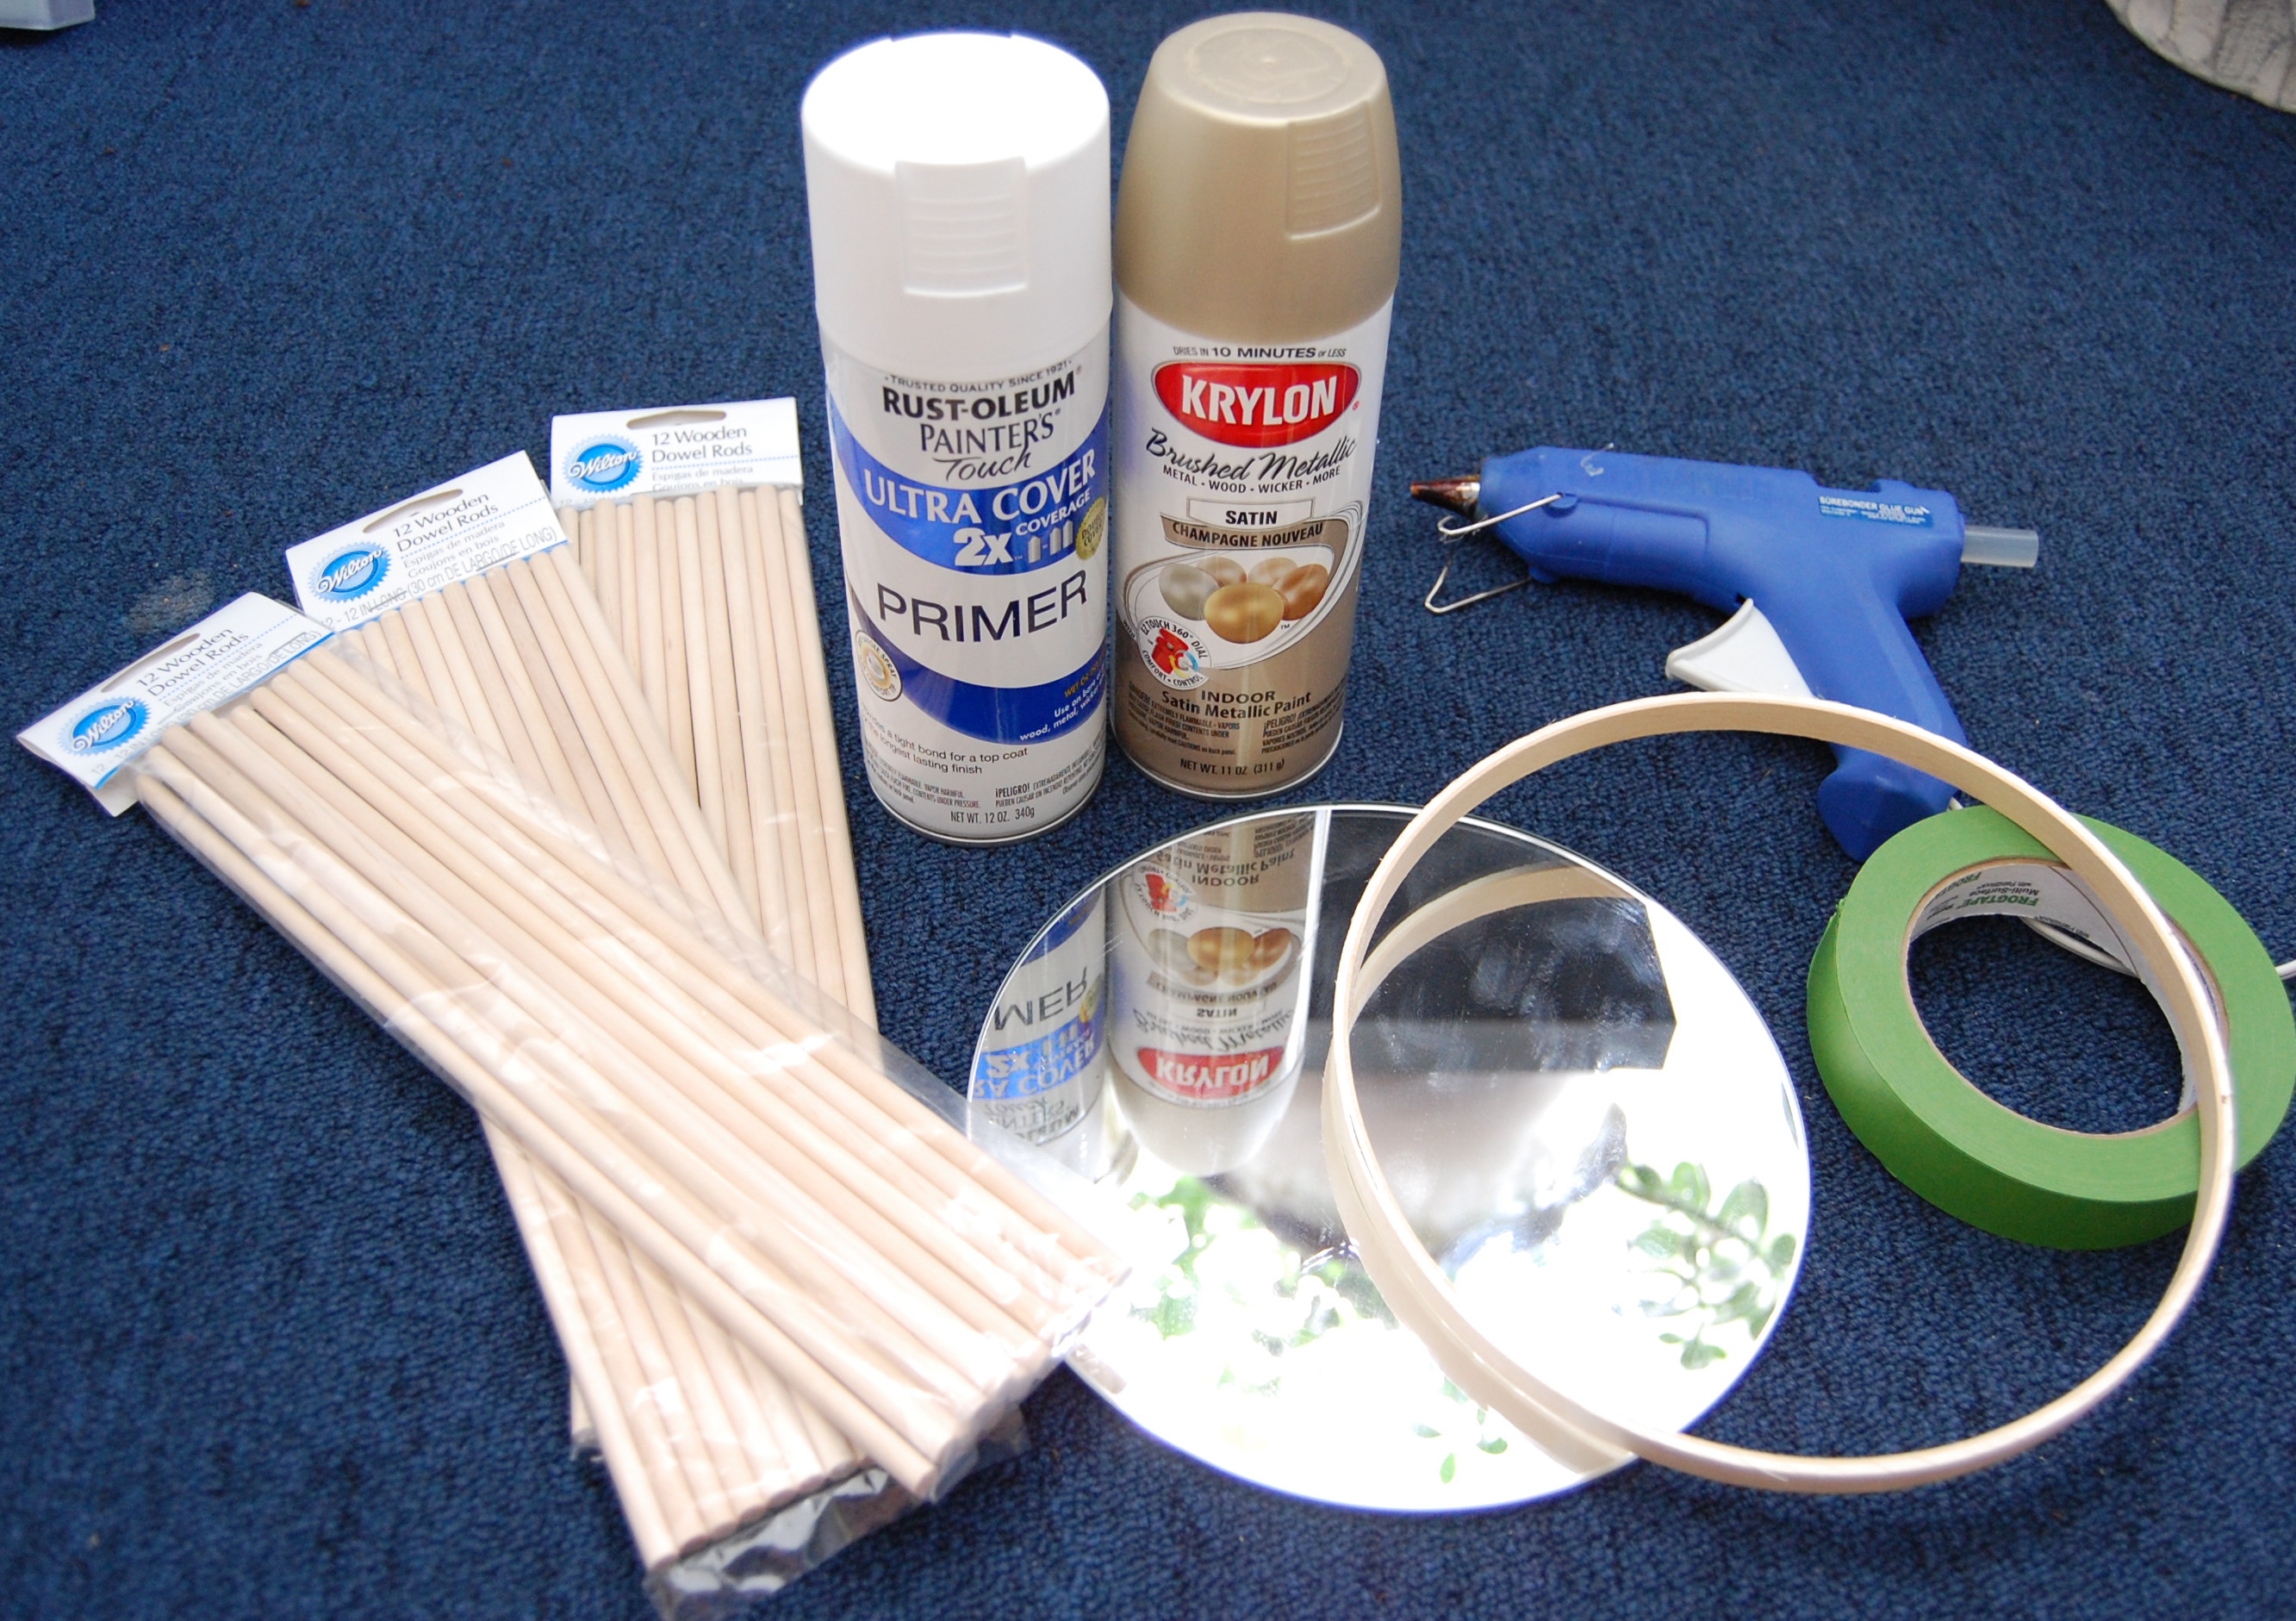
Each package came with 12 so I purchased five hoping that would be enough. Next, I knew I would need a mirror and luckily I had some round 8″ mirrors from a purchase at Ikea. I also wanted the mirror to have a finished look so I bought an embroidery hoop to fit the mirror. Now that I have all my materials it was time to get to work.
The plan was to use the glue gun to glue my dowels to the hoop…that was the plan.
I didn’t know exactly how I wanted the shape to look so I tested a staggered look.
I loved the idea but I ran short of dowels and if I was gonna stick to my “plan” and only glue around the hoop then I would have to cut the dowels down and I didn’t want make more work for myself so then I tried just going straight around, side by side.
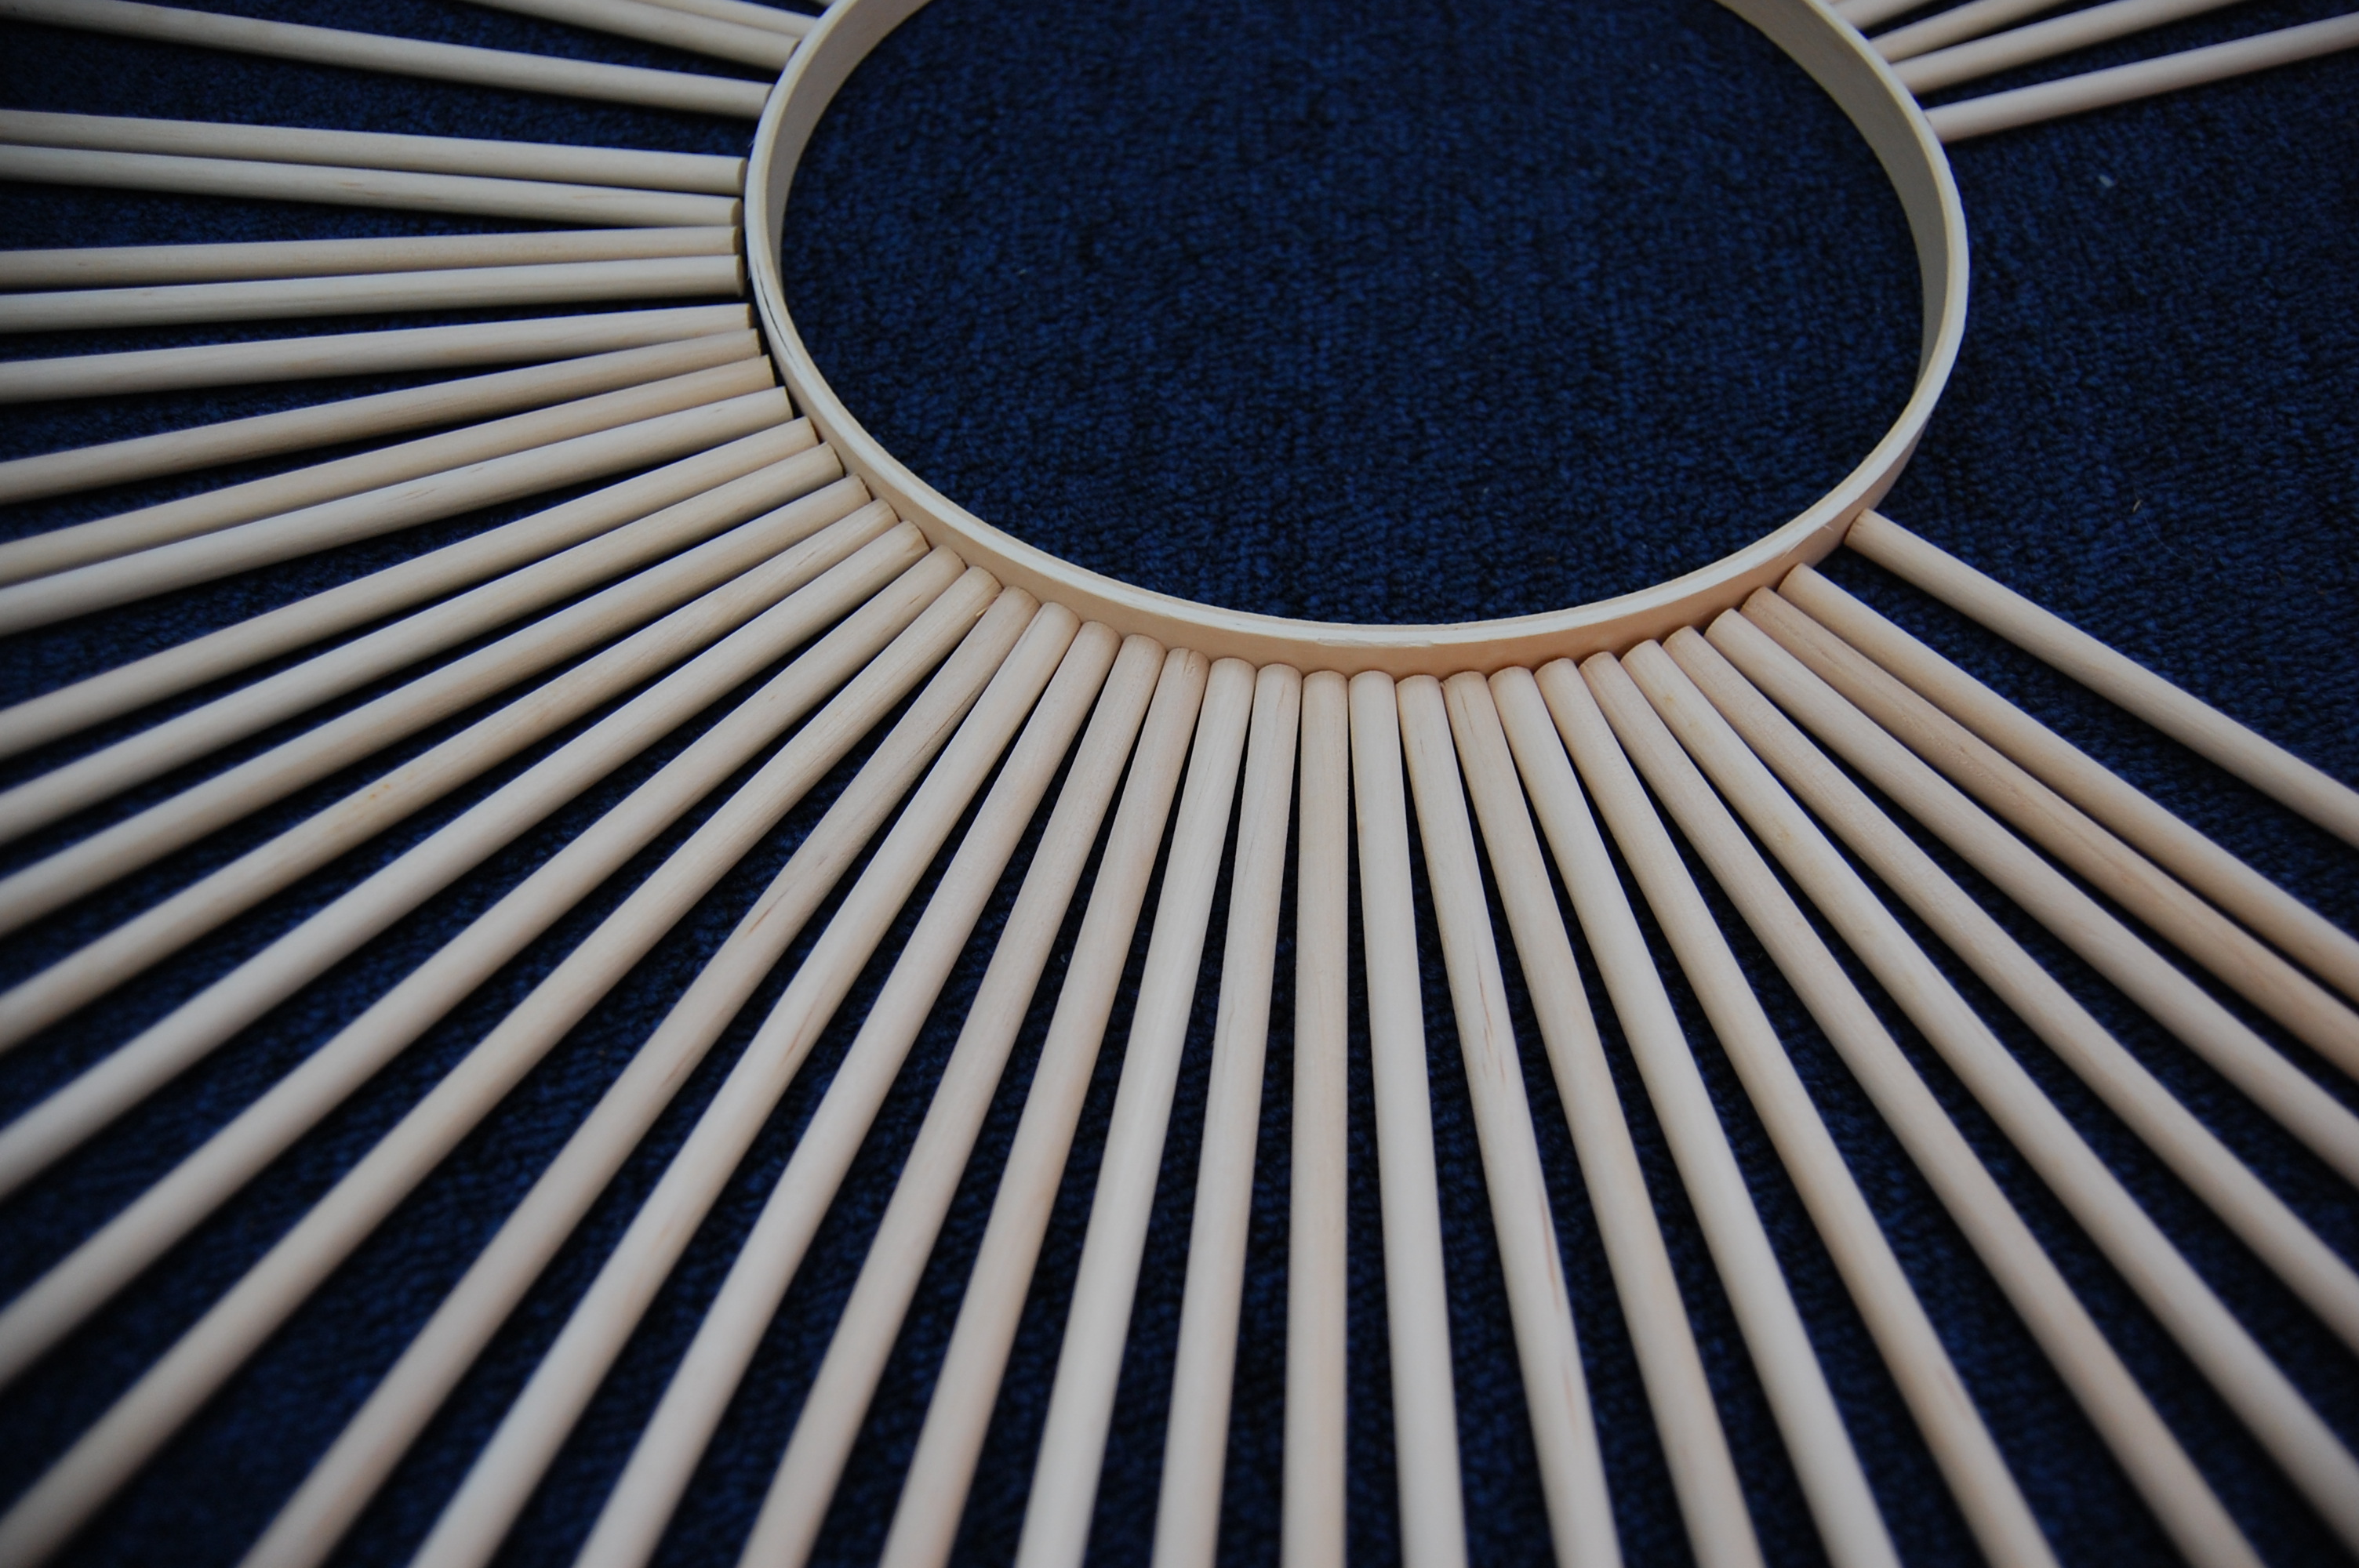 It looked great but as you can see to the right I didn’t have enough to make it all the way around. Soooo I then decided to space the dowels and then fill in the blanks.
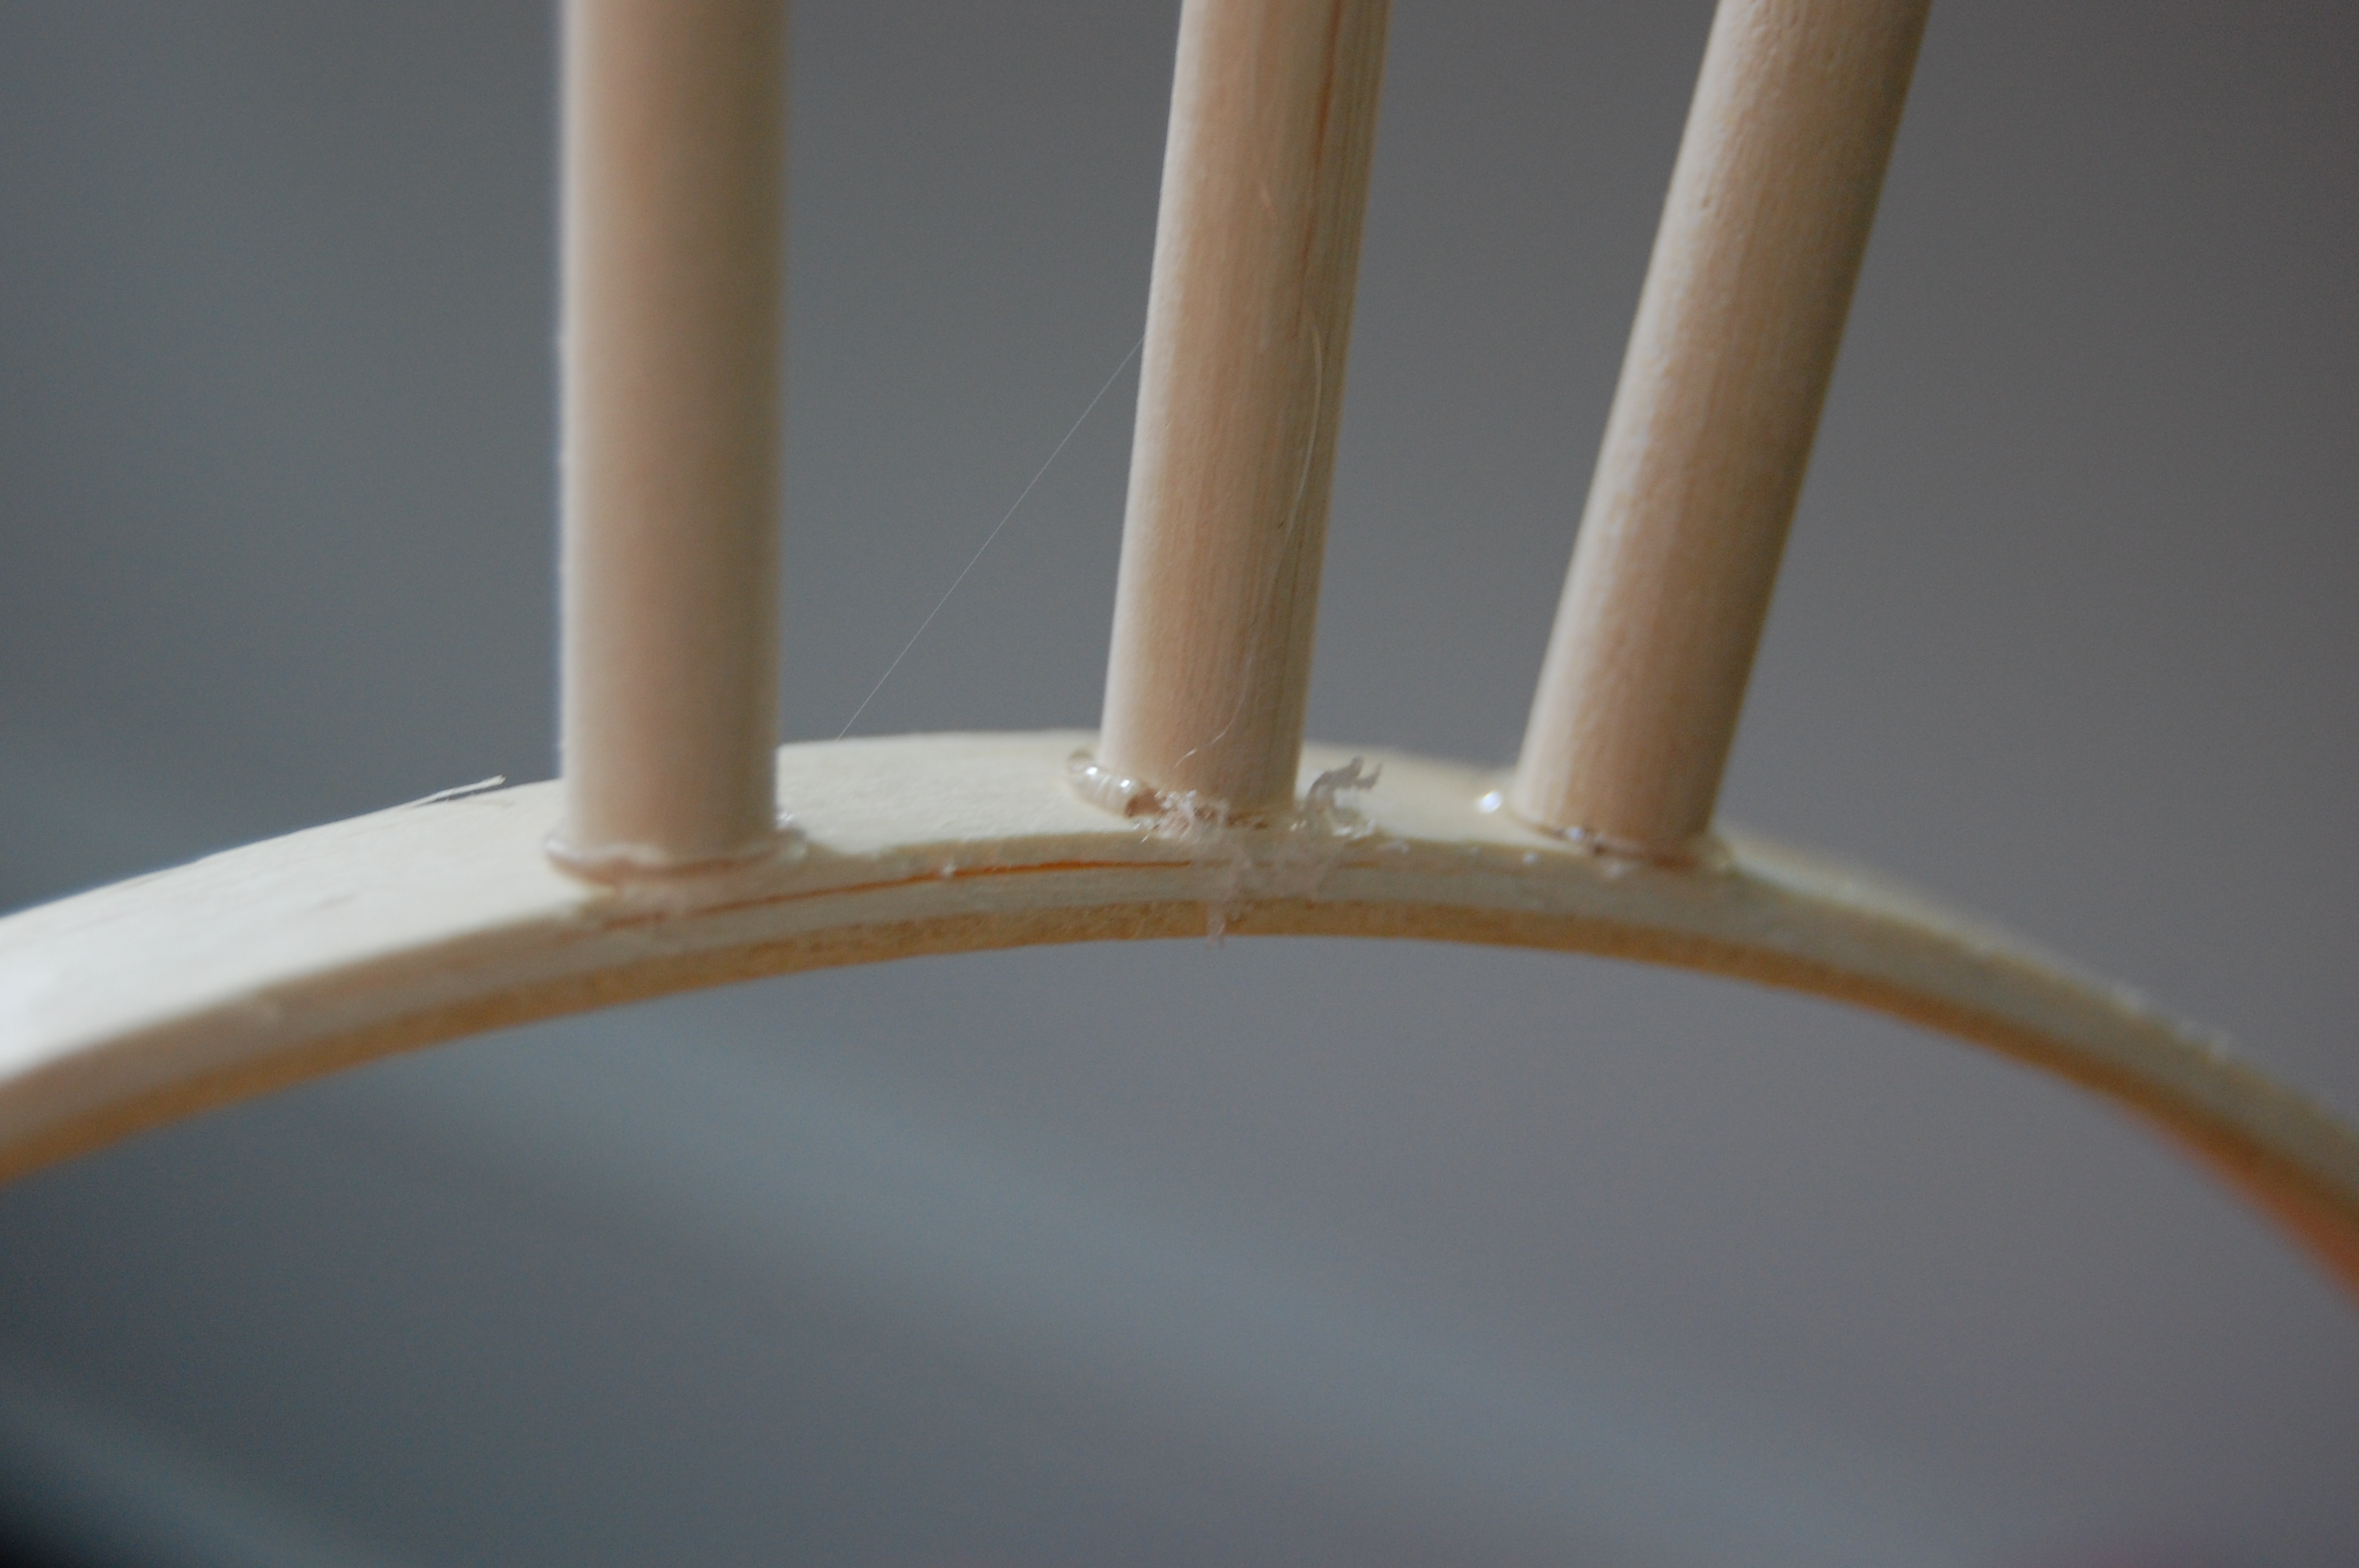
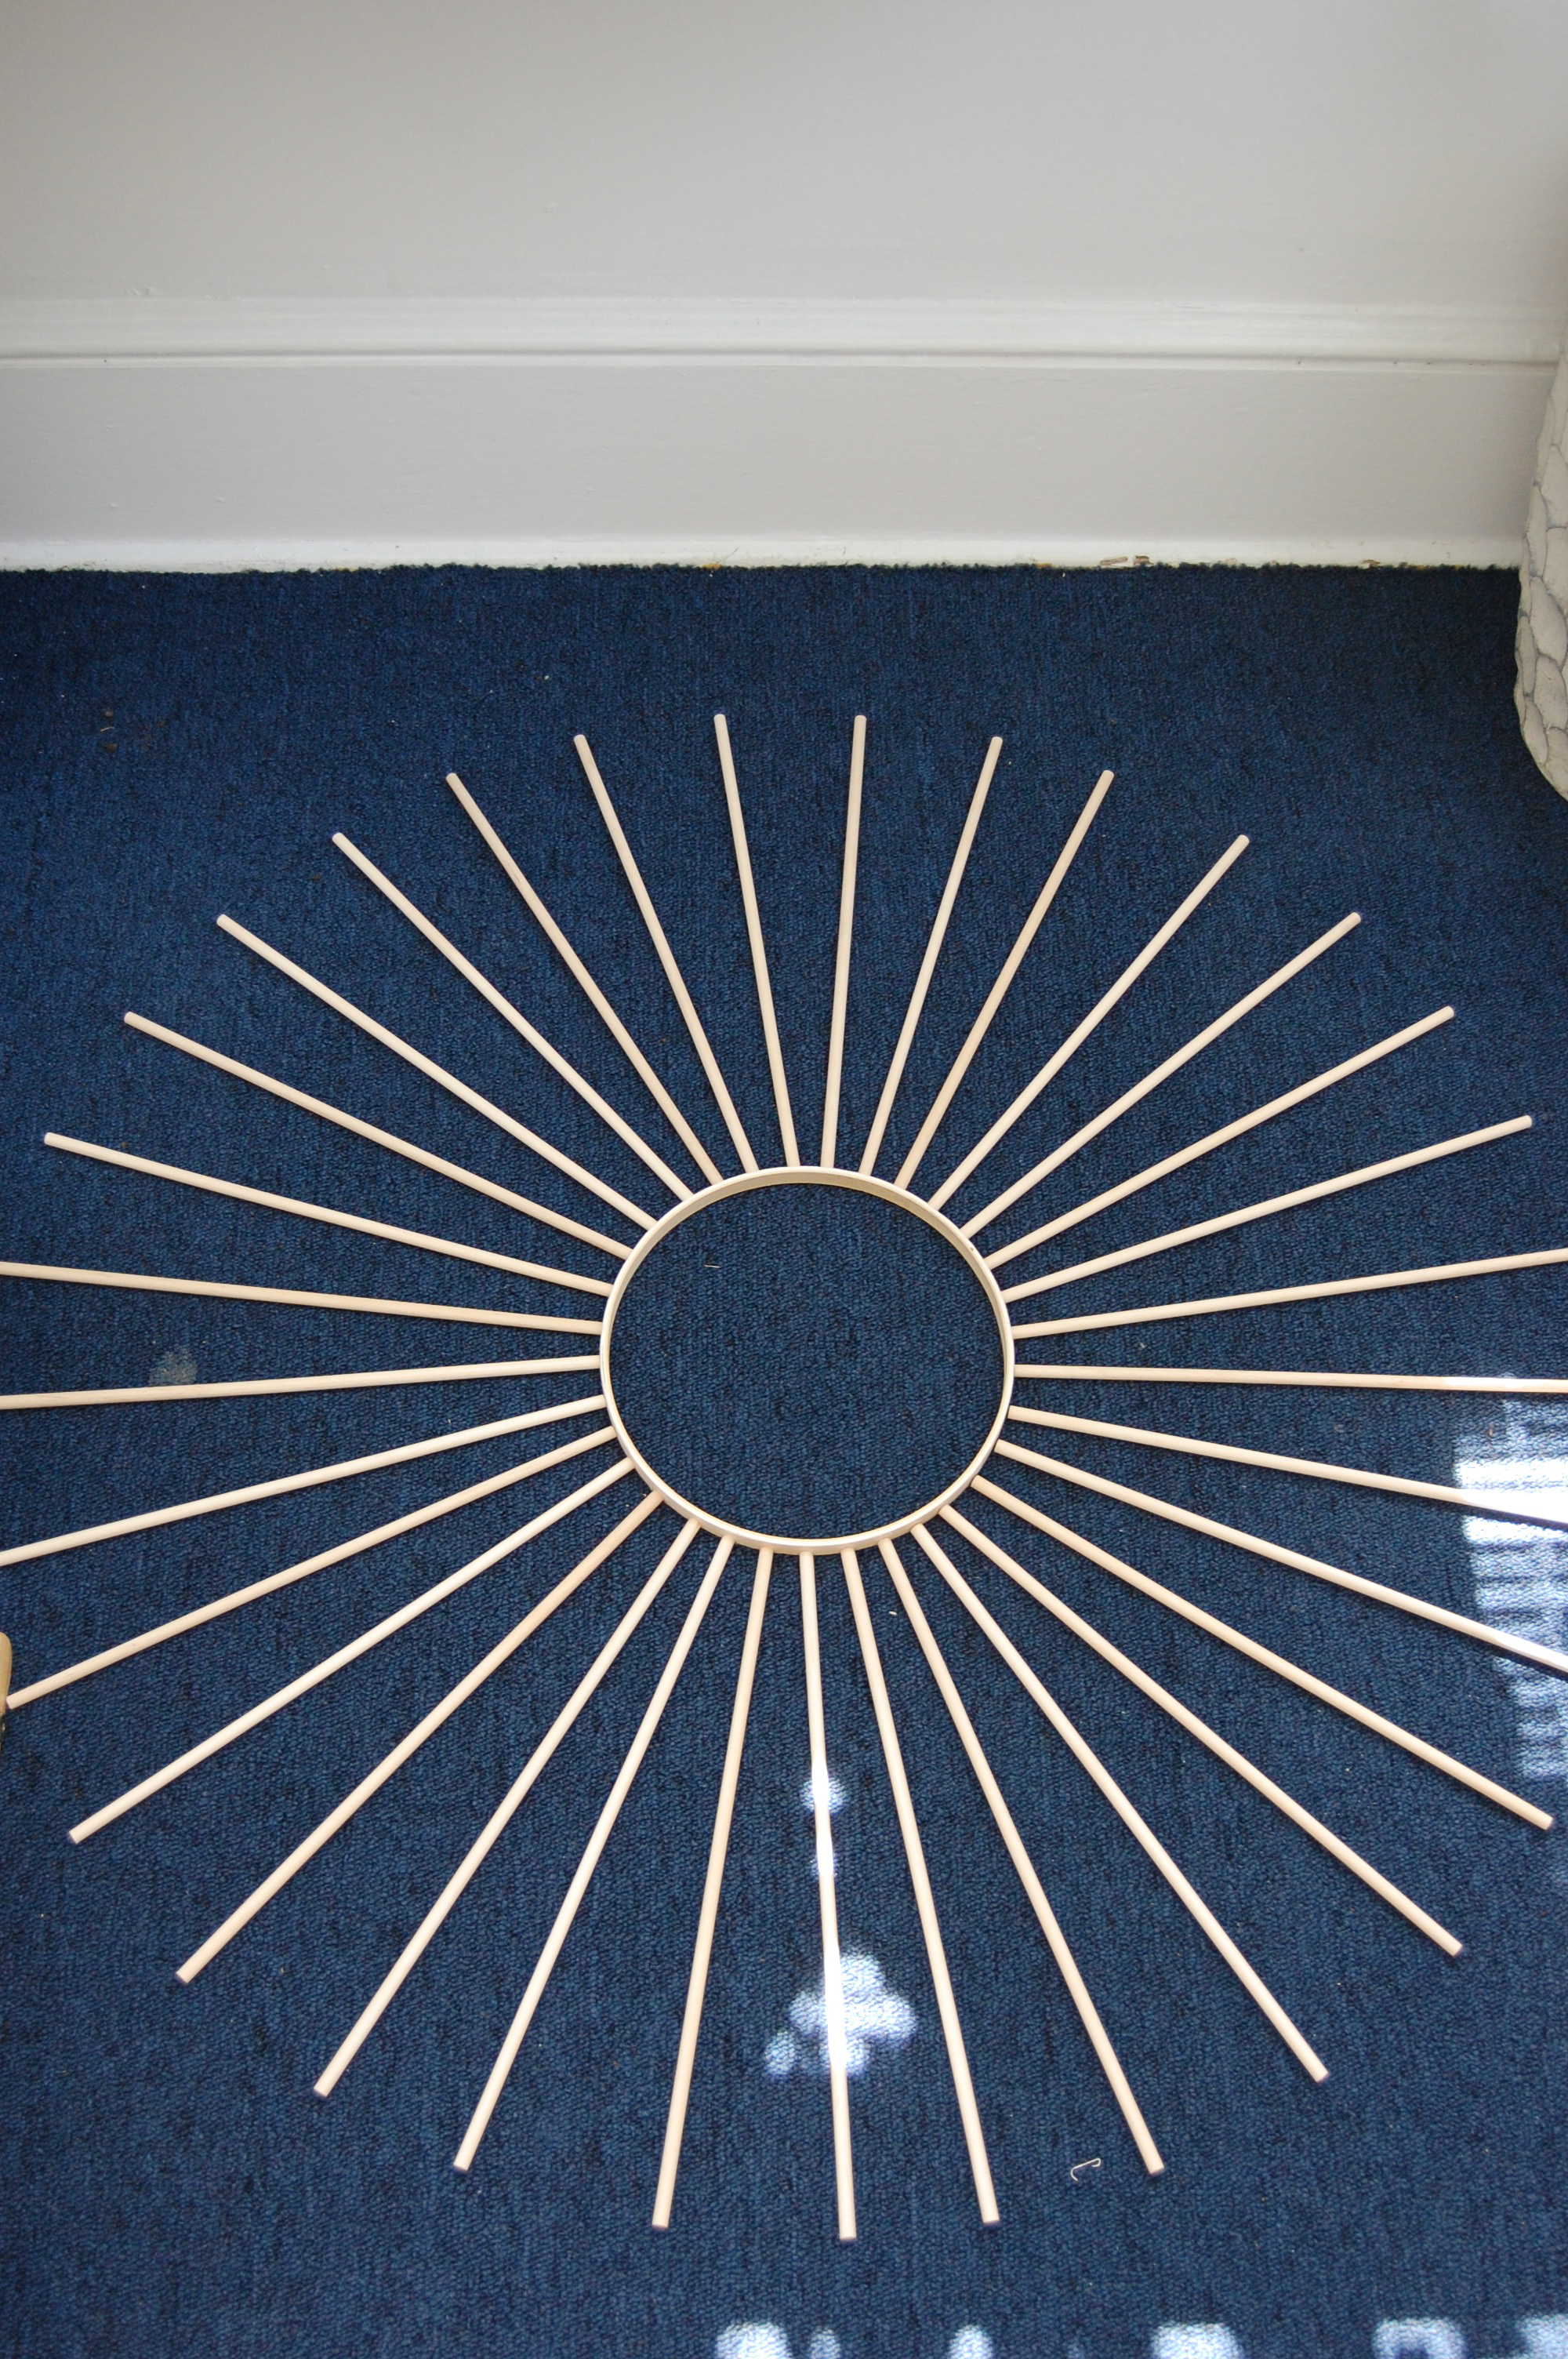 To make sure that the dowels were equally seperated I made marks to guide me as to where to glue. One thing about glue guns, they are sloppy but I didn’t think it would be that bad.
I continued gluing until all my marks had a dowel and then I added a dowel to every other one until it looked like this.
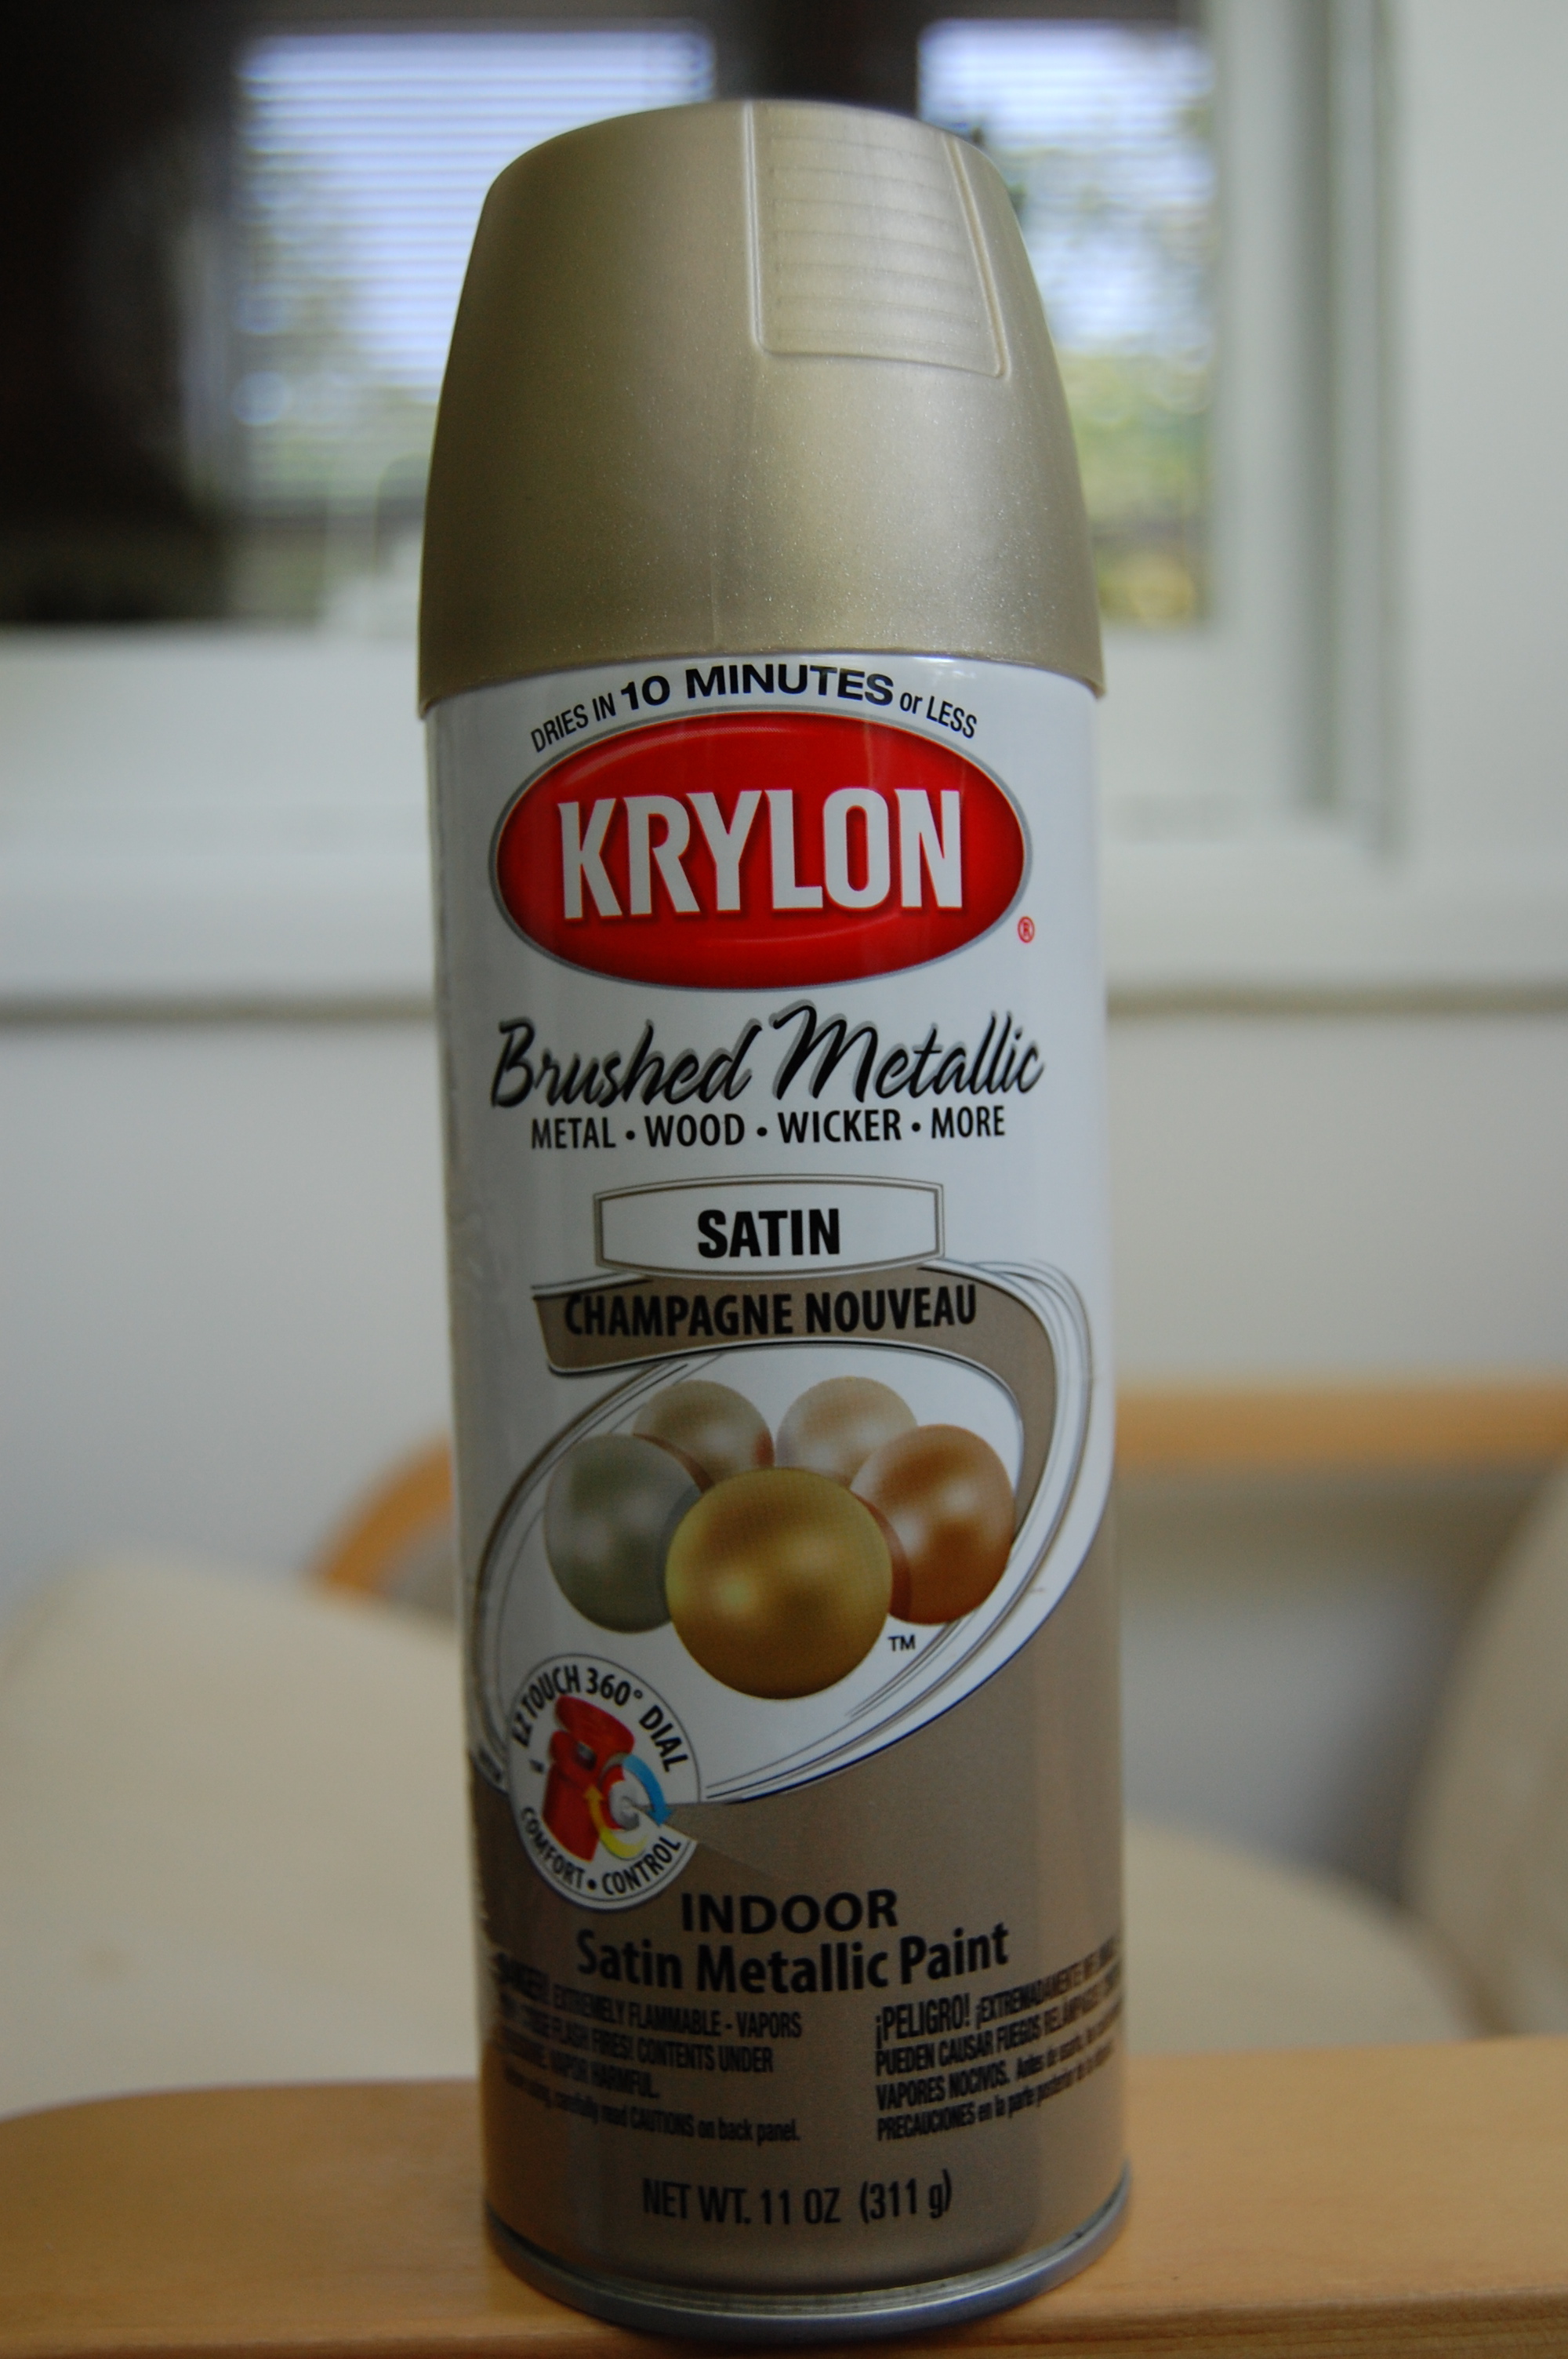
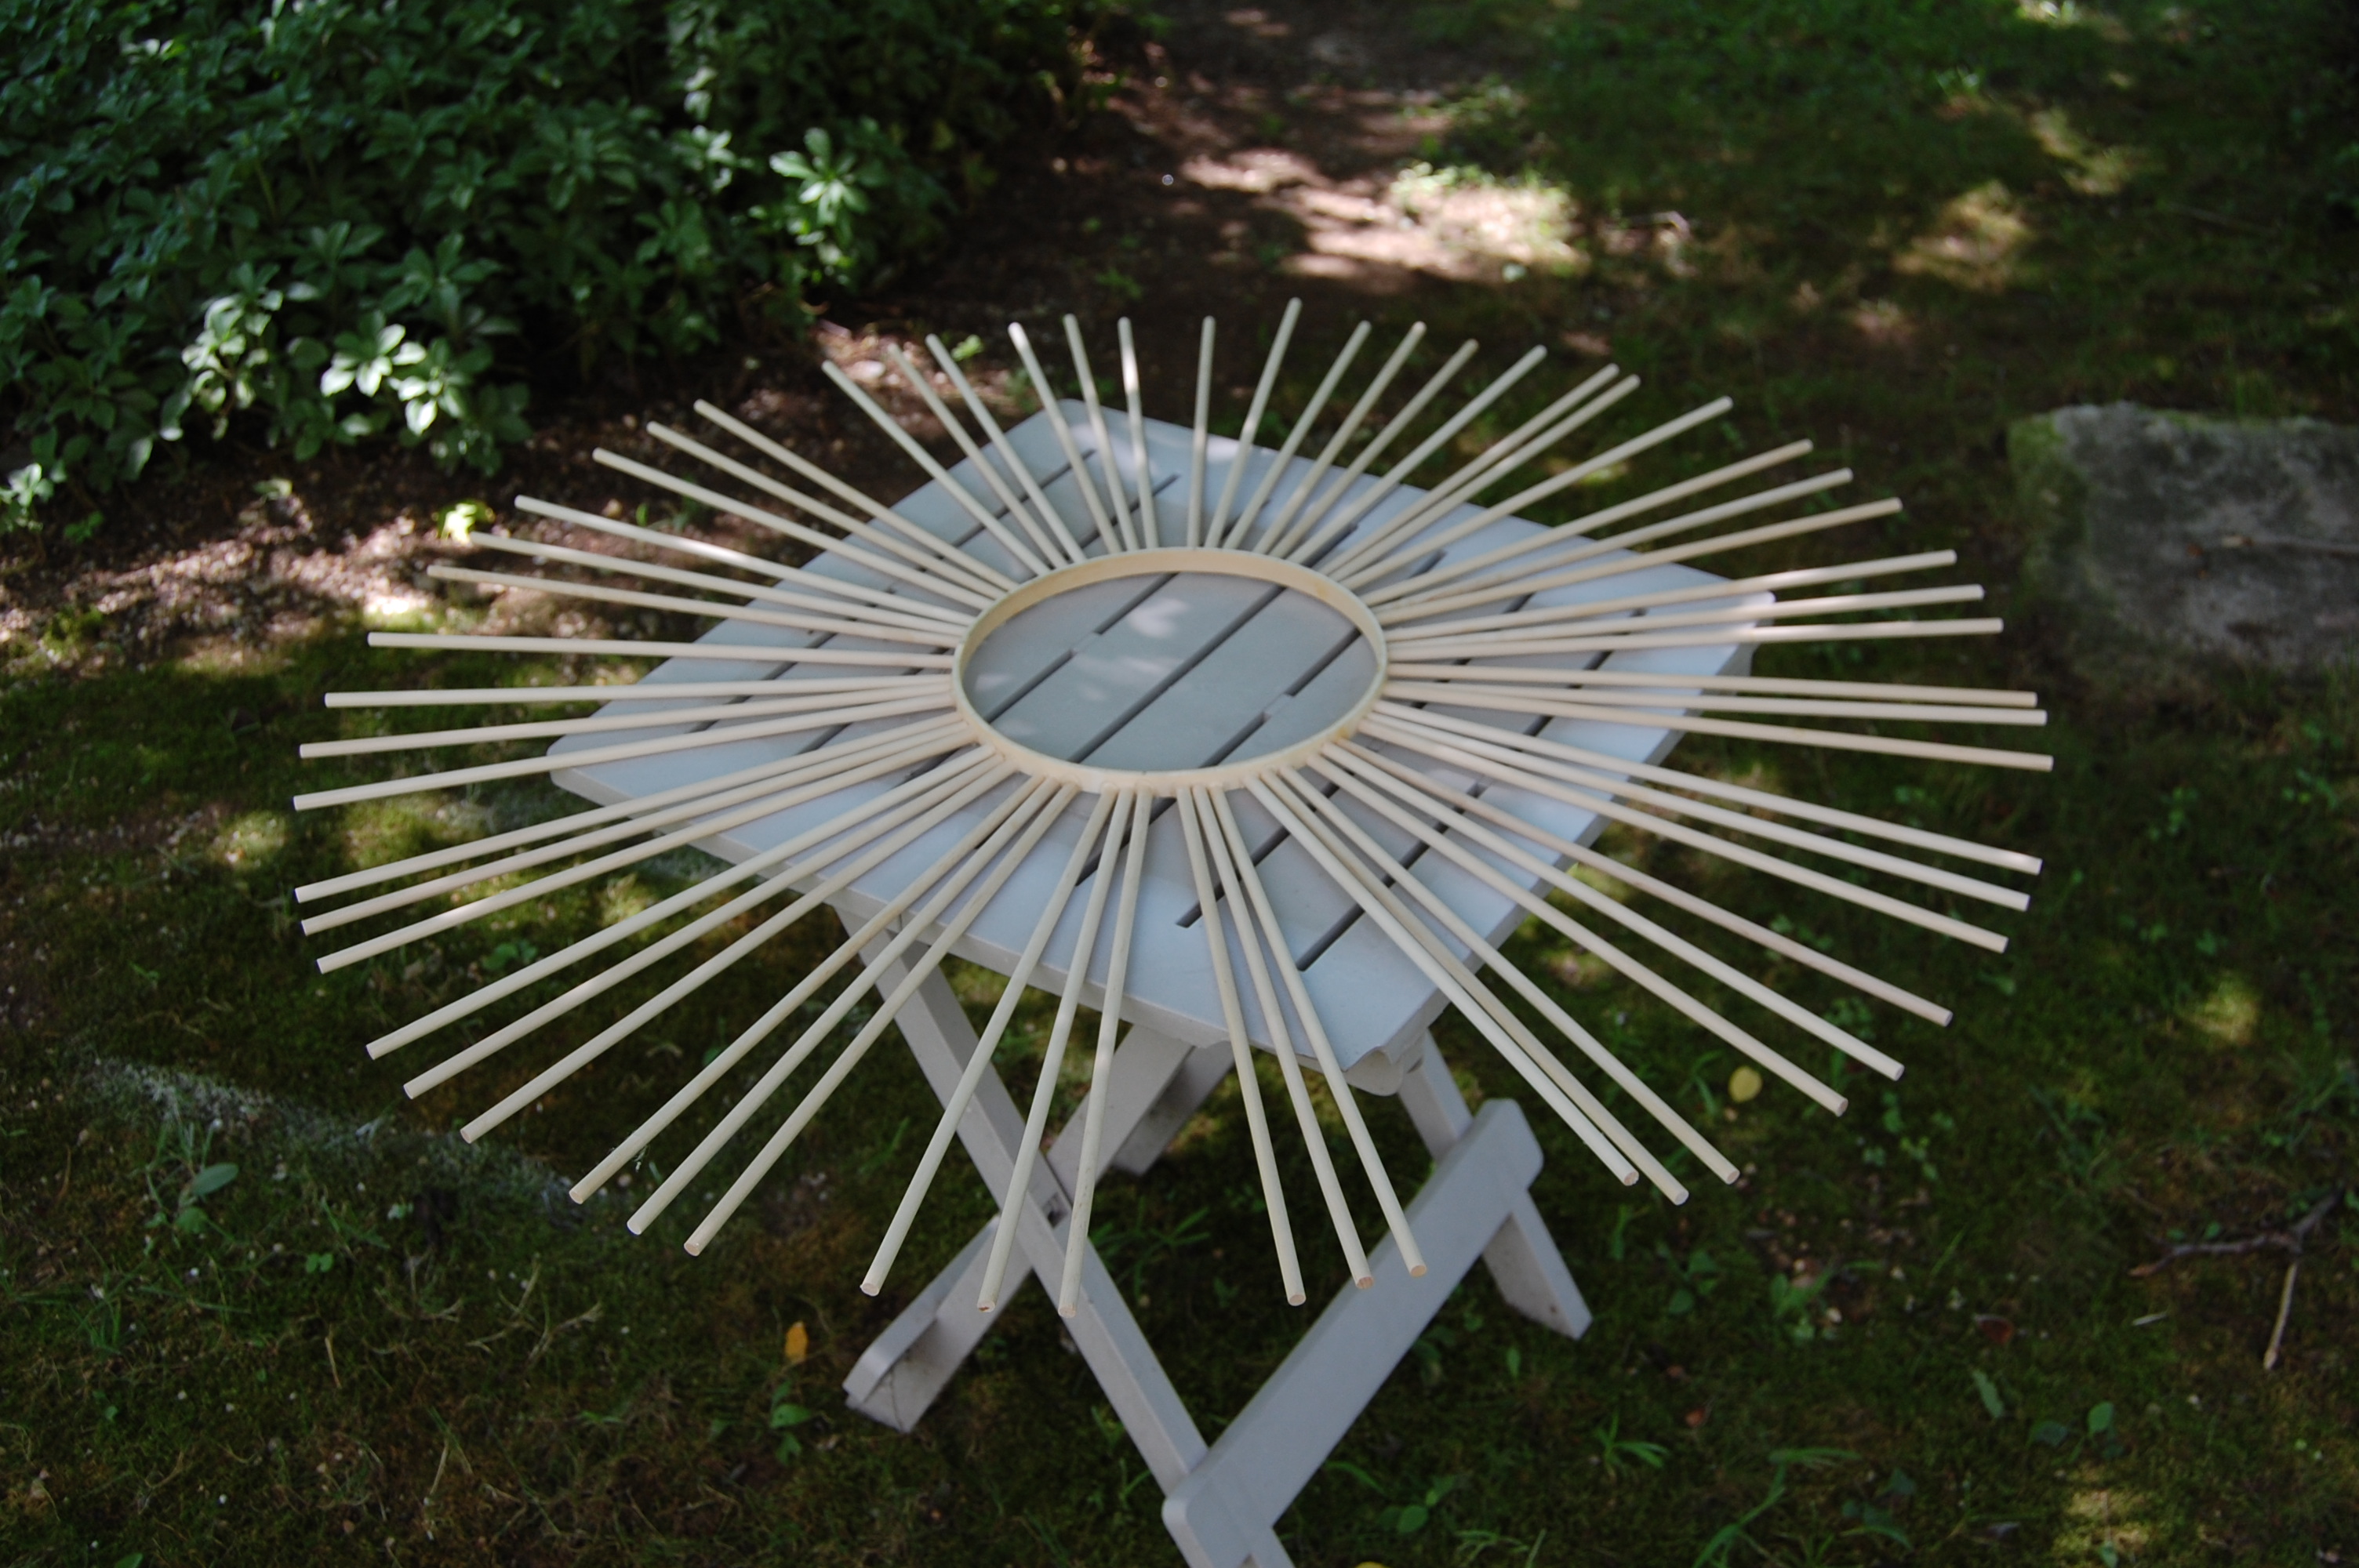 Then it was time to spray paint. I wanted it to have a metallic finish so I used Krylon Champagne Nouveau in Satin.
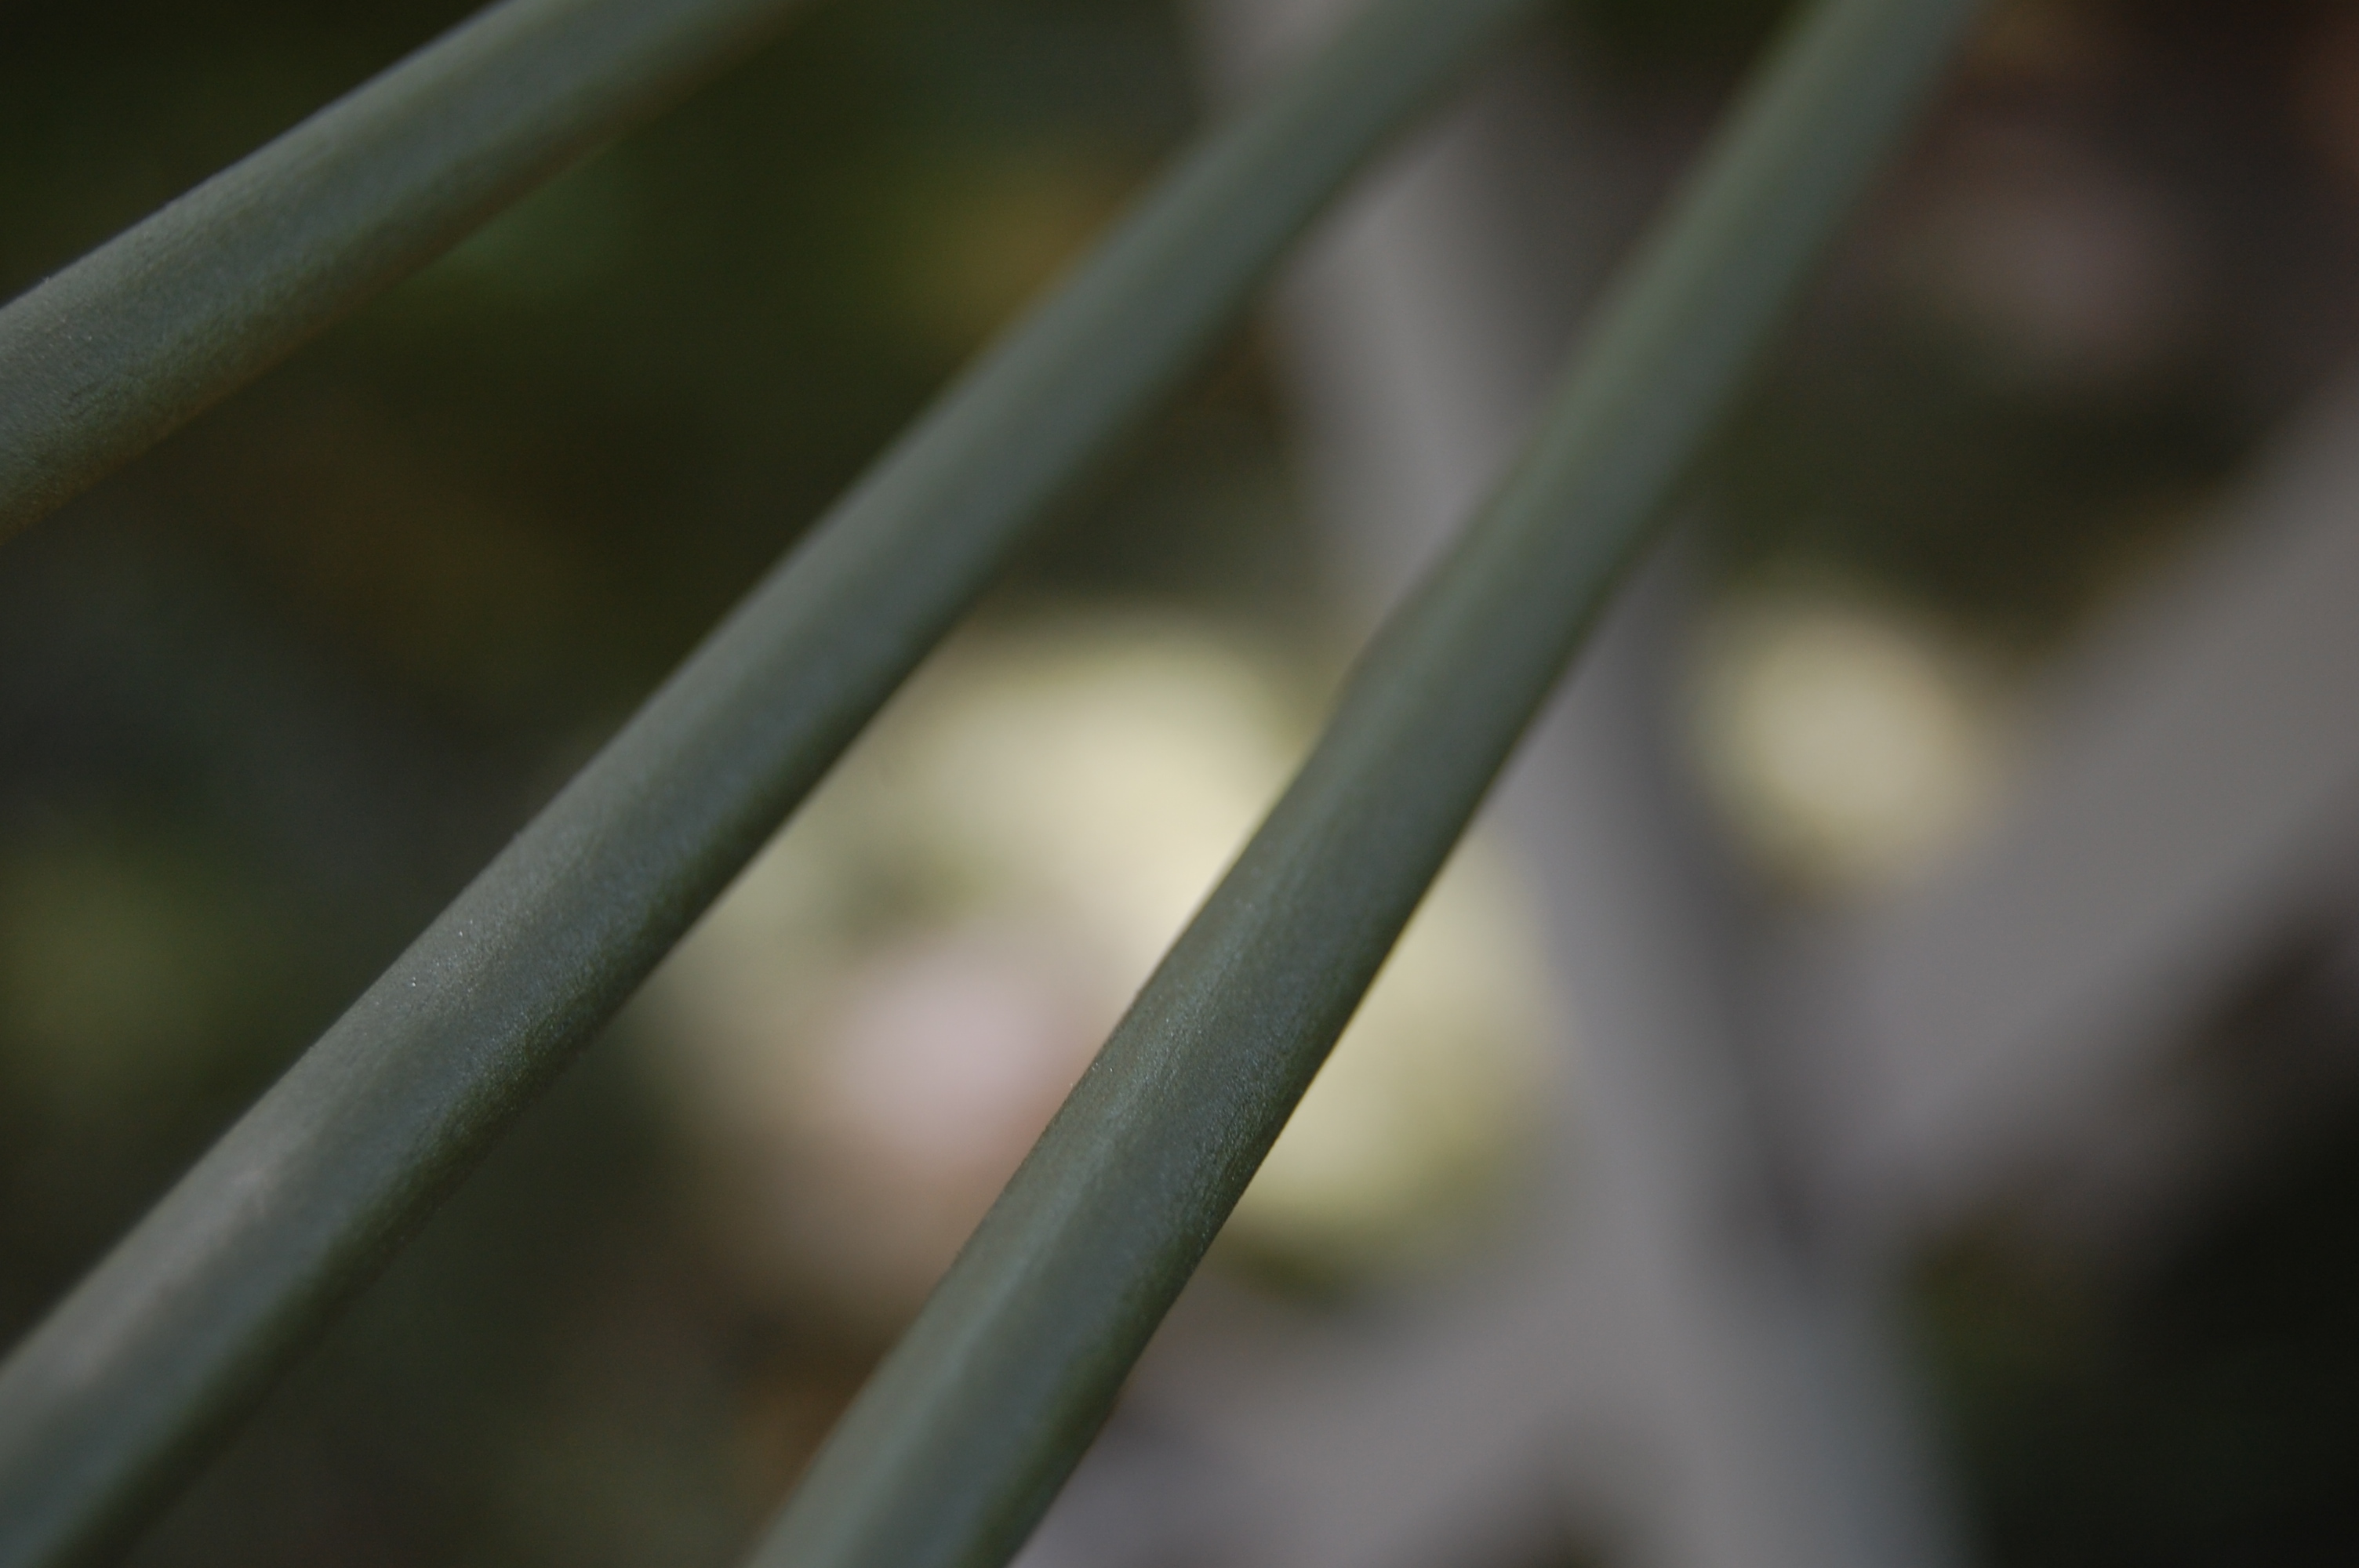
I primed it first, waited for it to dry and then applied two coats of the fancy Champagne. The pictures from afar don’t really show off the great color so I took a close-up. I love how it sparkles, it really gives it some life.
Now that she’s all glued, primed and sprayed back inside she goes to attach the mirror.
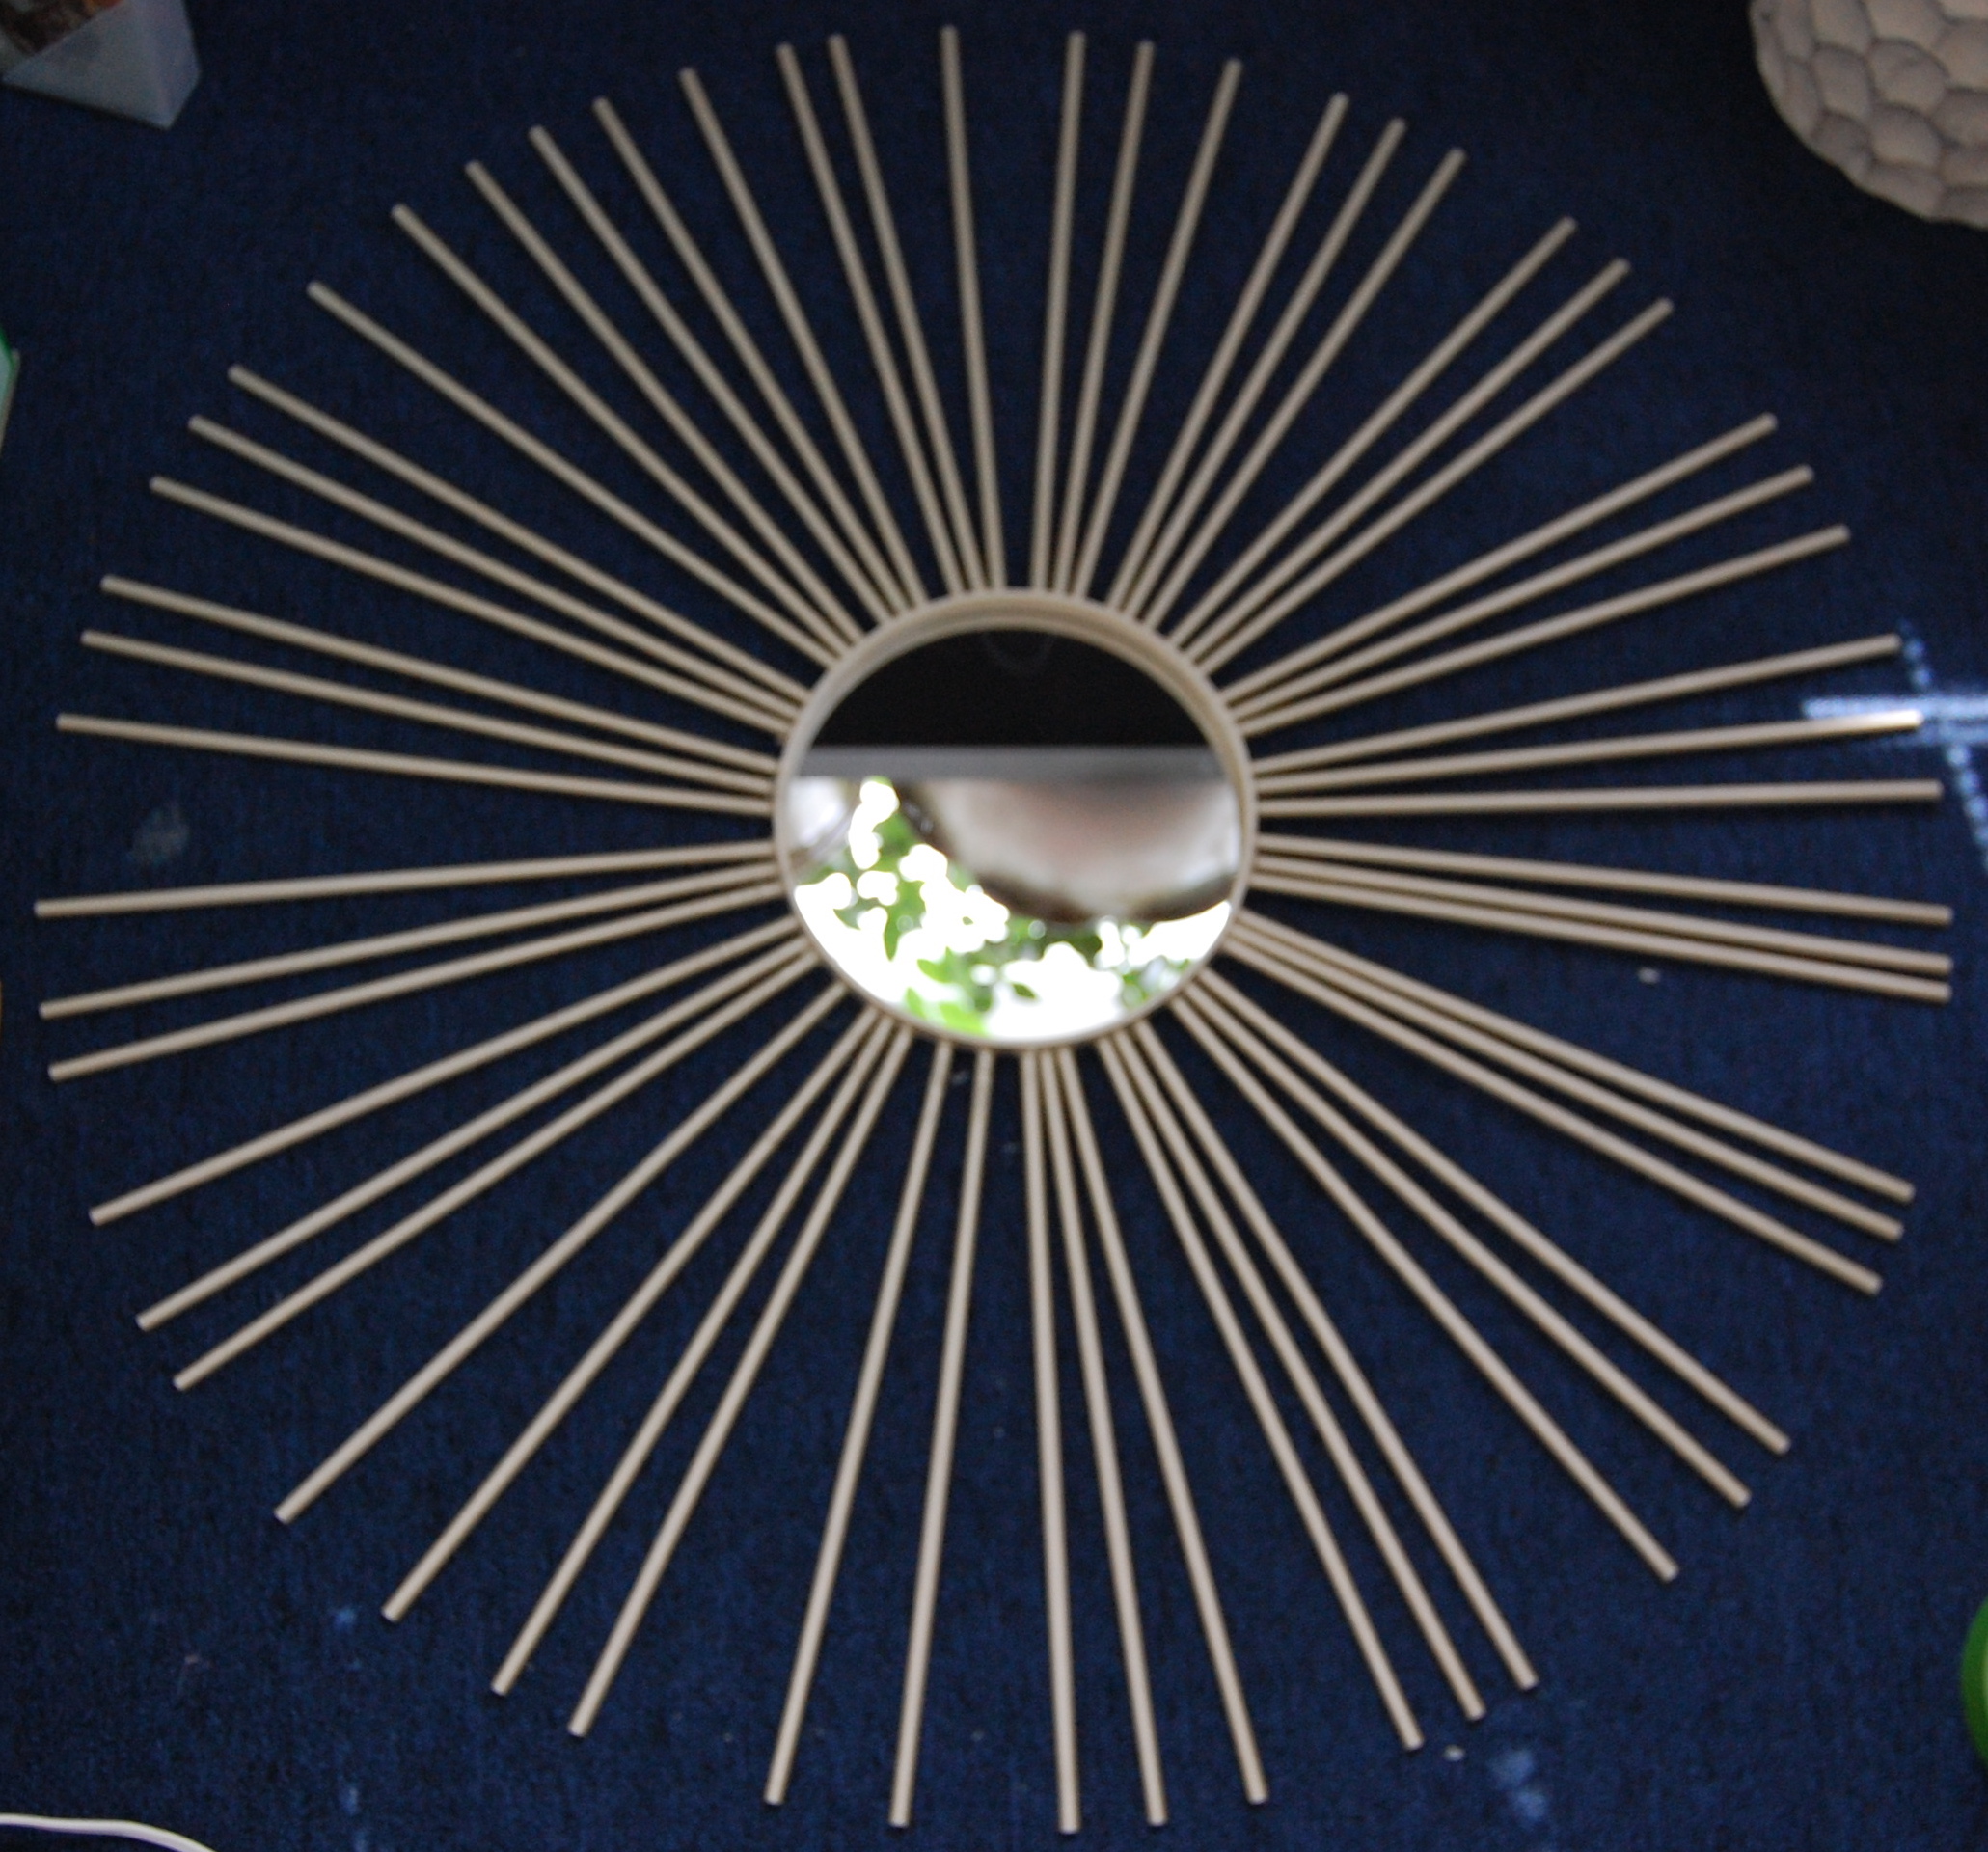 Viola! Looks great doesn’t it…yeah I don’t think so. Remember back up a few pictures when I said I had a “plan”? Turns out my “plan” didn’t work out the way I hoped it would because as soon as I picked that round lady up..boom!
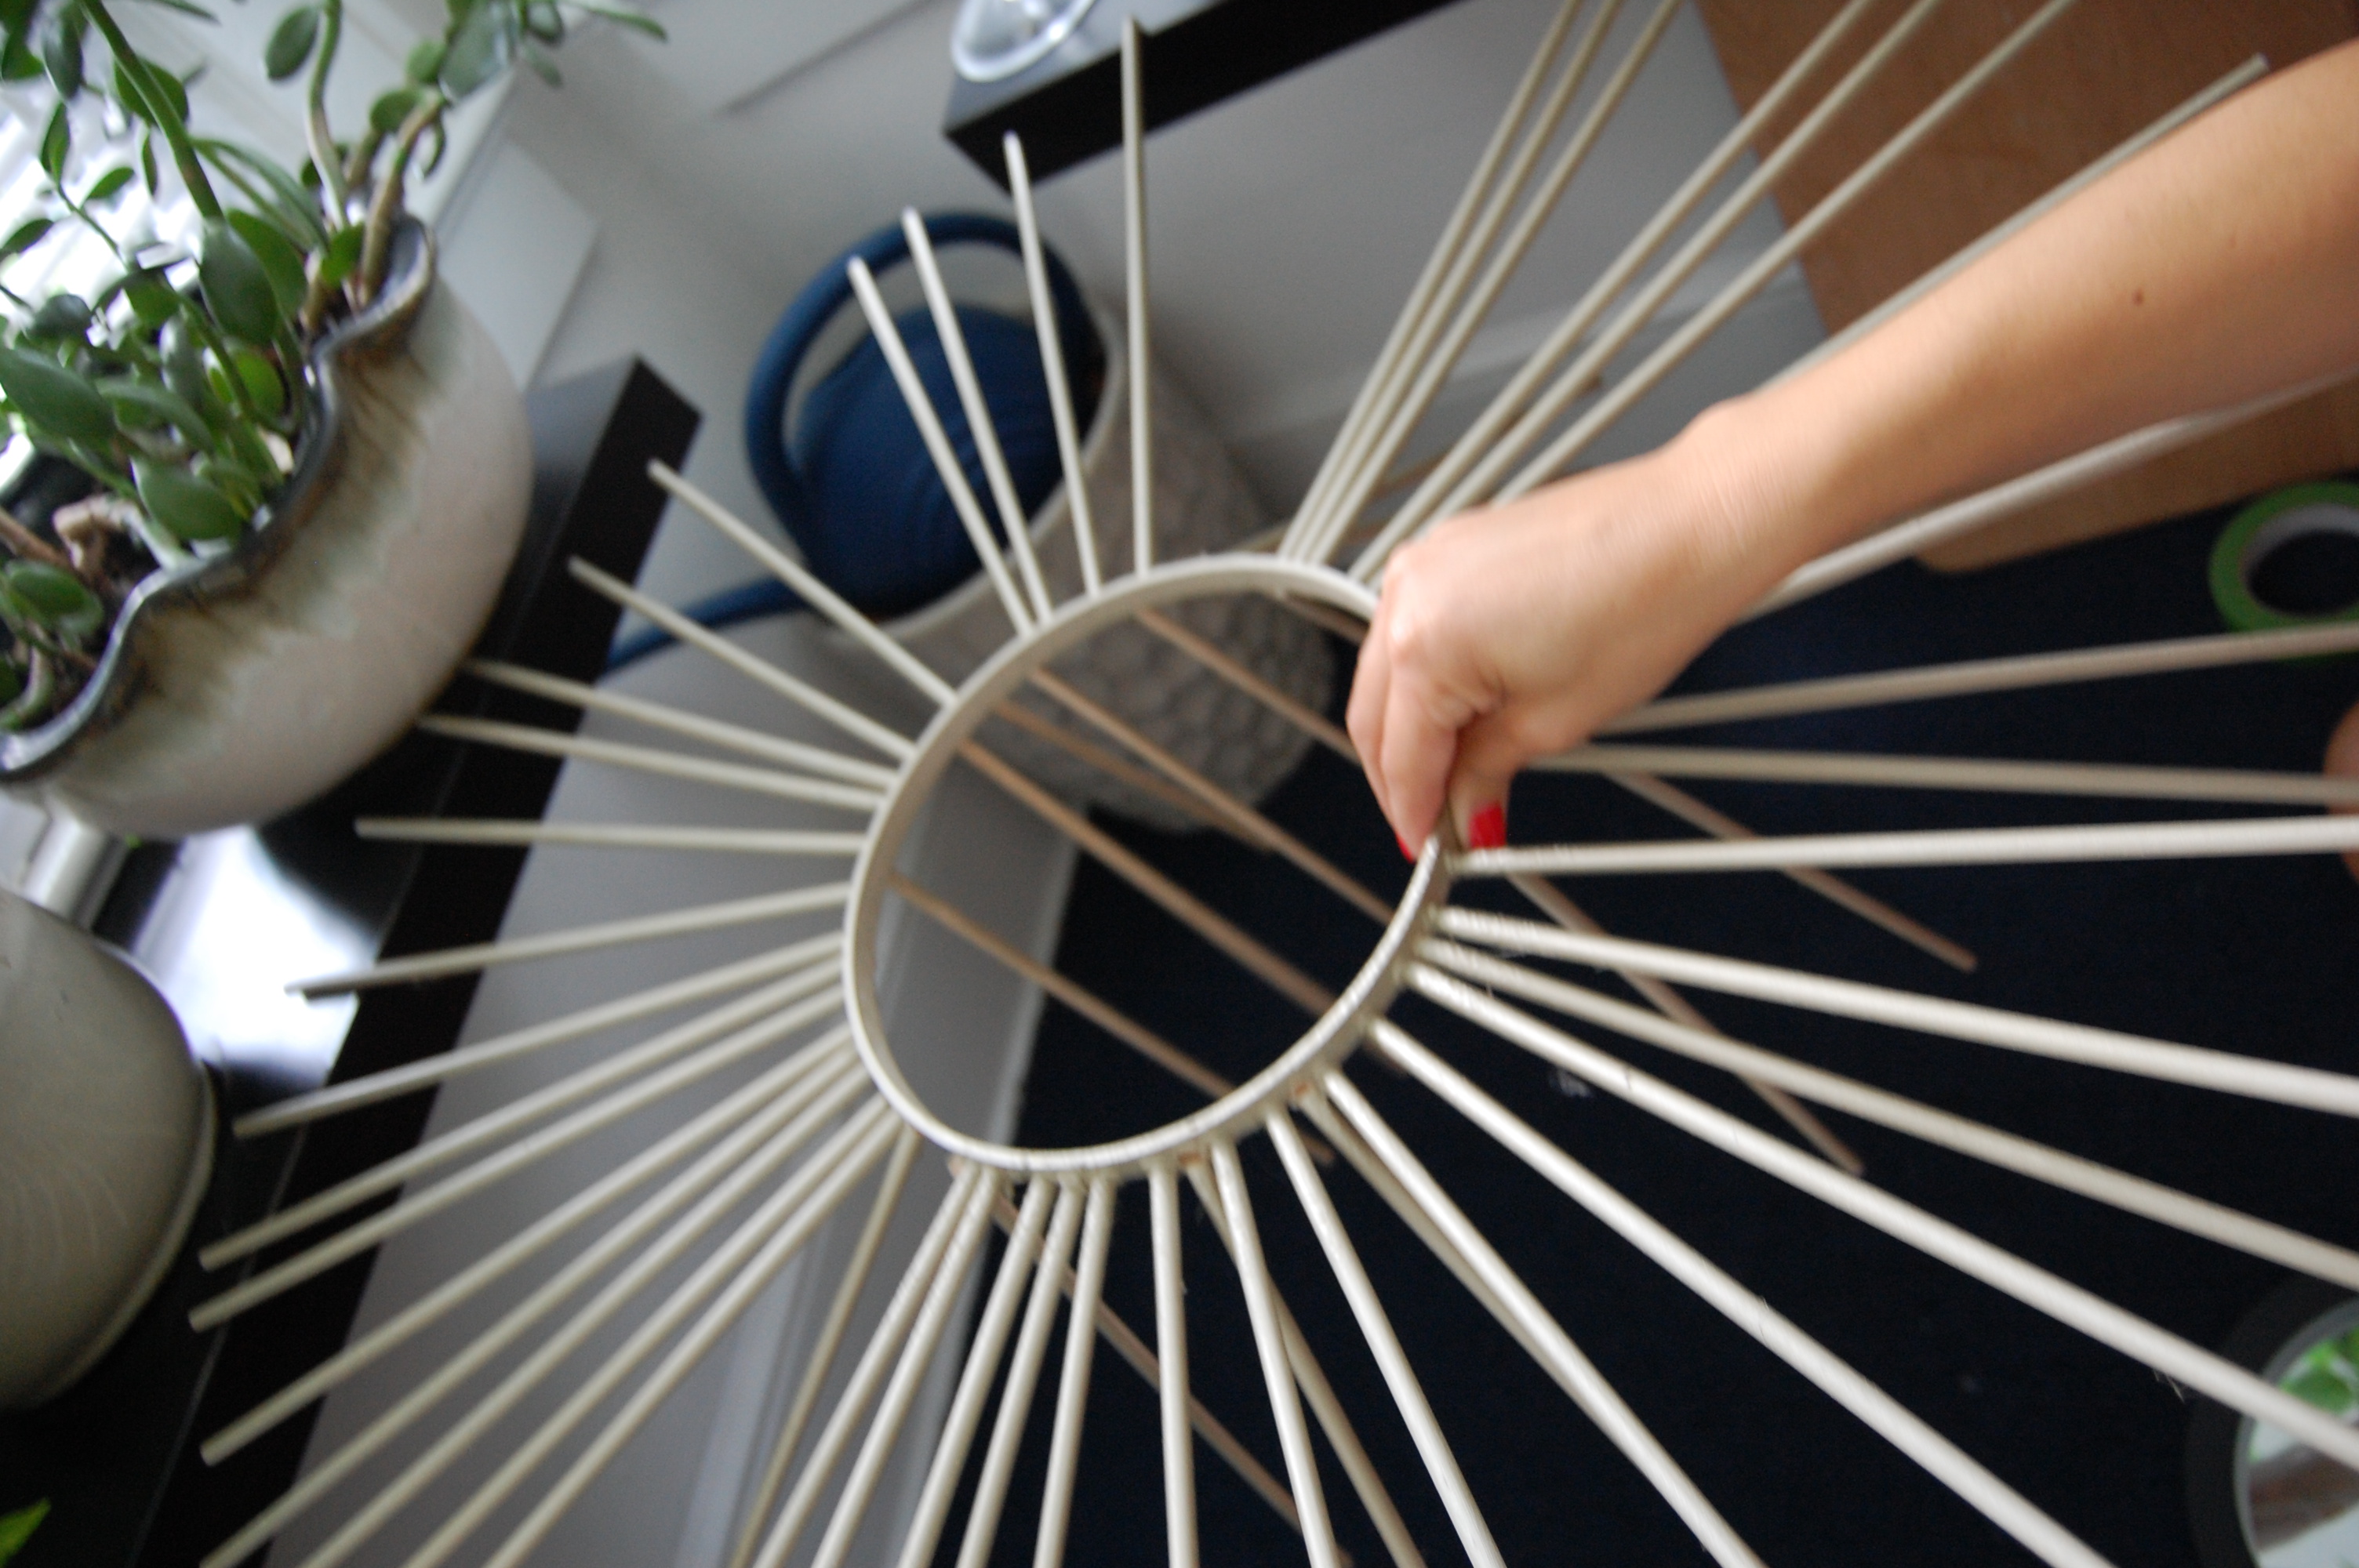 So sad, stressful, aggravating! I tried using Gorilla glue but that requires clamping. I also tried wood glue but that also requires clamping so I came up with another plan and although the challenge was suppose to end today I have extended myself a day because I can’t handle anymore dowels but I will get er done!
So before I begin on what I will make the easiest sunburst mirror what do you think? Did you like the staggered look? The straight around? Love to hear from you!
P.S. Even though I didn’t complete the mirror I believe my attempt deserved some credit so I linked up at YHL!
*Update: Click here to see the finished product.

Oh no! I’m so sorry to hear it didn’t work out. I will try to help you think of another solution. I think you need more of a lip to glue them on like this…isabellaandmaxrooms.blogspot.com/2010/08/sunburst-mirror-project.html or like this http://www.momtastic.com/home-and-living/home/165311-how-to-make-a-starburst-mirror
Or in this one http://www.flamingotoes.com/2011/03/a-starburst-mirror-for-the-dining-room/ you could do something similar with the cardboard, like sandwiching the dowels and covering the cardboard with the mirror and ring.
Wow look at you! I’ve decided to just glue directly to the back of the mirror and then add the hoop on top. The only part I’m unsure of is where I will put the hook in order to hang it. I will probably have to do that first. If at first you don’t succeed try, try again!
That sounds like good plan. I want to hear how it turns out!
I love the look! So shitty that you have to do it again but it’ll be worth it when it’s all done