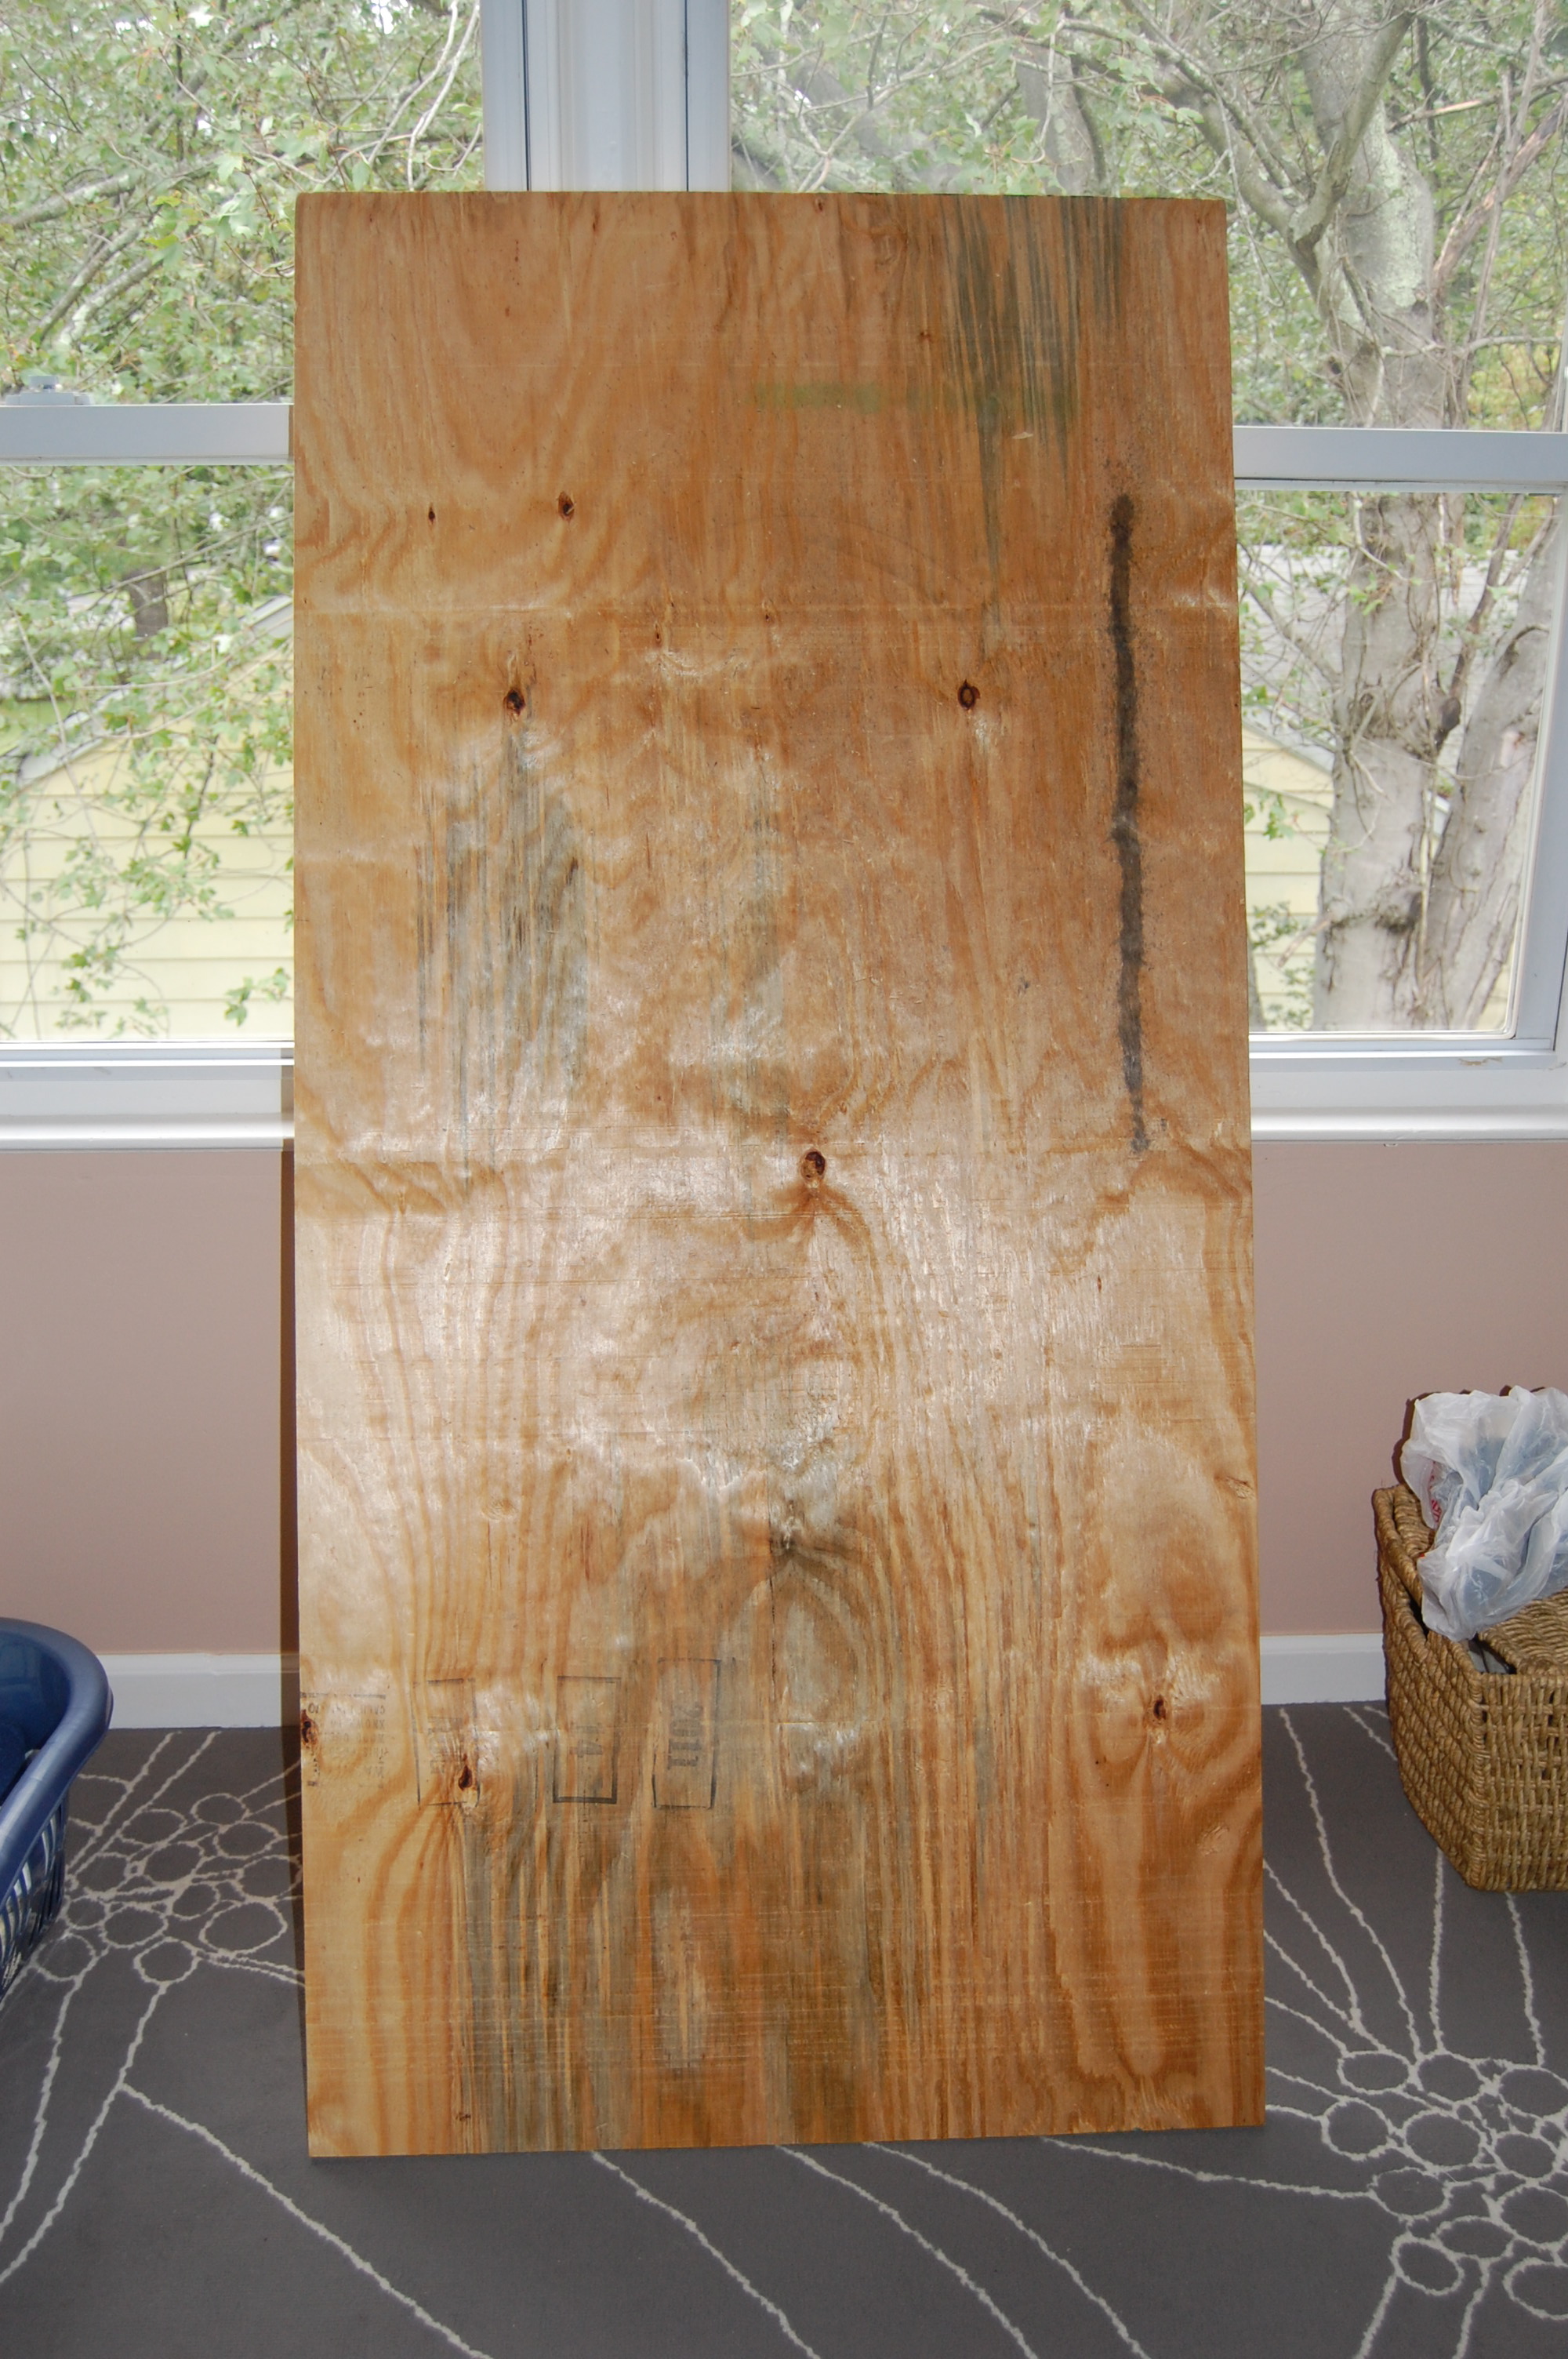
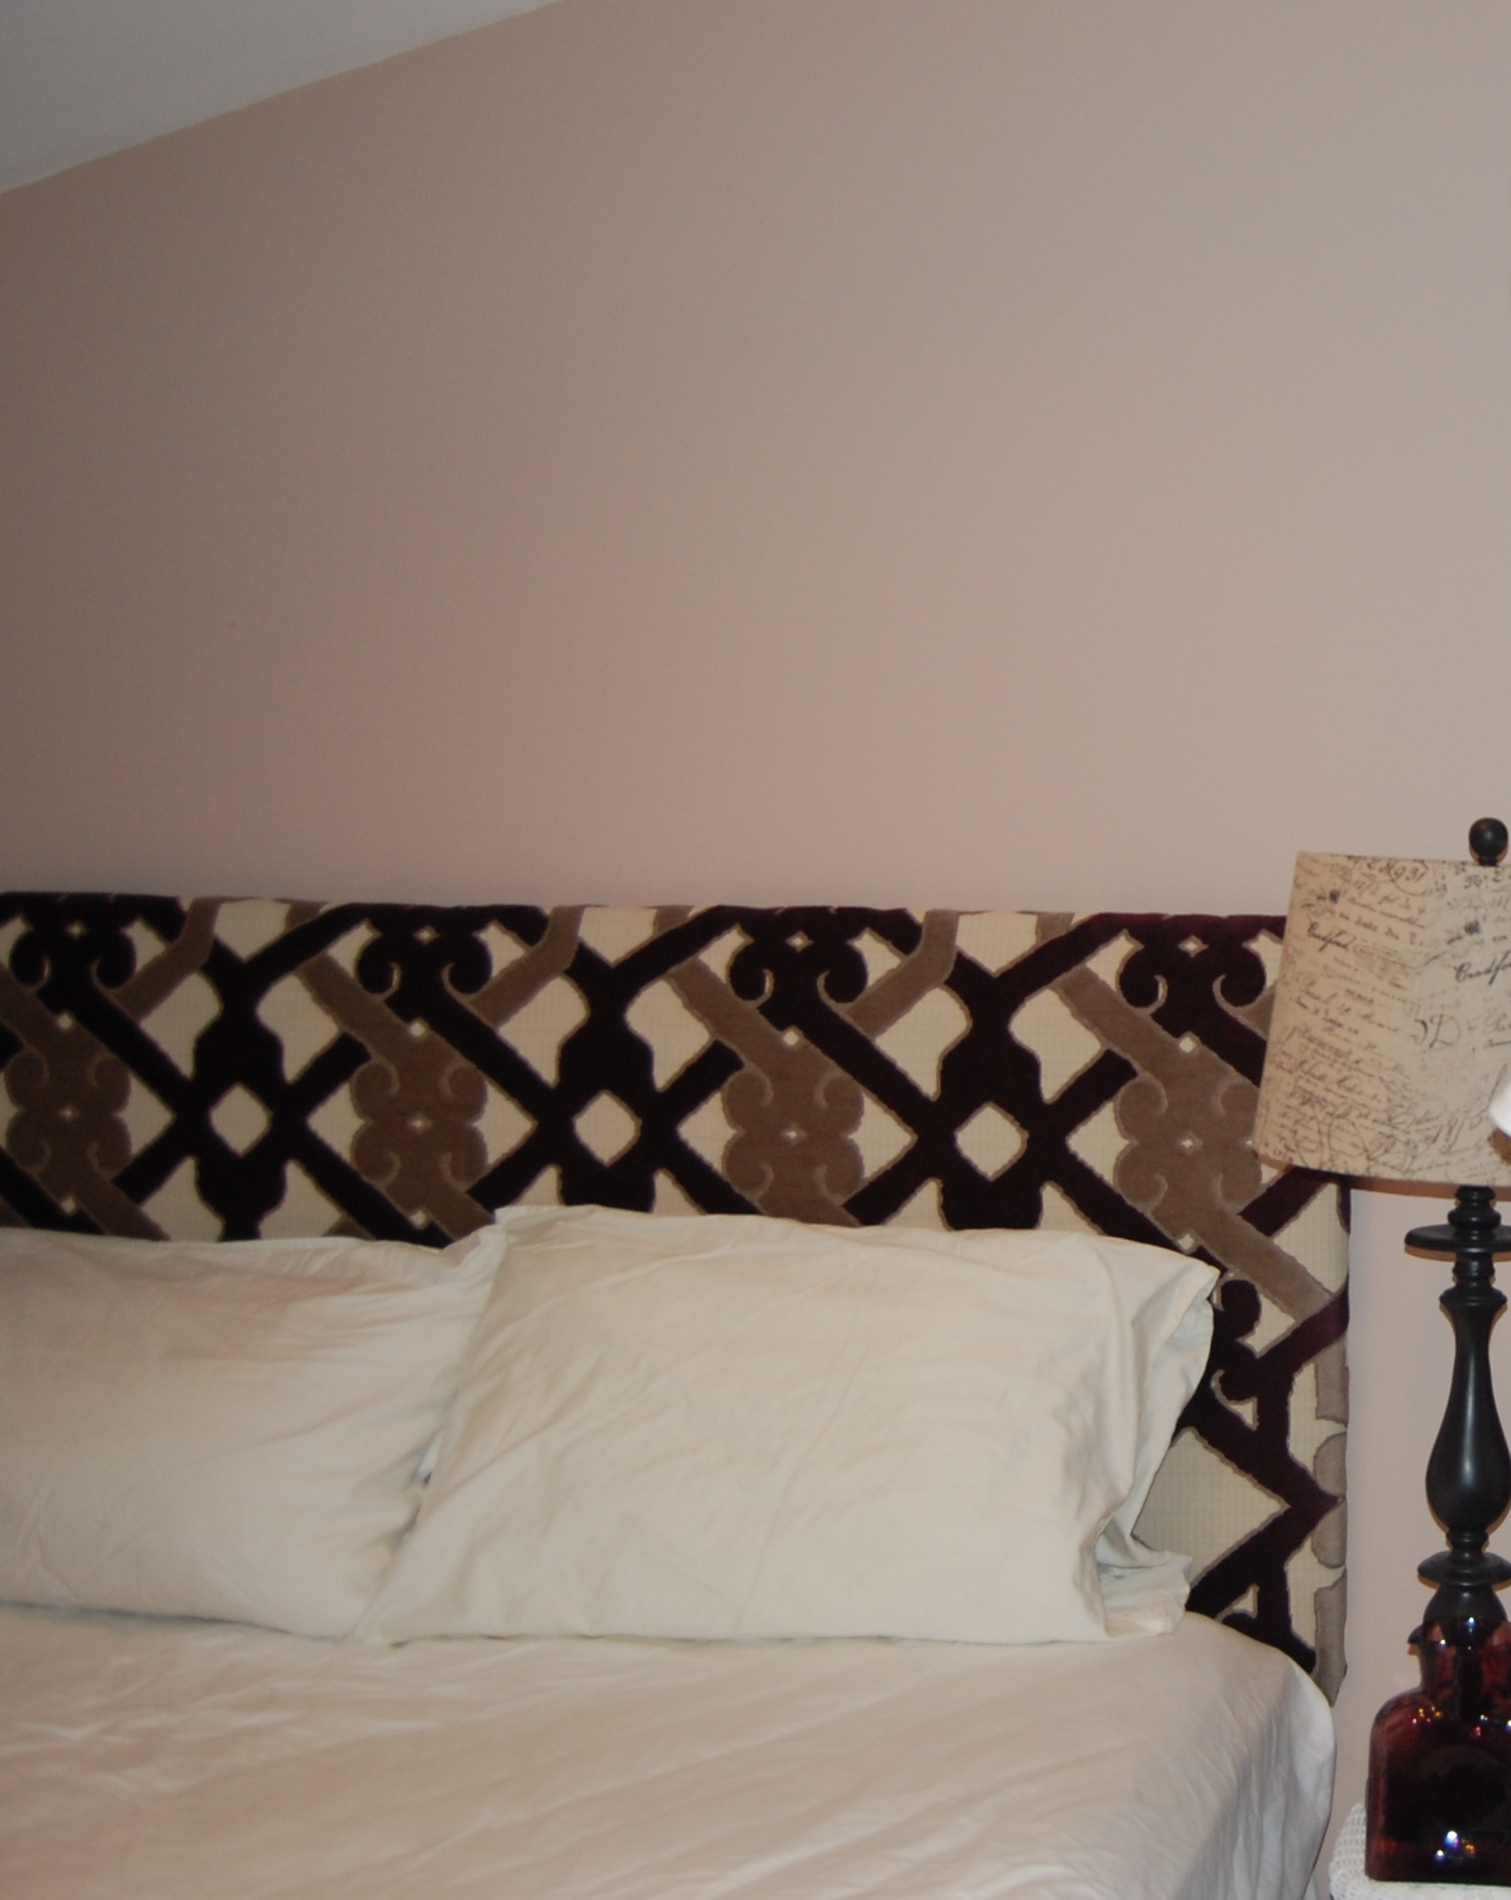
This past weekend I helped out my cousin with making a headboard for her guest room. I shared a photo of my current headboard in this post and thought it would be helpful to do a full tutorial of how it’s done. One of the first things you need to do is measure the width of your mattress and decide how wide and tall you want the headboard to be. There is no rule to how high or wide it has to be but the mattress we were working with was 60″ wide (queen) so we decided on 62″ wide and 30″ high. Now hop in the car and head over to your nearest home improvement retailer, in our case we went to Home Depot. You want to be able to buy pretty thick plywood so that it could hold up to the job and it doesn’t need to be finished wood since it will be covered. The great thing about Home Depot and most lumber places is that they will cut the wood for you. We purchased 3/4″ plywood.
 Once the wood is purchased the rest is a breeze! Just grab a hold of your fabric. In this case we used a geometric chenille fabric which you can find here and you can see here…
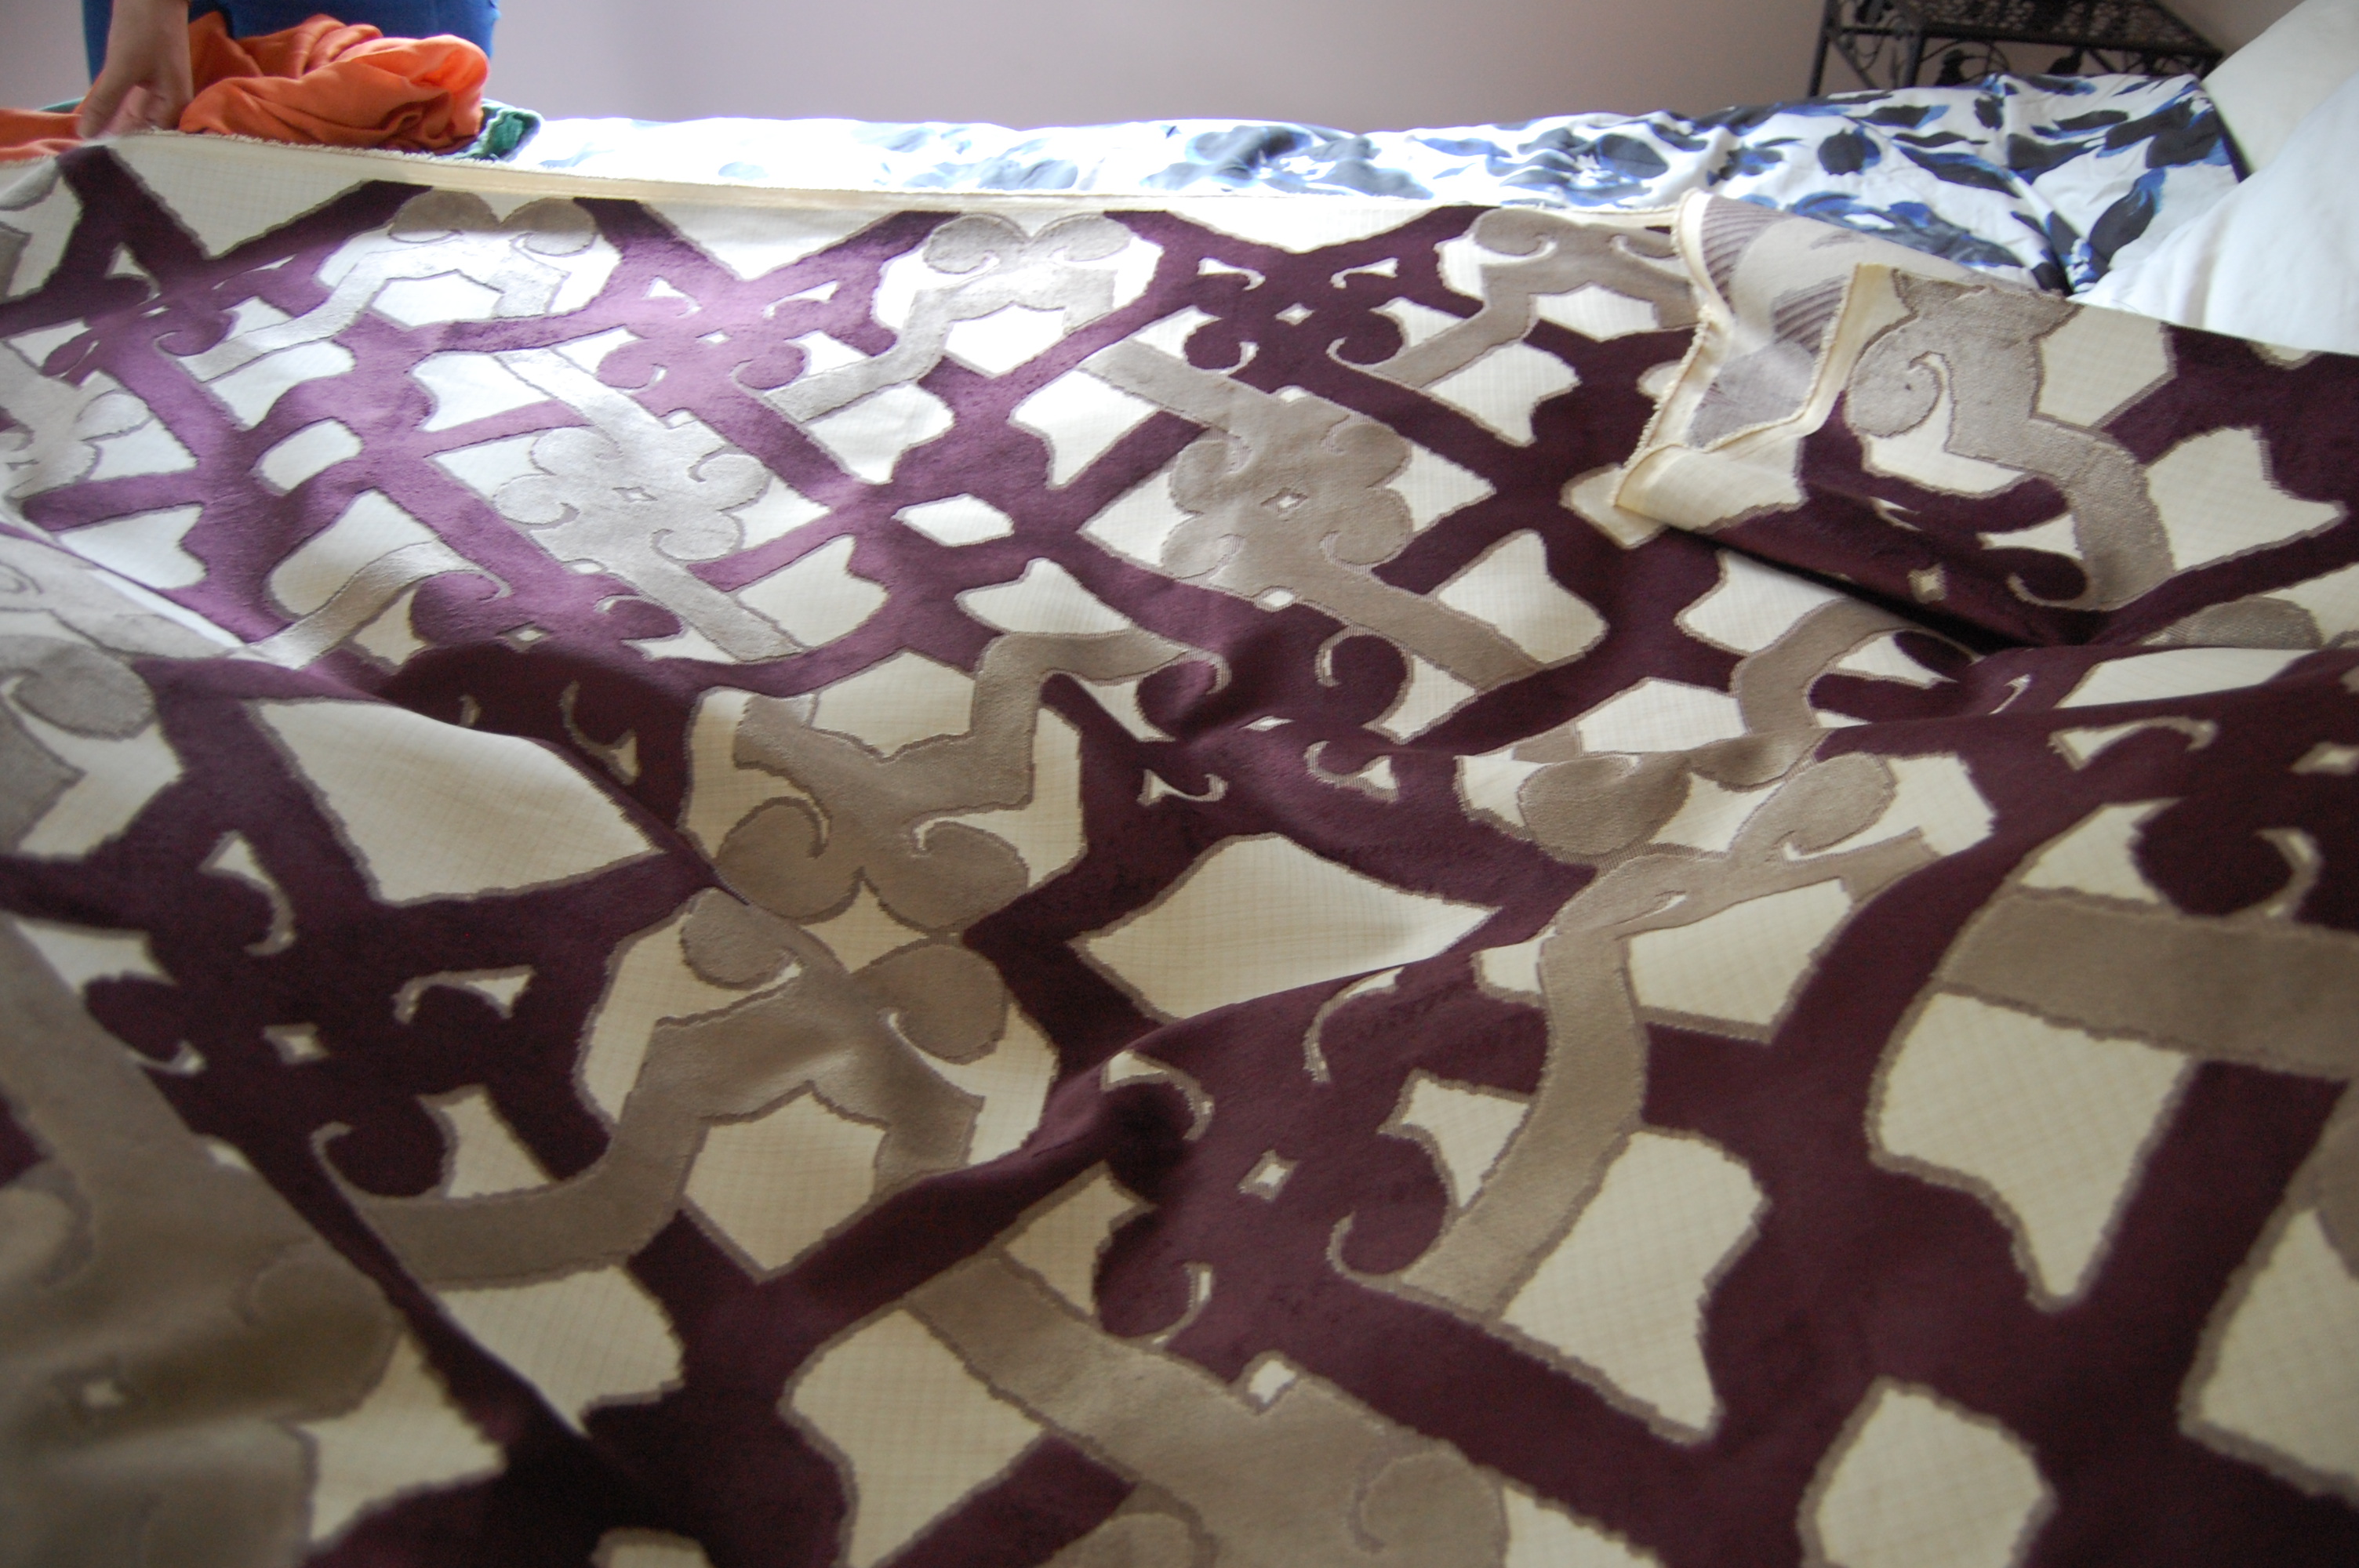
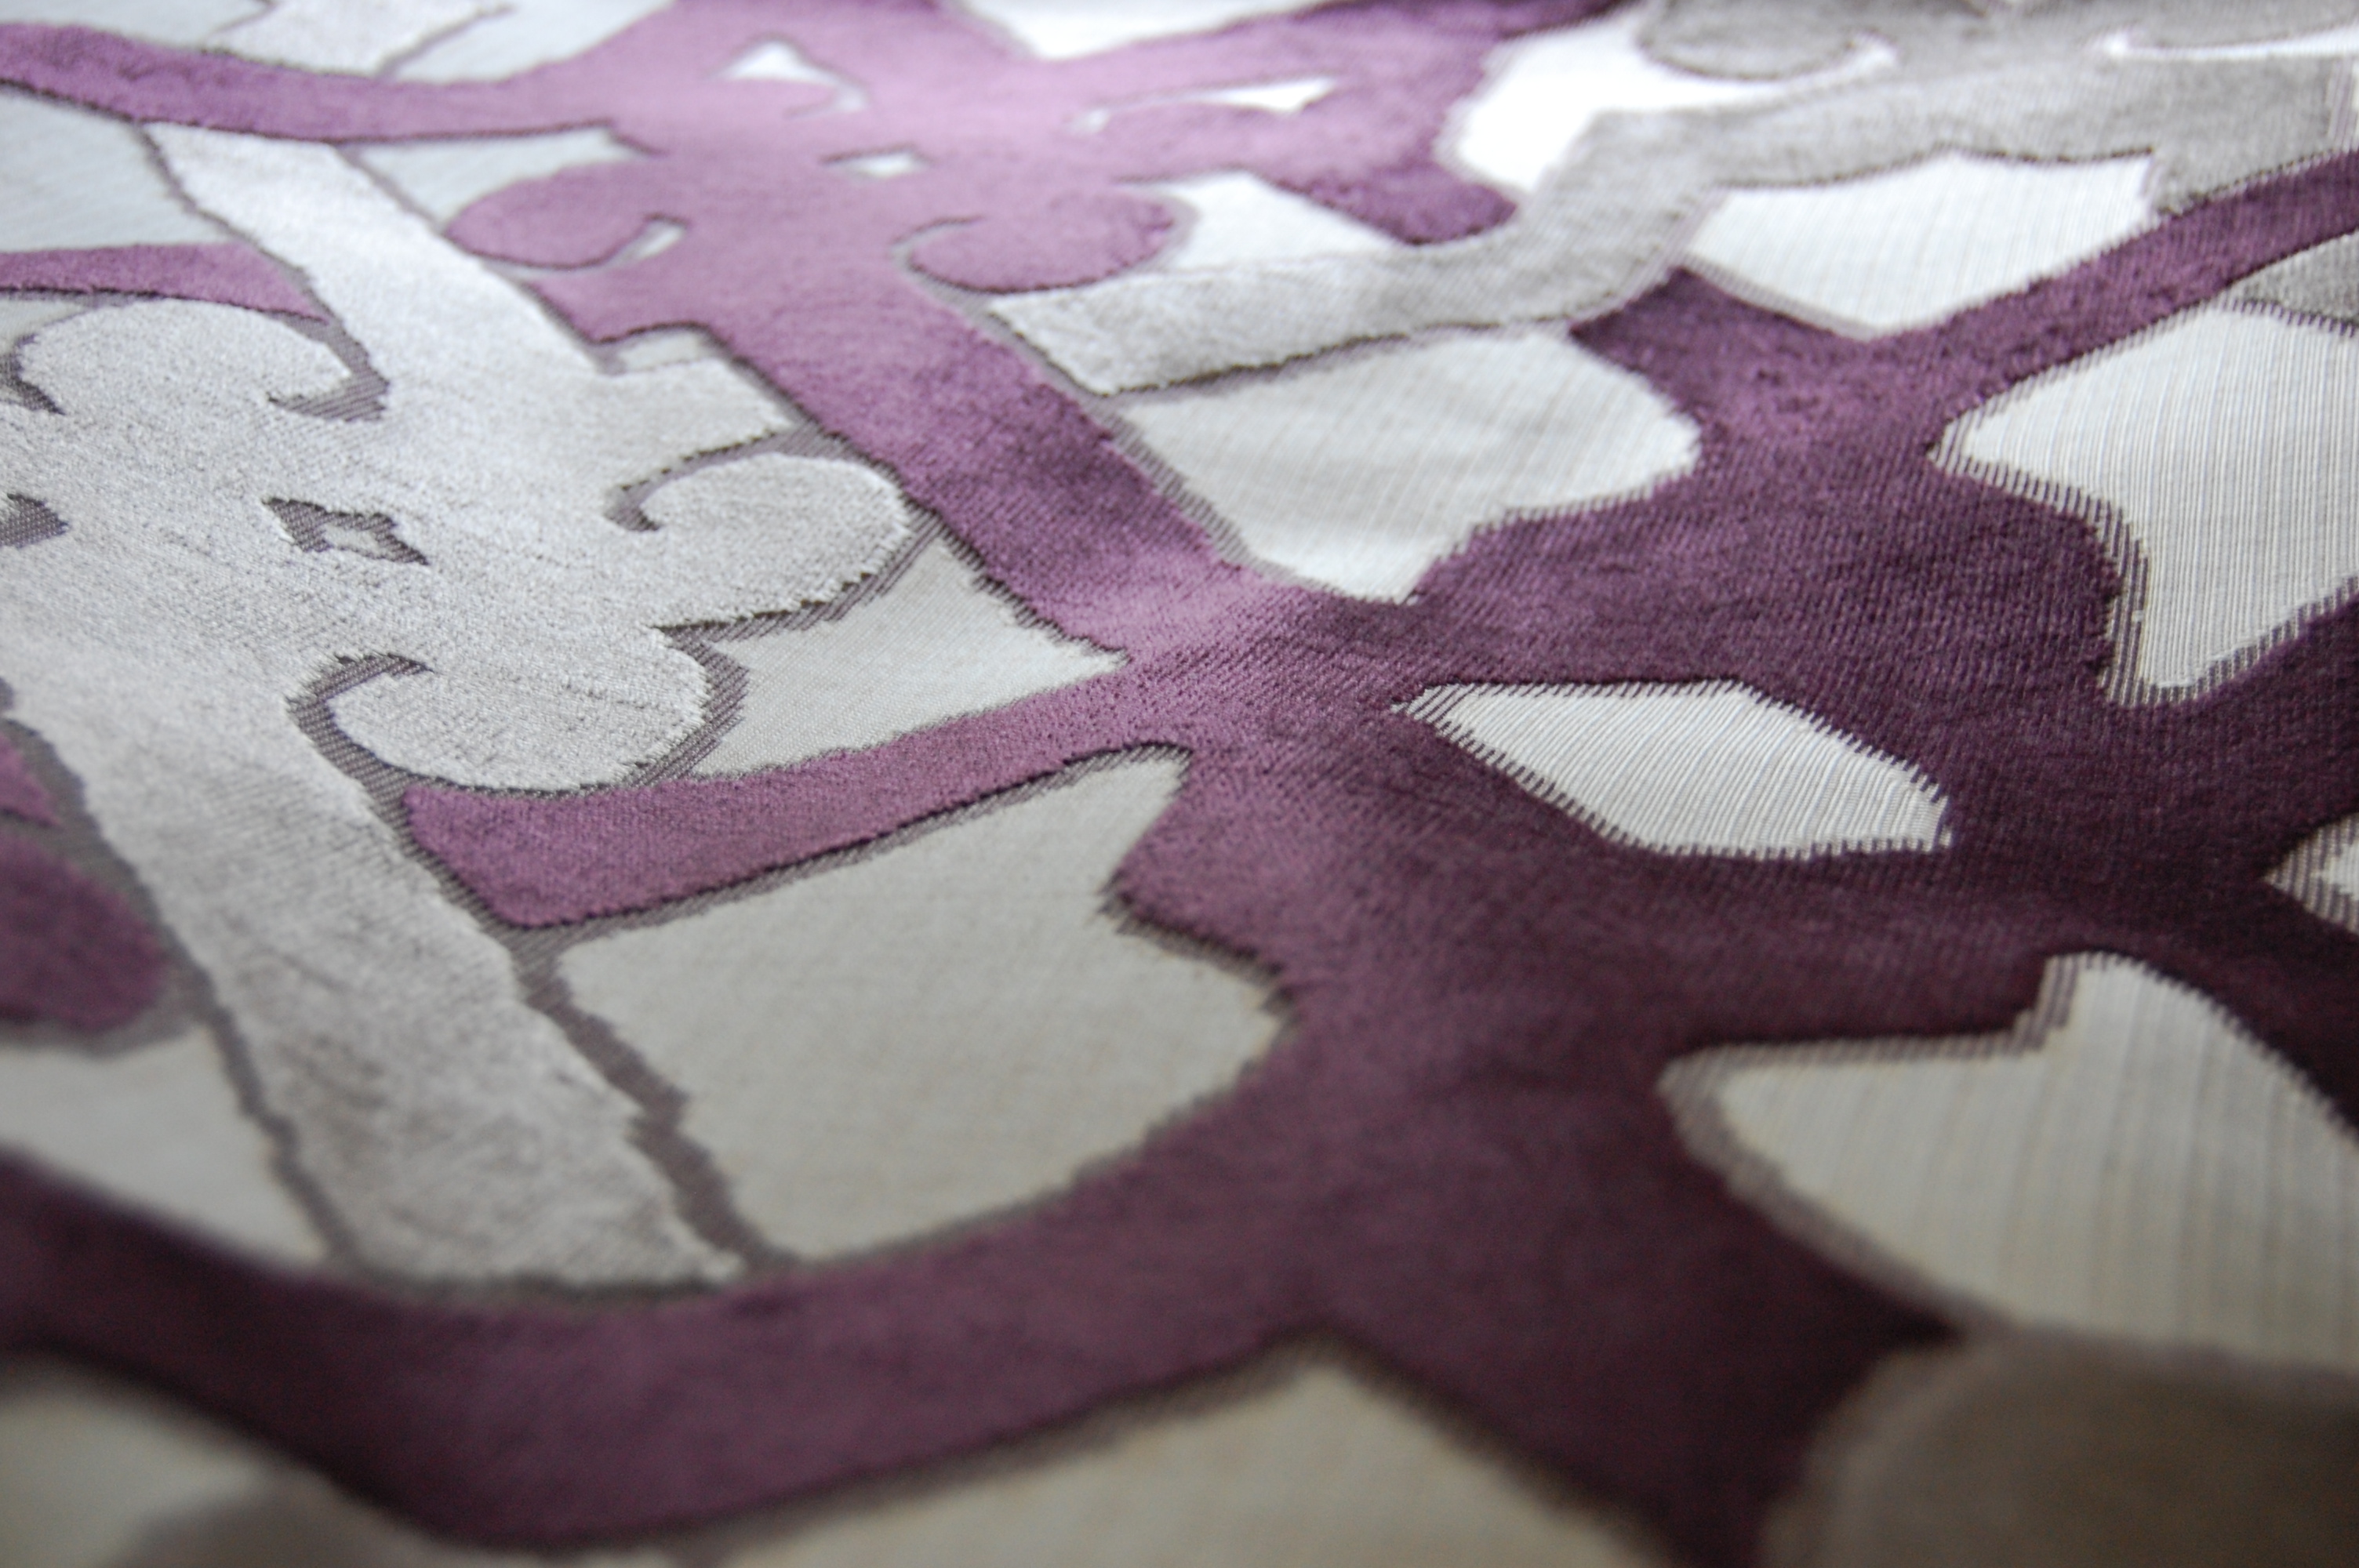 So purty! Now you just need your batting and foam.
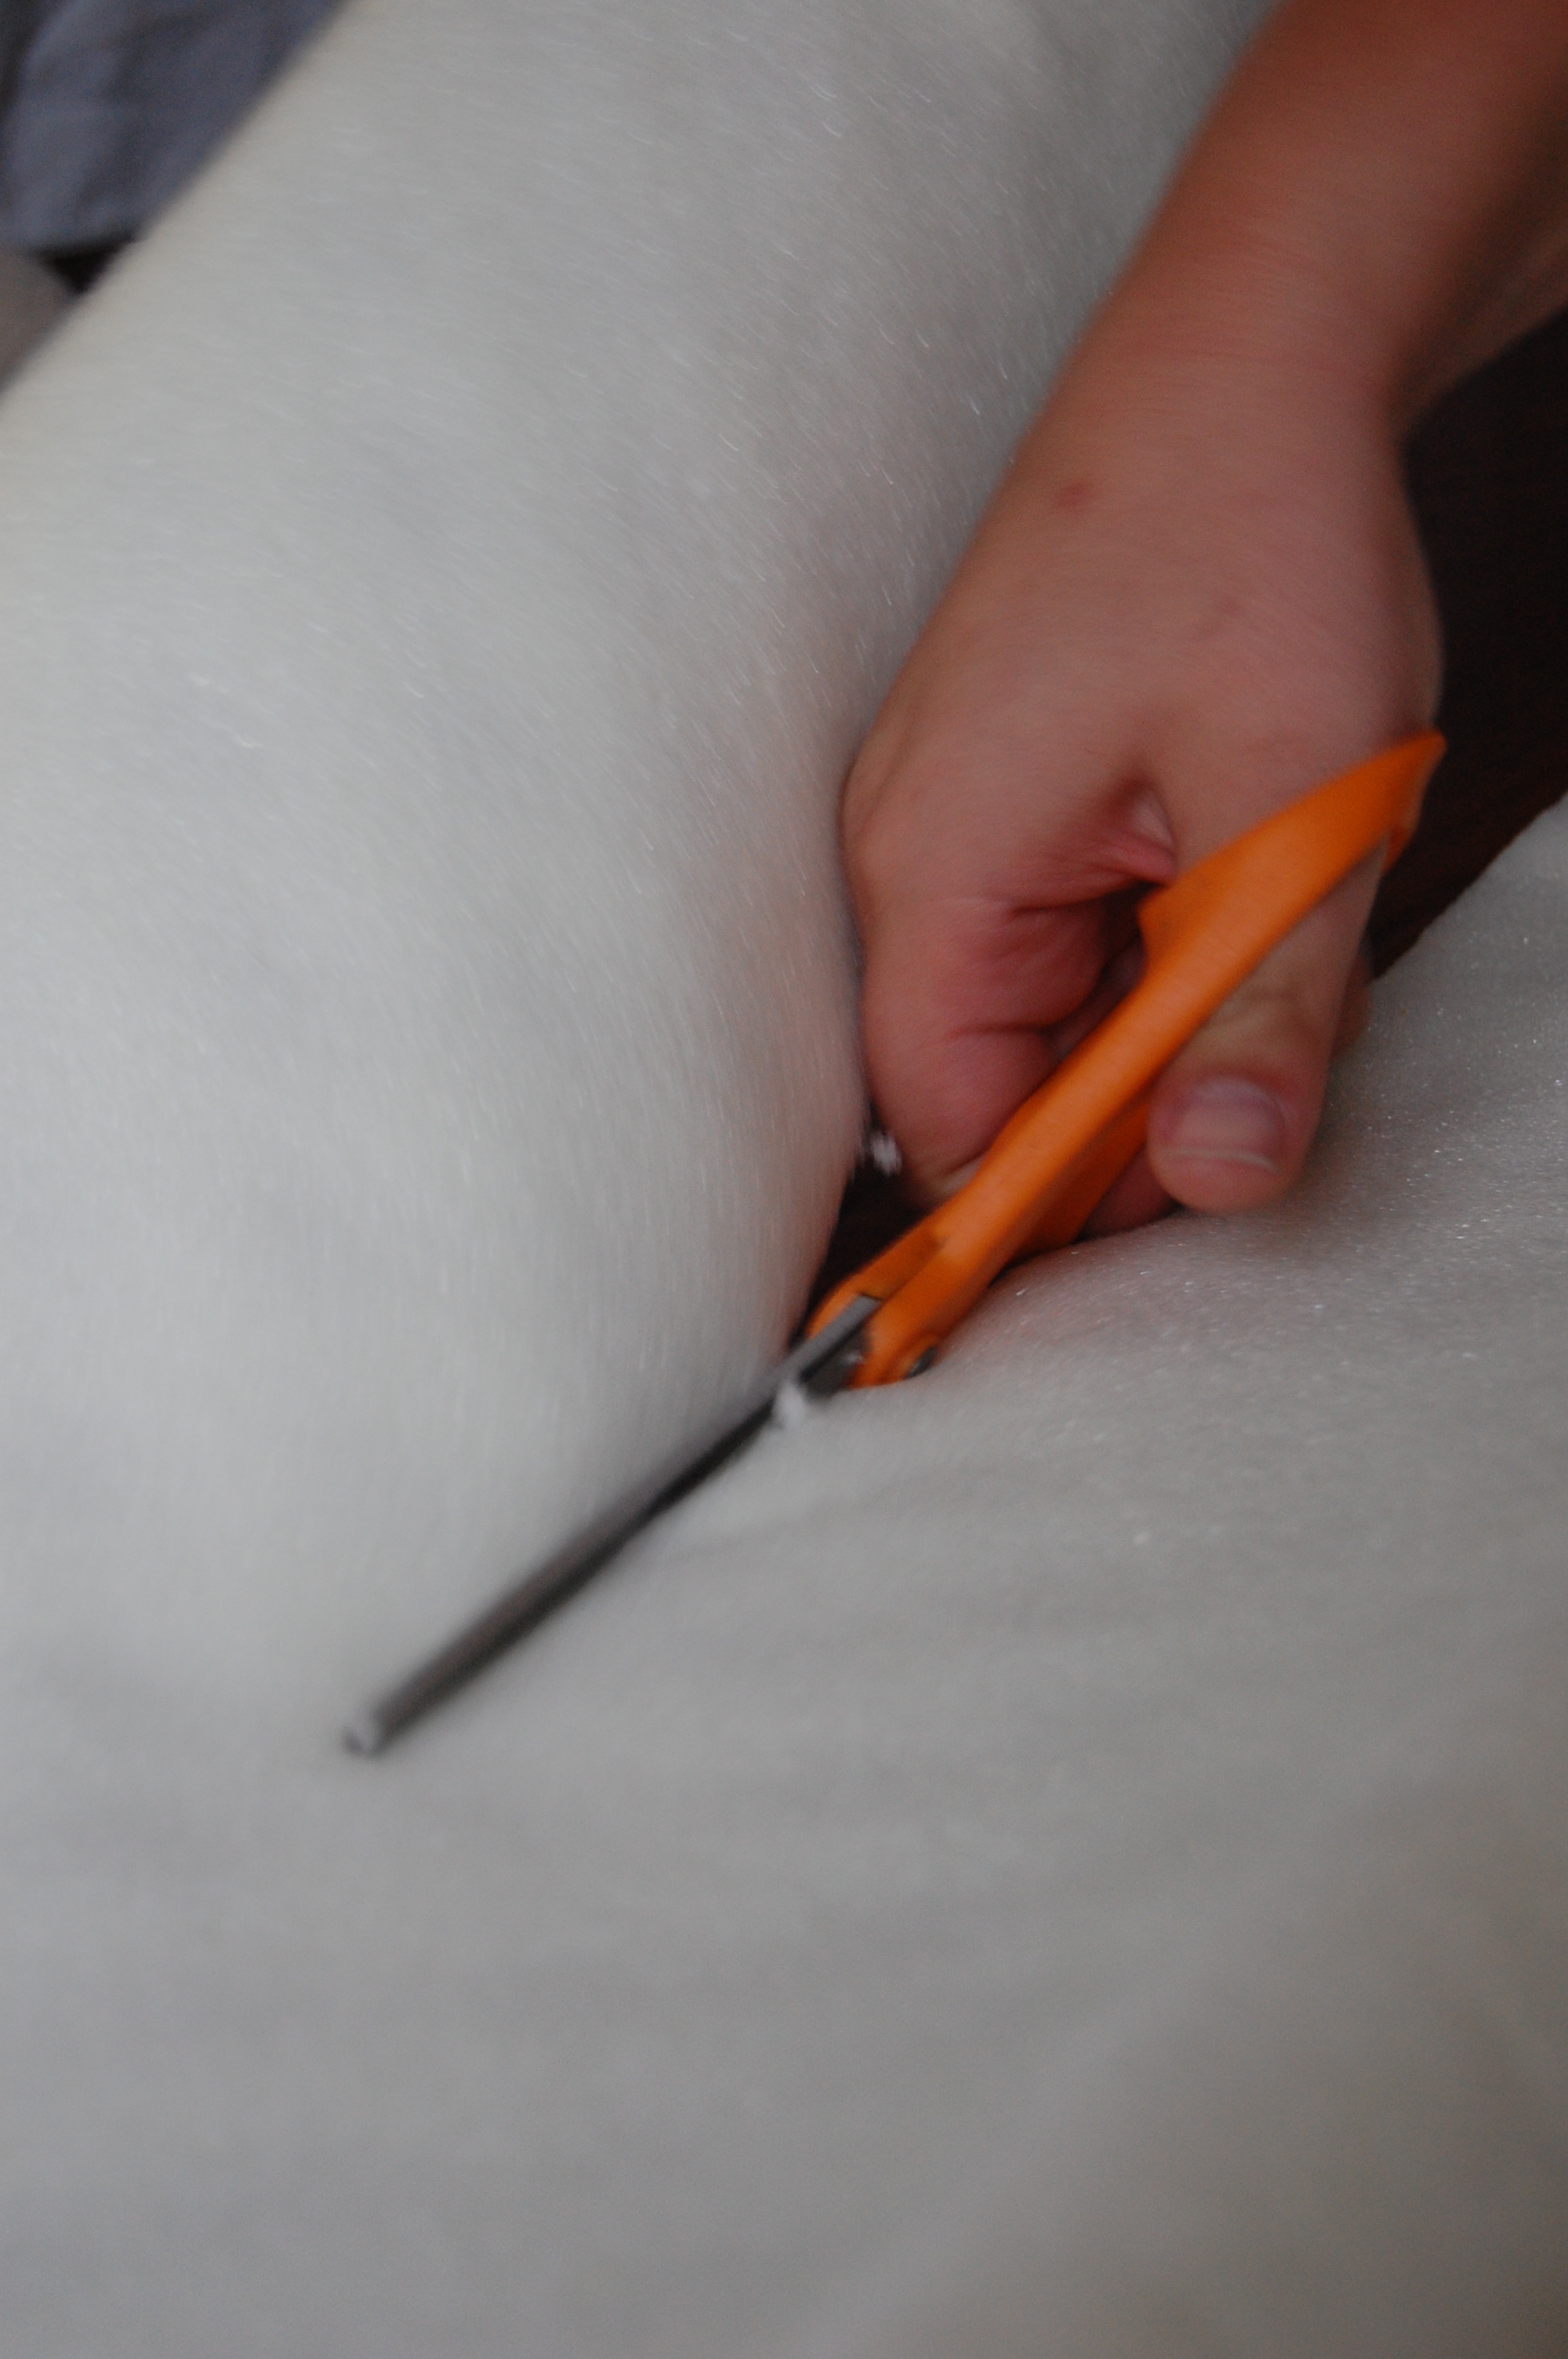
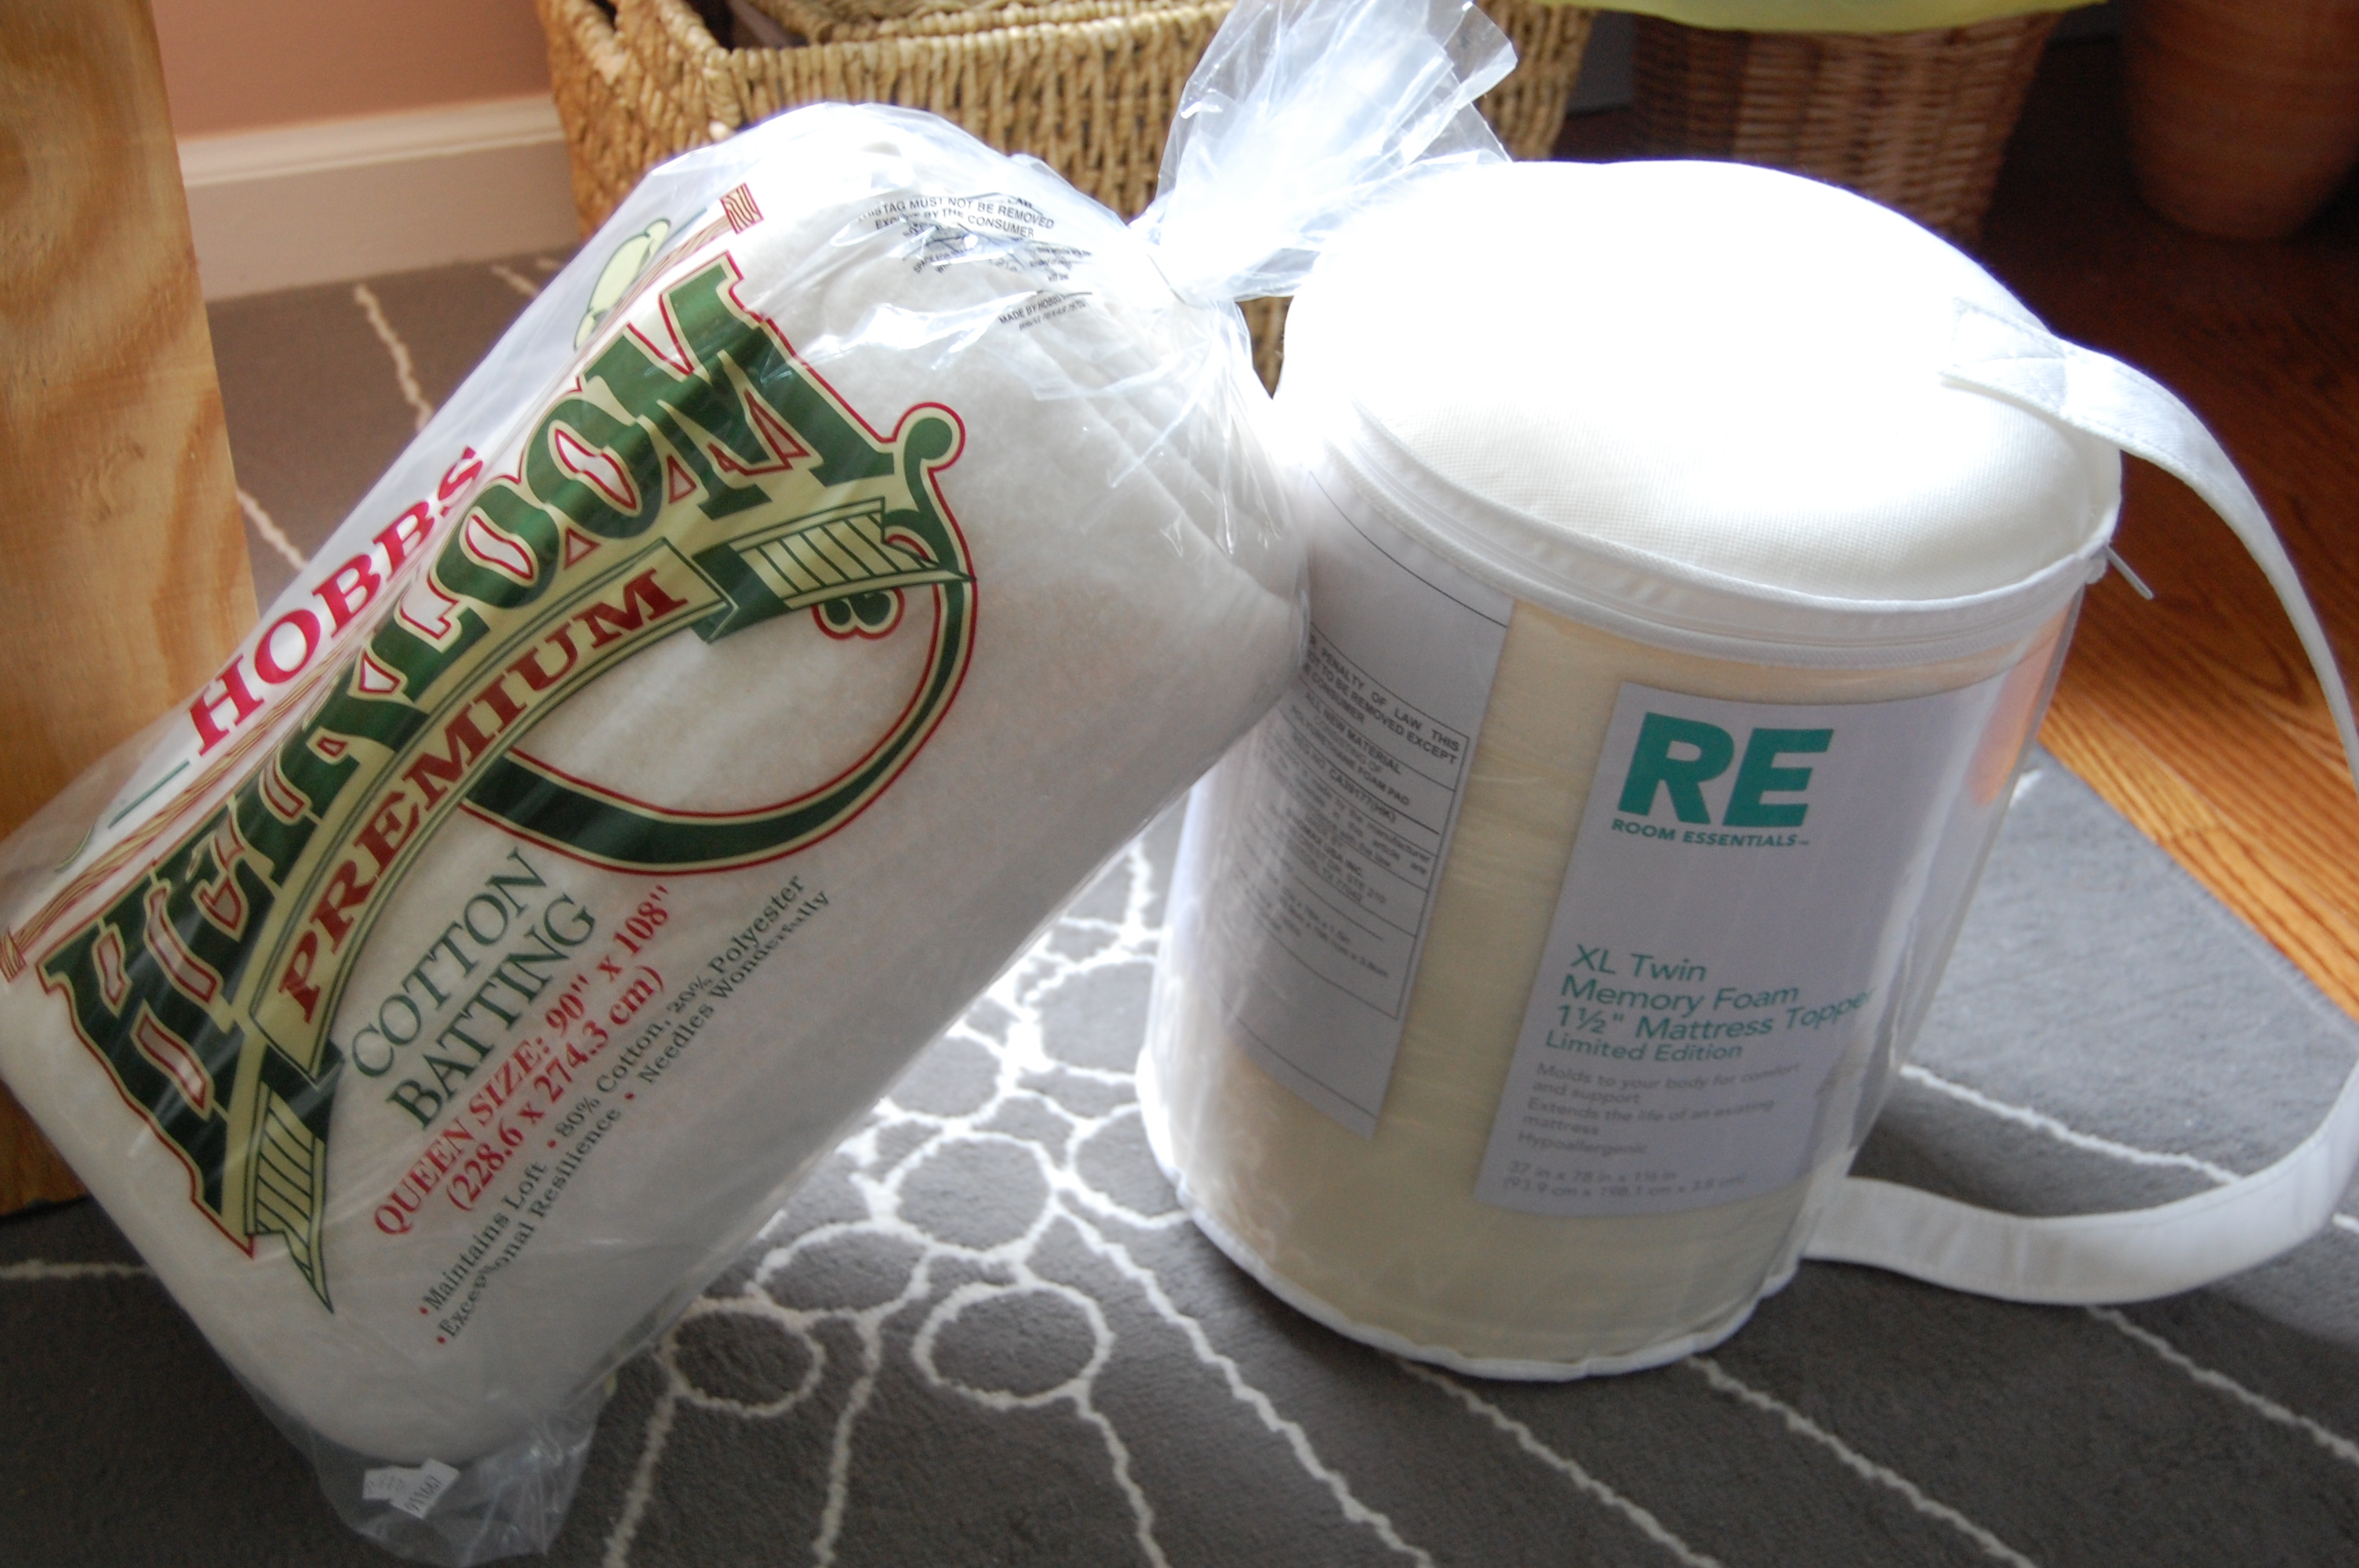 You’ll want to start out with cutting the foam, leaving about an inch extra around the help soften the edges.
 Next, lay the batting on top or rather on the bottom with the foam on top of that and then the plywood on top of that. Did that make any sense?? Here’s a picture to give you an idea.
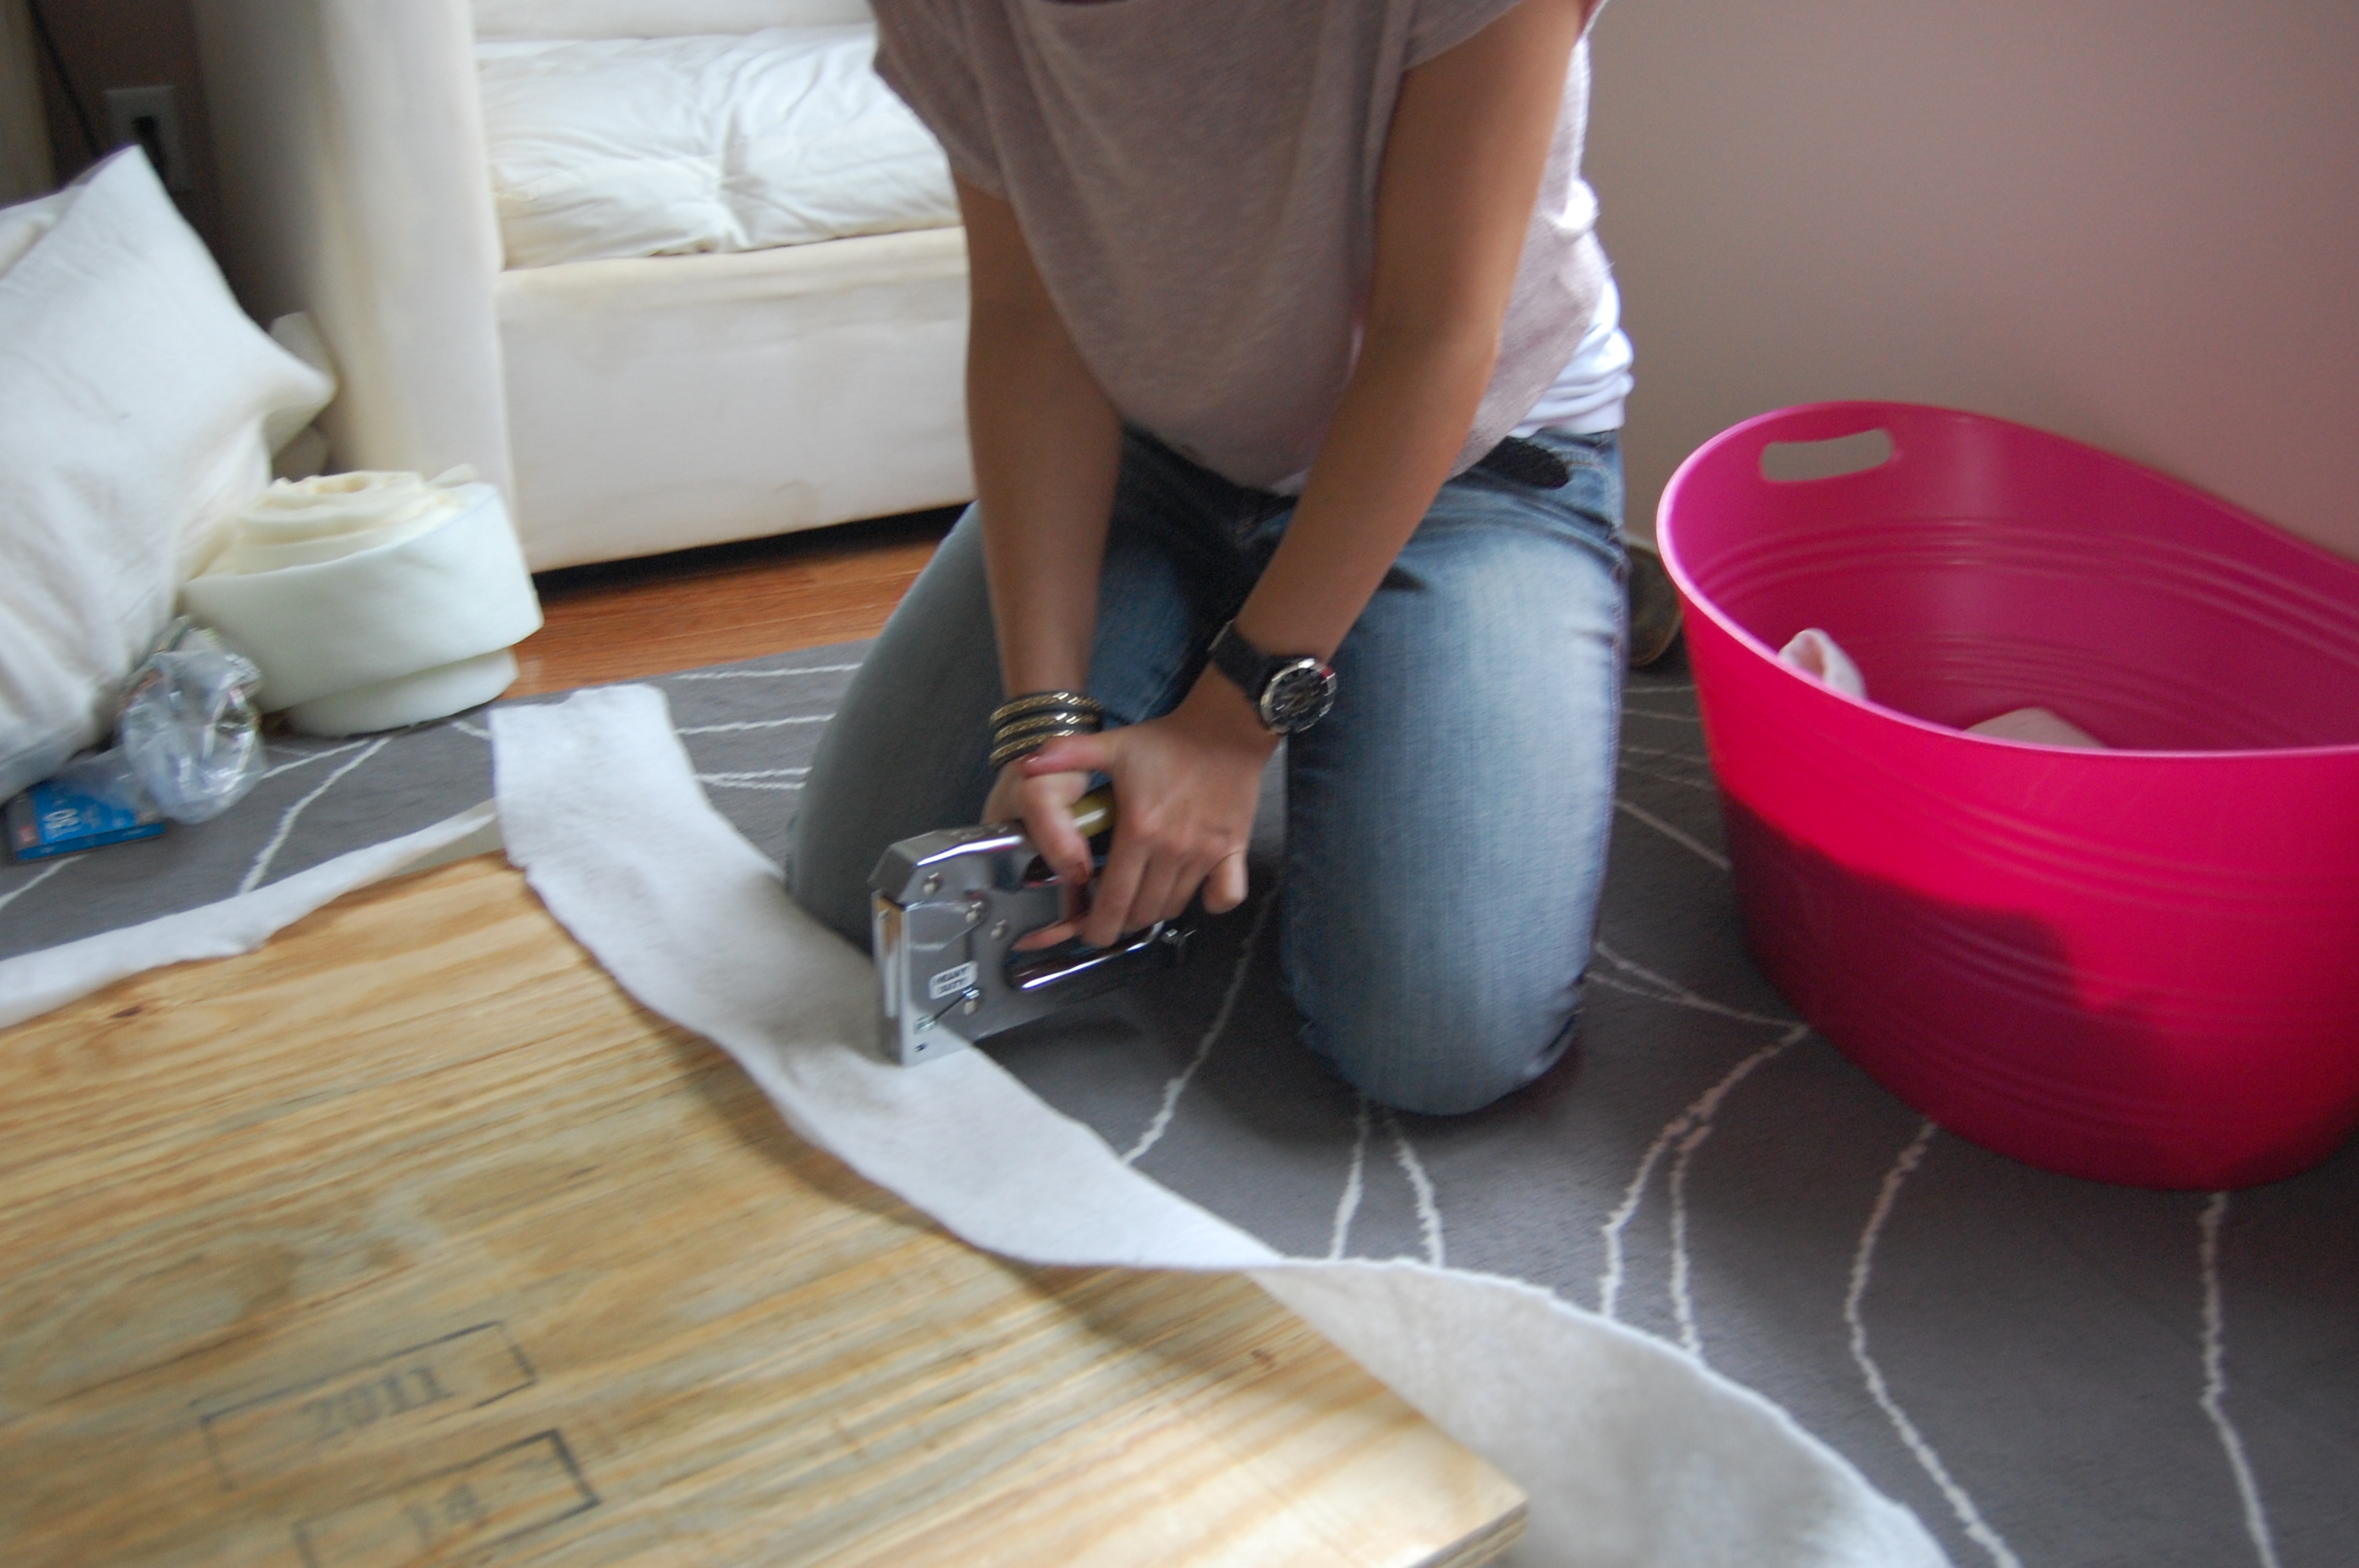 So as you can see, it’s batting, foam, wood. Just like with the chair, you want to start by stapling in the center of each side and then work your way from the inside out. We ended up using mattress topping foam that I bought at Target. You could definitely purchase foam from a fabric store but I assure you that it will be much more expensive so I suggest going with the old egg crate. You may notice that when you unravel it that it will have creases and bumps but I am here to say not to worry because once you add your fabric it will hide and flatten any of those imprefections. Here is what ours looked like to give you an idea.
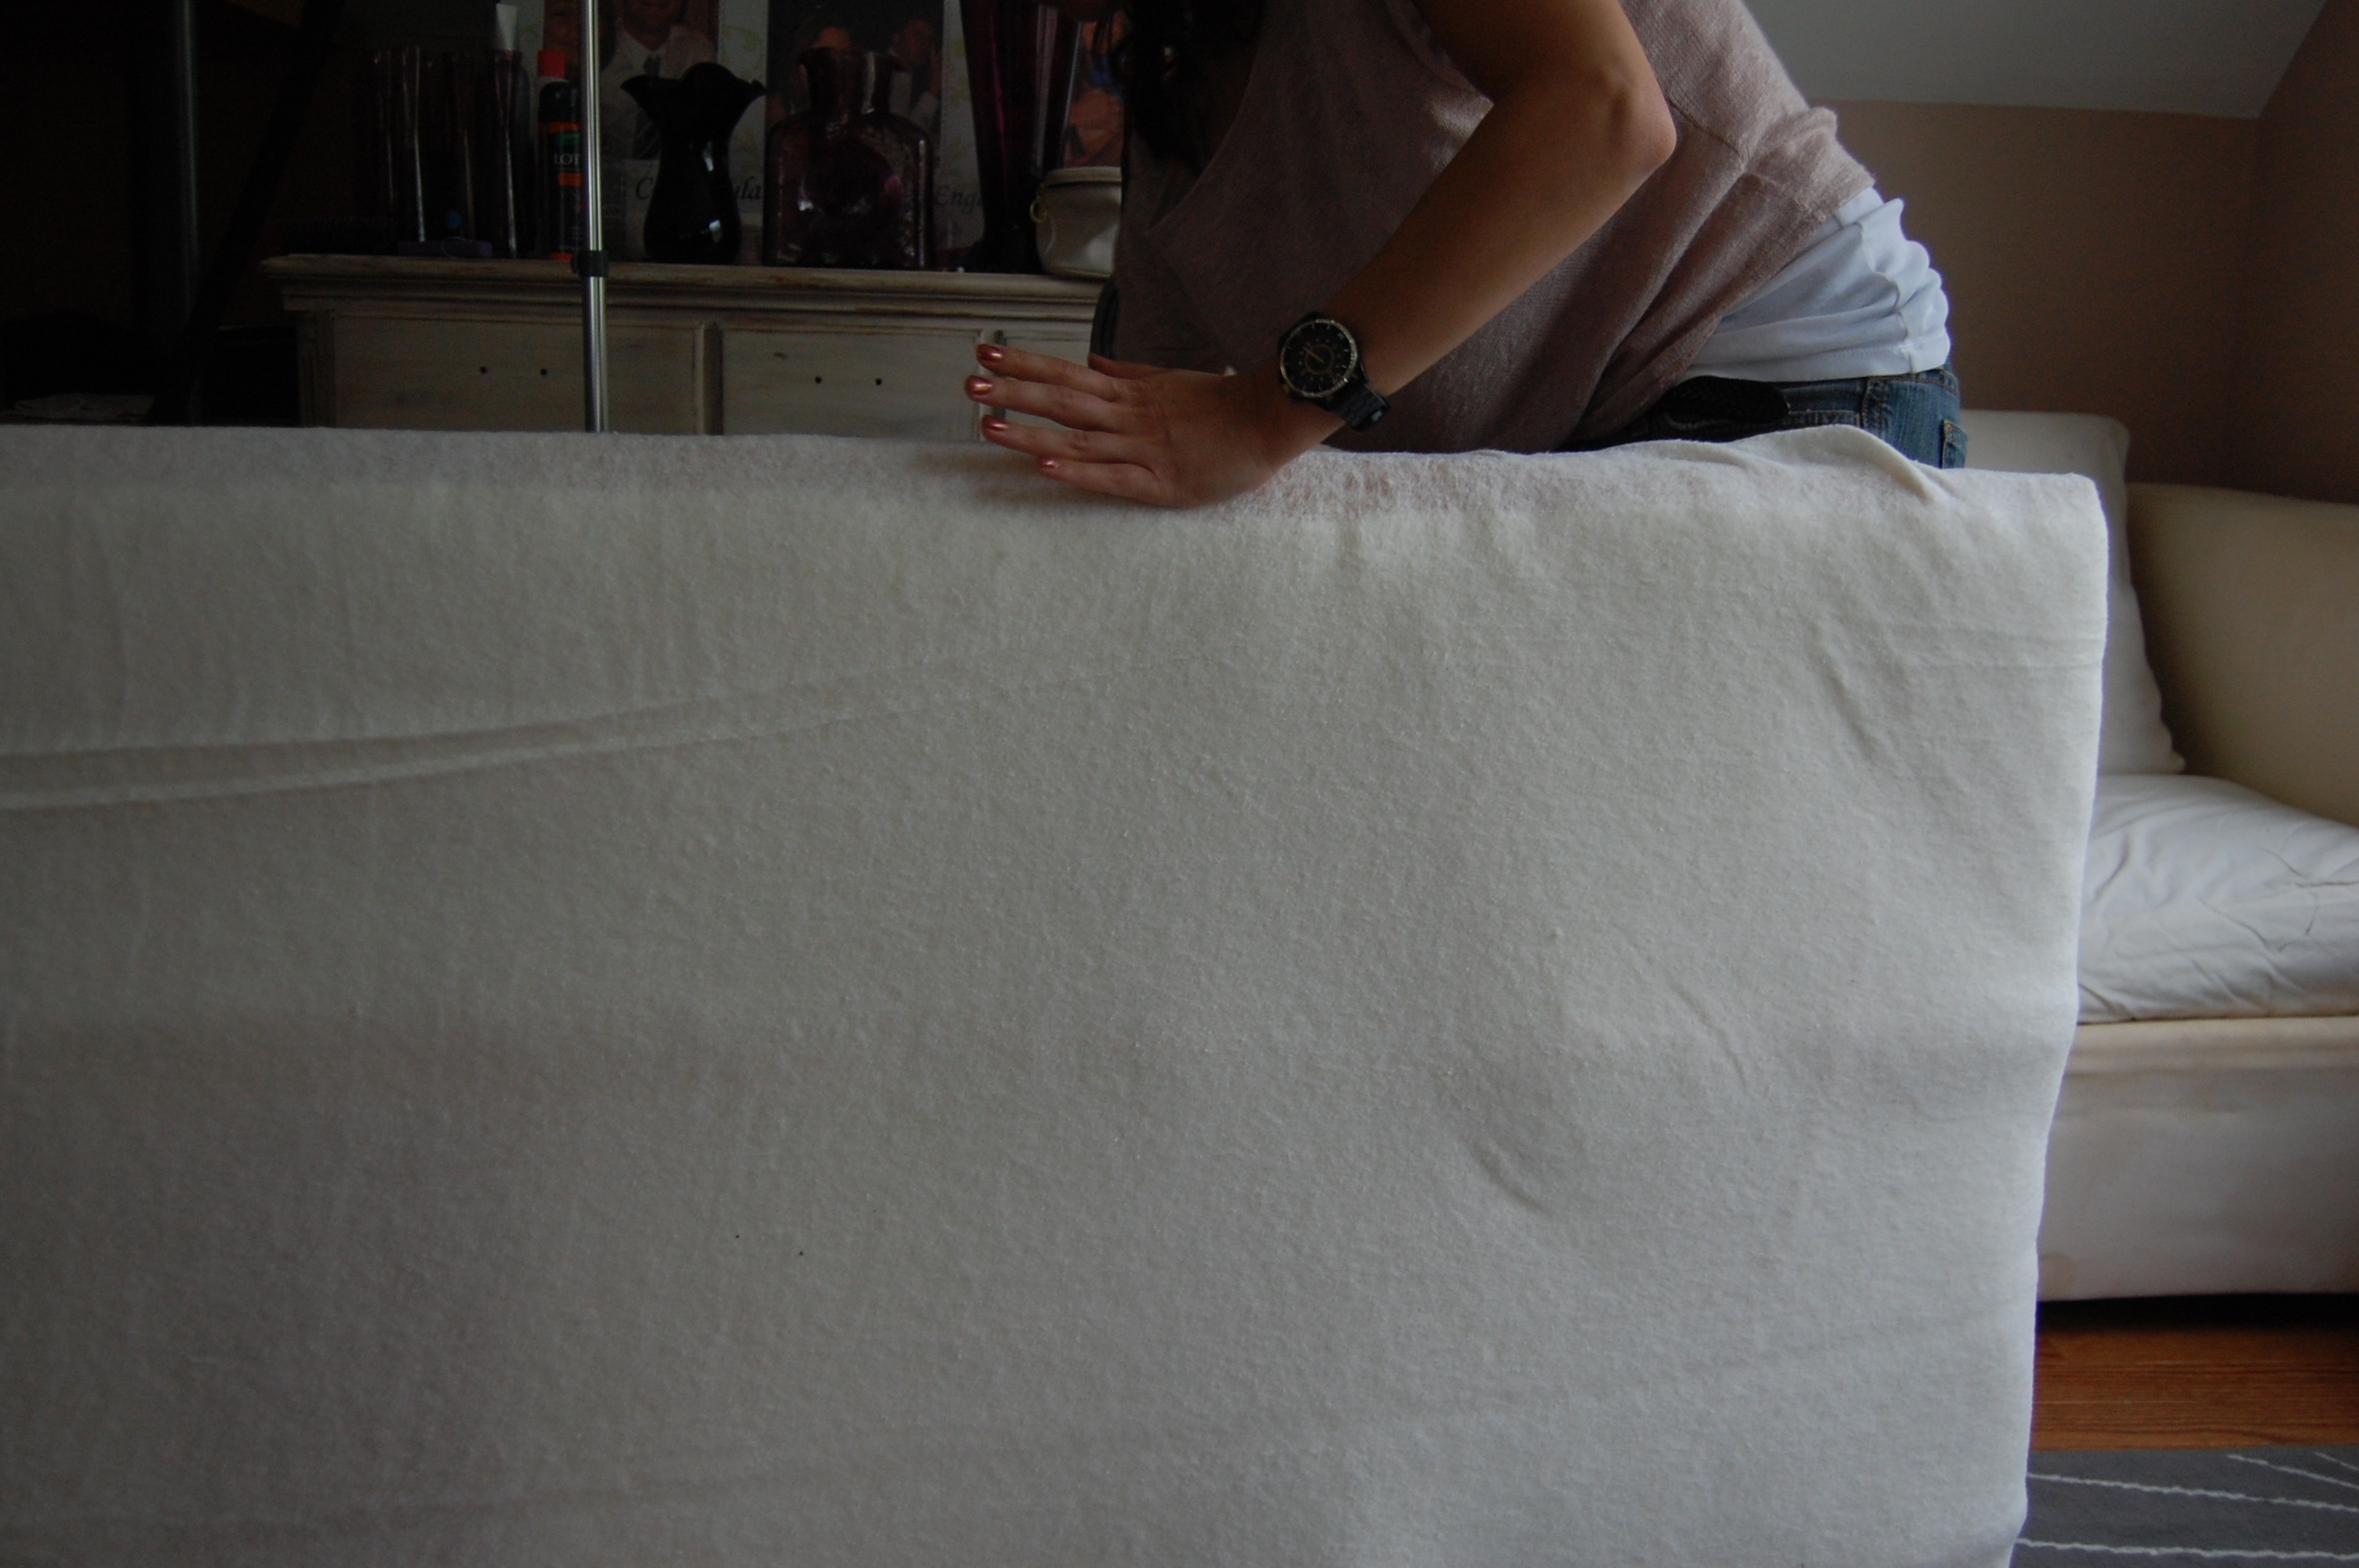 Now that that’s all done it’s time to wrap the headboard in fabric!
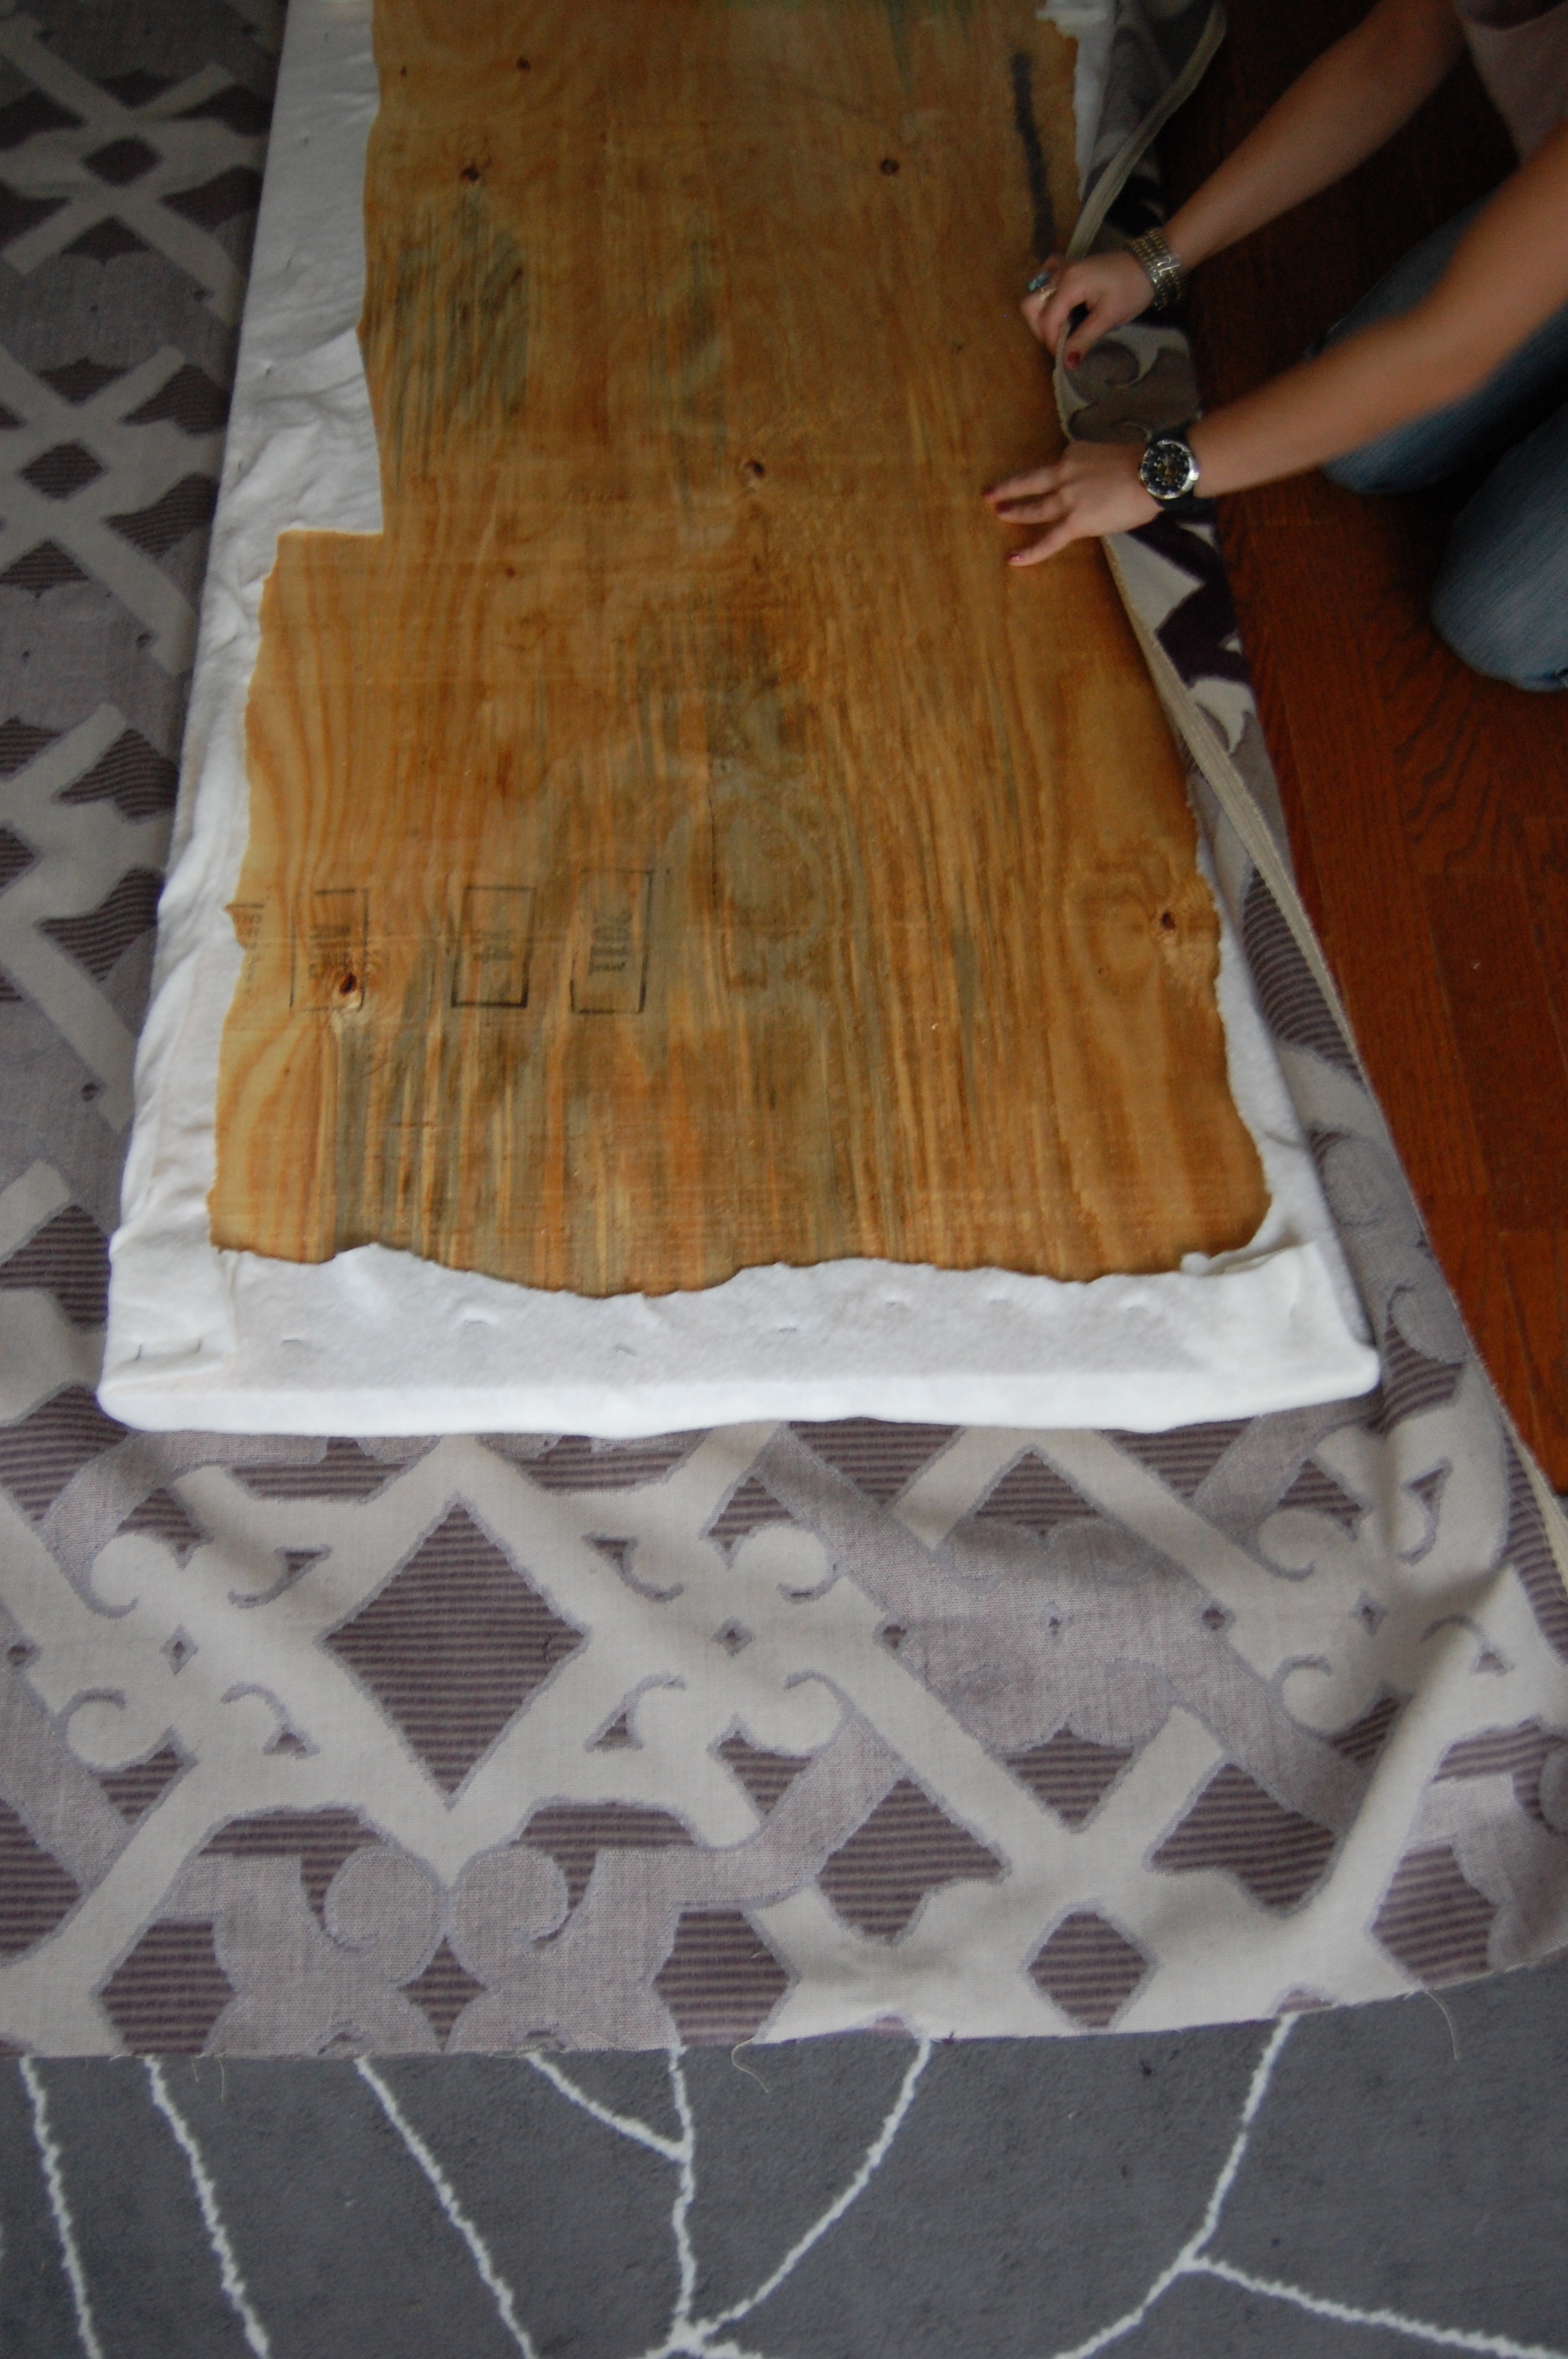
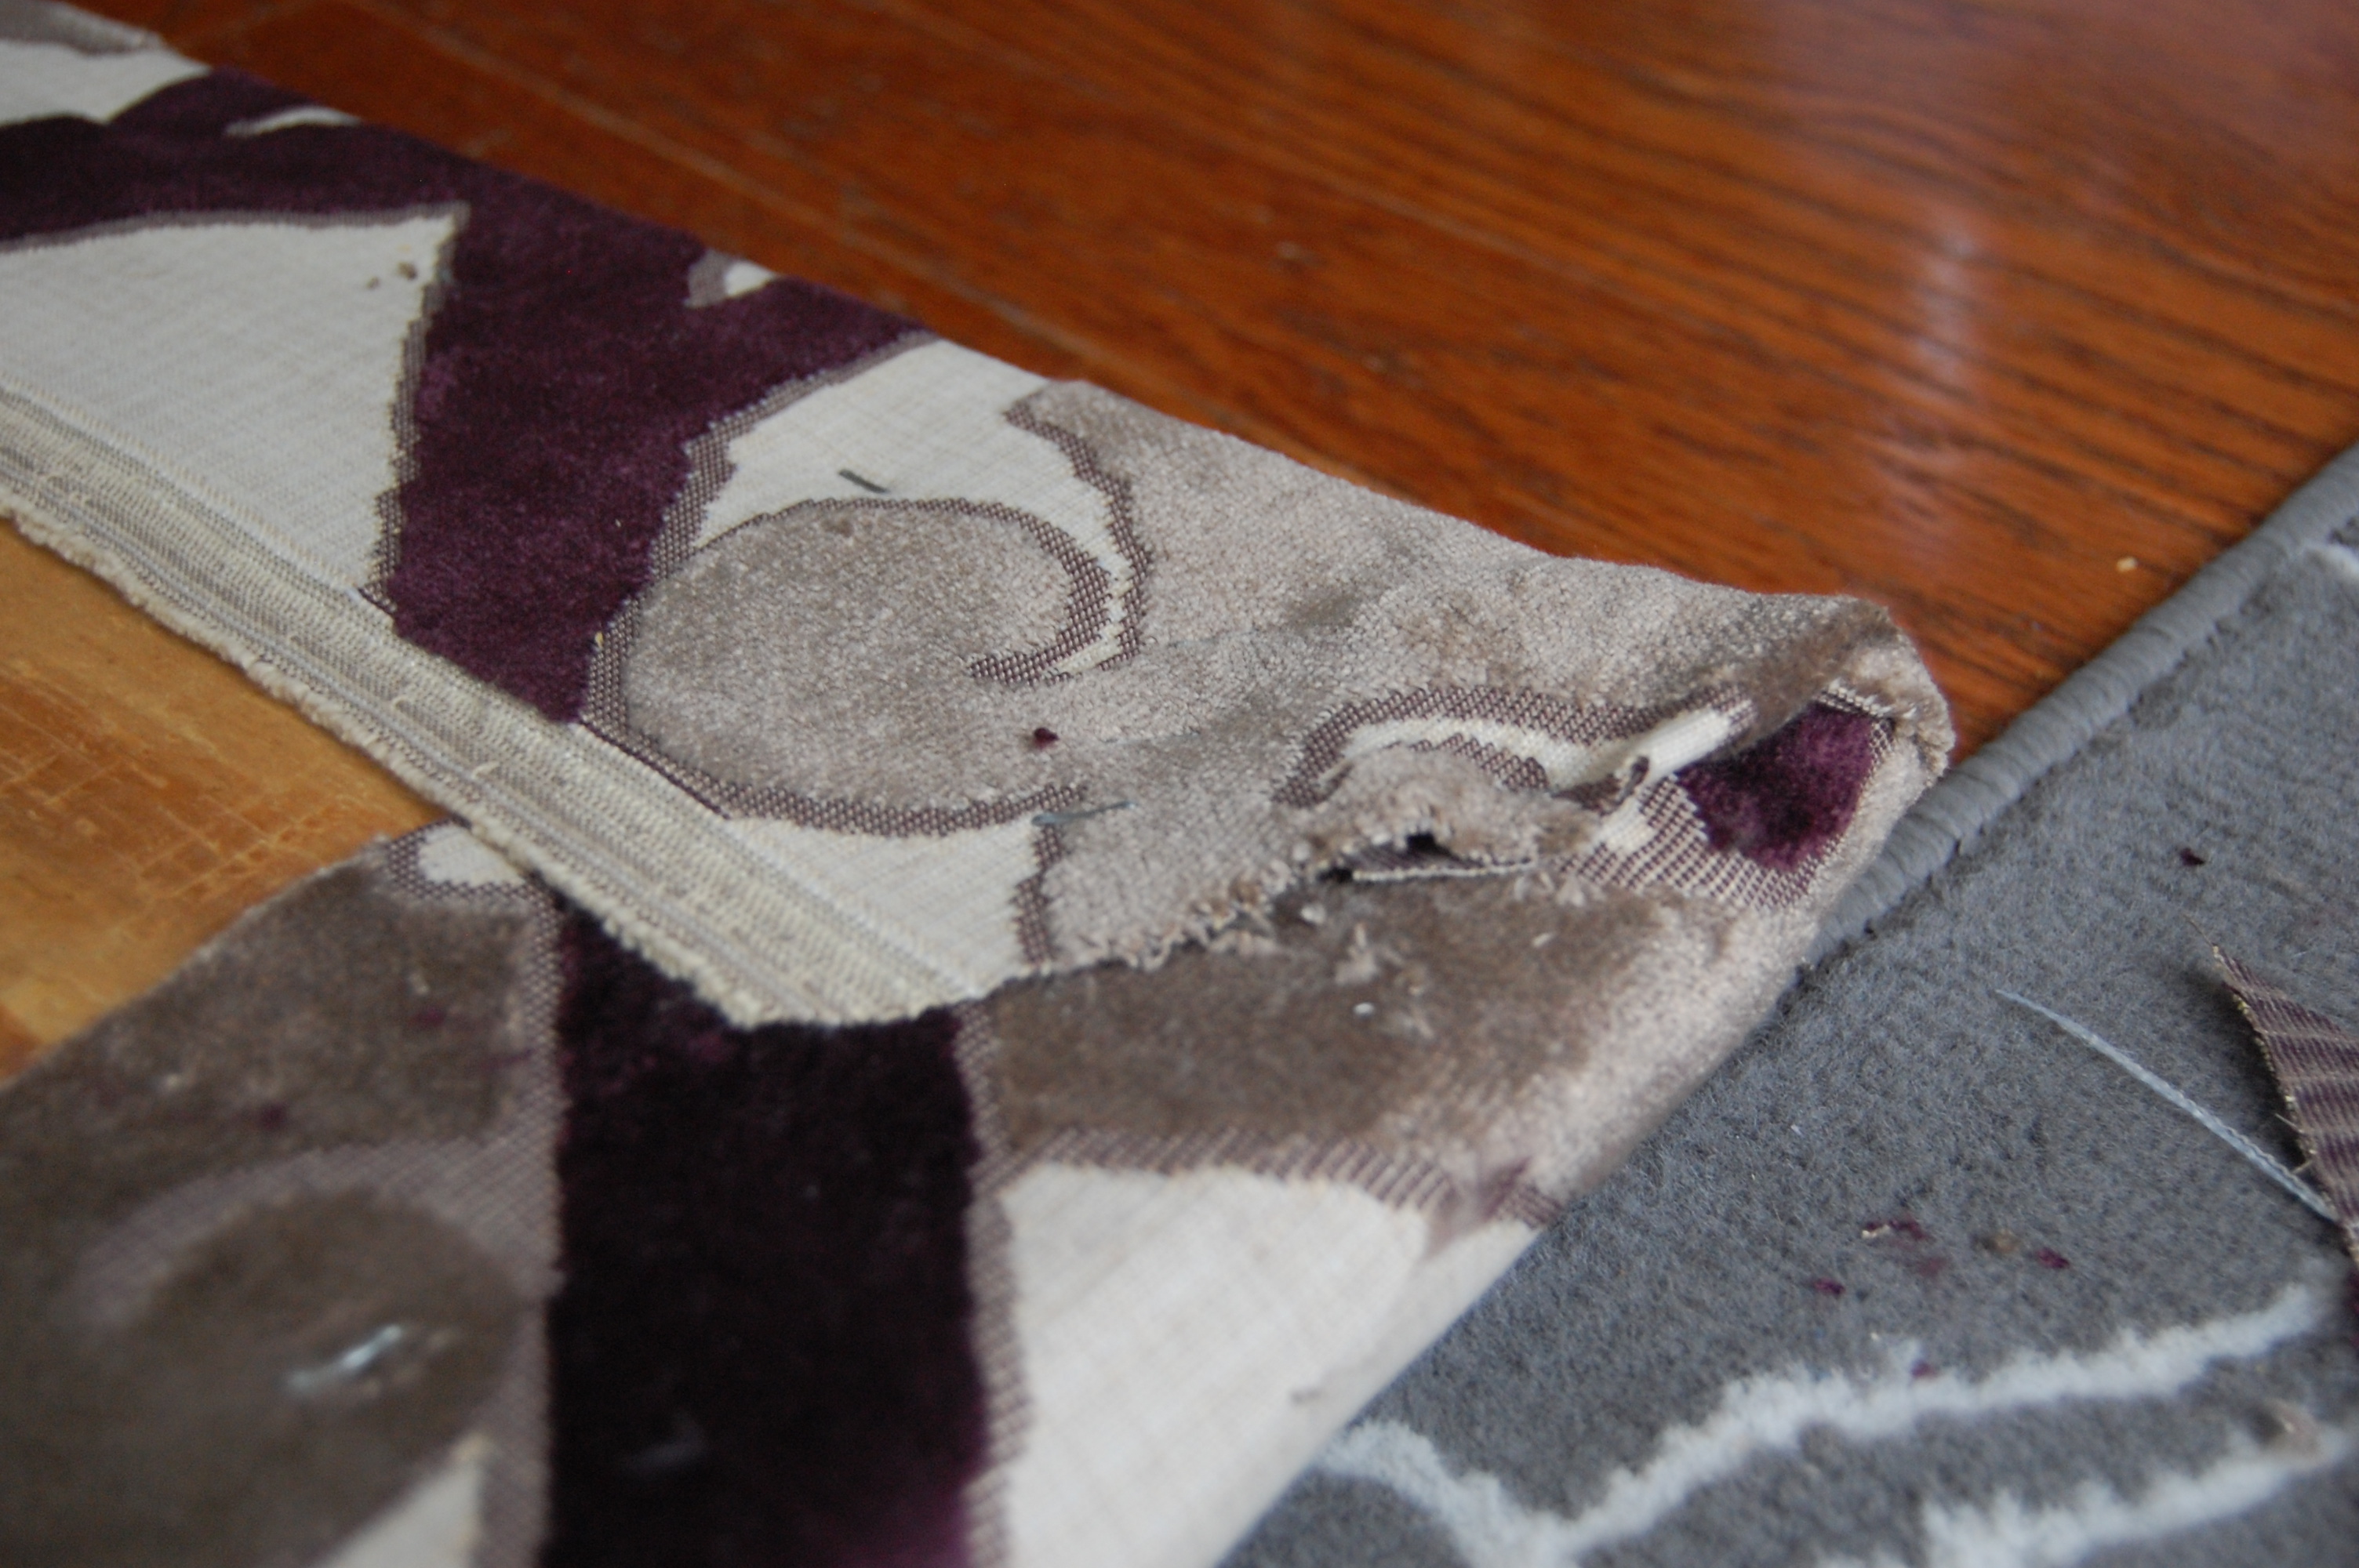
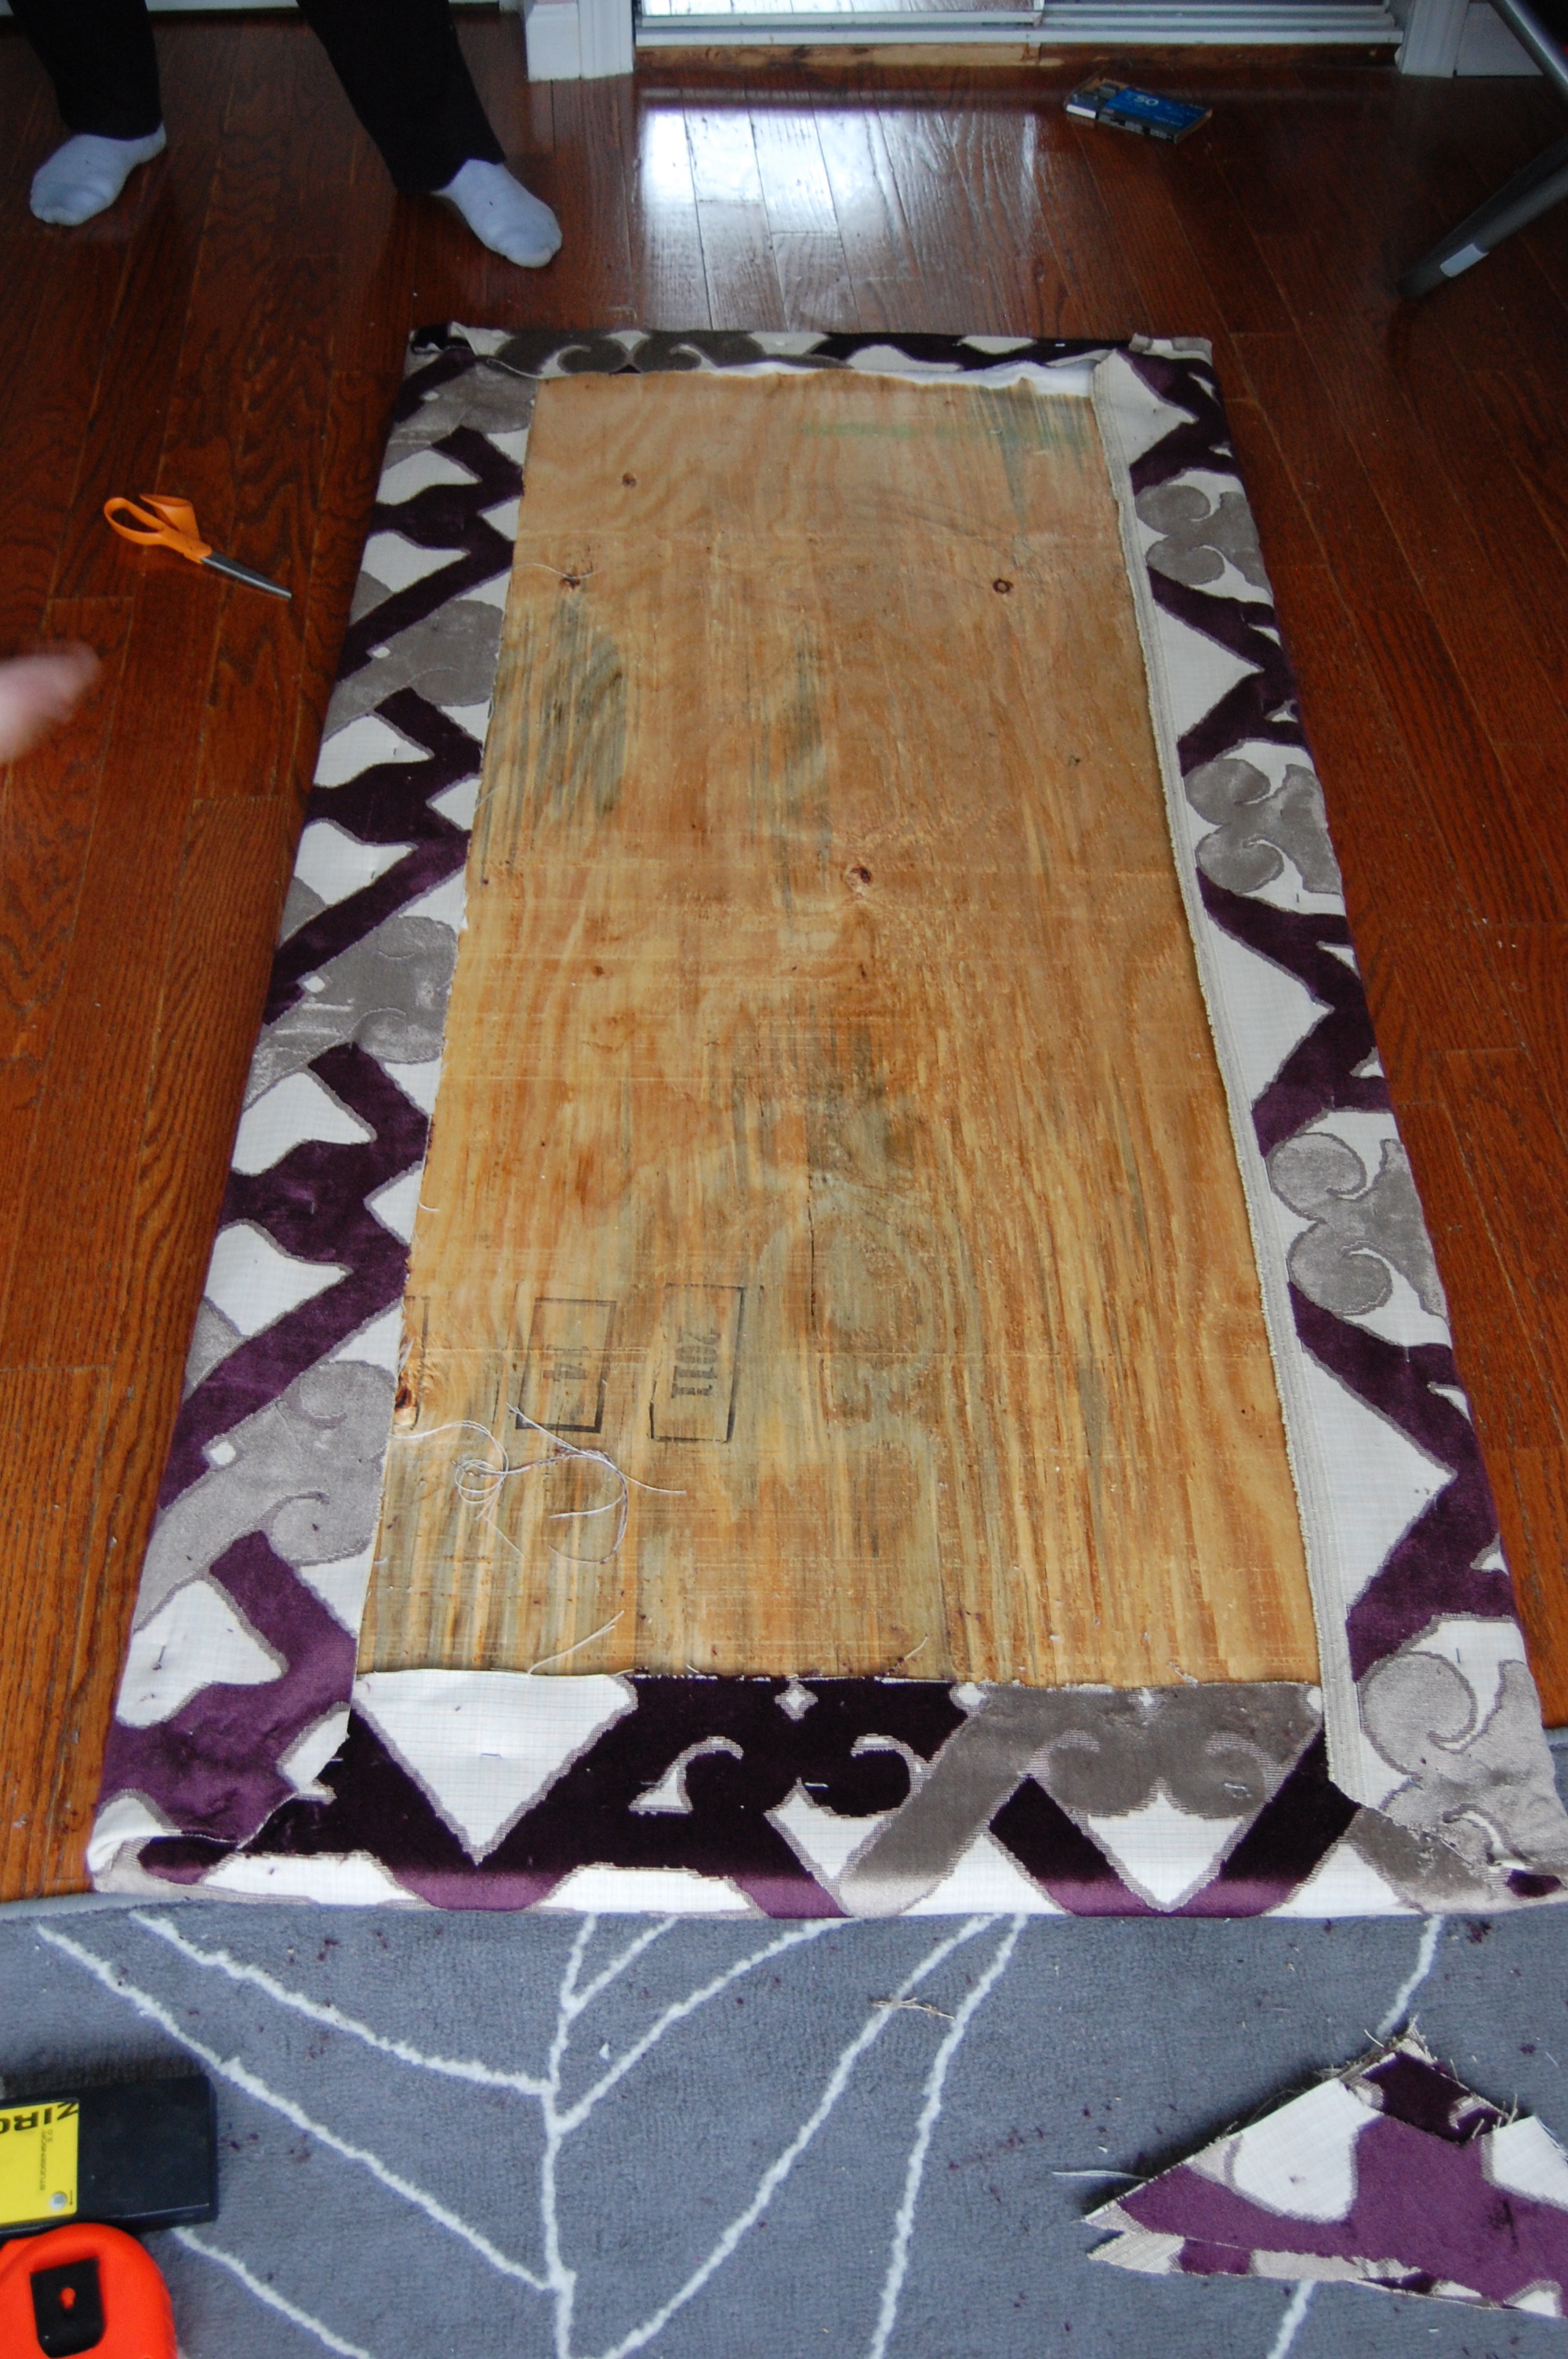 Remember to try and neatly fold your corners so that they don’t bulge out when you go to hang the headboard.
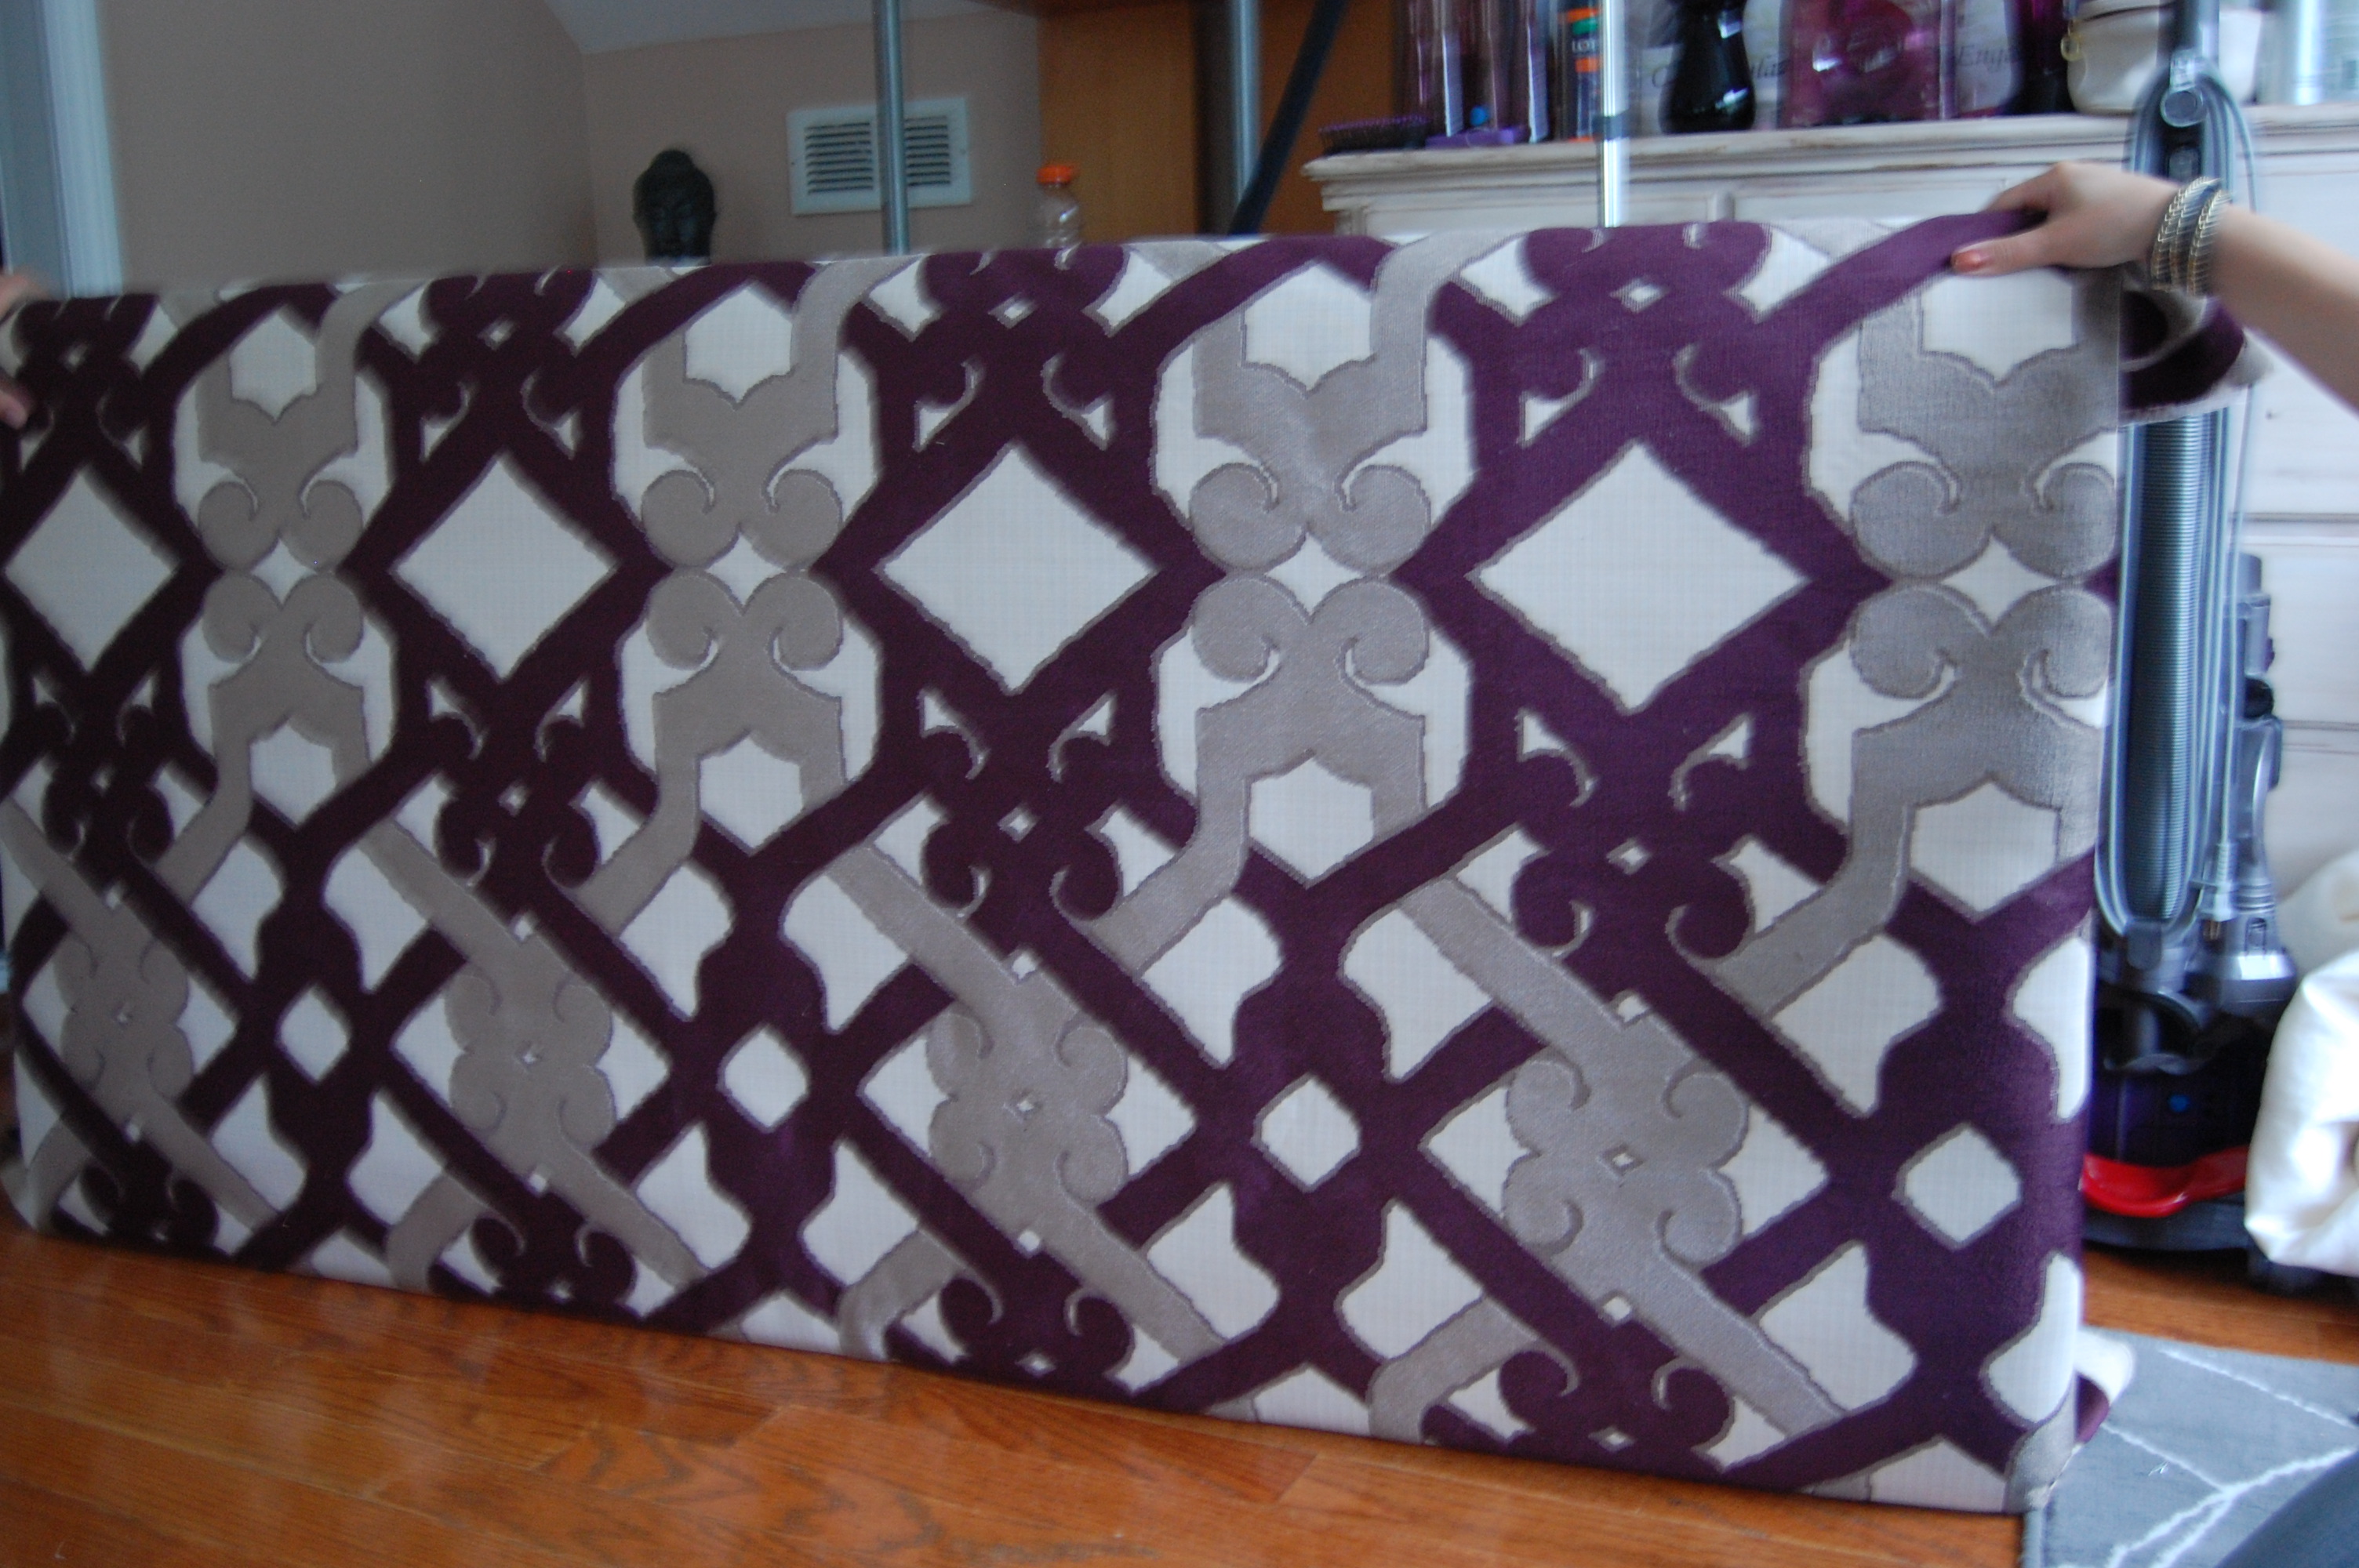
 And here she roars…sorry the picture is so blurry, didn’t realize at the time.
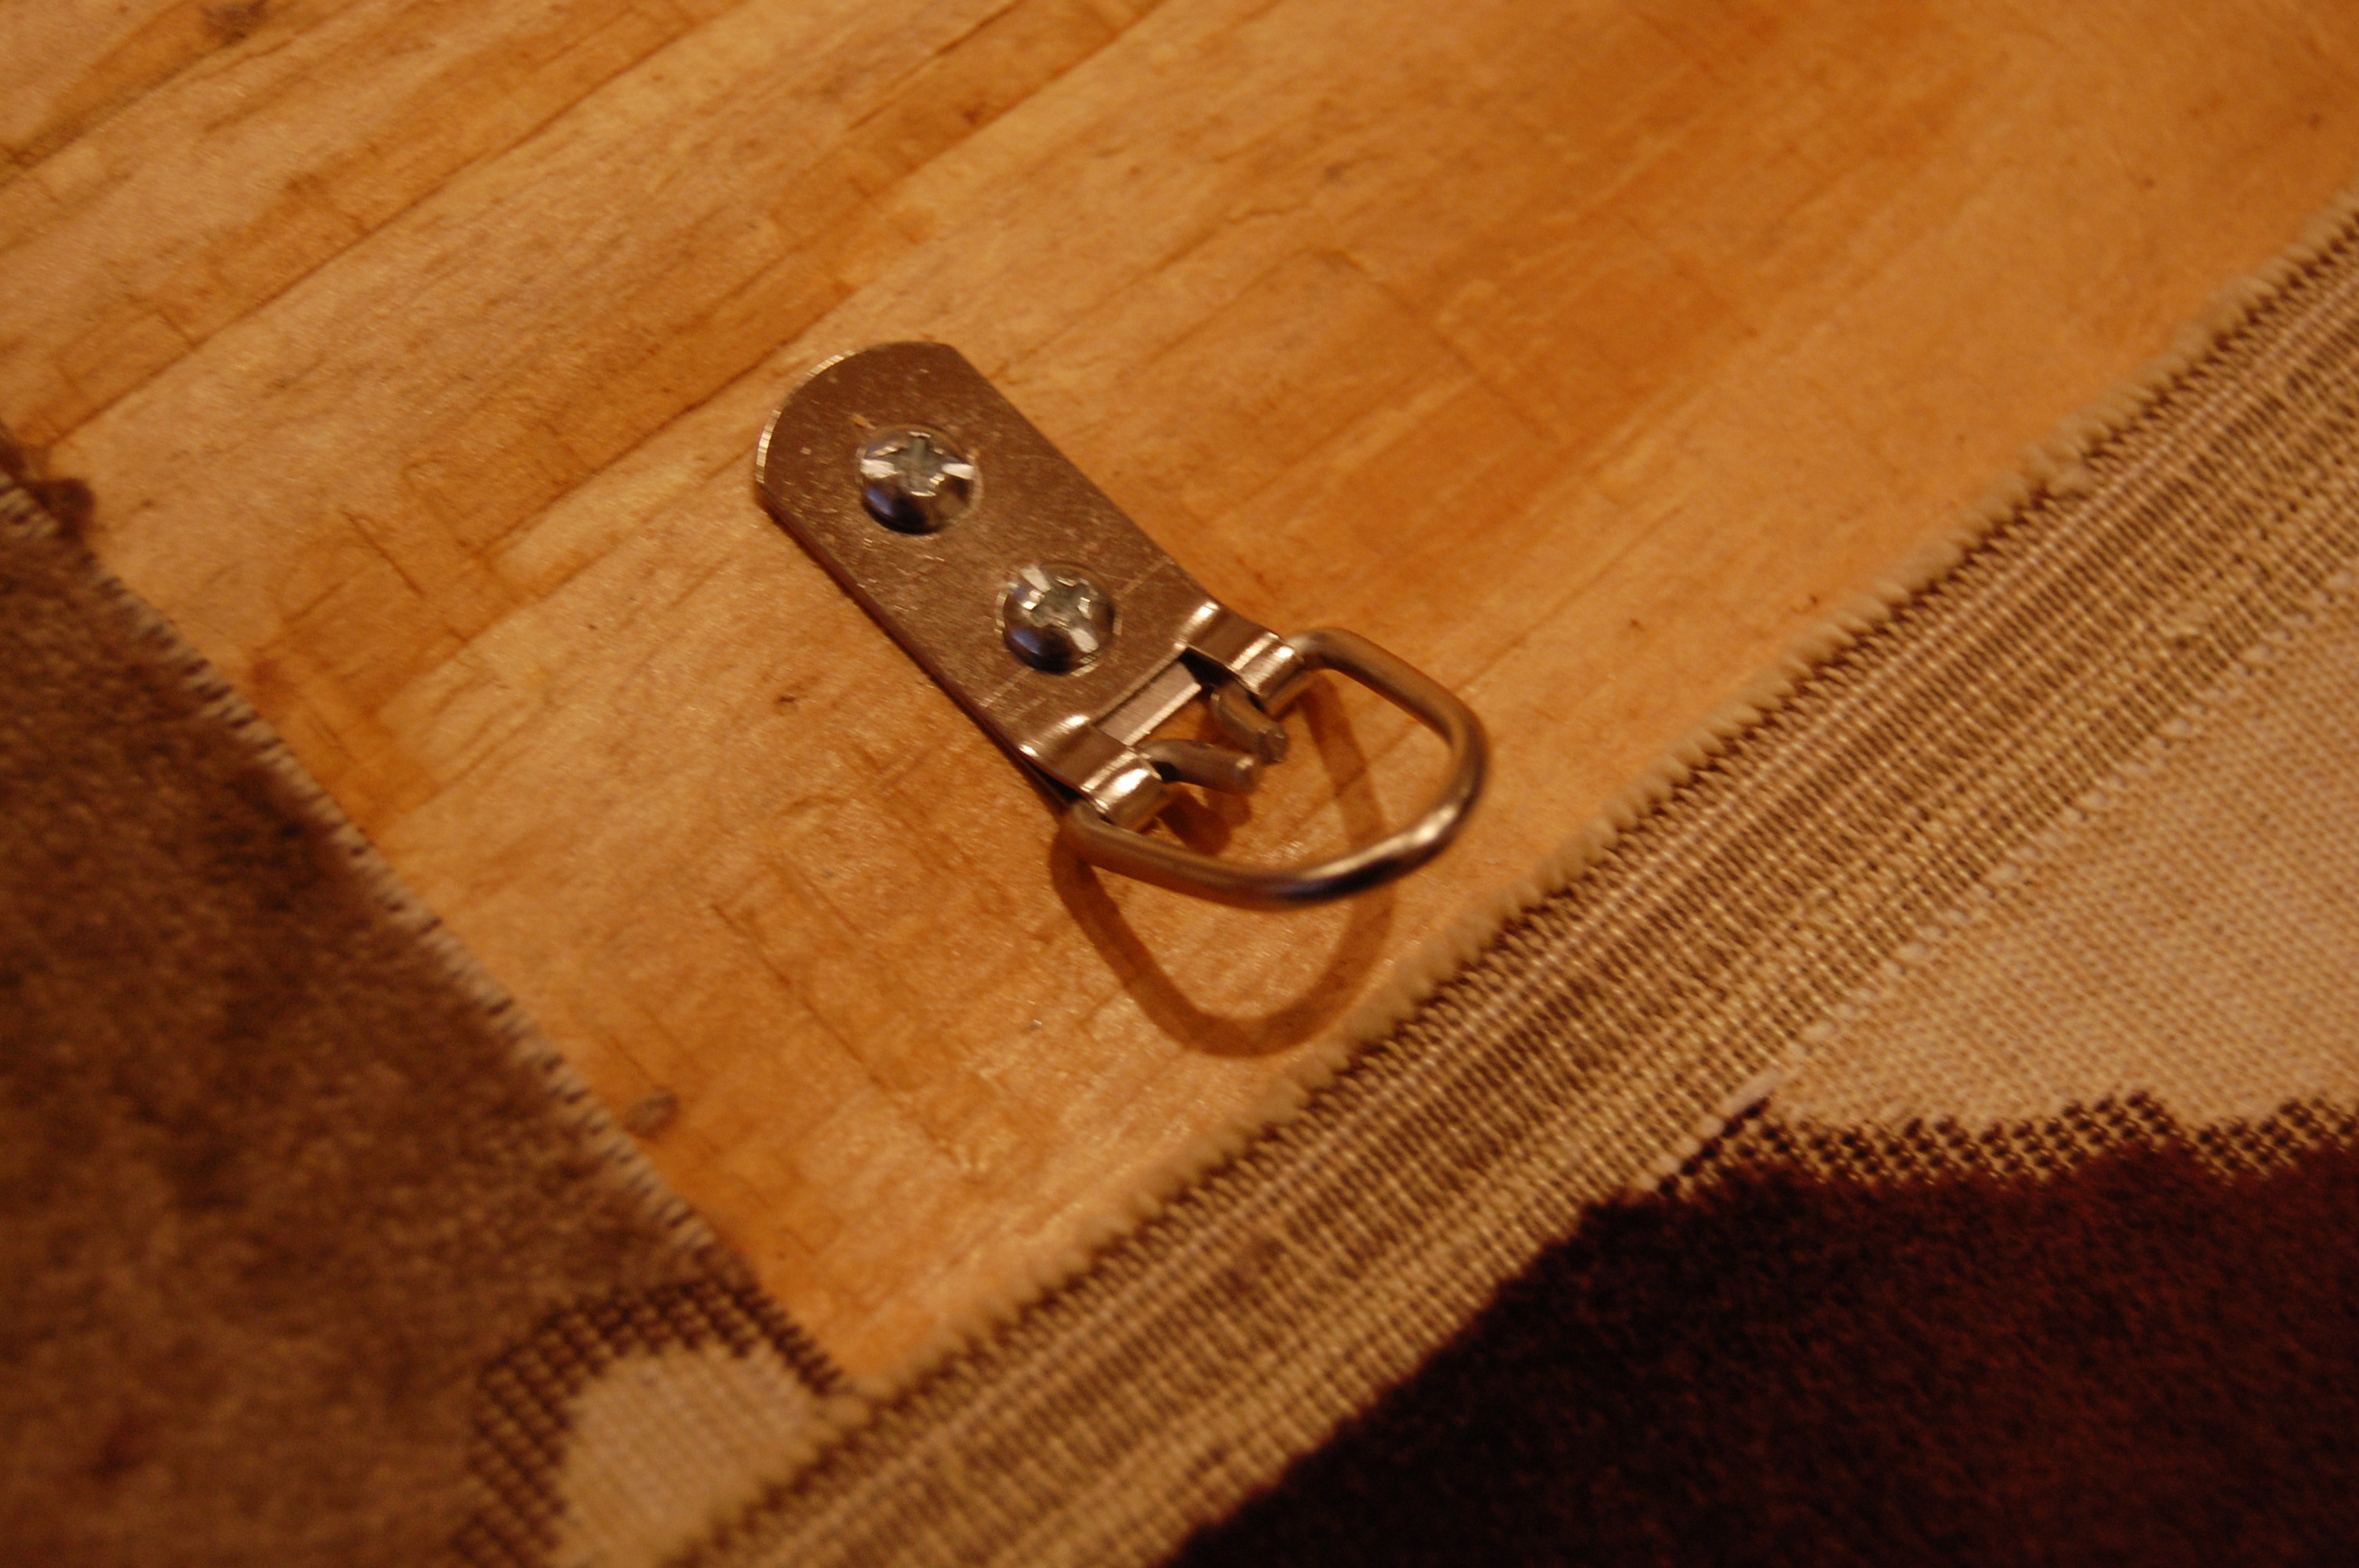
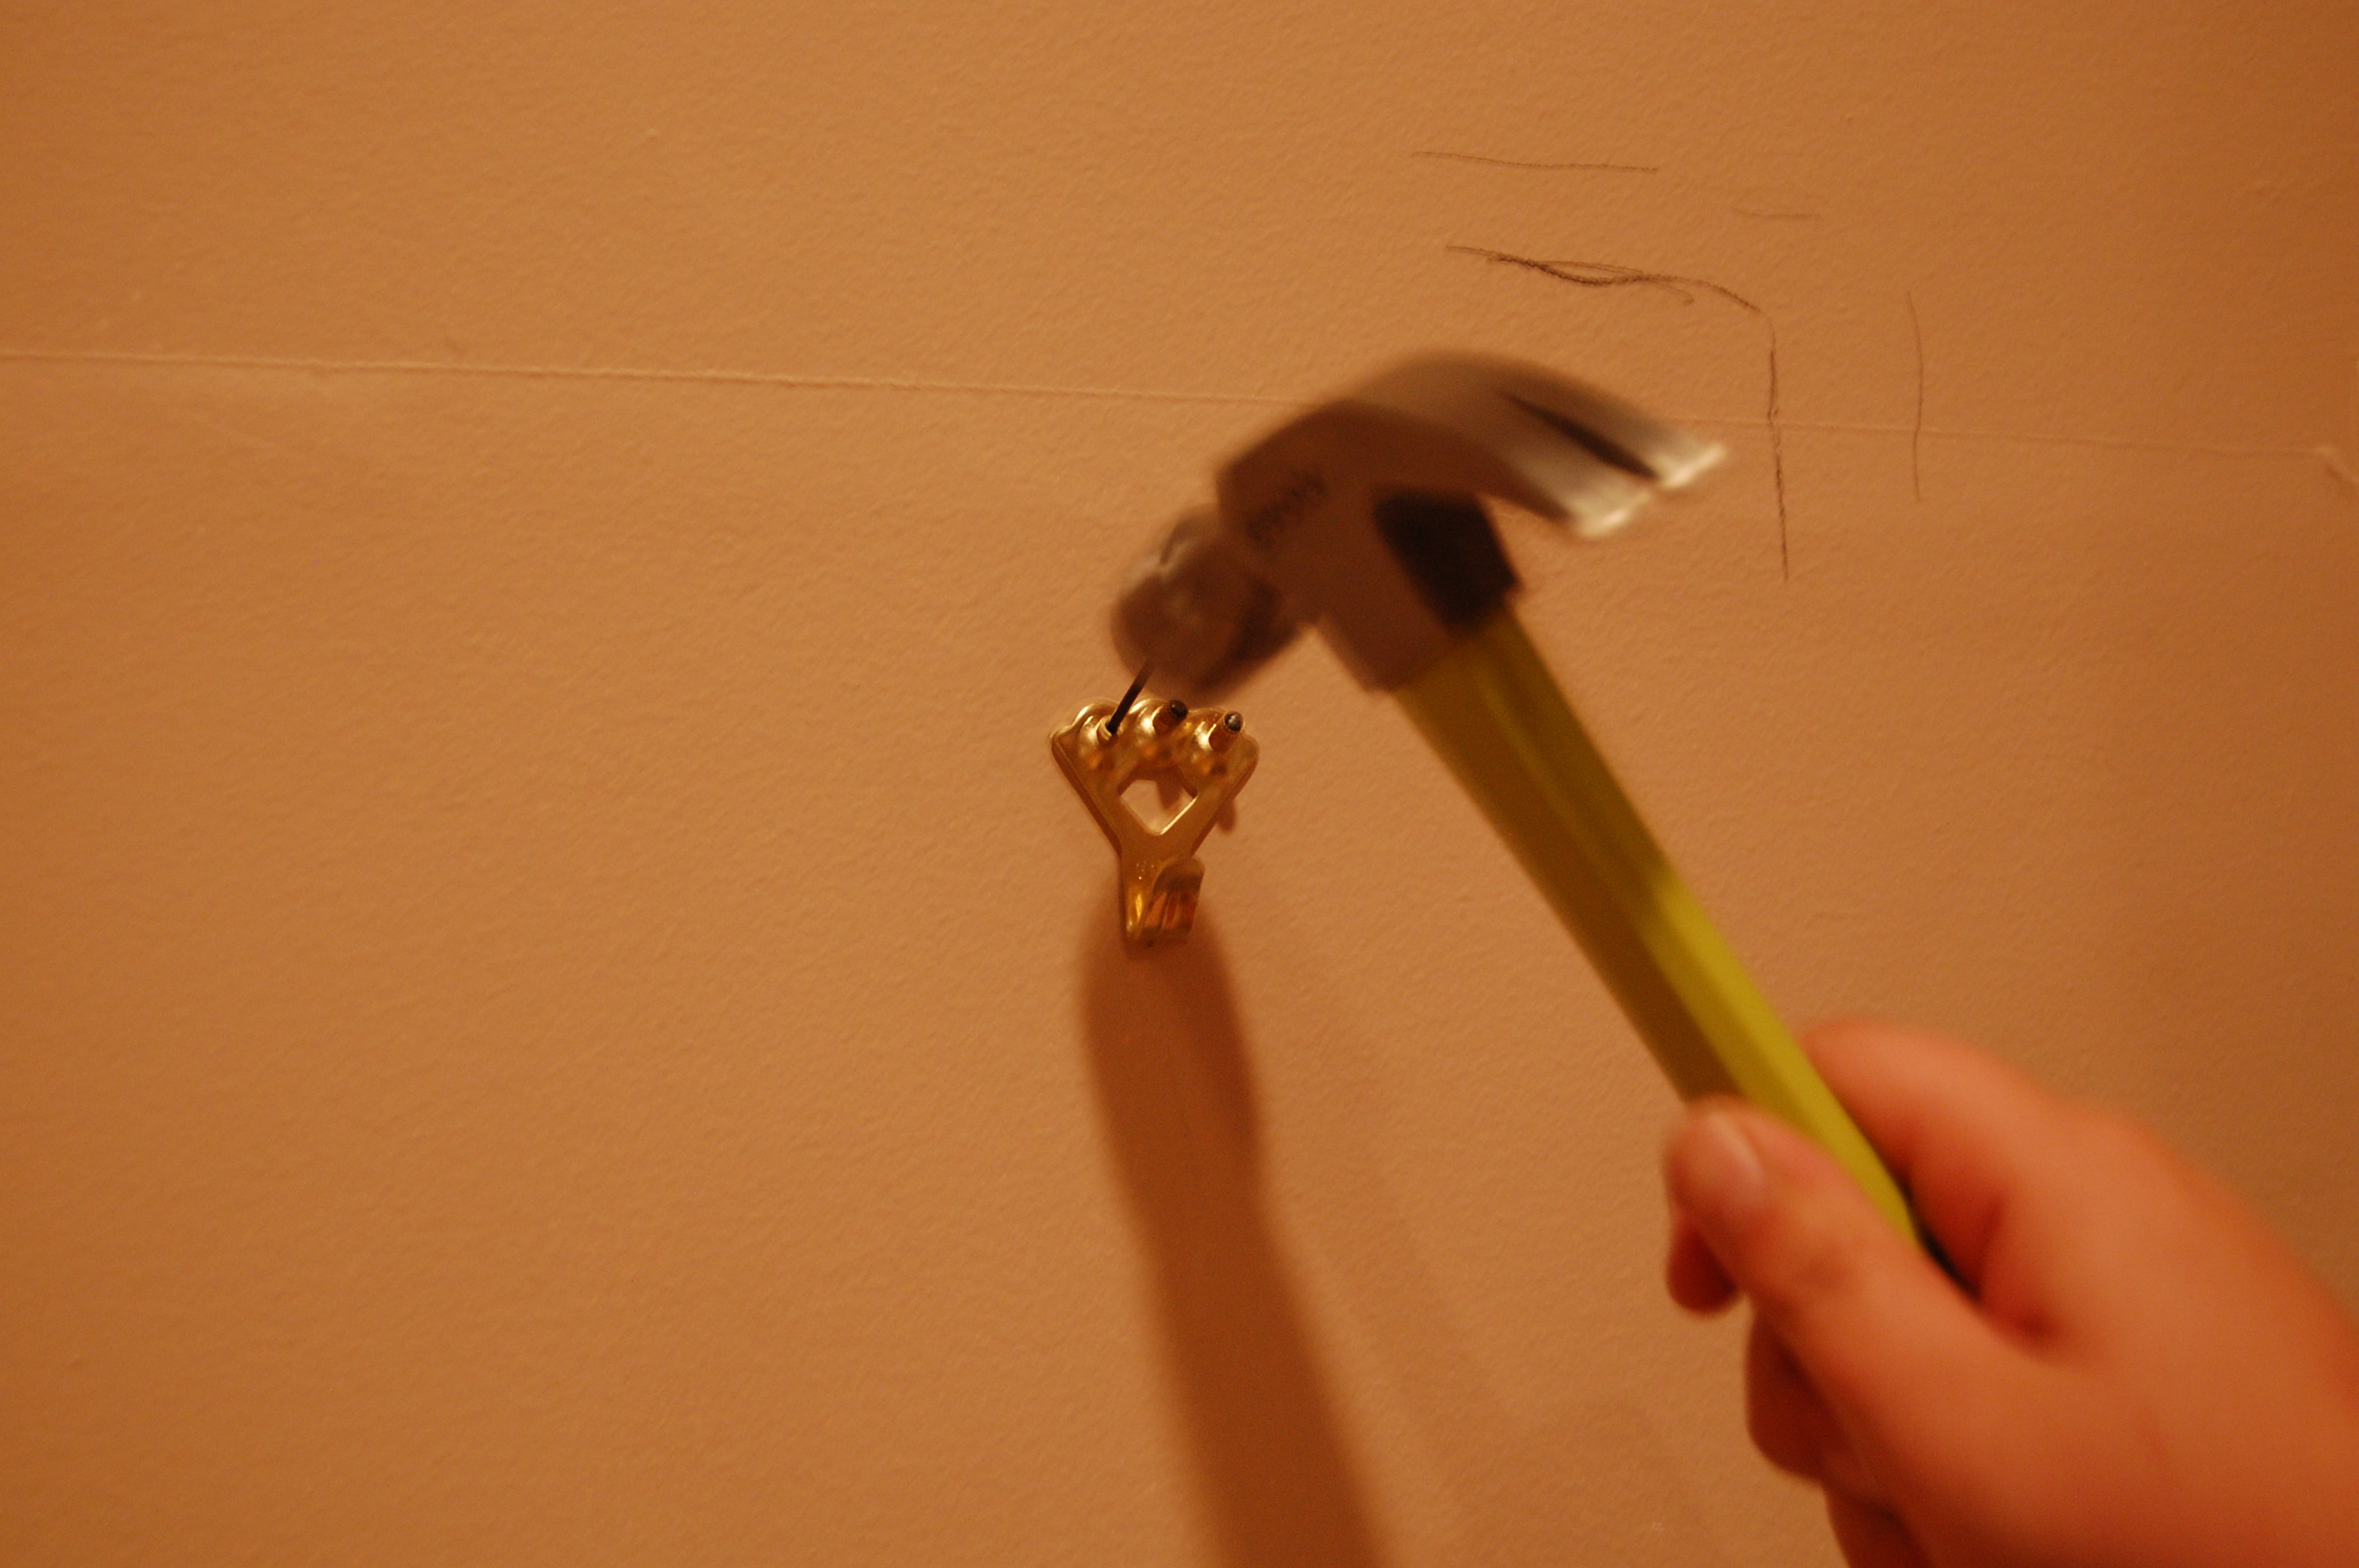
 In order to attach the headboard you can nail legs onto it or simply hang it from the wall which is my choice. I just screwed in some D rings to the back, making sure to measure the same distance from the top and sides so that they are lined up evenly. Then attach the hooks to the wall after deciding where the headboard will be placed and hang it!
 I hope that was helpful and clear if you ever want to give it a try. Remember all you need is:
Plywood
Foam
Batting
Fabric
Staple Gun
D-Hook
Wall Mount Hooks
It may seem like a lot but I promise, once you have the material it is very simple!
