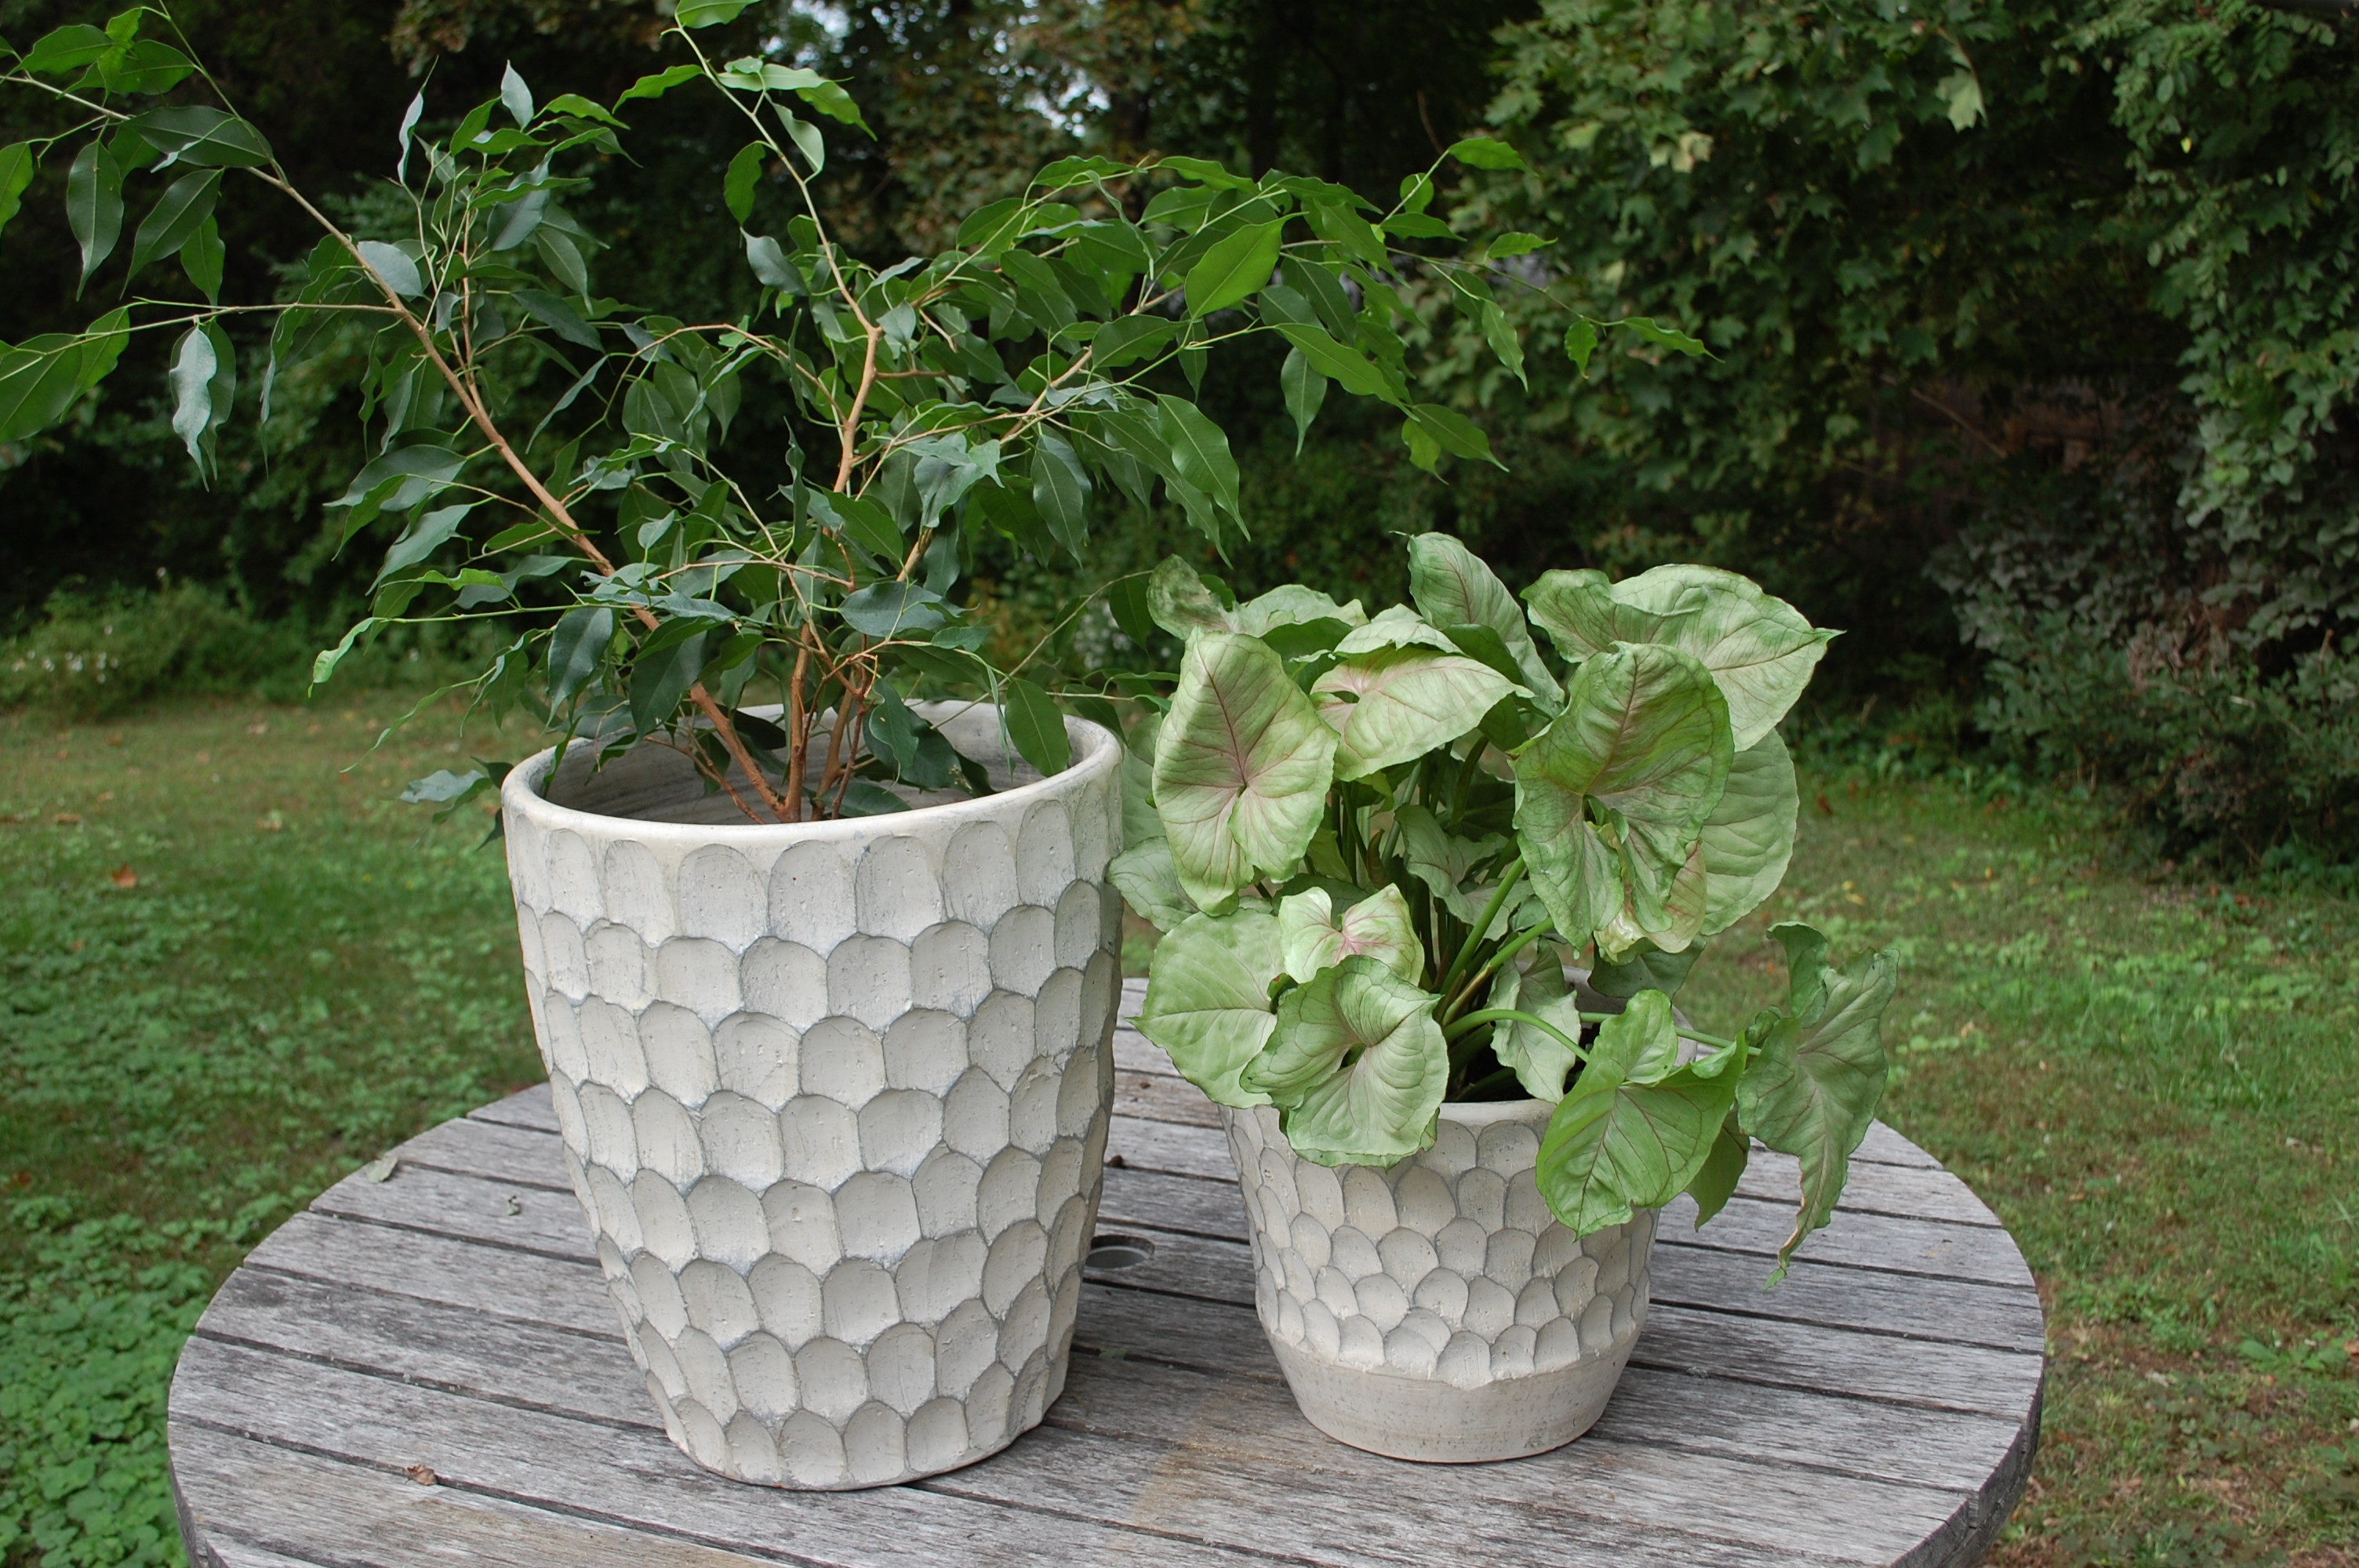
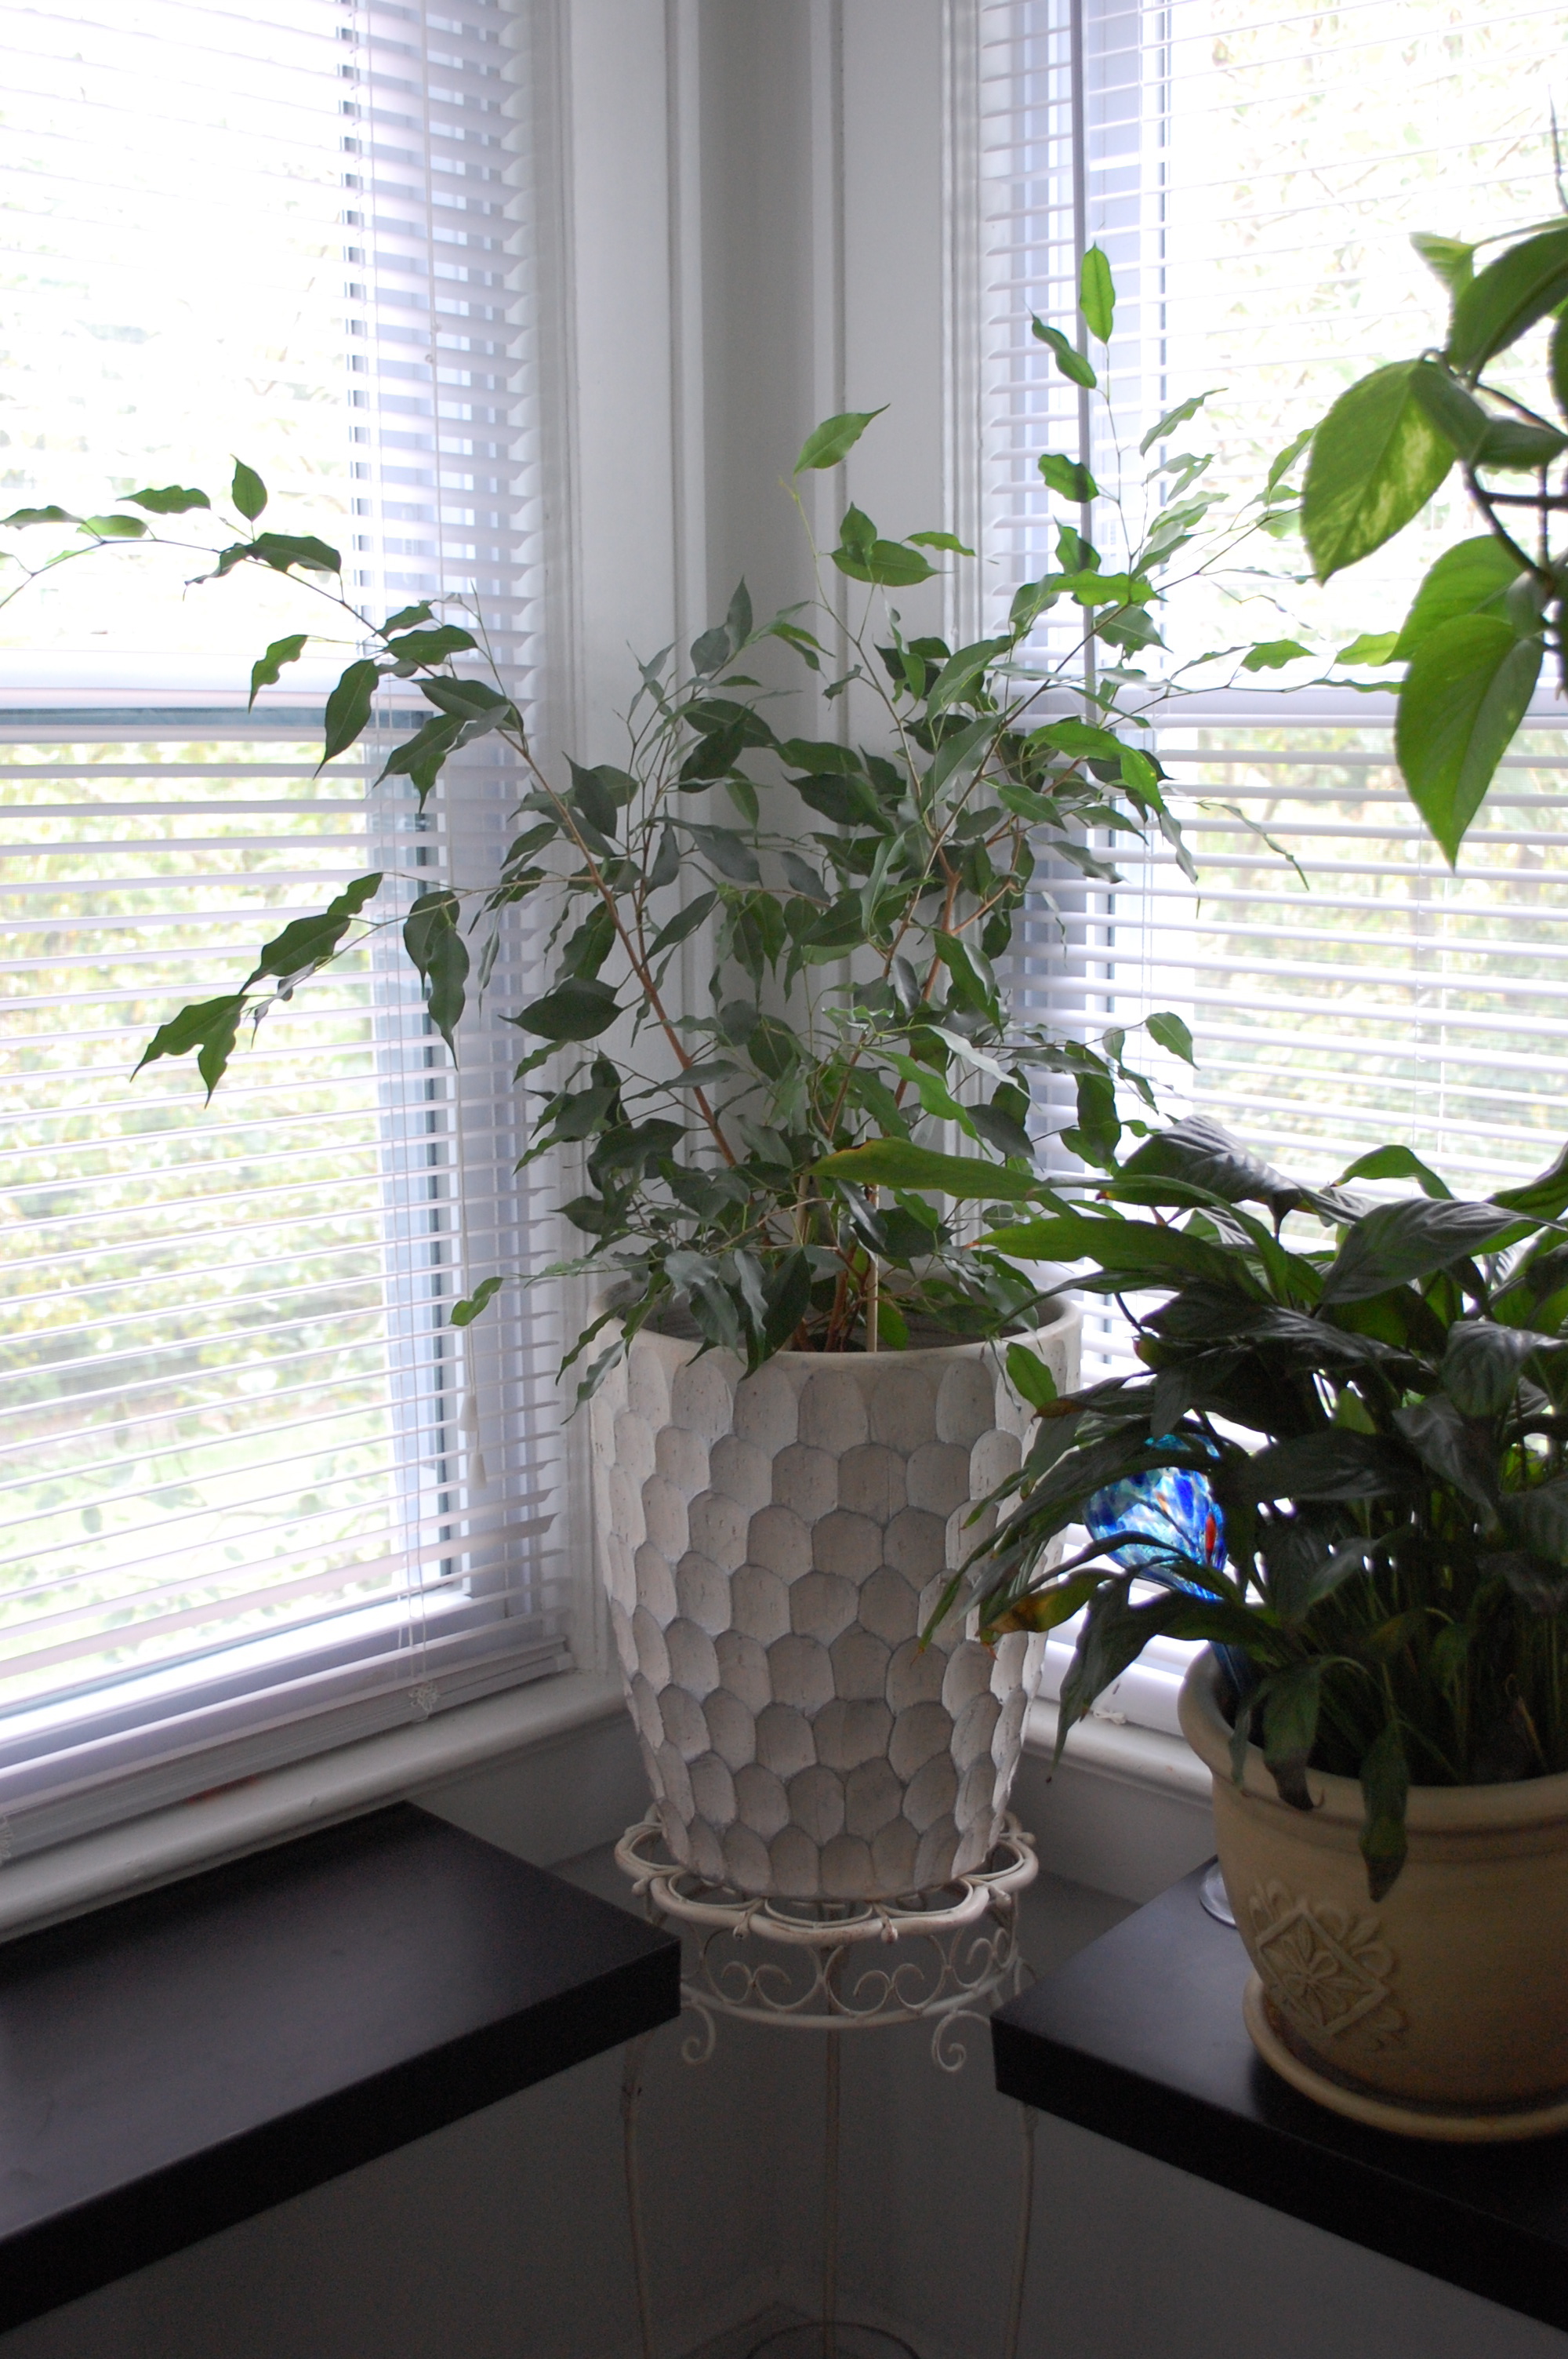
If you keep plants in your home then at some point you will have to know how to repot them. I should start by saying I am absolutely no expert at this I have just done it many times. There are certain rules to follow but I will admit sometimes I throw caution to the wind! Of course I will share with you the right way to do it. I had been eying this one plant I have that was first transferred from a huge tree in my mother’s house. It came to me in a water bottle and then I planted it about a year ago. It has been growing and growing and I was noticing that the roots were coming out of the dirt. That alone was reason enough to repot it but it was this that got me moving…
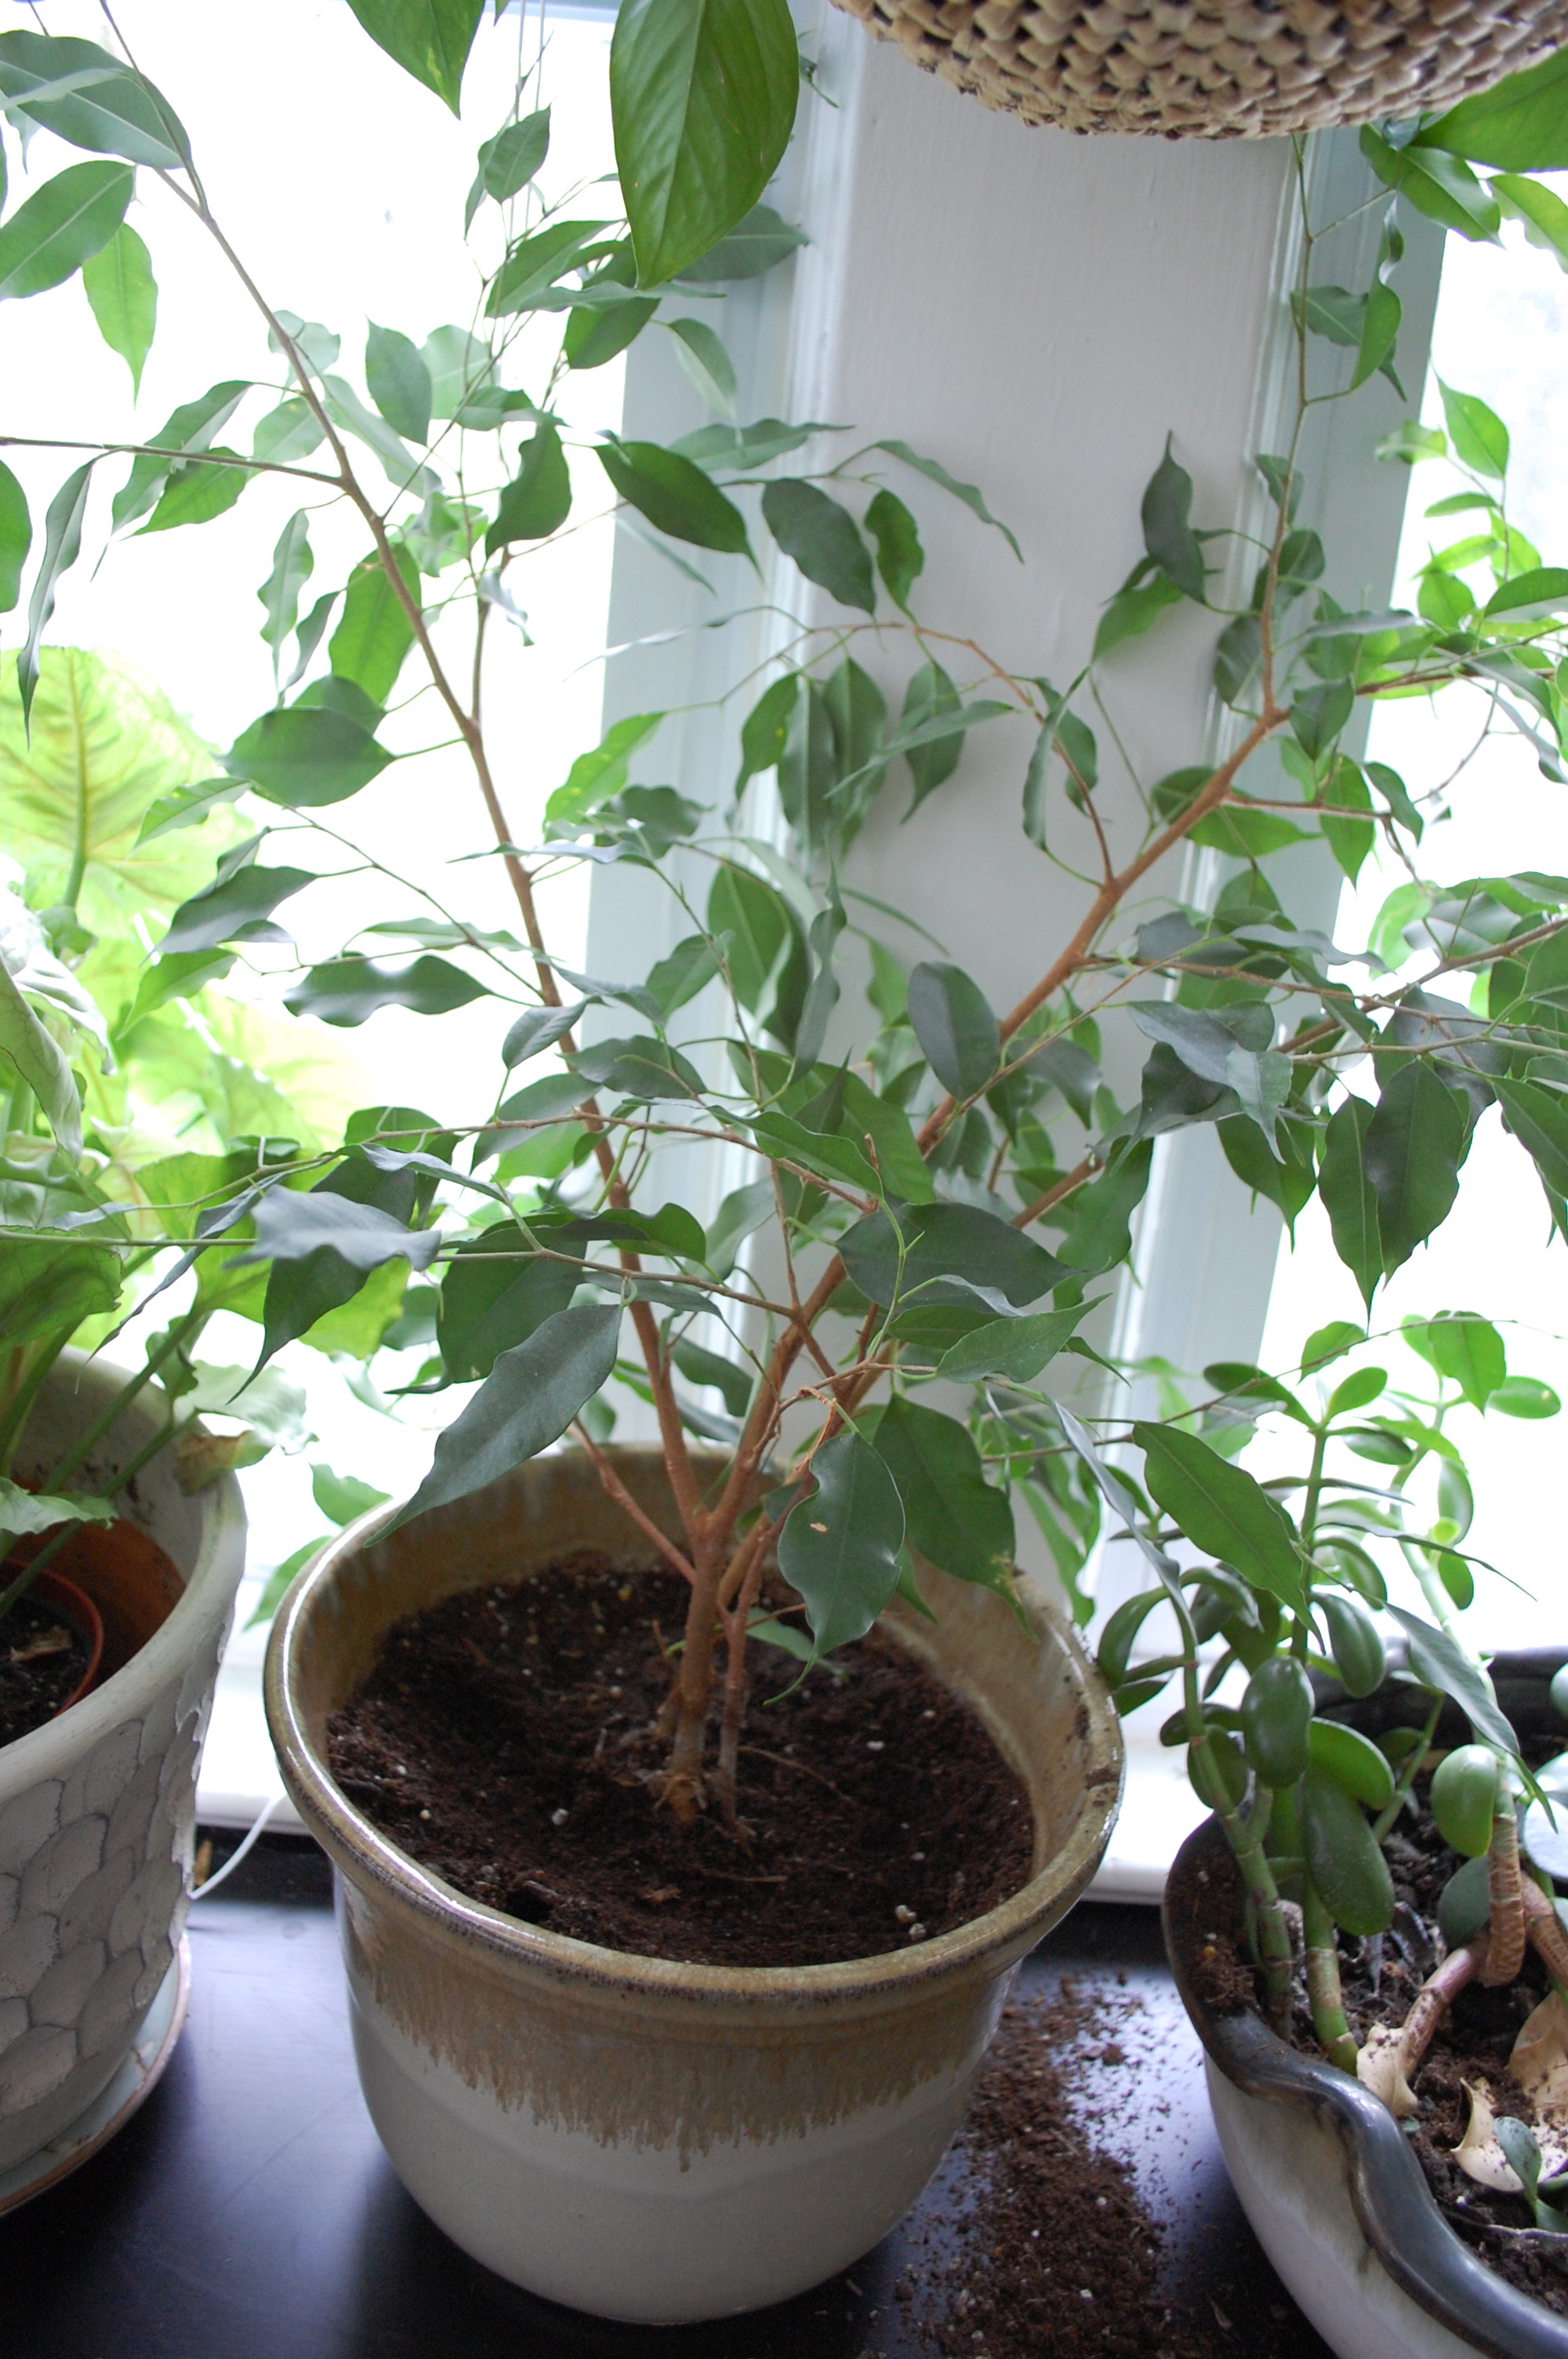 Not sure what you’re looking at? Here’s a closer look.
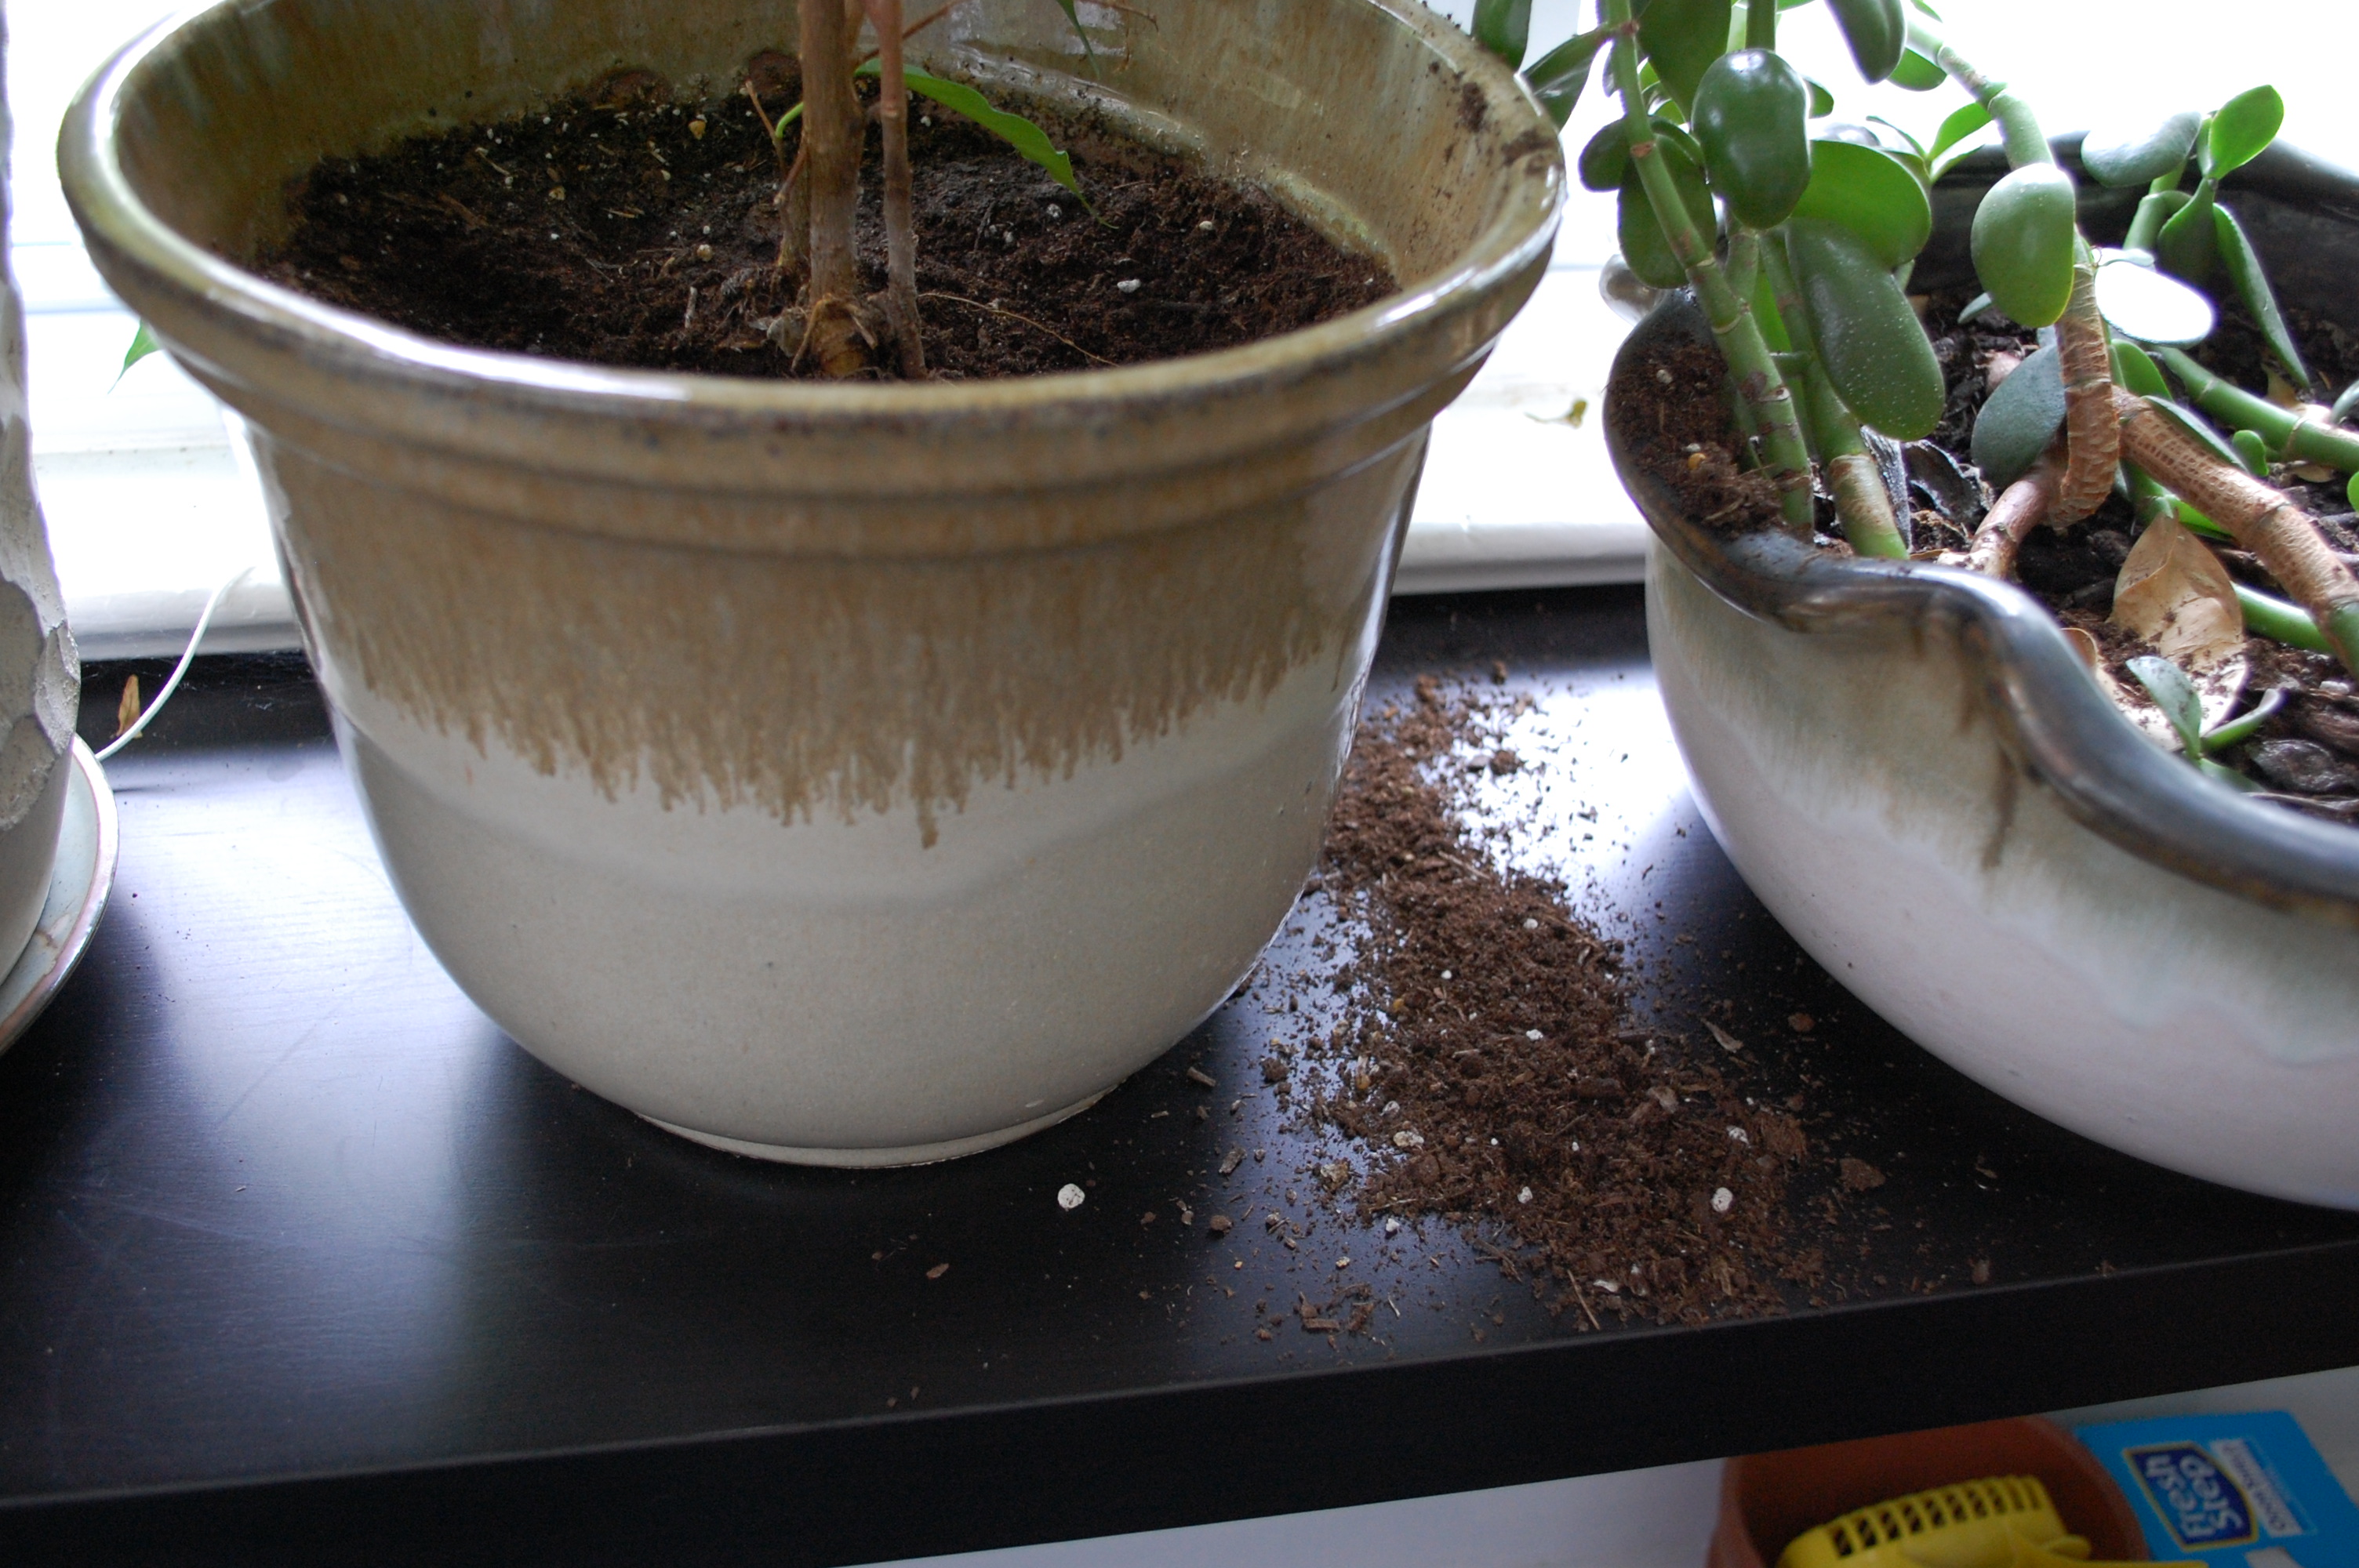 That’s right, my kitty Luna got in it! I screamed out her name the second I saw it. I imagine she looked something like this when she heard me…
 And although she can’t speak I found her later on in the day asking for forgiveness.
 When I finally confronted her, she surrendered and admitted her wrong doings.
 HA, HA Ok enough playing with pictures. Let’s get back to business! When deciding when it’s time to repot there are certain things to look for.
WHEN: Has your plant stopped growing? Is the dirt inside separating from the pot? Can you see the roots growing up the side? If you answered yes to any of those questions then you my friend need to get a bigger planter.
HOW: When choosing what kind of pot to purchase you want your new pot to be 2 inches wider (at the rim) than the old pot or 2 inches deeper than the old pot. You don’t want the new pot to be too big because then there is too much space for the roots to grow into and the plant won’t grow until the roots fill the container.
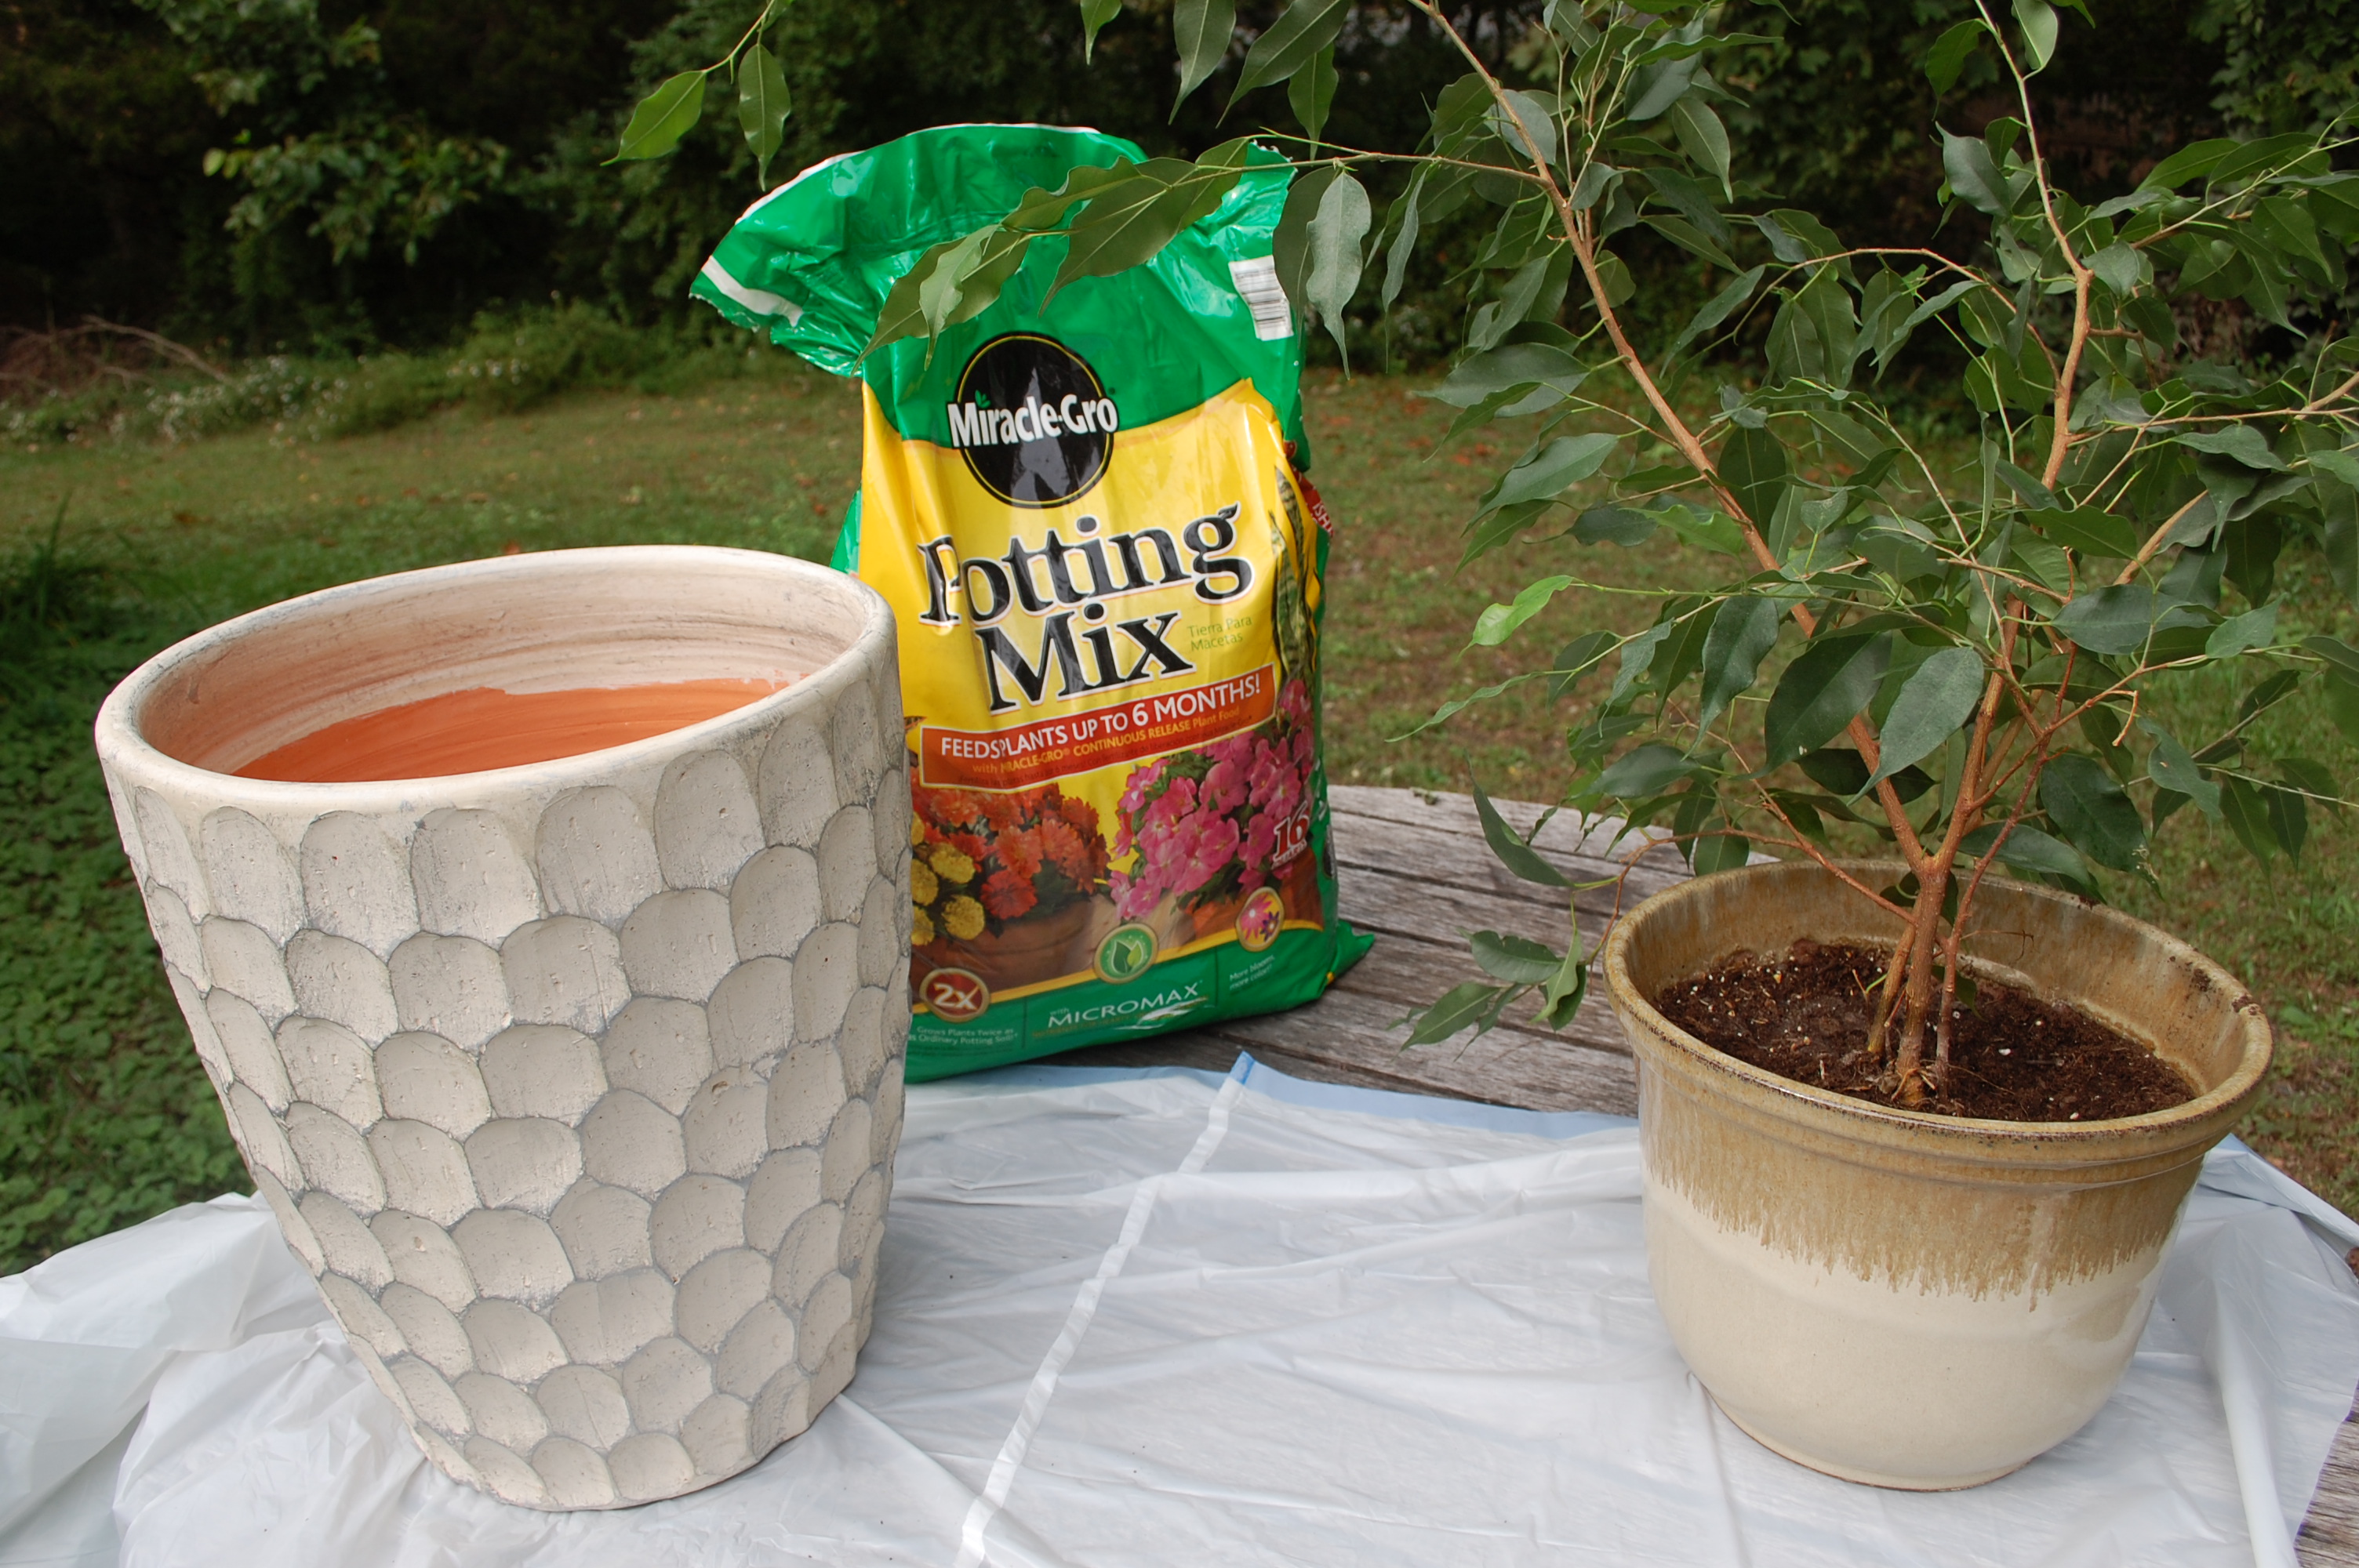 I bet you’re wondering “Hey, that new pot looks bigger than 2 inches” This is the part where I didn’t follow the directions. My reason being I needed a taller planter in hopes of keeping the fur ball away and I’m not too nervous because I have replanted in a bigger pot before but I want to make sure that I give you all the rules even though I may not necessarily follow all of them and luckily I didn’t have a problem the last time.
*
First Step: Tilt your plant and shimmy the plant outside of the old pot.
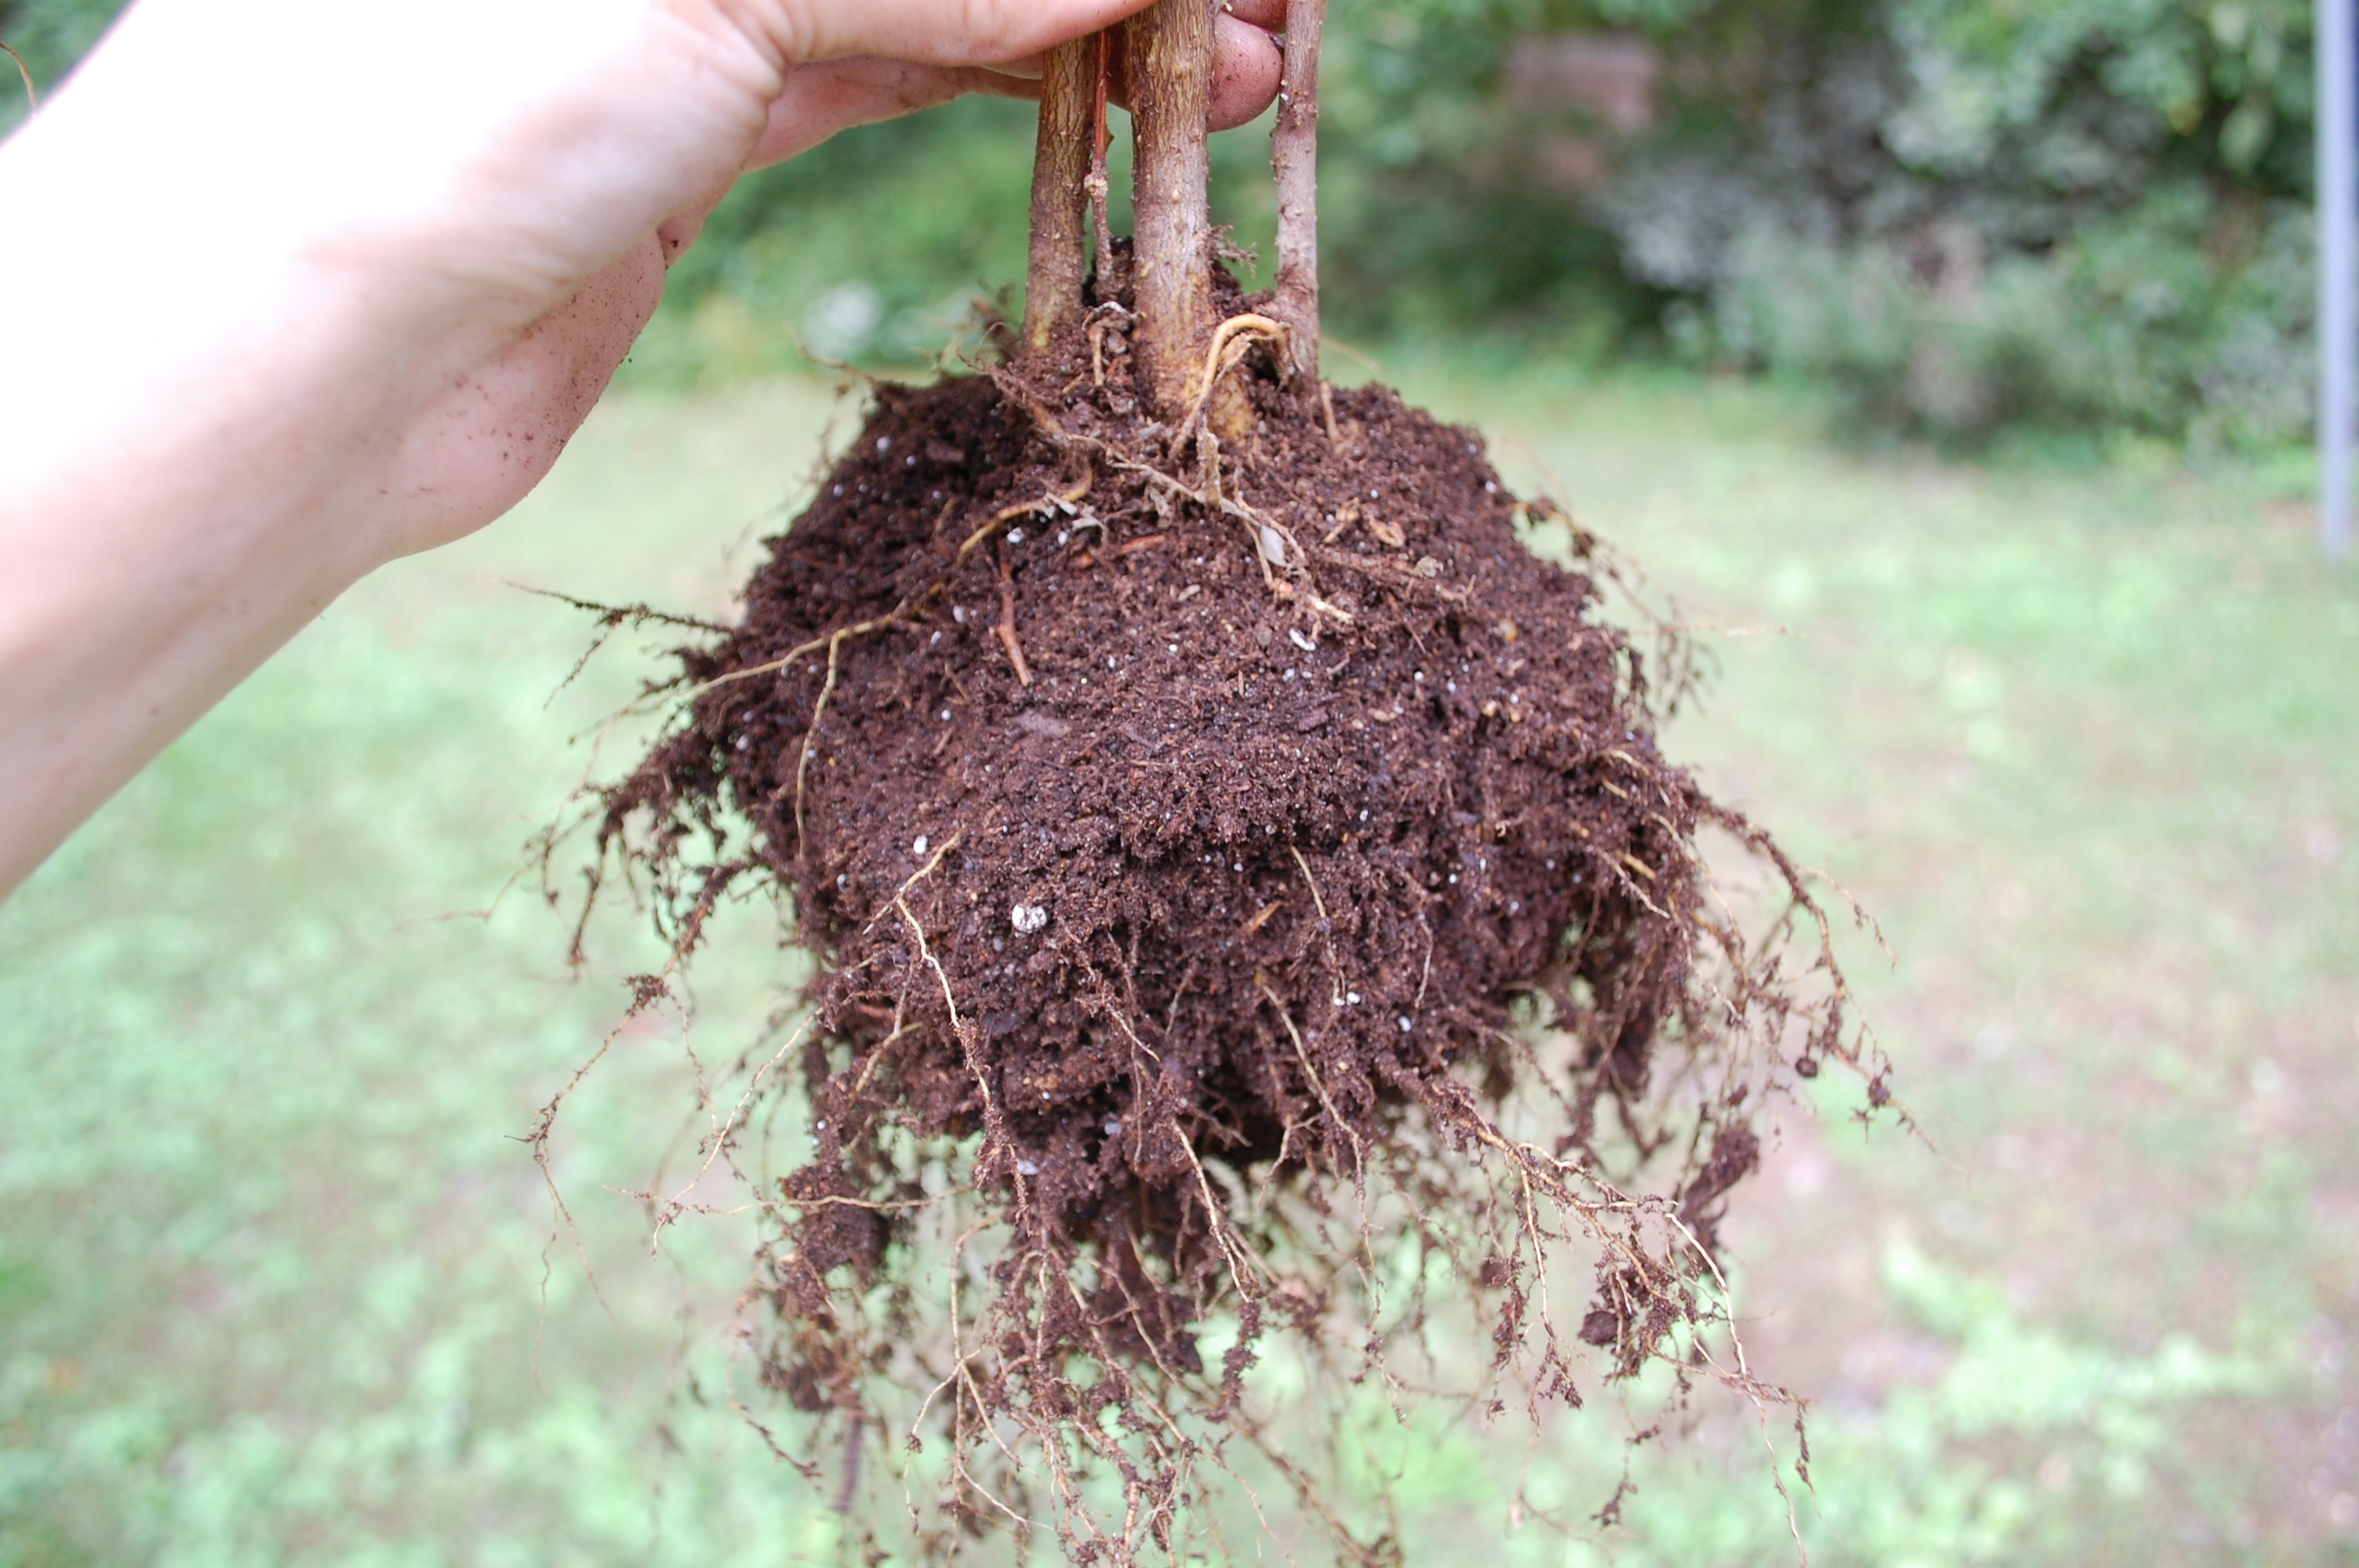
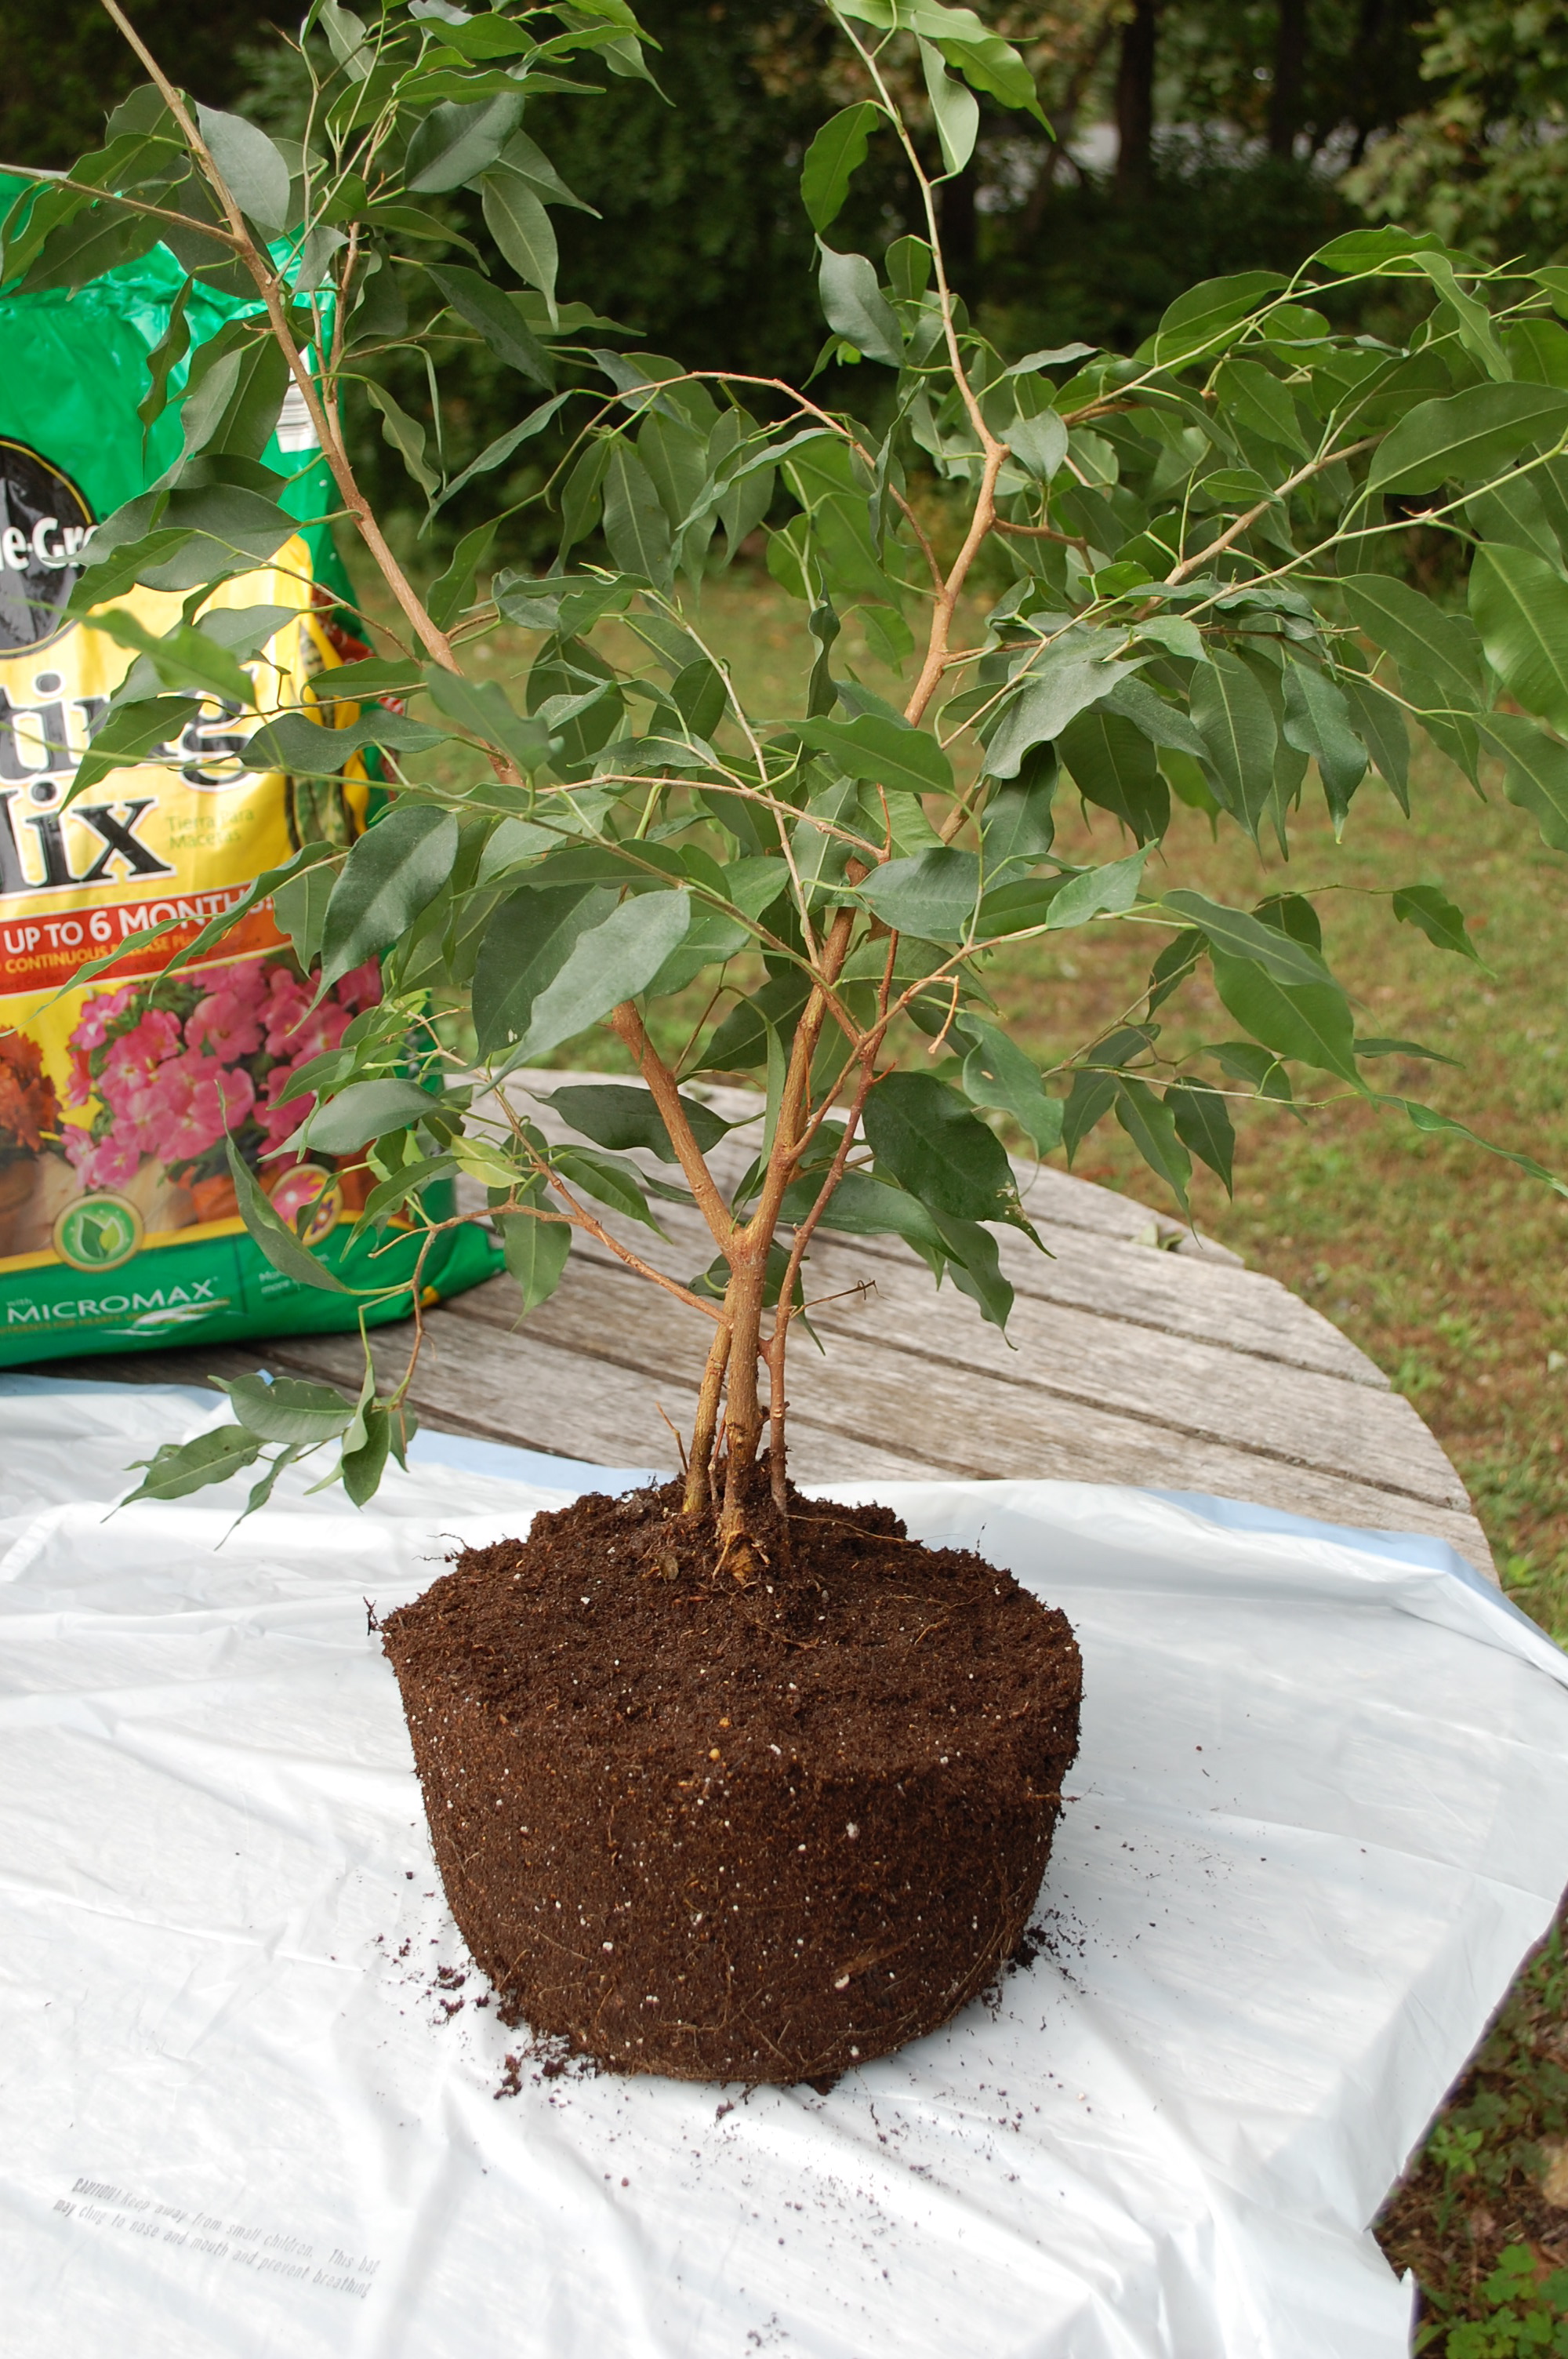 Second Step: If your roots are coiled around the bottom use your hands to straighten them out. Pruning or trimming the roots slightly will also help stimulated new growth.
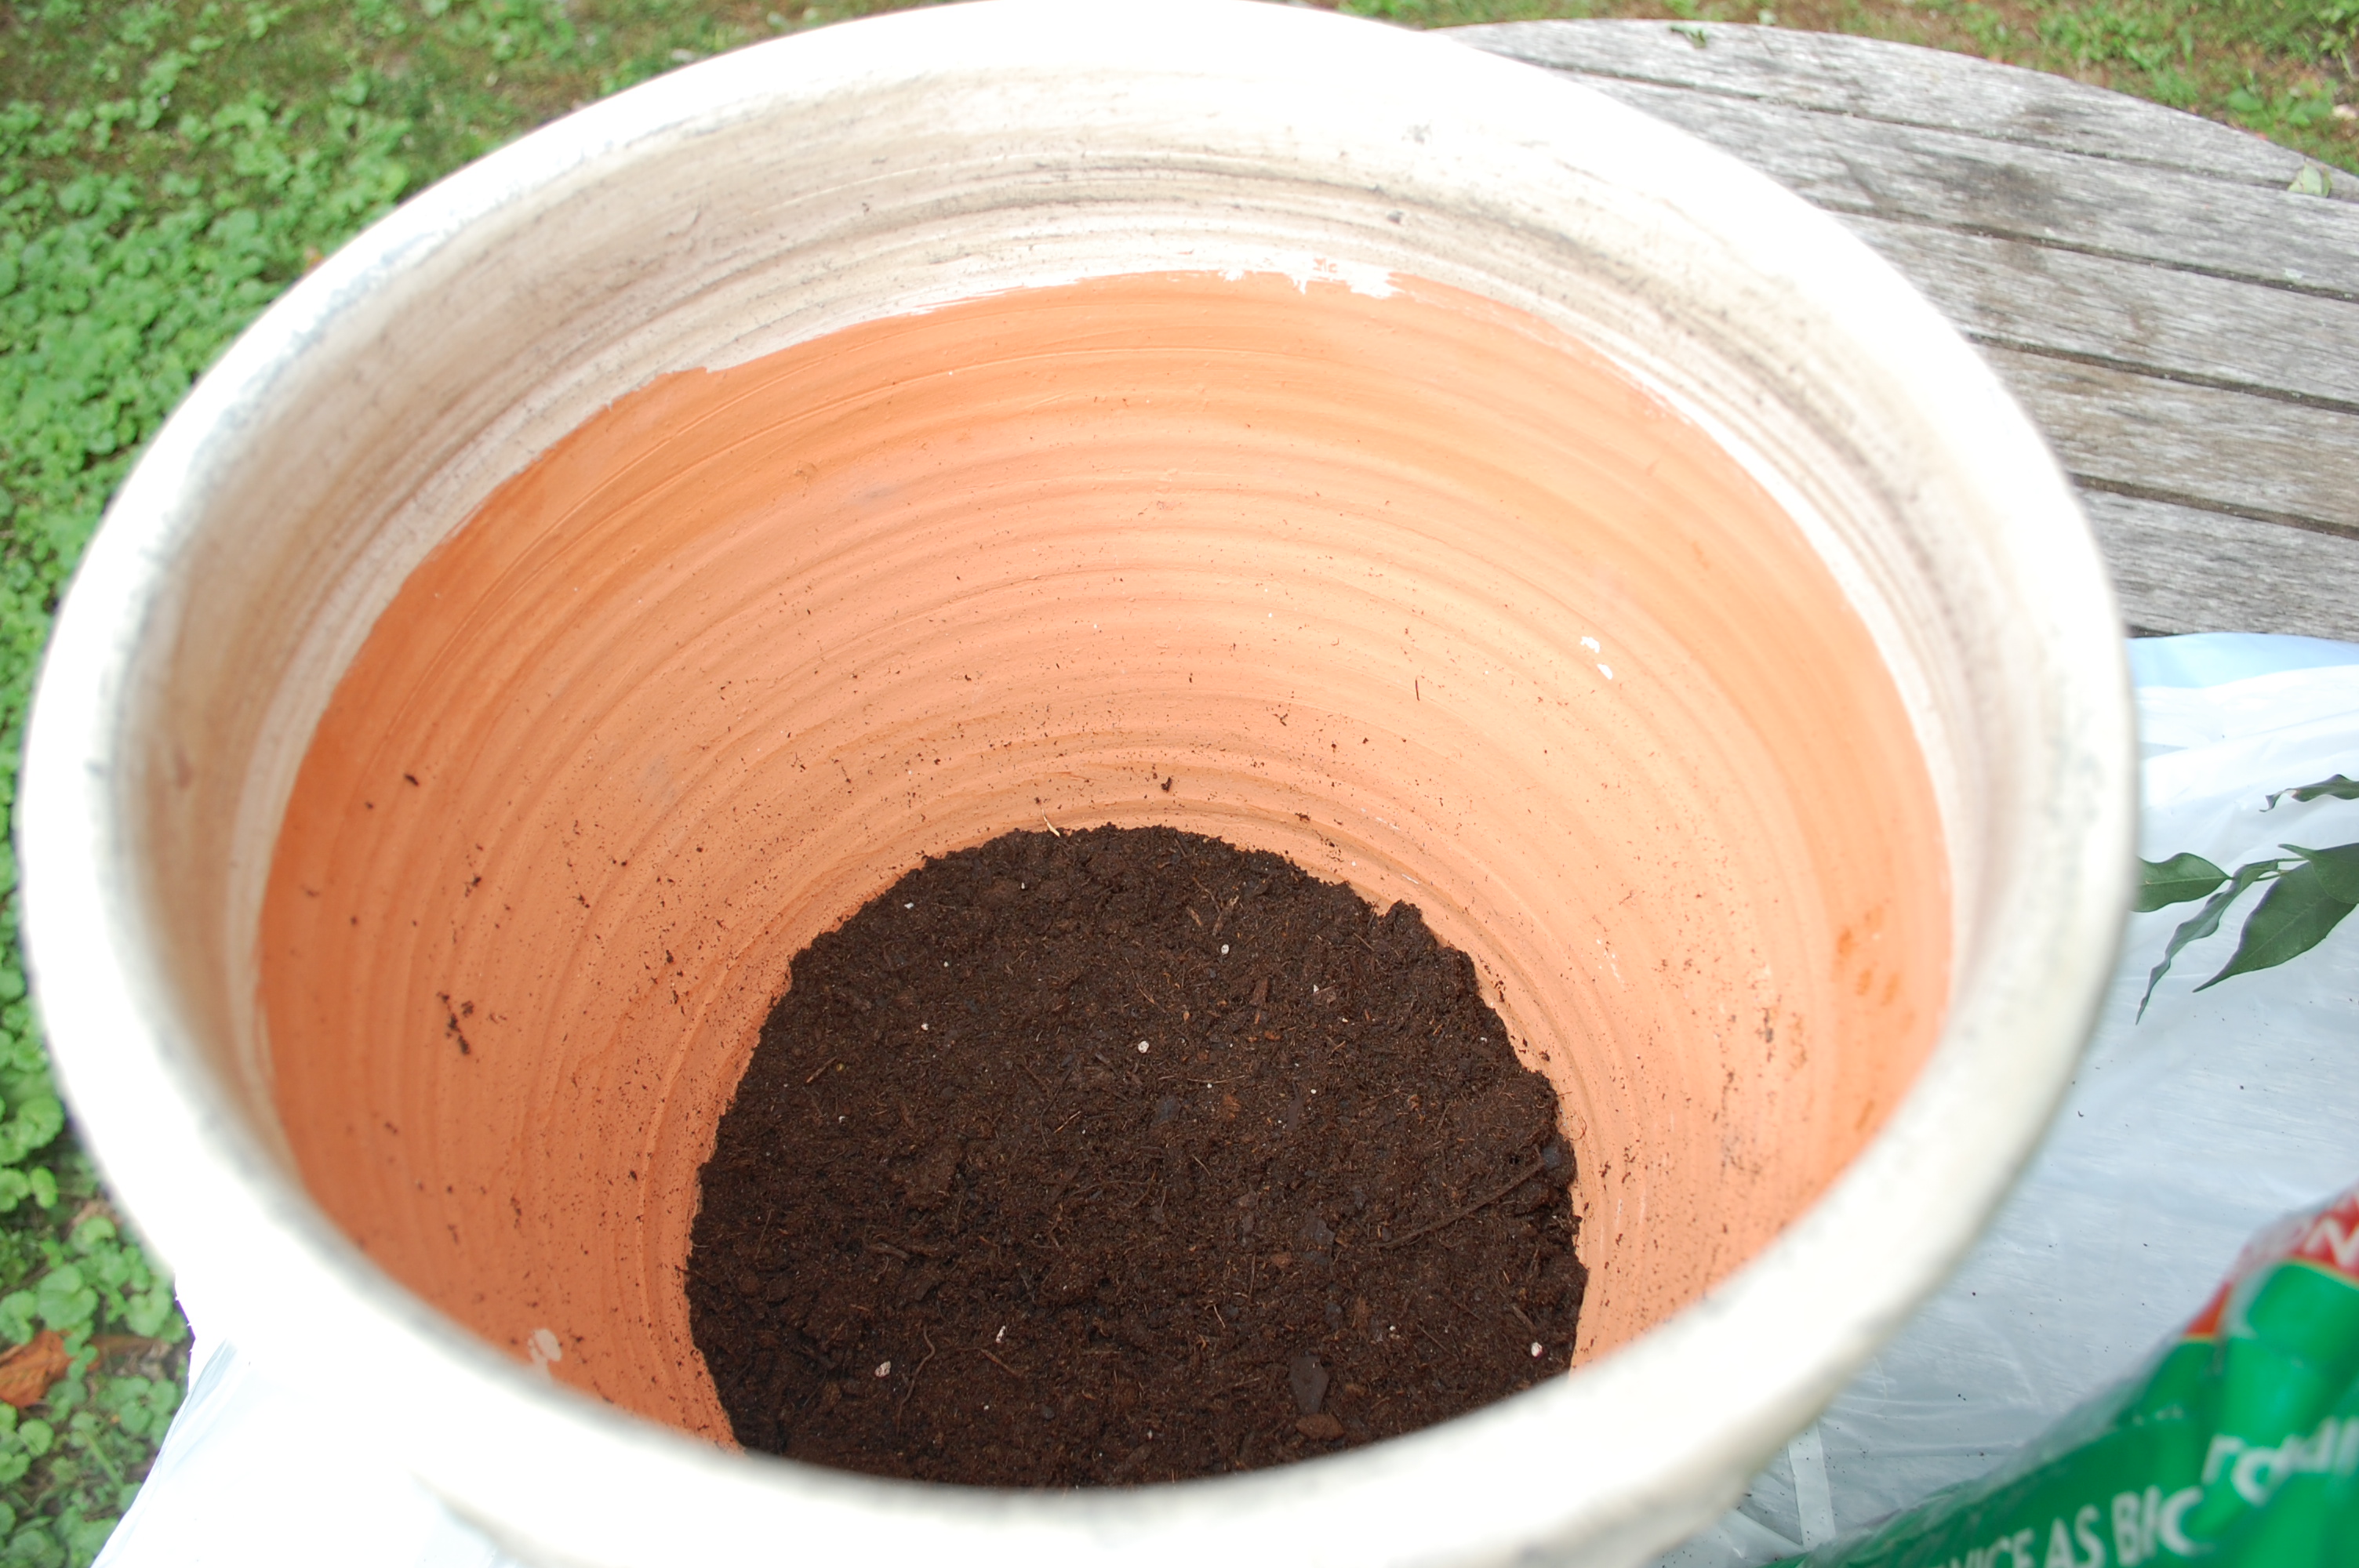
 Step Three: Fill your new pot about 1/3 of the way.
 Step Four: Place the plant in the middle and then fill with new potting mix along the sides all the way to the top. Pat the dirt down with your hands.
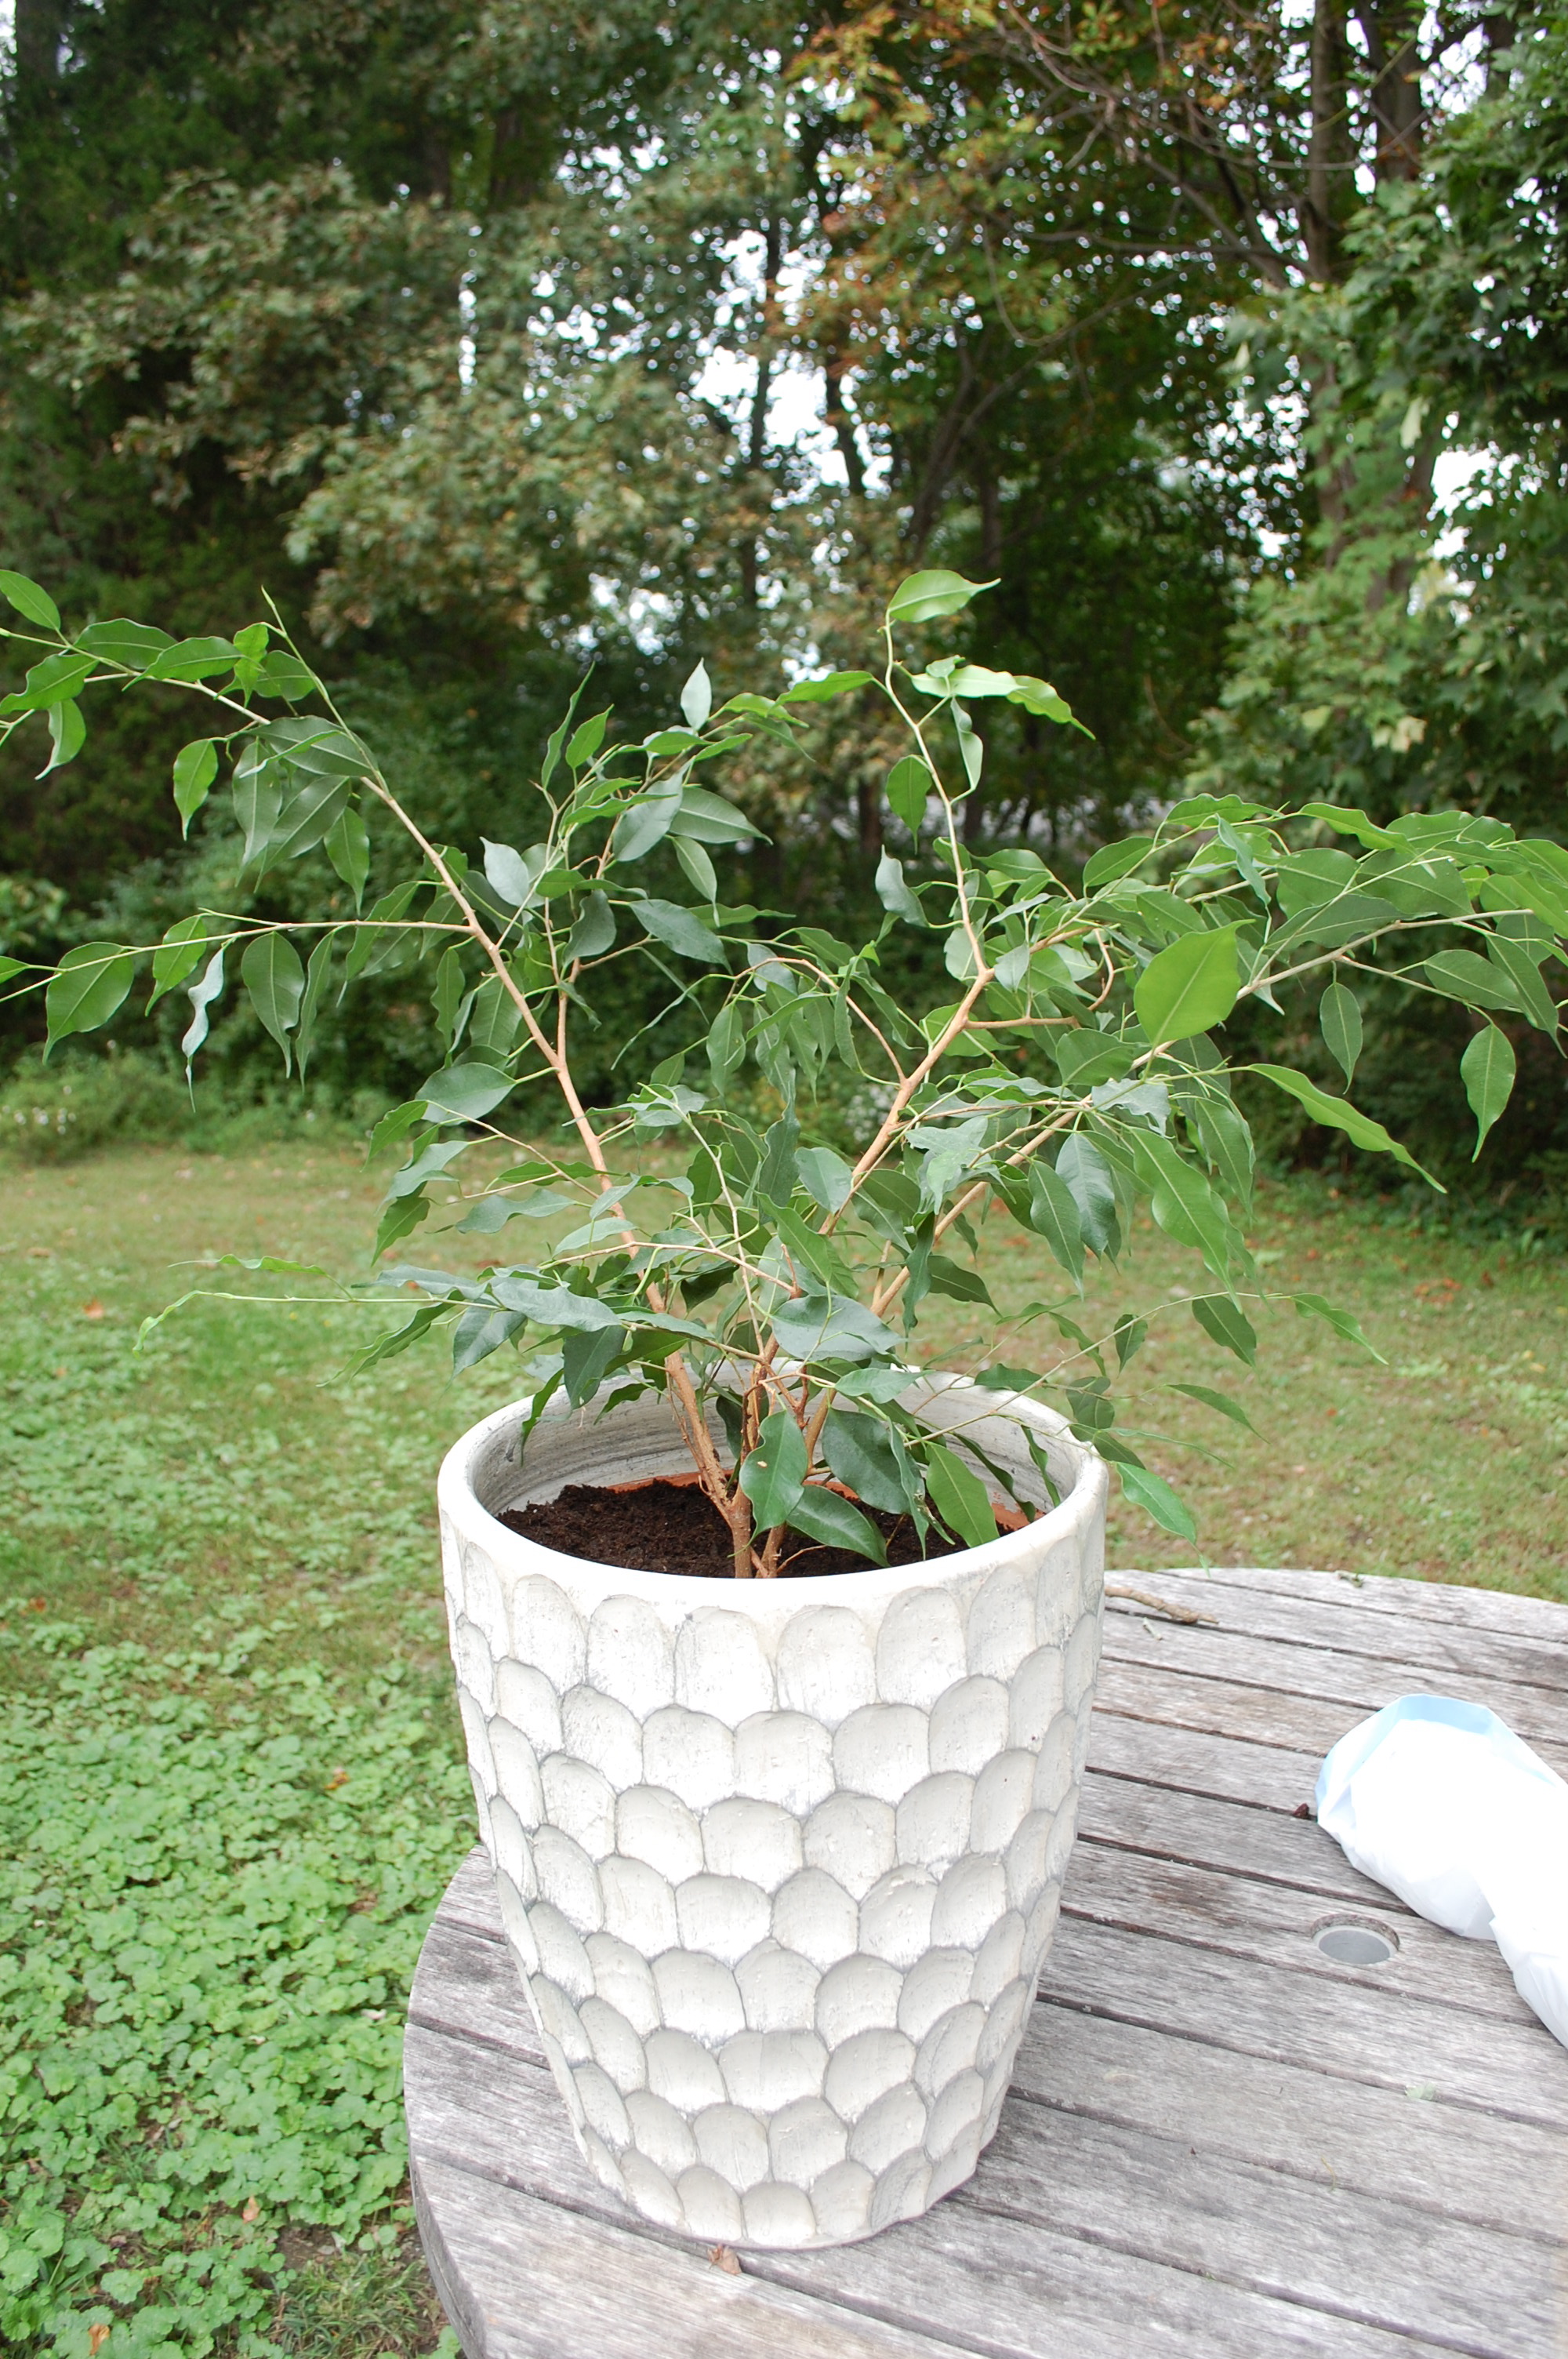 Step Five: Water thoroughly to moisten the roots and to help settle the potting mix.
*
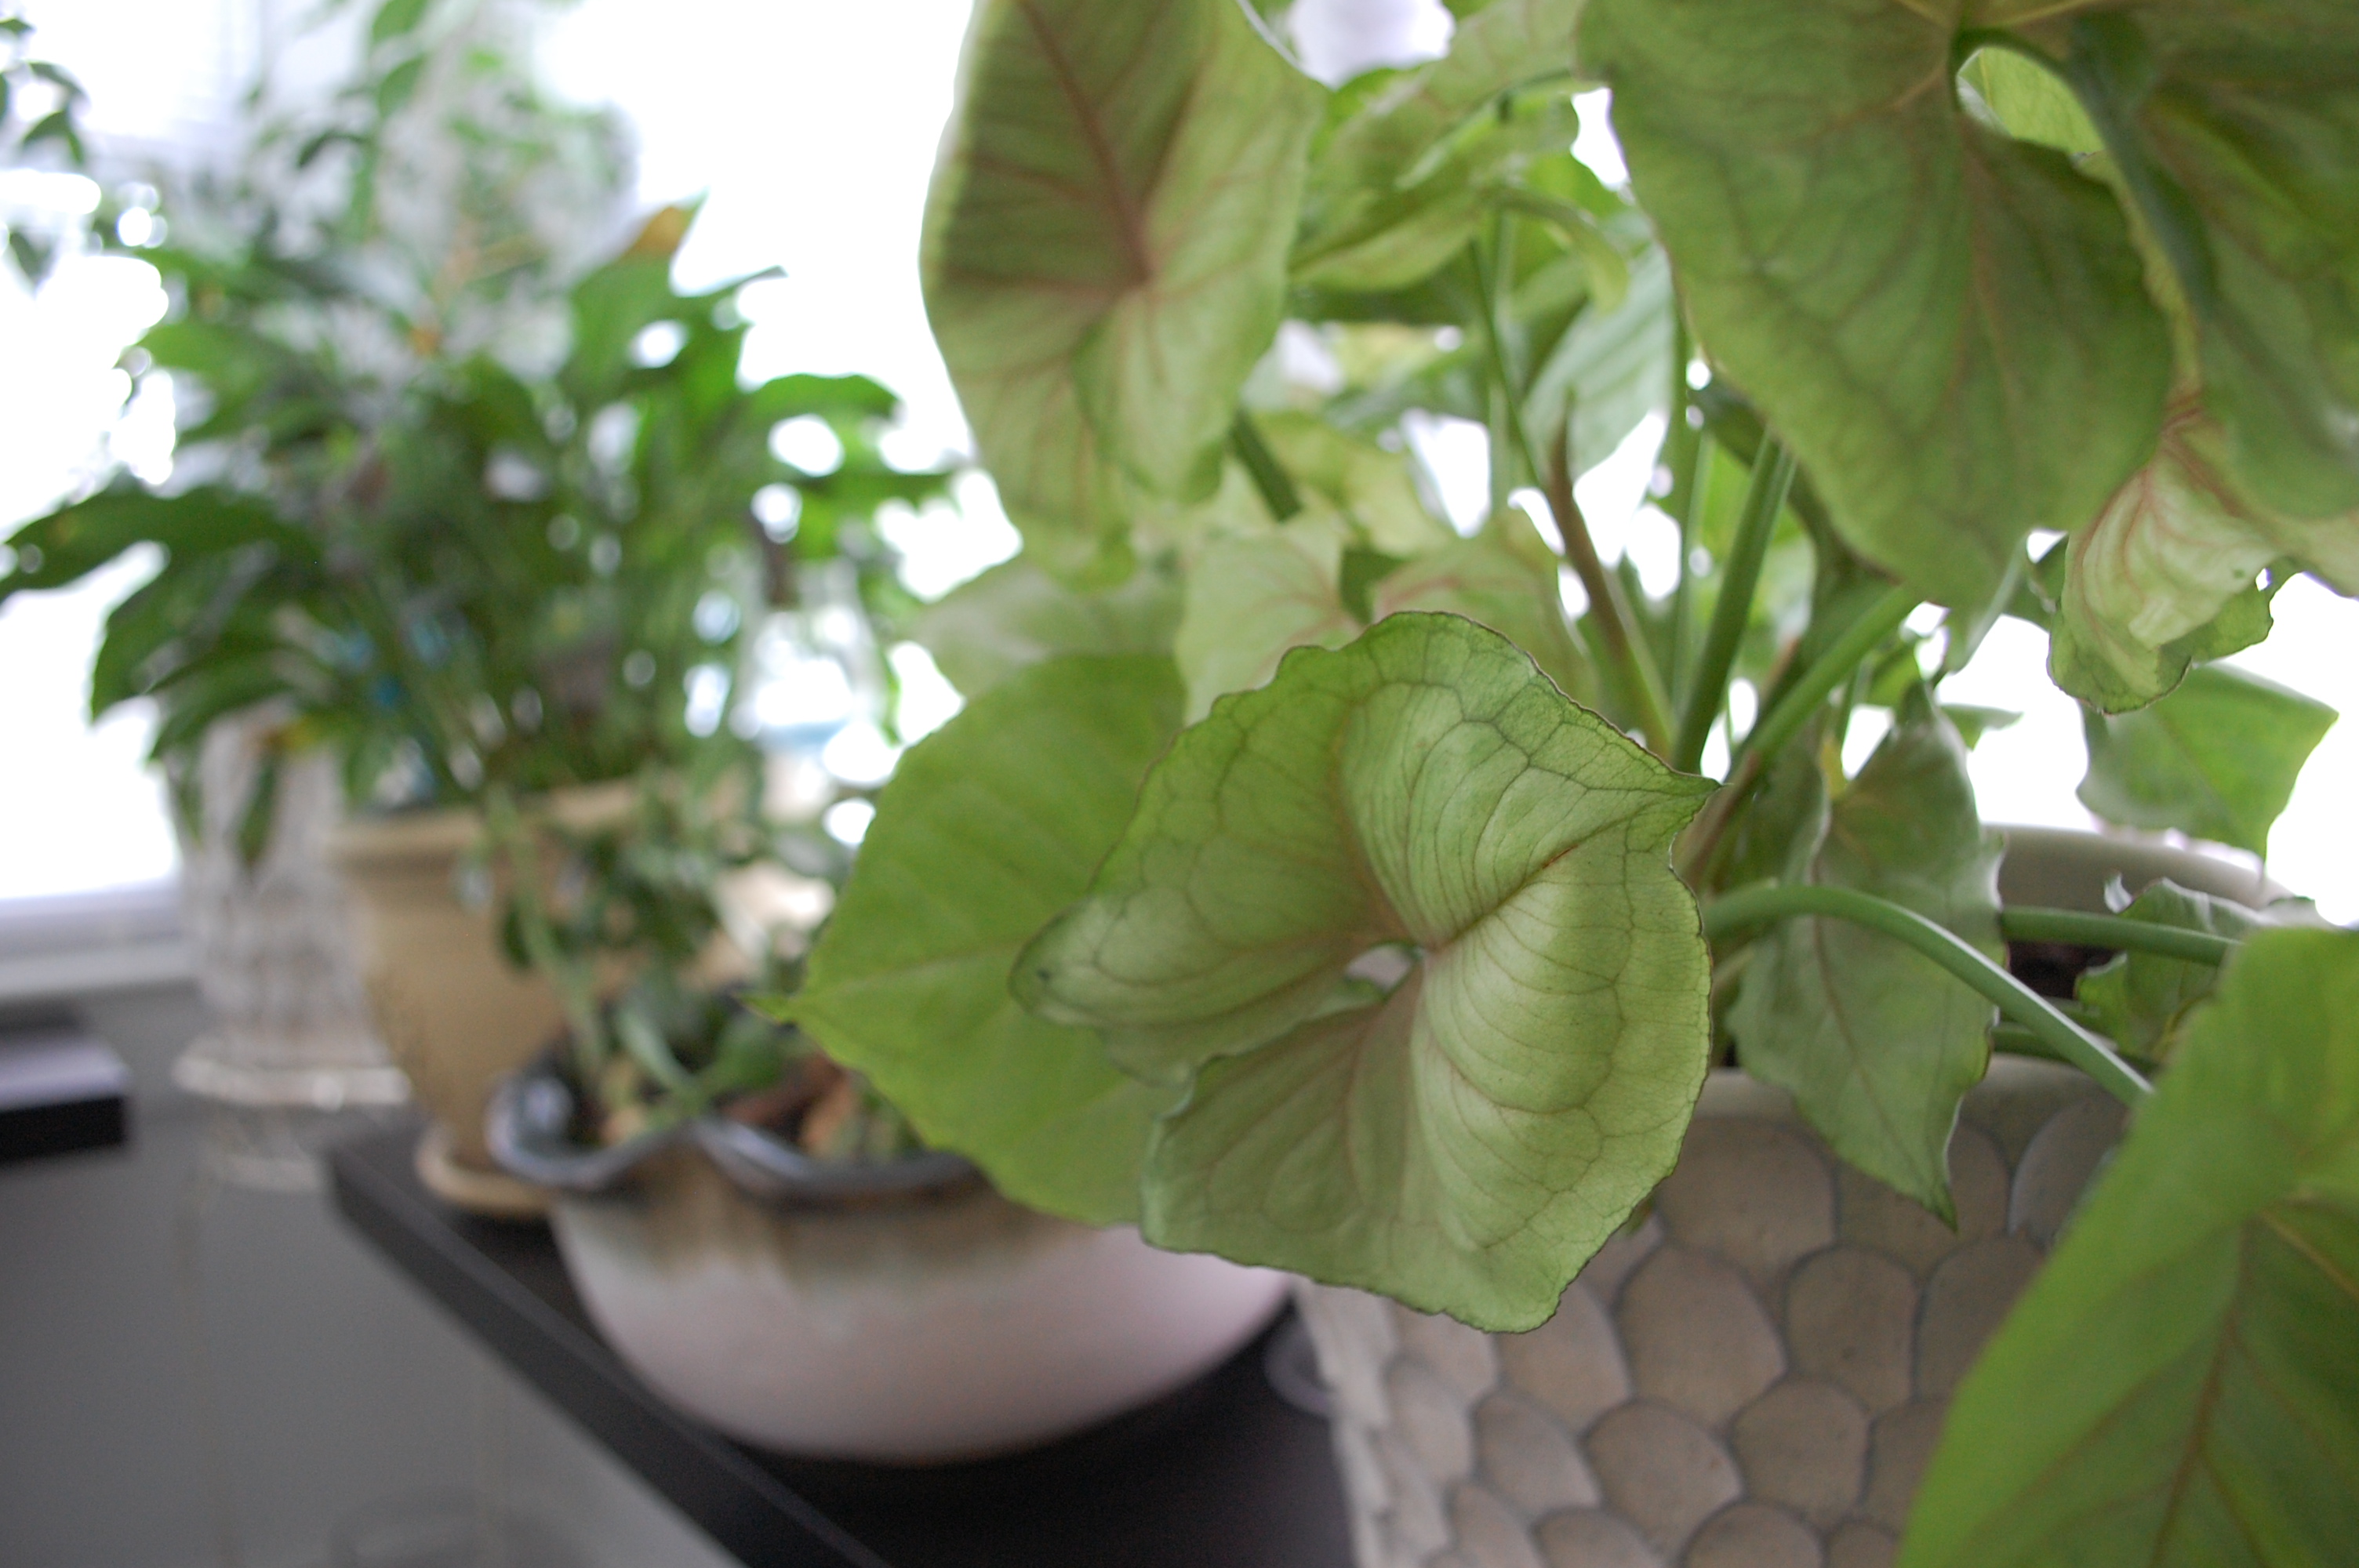
While I was out there I thought I would do another one that was still in it’s original plastic pot.
 For those wondering, I have forgiven my cutie. I can only be mad for so long, she’s just too cute!

