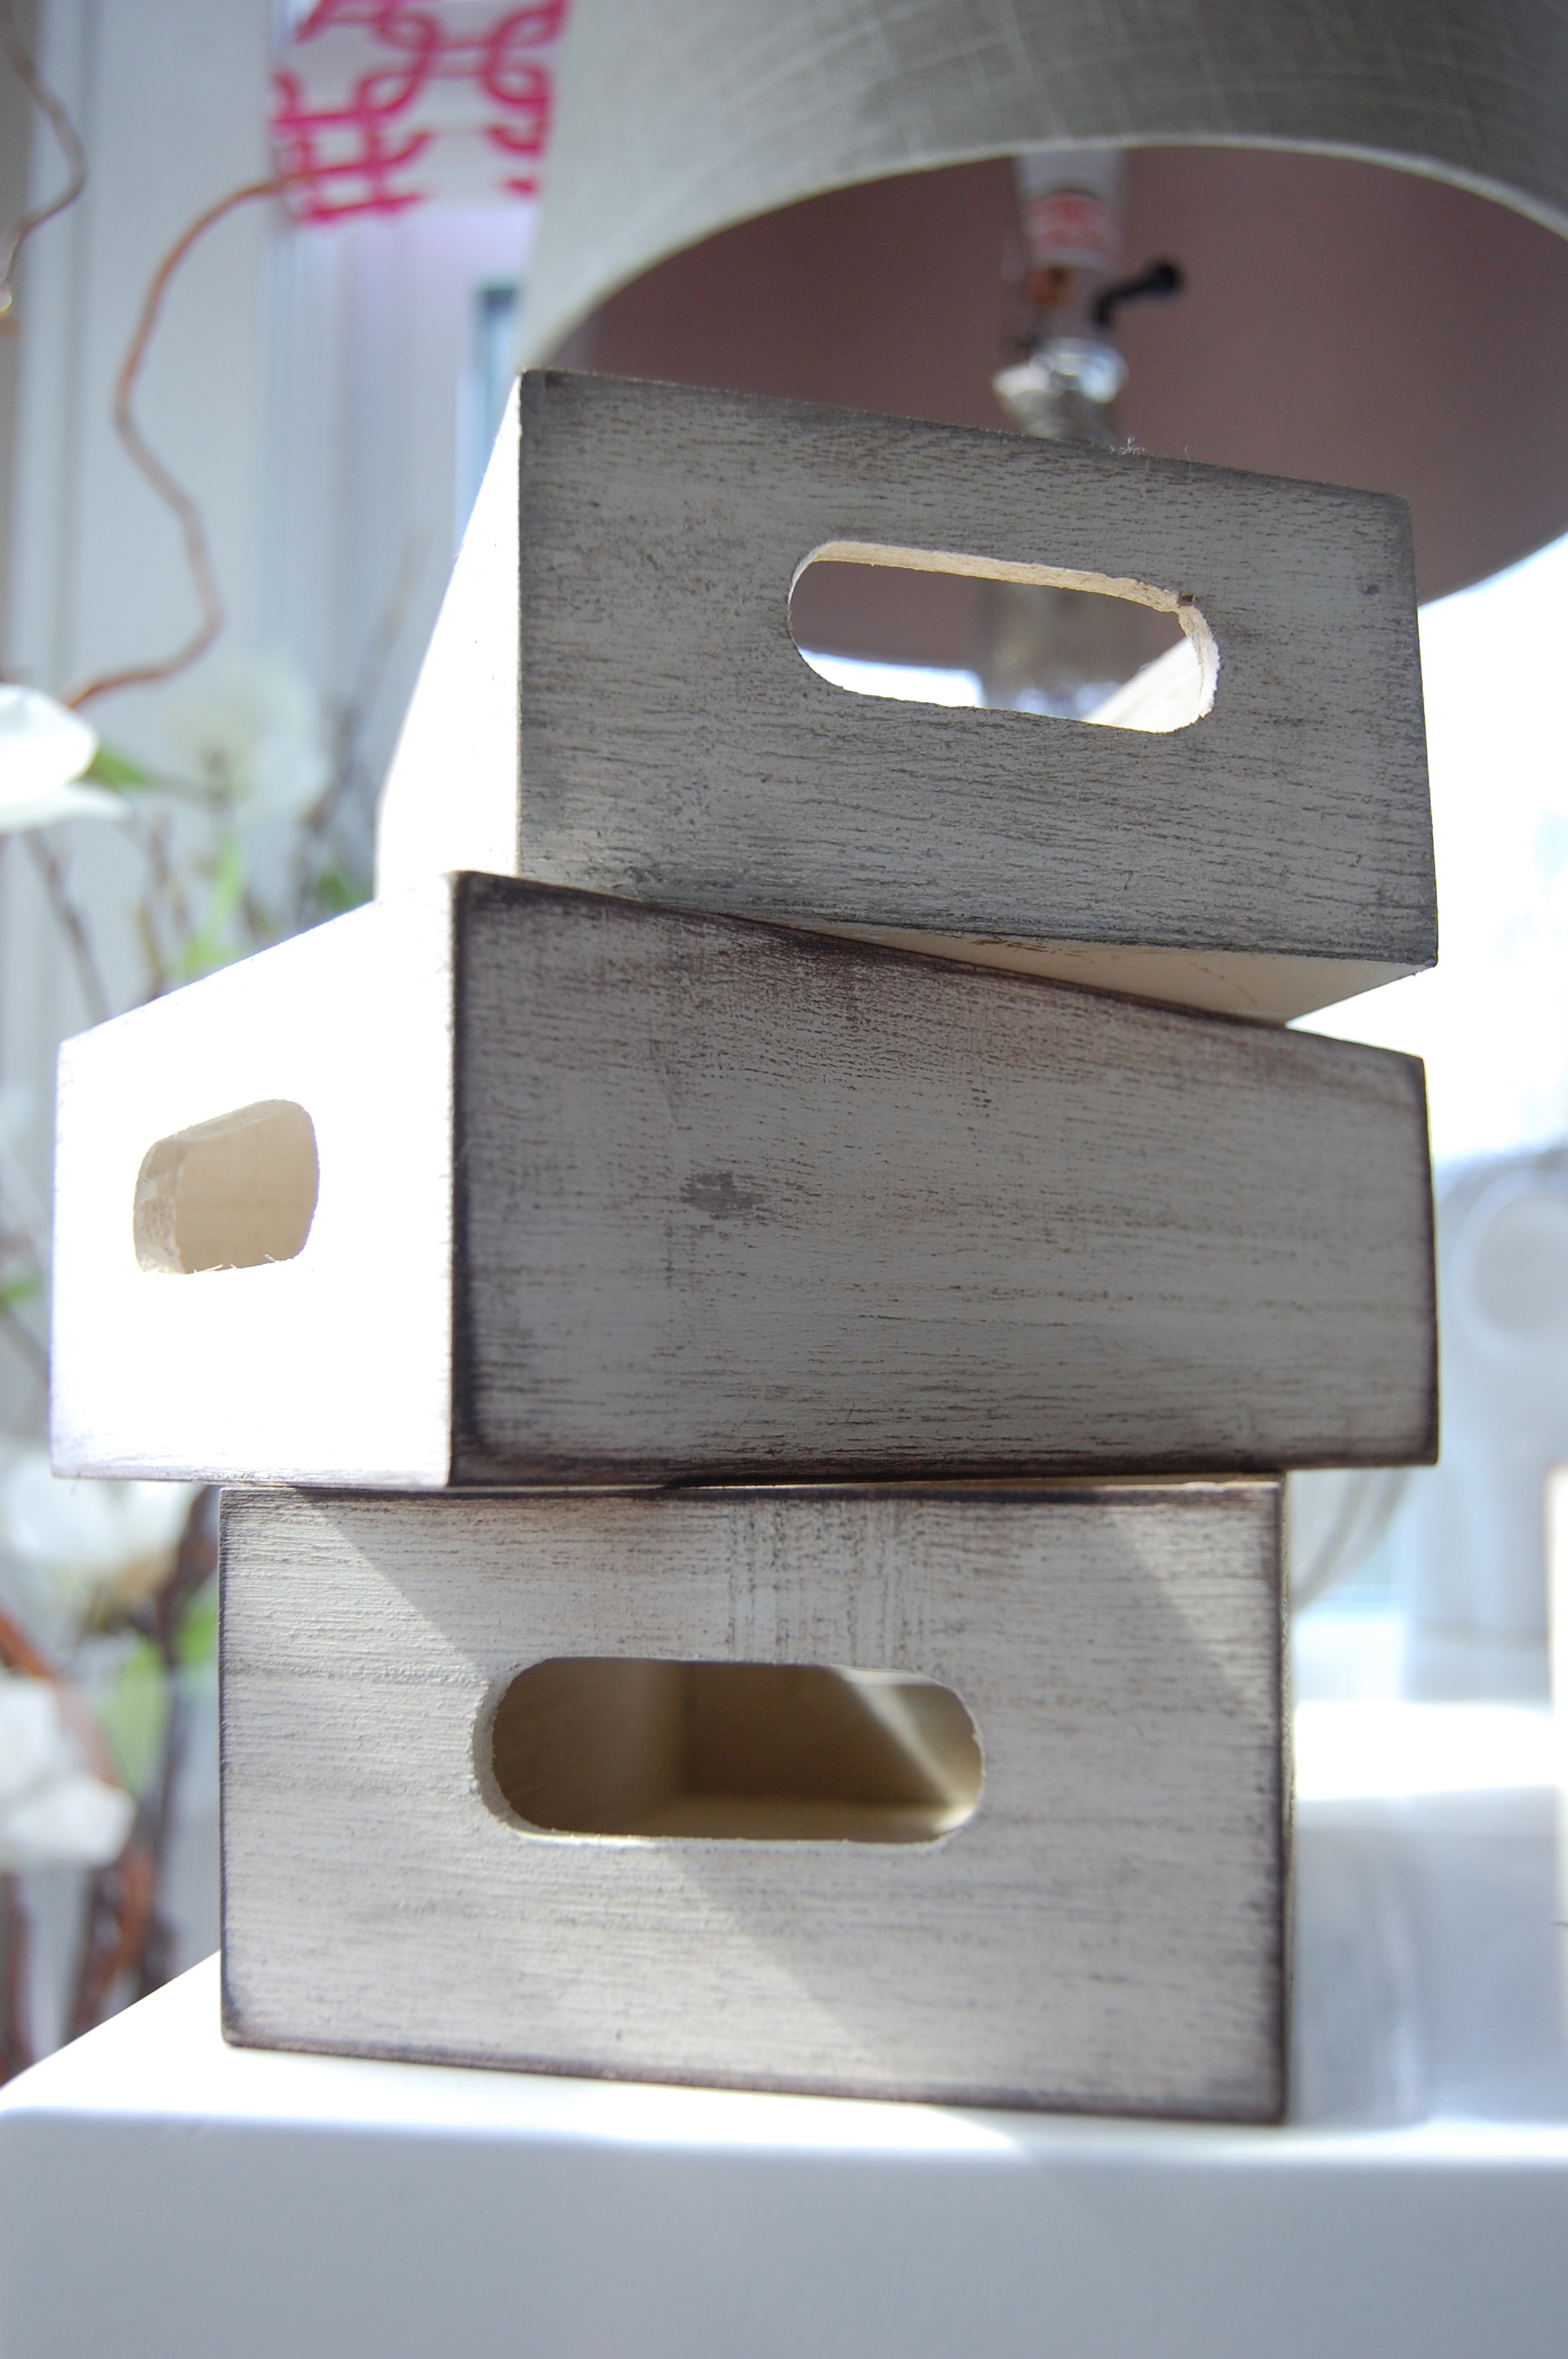
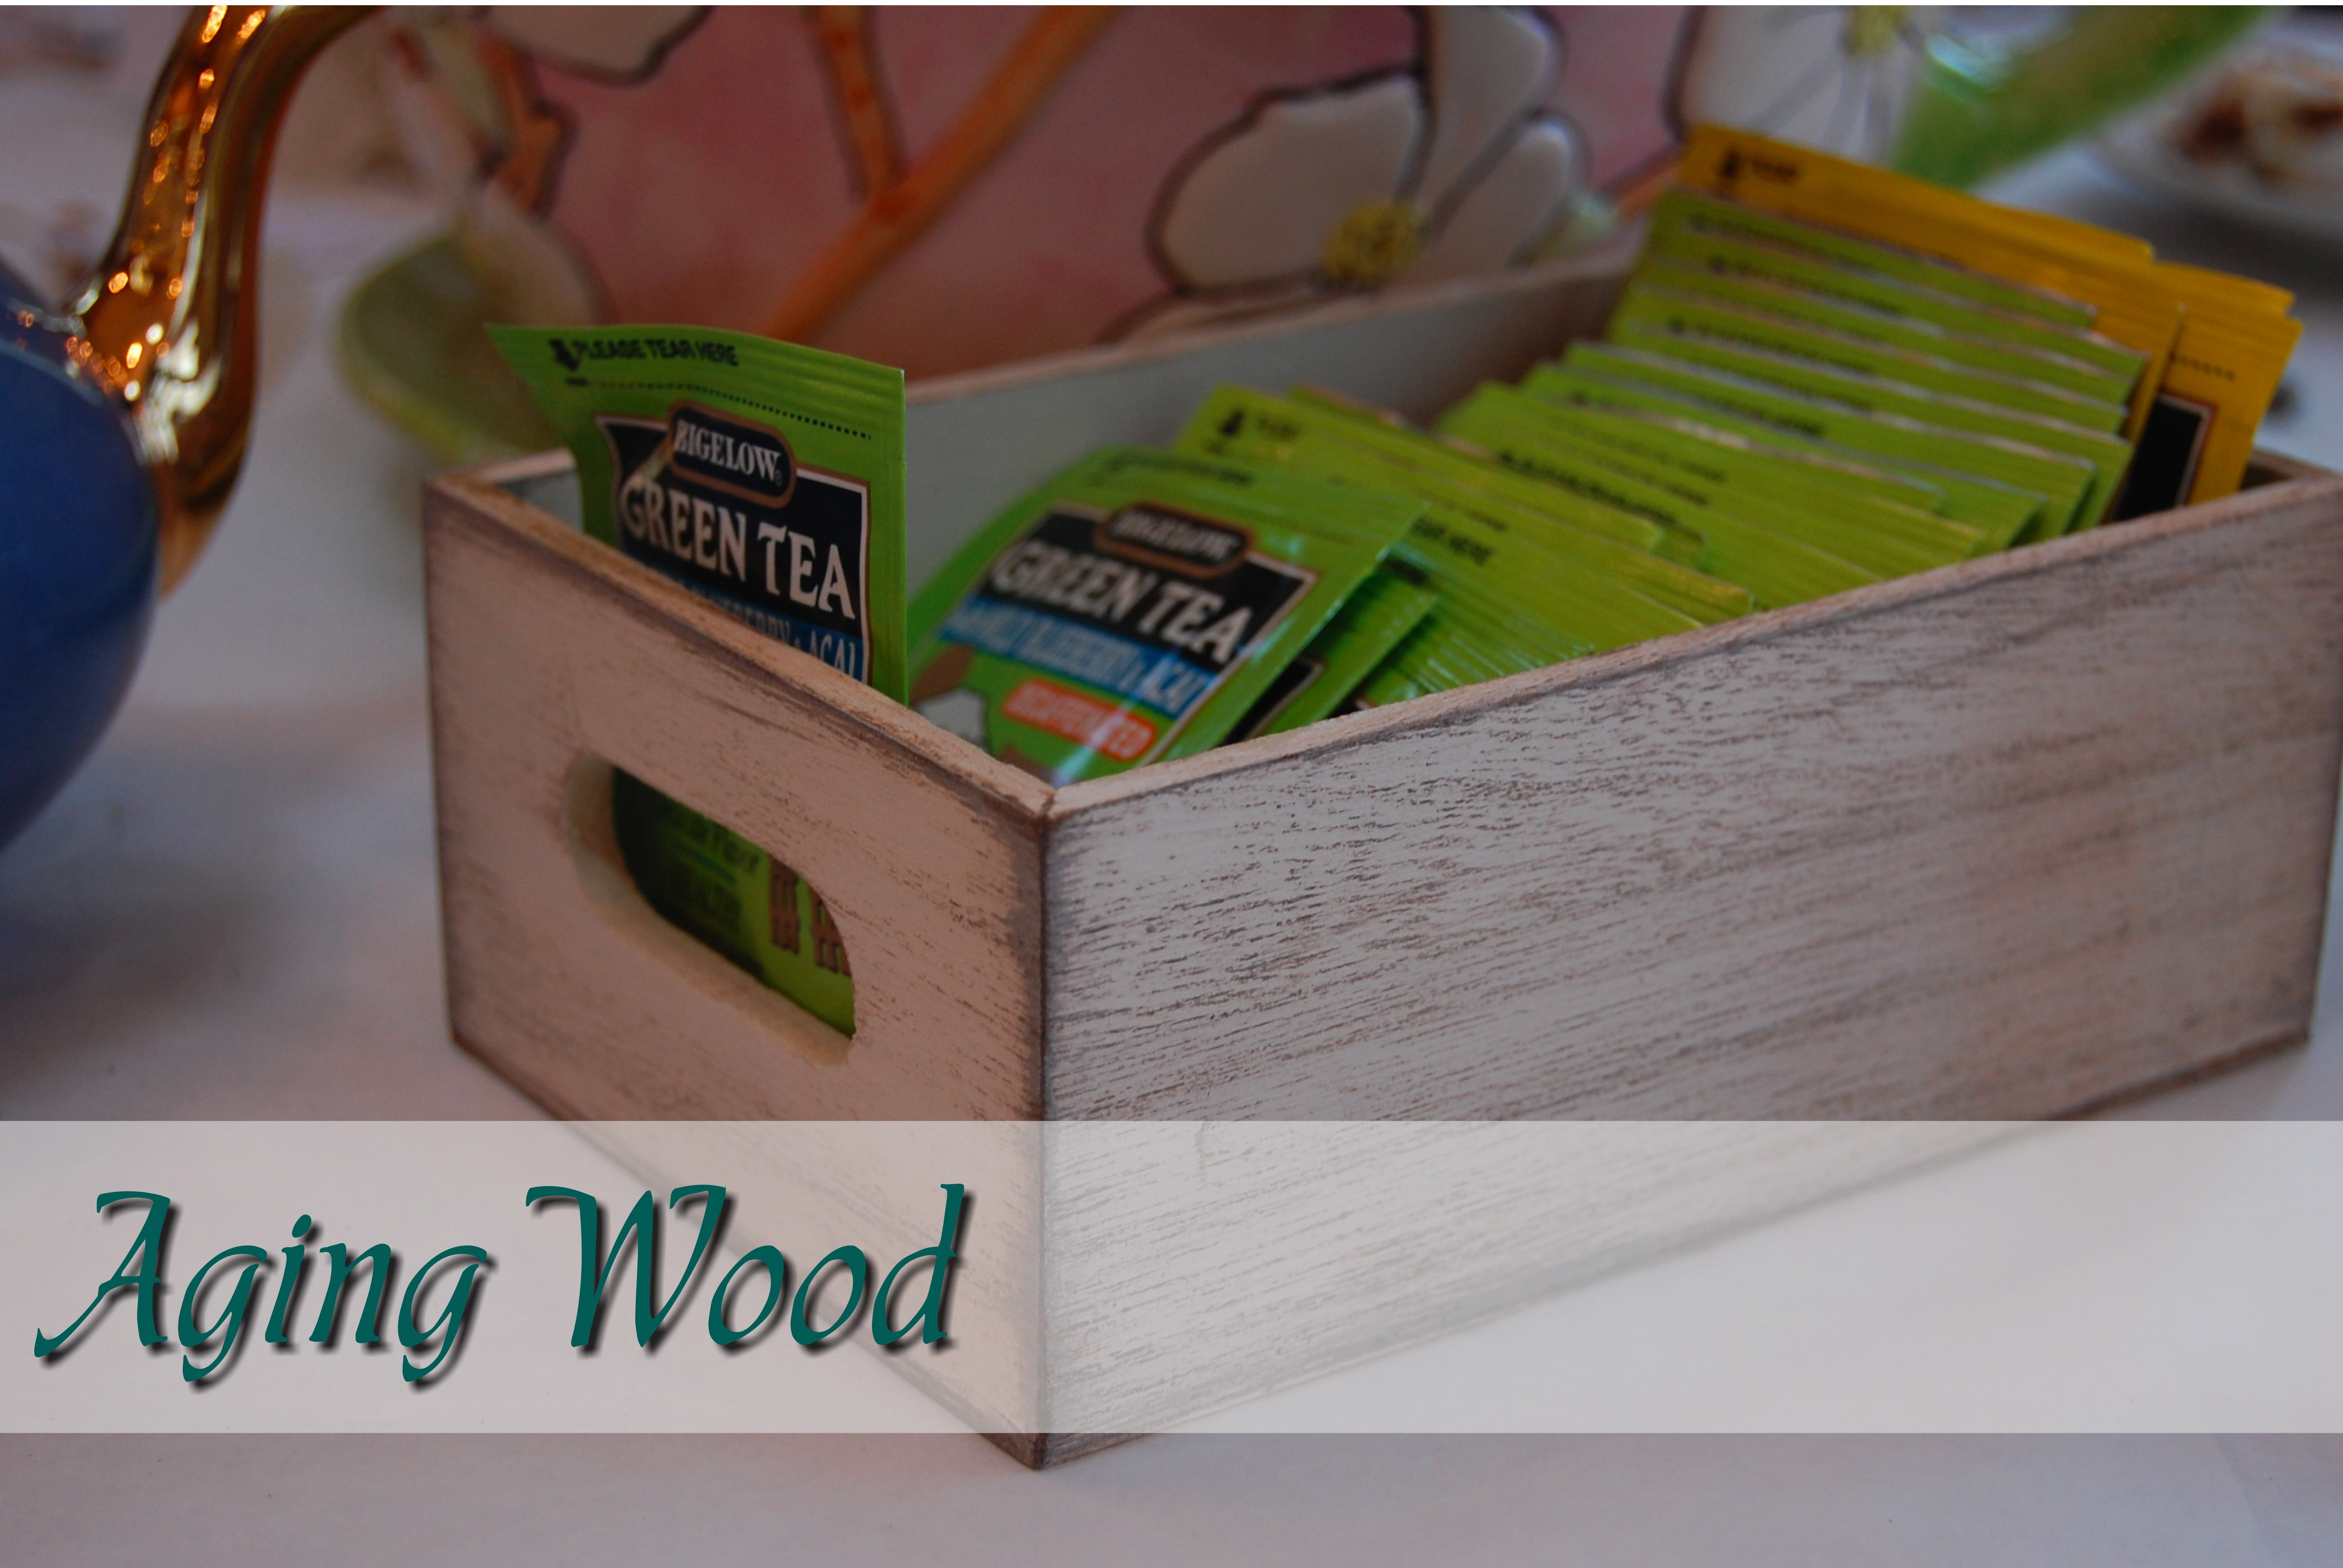
Ugh! Today is one of those days where I just have to start writing anything or else this post just won’t get written. I am having the hardest time starting which is pretty ironic considering that I do countless lessons on how to begin writing for my second graders! Maybe it’s because I am completely distracted by the new show The White Room on HGTV. Has anyone checked it out? It’s pretty awesome, plus David Bromstad is the mentor and who doesn’t love some gay eye candy! Hey look at that, I started writing. Ha!! So today I am going to show you how to make some plain old new wooden boxes look like they’ve been around forever. When I was at Michael’s, my cousin and I stole bought some wooden boxes. So maybe I should explain. Here are the said boxes…
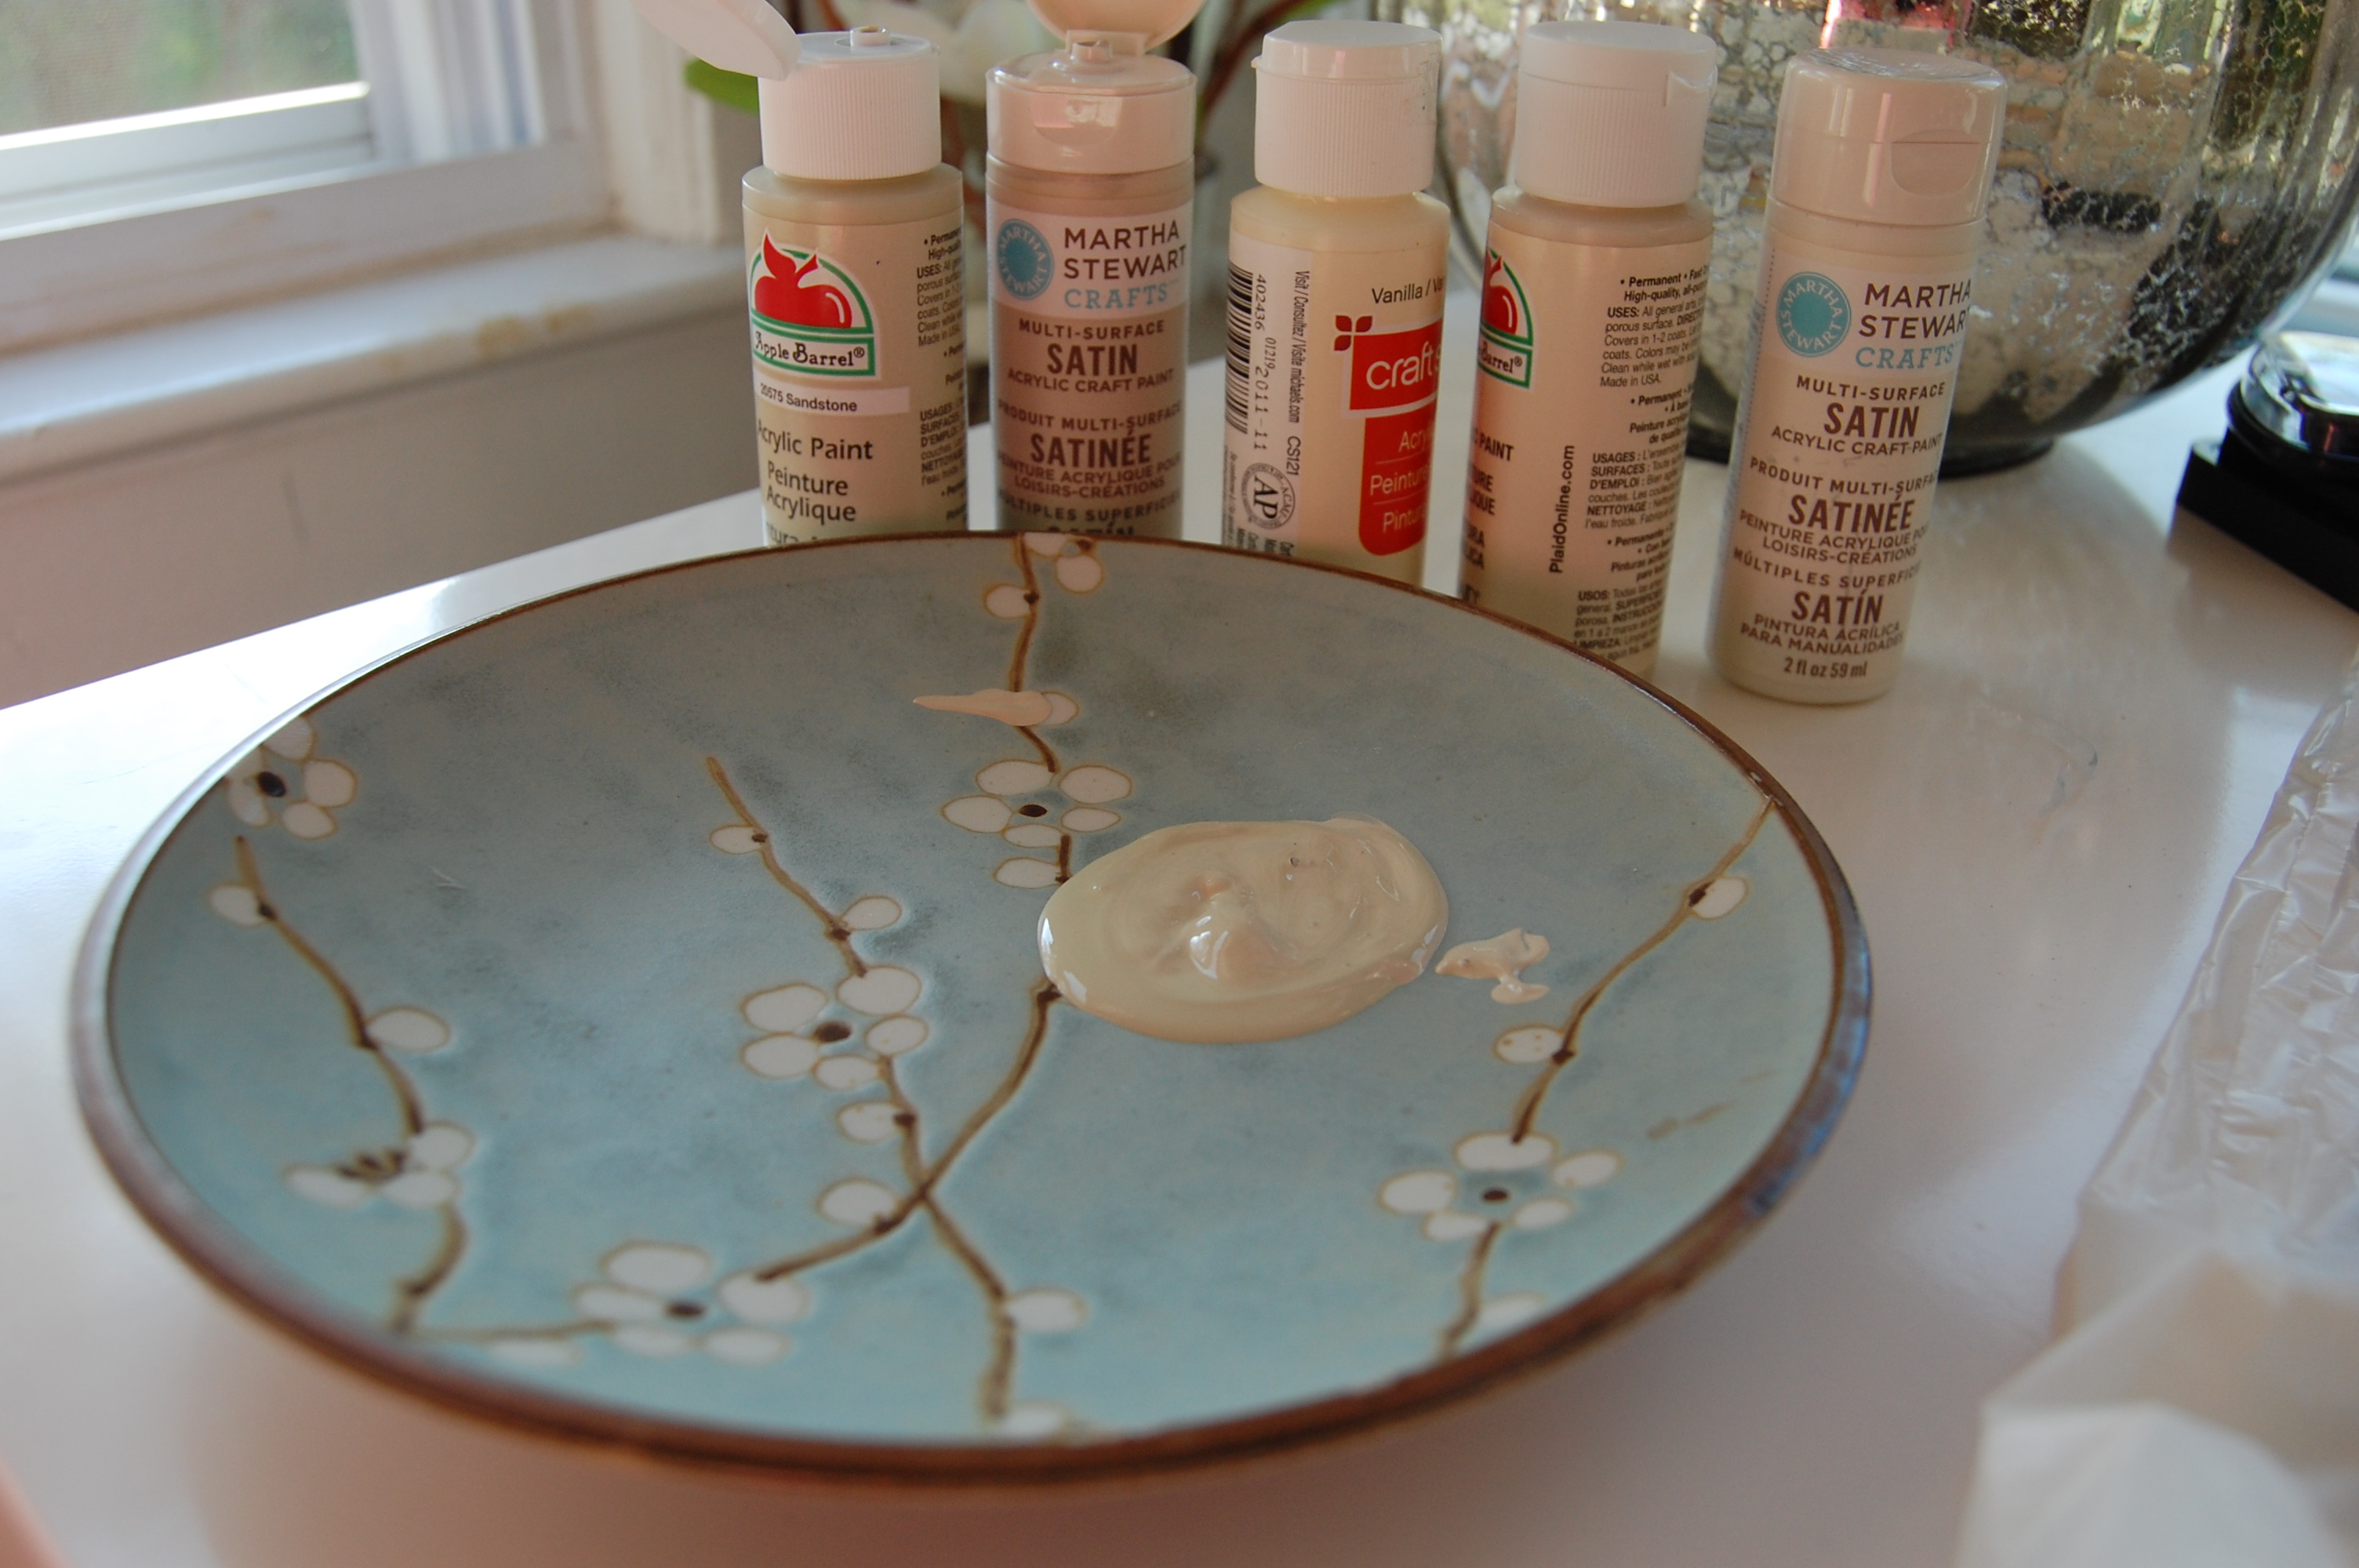
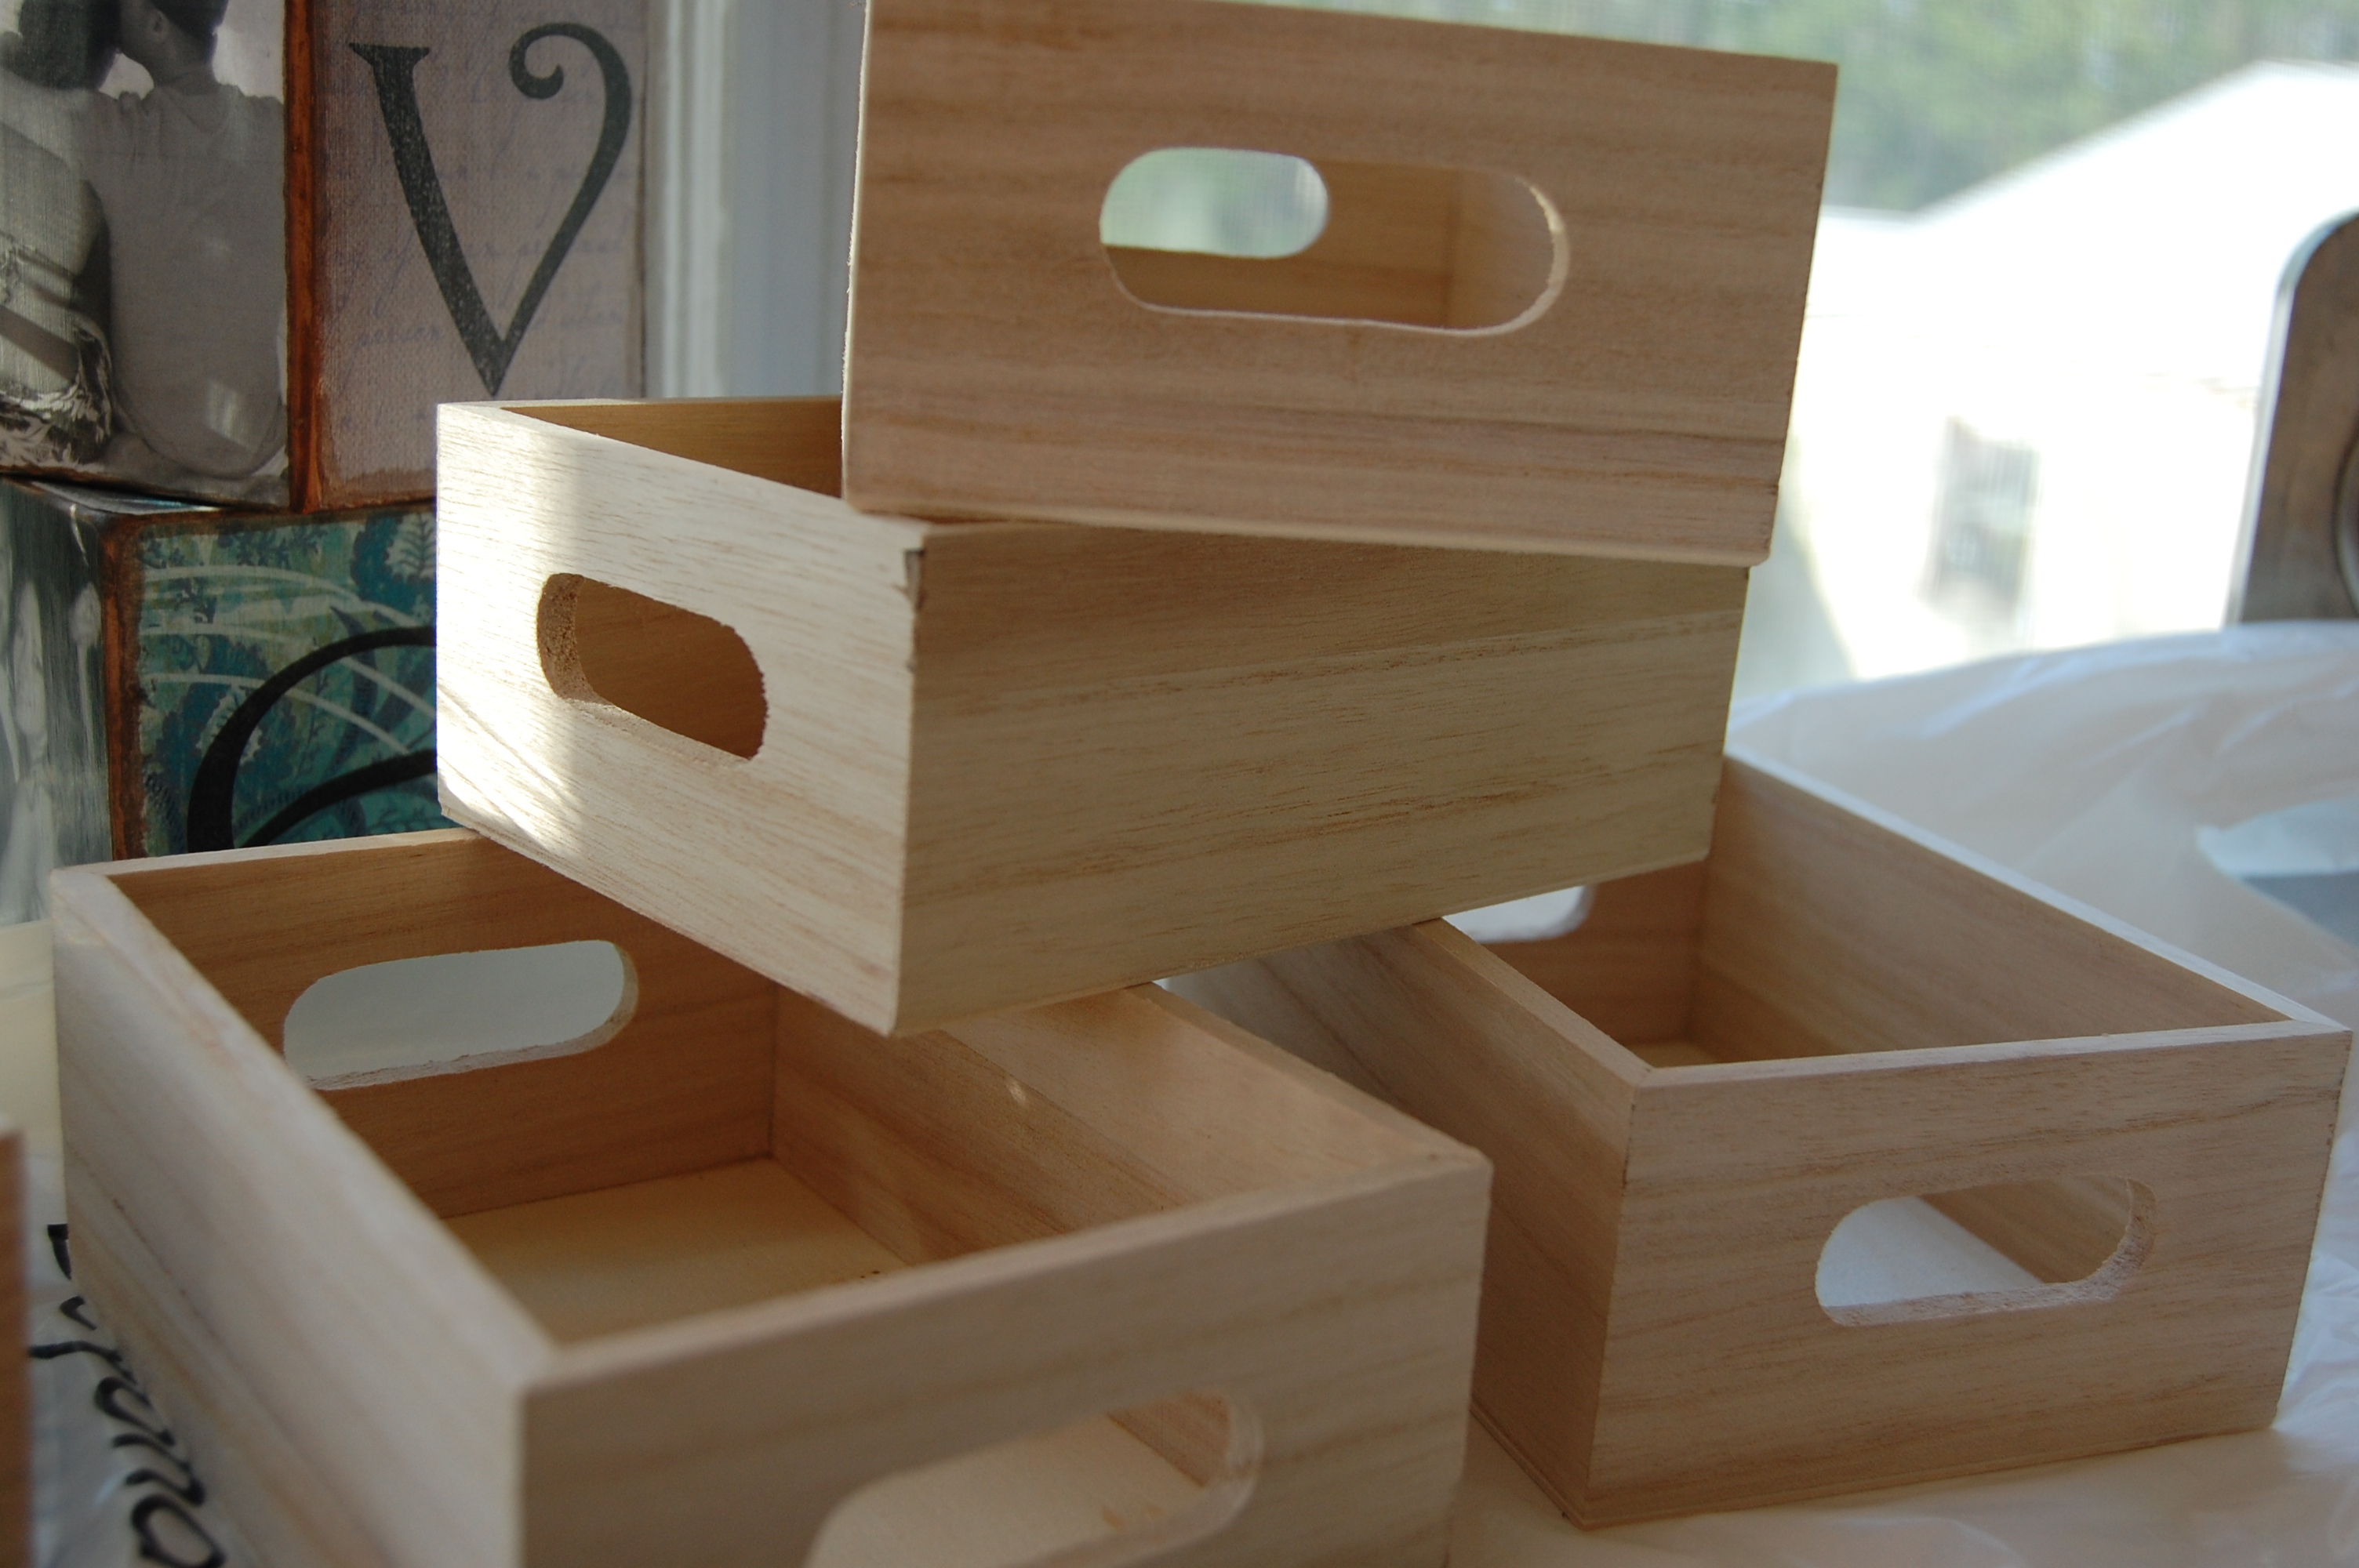 These guys were just hanging out in the wood area of the store next to some other containers that were a bit larger and then some that were larger than those. Let’s just say for arguments sake that maybe, just maybe the small medium and large containers were meant to be a package deal. Well we didn’t exactly need the other sizes and they weren’t exactly “together” so we just took what we needed. When we got to the checkout counter for some crazy reason there was no bar code to scan! Since the woman didn’t know what to charge we just threw out the number $1 and well $6 later we had us some raw wood boxes! Along with the boxes I bought some acrylic paint in a few different shades of white/ivory and an ink pad in brown. I just mixed some colors and got to painting. I didn’t sand the boxes at all because I wanted all the rough grain to help the “aging” process later on.
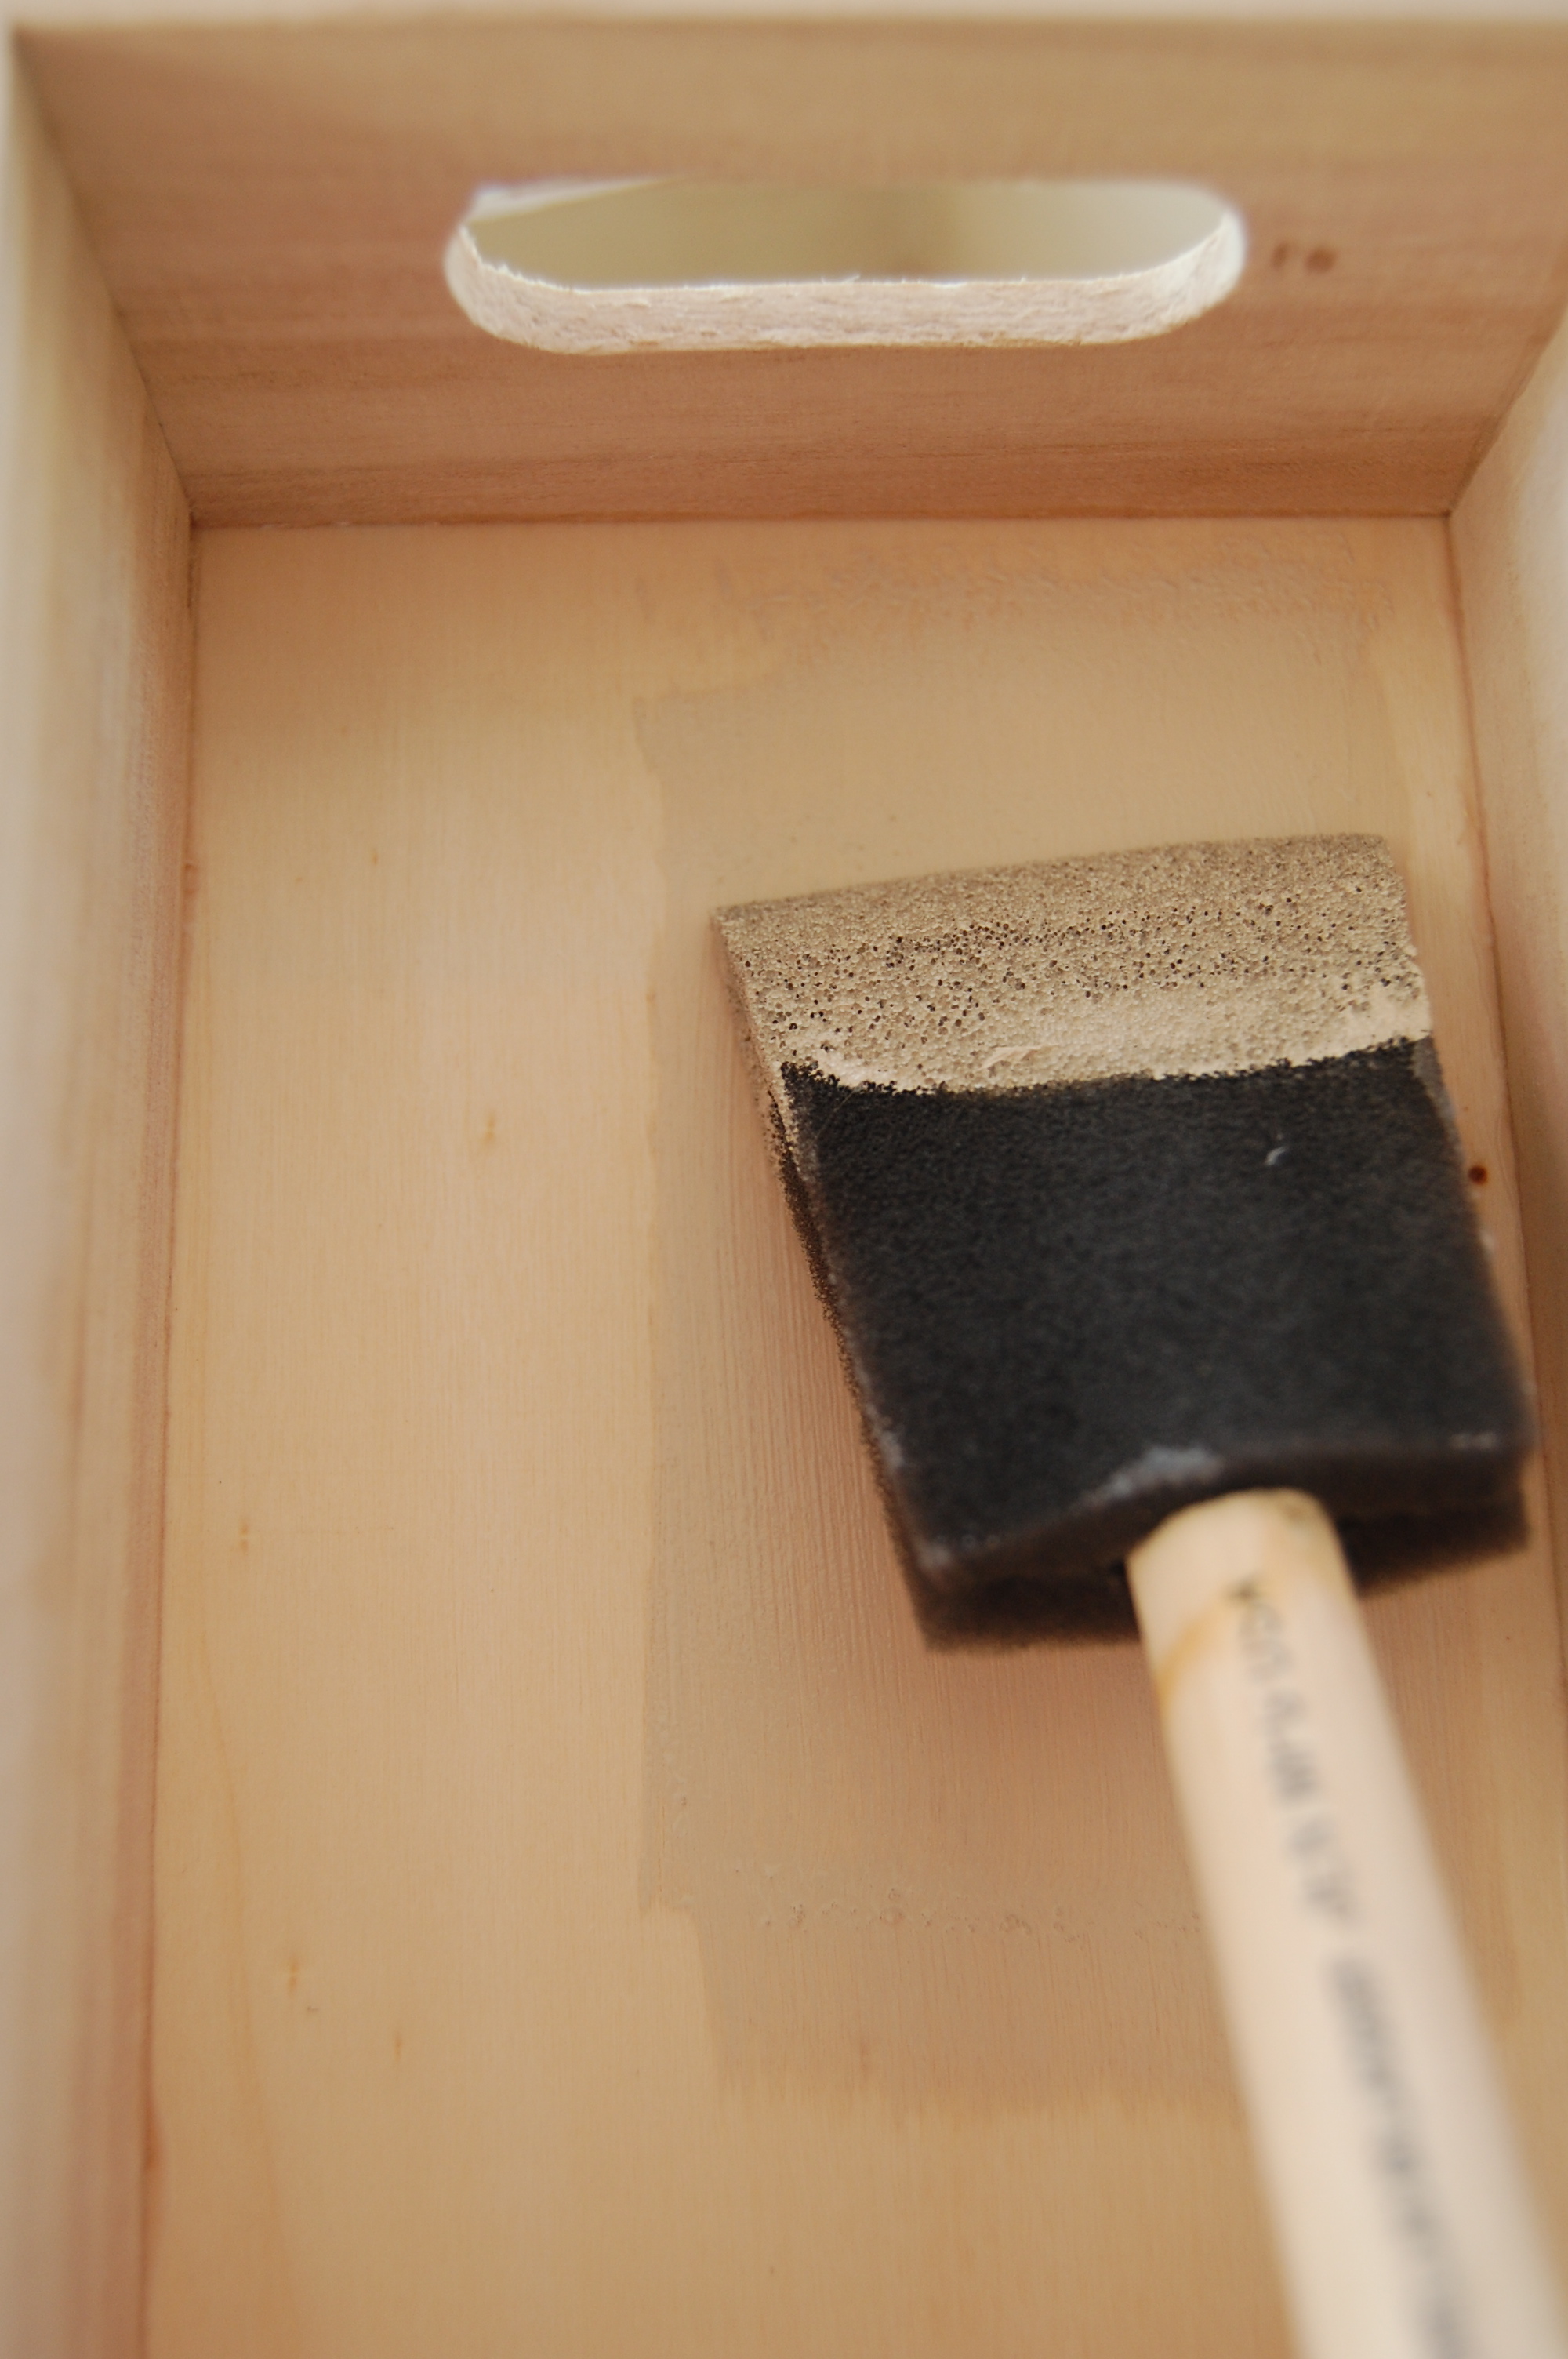
I began painting the inside of each box and let them dry. By the time I finished painting the last box, the first one was finished.
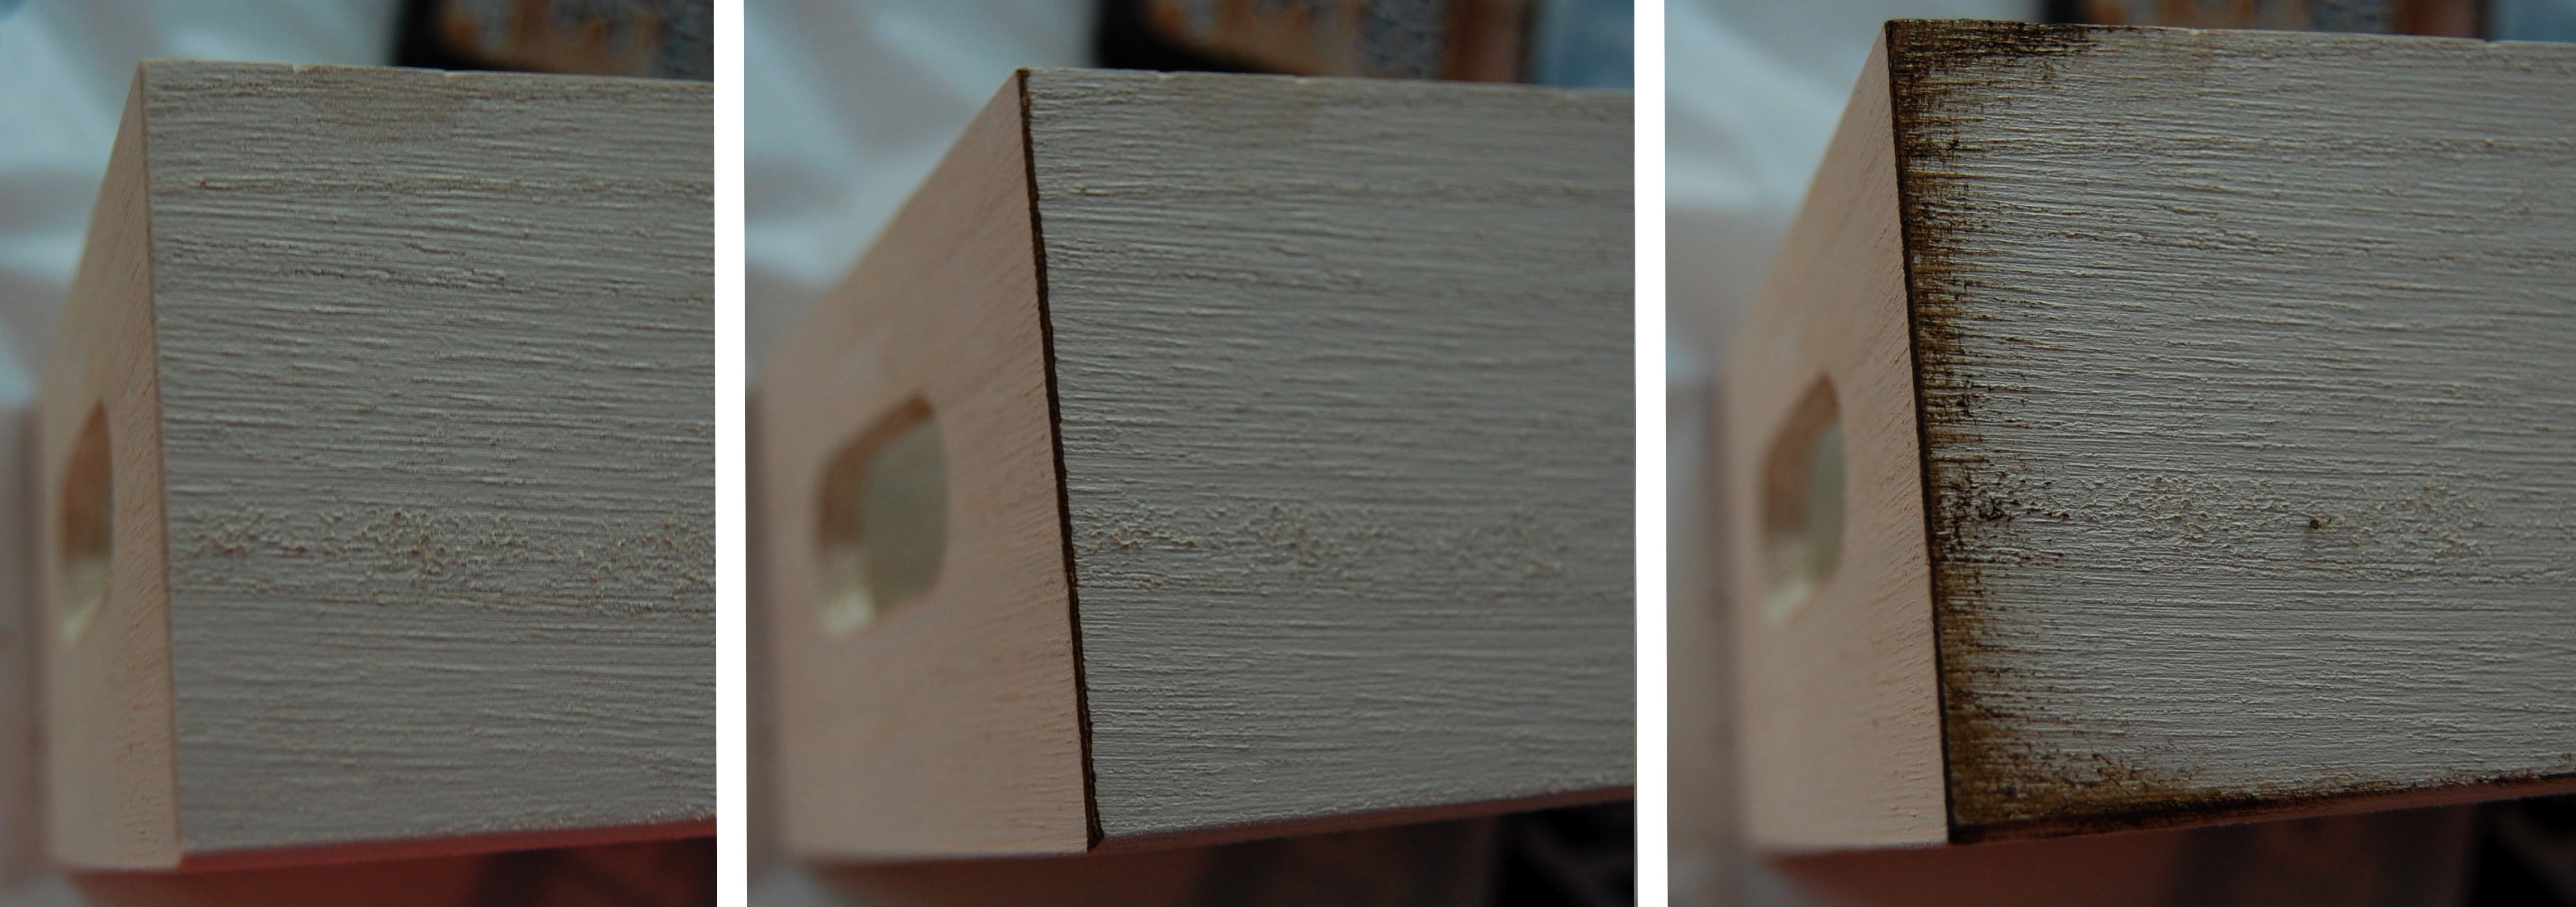
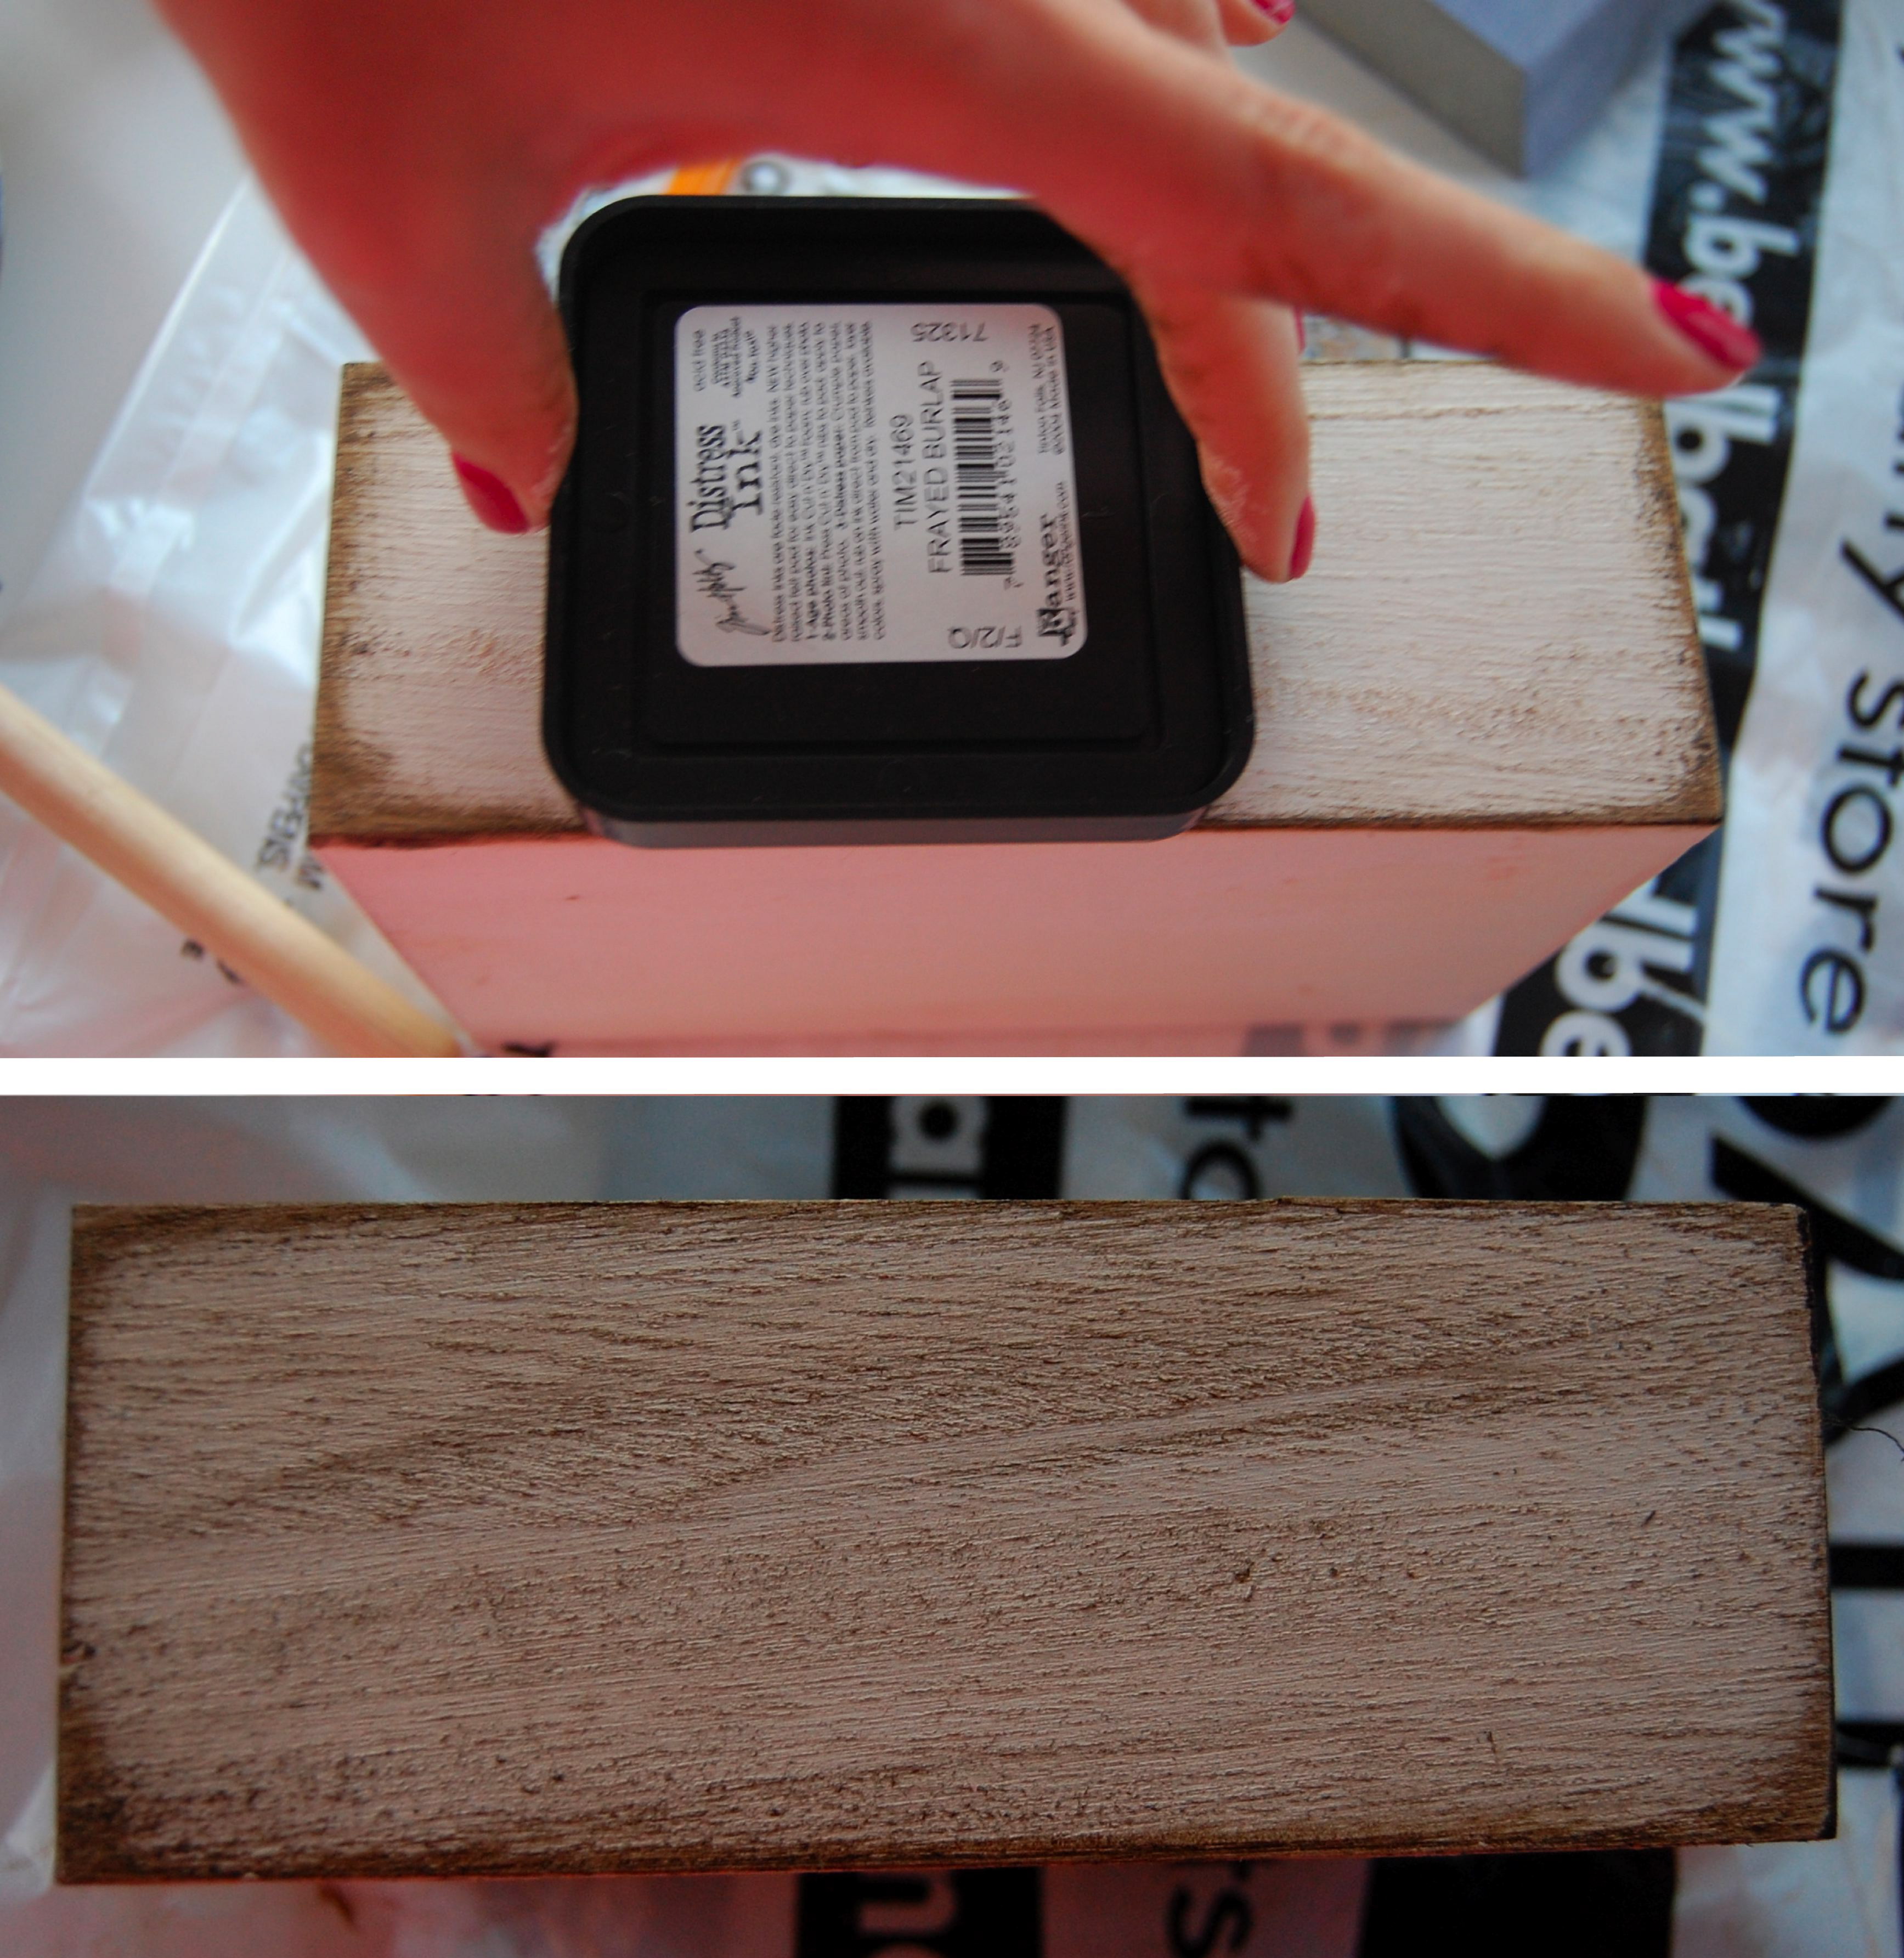
Once the boxes were all painted and dry I started distressing with the stamp pad. I just rubbed it along all of the edges around the entire box and pressed it against the face on all the corners.
After that I simply ran the pad lightly all across the sides. Since the wood was so rough it naturally became darker in some spots.
Just treat all sides this way and your finish will turn out great. The best part is that you really can’t go wrong with the stamp pad!
