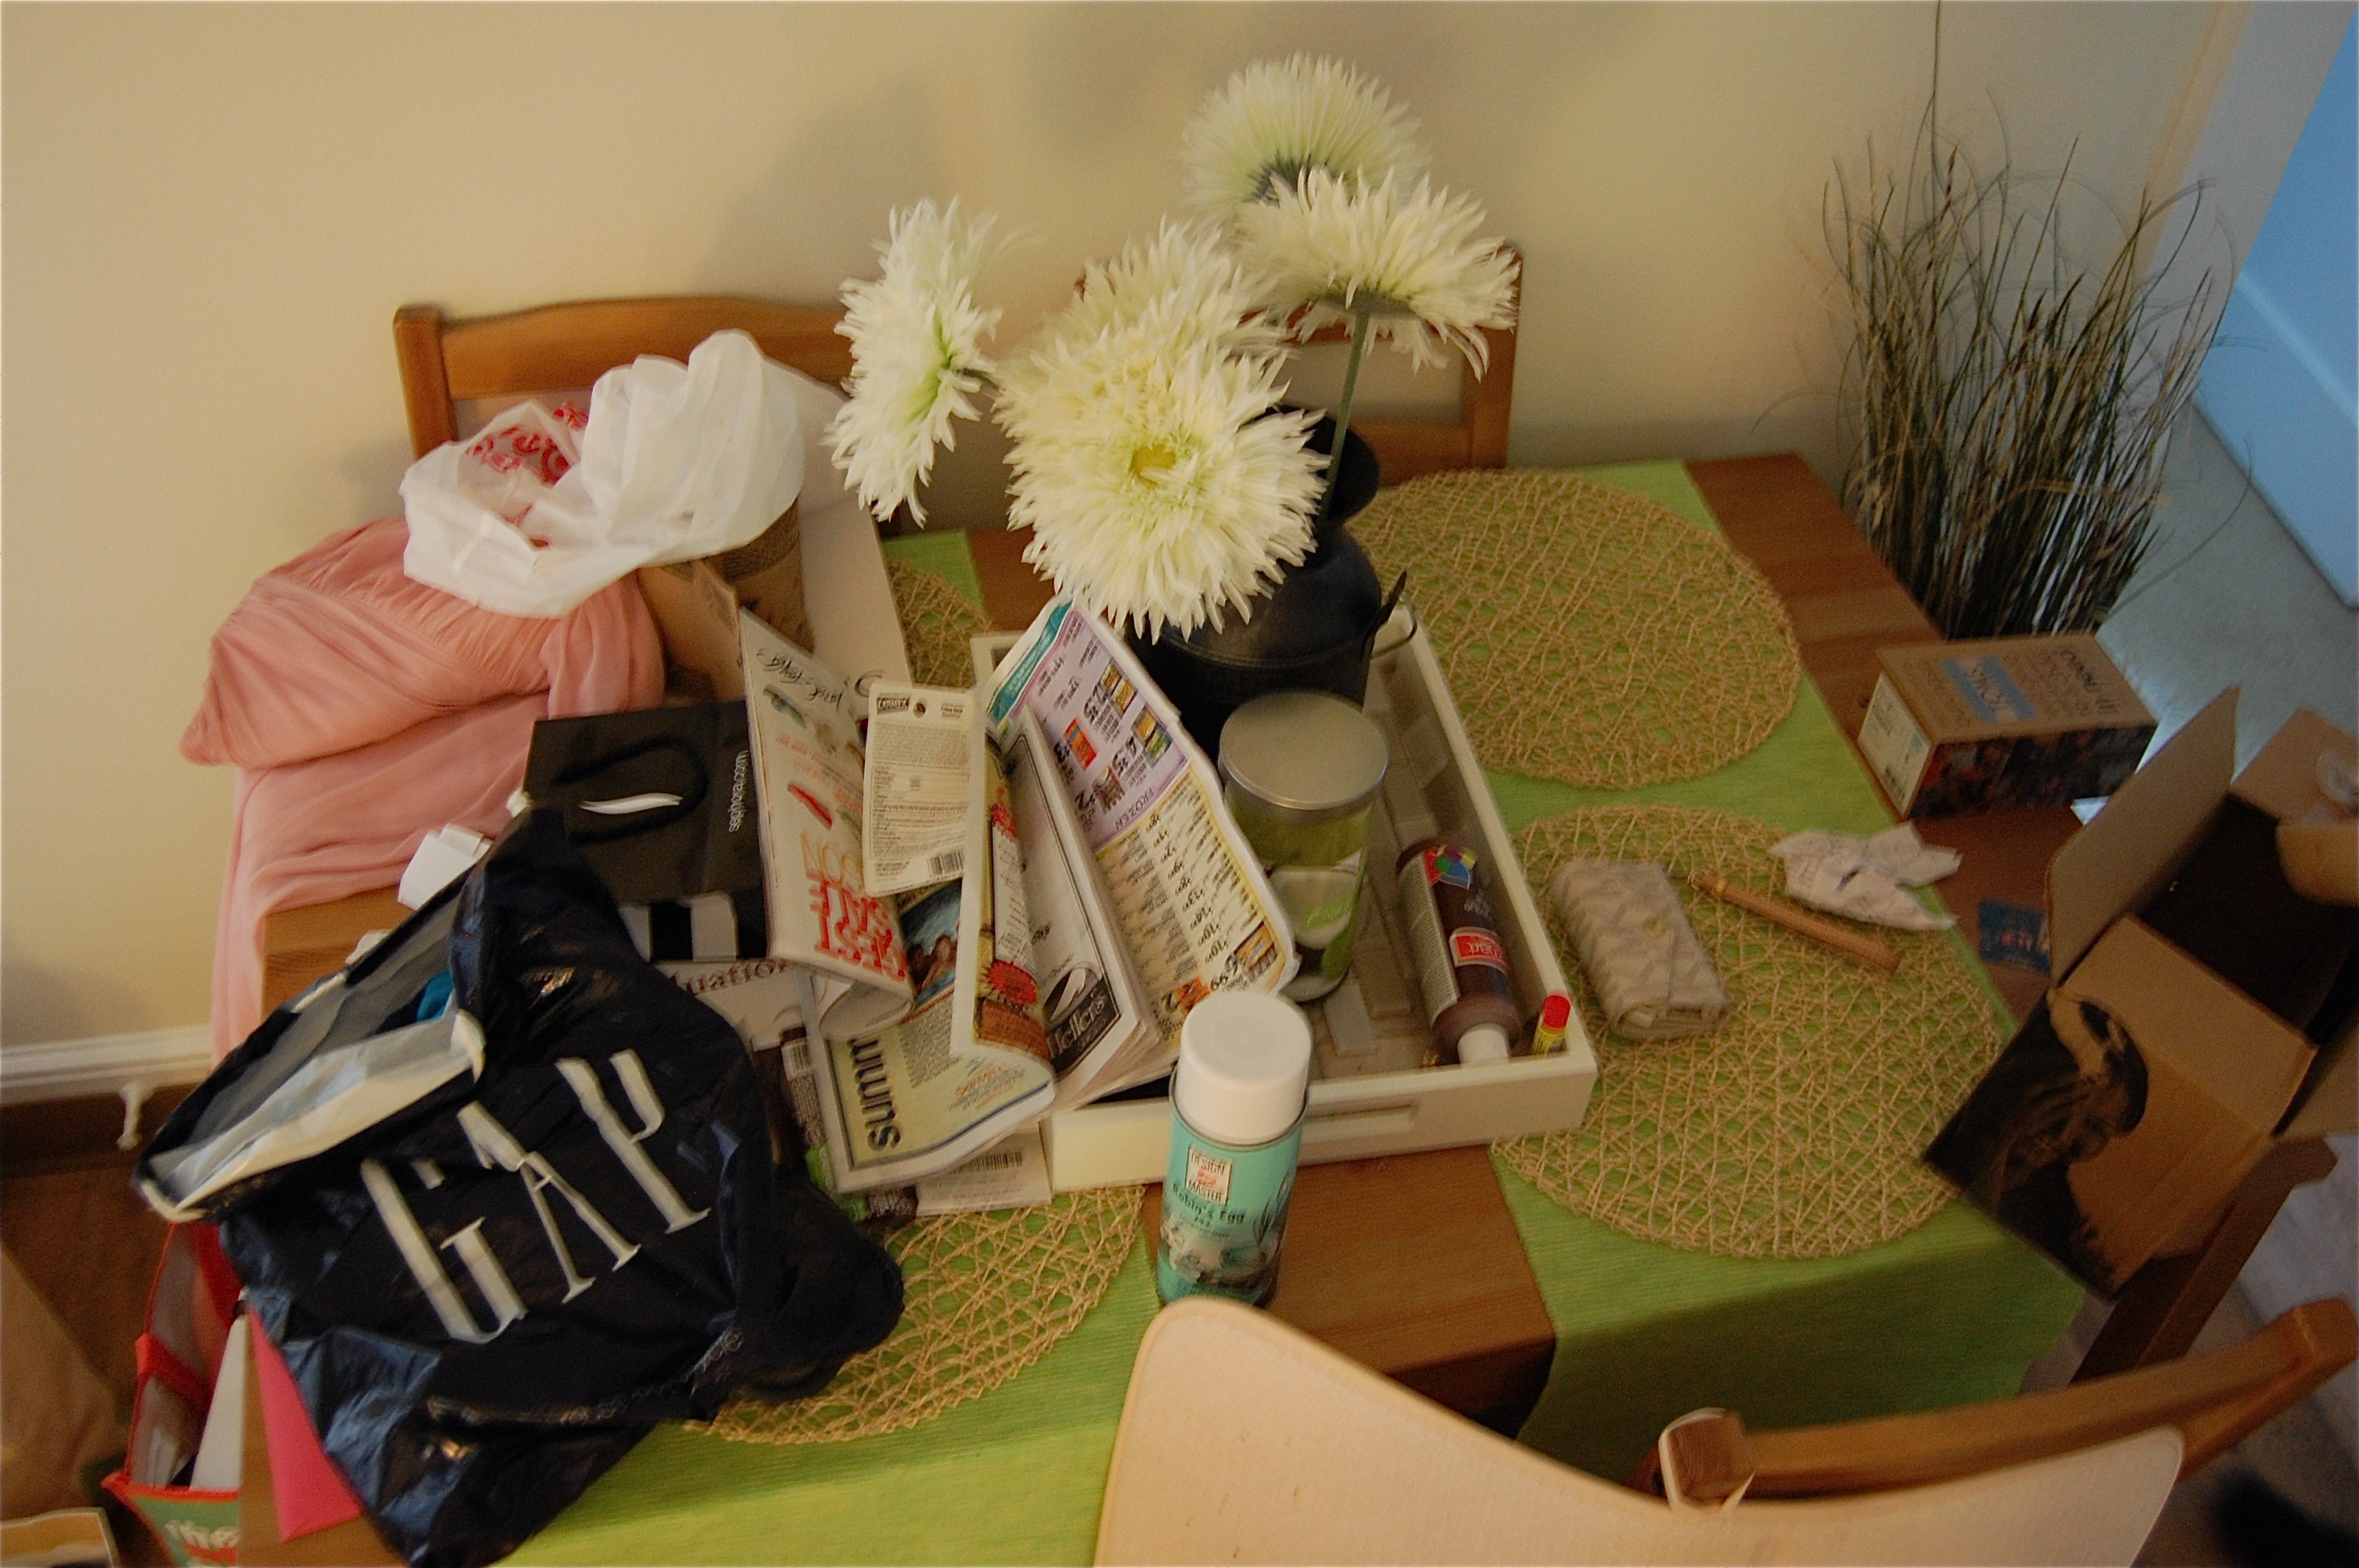
So I’ve got this problem. I have a kitchen table I never use. Honestly, I’ve maybe sat at it 3 times and that was only because other people sat at it so I just followed suit. Here’s what it looks like:
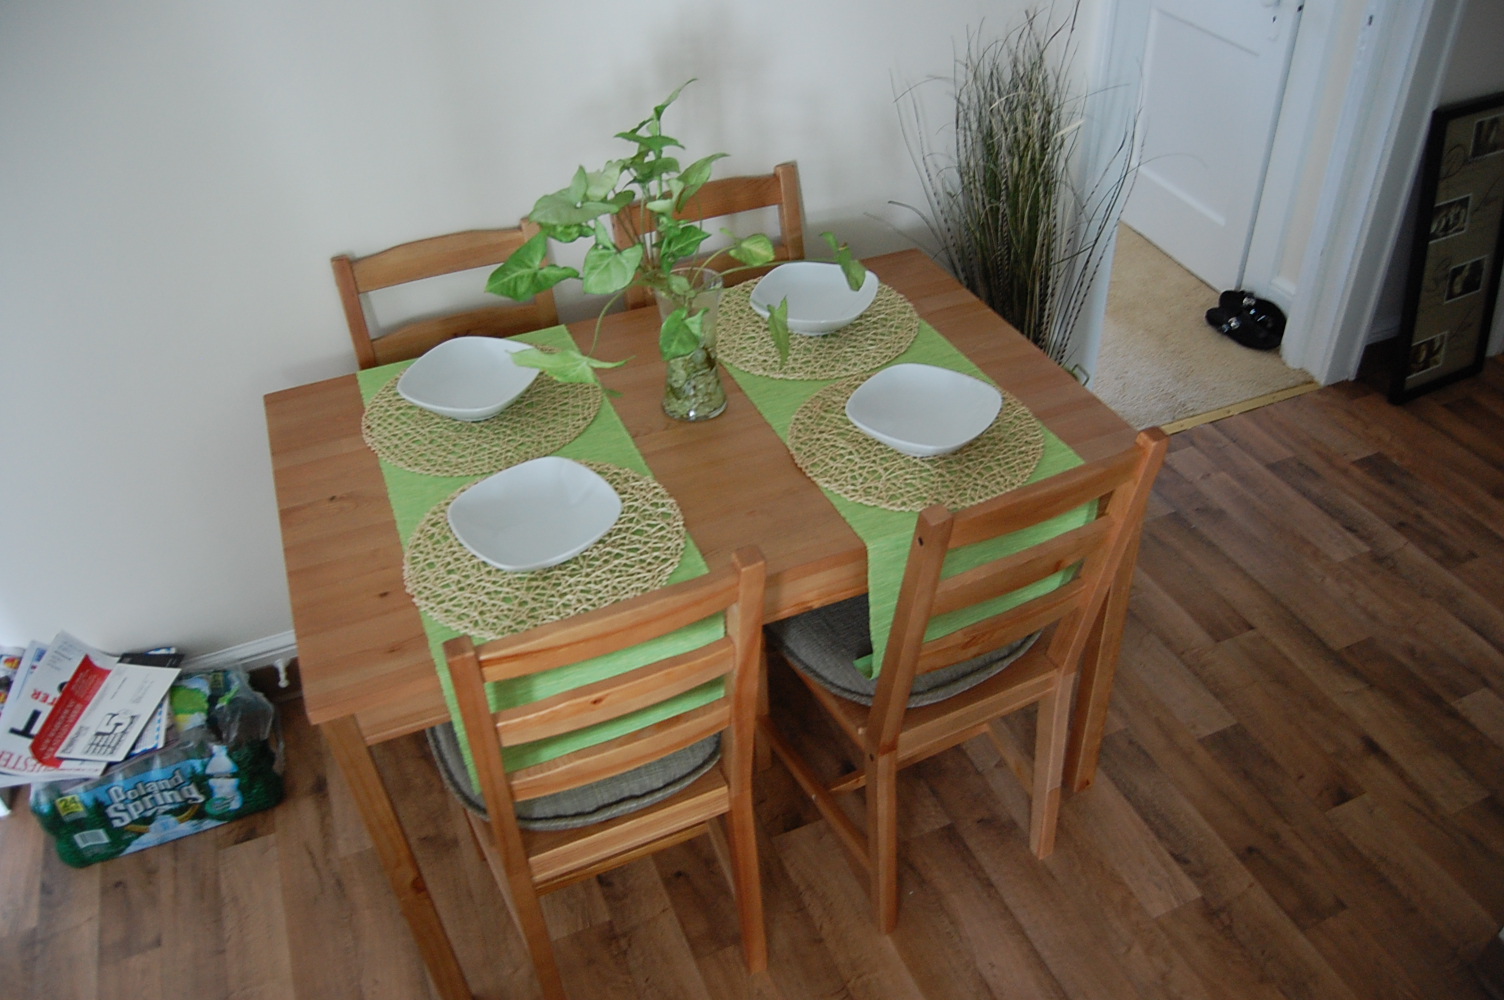 Ok, so let’s be real, this is what it actually looks like:
I should be utterly embarrassed by this but the truth is, it happens. Kitchen tables can easily turn into the place where all crap lives. It’s especially easy for me because my table is located right off my entrance. I can guarantee you that everything on that table has a home but pure laziness and table convenience has brought me to this stage. Well, no more! I decided it was time to craigslist the table and put something else in it’s place. Something pretty! Something slim that couldn’t hold any of the crap that you currently see. The problem was finding that something. I hit up thrift shops and craigslist looking for some type of sideboard/buffet and even tried looking into buying a new piece but I wasn’t having much luck. I did find a few pieces that were attractive but the prices weren‘t. After taking a break from it all the coolest thing happened. I found it! Not online, not in a store but right in the garage! There are two garages where I live and I happened to peek into one and there was this beautiful piece of furniture that was exactly what I was looking for! After asking around to make sure it didn’t belong to anyone and dusting off the cob webs I claimed her as my own!
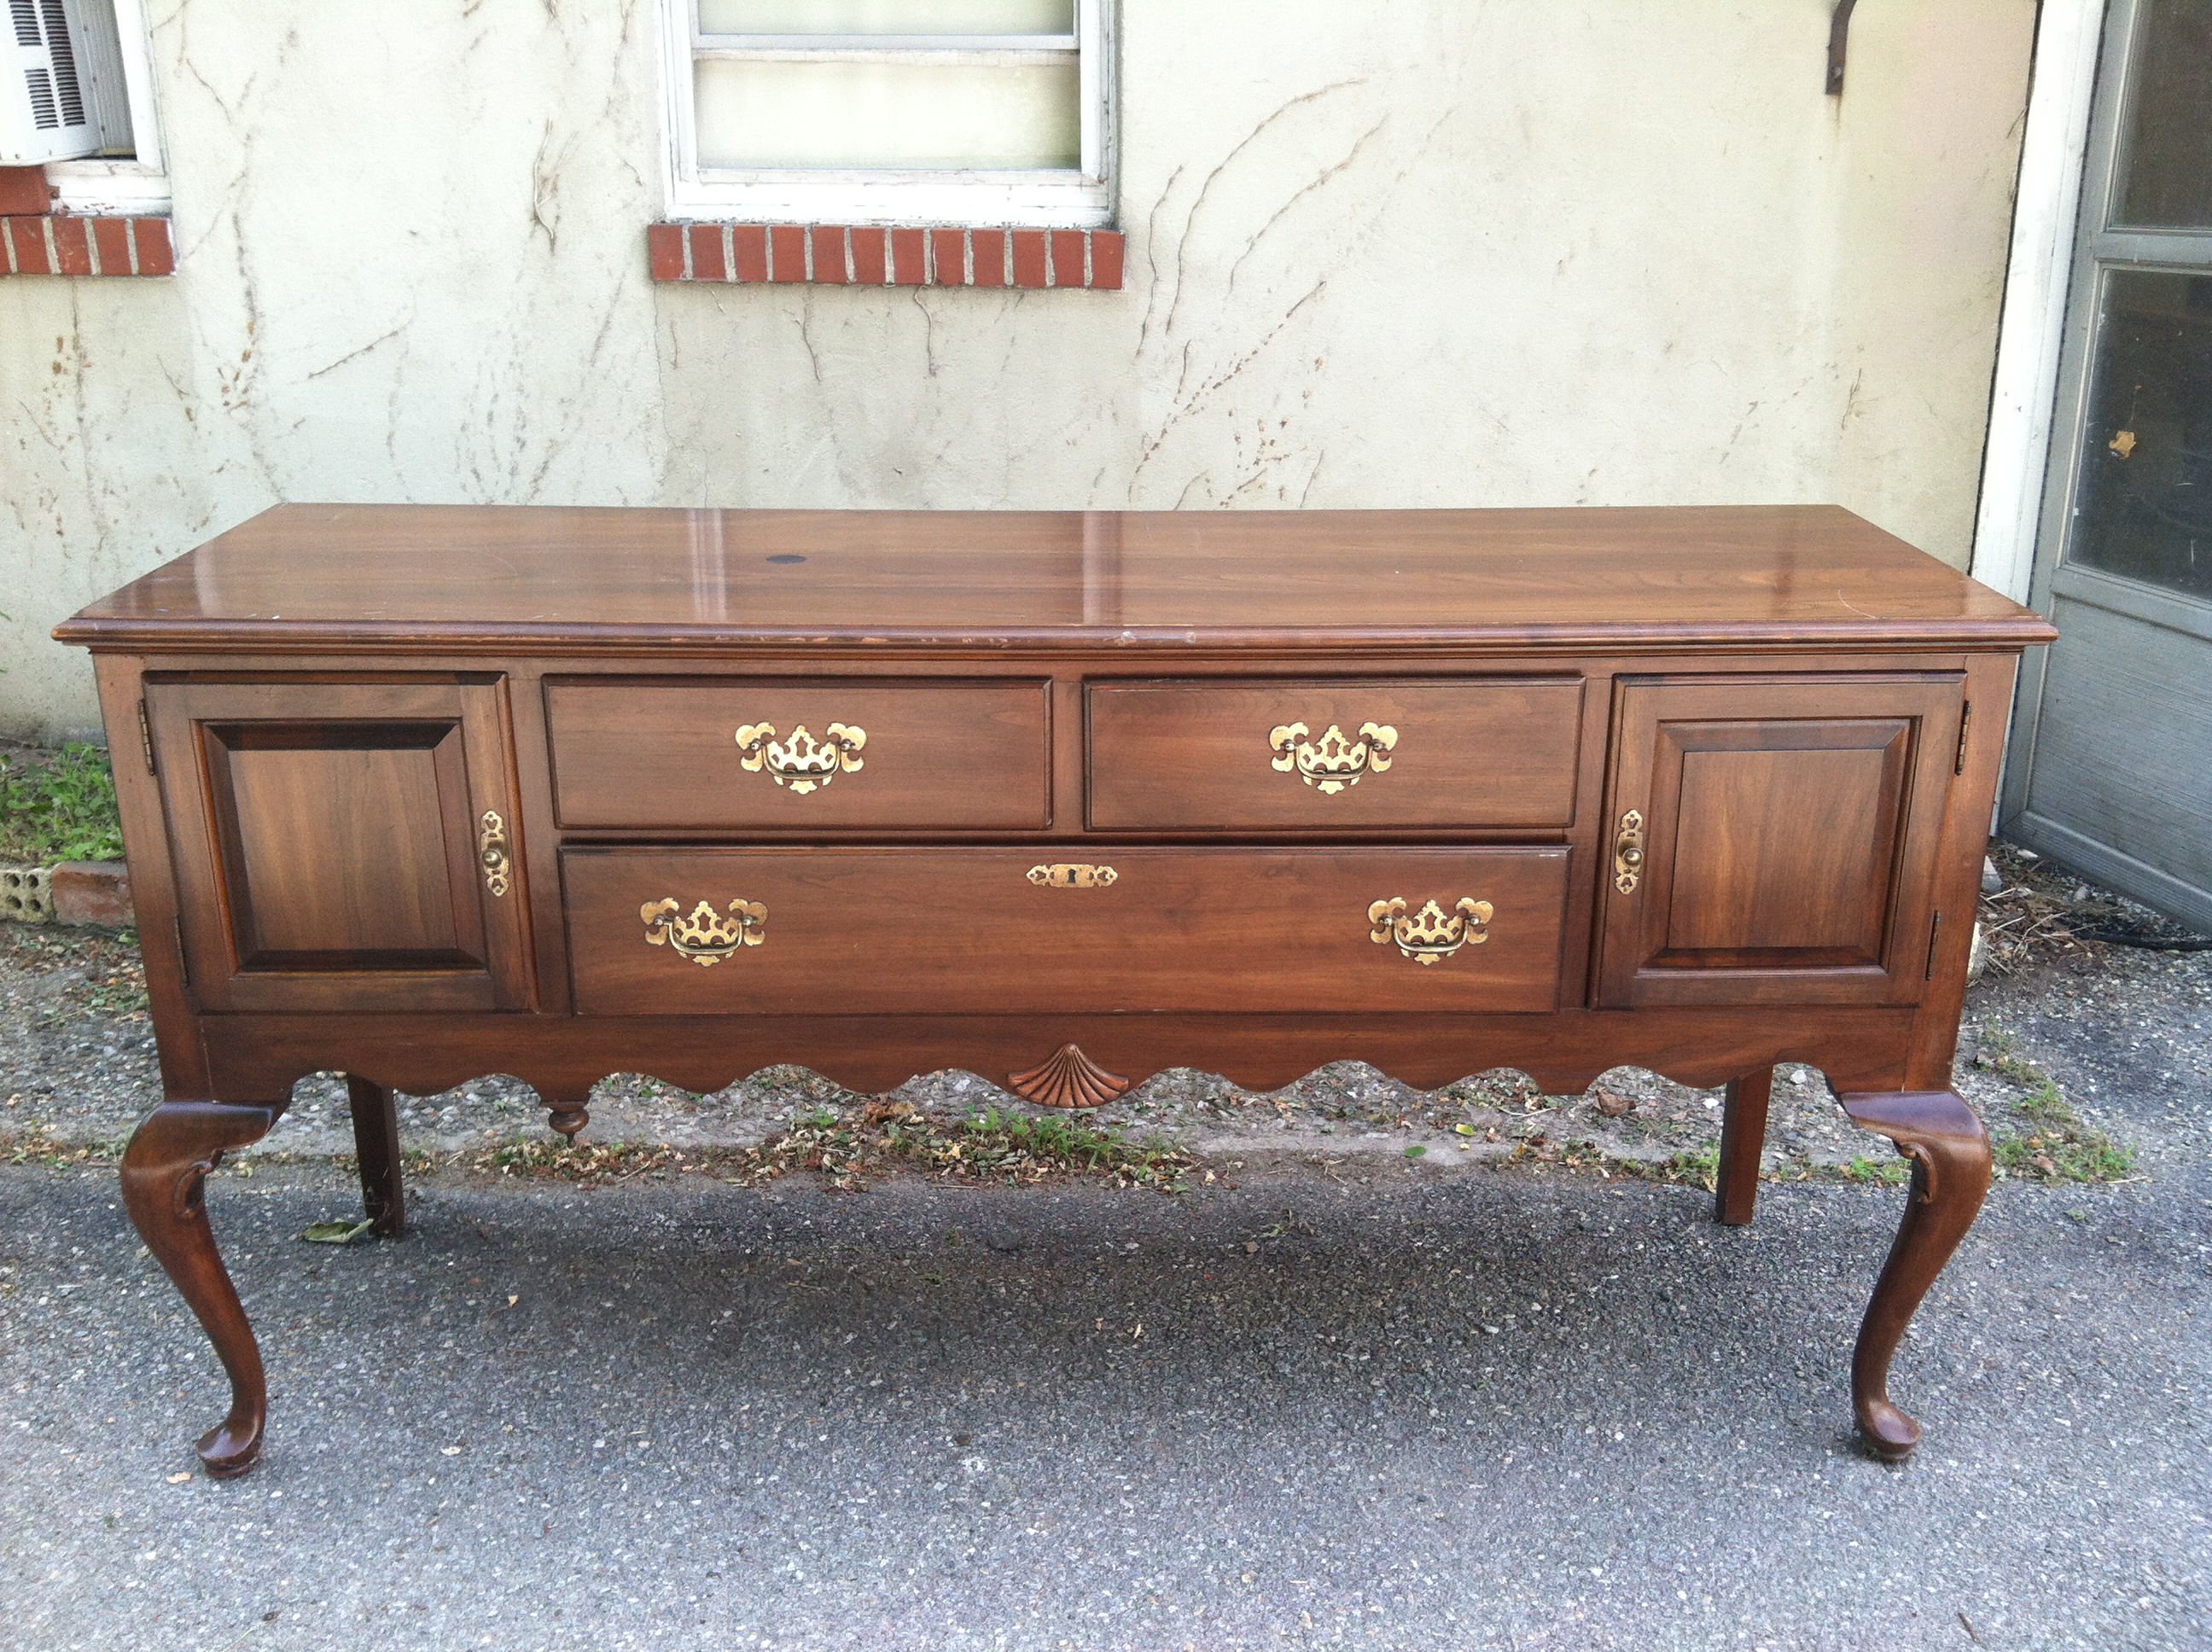 Some people may cringe at the thought of taking a beautiful solid wood piece of furniture and painting it and I completely sympathize with that but this baby was getting the full treatment! Sanding, priming and a beautiful high gloss paint! The color: Kelly Green. I had been dying to add a beautiful pop of green in my space and since I accessorize my kitchen with green it was the perfect fit. The first thing I had to do was remove the hardware and drawers/doors. While doing this I found out a little bit about my leggy friend.
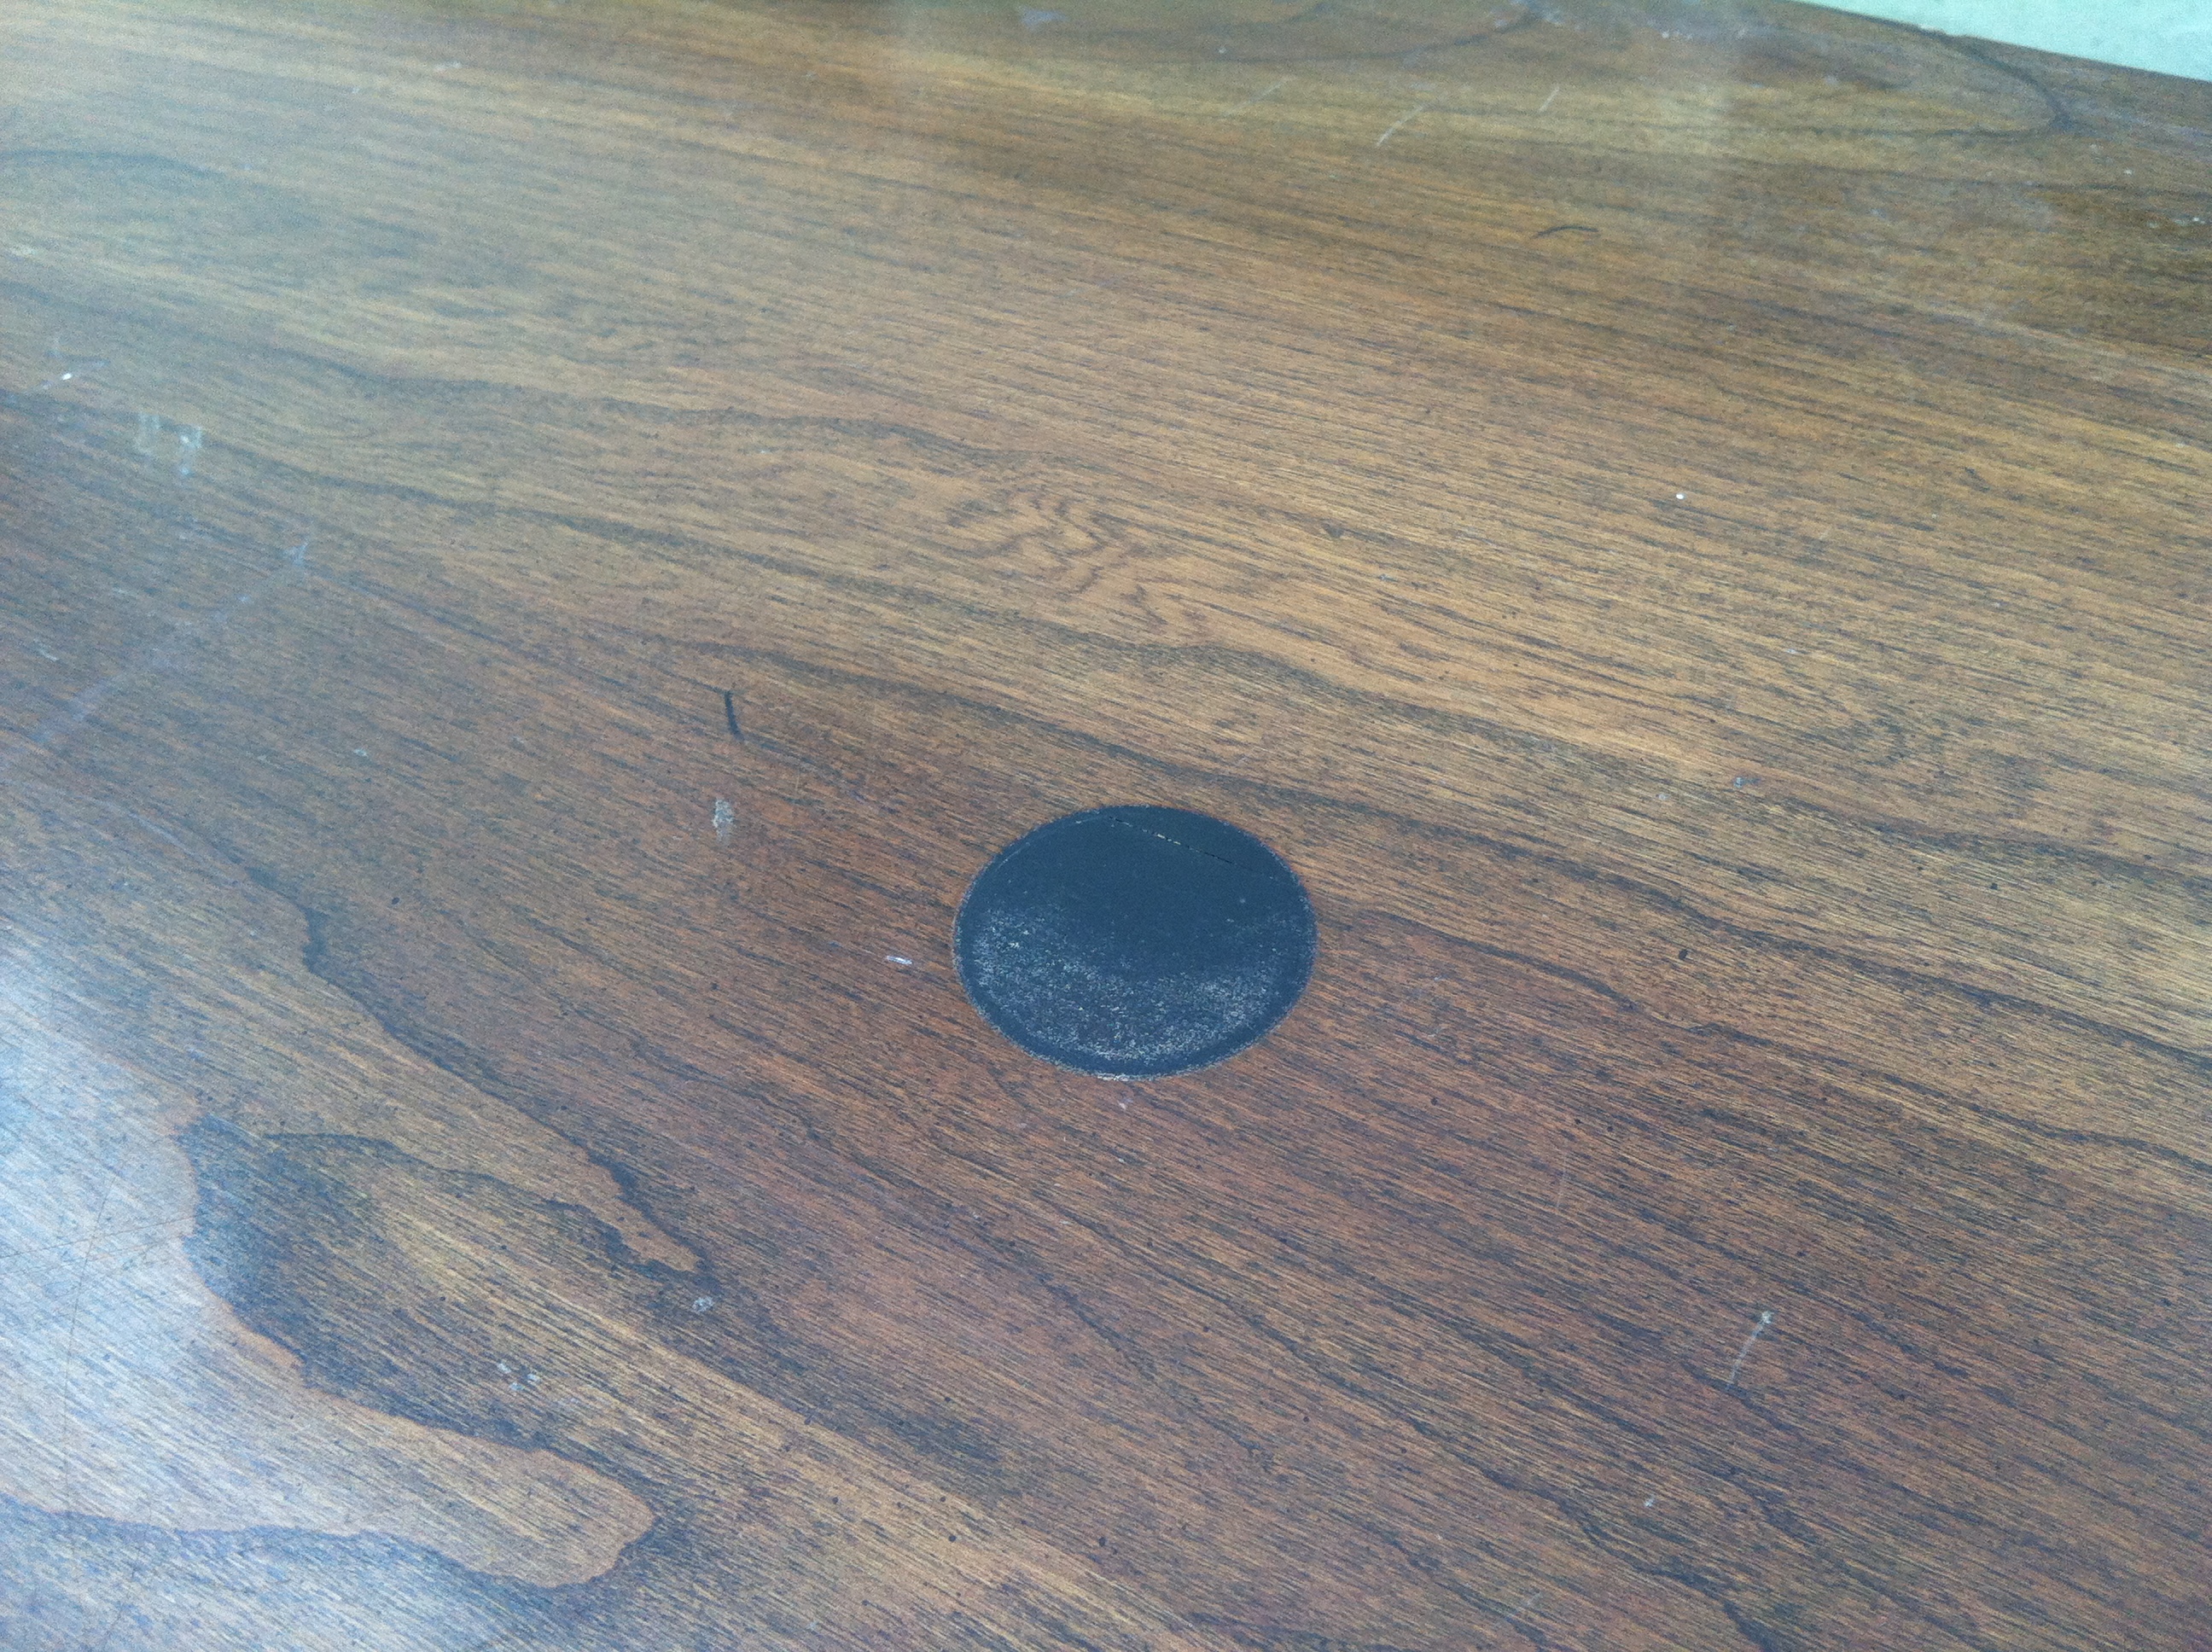
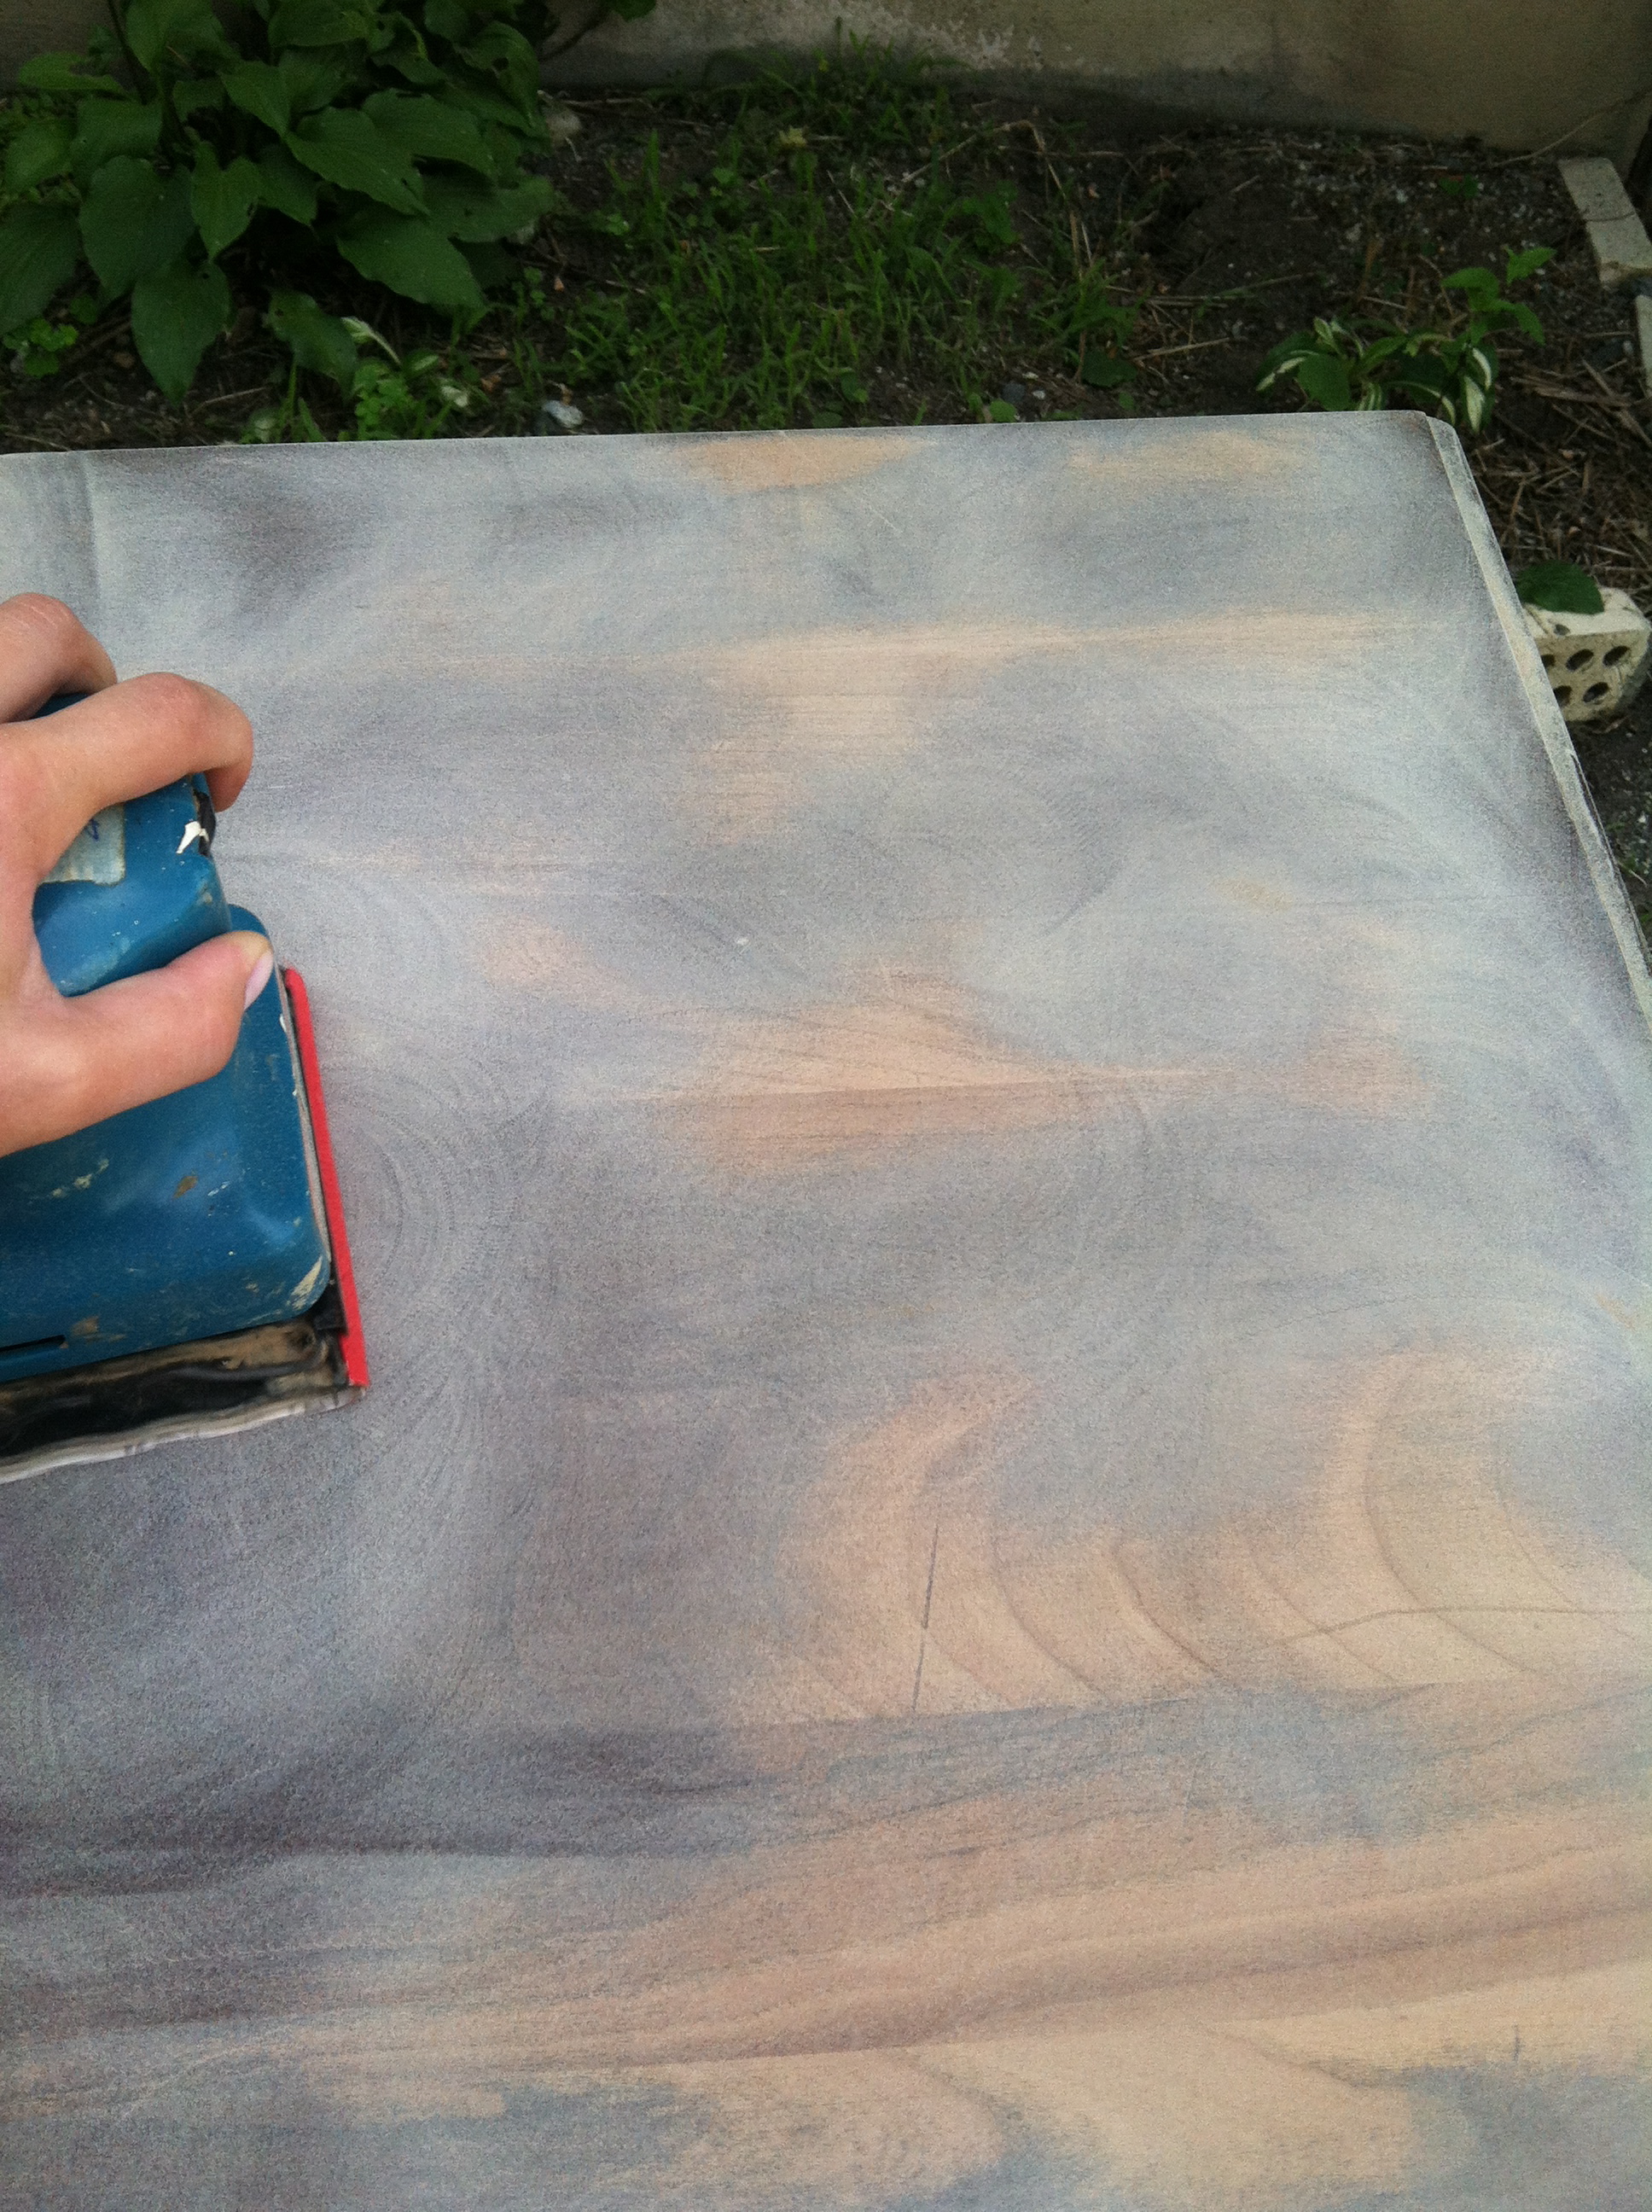
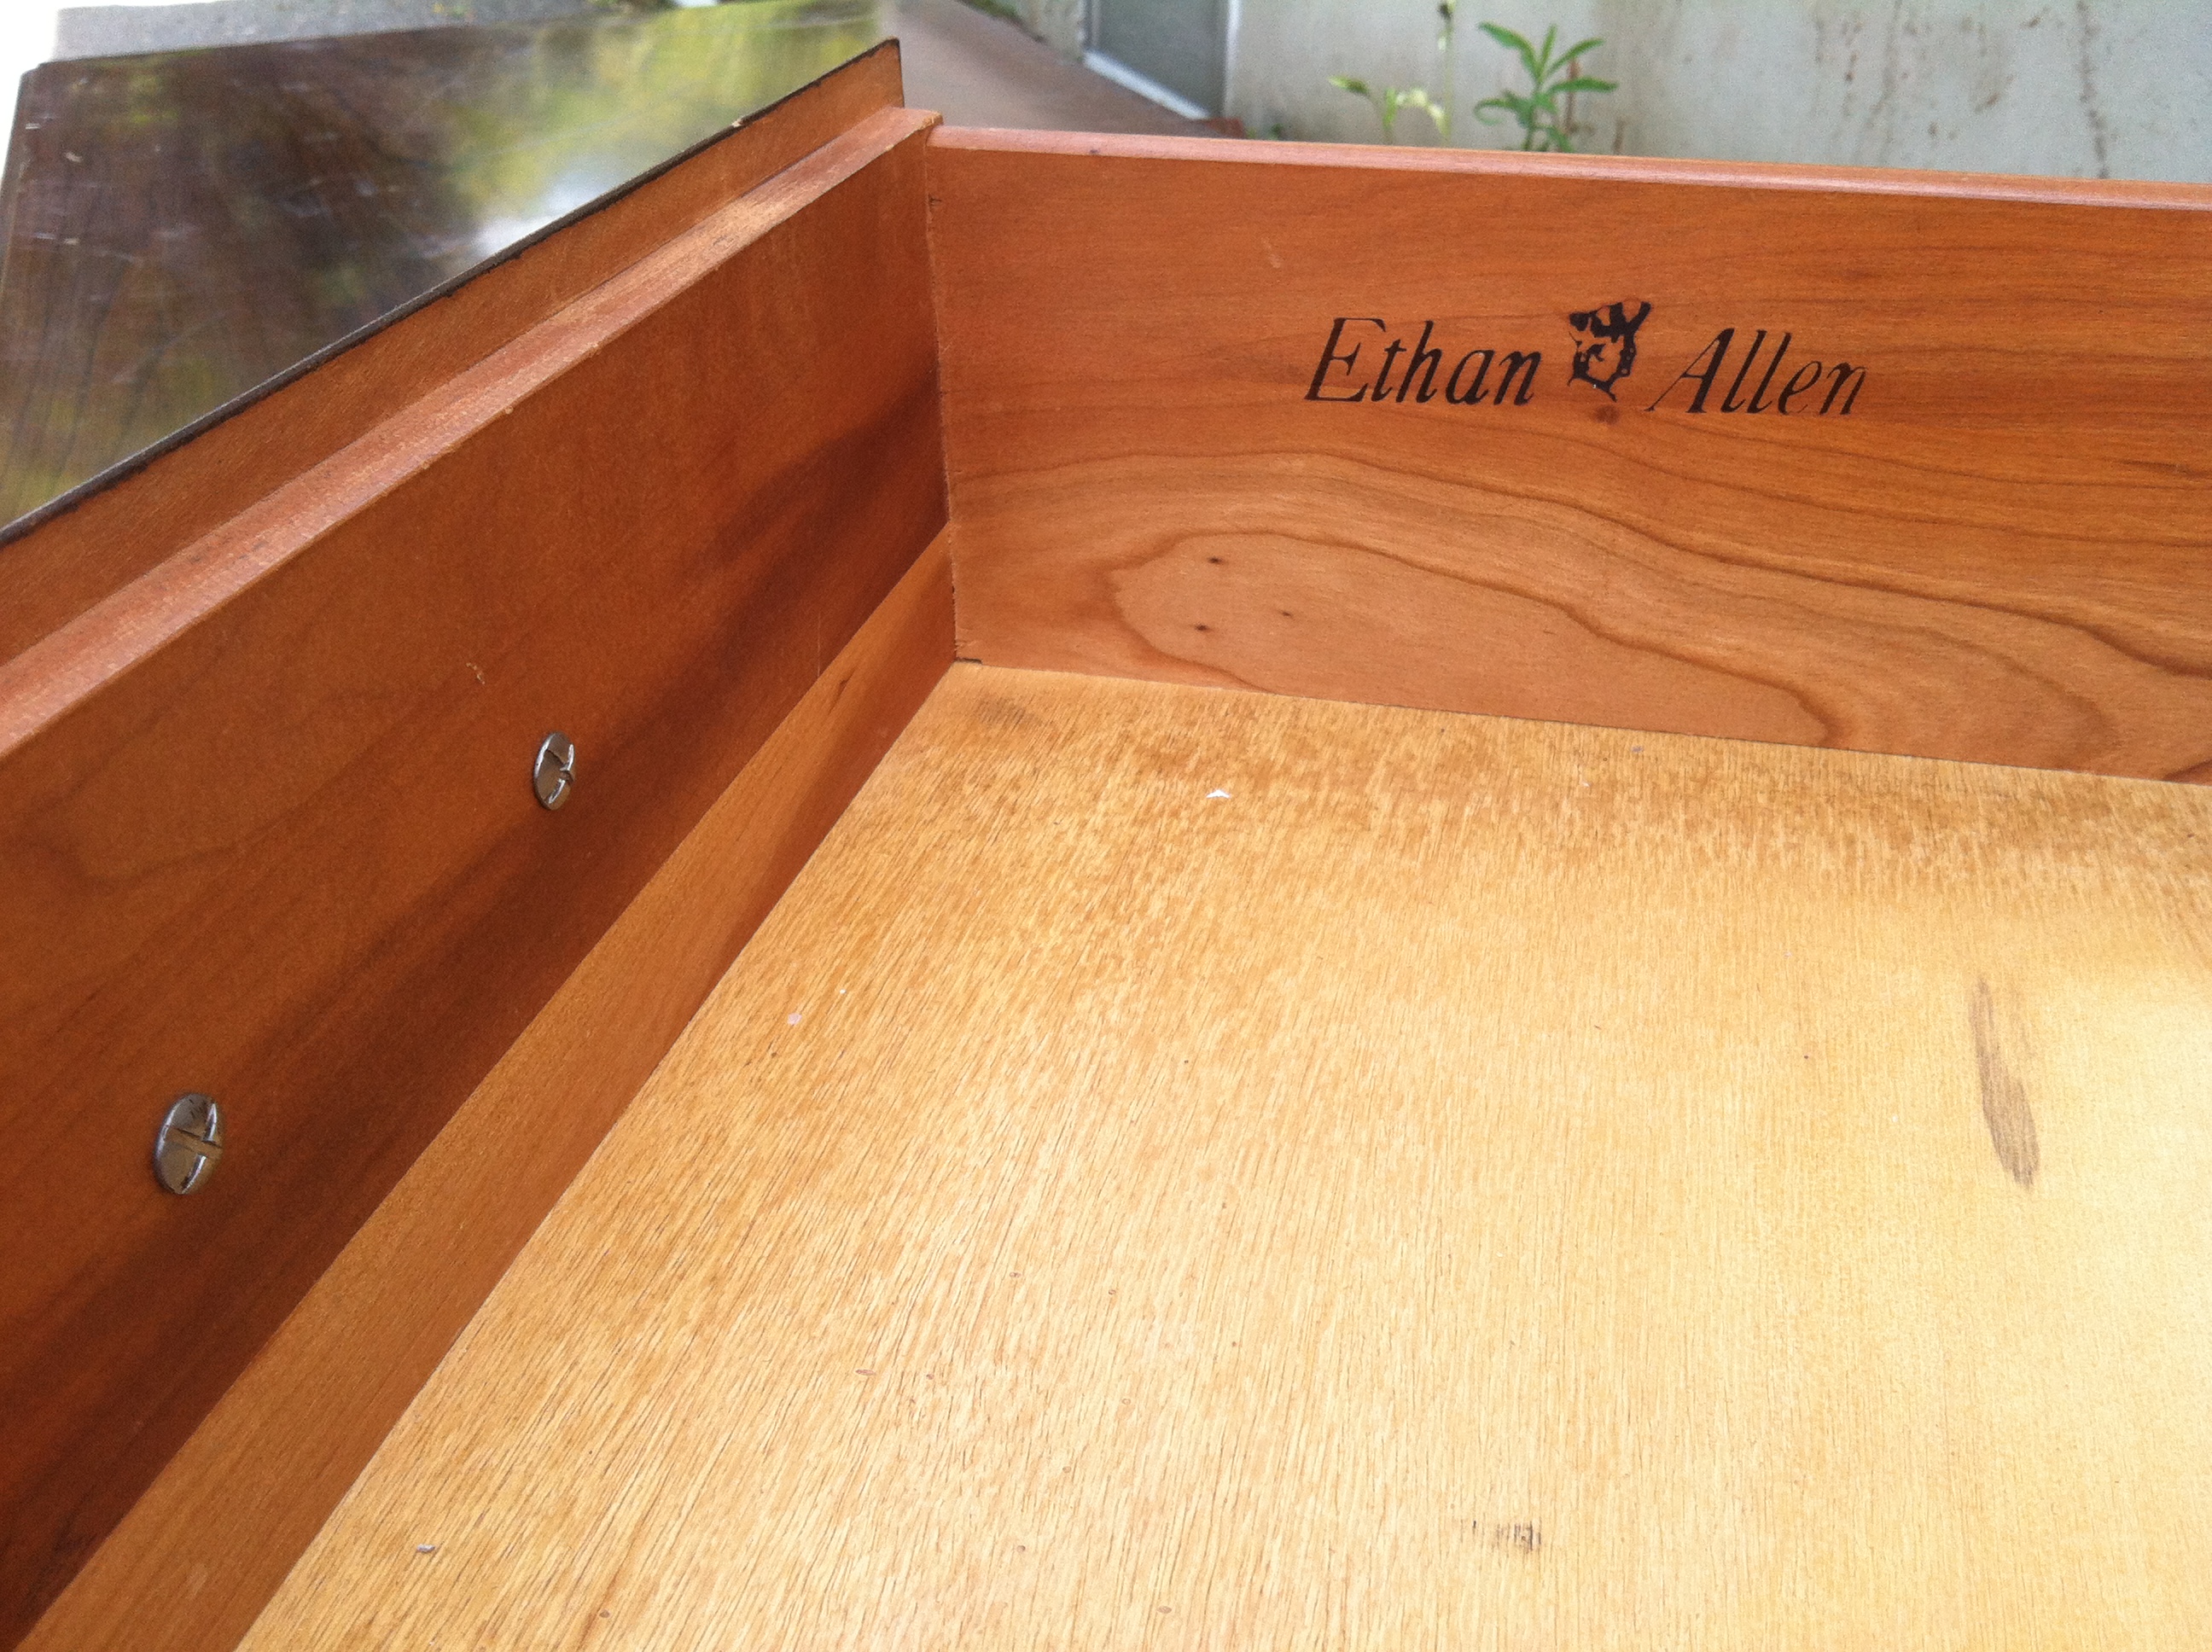 It was from Ethan Allen. Pretty cool. I ended up googling it to find out more but we’ll get to that later. After removing drawers and hardware I started the sanding process. I used my electric hand sander for the top and sides and a sanding sheet for the legs (I used 60 grit sand paper first and then went over everything with a fine sanding block to smooth it all out.) I didn’t go to crazy with sanding just enough to give it a rough feeling so that the primer would stick better. As long as your using a good primer you really don’t have to sand all the way down to the grain. There were a few spots that needed some extra tlc like the big burn mark on the top so I paid more attention to those spots.
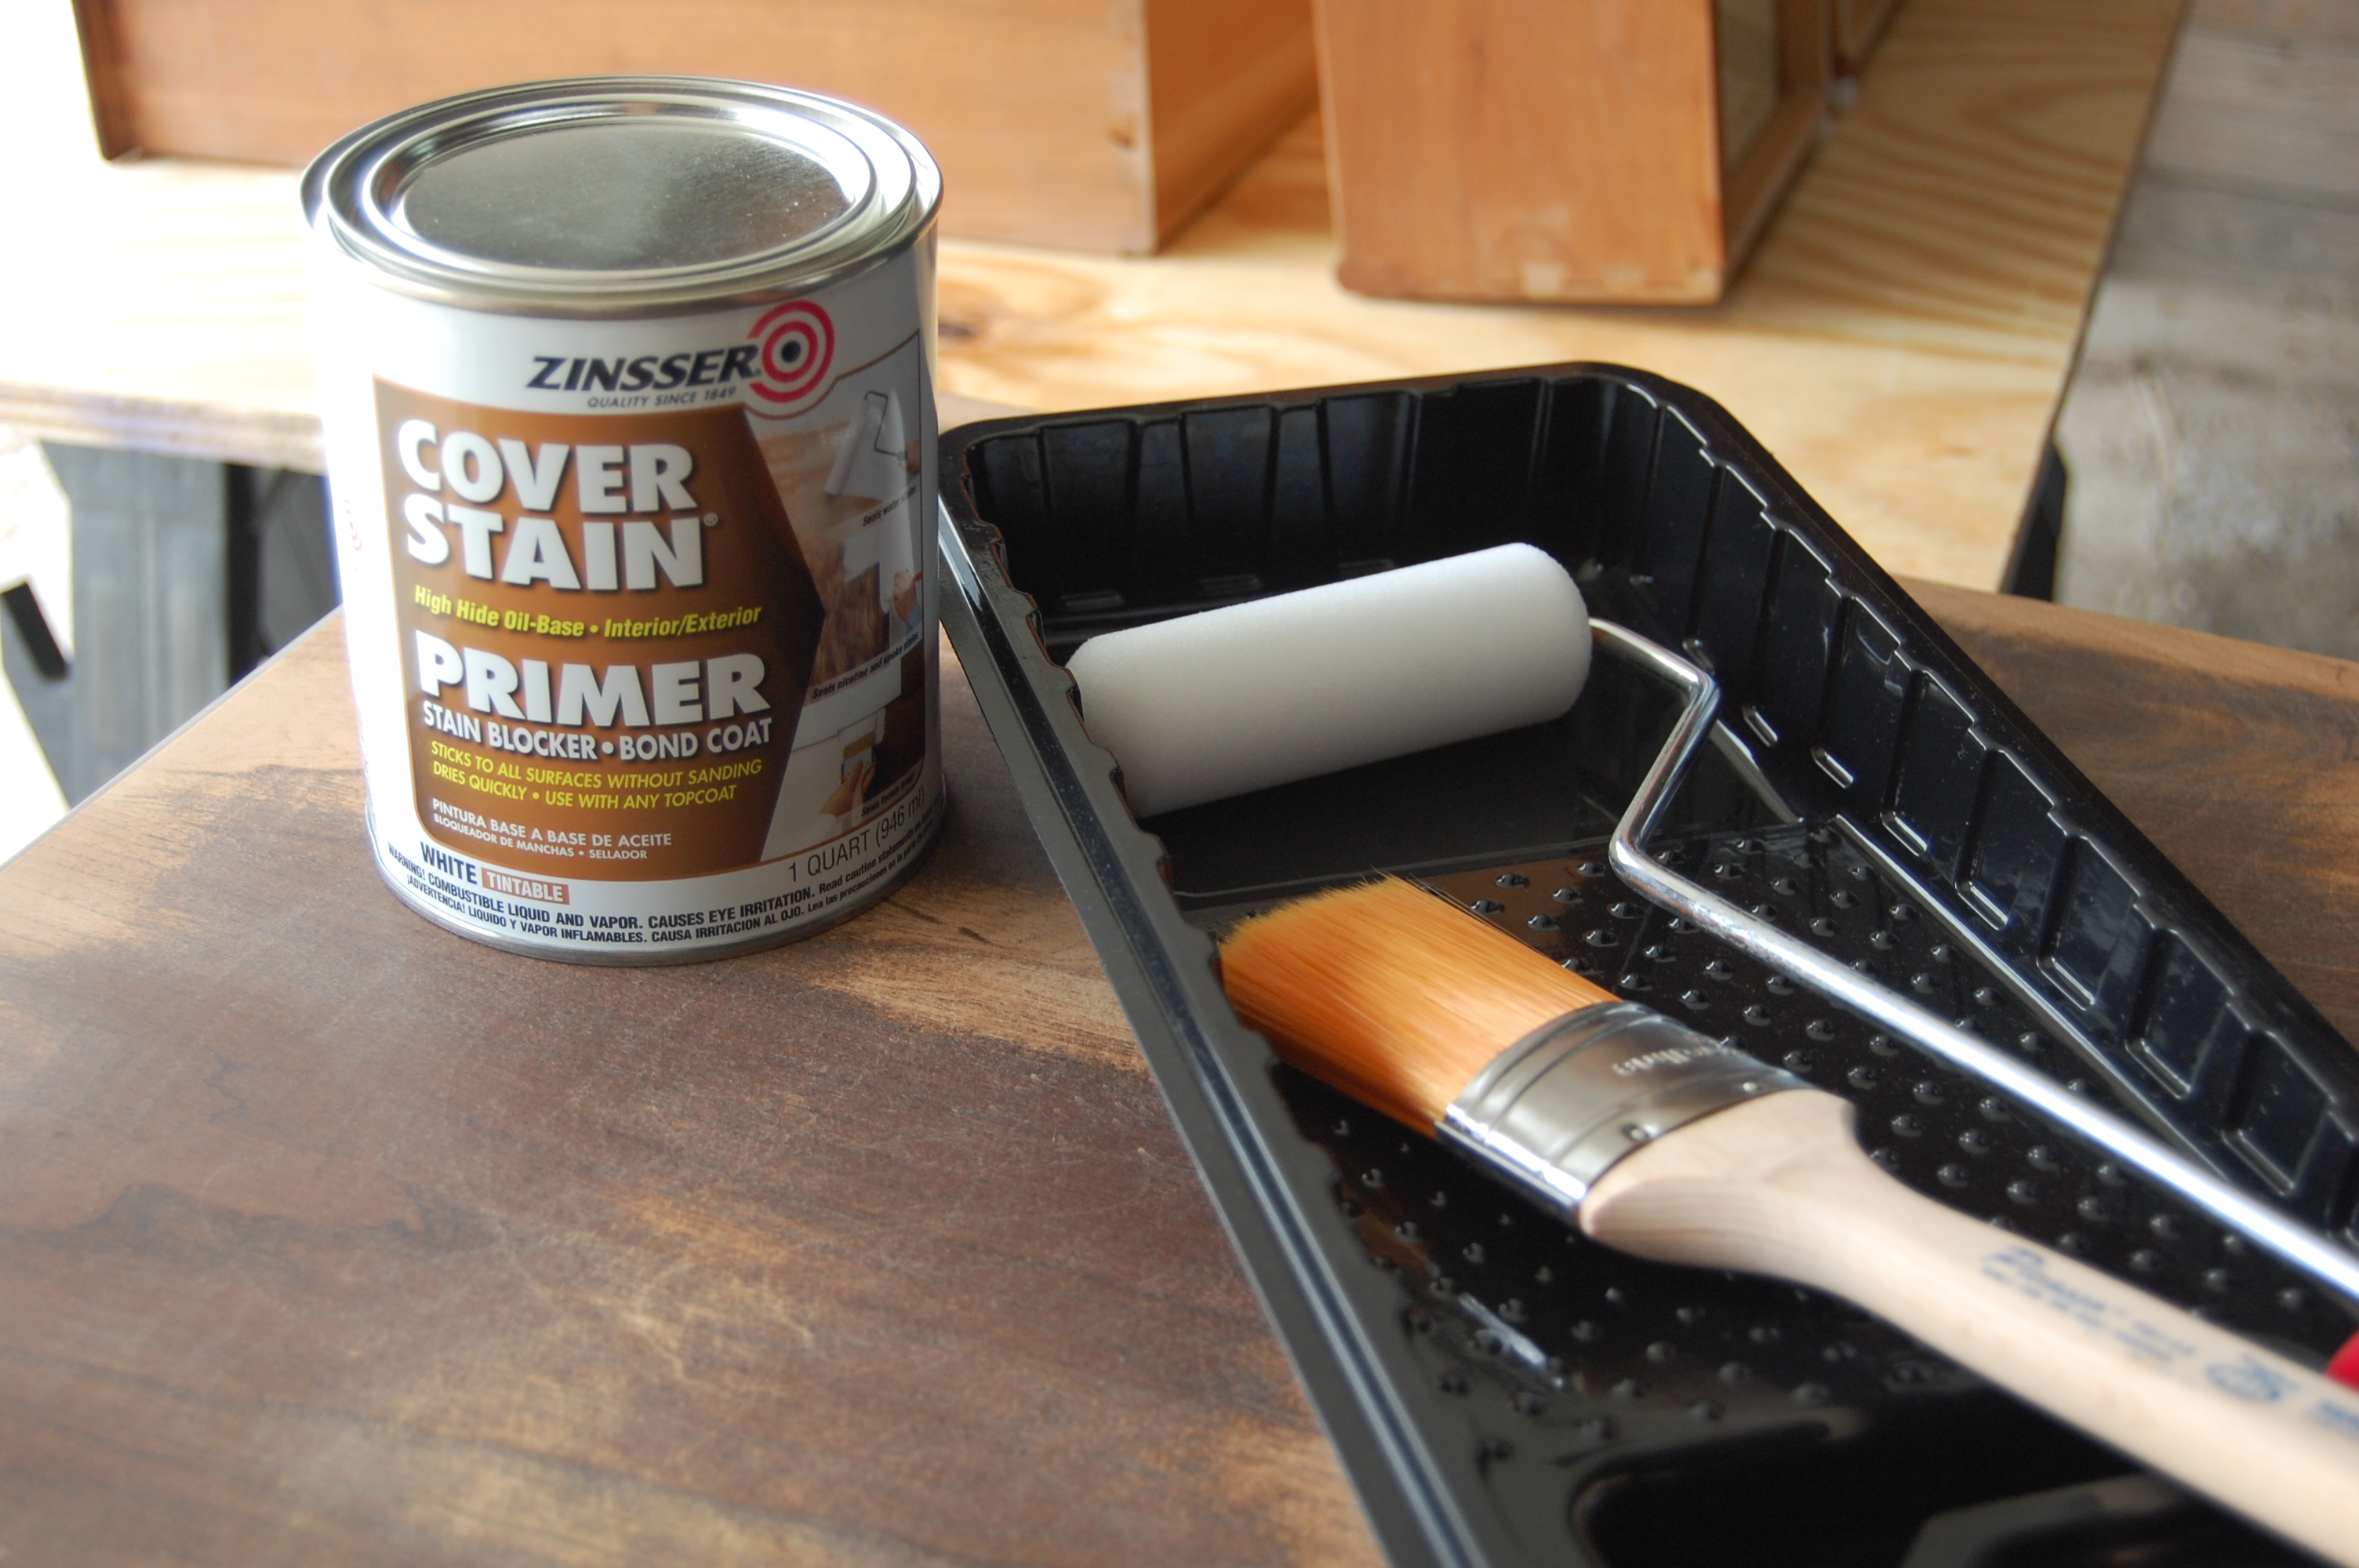
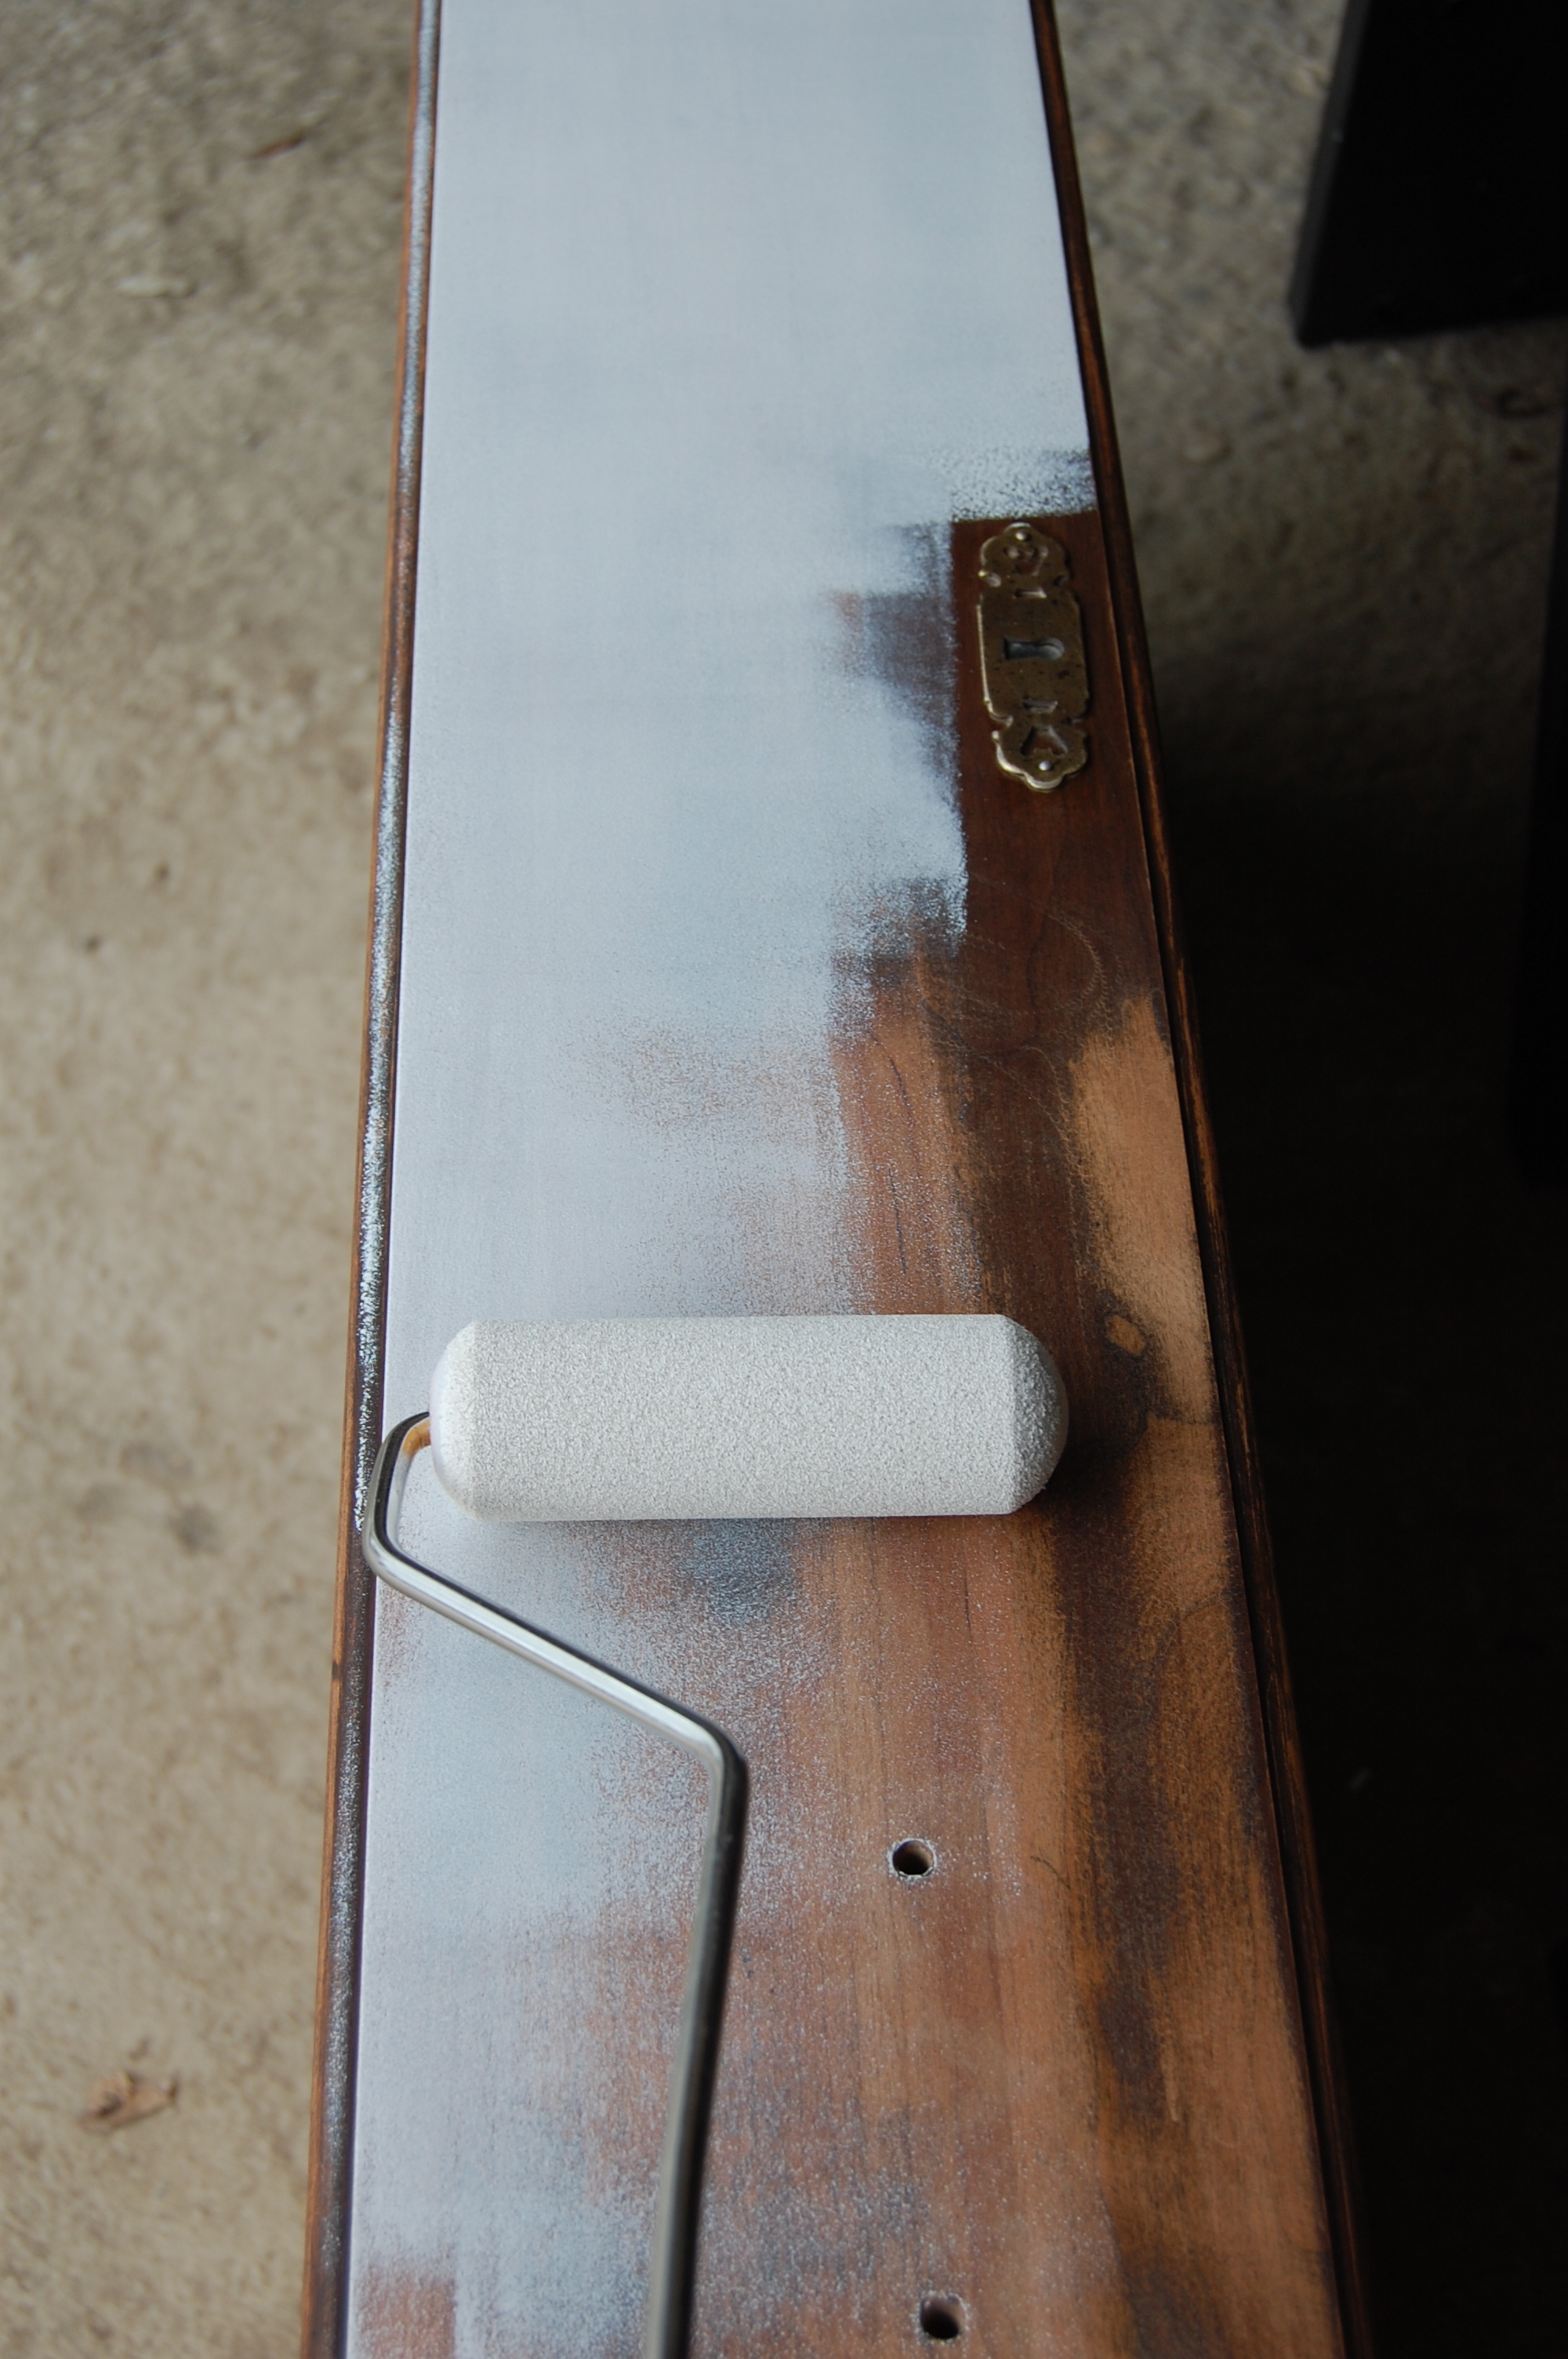
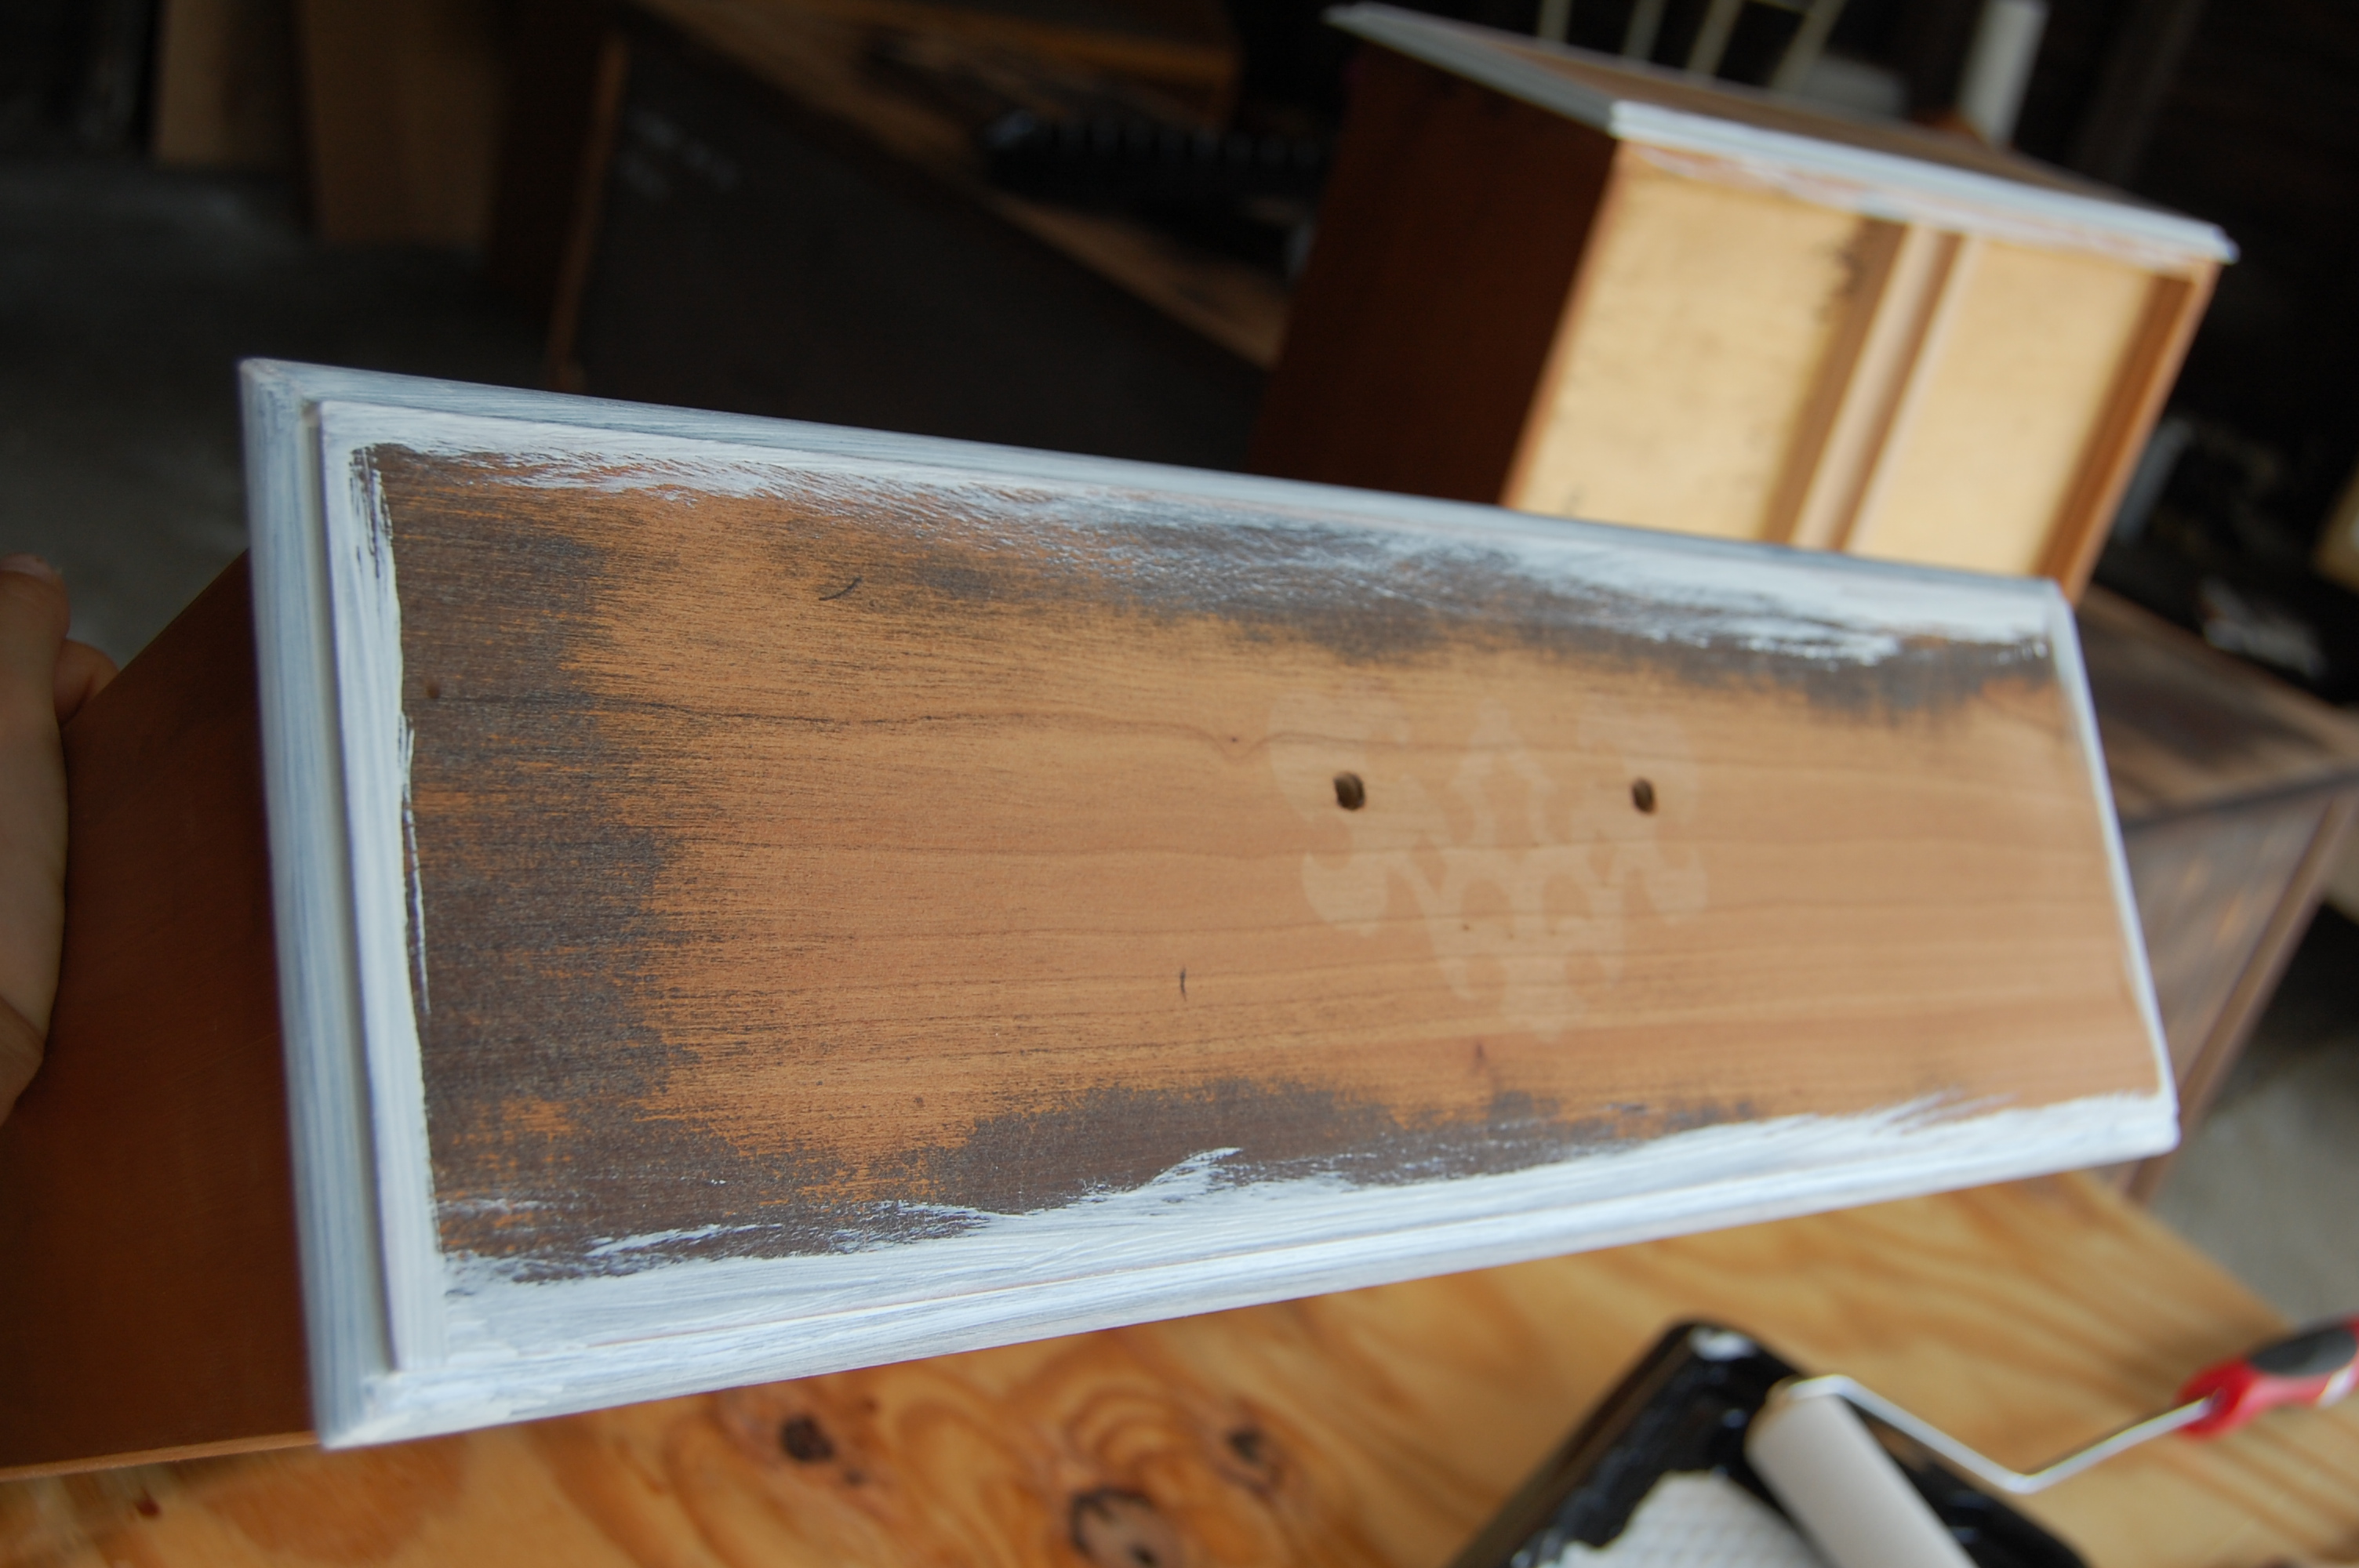
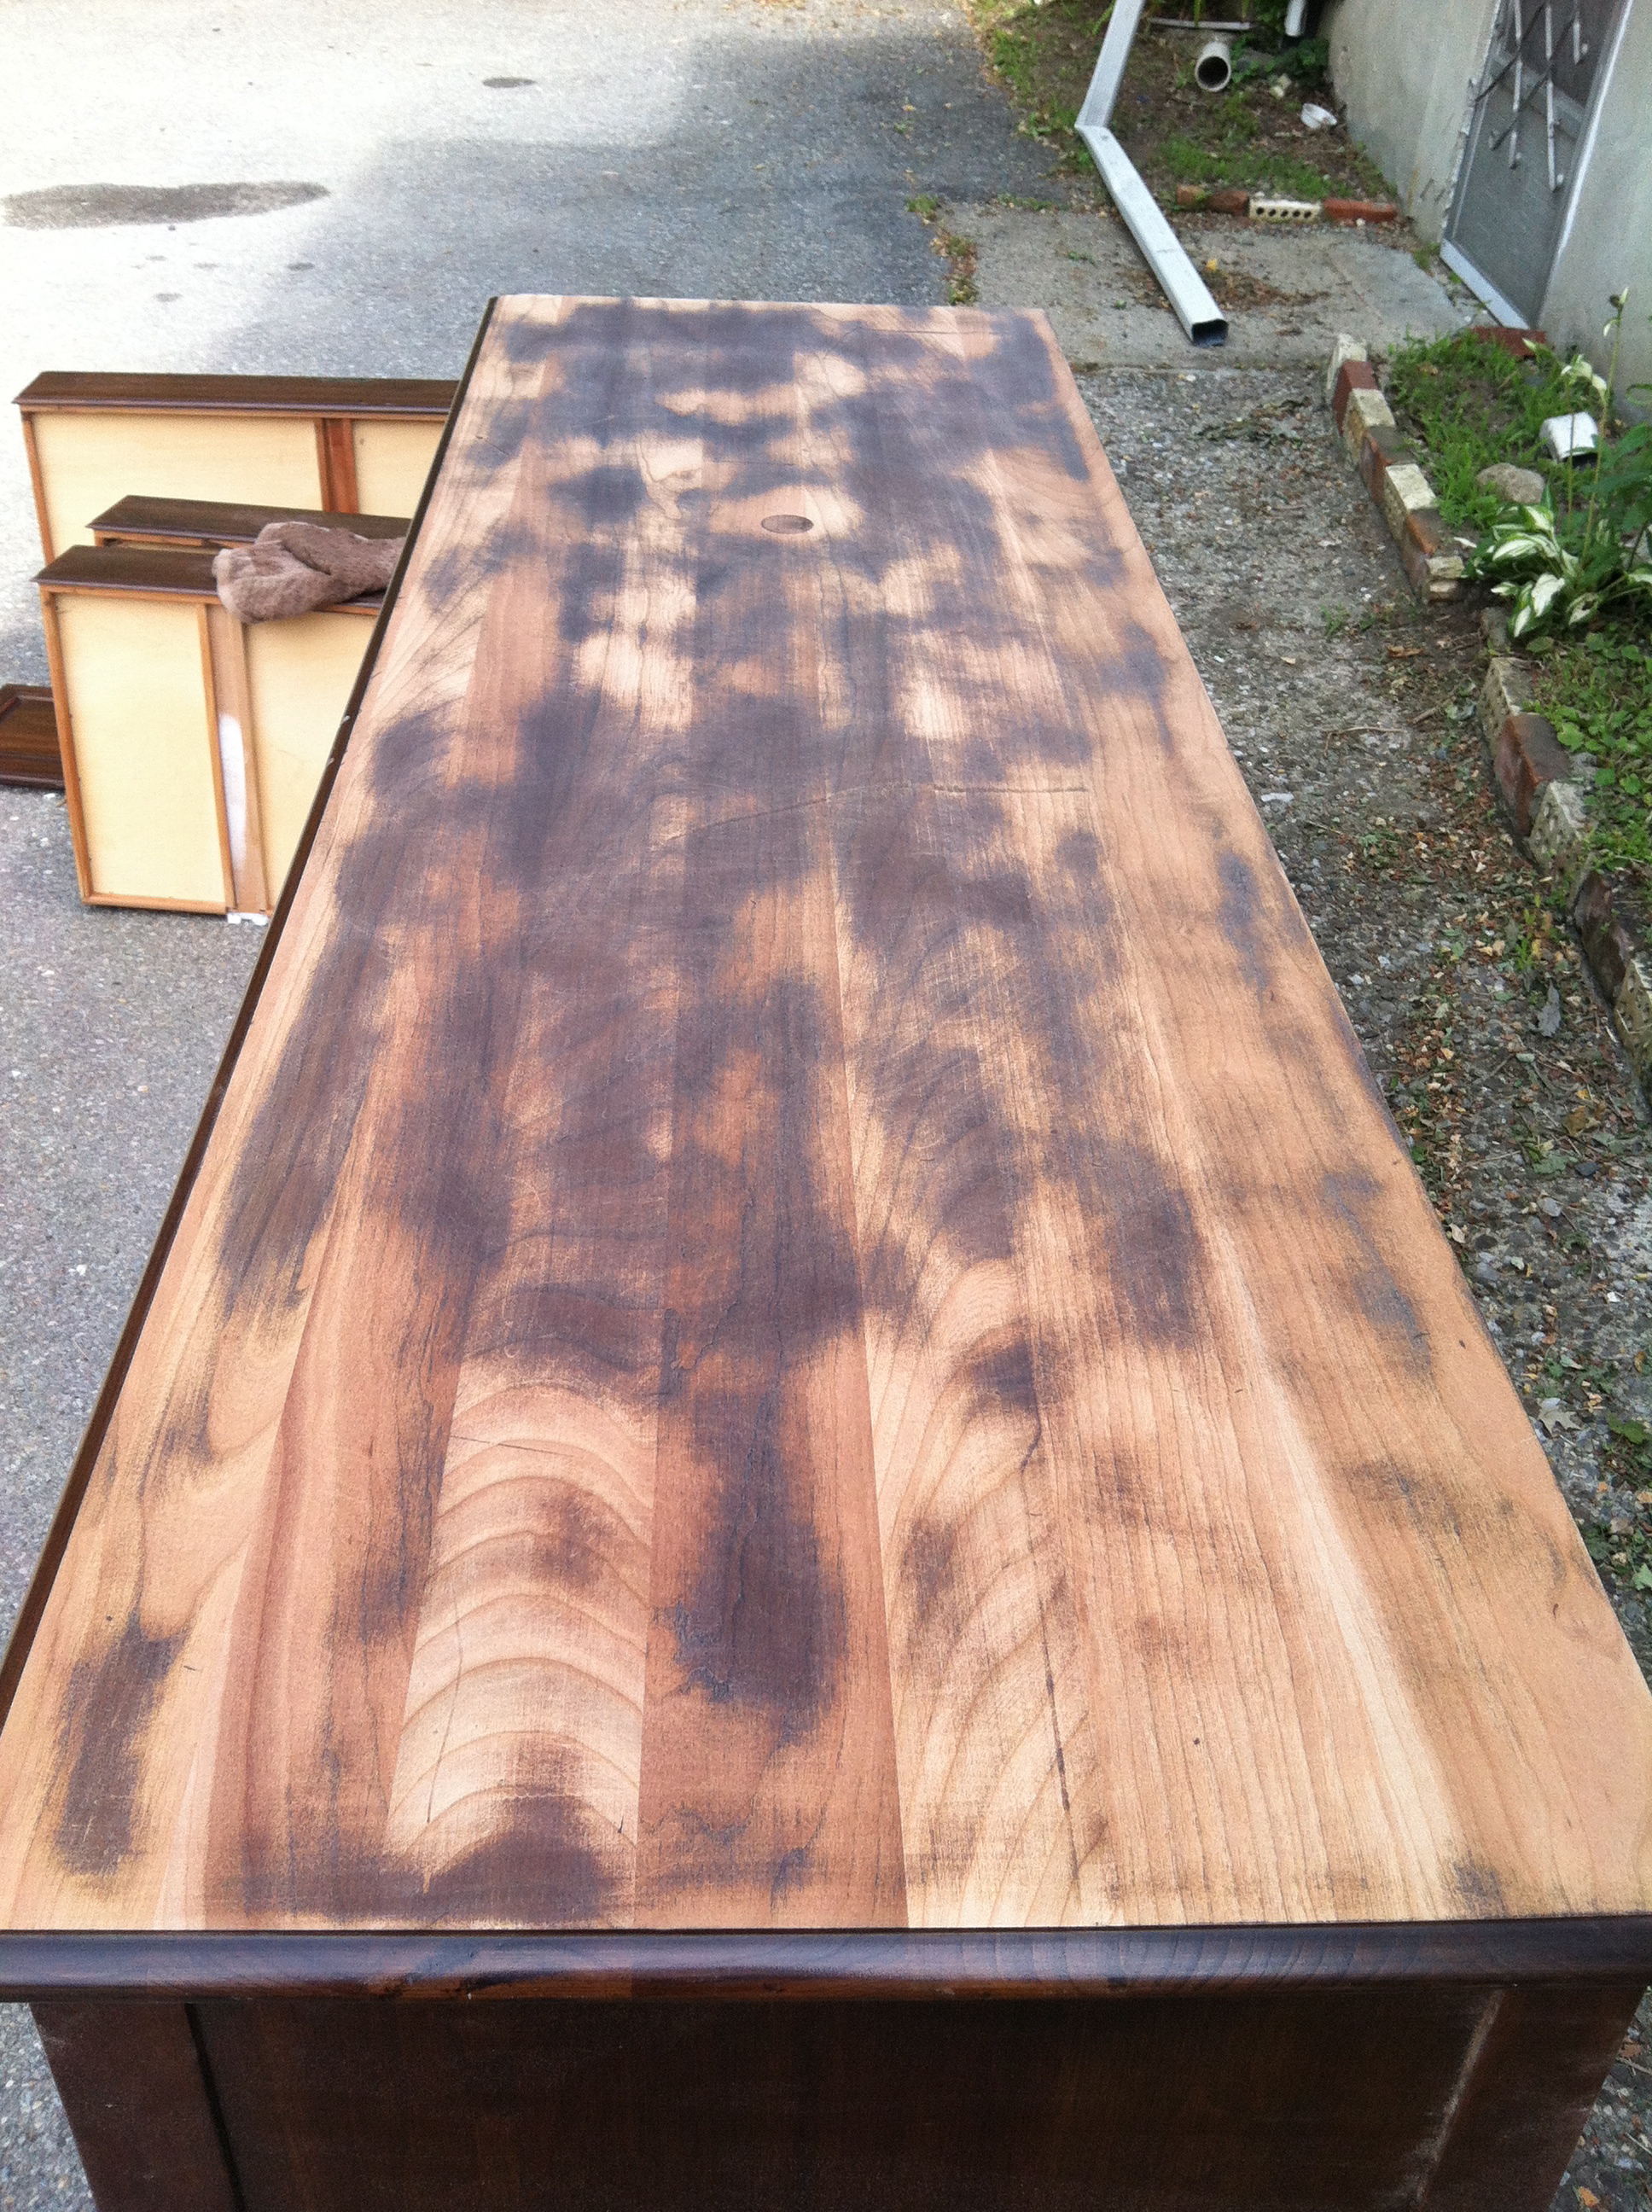 Once I was done sanding I made sure to wipe everything with a cloth to get rid of all the dust and then got down to priming. I used my favorite primer in the world, Zinsser Cover Stain.
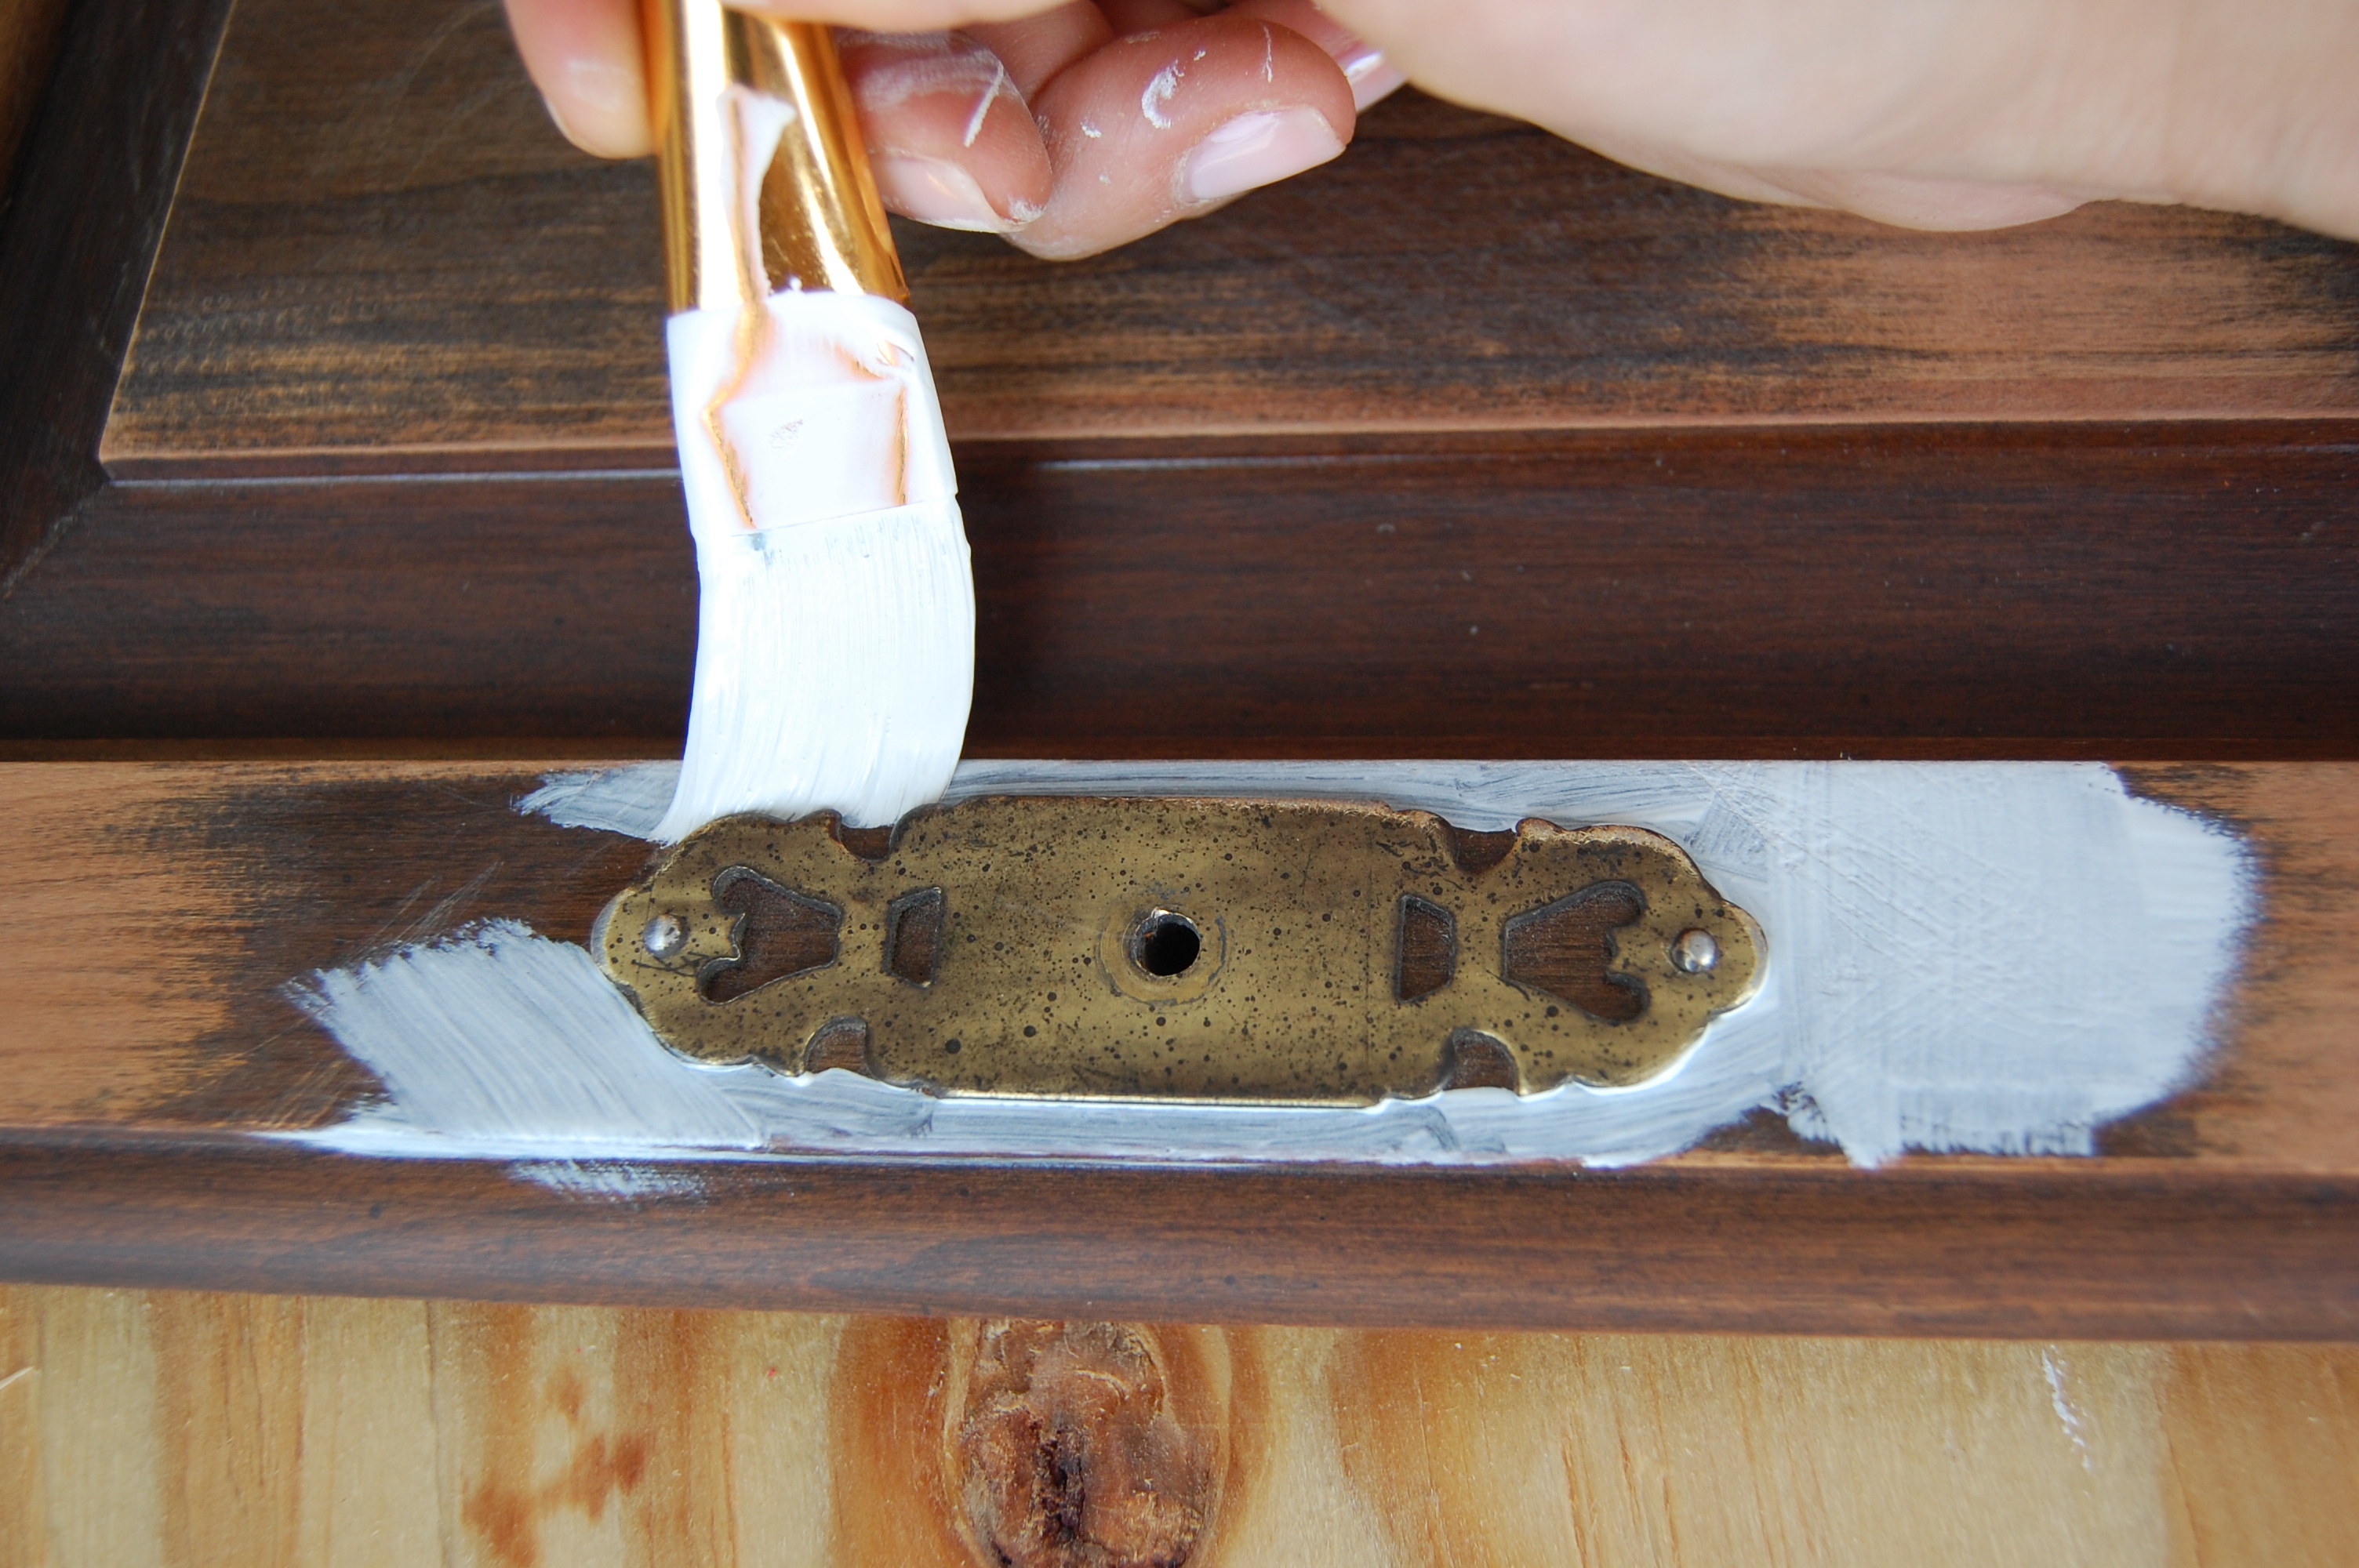
I was a bit intimidated to get started because even though I have done this before I have never worked with such a large piece. The method I decided to go with was roller for the top and sides and brush for the legs and edges. I also used a smaller craft brush to get into hard to reach areas like the space around the hardware that can’t be removed. It was a miracle worker!
Once it was all primed I waited for it to dry. This time turned into 3 days because it became way too humid out for me to paint. I was worried that the paint would dry too fast because of the heat and I wouldn’t be able to go over the paint in fear that it would show brush marks, so it sat. This was when I decided to do some research on my Ethan Allen find. What did I discover? She was made in 1970 and referred to as a Queen Style Sideboard. Not only that but she was in the range of $900-$1200. Yikes! I felt a little bad about the whole attacking it with a sander and covering it in primer but too late to turn back now!
When it came time to choose a color I had a bit of a hard time. I definitely wanted a kelly greenish color but there were so many options and I couldn’t pull the trigger on a color actually called Kelly Green because it was too green. So I brought home some samples and narrowed it down to two. The picture will do it no justice because the camera can’t pick up the actual green and so they all look pretty similiar but they definitely weren’t but just so you have an idea:
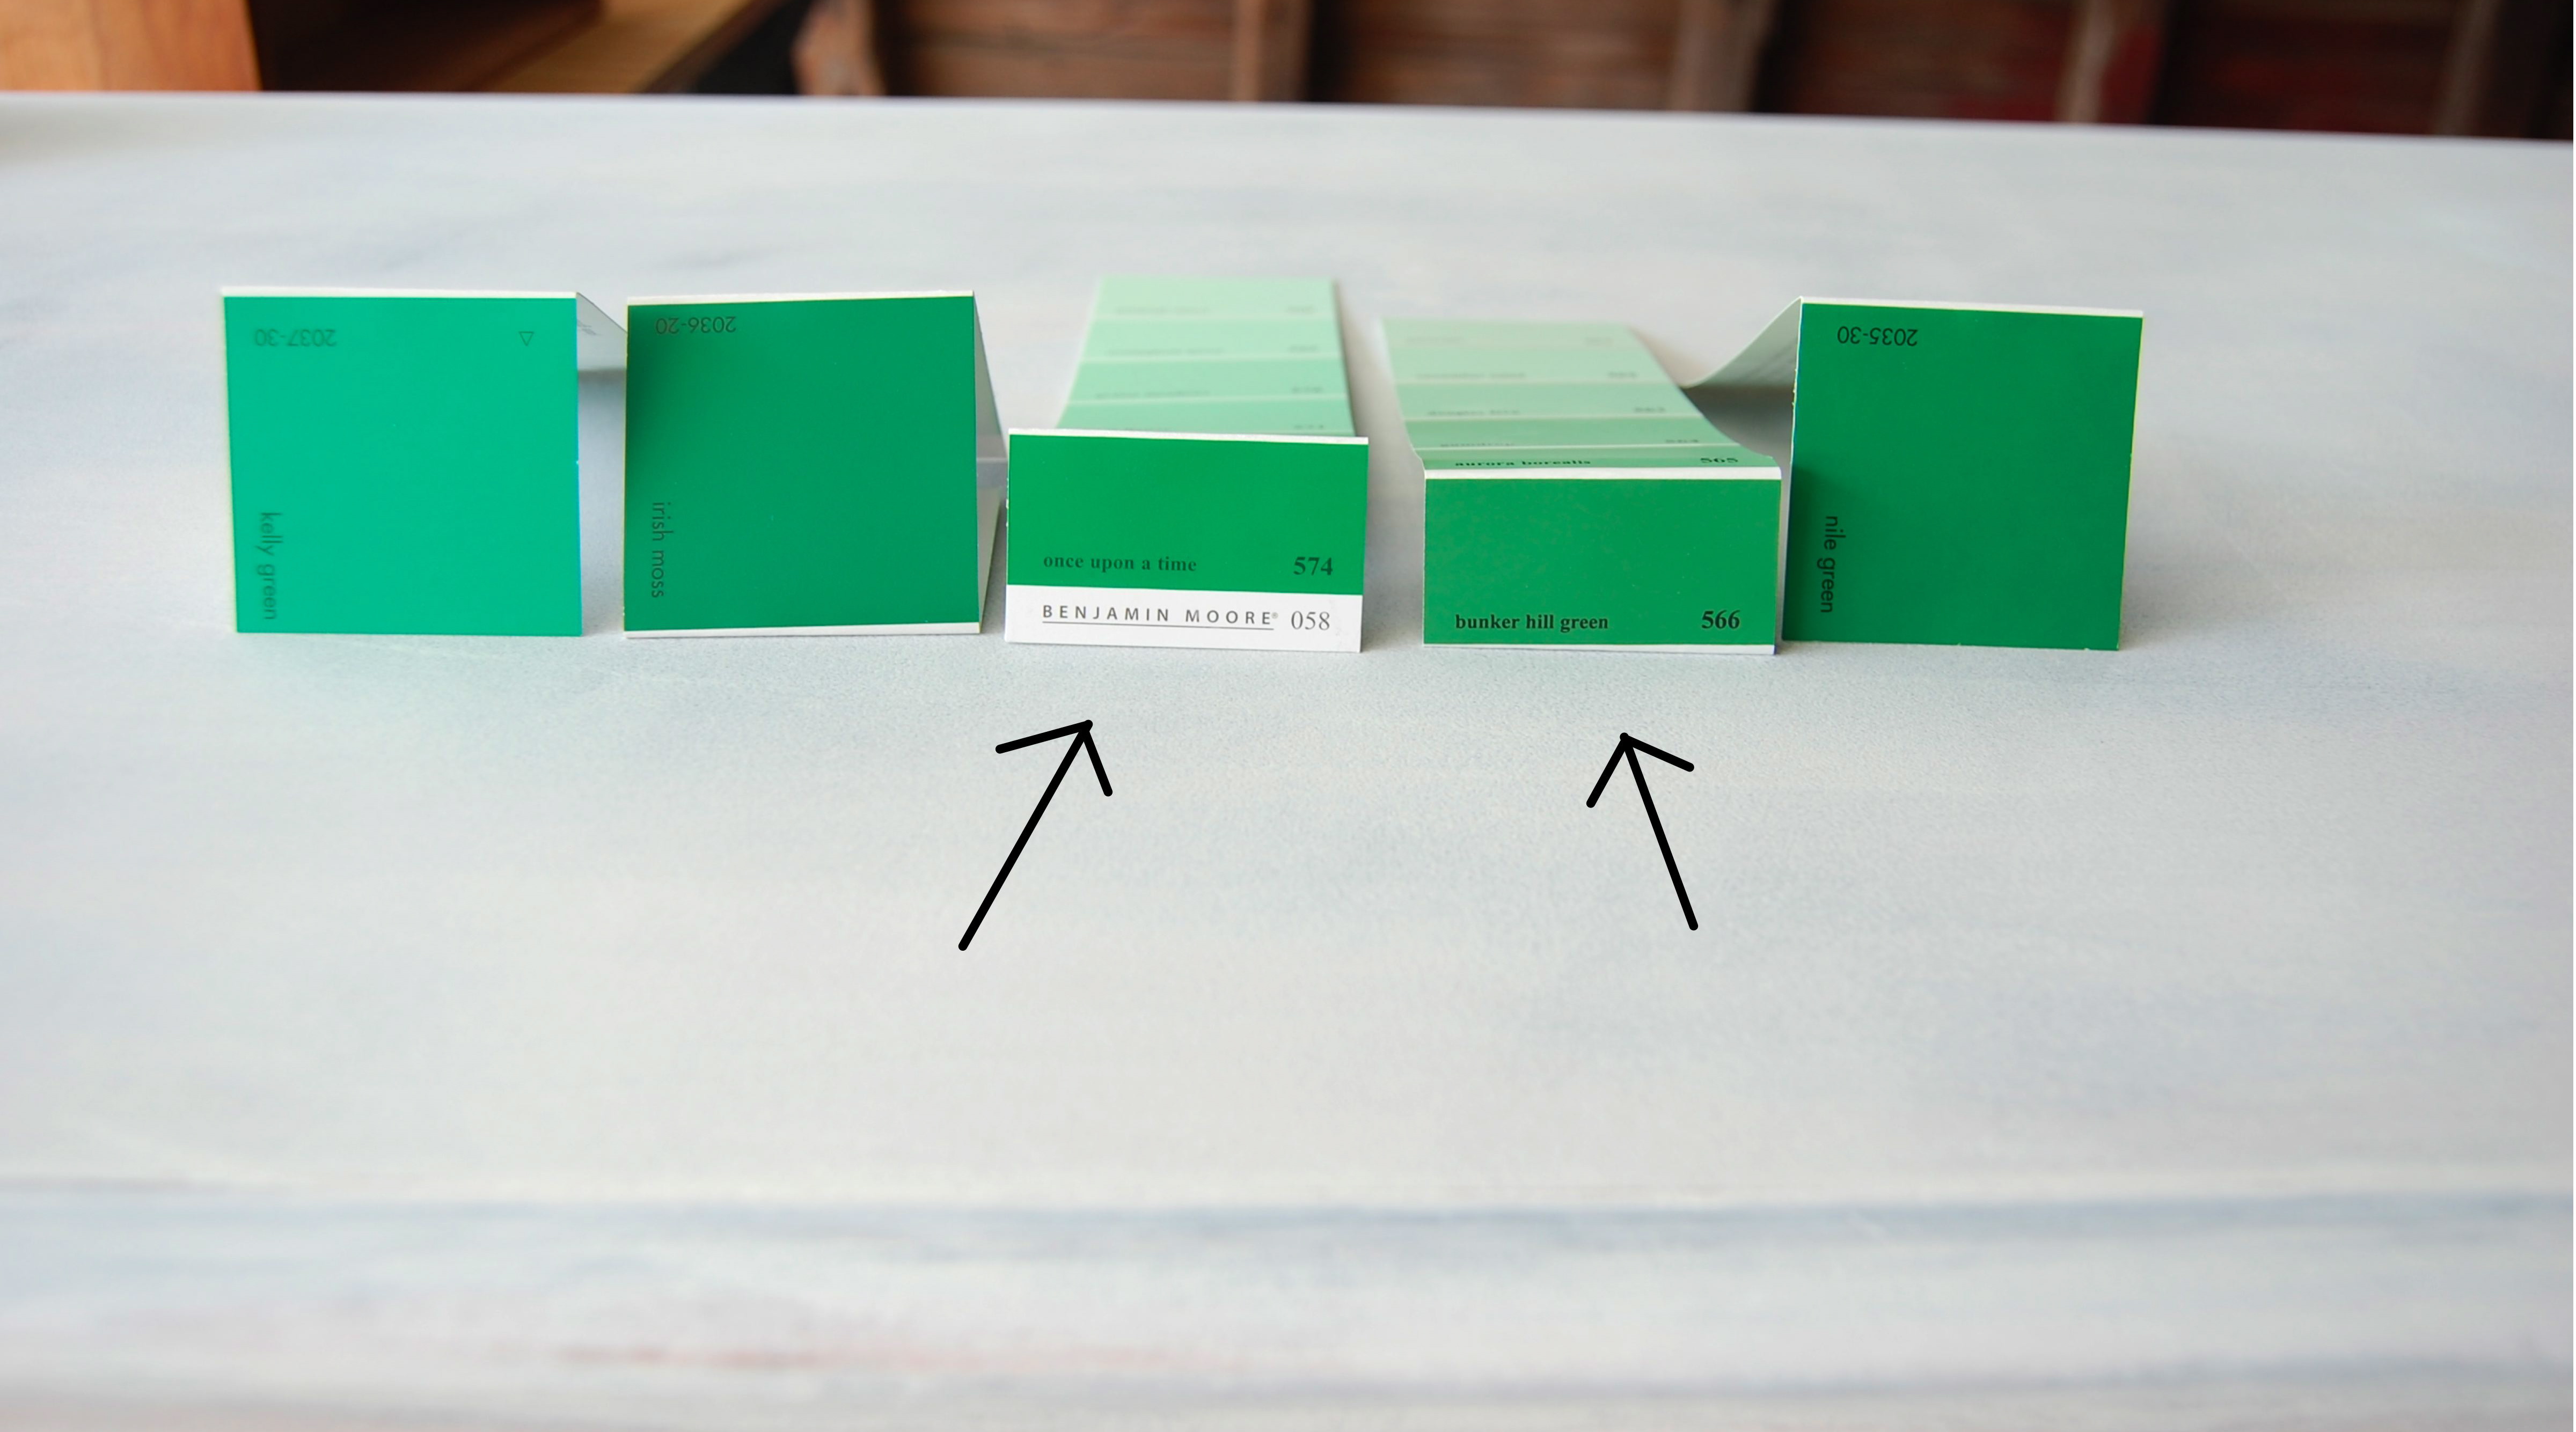 I was advised by the lovely lady at the hardware store that I should go with a more muted color because I don’t want to be to drastic so I listened to her and went with Bunker Hill Green (second arrow.) I got the color in Benjamin Moores Advance formula and as soon as I opened it, I hated it! I went back and got the color I knew I wanted but was too scared to pull the trigger on which was sweetly called Once Upon A Time (first arrow.) Here are the two cans, the left is Bunker Hill and the right is Once Upon A Time…I know you can’t tell the difference in the photo but trust me they are two completely different colors!
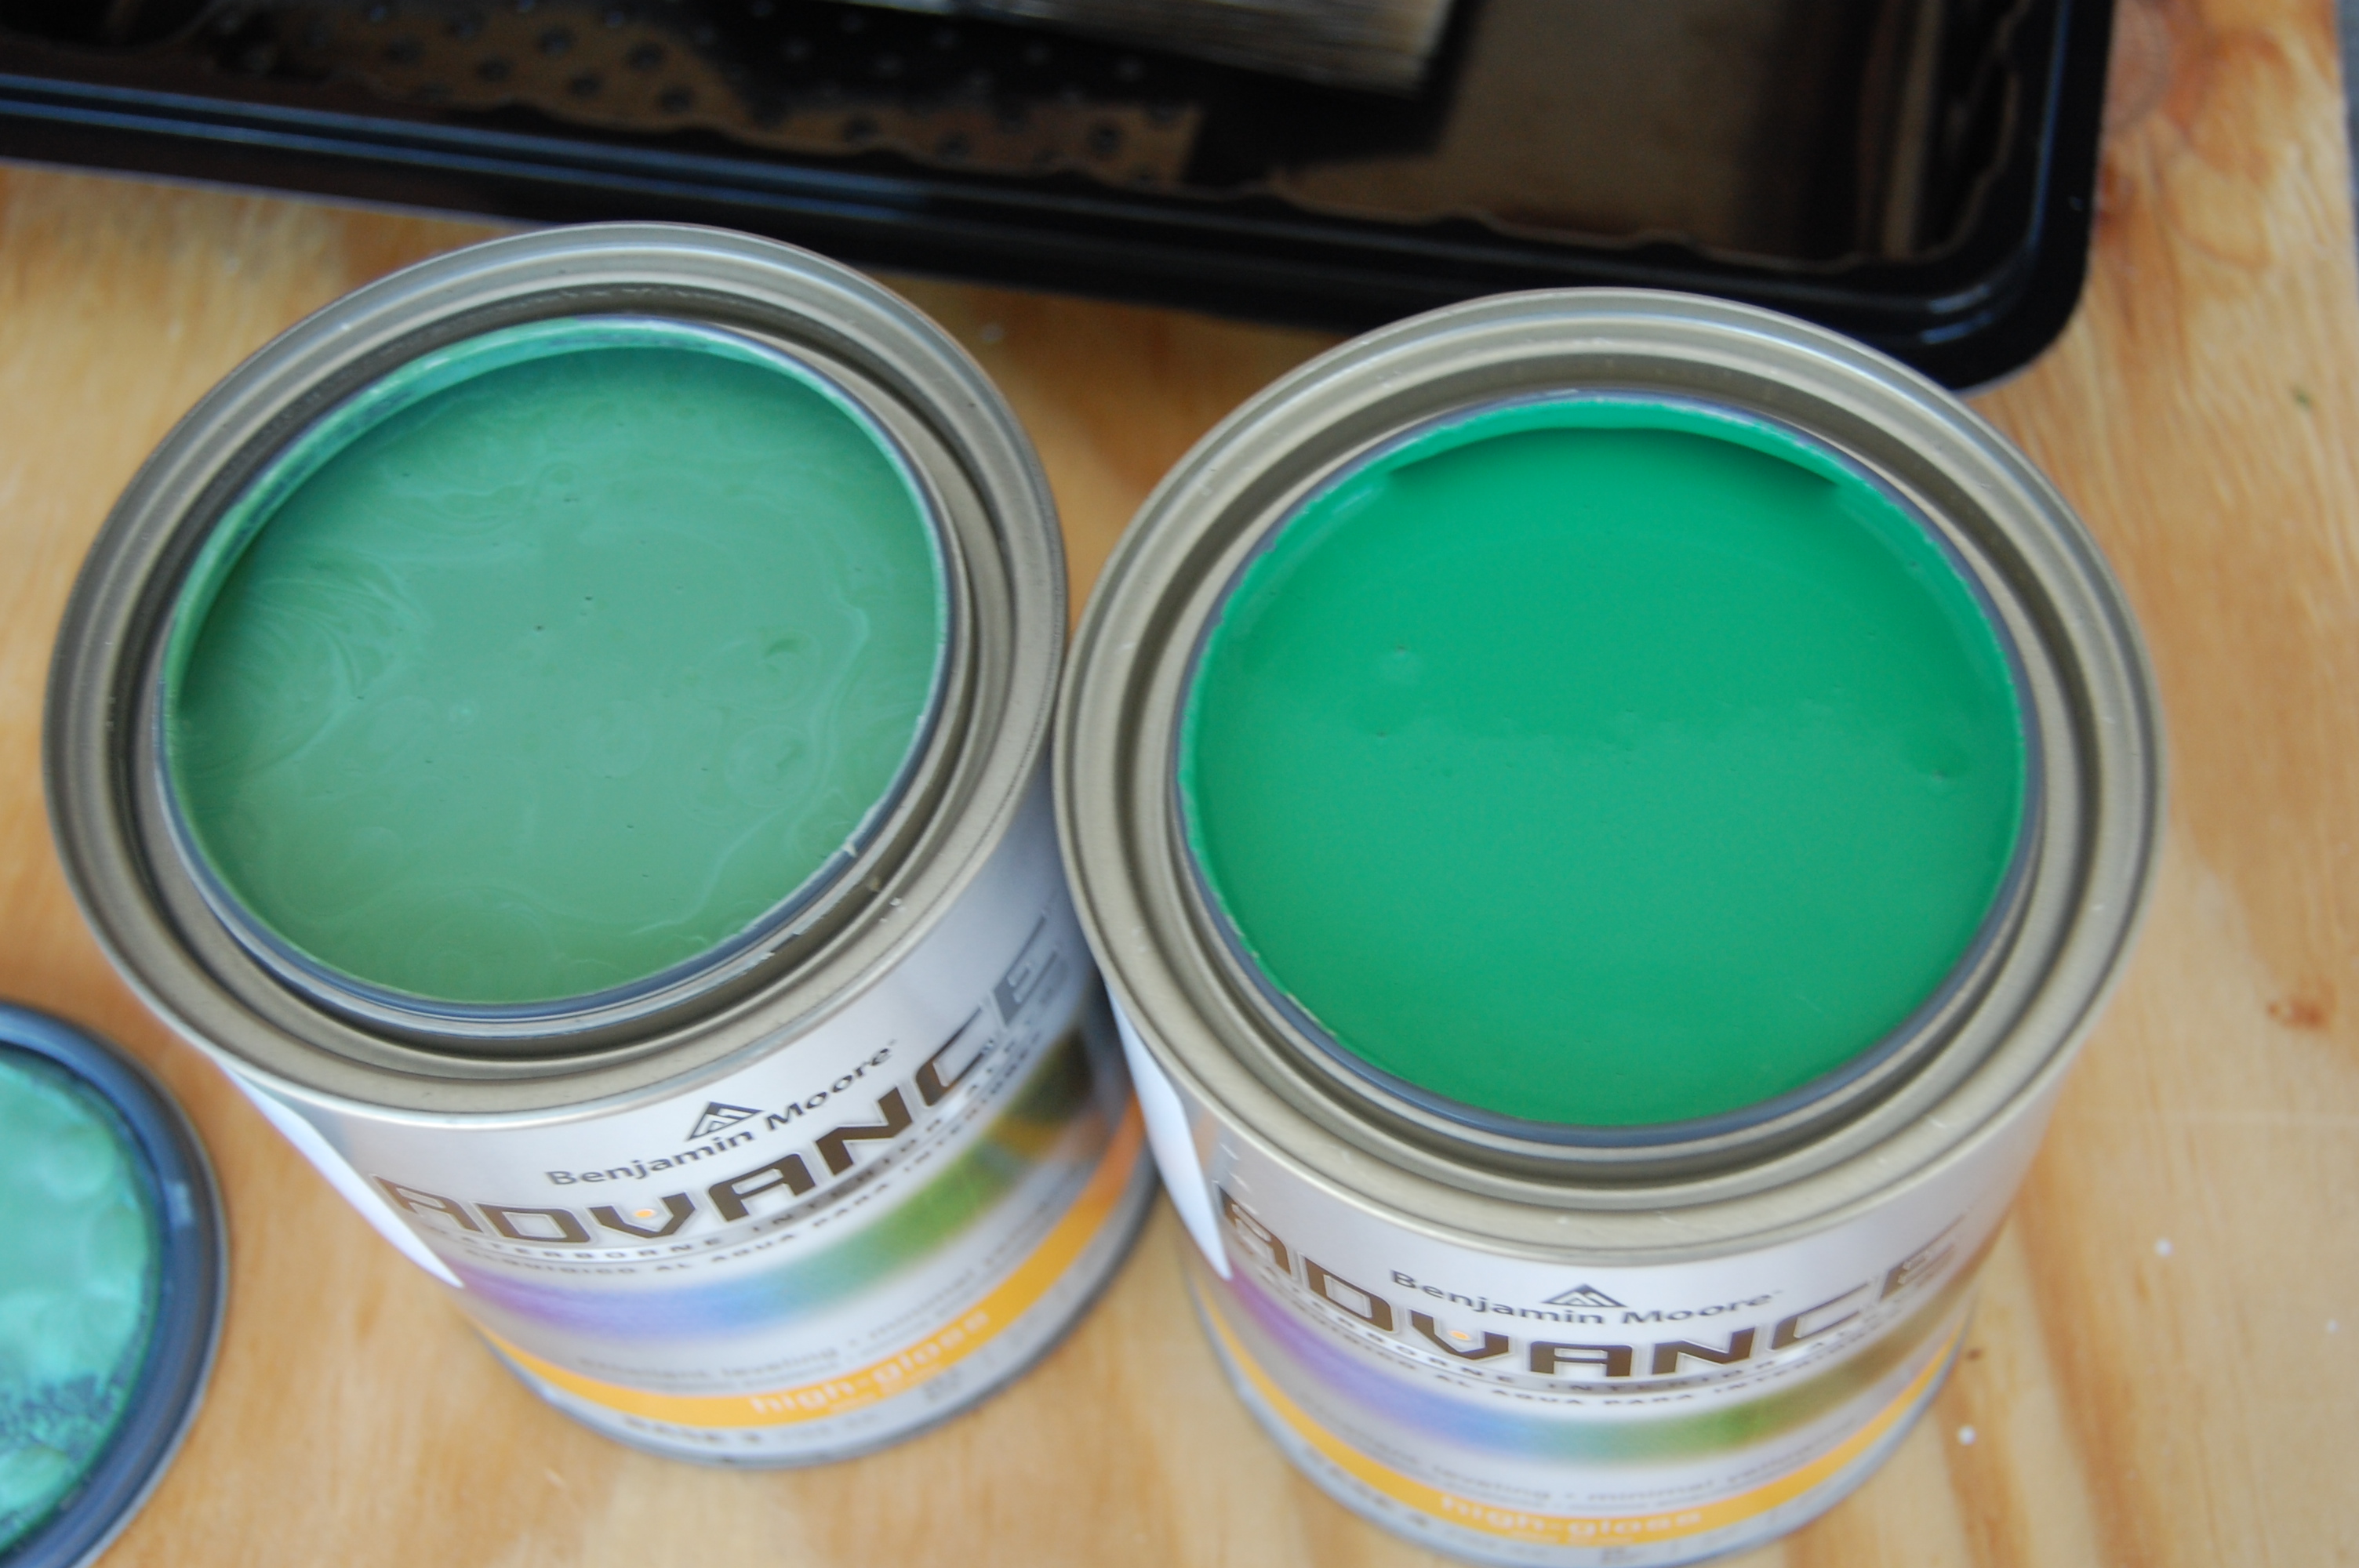 Here is a more actual depiction of what they look like:
Can you see the difference now and how much more bolder Once Upon A Time is! I wish the camera could capture the real color!
Anyway, before I started painting I went around and made sure that I didn’t have any paint blobs and by that I mean any drips of primer and if I did I just quickly went over it with my fine sanding block.
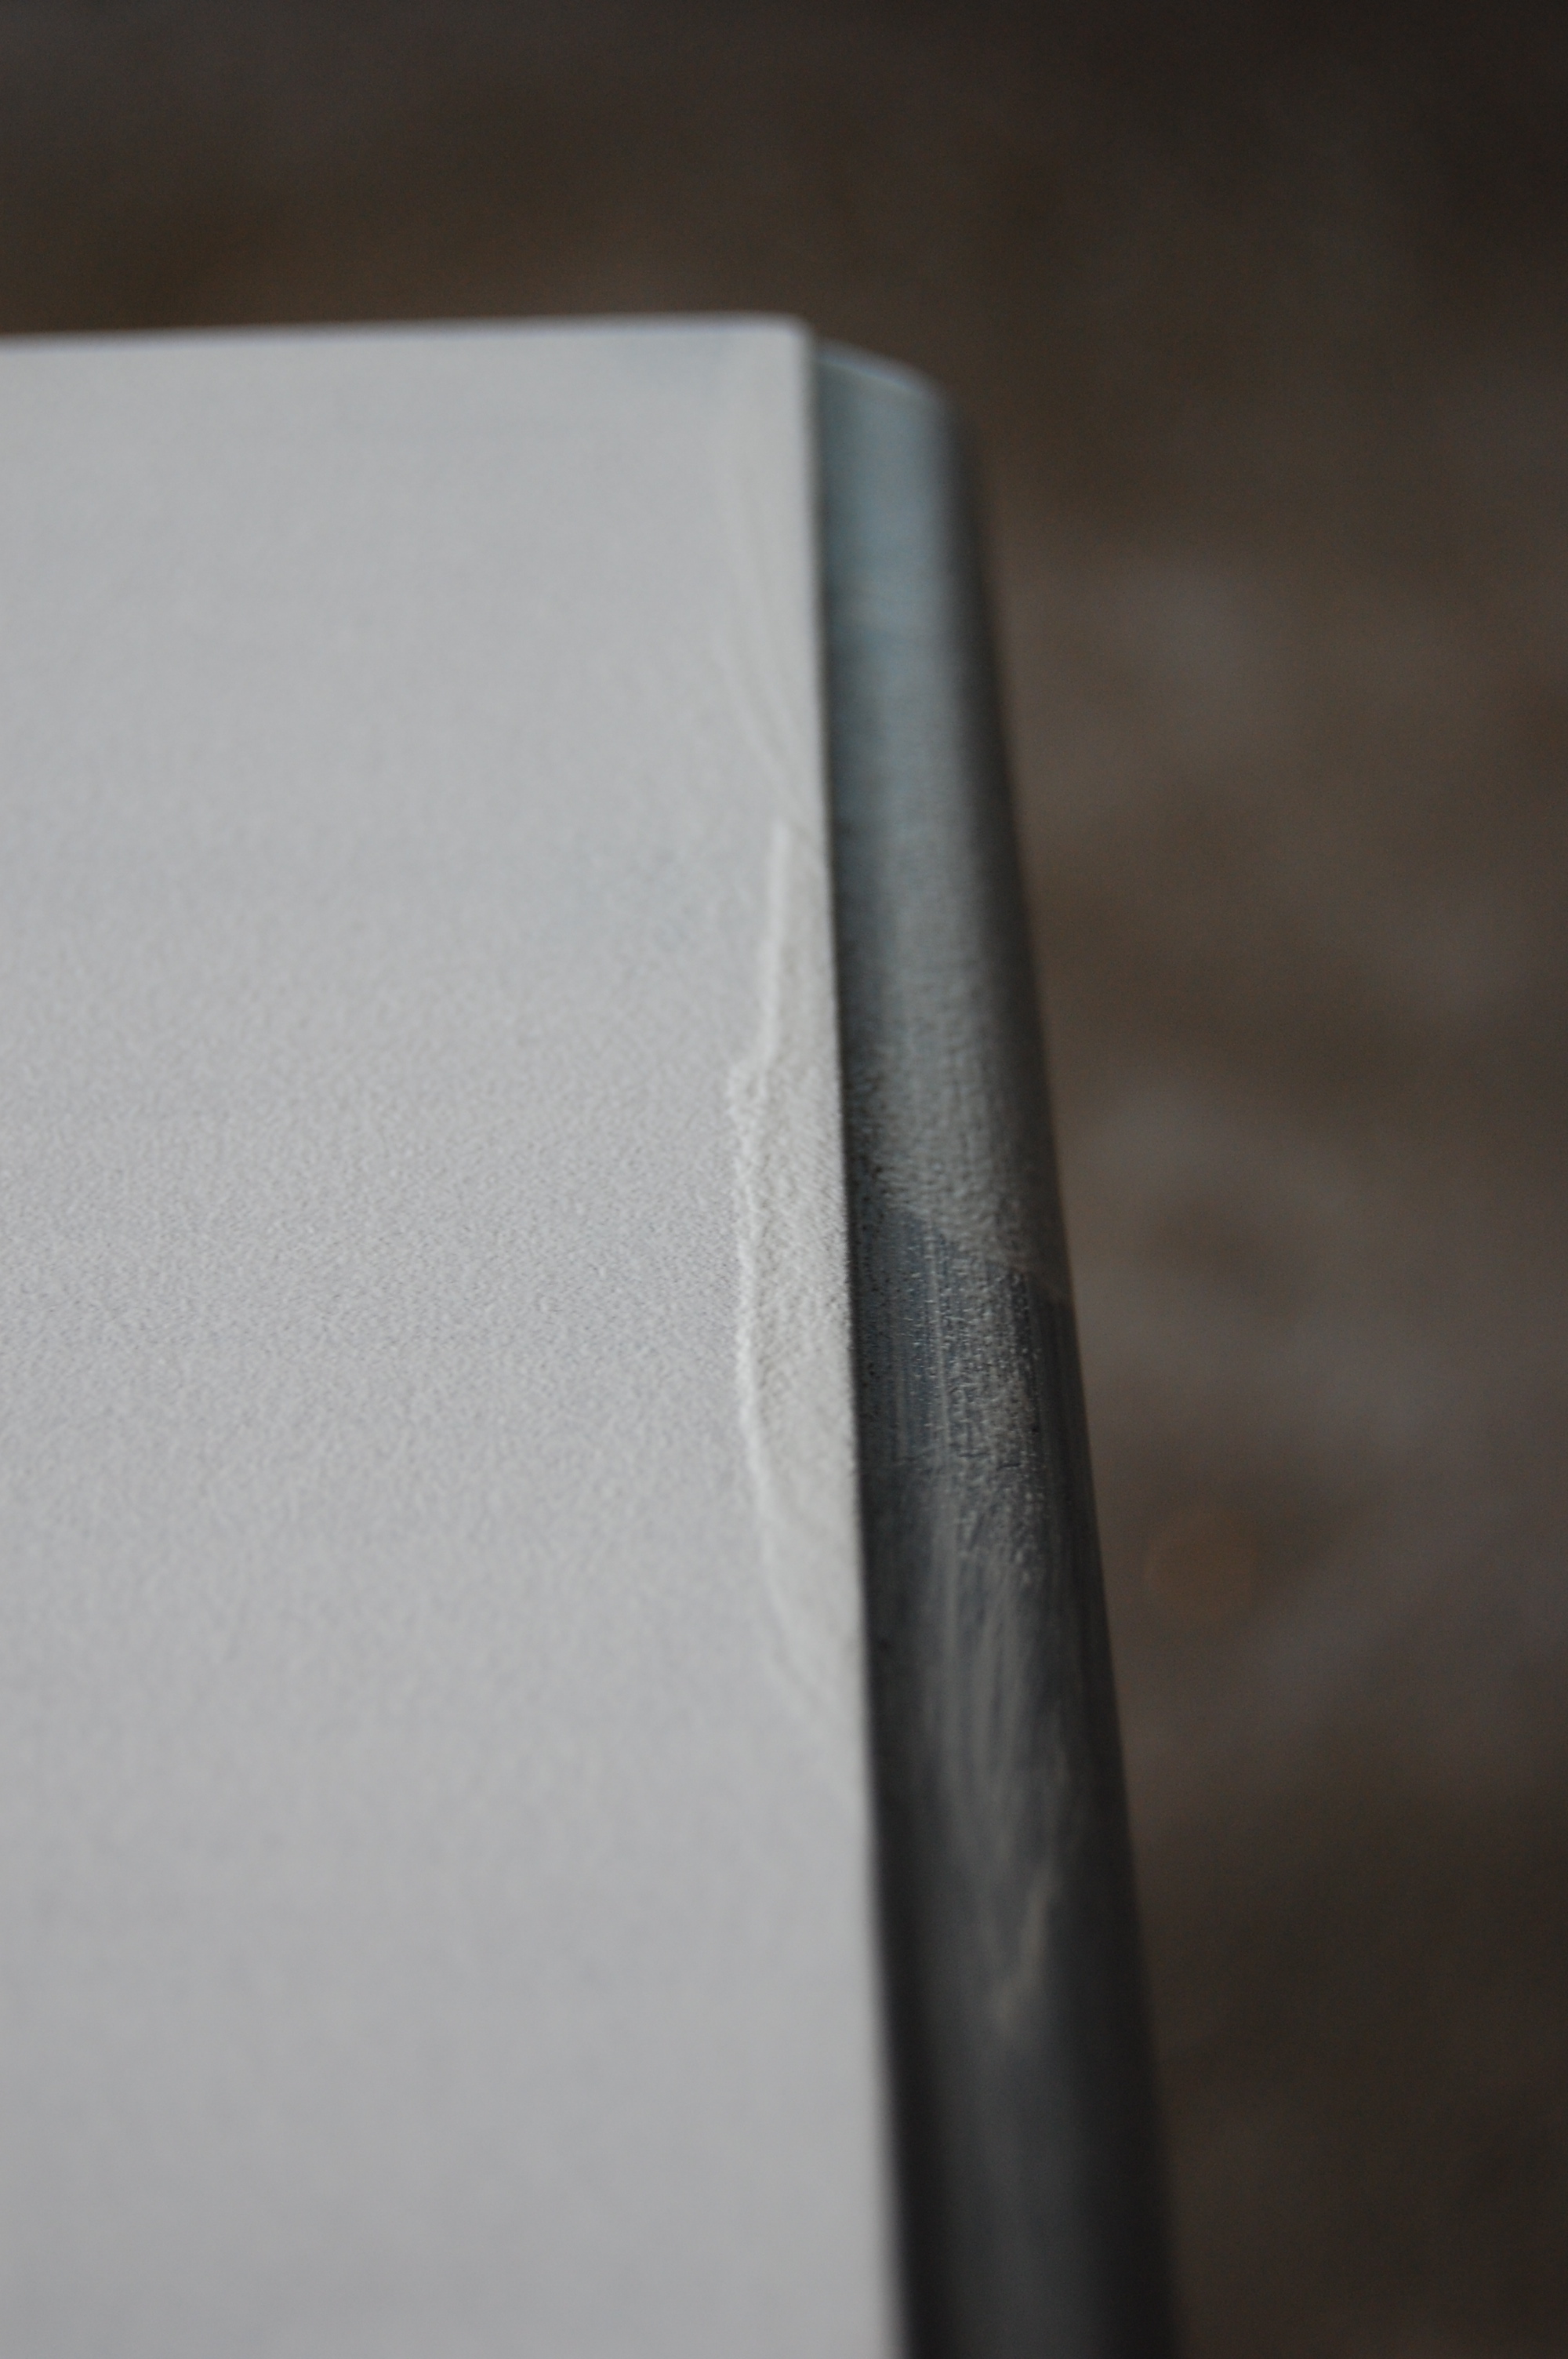 Once it was all smoothed out and wiped of any paint dust I began painting it. I did two coats and waited a day between each coat just to be sure. I was pretty terrified of the color after the first coat, it was green! Here’s some first coat action.
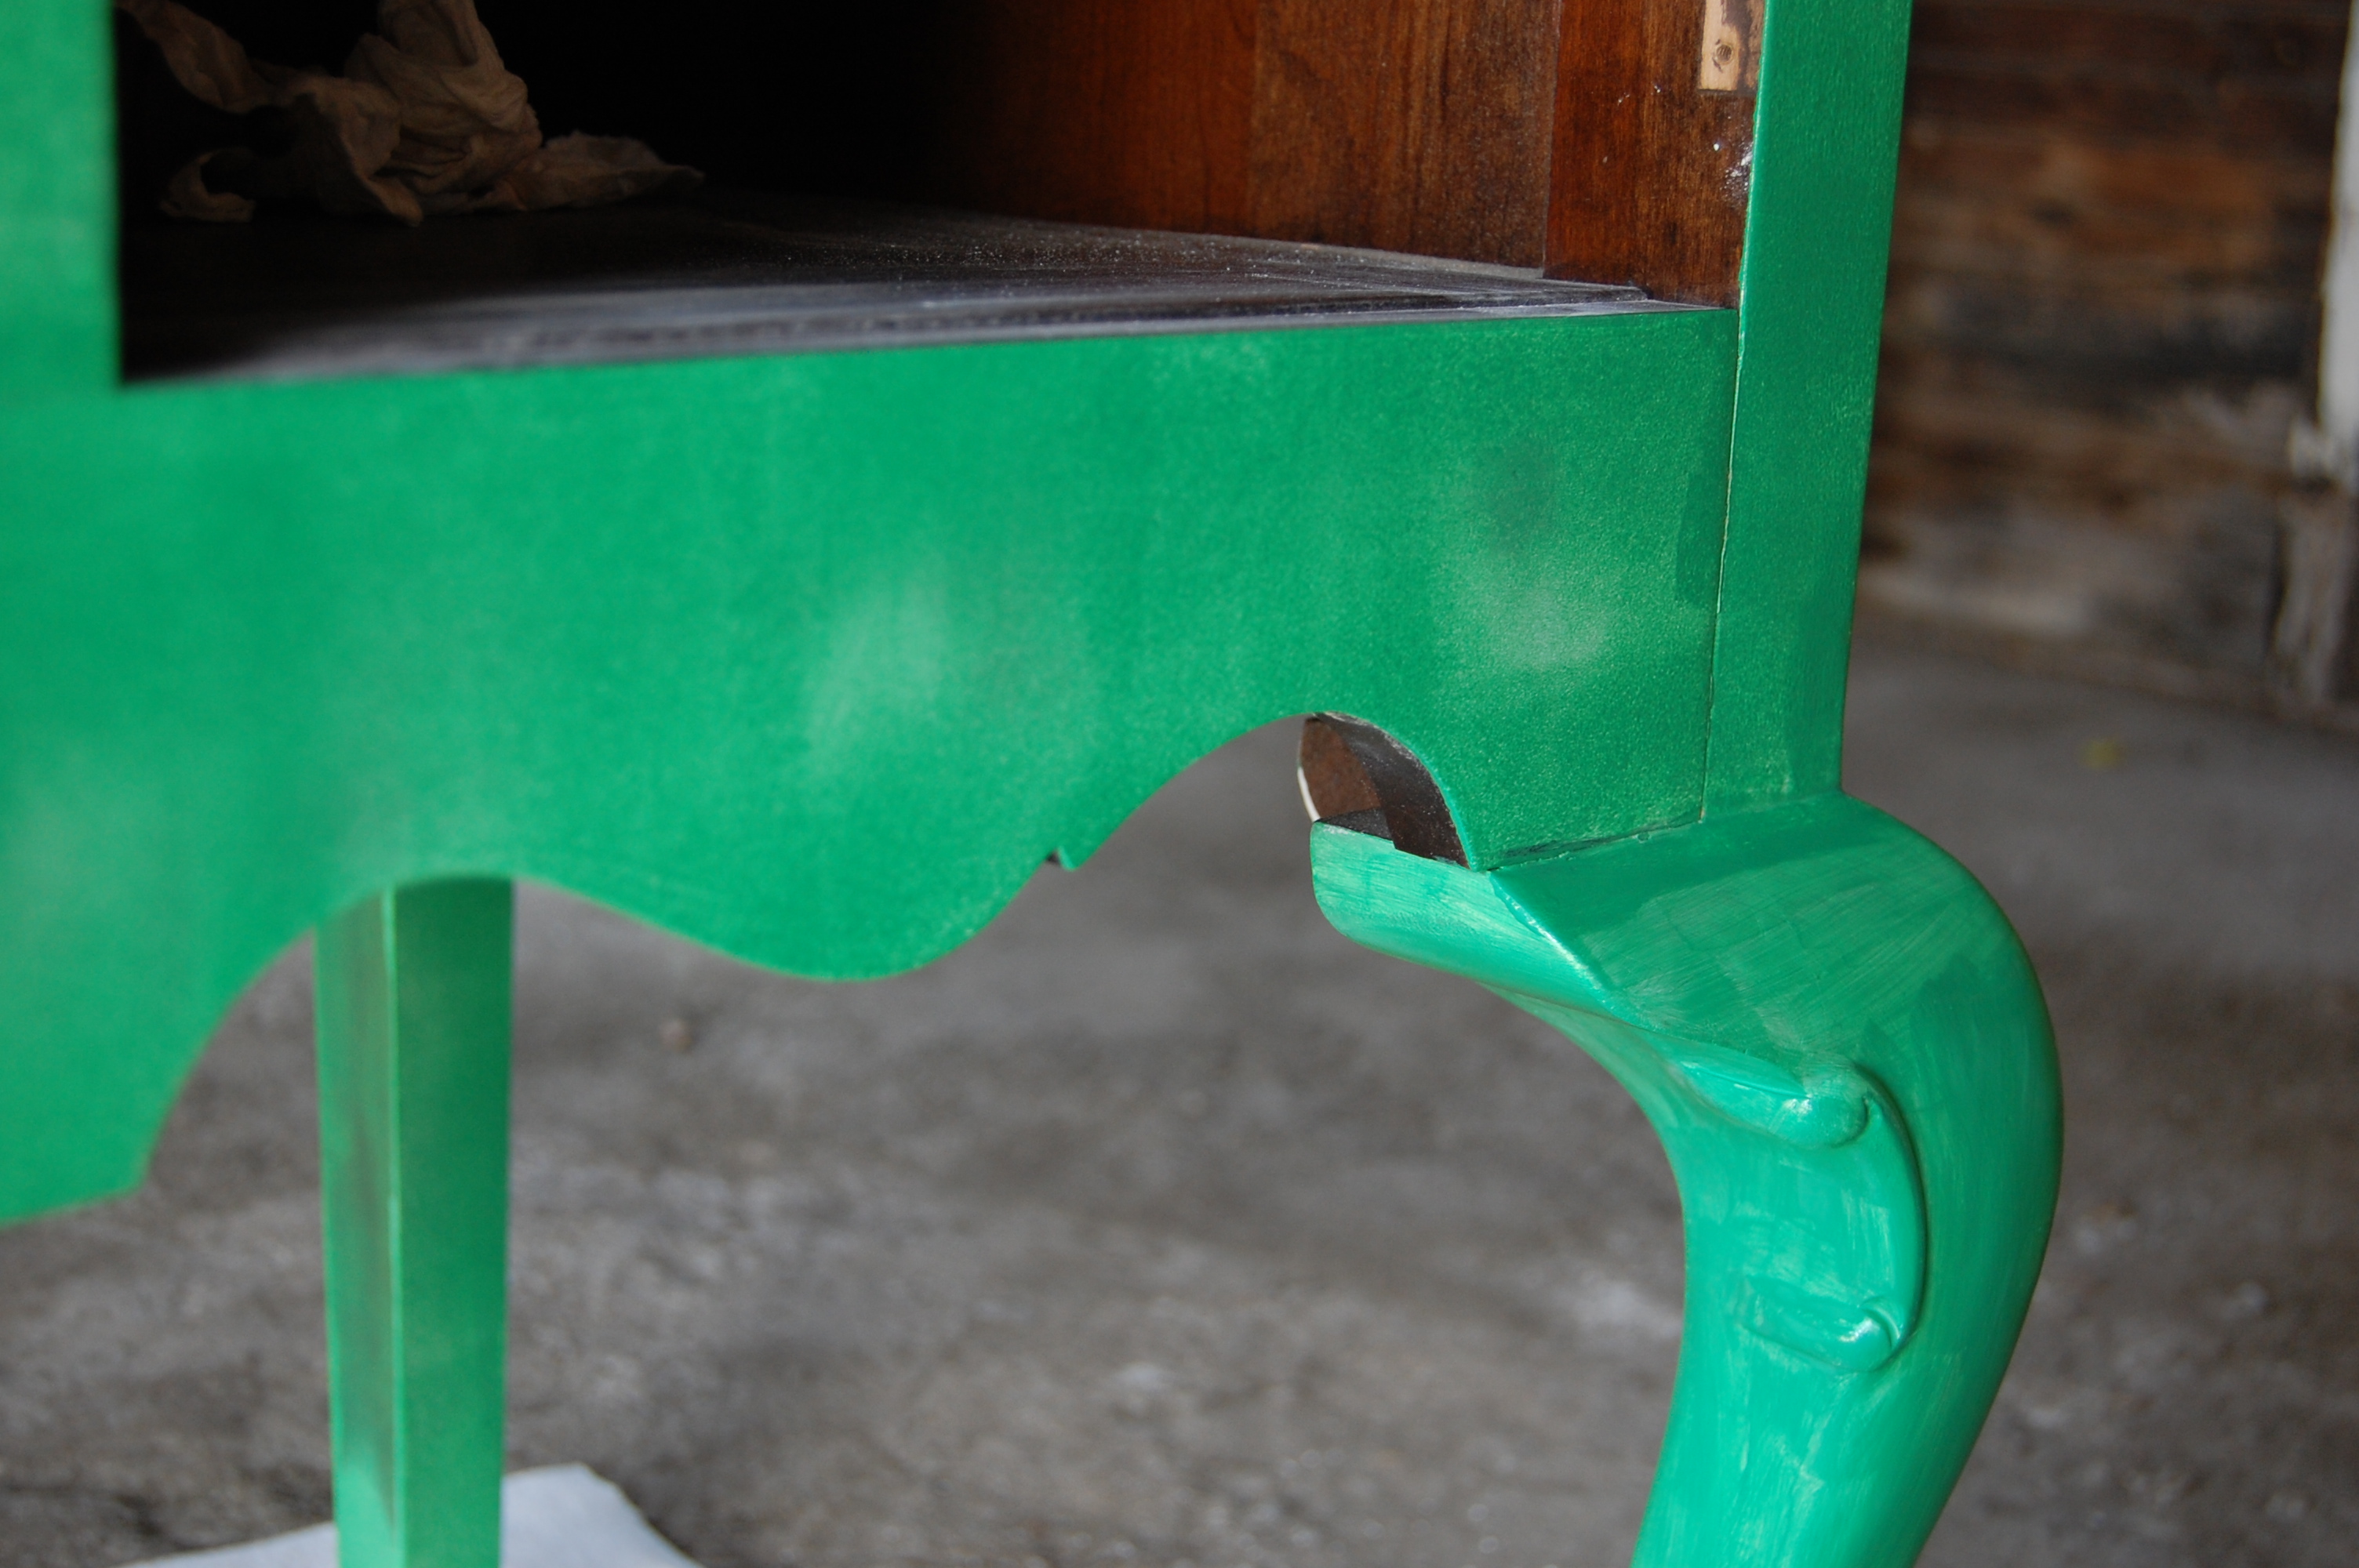
And some second coat love.
But as the second coat started to dry and the glossiness was shining through I was falling in love.
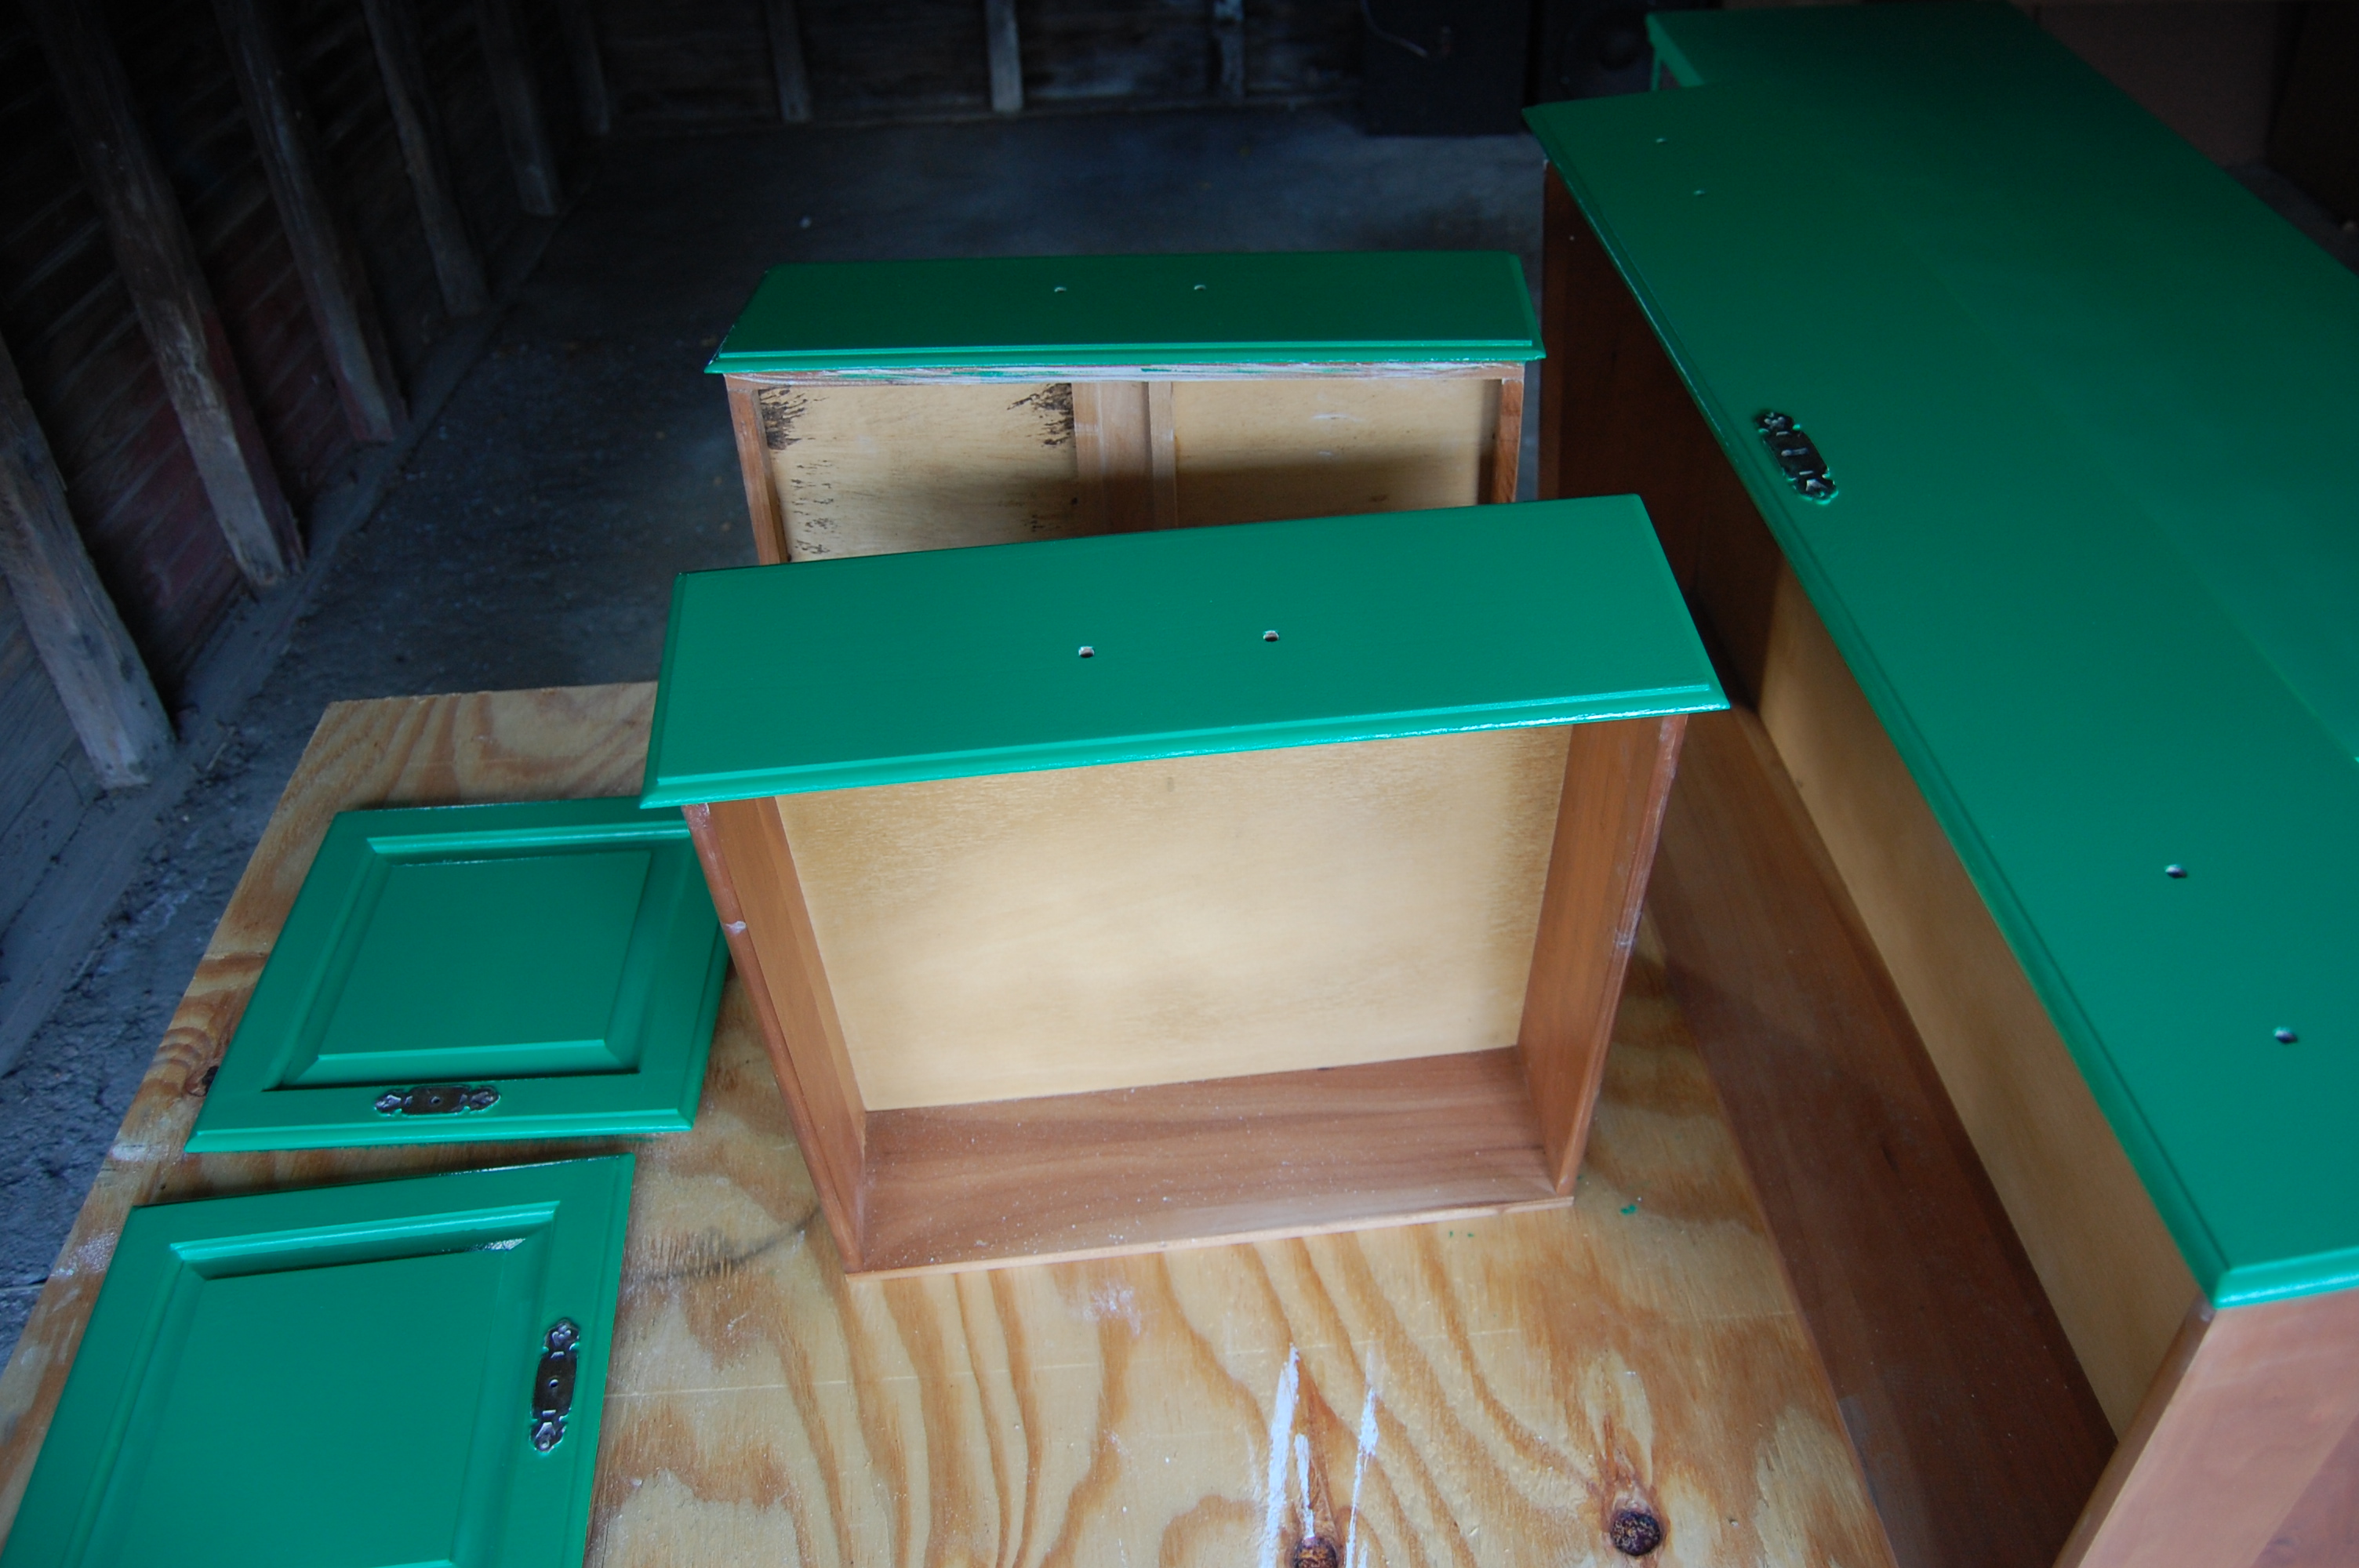
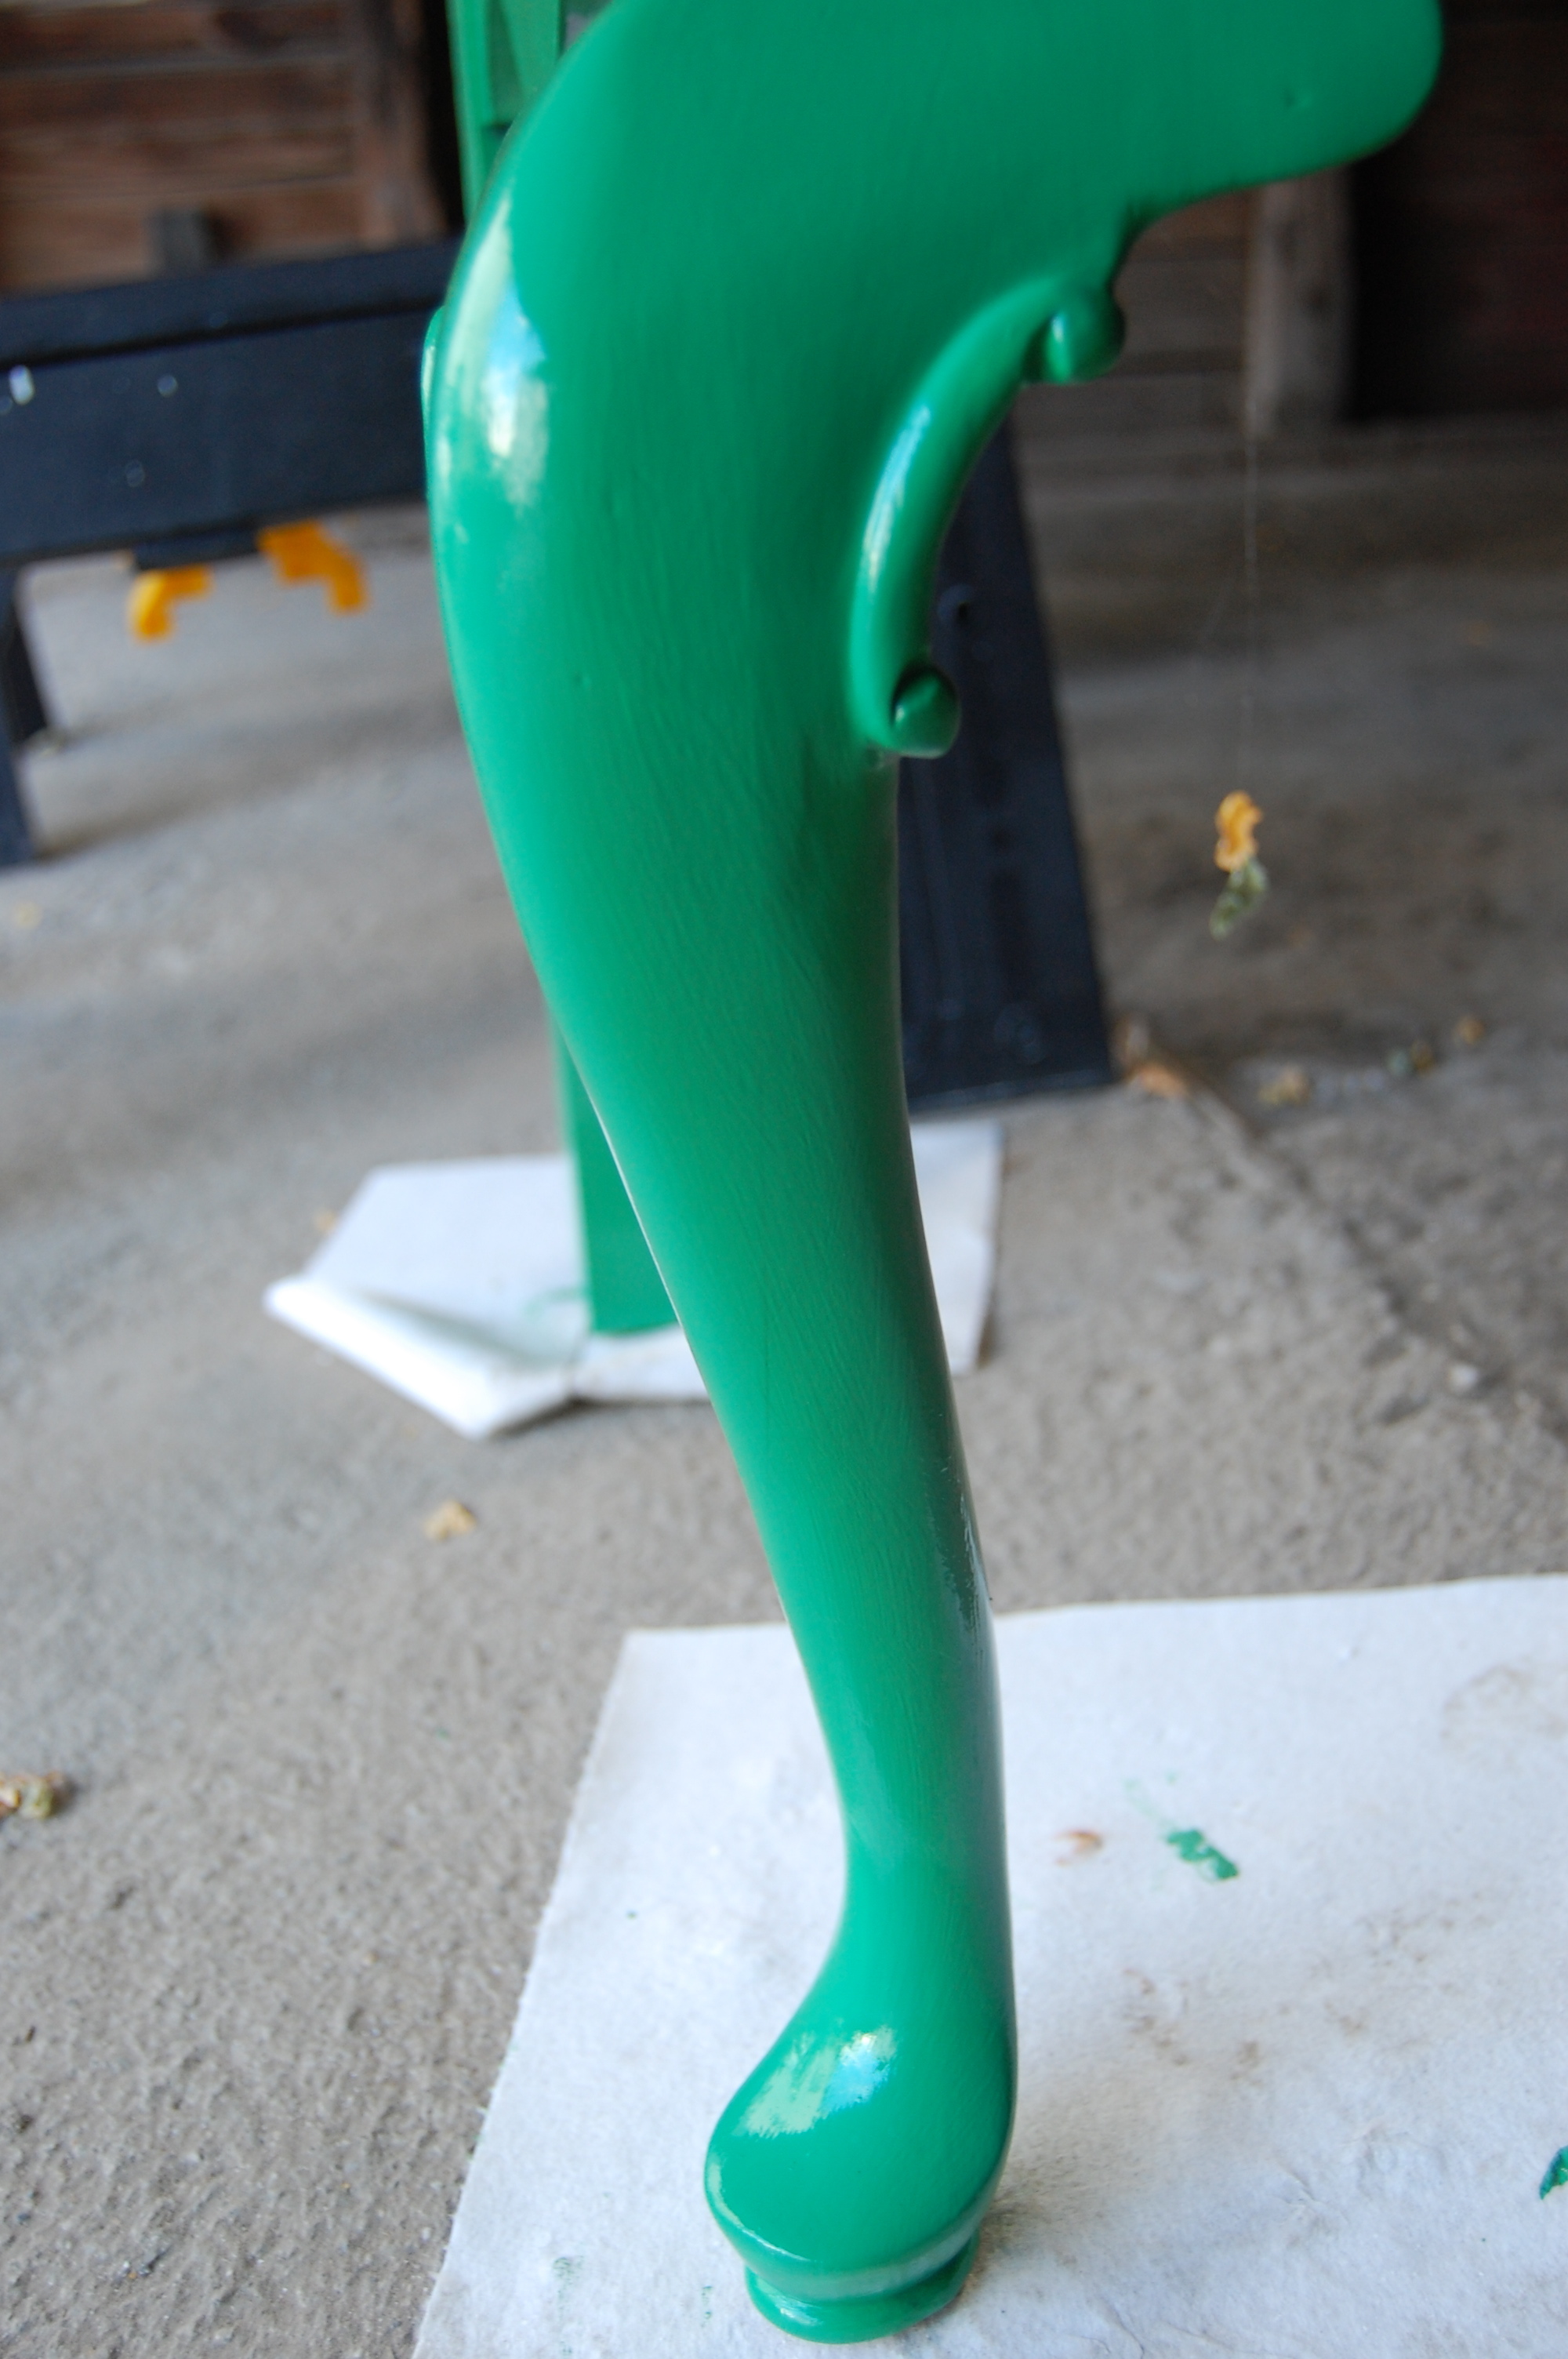 Now that all the painting is done the last thing left to do is add a polyurethane finish and put the hardware back on. I went to the hardware store to find a rub on polyurethane instead of brush on but didn’t succeed so I’m heading to Home Depot today to grab it and then I will be able to place it inside and show you the reveal! I like keeping you in suspense 😉
Click HERE to see the reveal!!
**UPDATE**
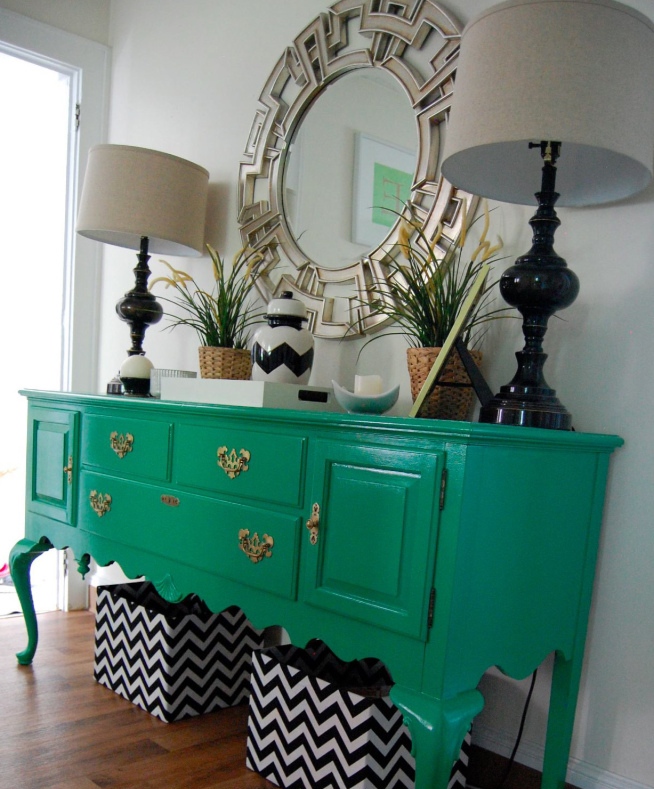
Here’s what she looks like today all styled and in her glory!
