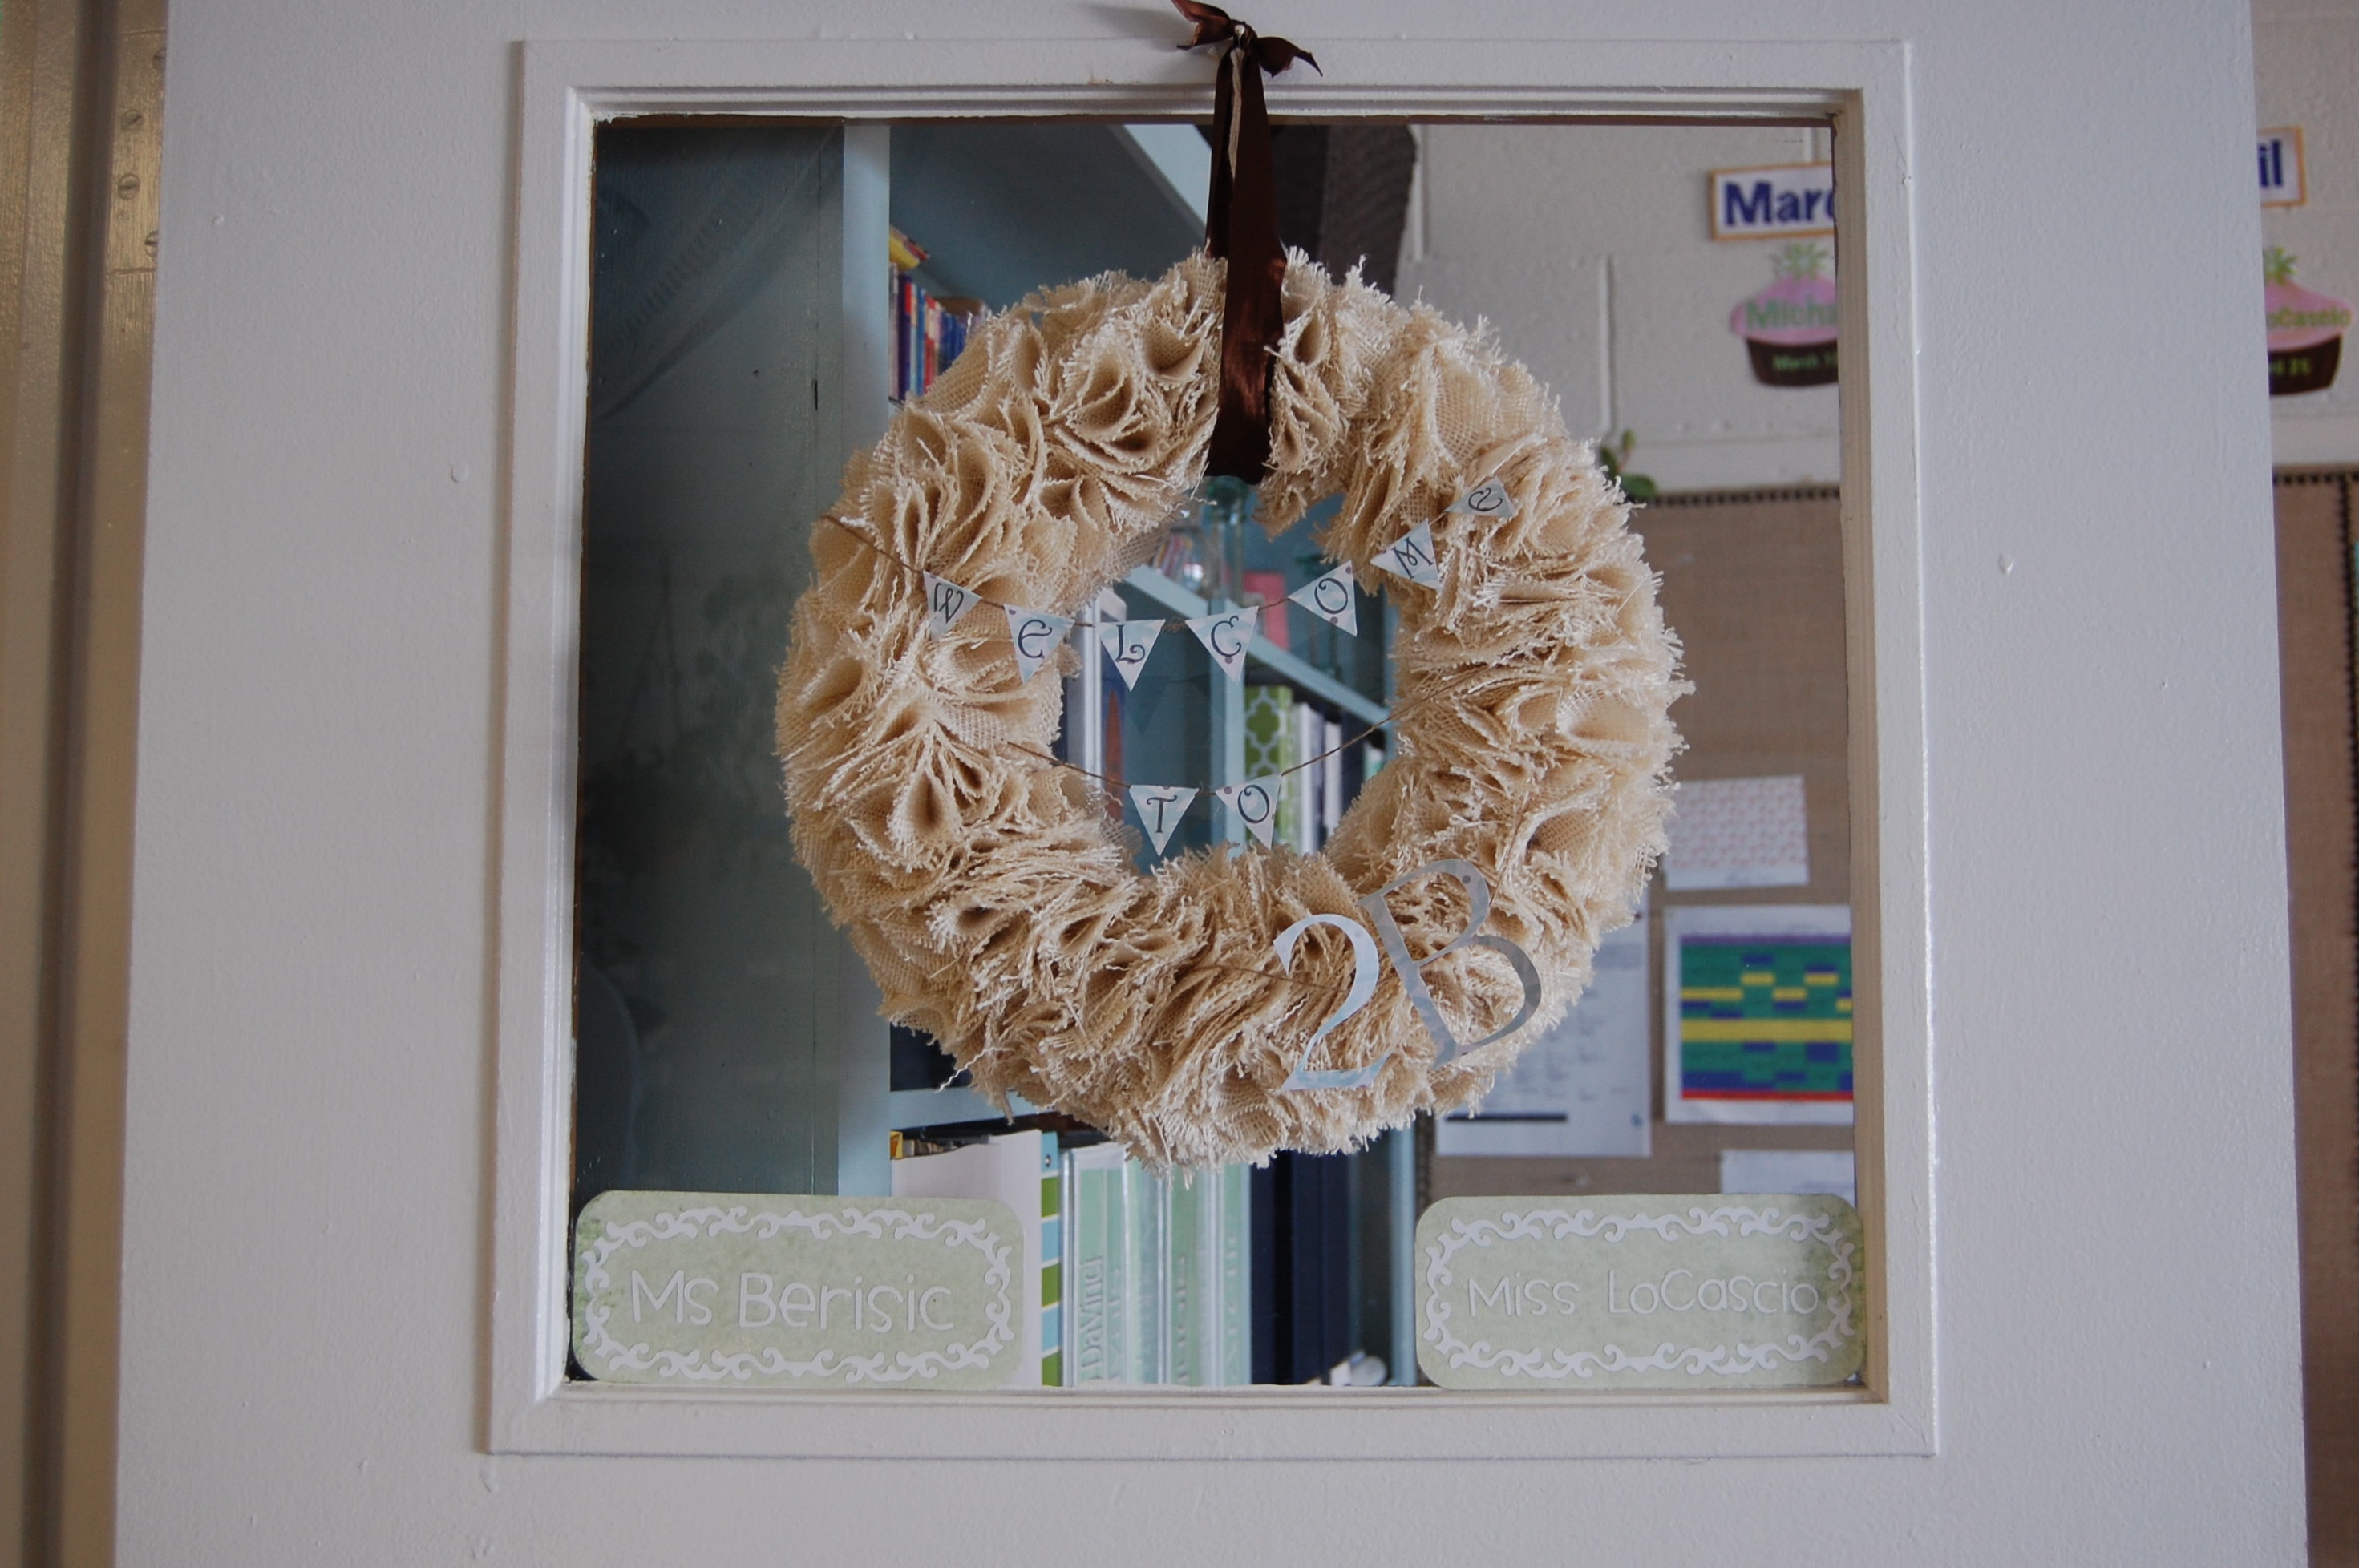
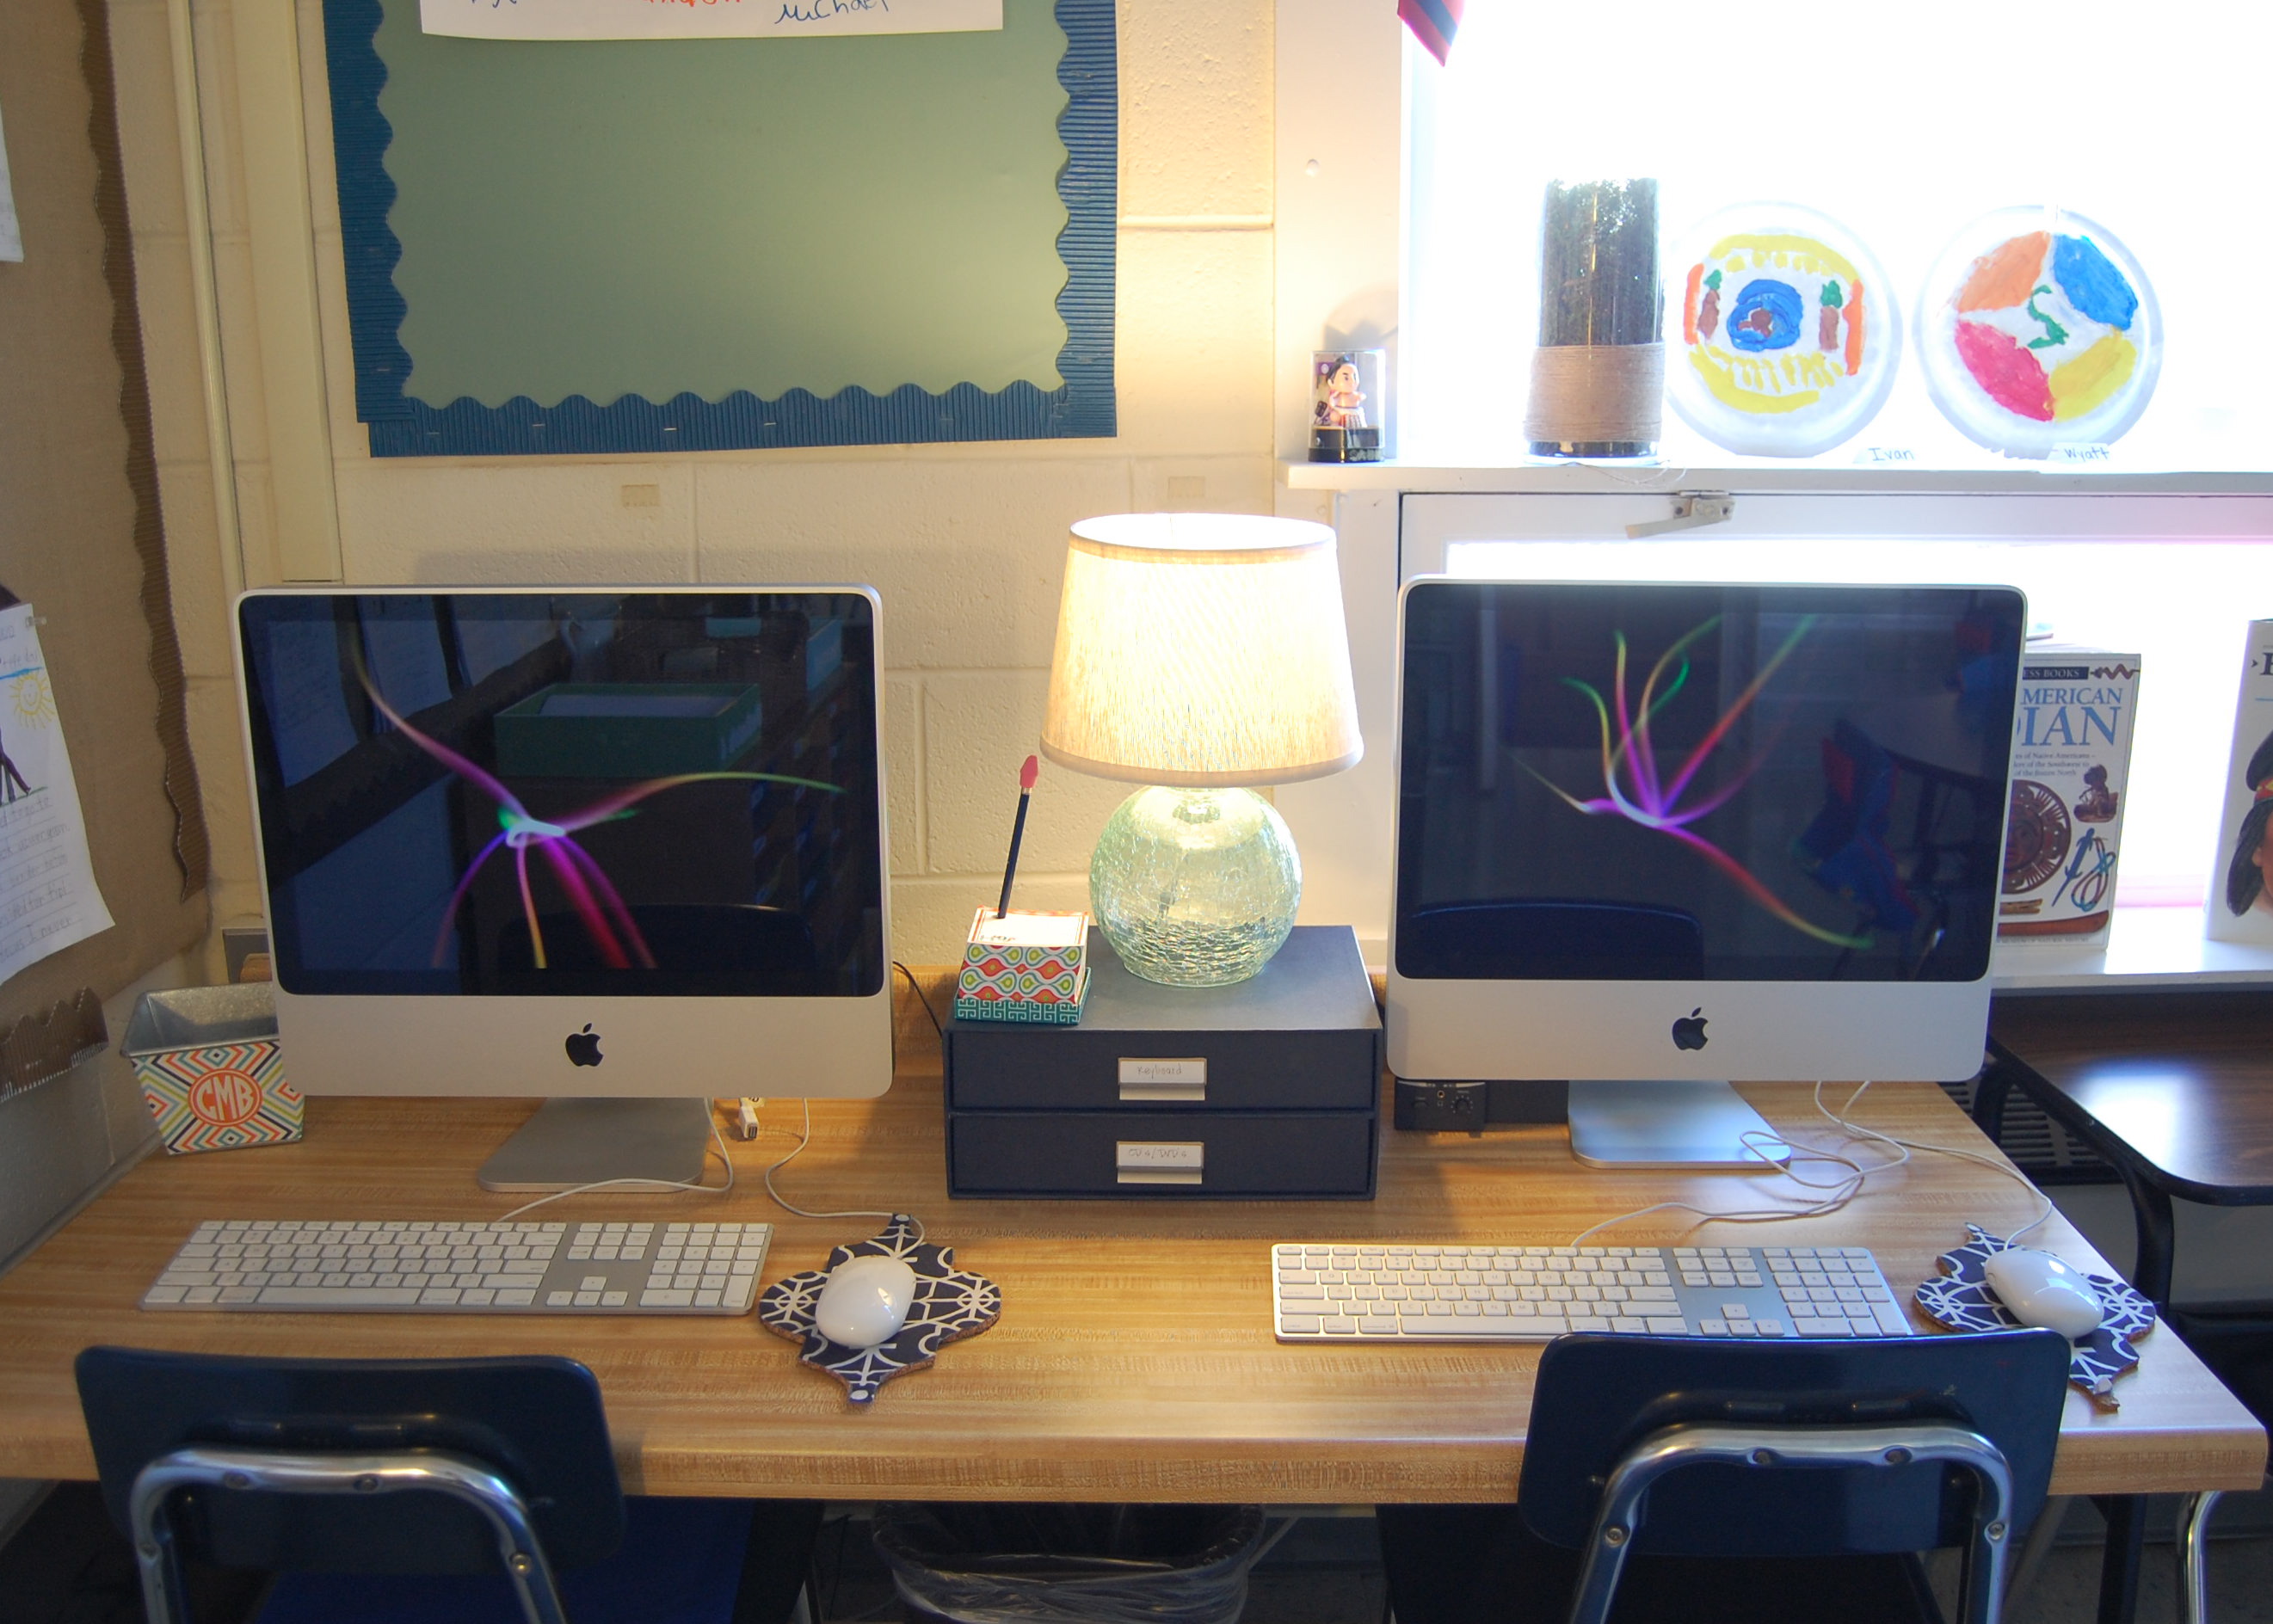
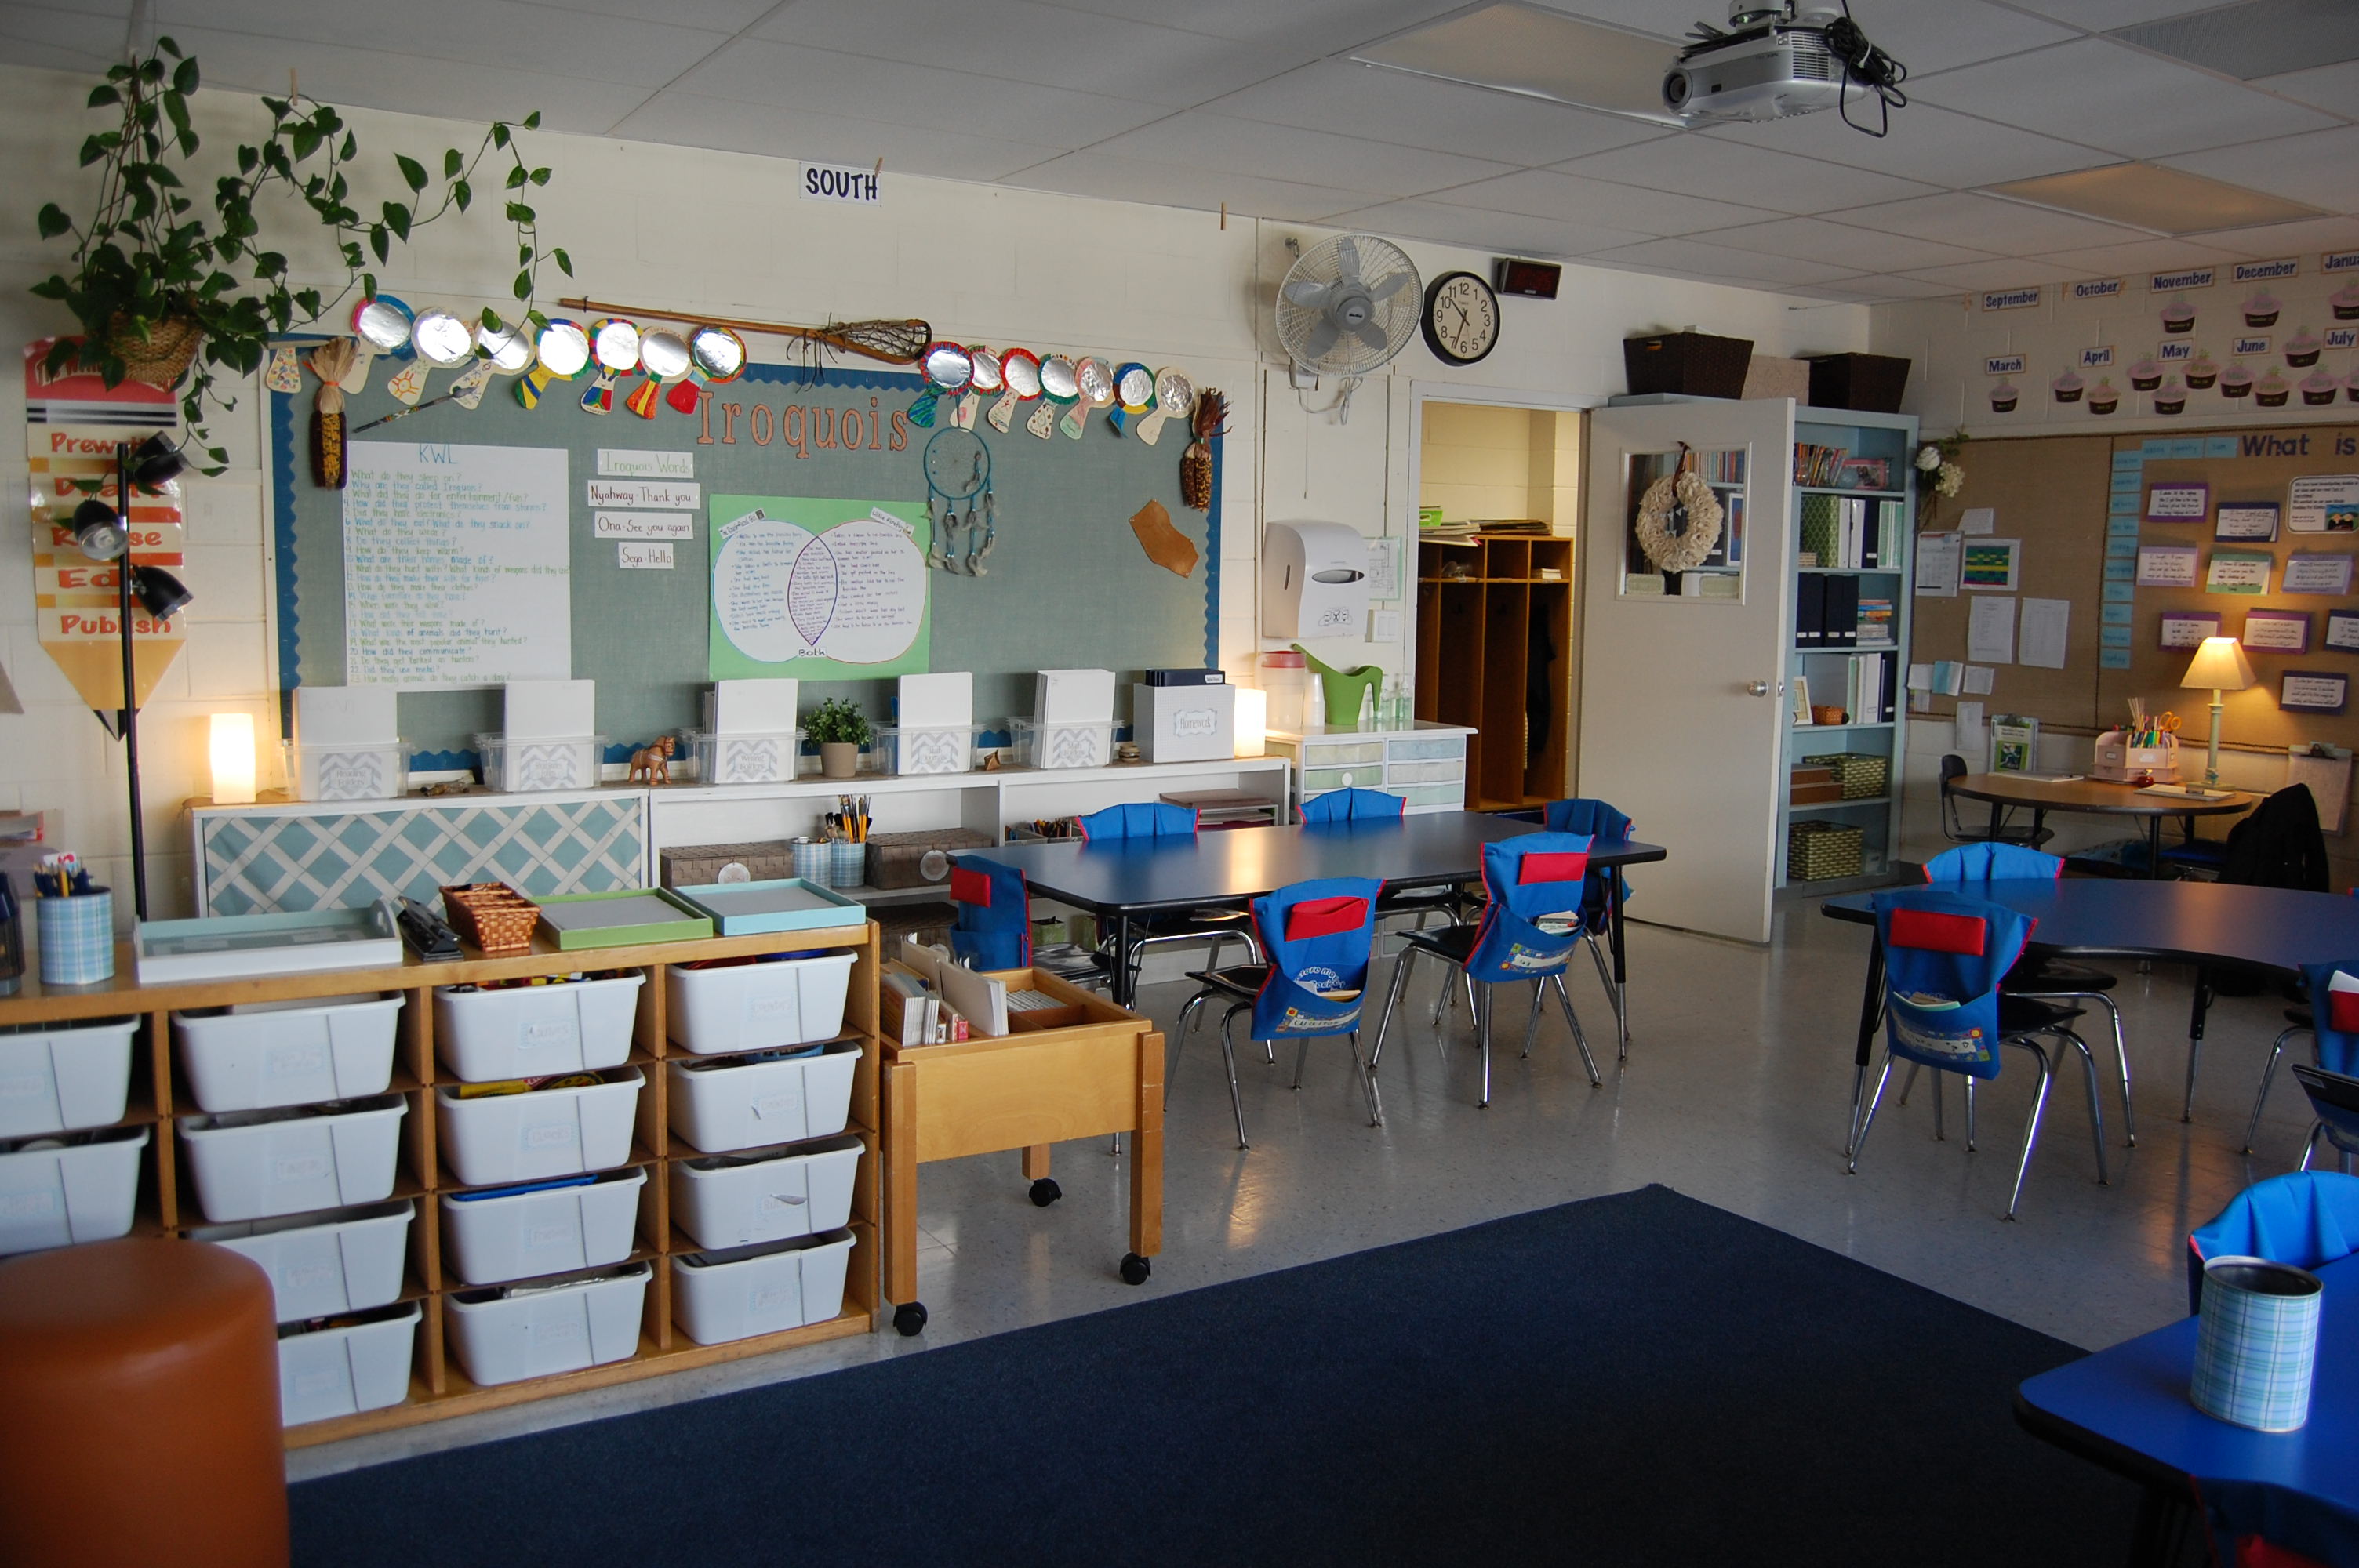
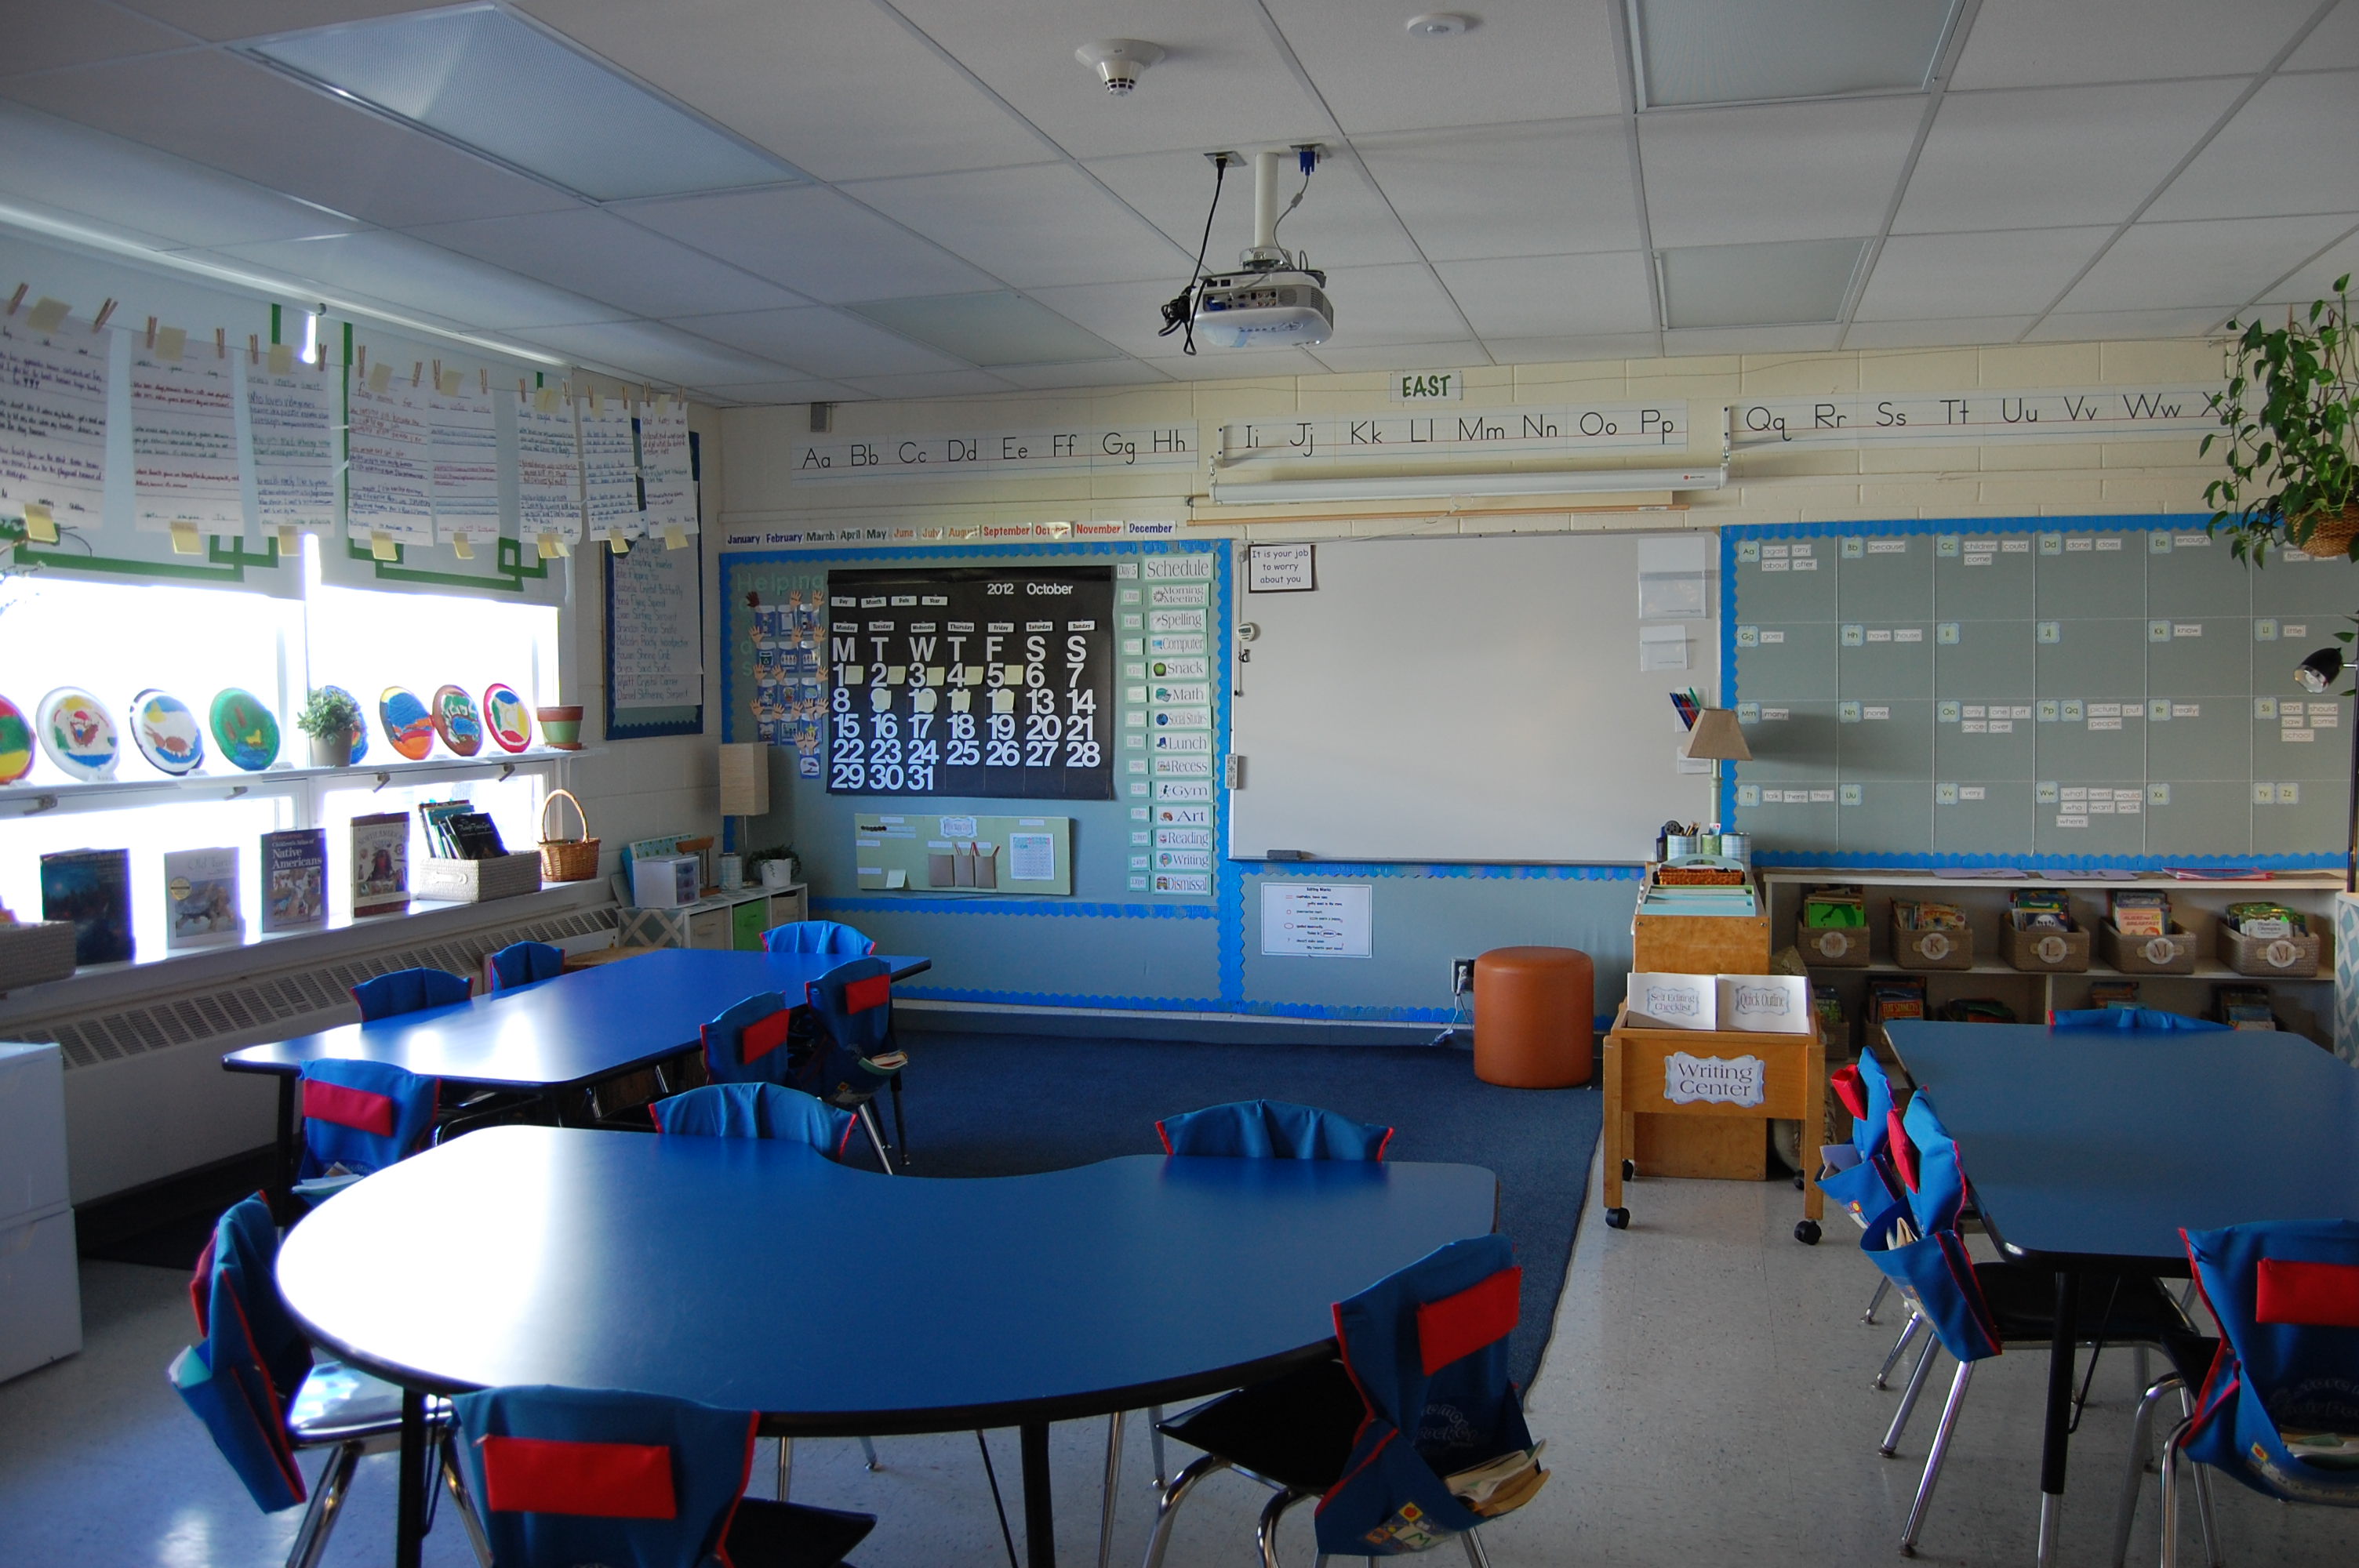
Ok so I kind of dropped the ball on sharing pictures of my classroom and now that I keep getting requests for it I really don’t have an excuse not to. I should warn you this is a photo heavy post!! Now considering that I spend anywhere from 8-10 hours a day in my classroom it was very important to me that 1. It had a sense of comfort/hominess (for the students and myself) and 2. That everything had a purpose/was functional (for the purpose of the students). This room has gone through some facelifts since I first moved into it and short of one piece of furniture it’s almost where I want it. My quick back story: I teach second grade at a private school in Westchester, NY and I love every second of it. Considering that I am a creative junkie and need as many outlets as possible to tame my beast my school is the perfect fit for me! It is absolutely a magical place to be and I truly enjoy going to work everyday!
I have been fortunate enough to work under some amazing teachers, one in particular who has taught me so much of what I know. One of those things being what she likes to call the colorless classroom. That’s not to say that there is no color but rather soft muted colors that aren’t distracting. I have never been a fan of bright yellows, red, or oranges in a classroom. When you have students who have trouble focusing the last thing you want is a classroom full of distractions and in my opinion those colors distract me. Now one thing I should remind you of is that I work in a private school so if you are a teacher you may read this post and think that what I have done is unrealistic but the funds allowed to me for supplies is much greater than if I were to work in a public school. But on the same note there is a lot that can be done on a budget.
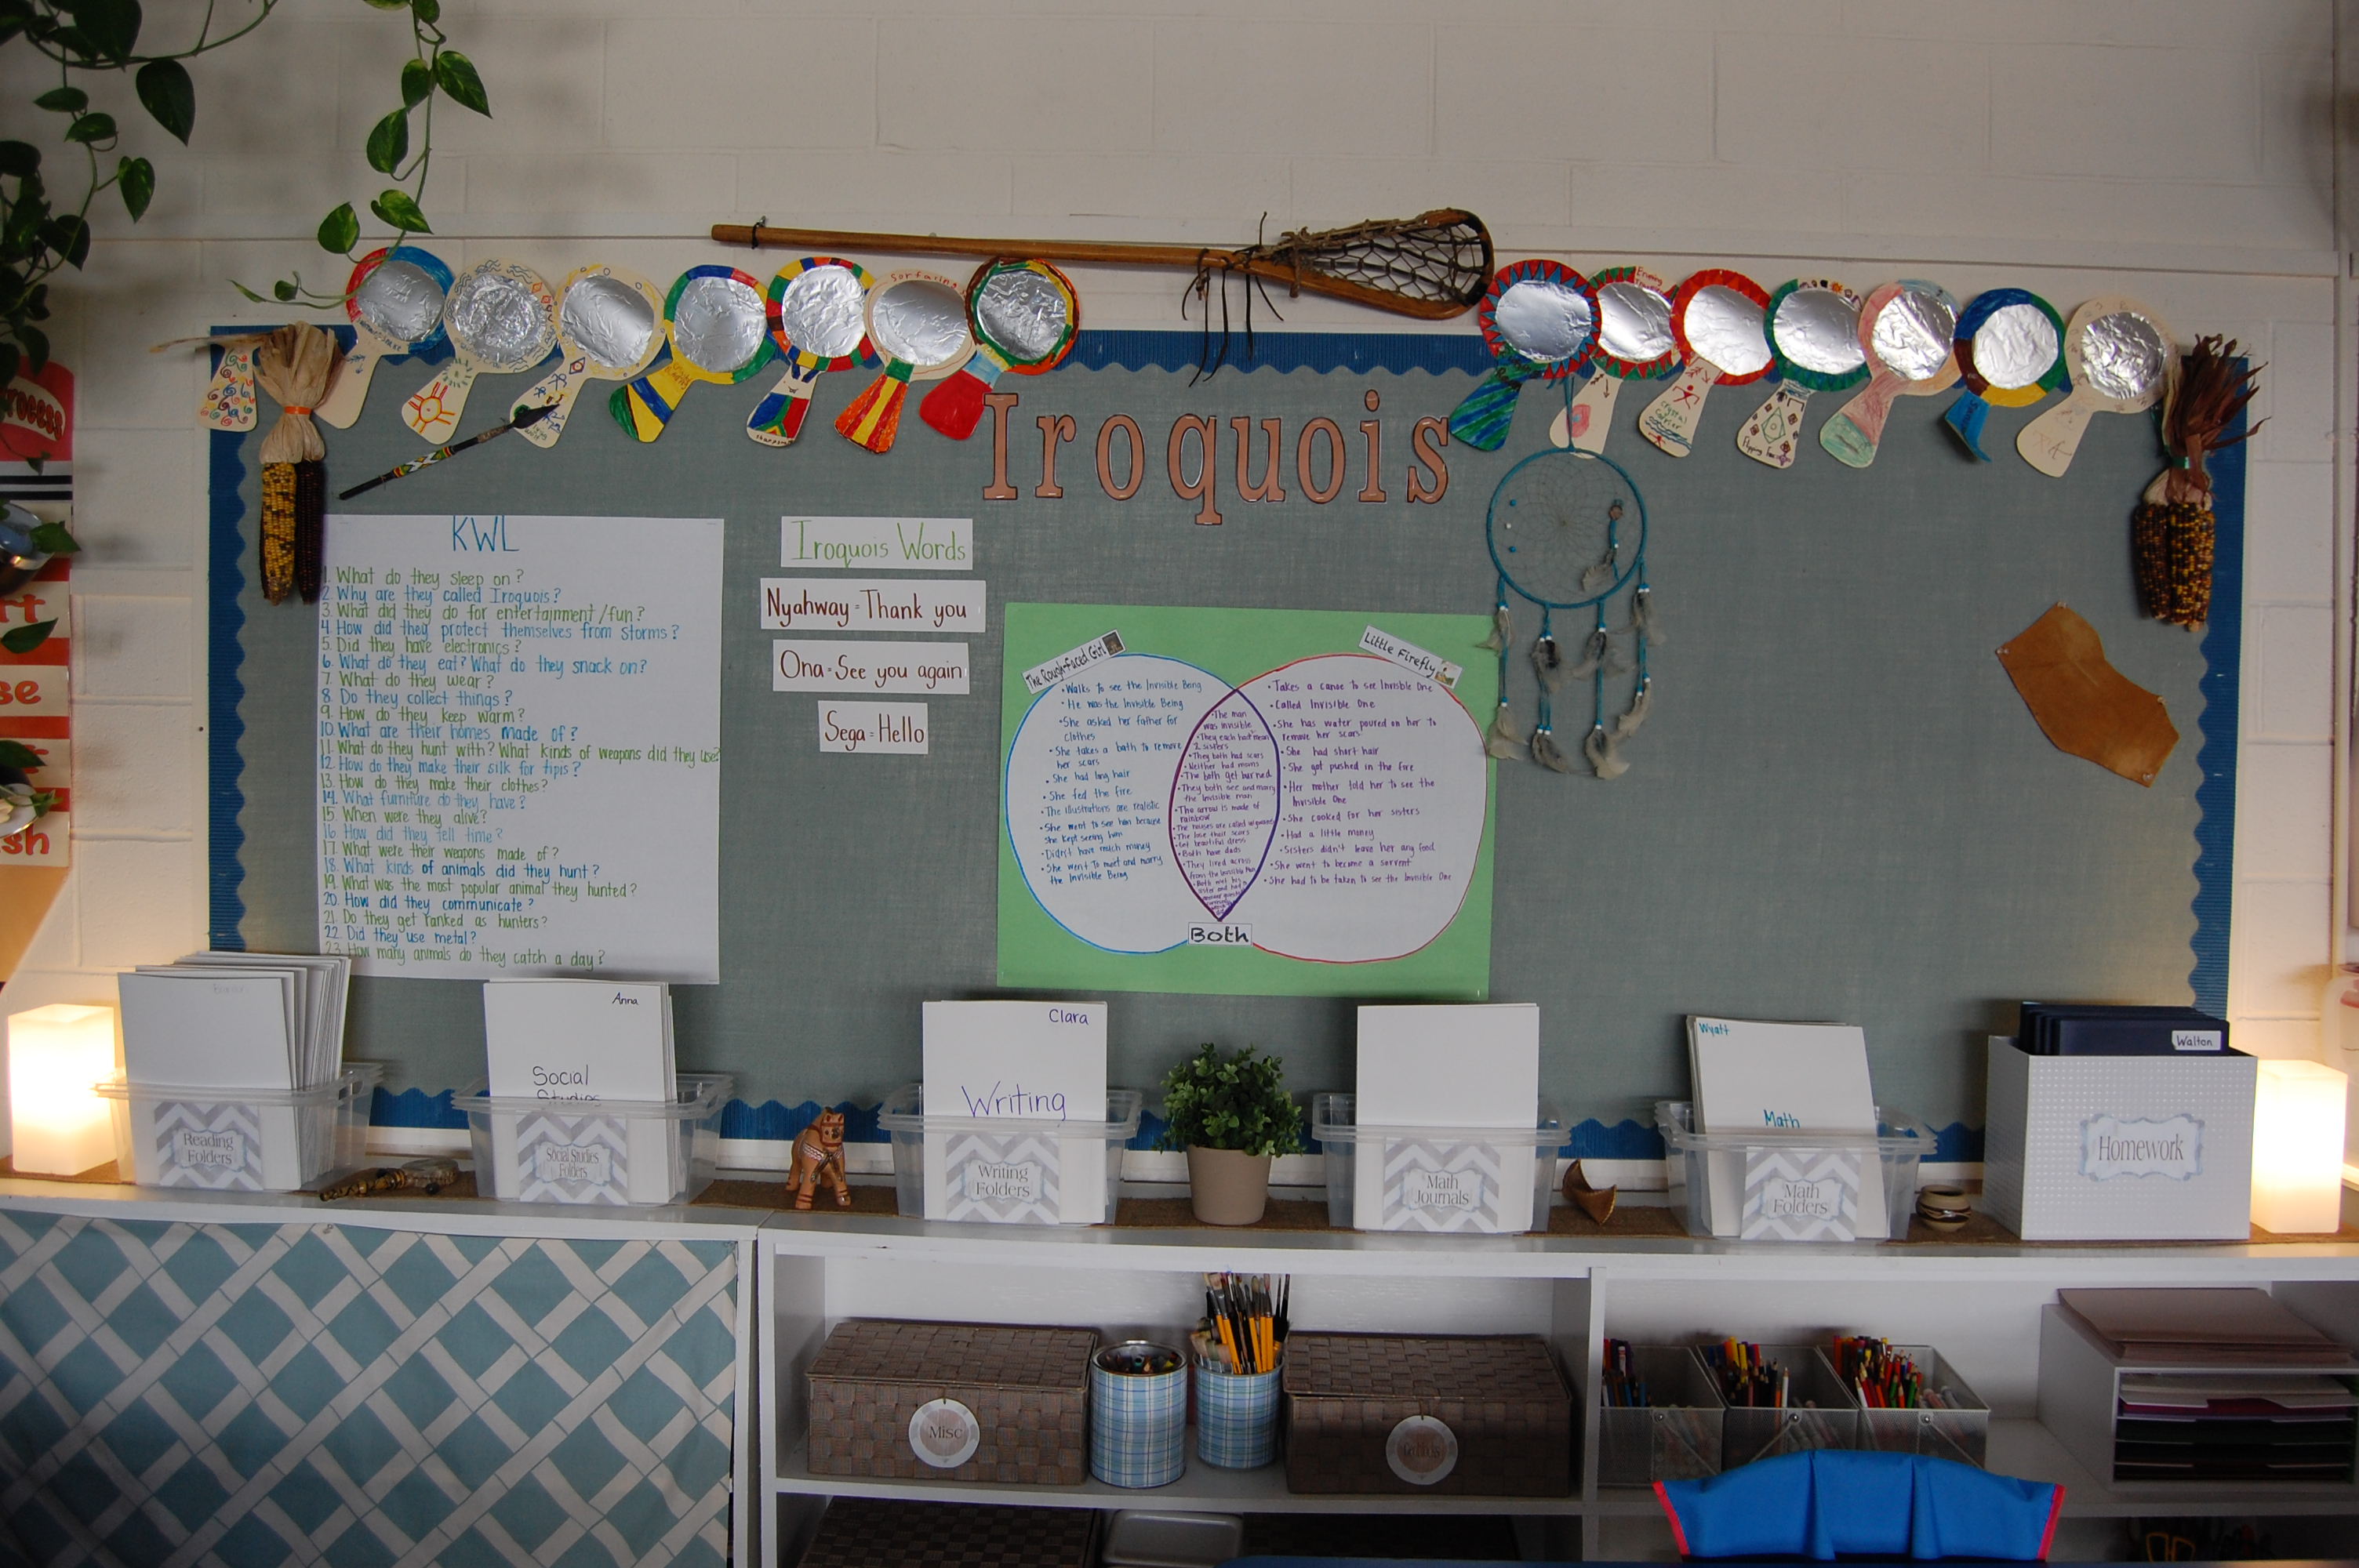
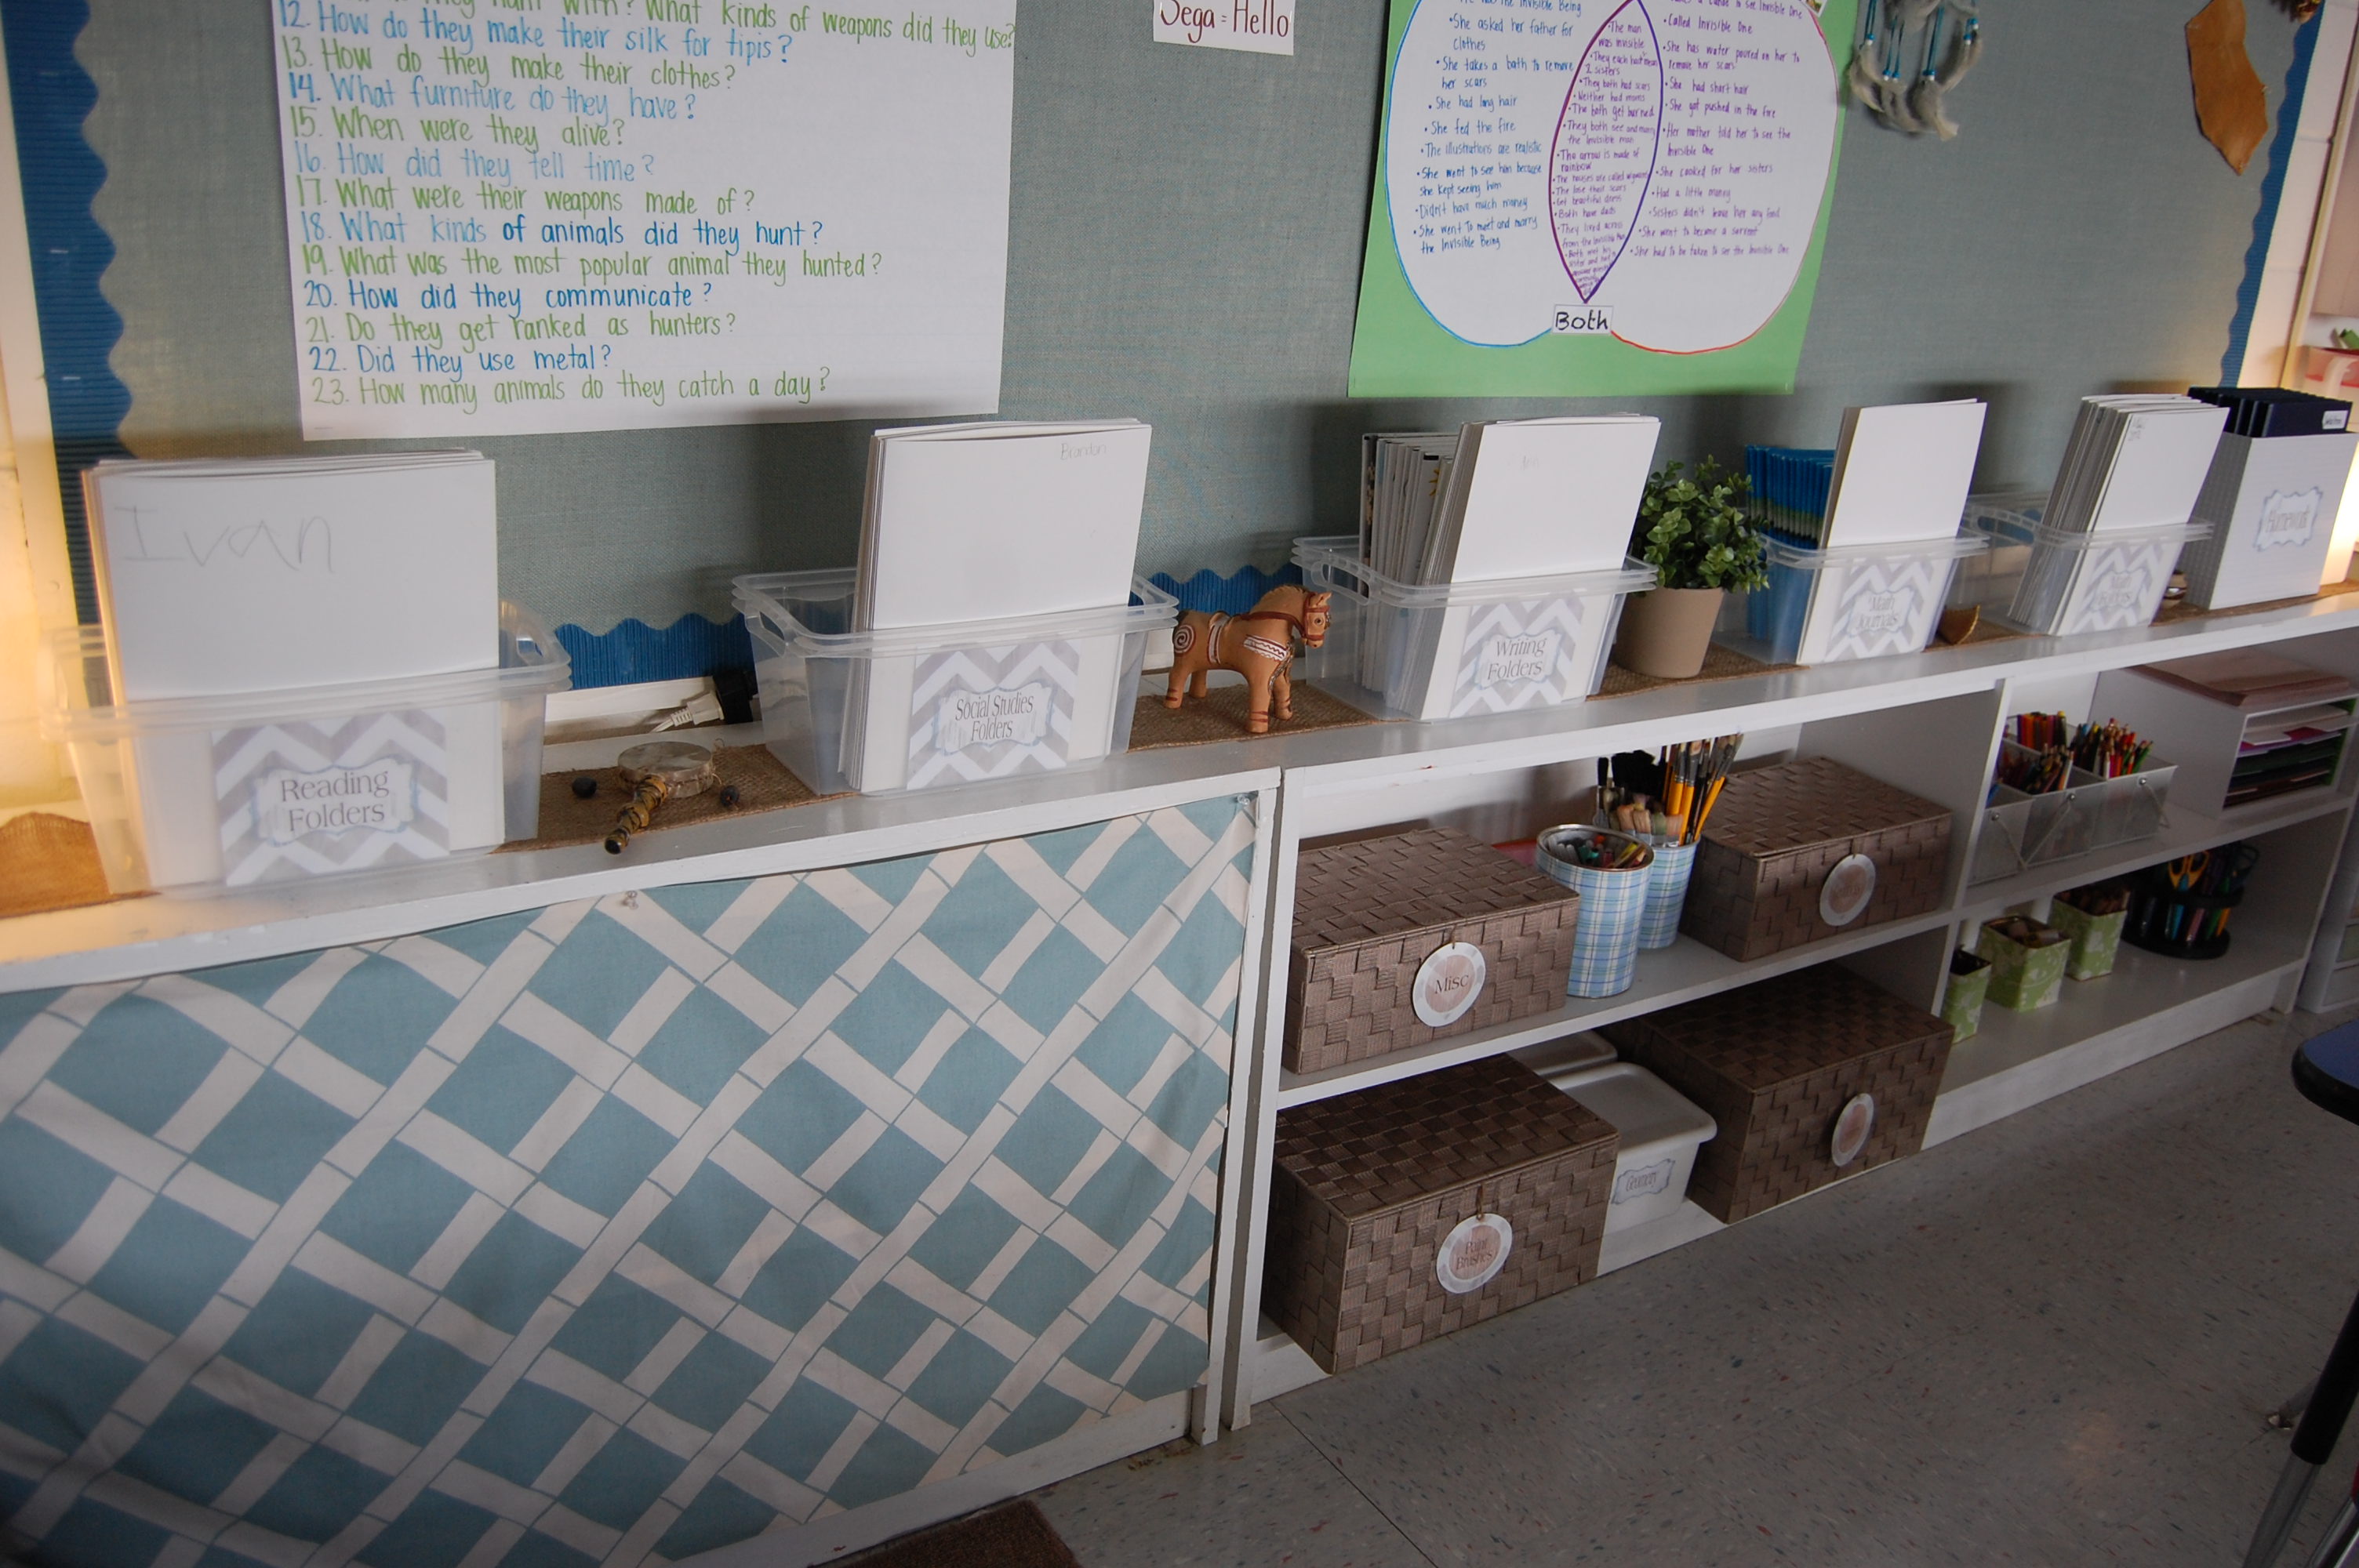
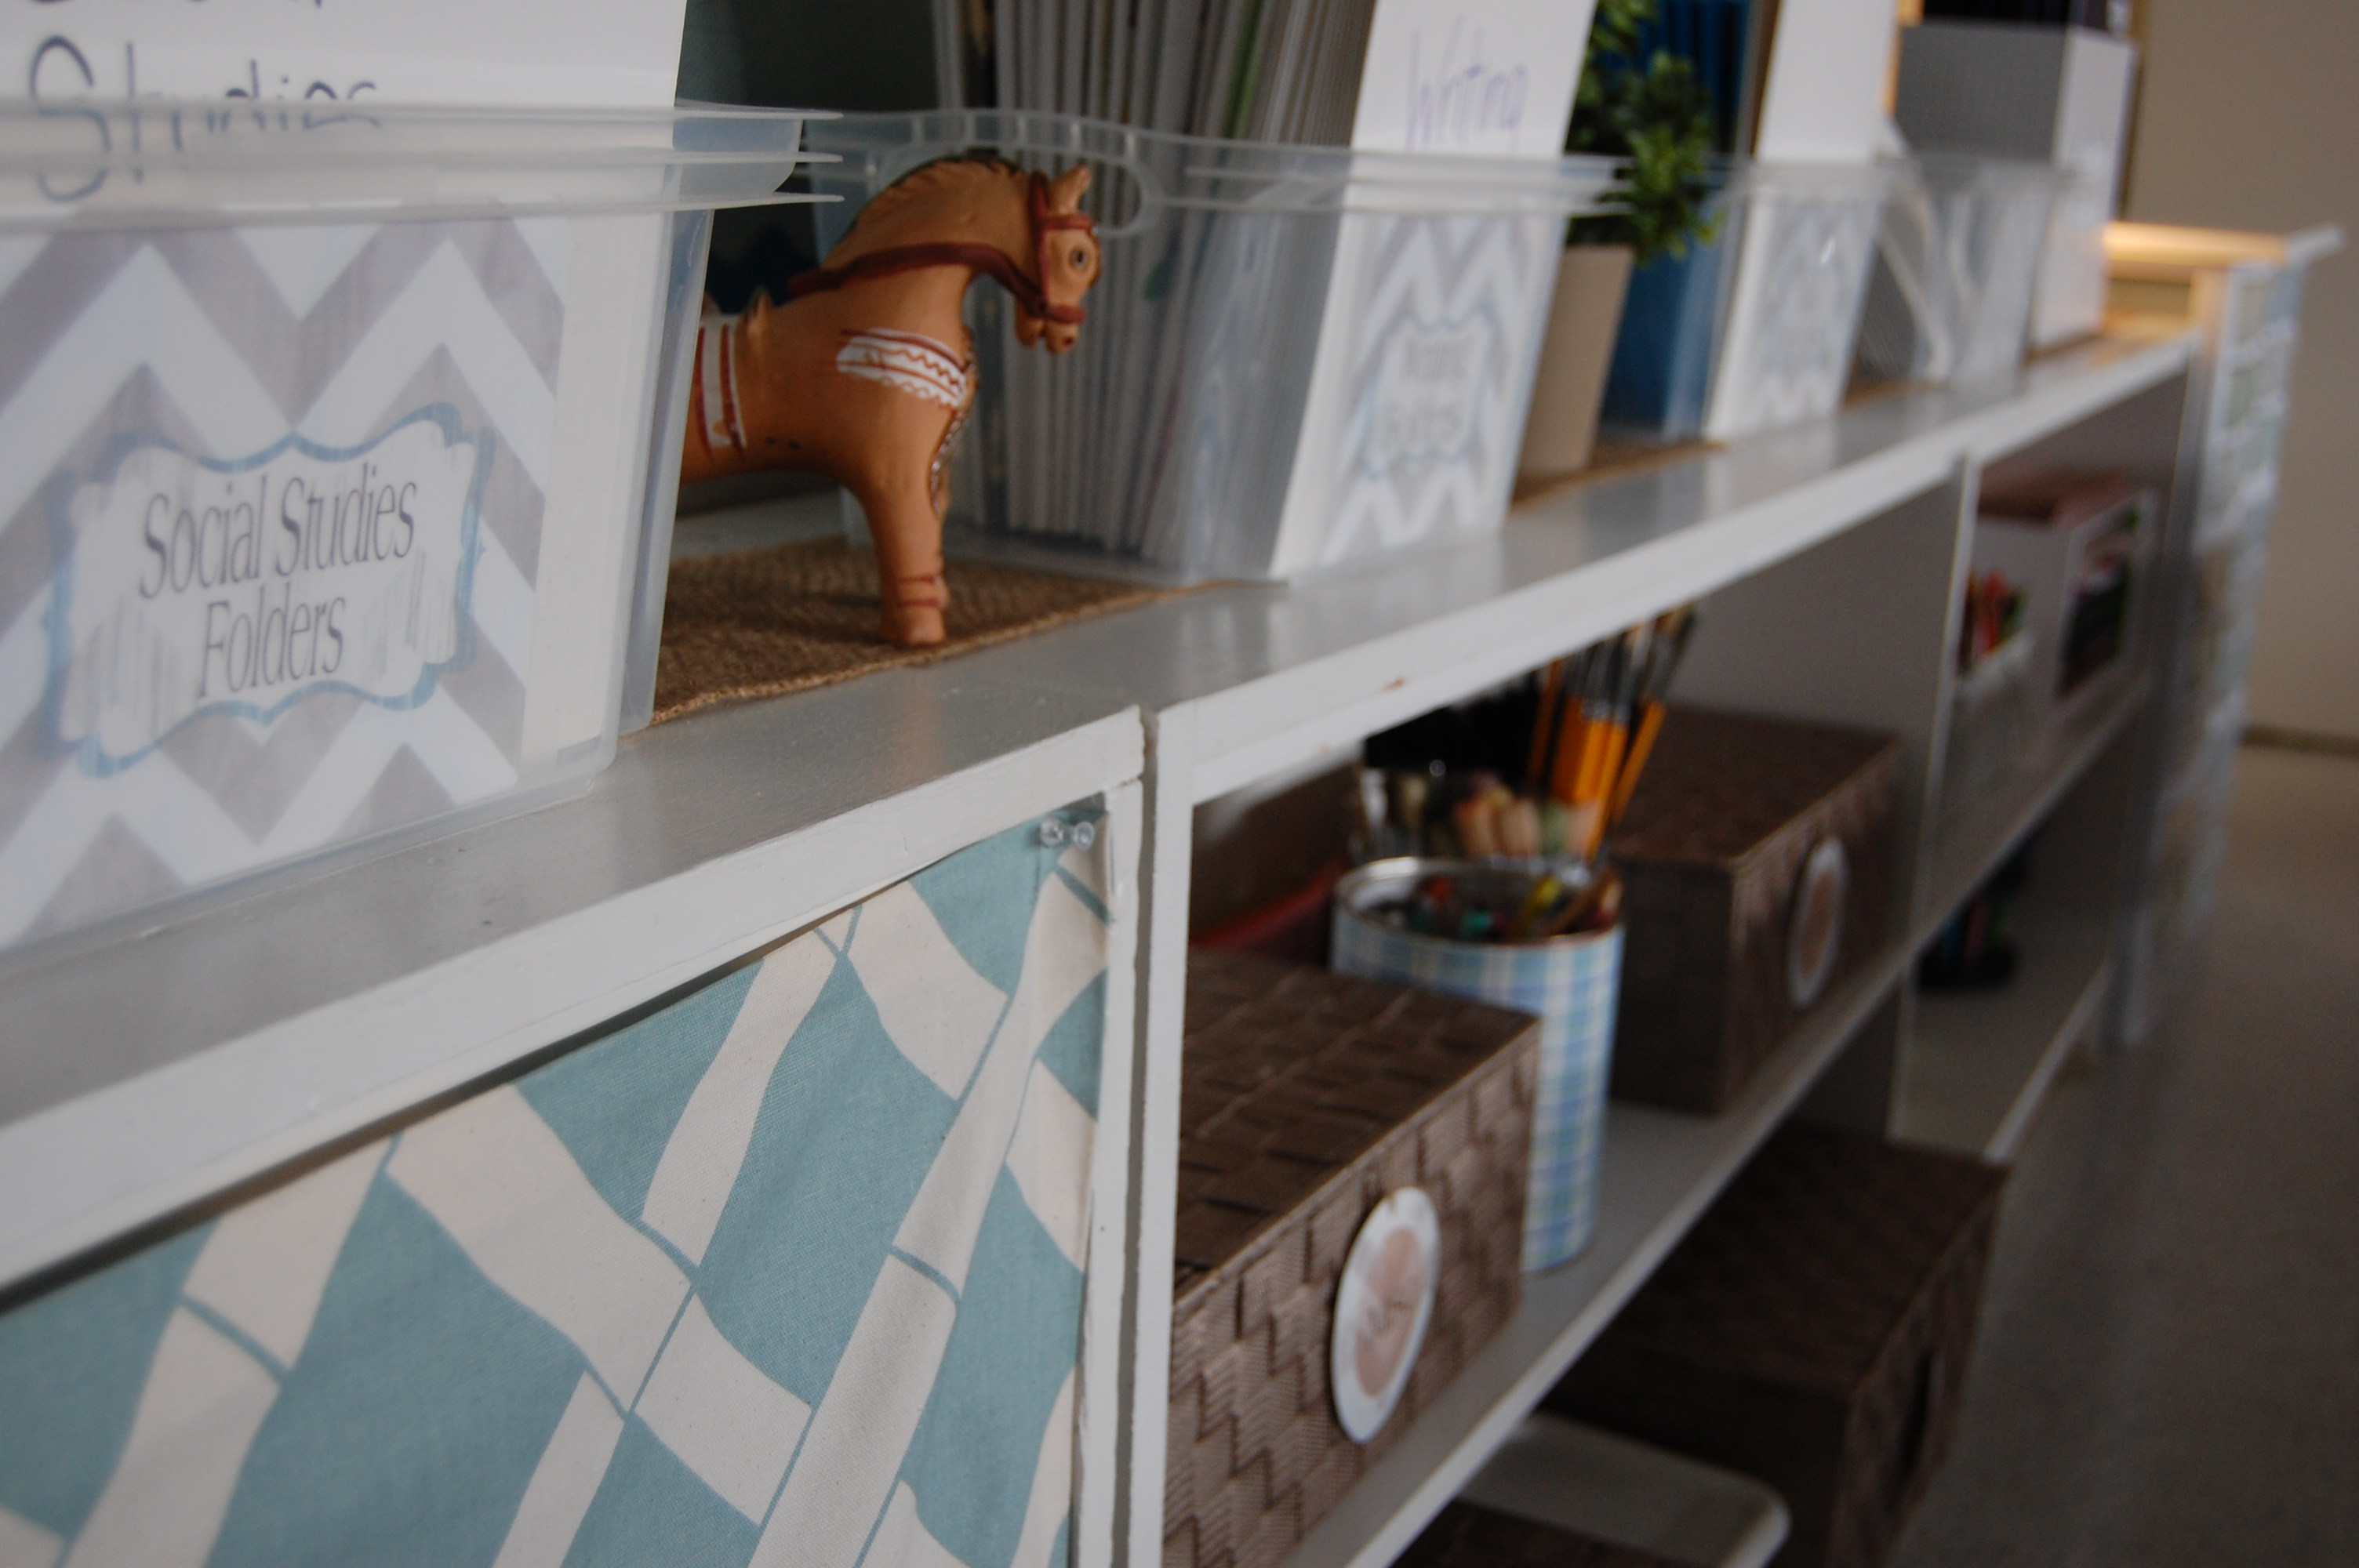
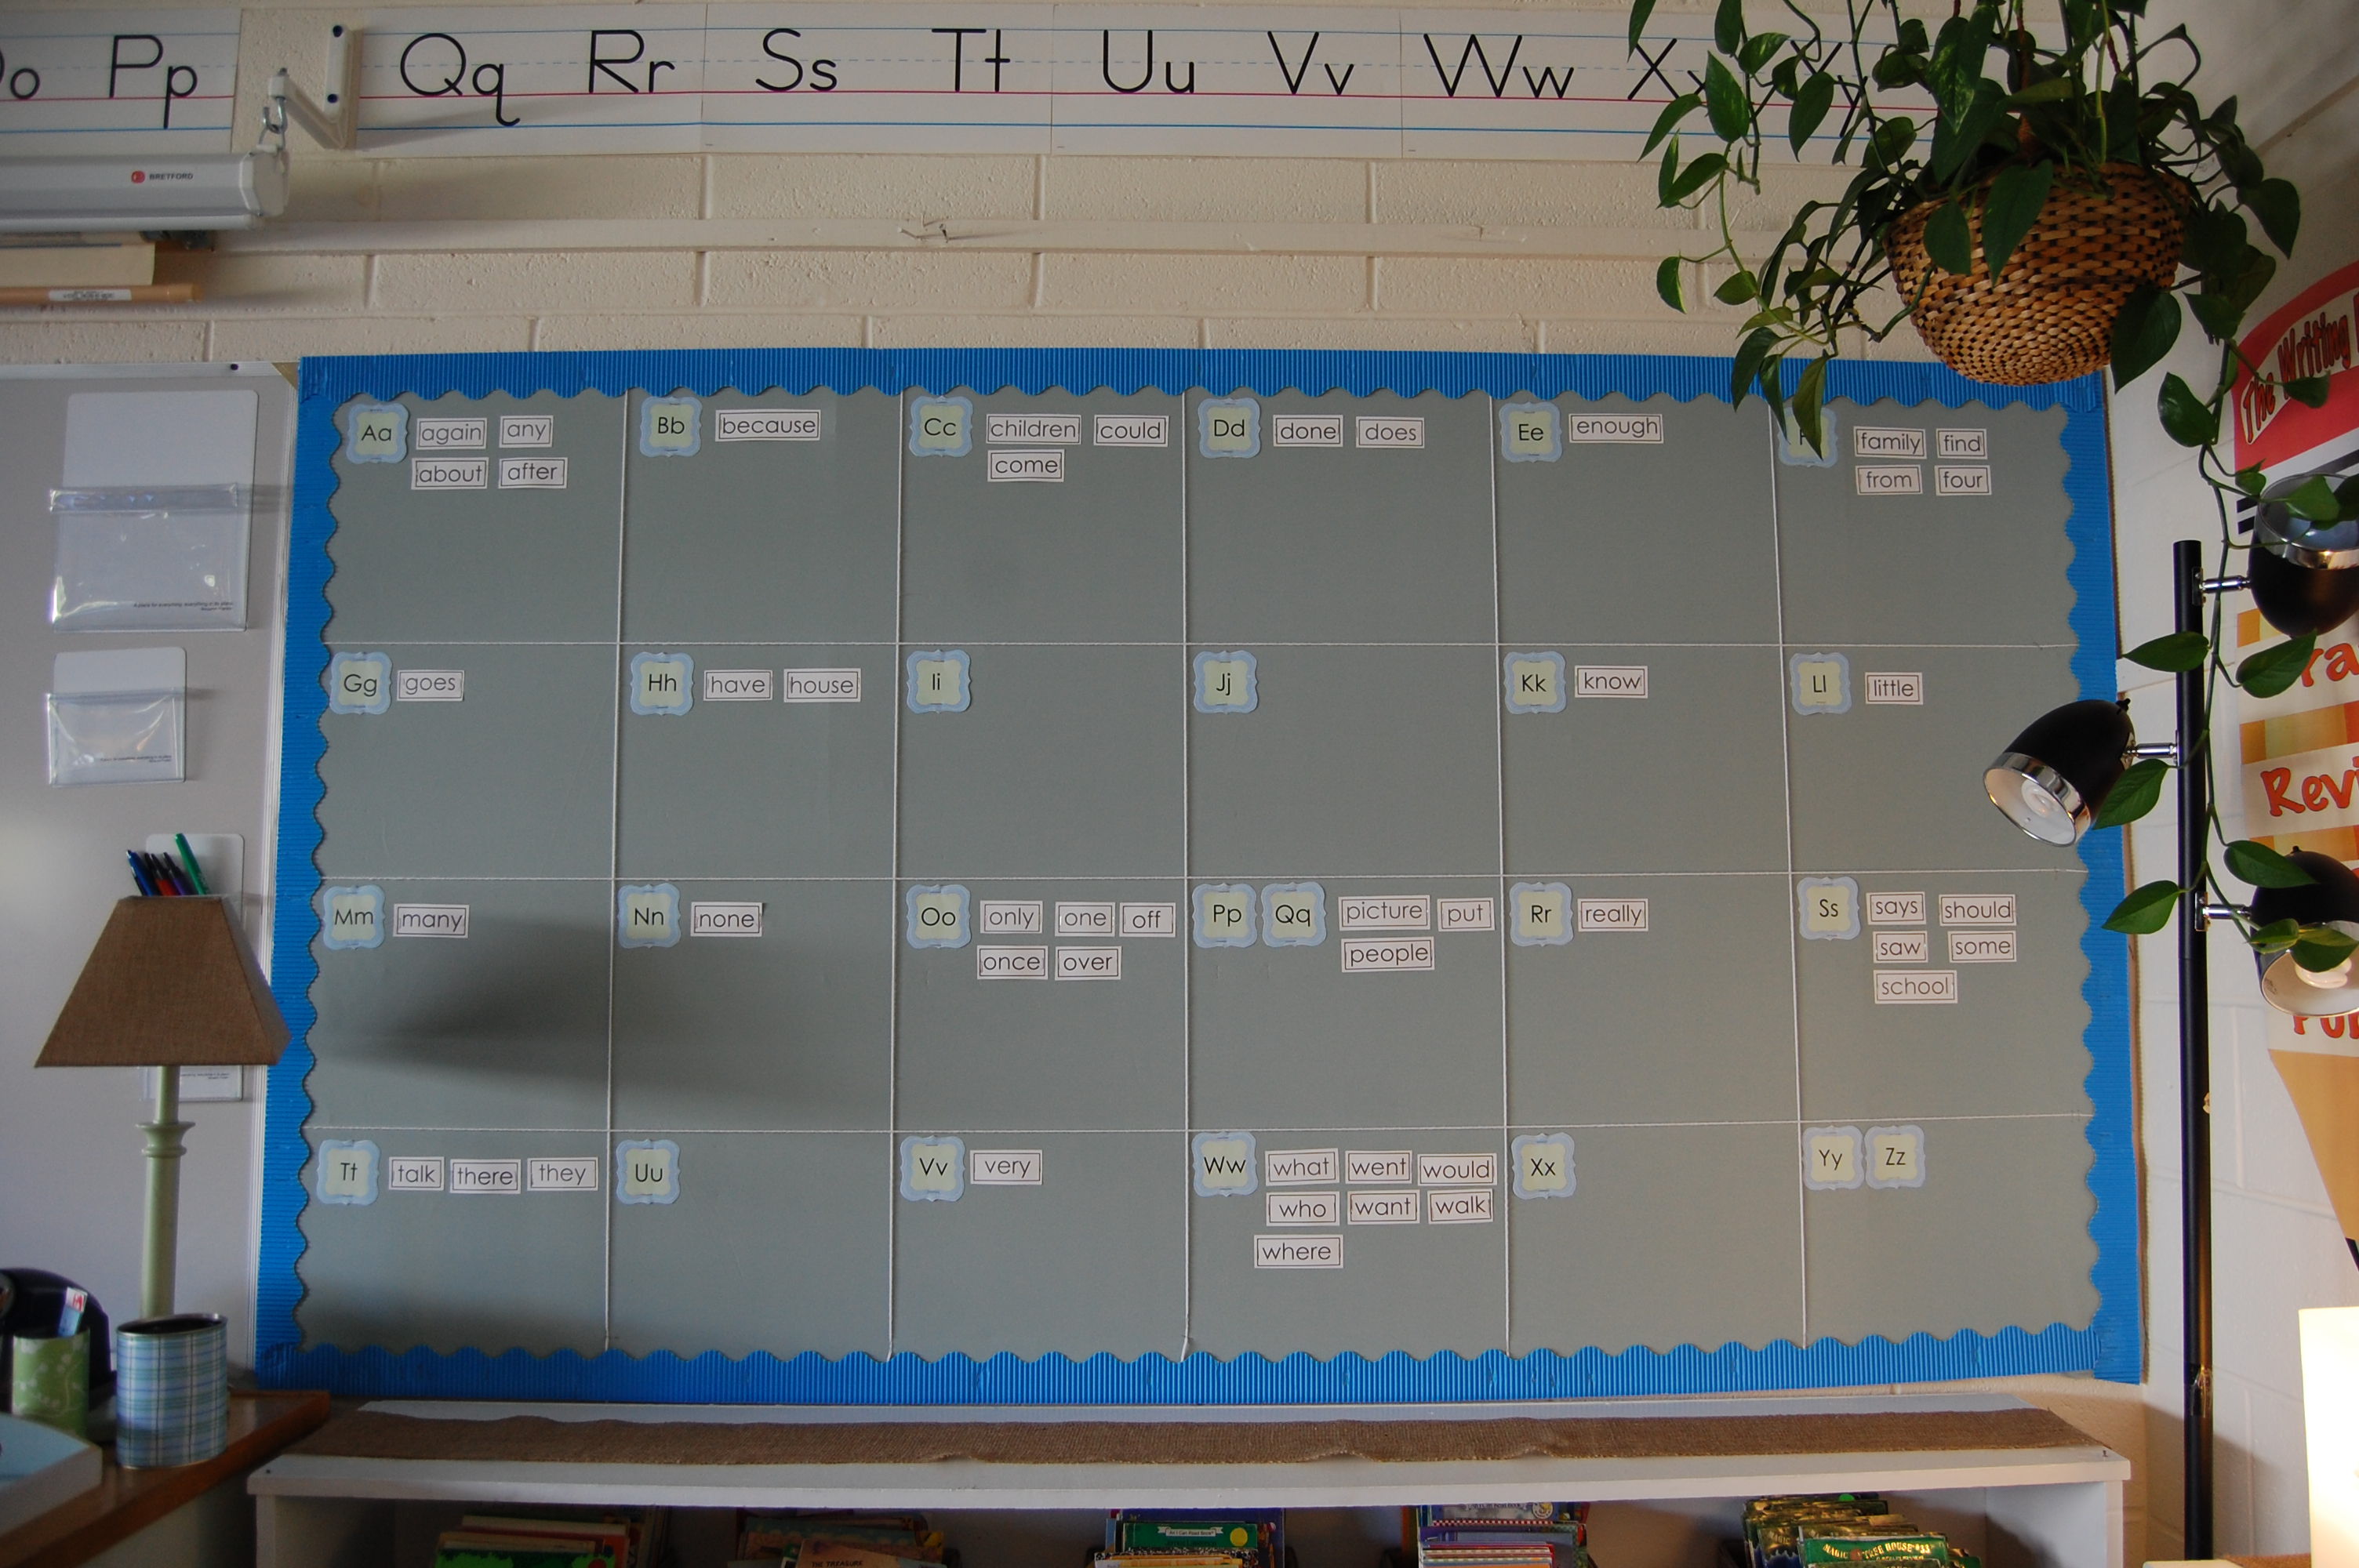
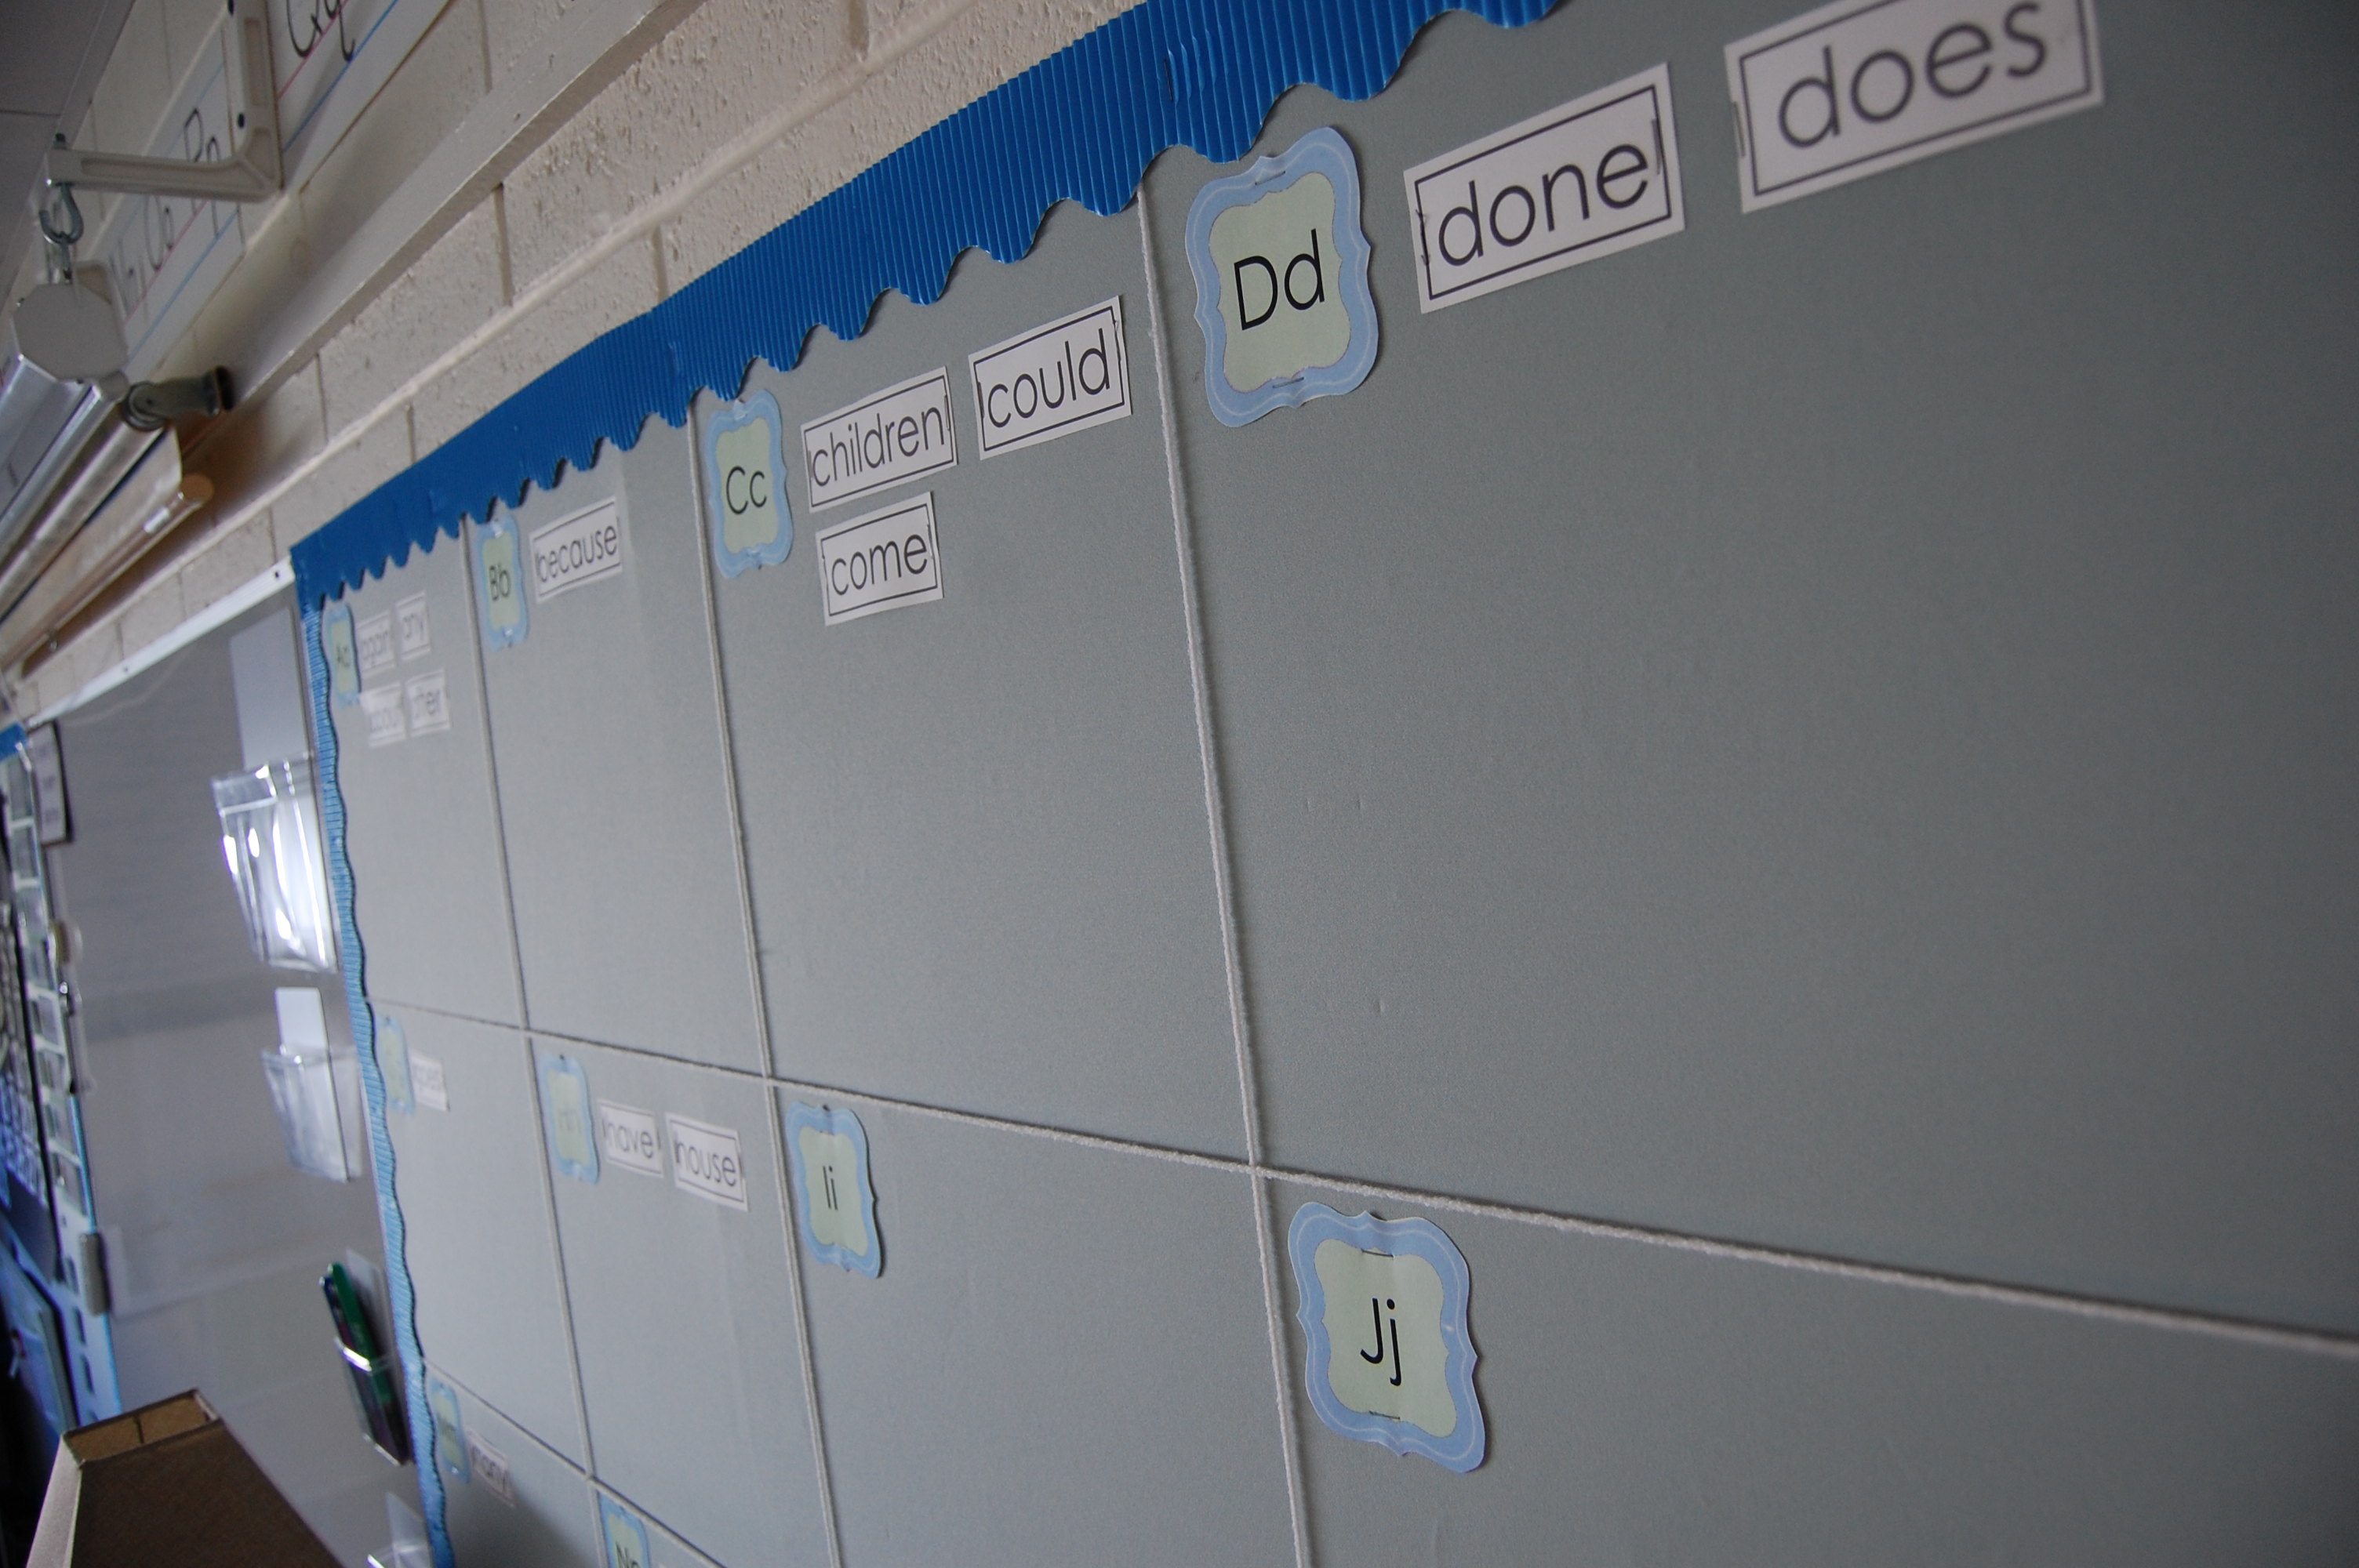
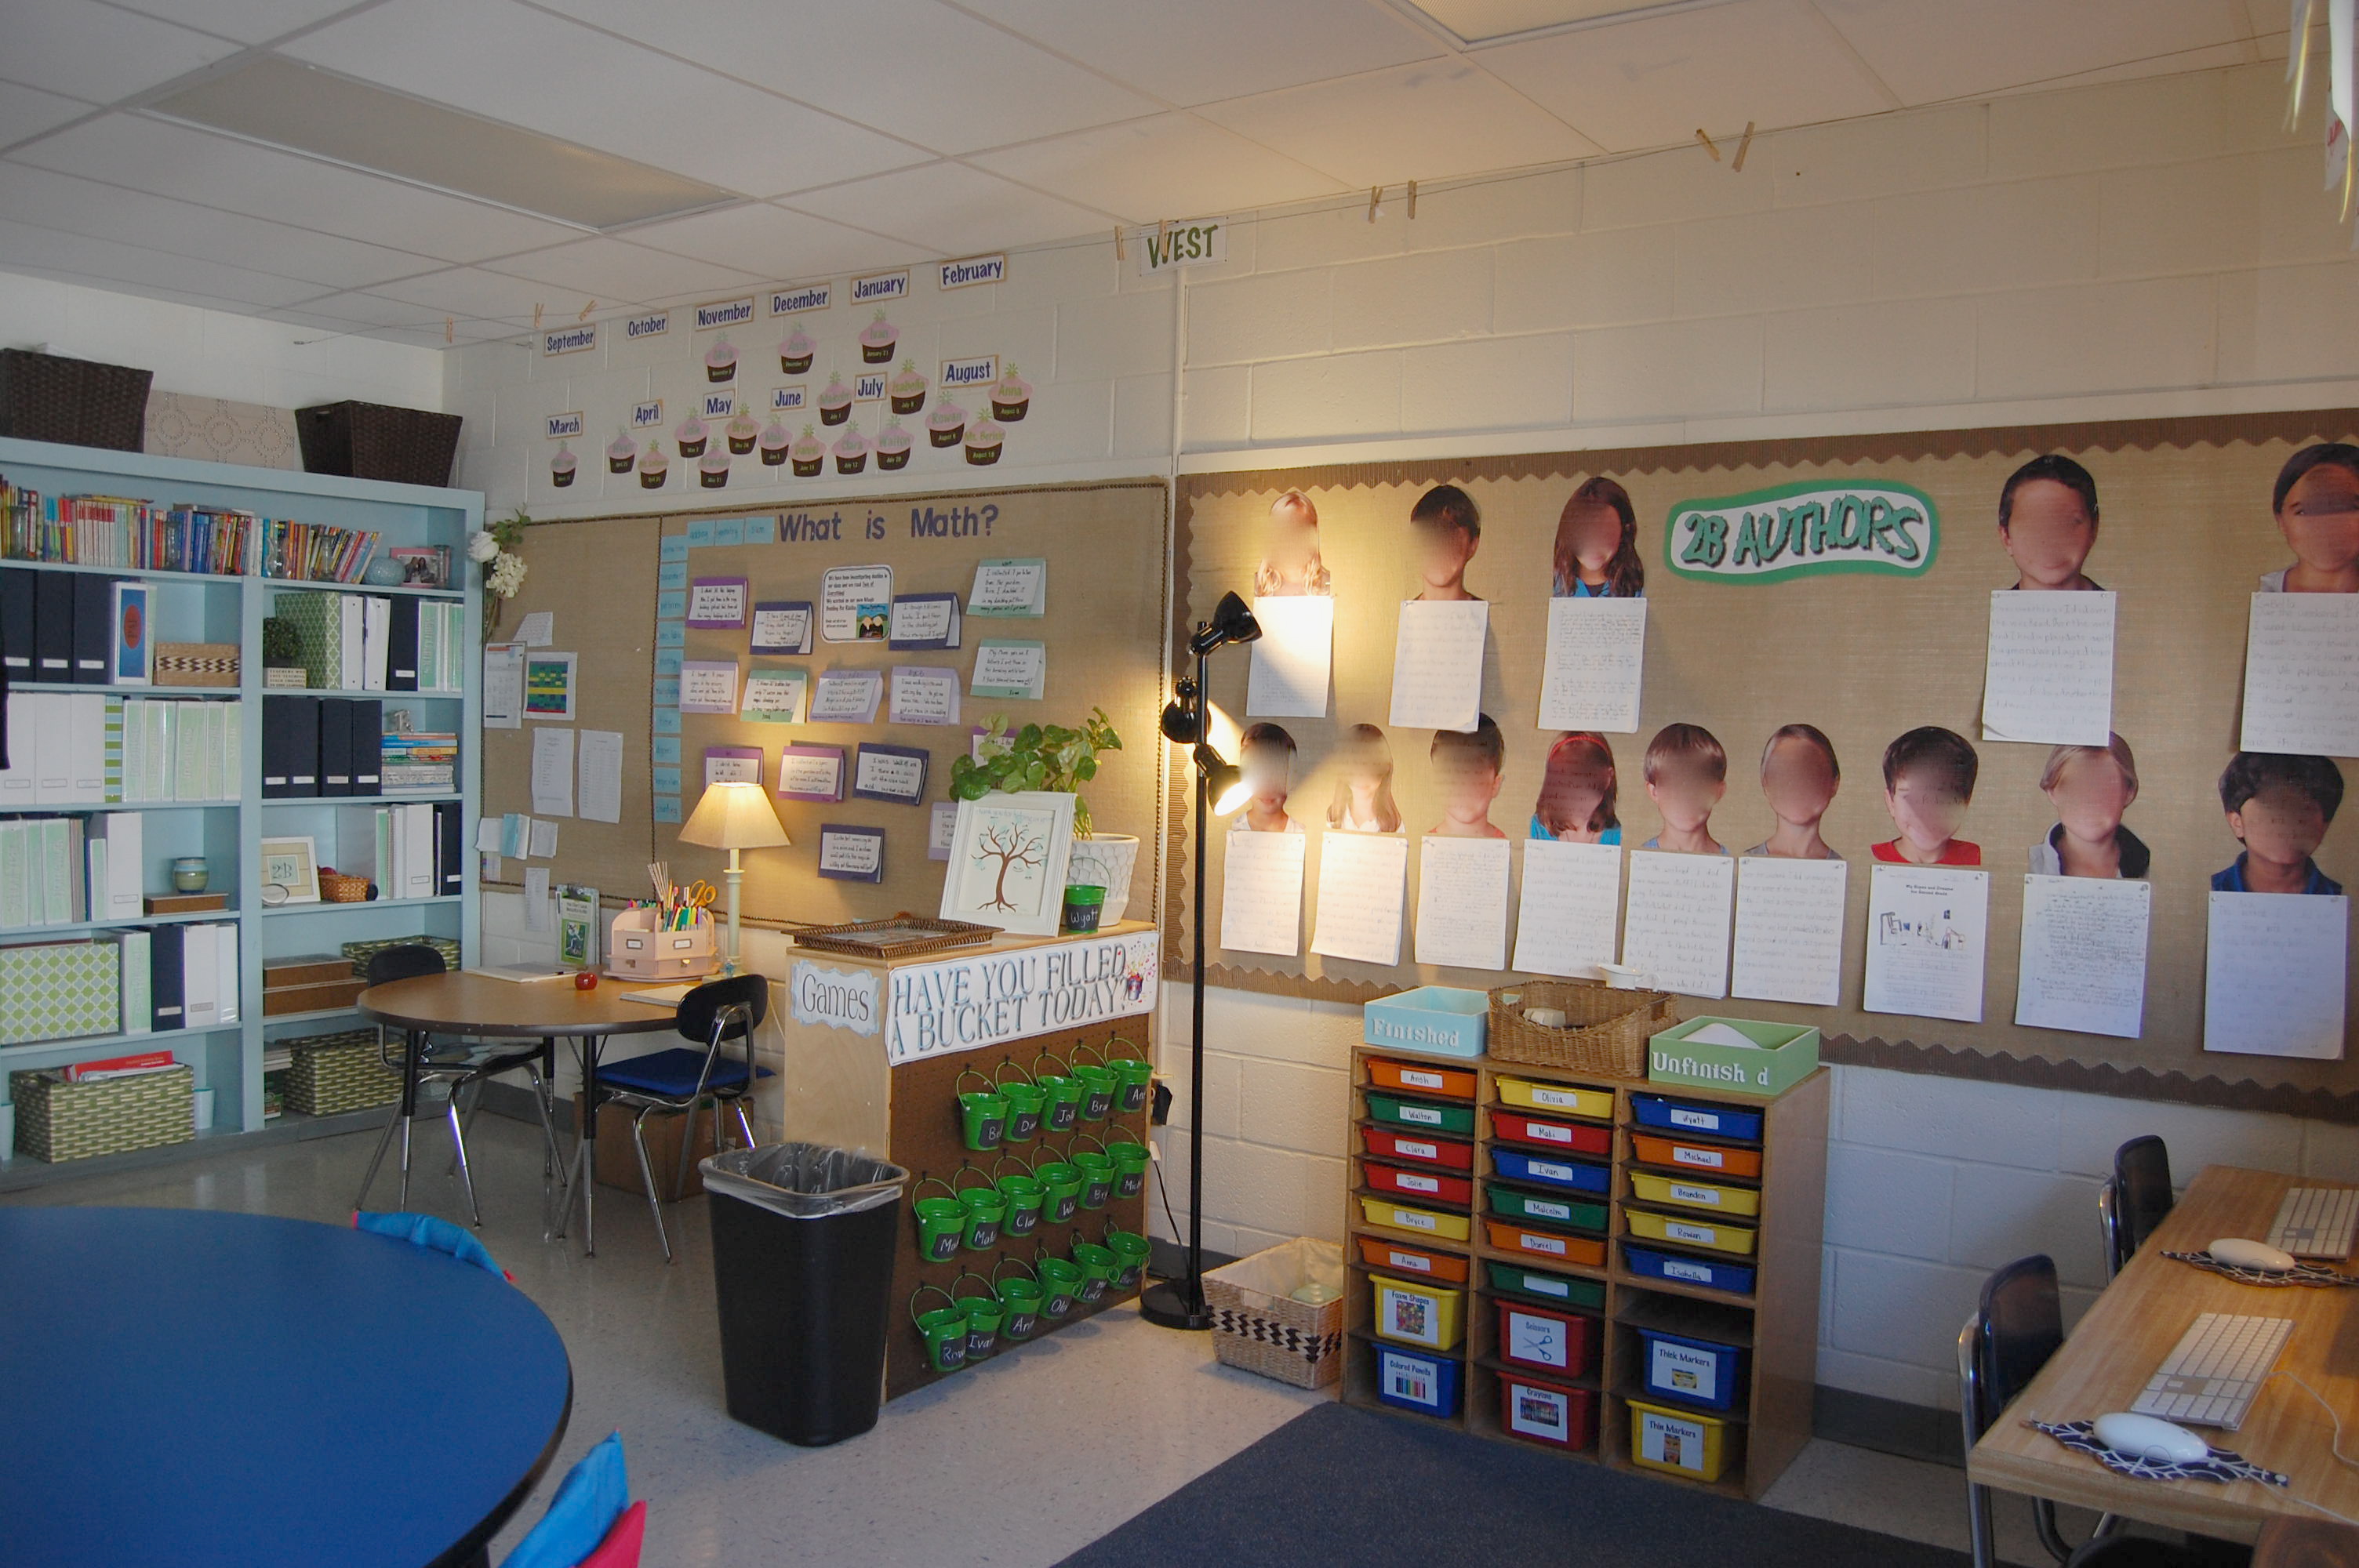
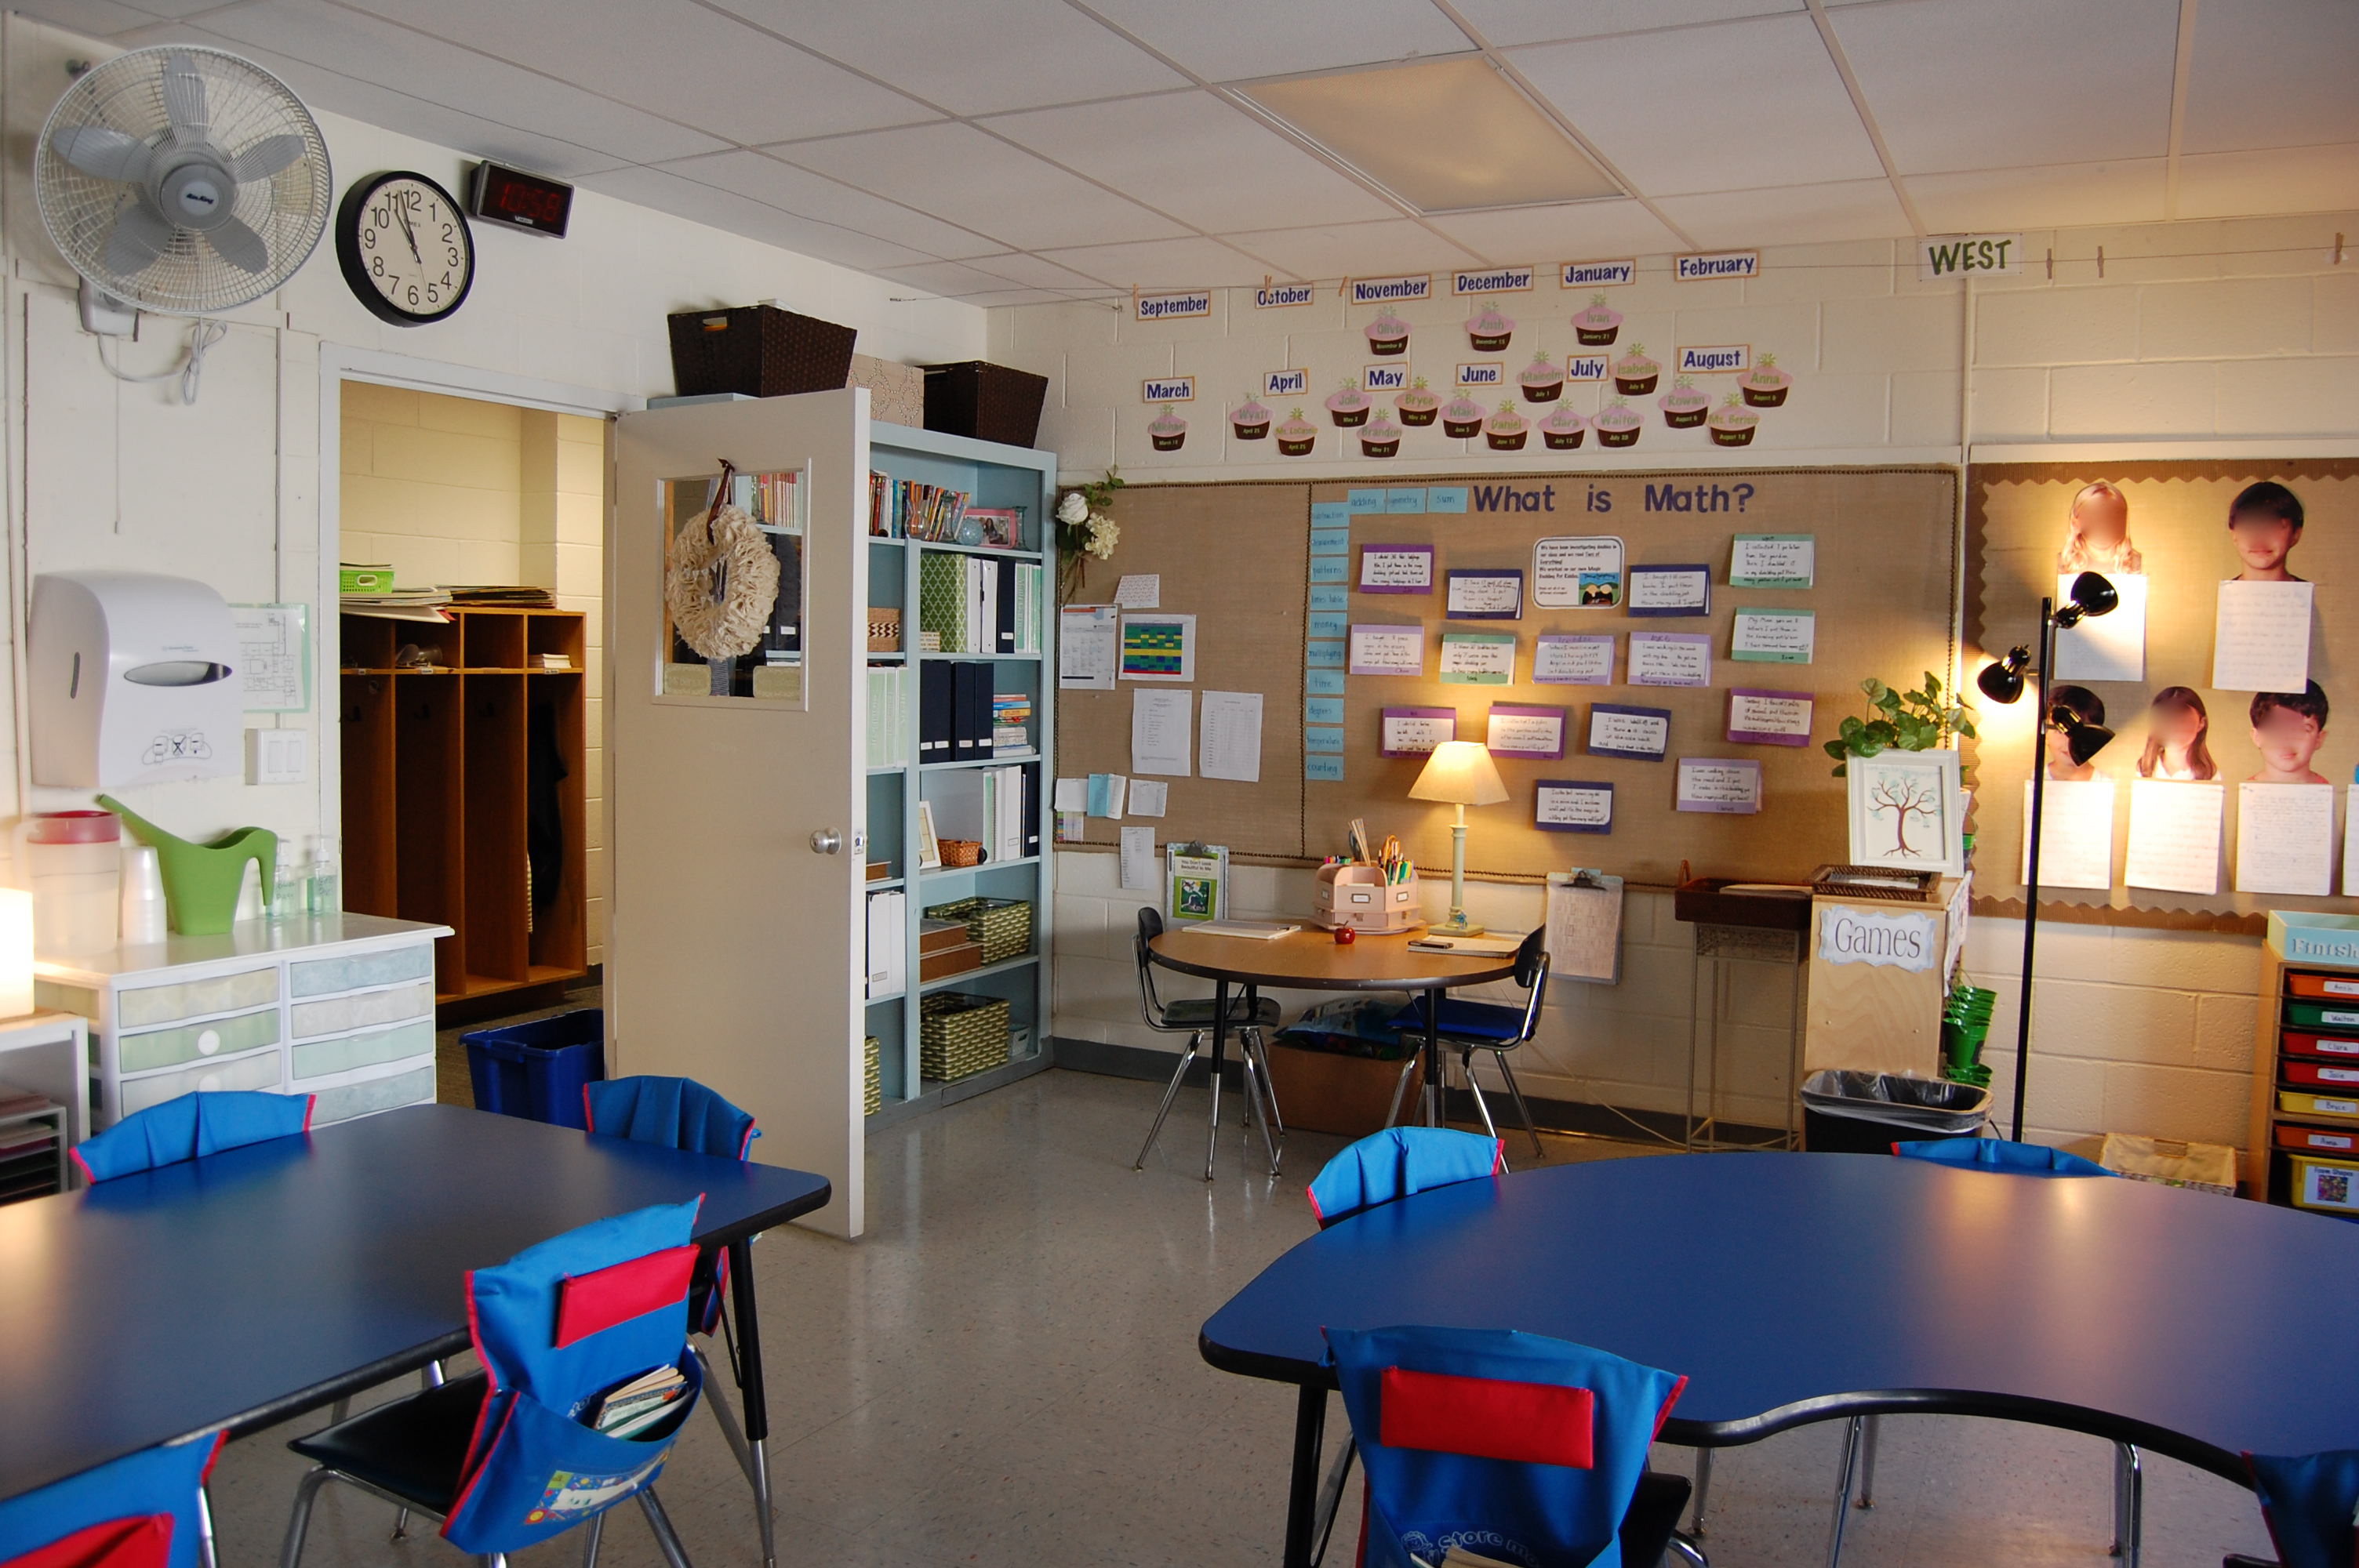
In an attempt to add some texture and also to save paper and my sanity, I decided to cover my bulletin boards with fabric. This is something I would encourage every teacher to do! I covered my back walls with natural burlap, my side board in a blue burlap and my front boards with a cotton fabric in a soft greenish blue color. I replaced all the plastic fluorescent baskets (which after only one year were warping) with sturdy baskets ranging from Michael’s to Container Store.
Without further ado, let’s start the tour!
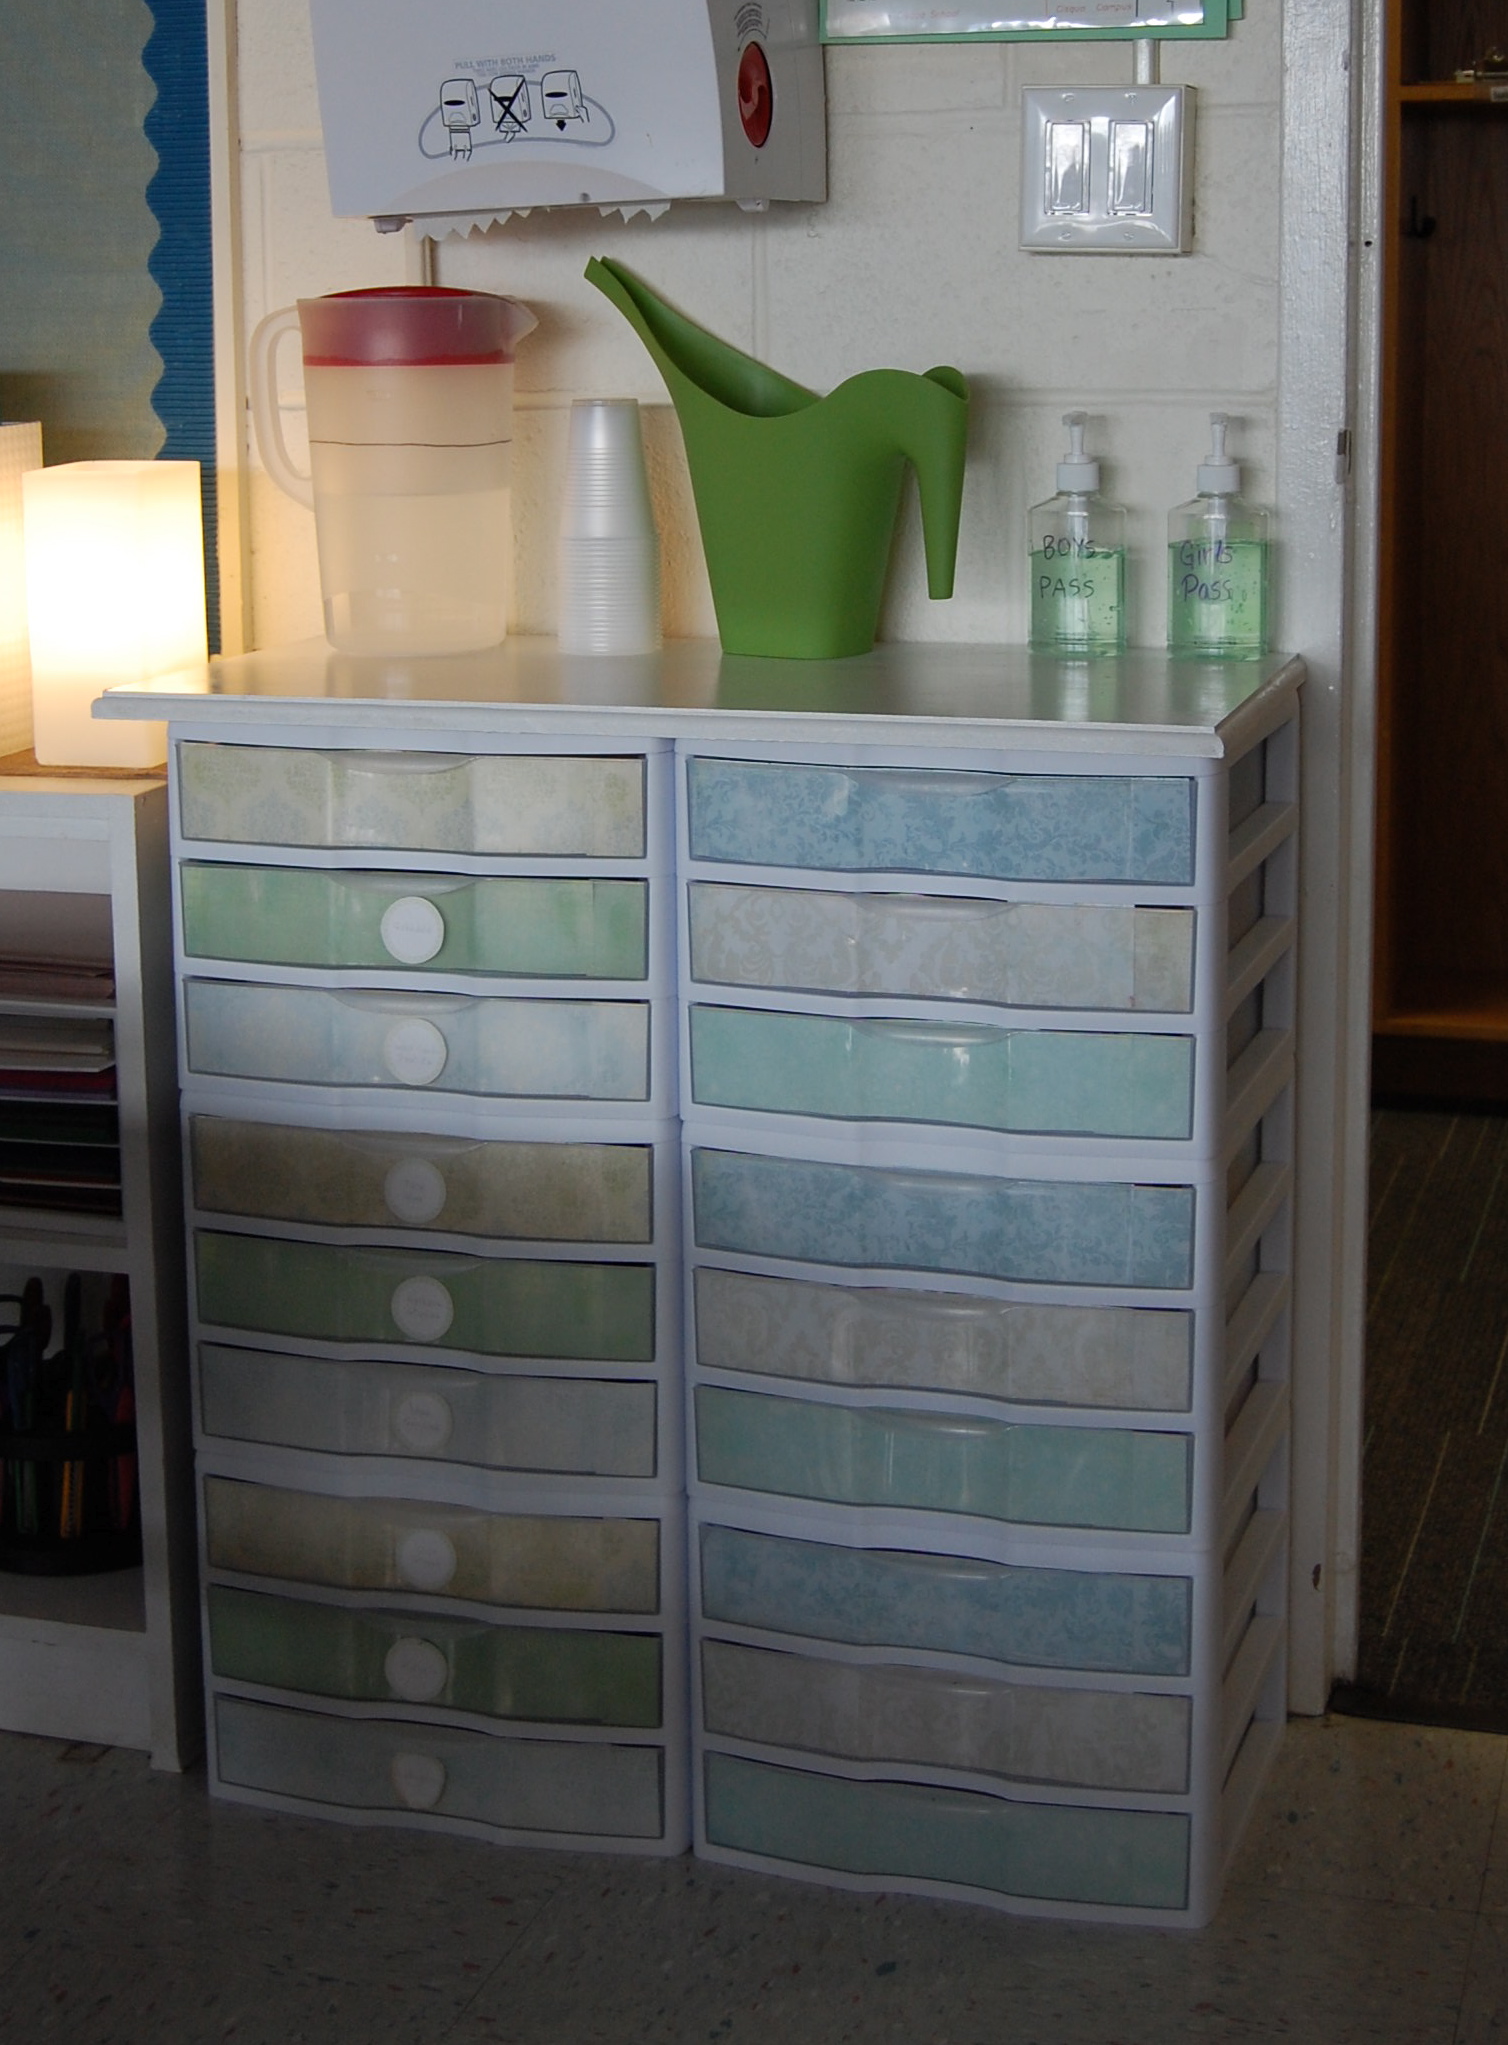
For the snack area I used these 3 drawer storage containers and stacked them. I got the idea from another teacher…so clever, right! Then I just used some scrap paper I had to cover the drawers. Clearly I still need to label the drawers on the right but it’s great storage for supplies! I also use the hand sanitizers as bathroom passes. When a student goes to the bathroom they leave the pass at their seat and when they return they have to take a squirt! Thank you Pinterest for that one!
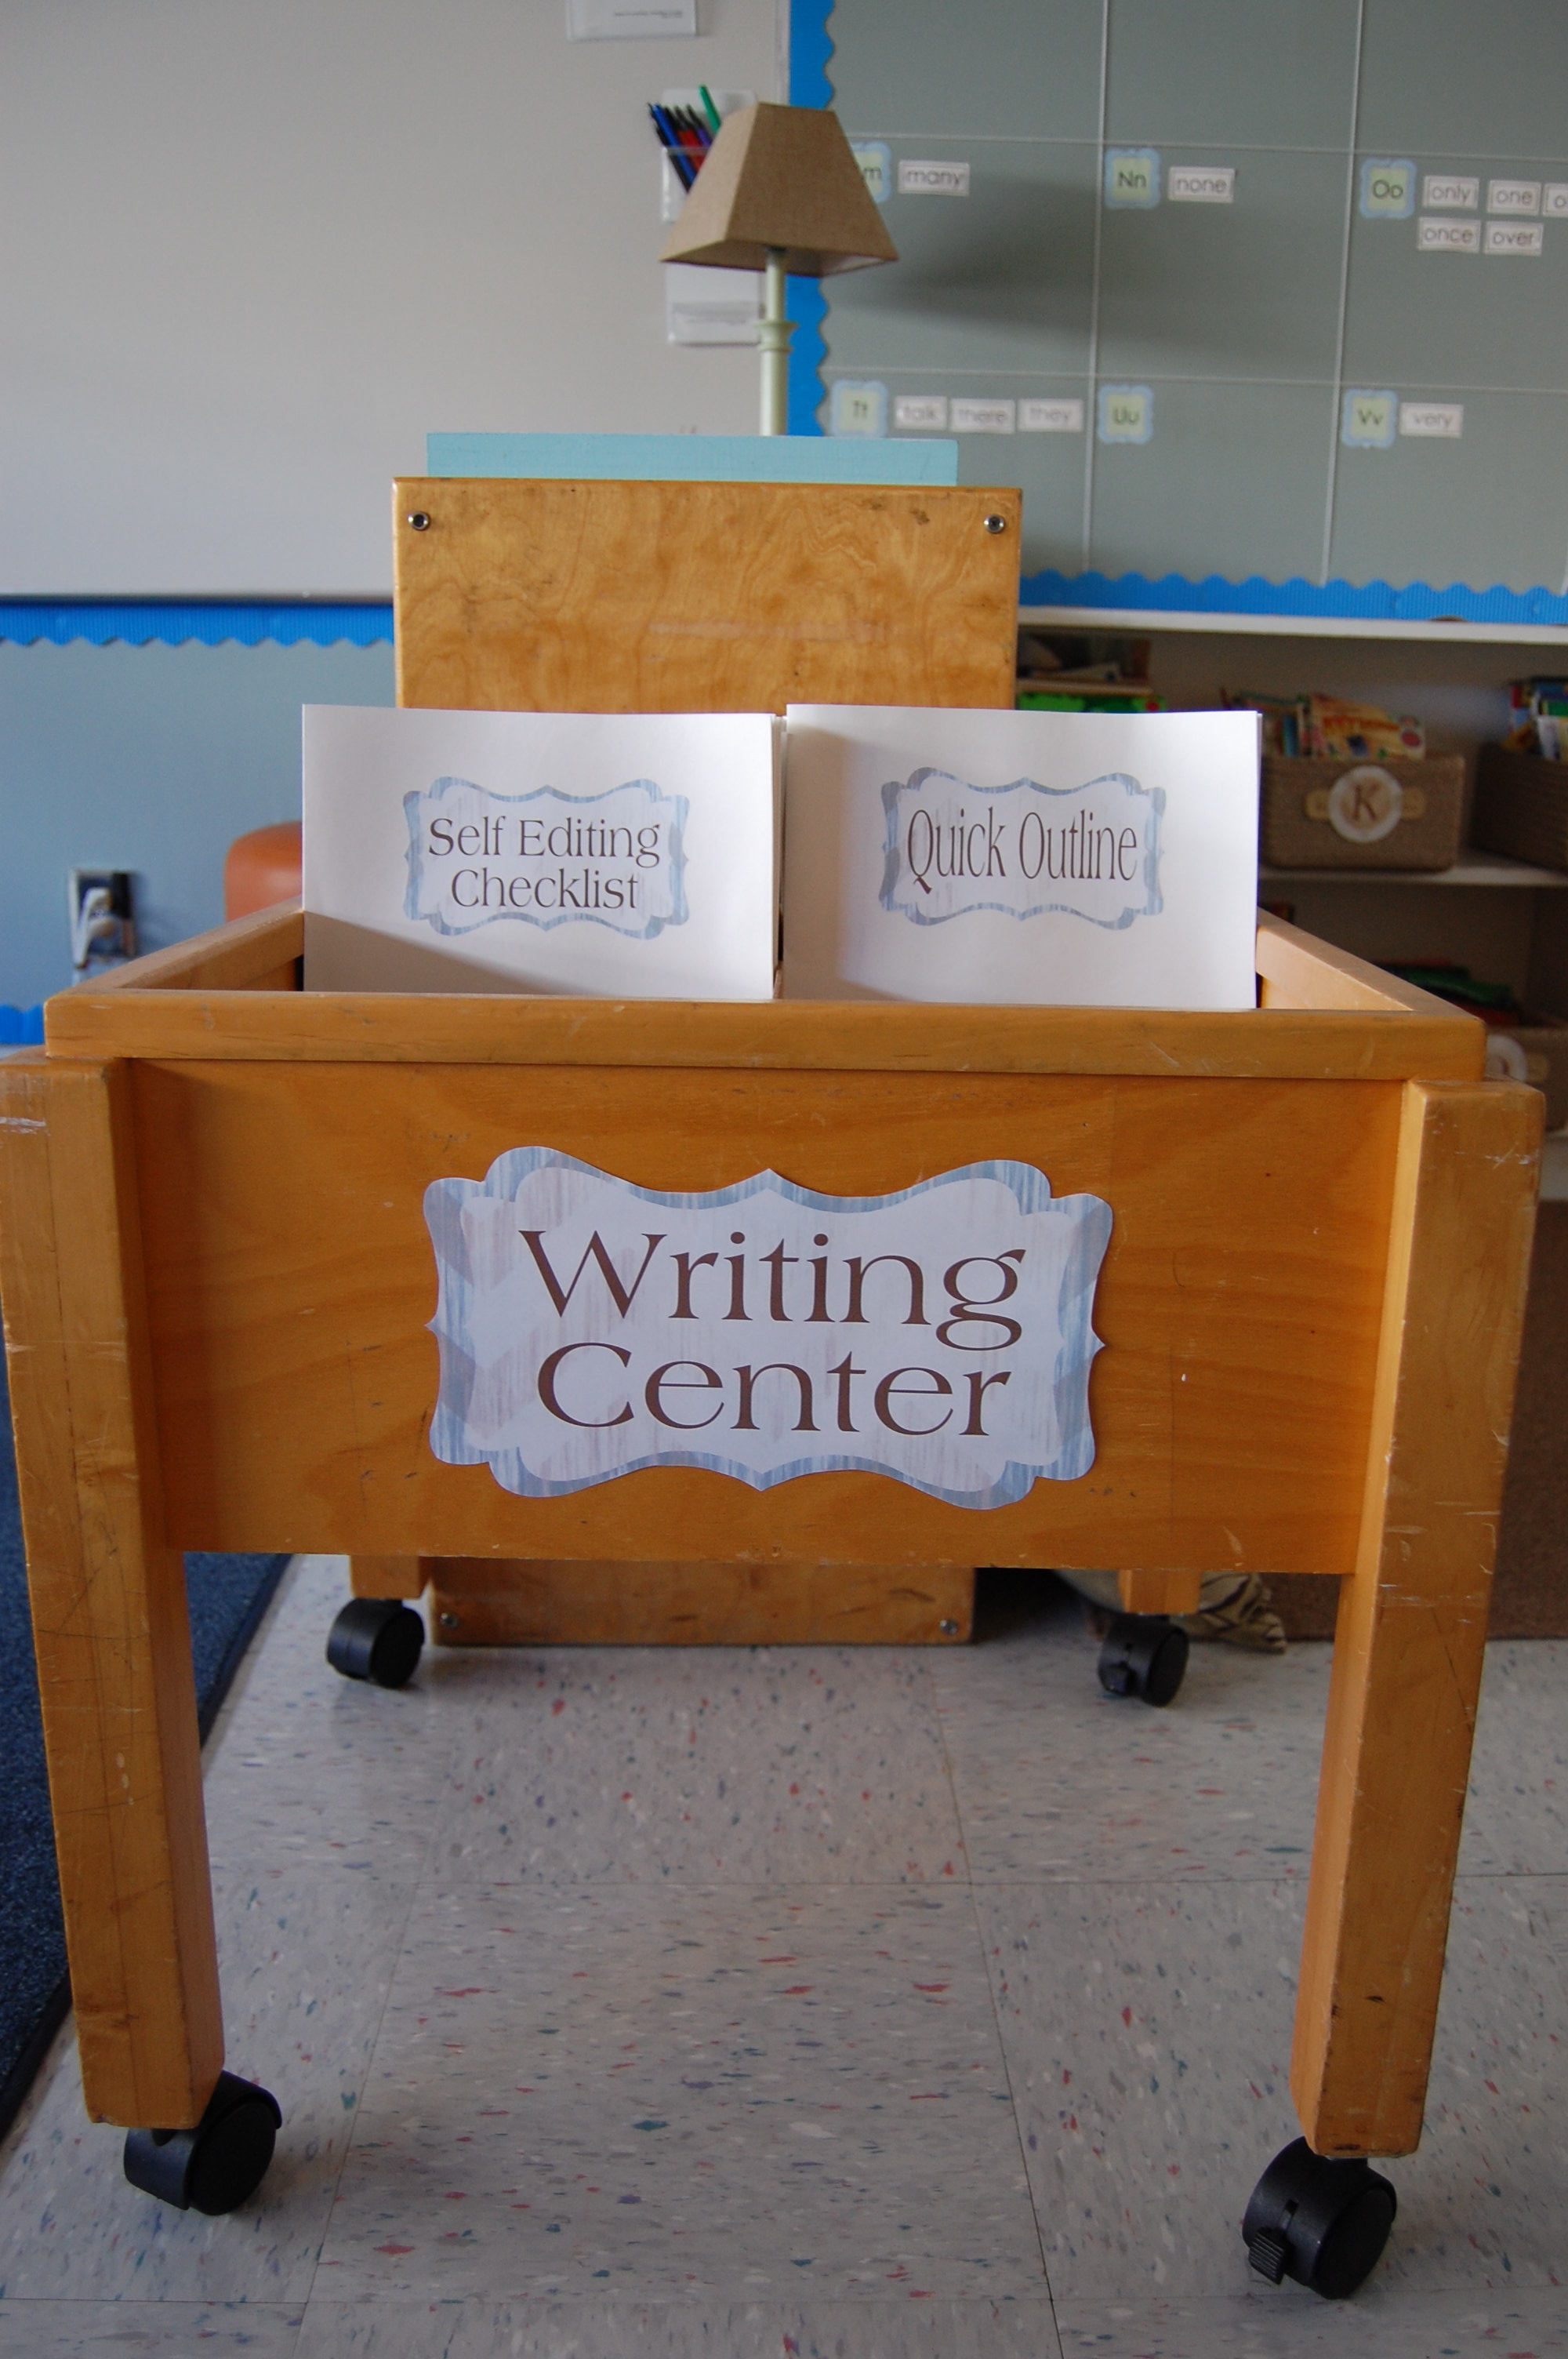
Notice the label design?
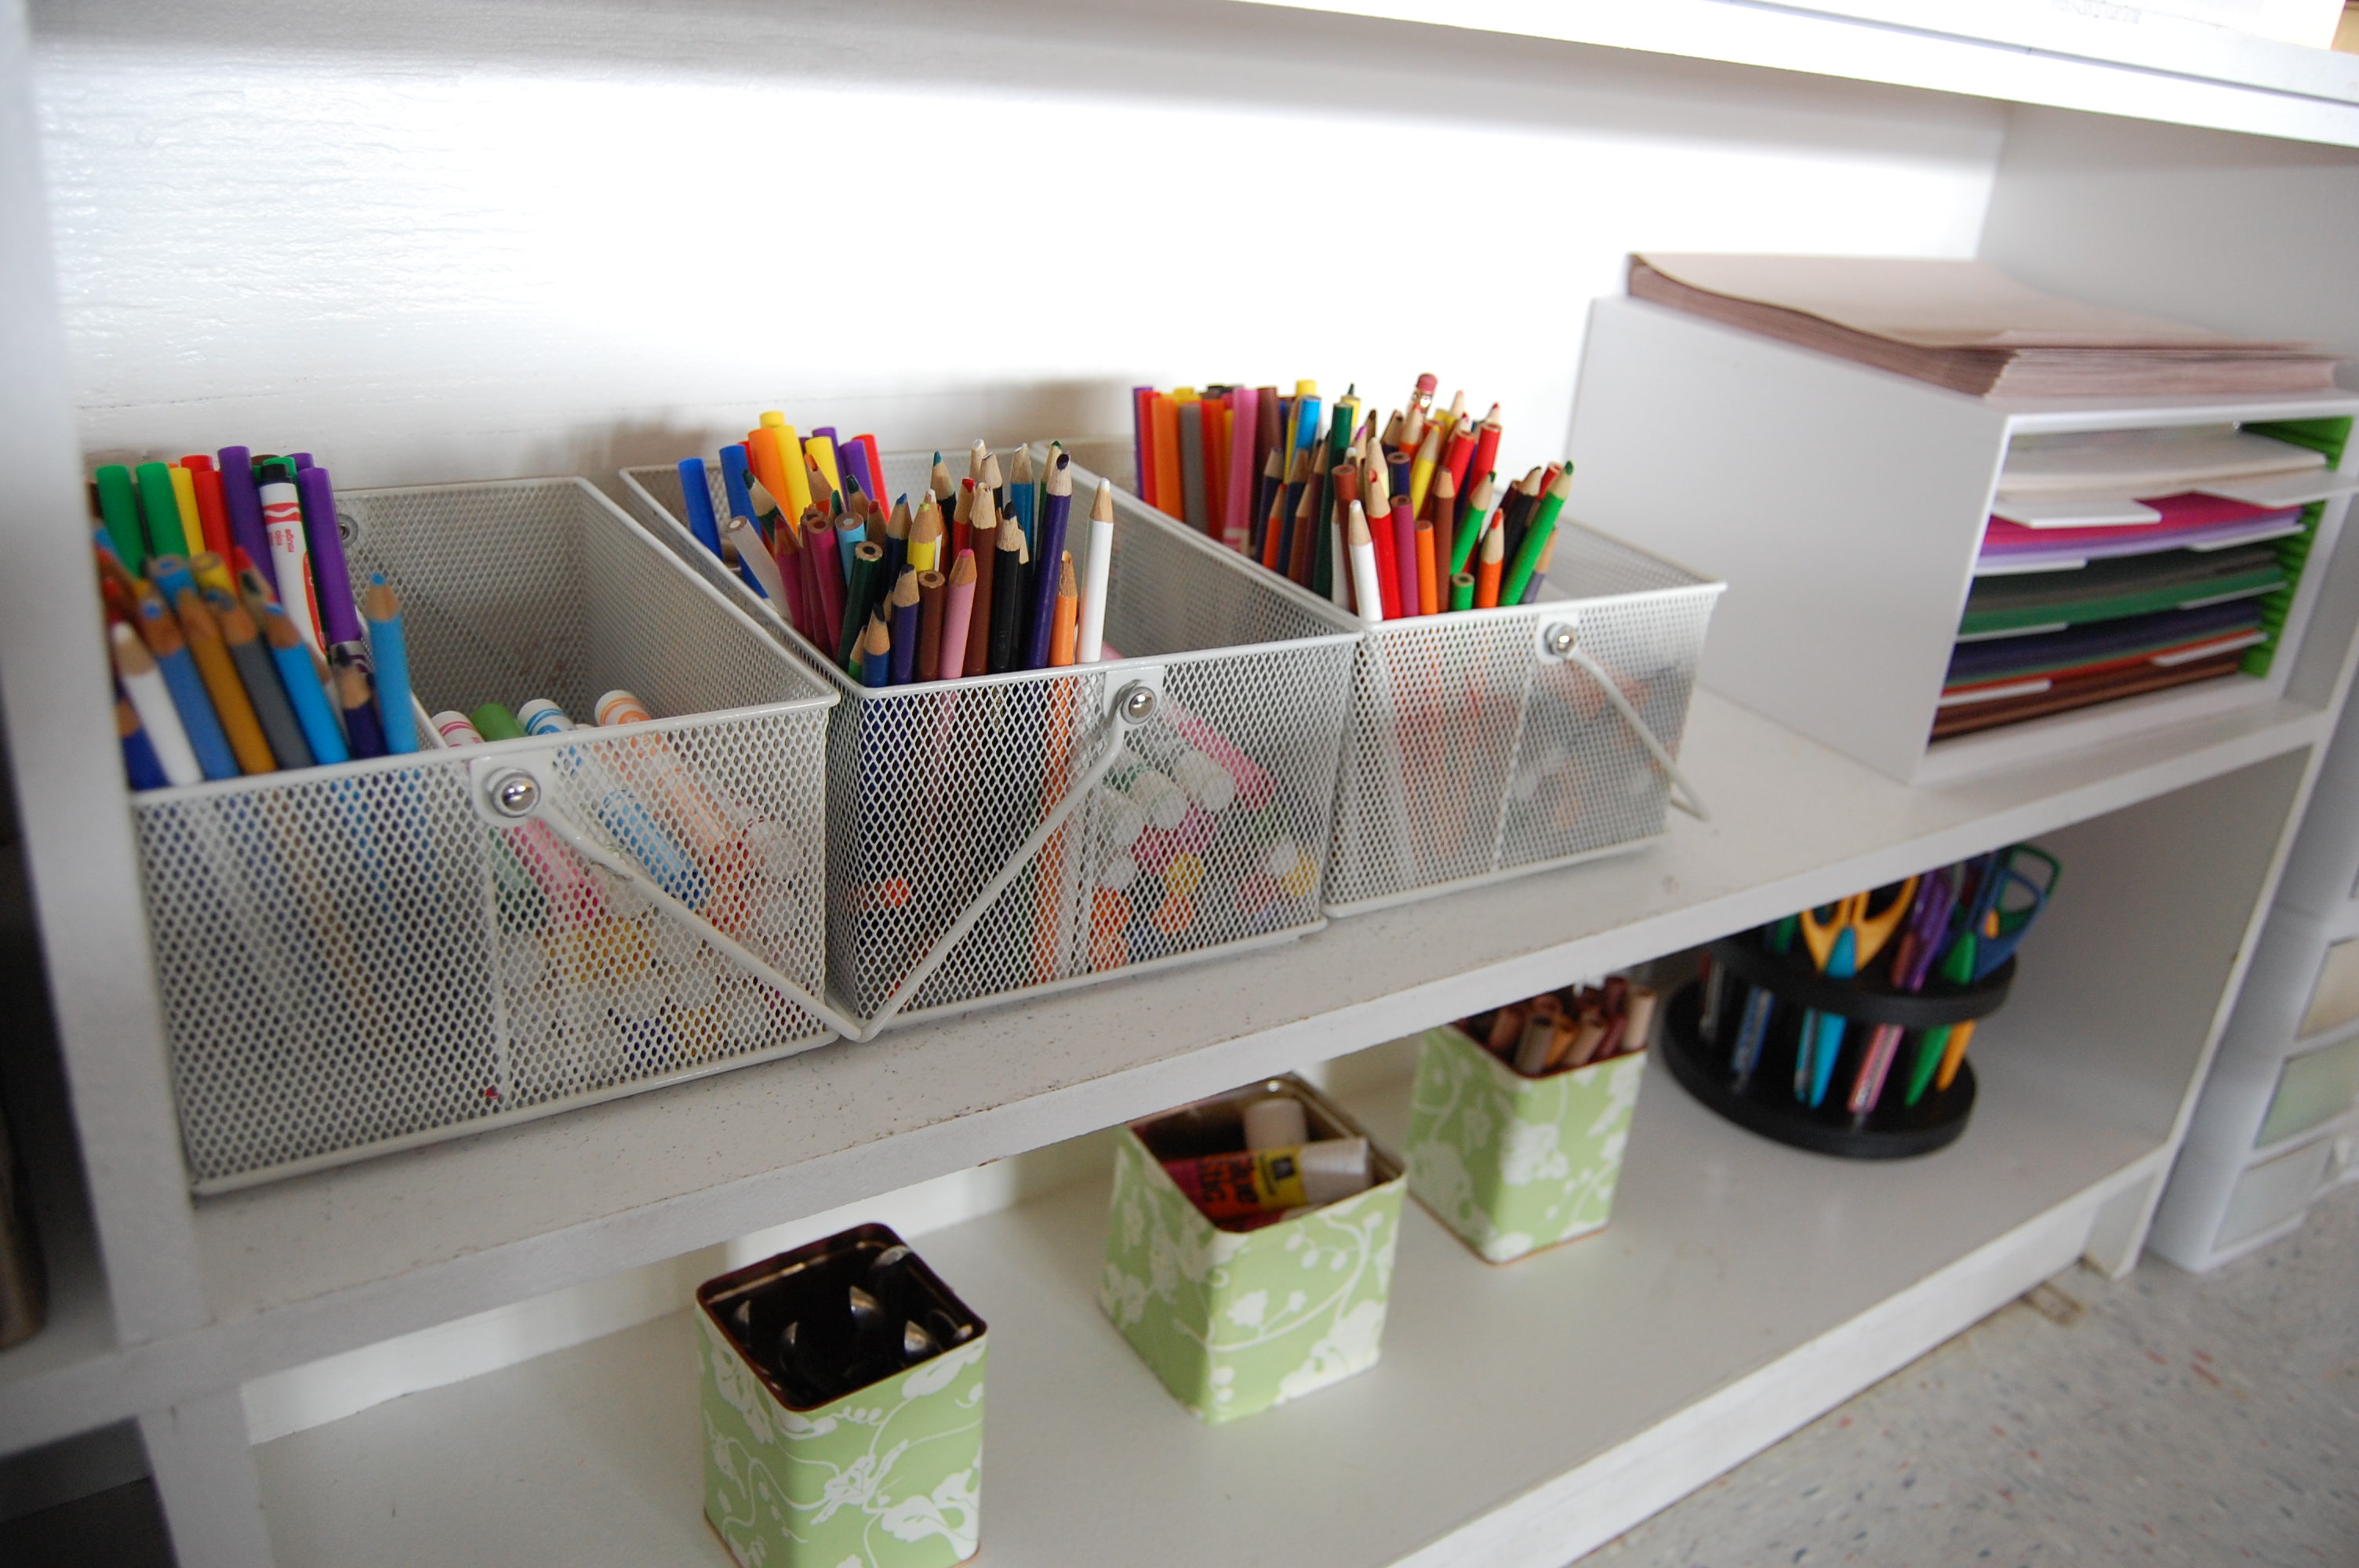
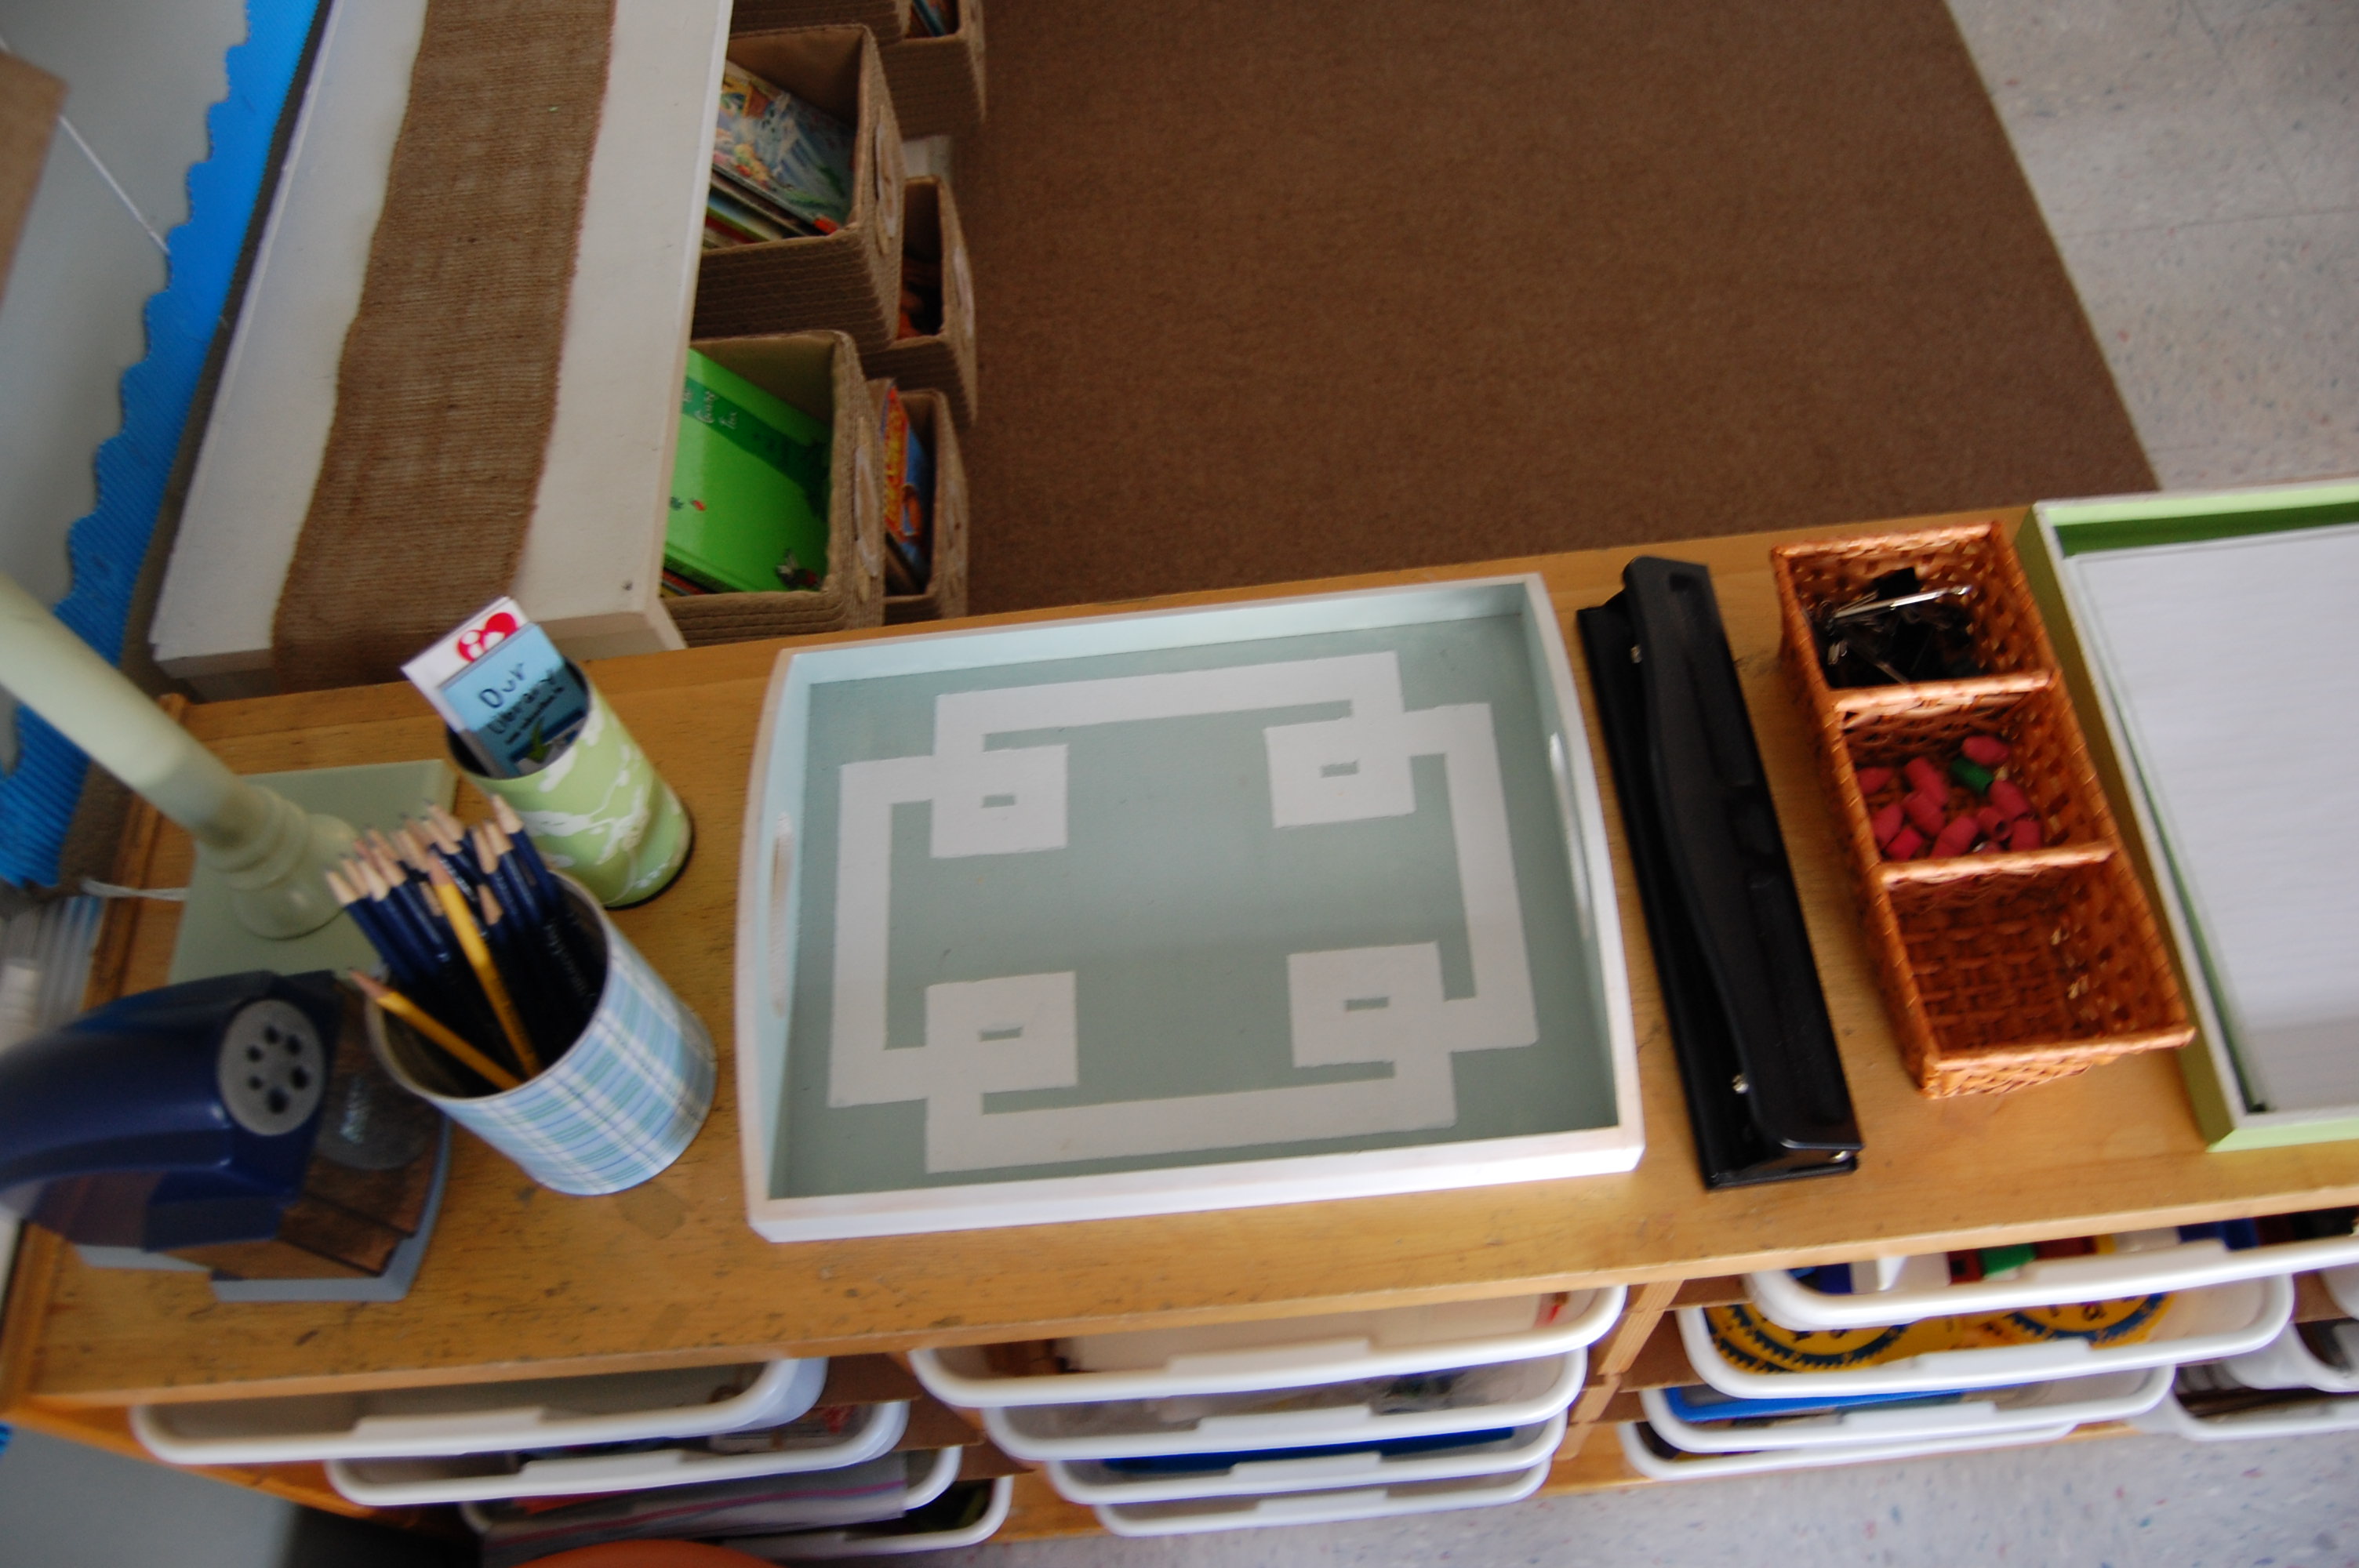
The marker/colored pencil caddy are actually utensil holders from container store. All the other containers are used cans that I wrapped in contact paper. You can check out this post to see how I did it!
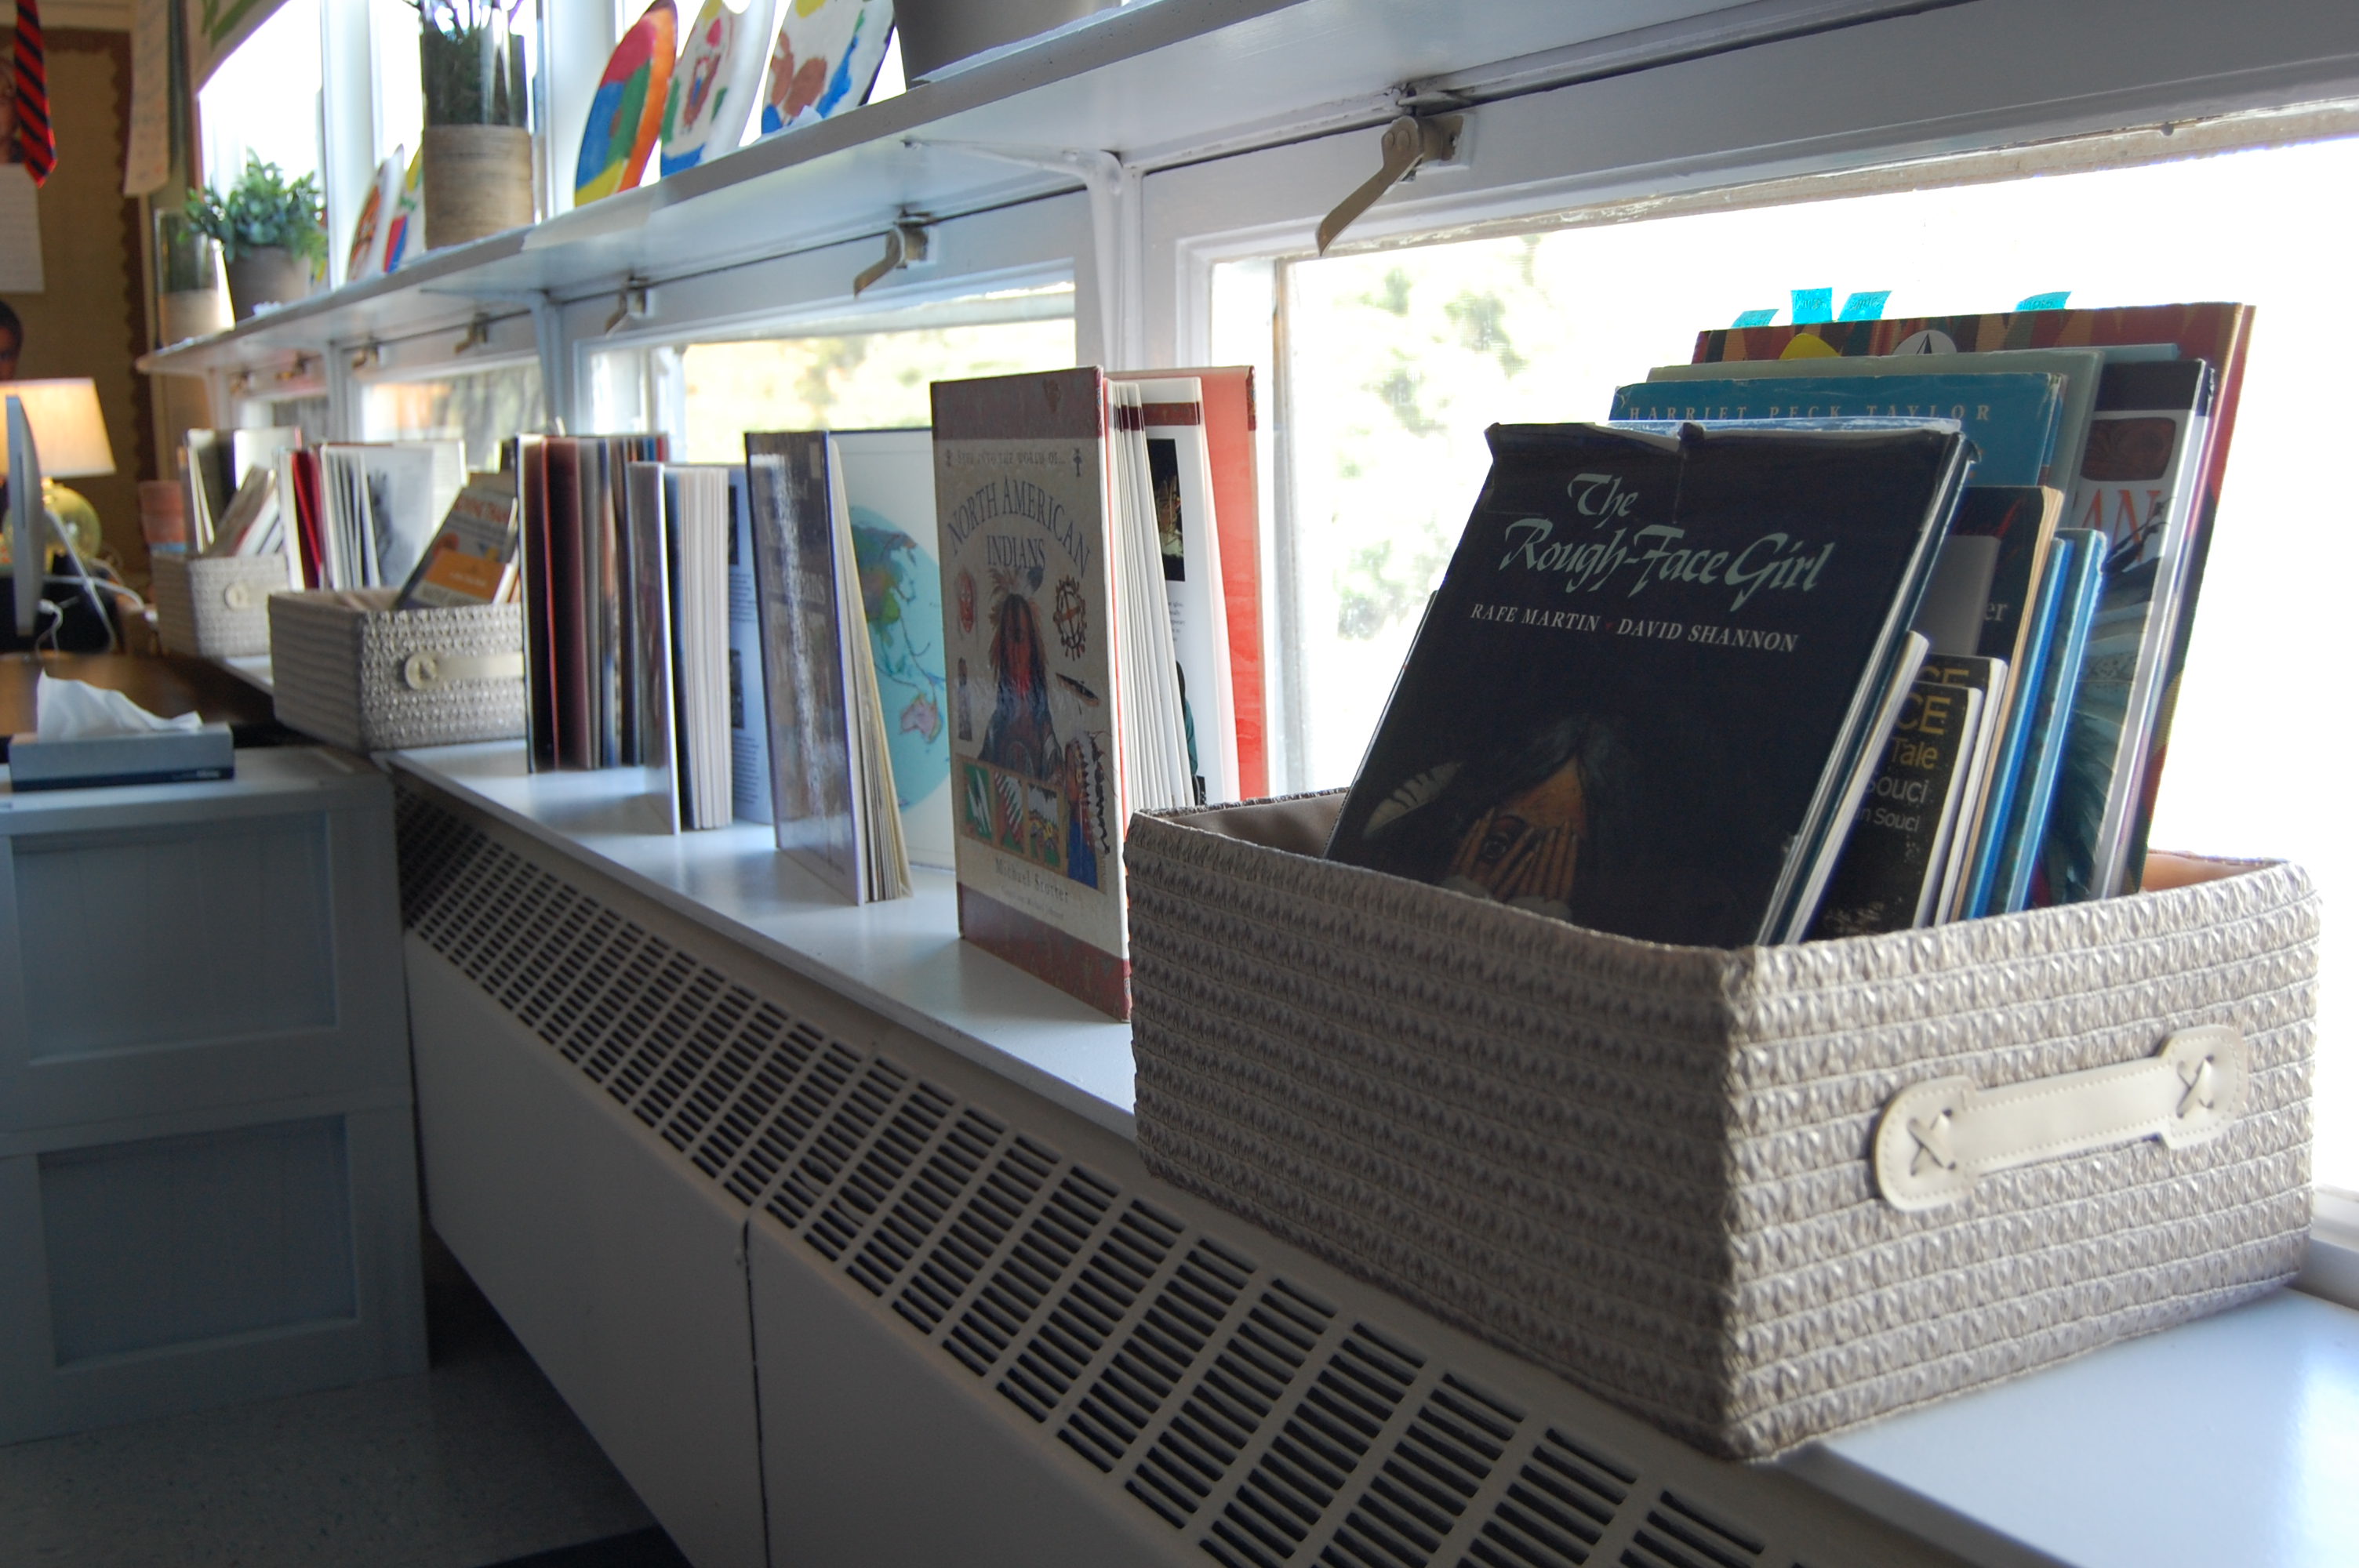
My library baskets can be found here. All the labels I made myself on Print Shop.
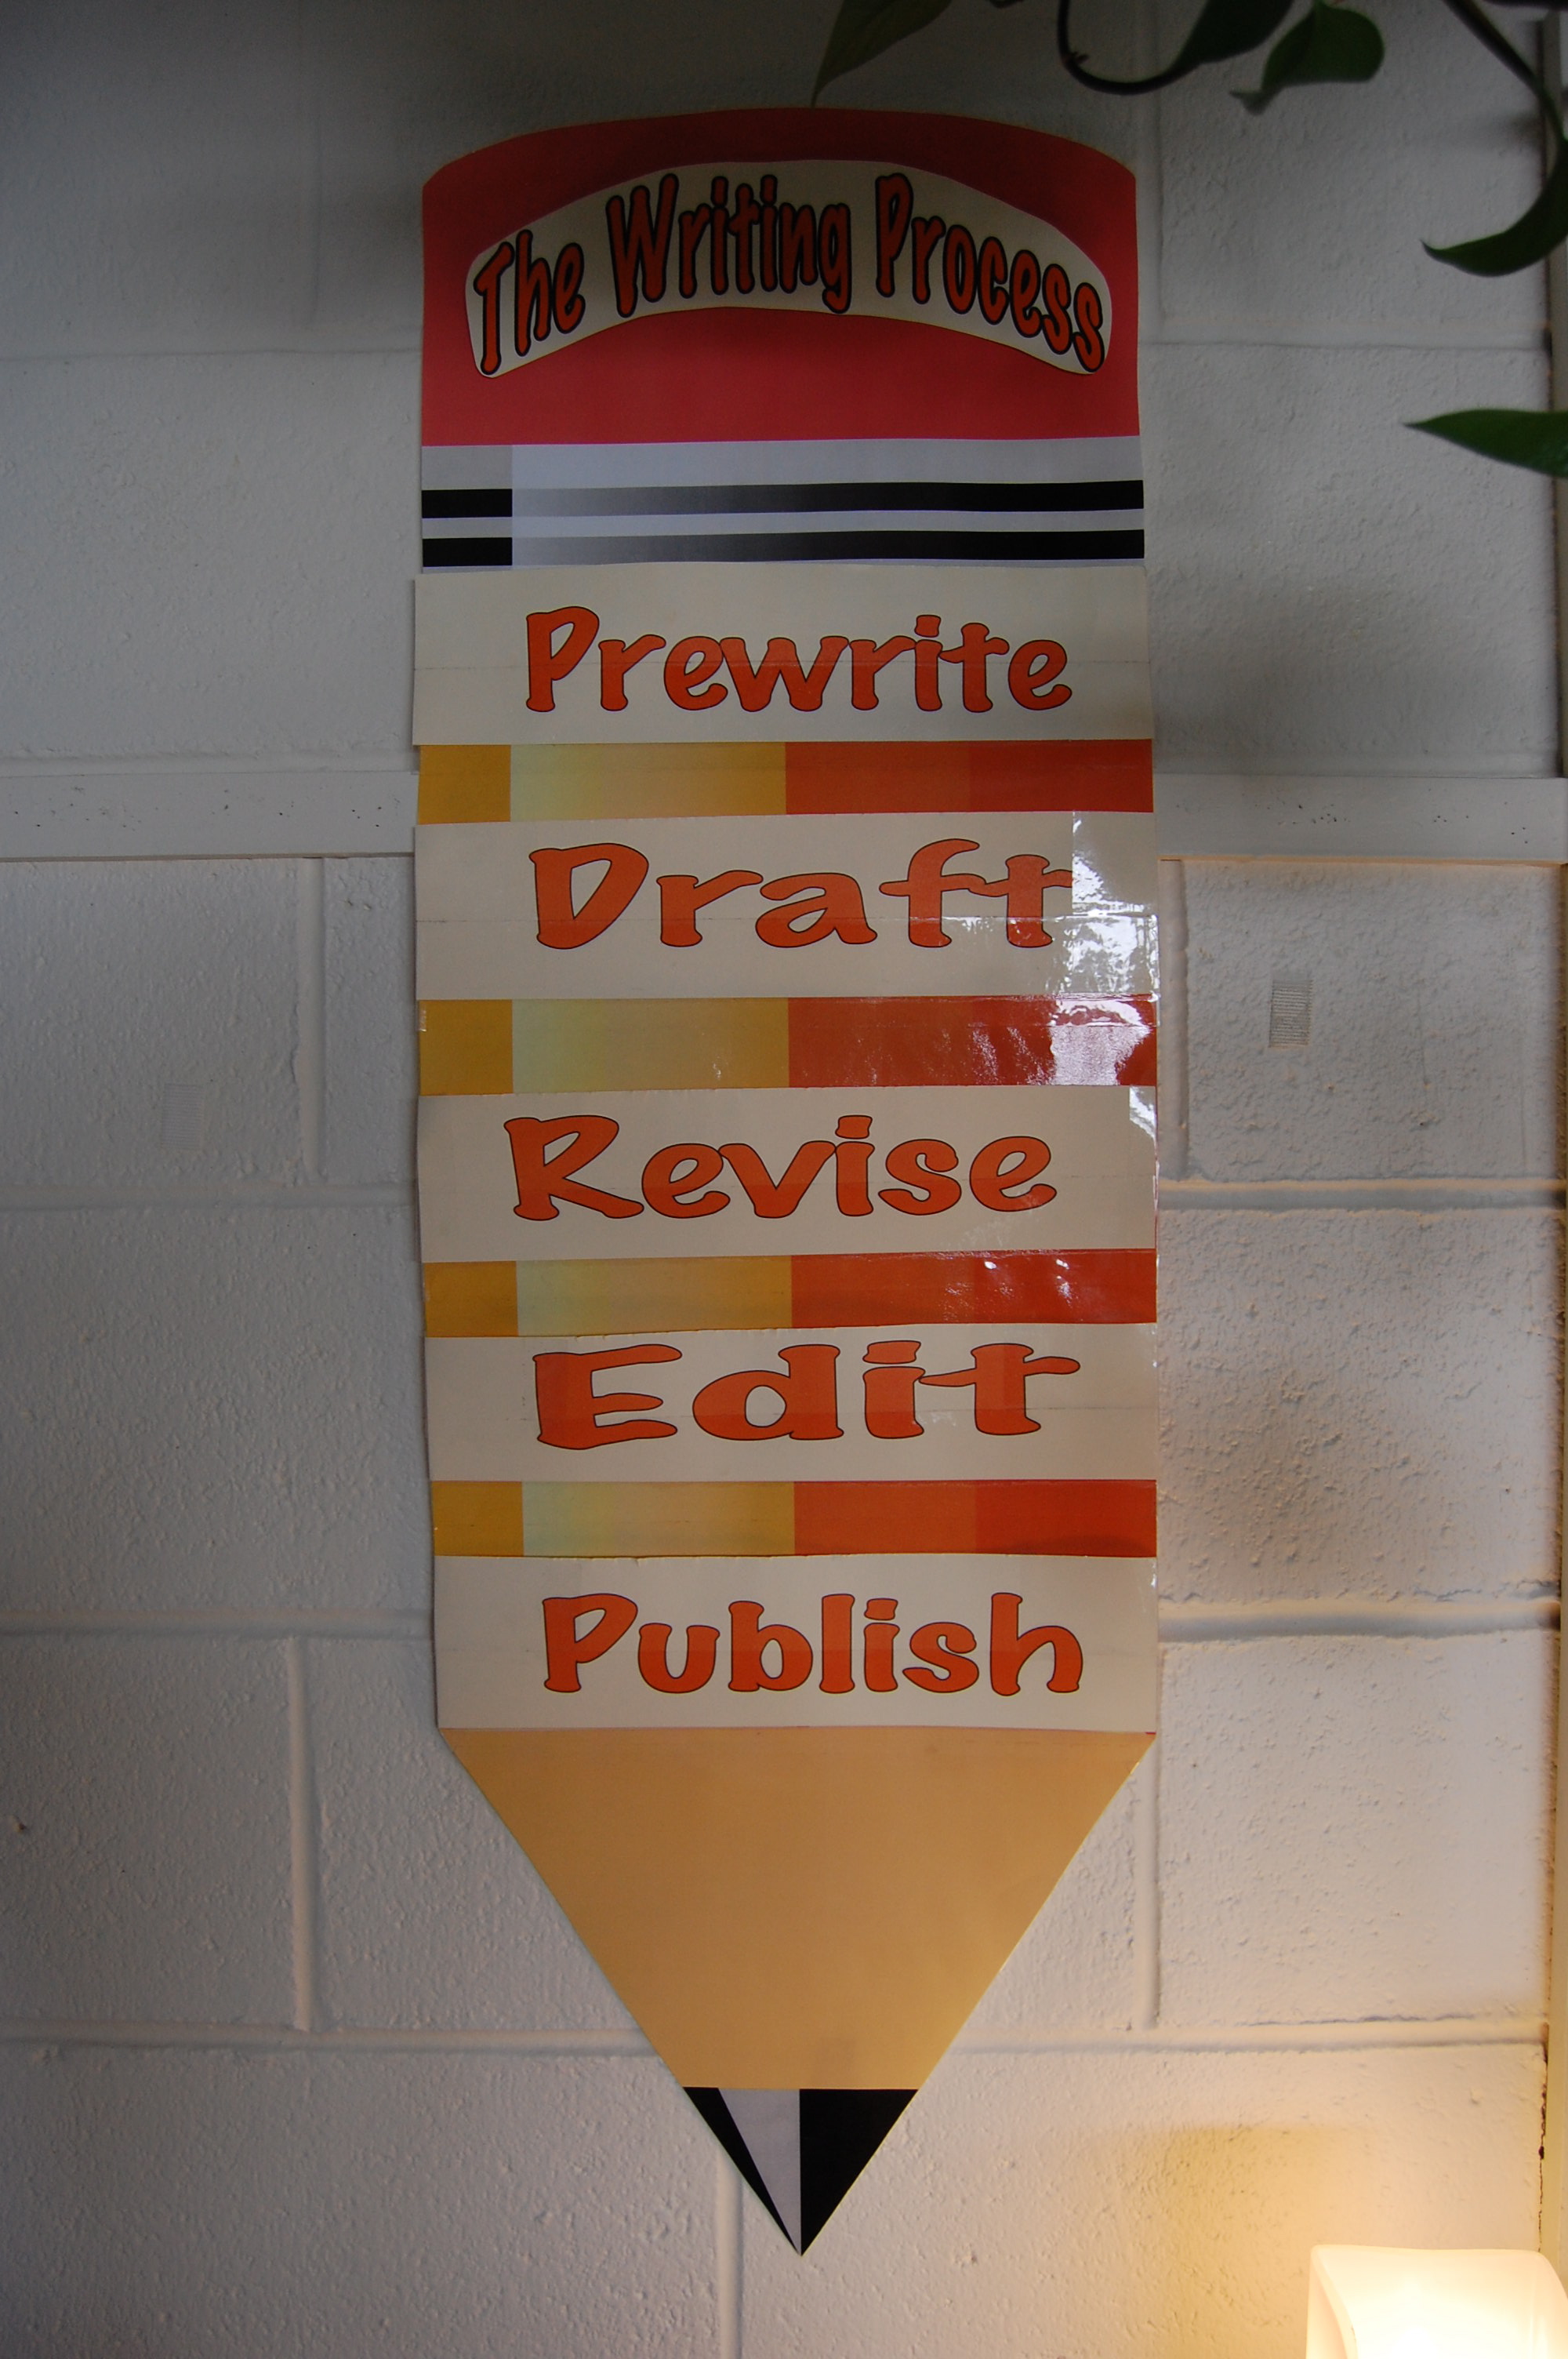
My assistant last year made this amazing pencil of the writing process. It’s great because the children clip a clothespin with their name on it on the step they are on as a way for us to monitor.
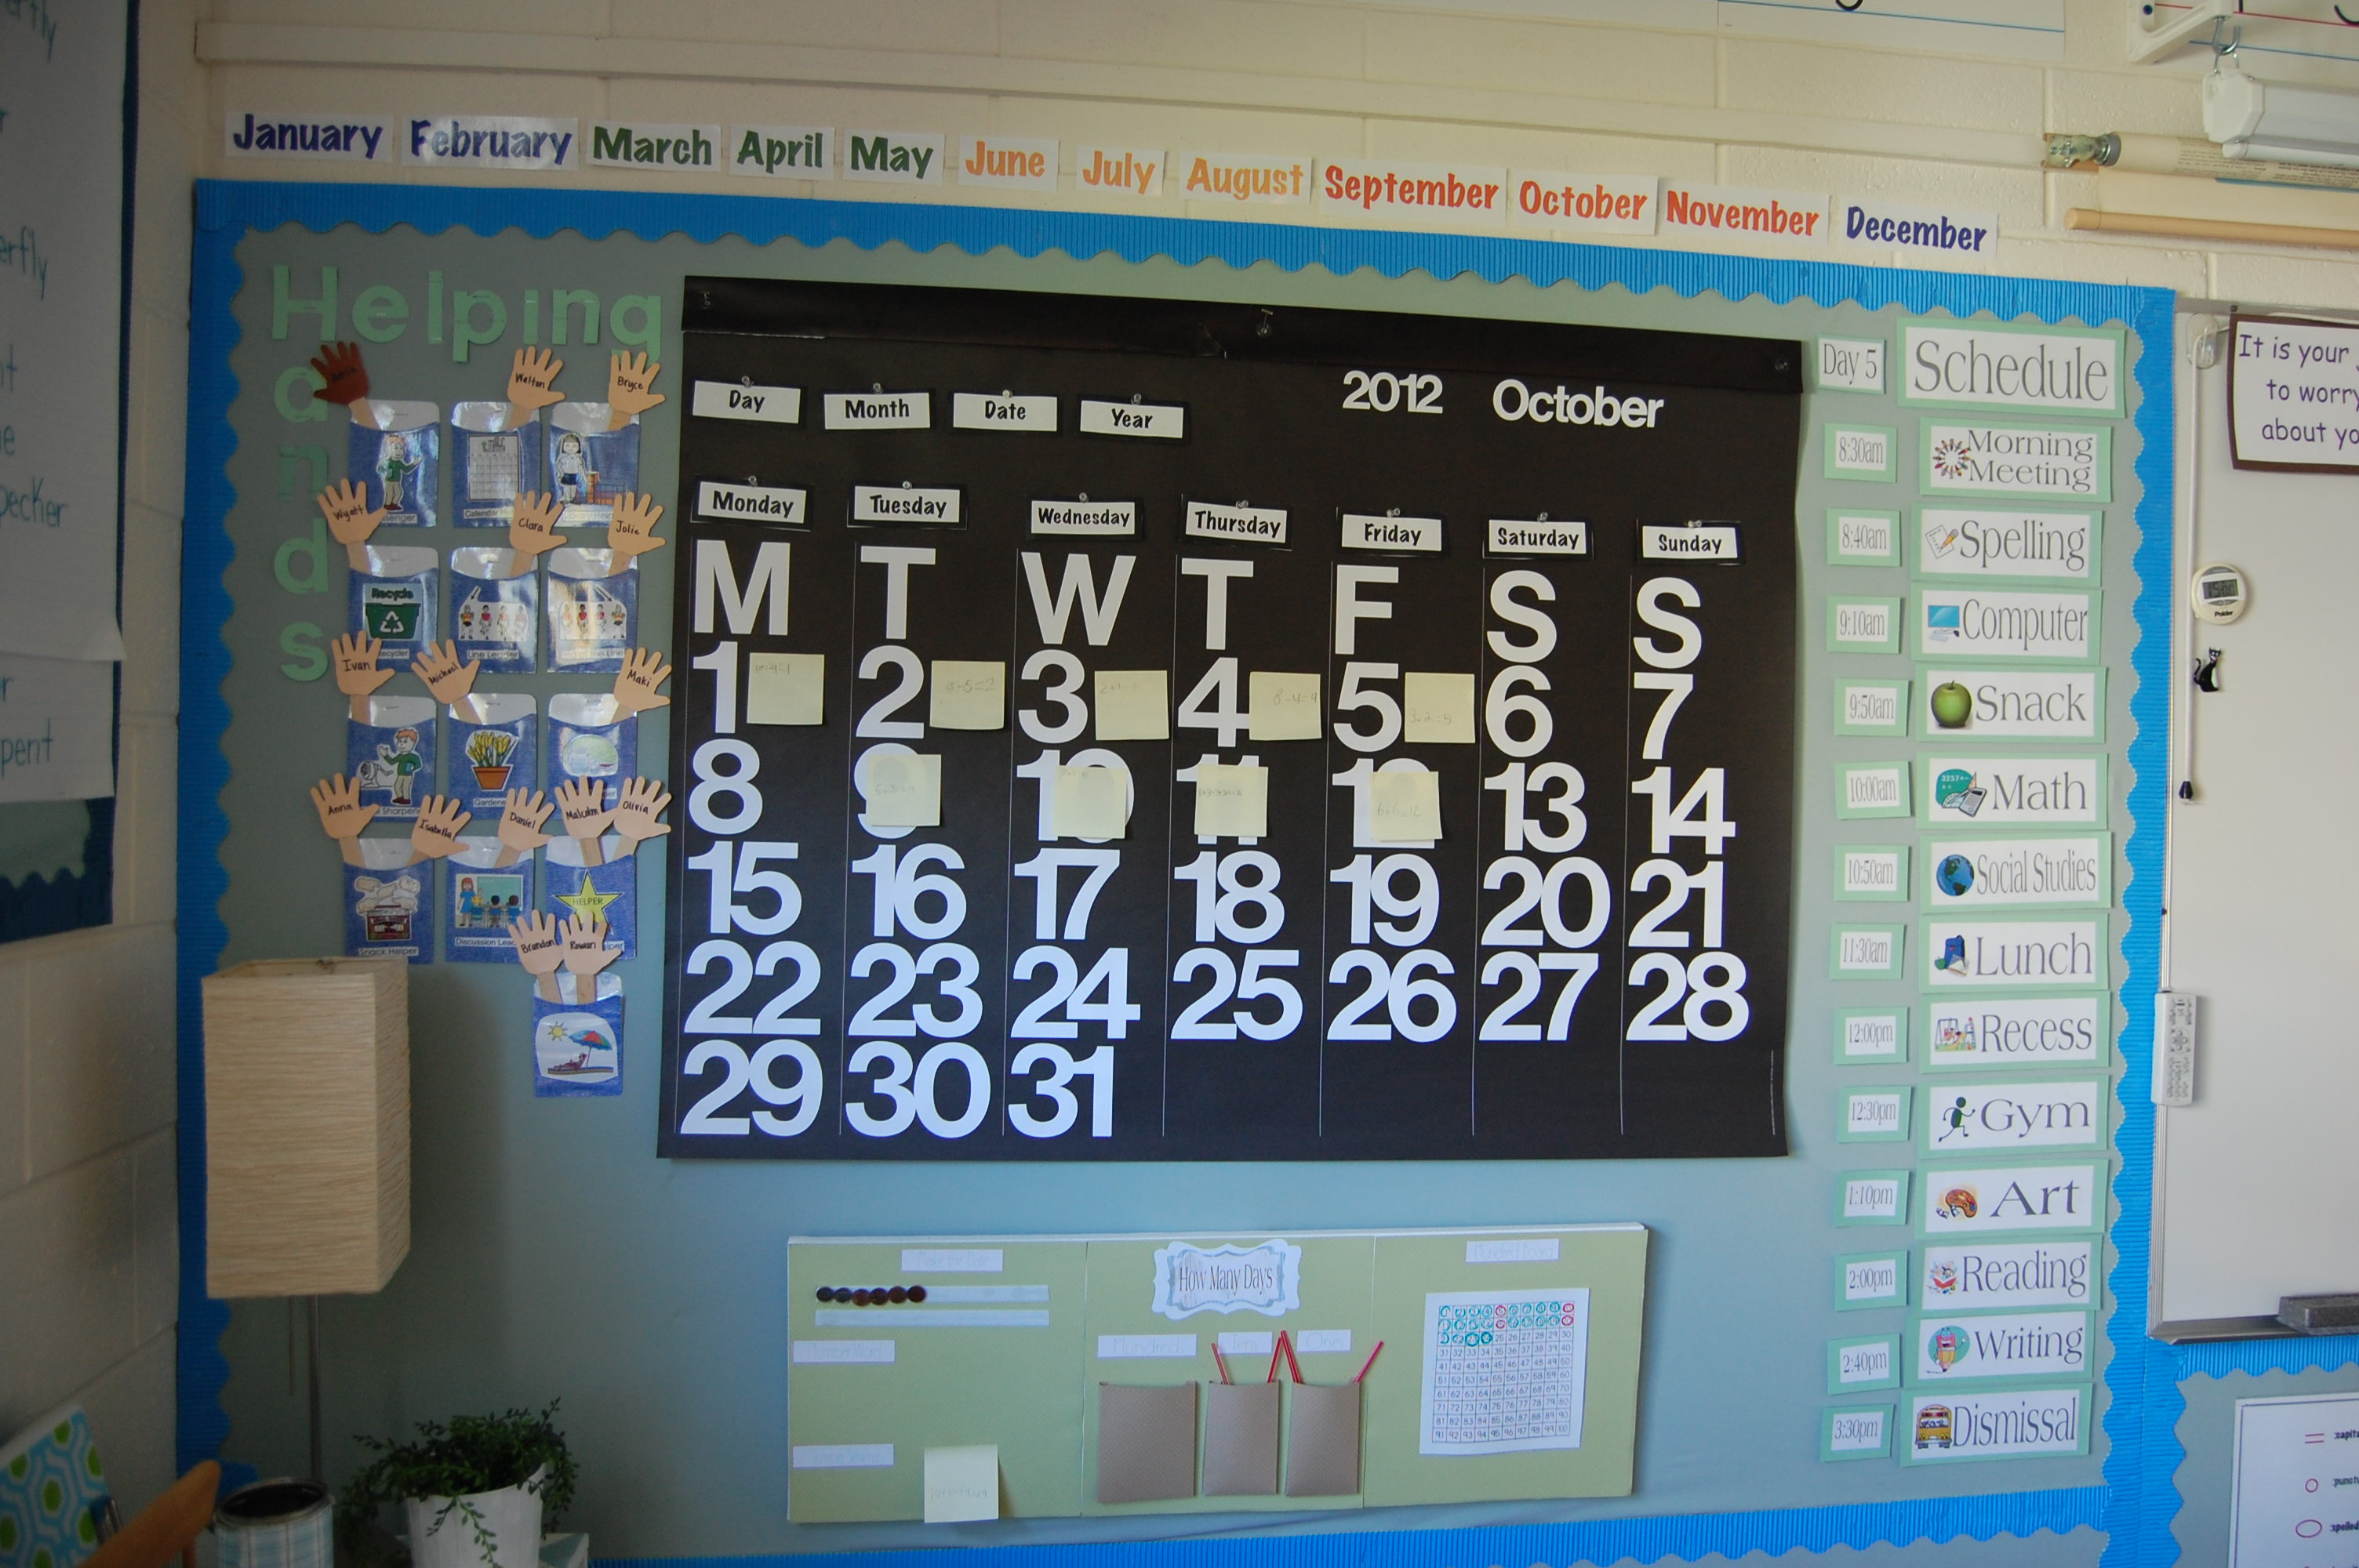
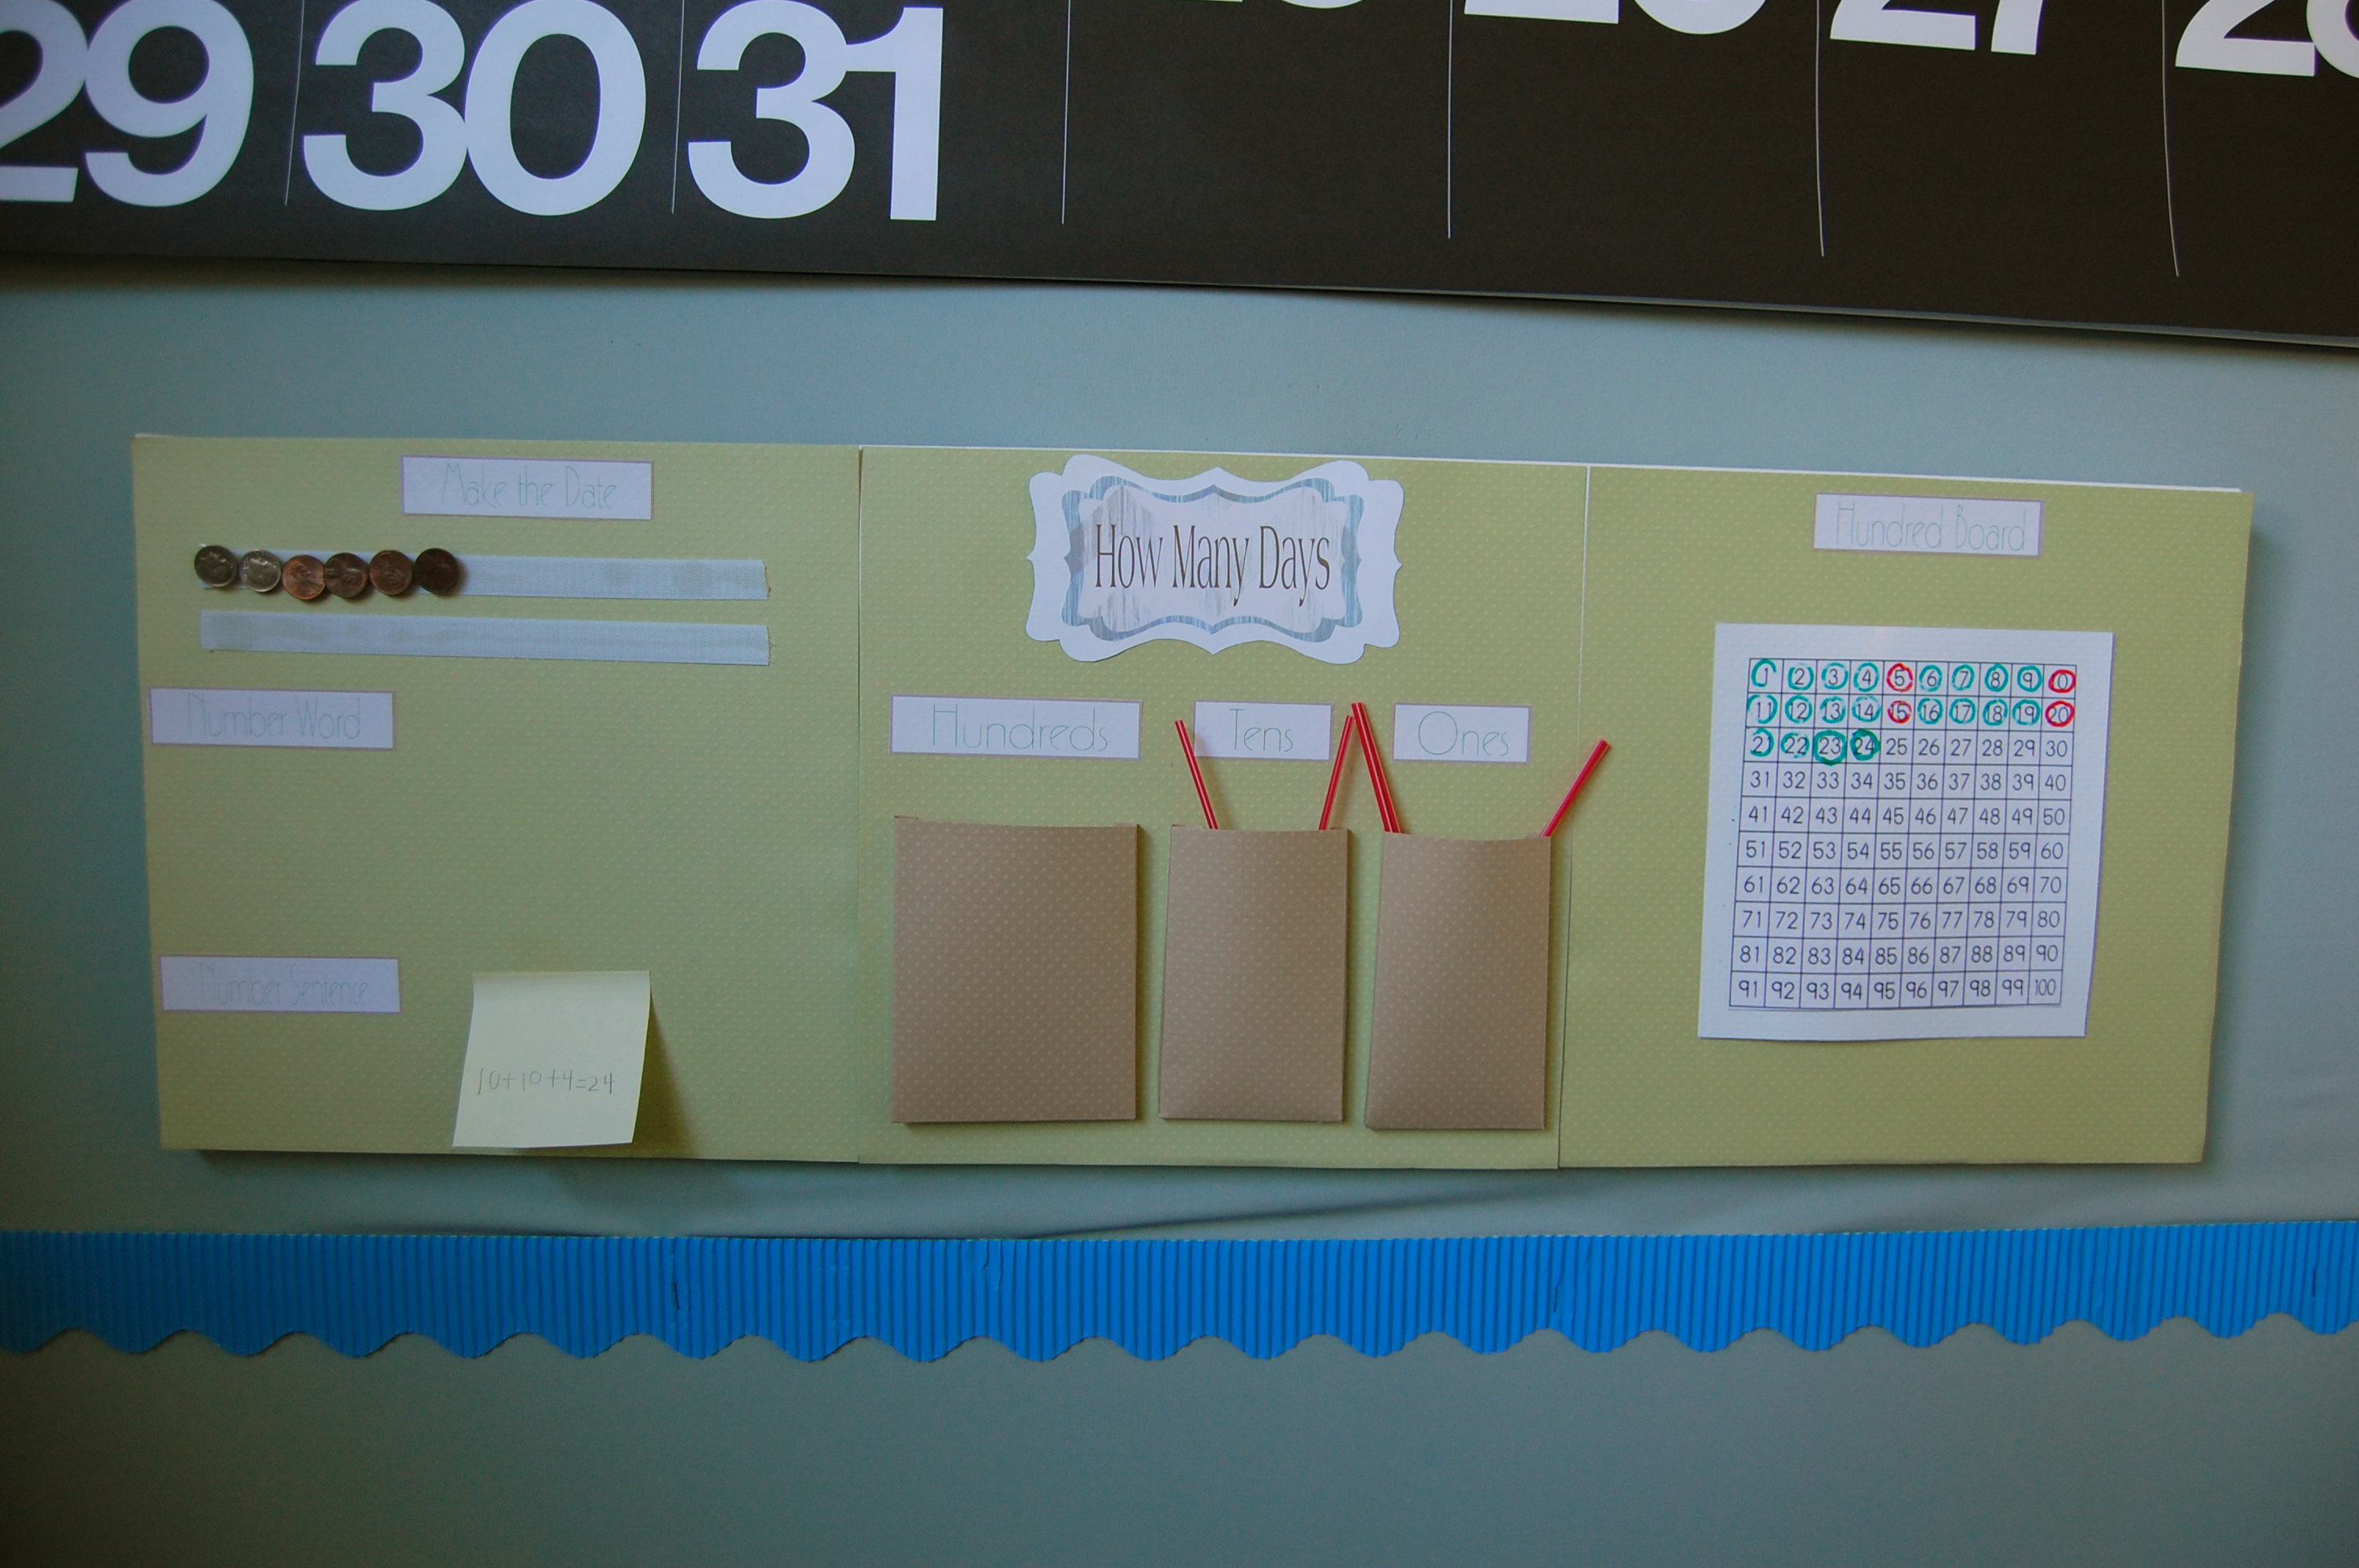
I made all the signs for the schedule on Print Shop, had them laminated, and then added a strip of magnet on the back. Then I added magnet strips under the fabric for the signs to attach to.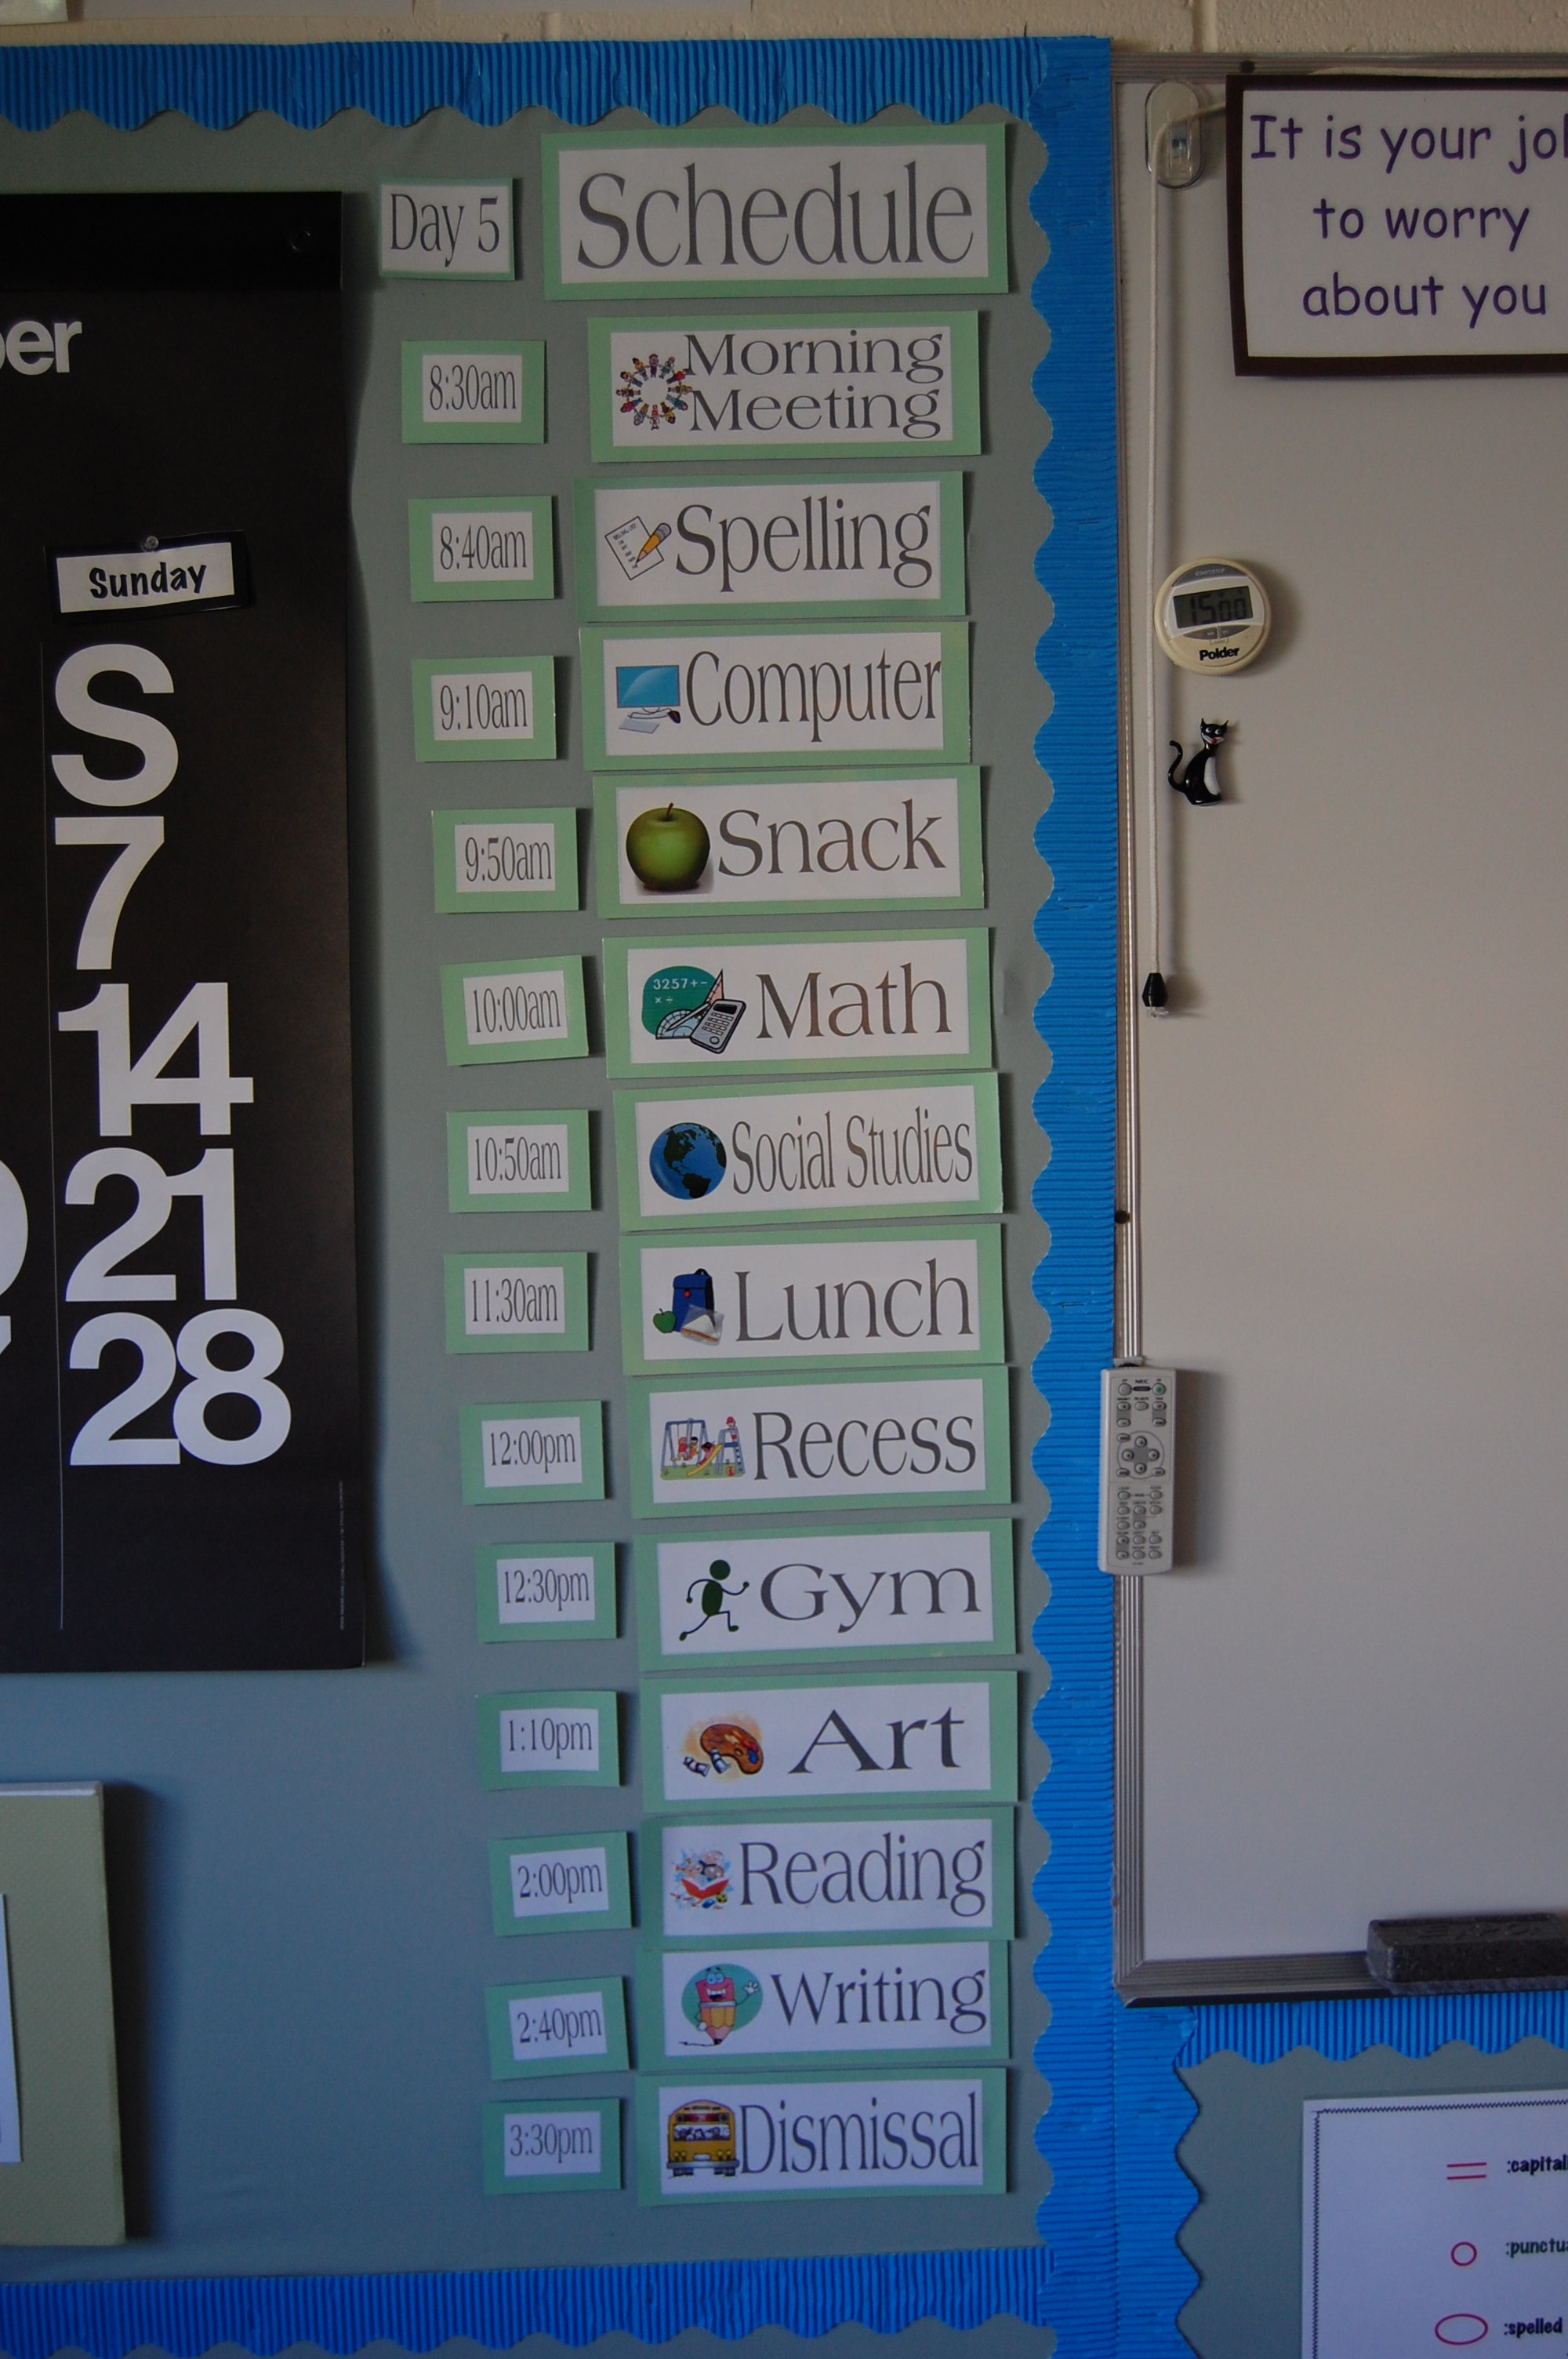 I made our “How Many Days” chart using a canvas board and some scrap paper.
Here’s a link to a post I did on my window coverings and how I added a little character to them.
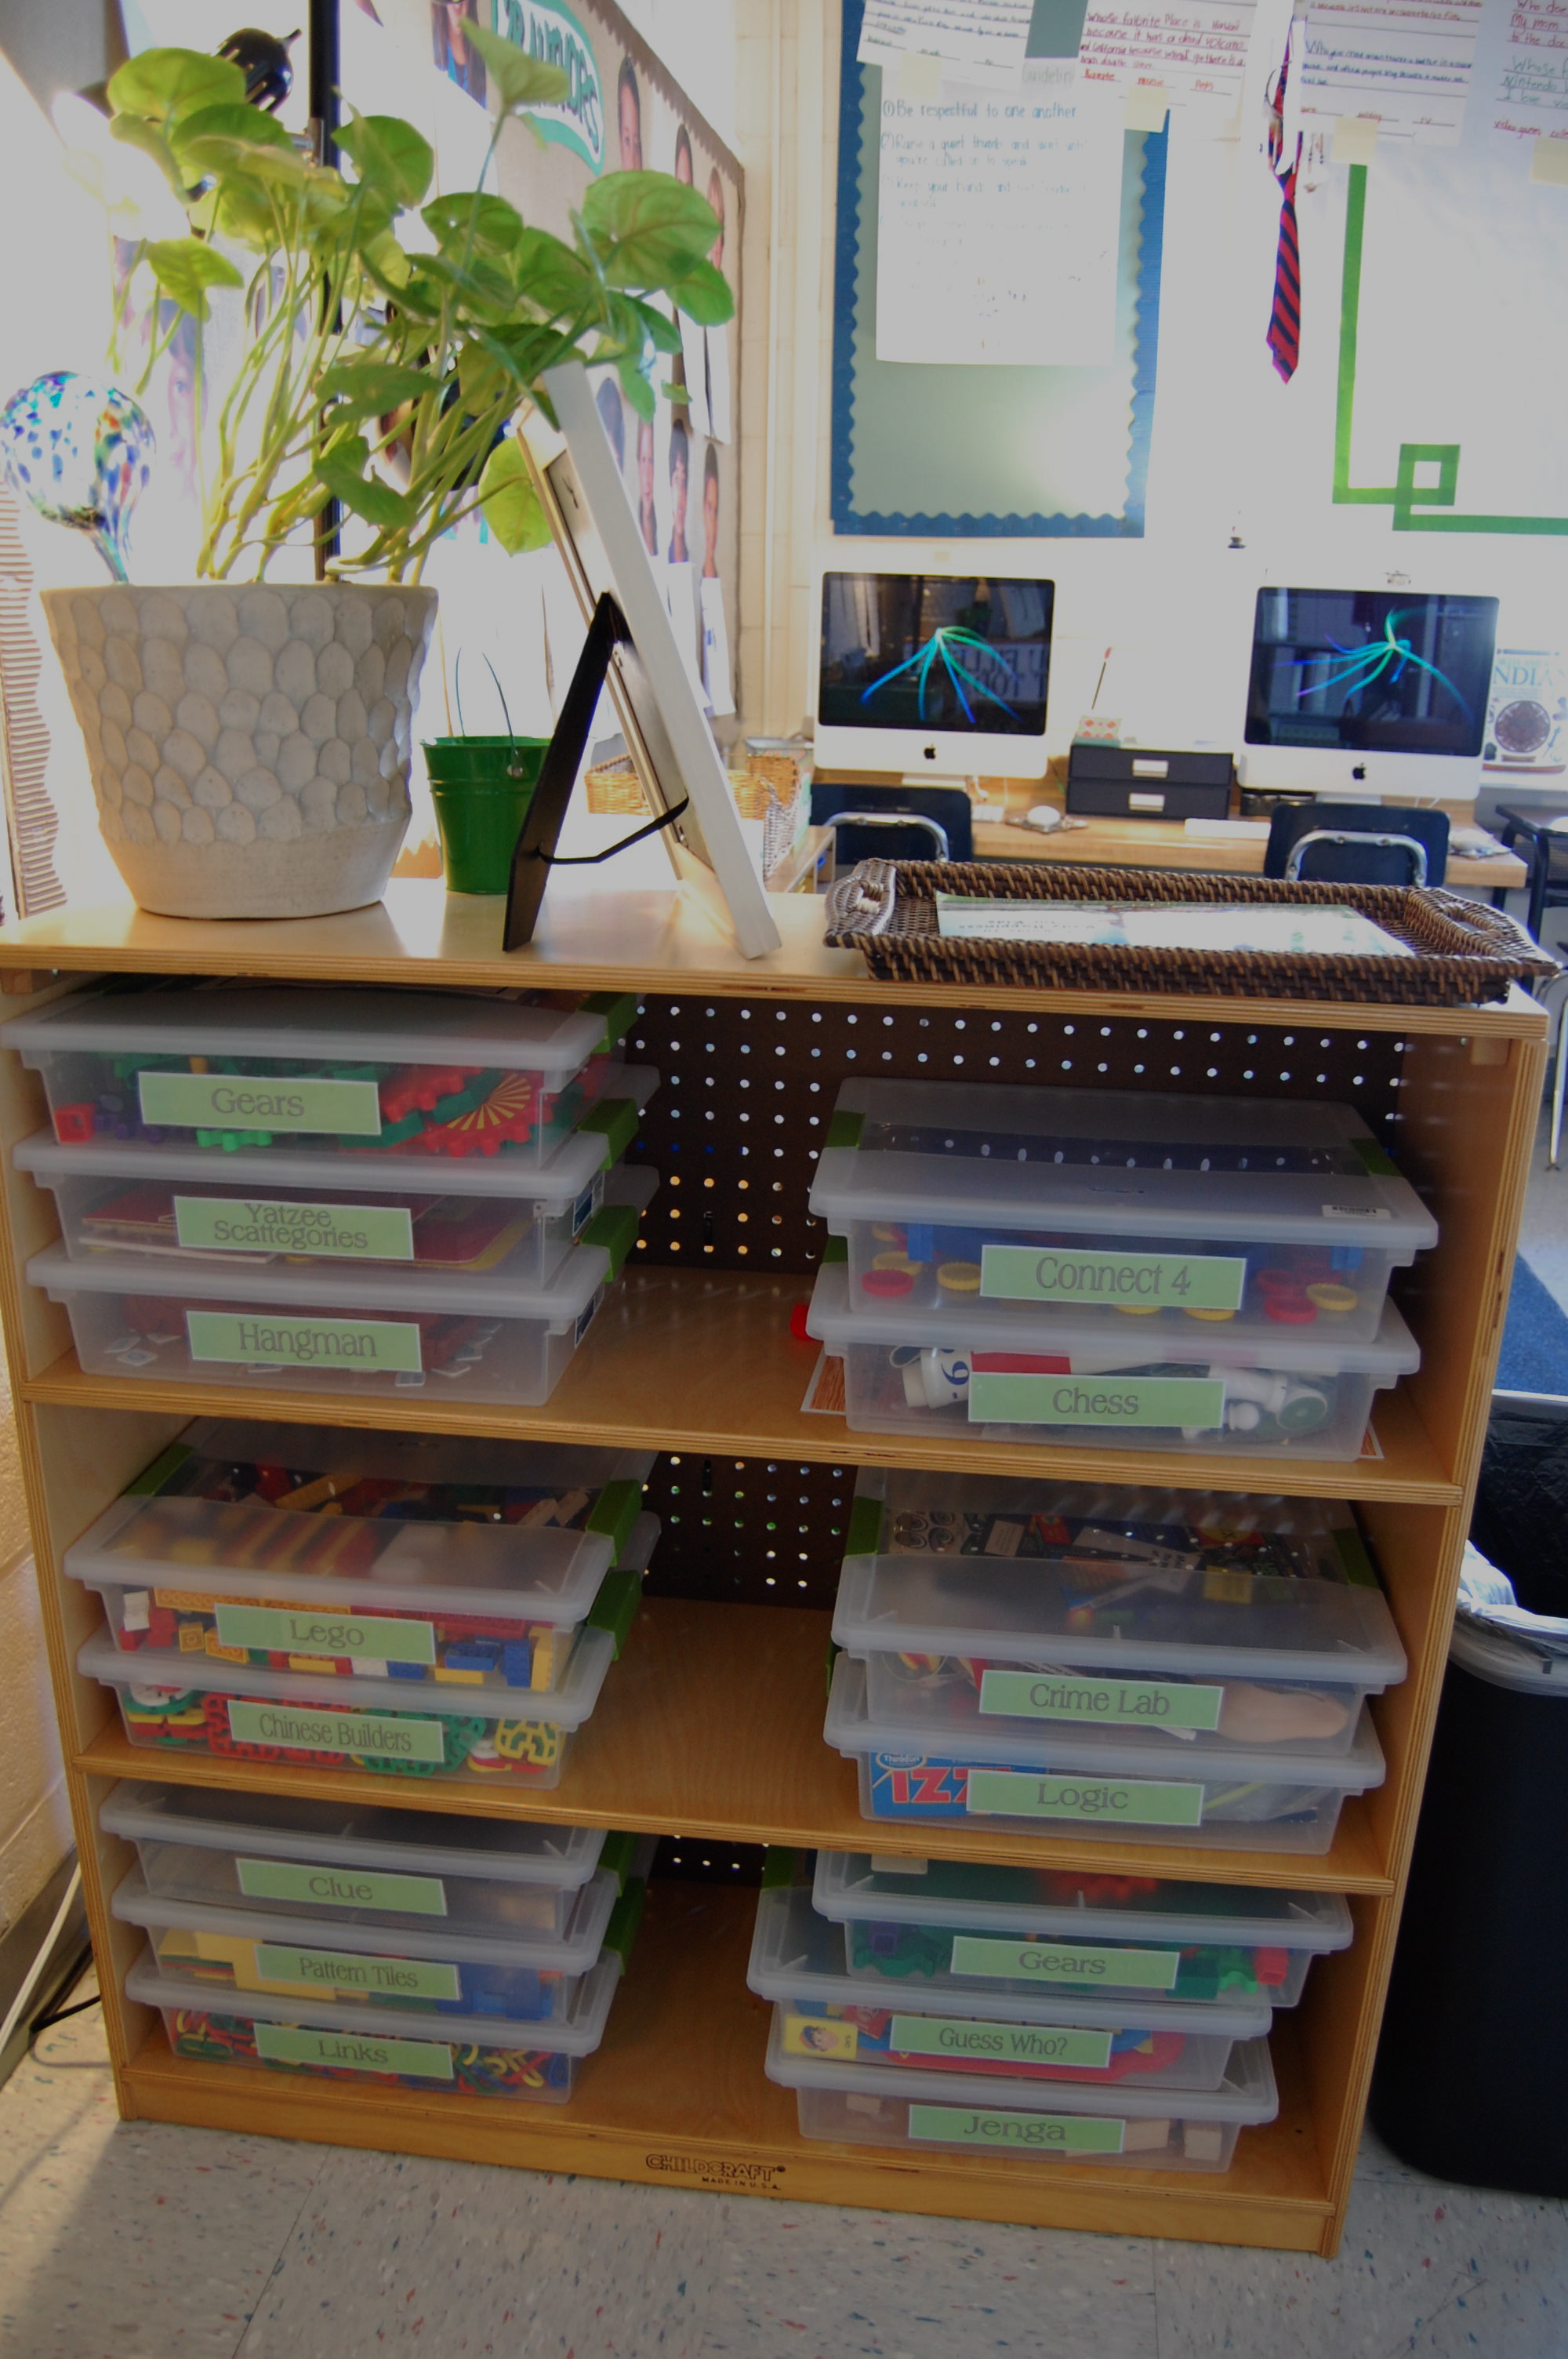
Now here is the spot I’m looking to replace. Those trays are very old and cracked and I can’t replace them because they don’t make them in that size anymore so I am hoping to get a new piece with clear trays.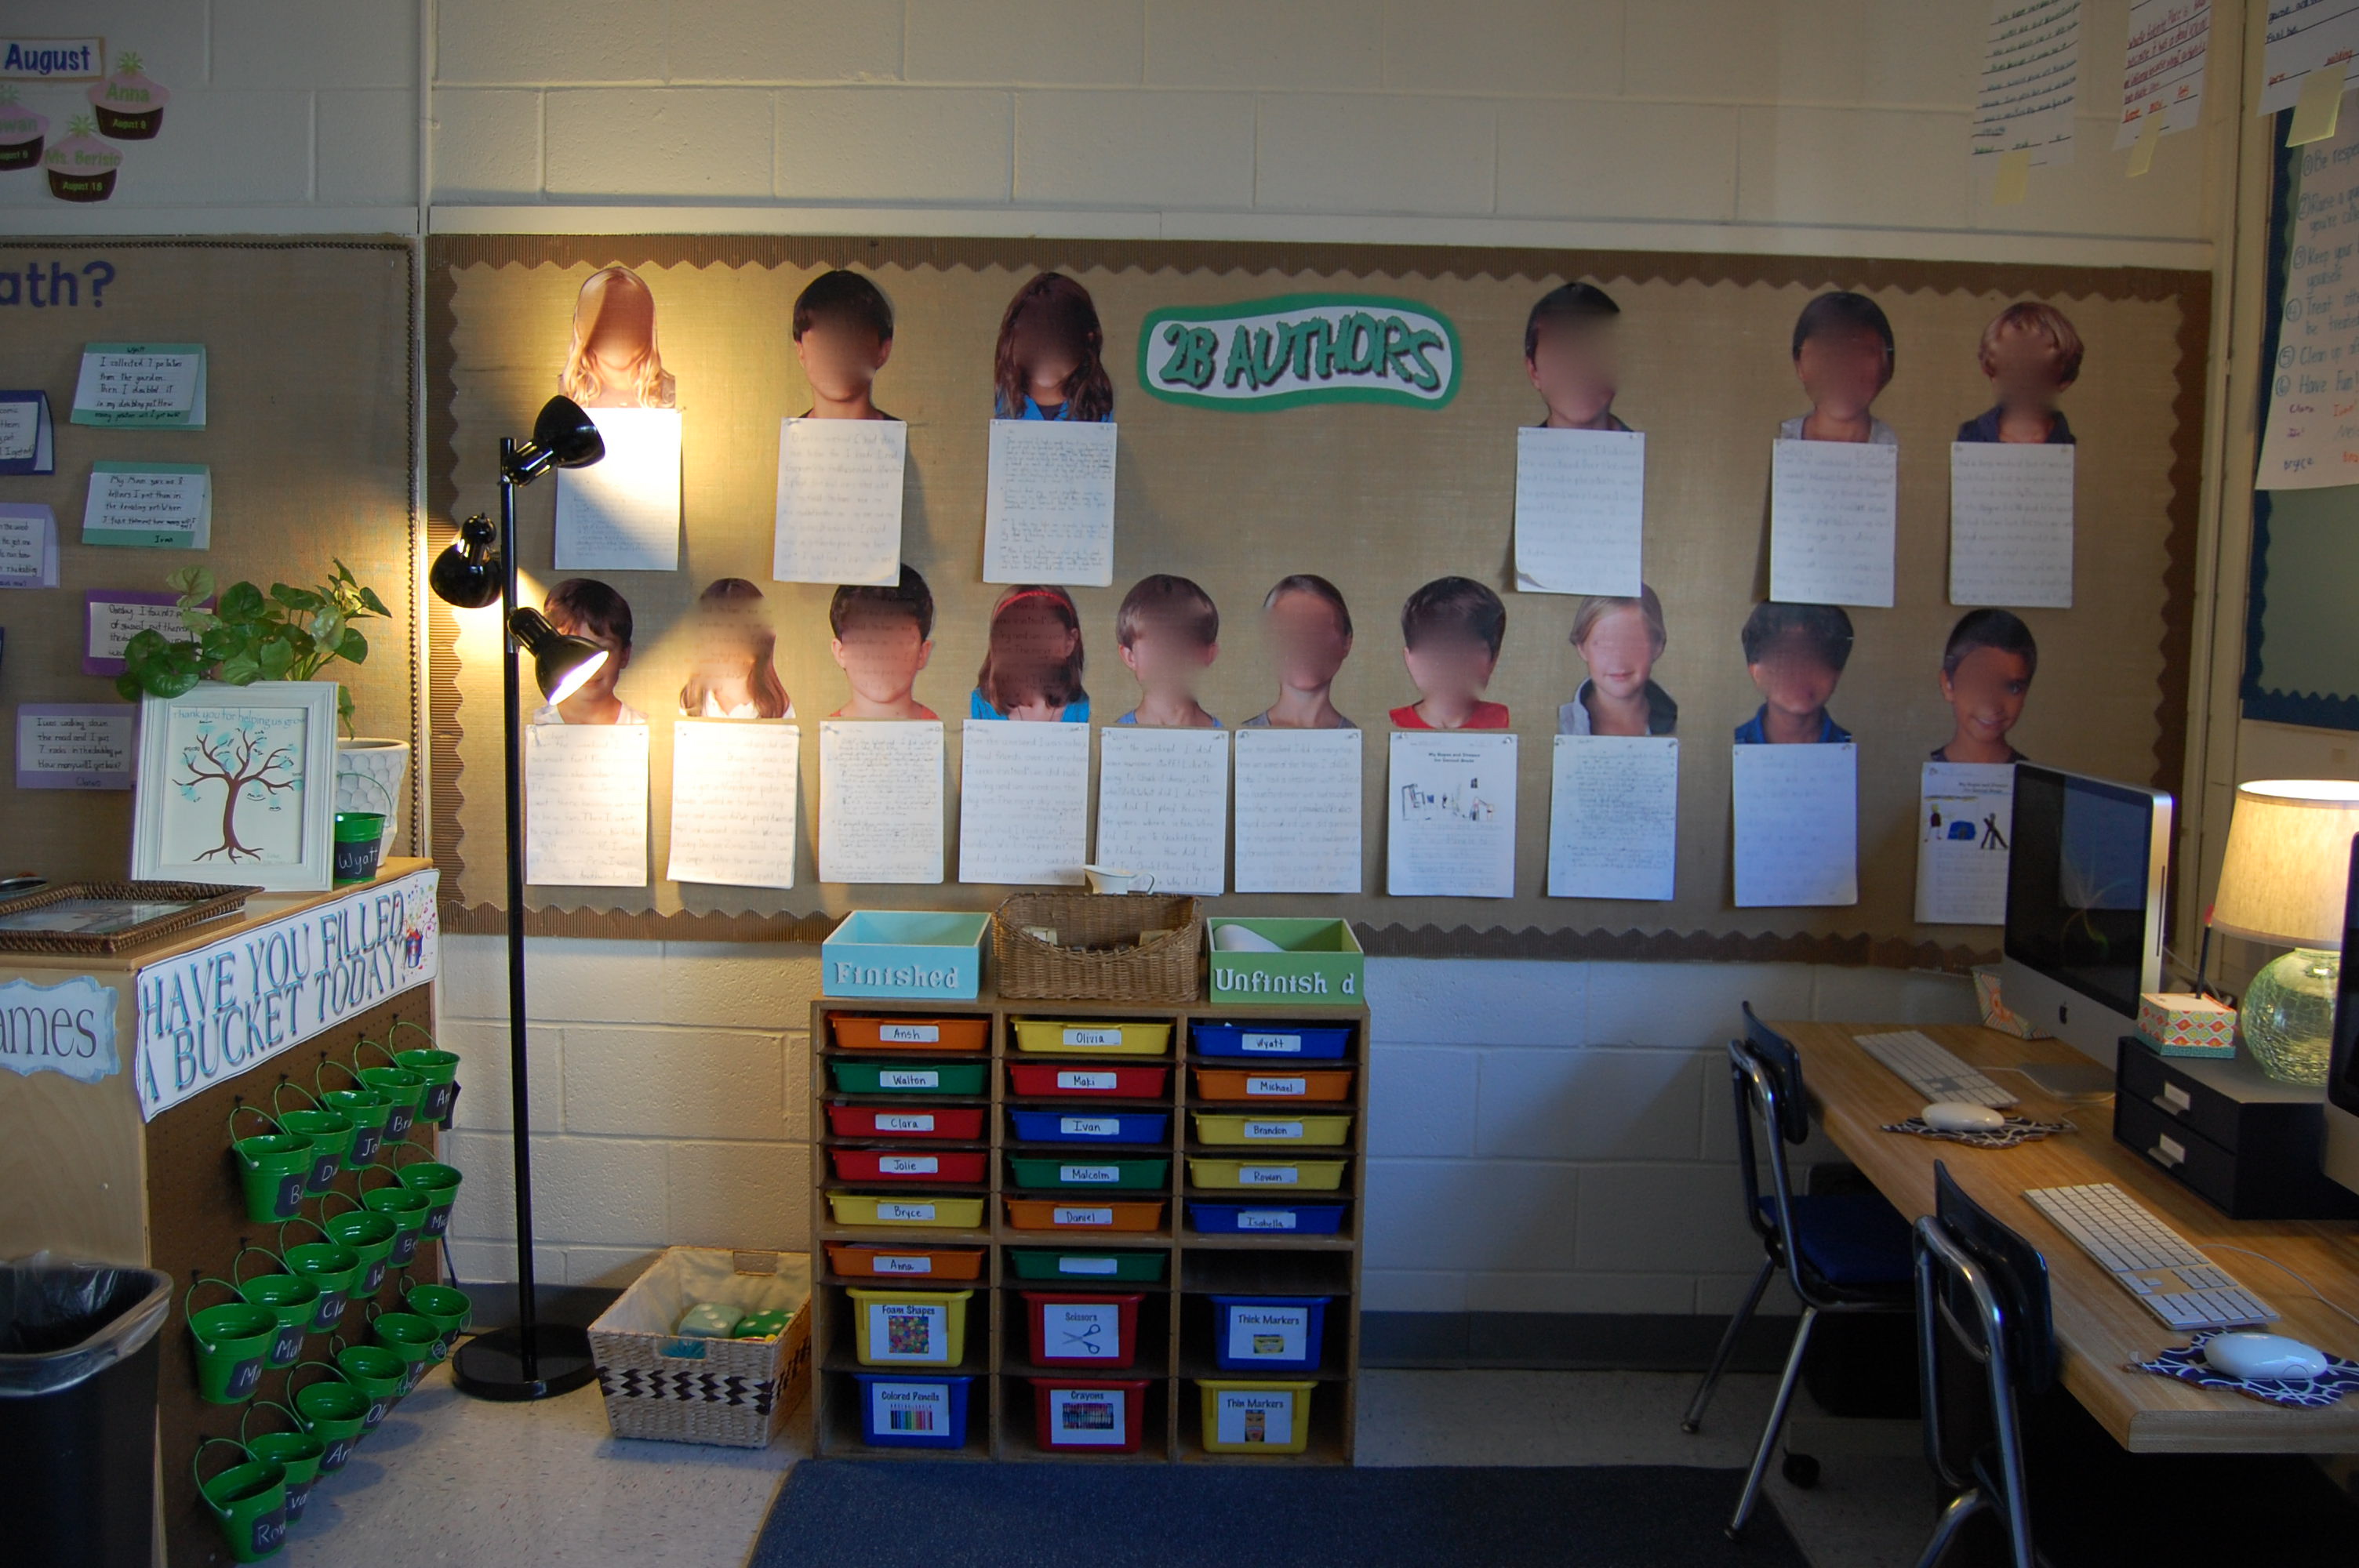
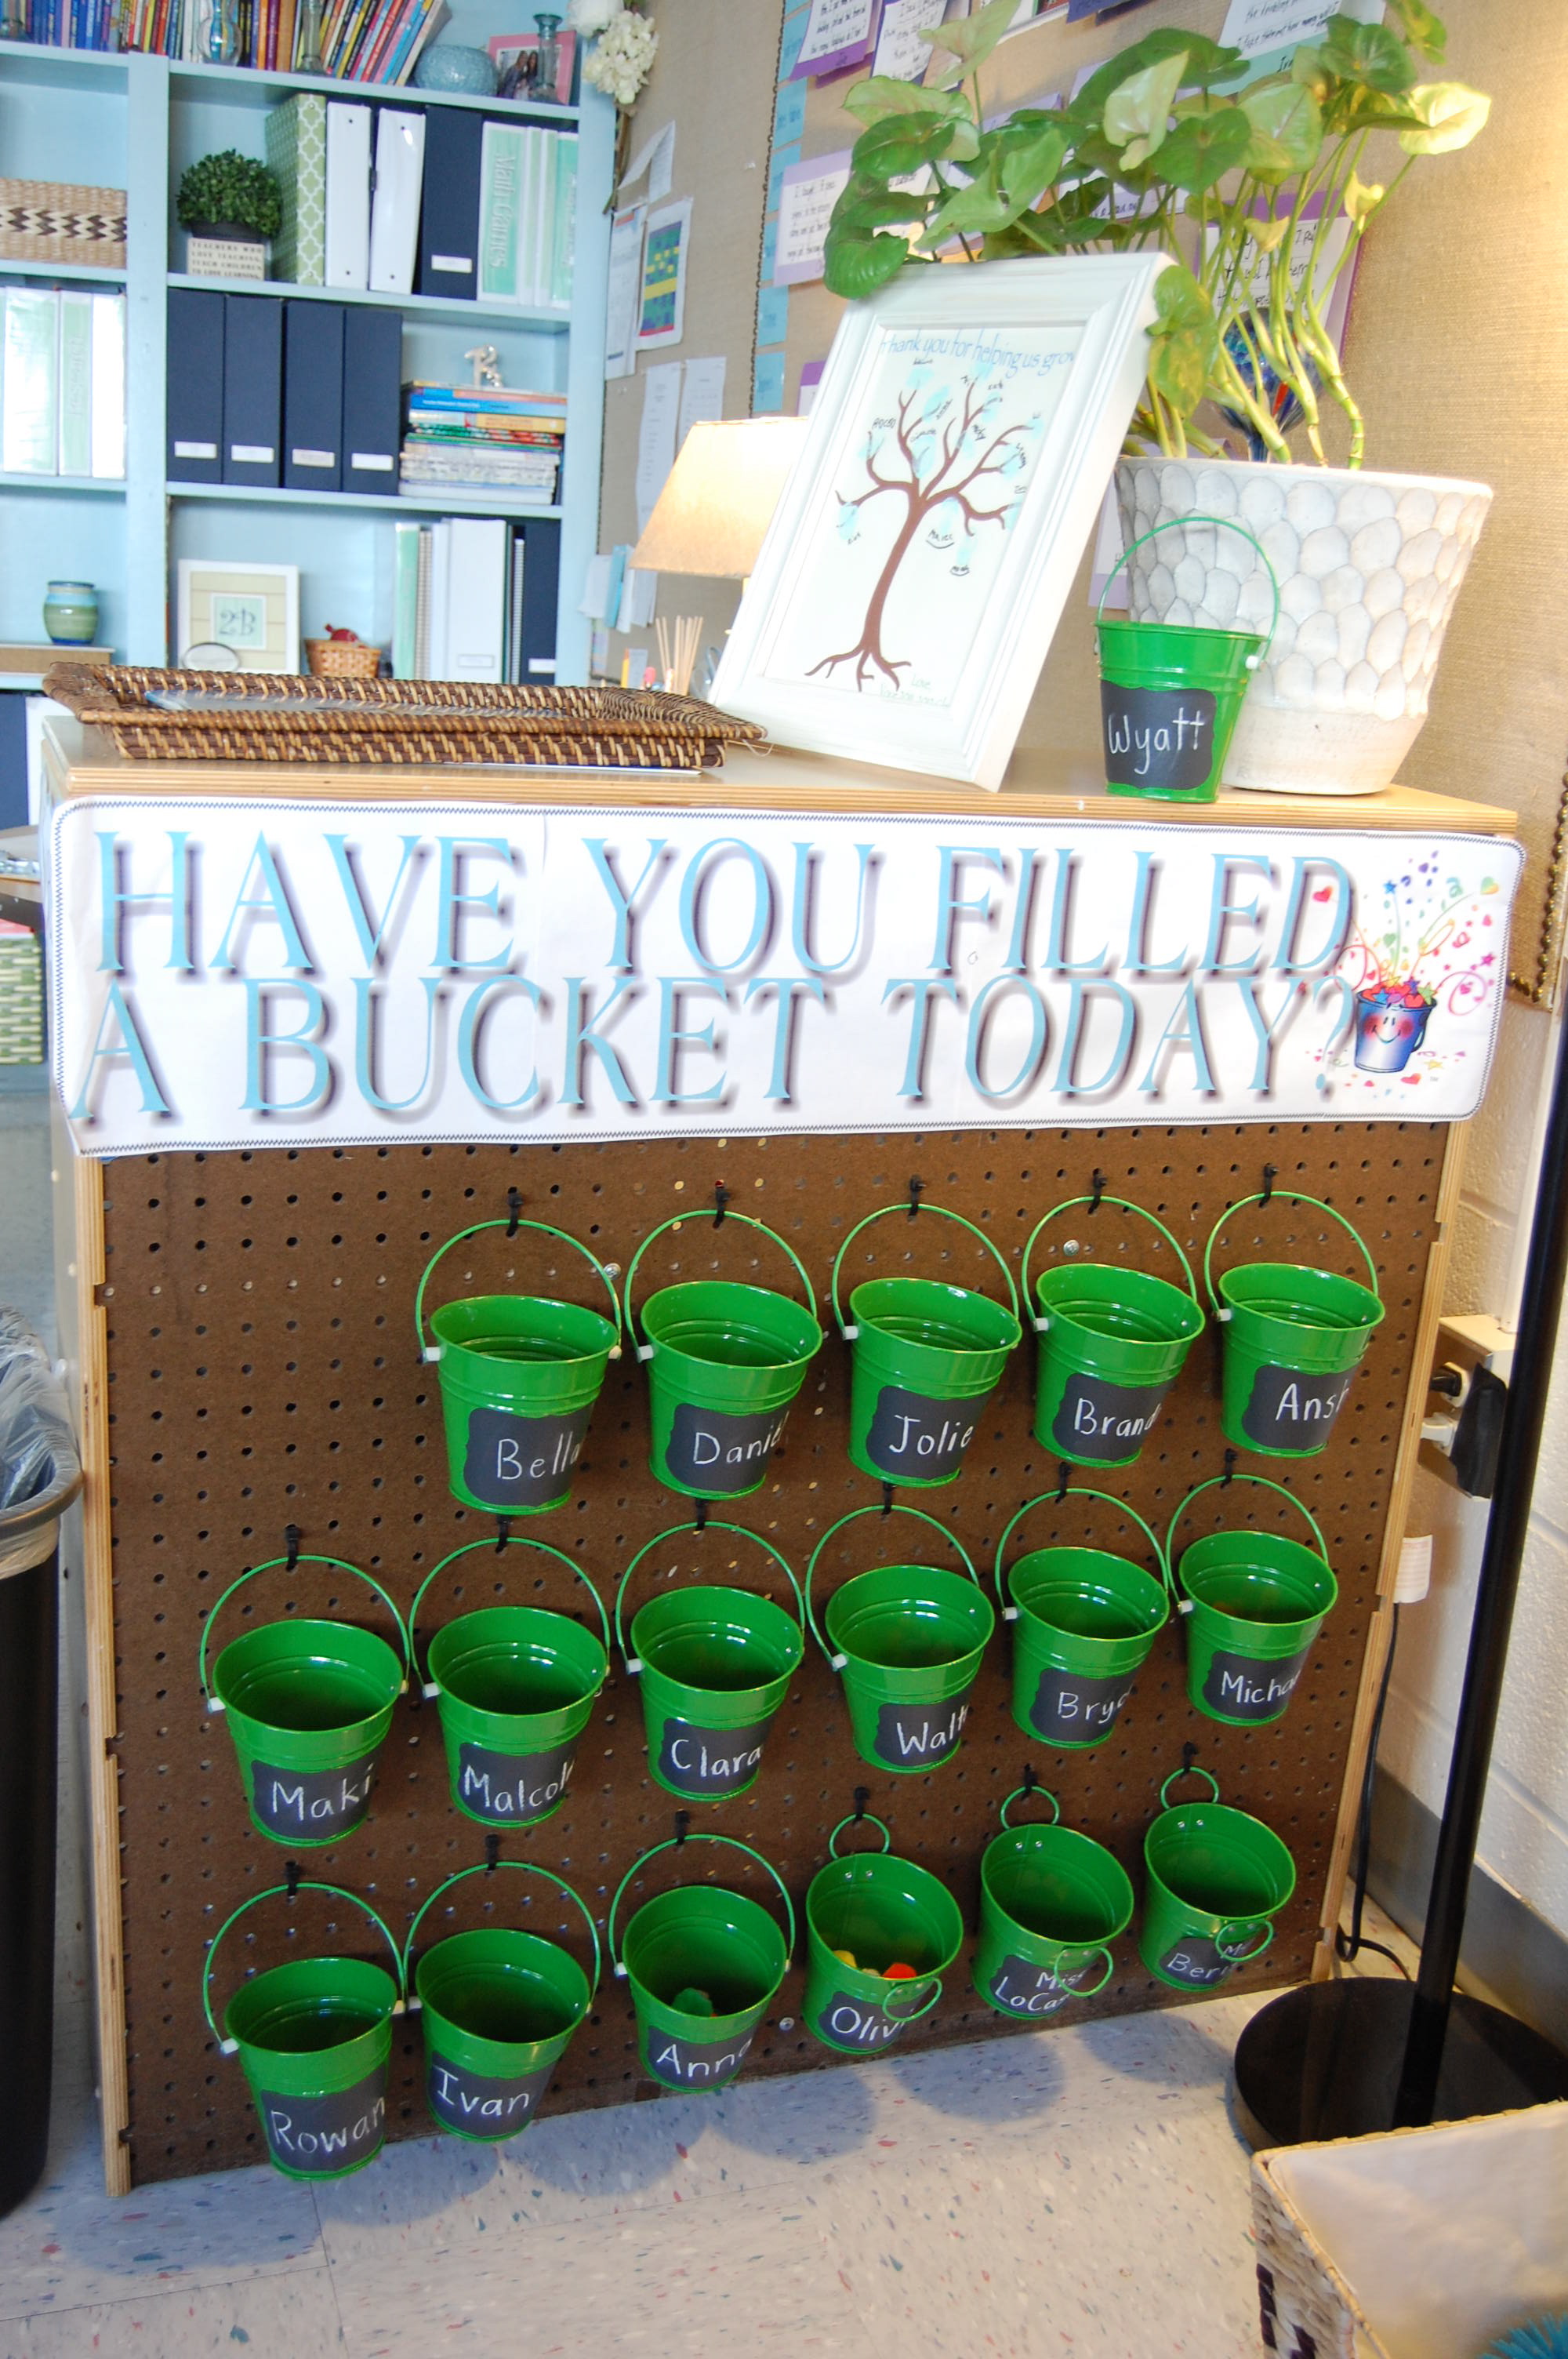
We use the Character Counts program in my school but we also started the bucket system based off the book Have You Filled A Bucket Today? This is a great book for anyone looking to teach their children all about caring!
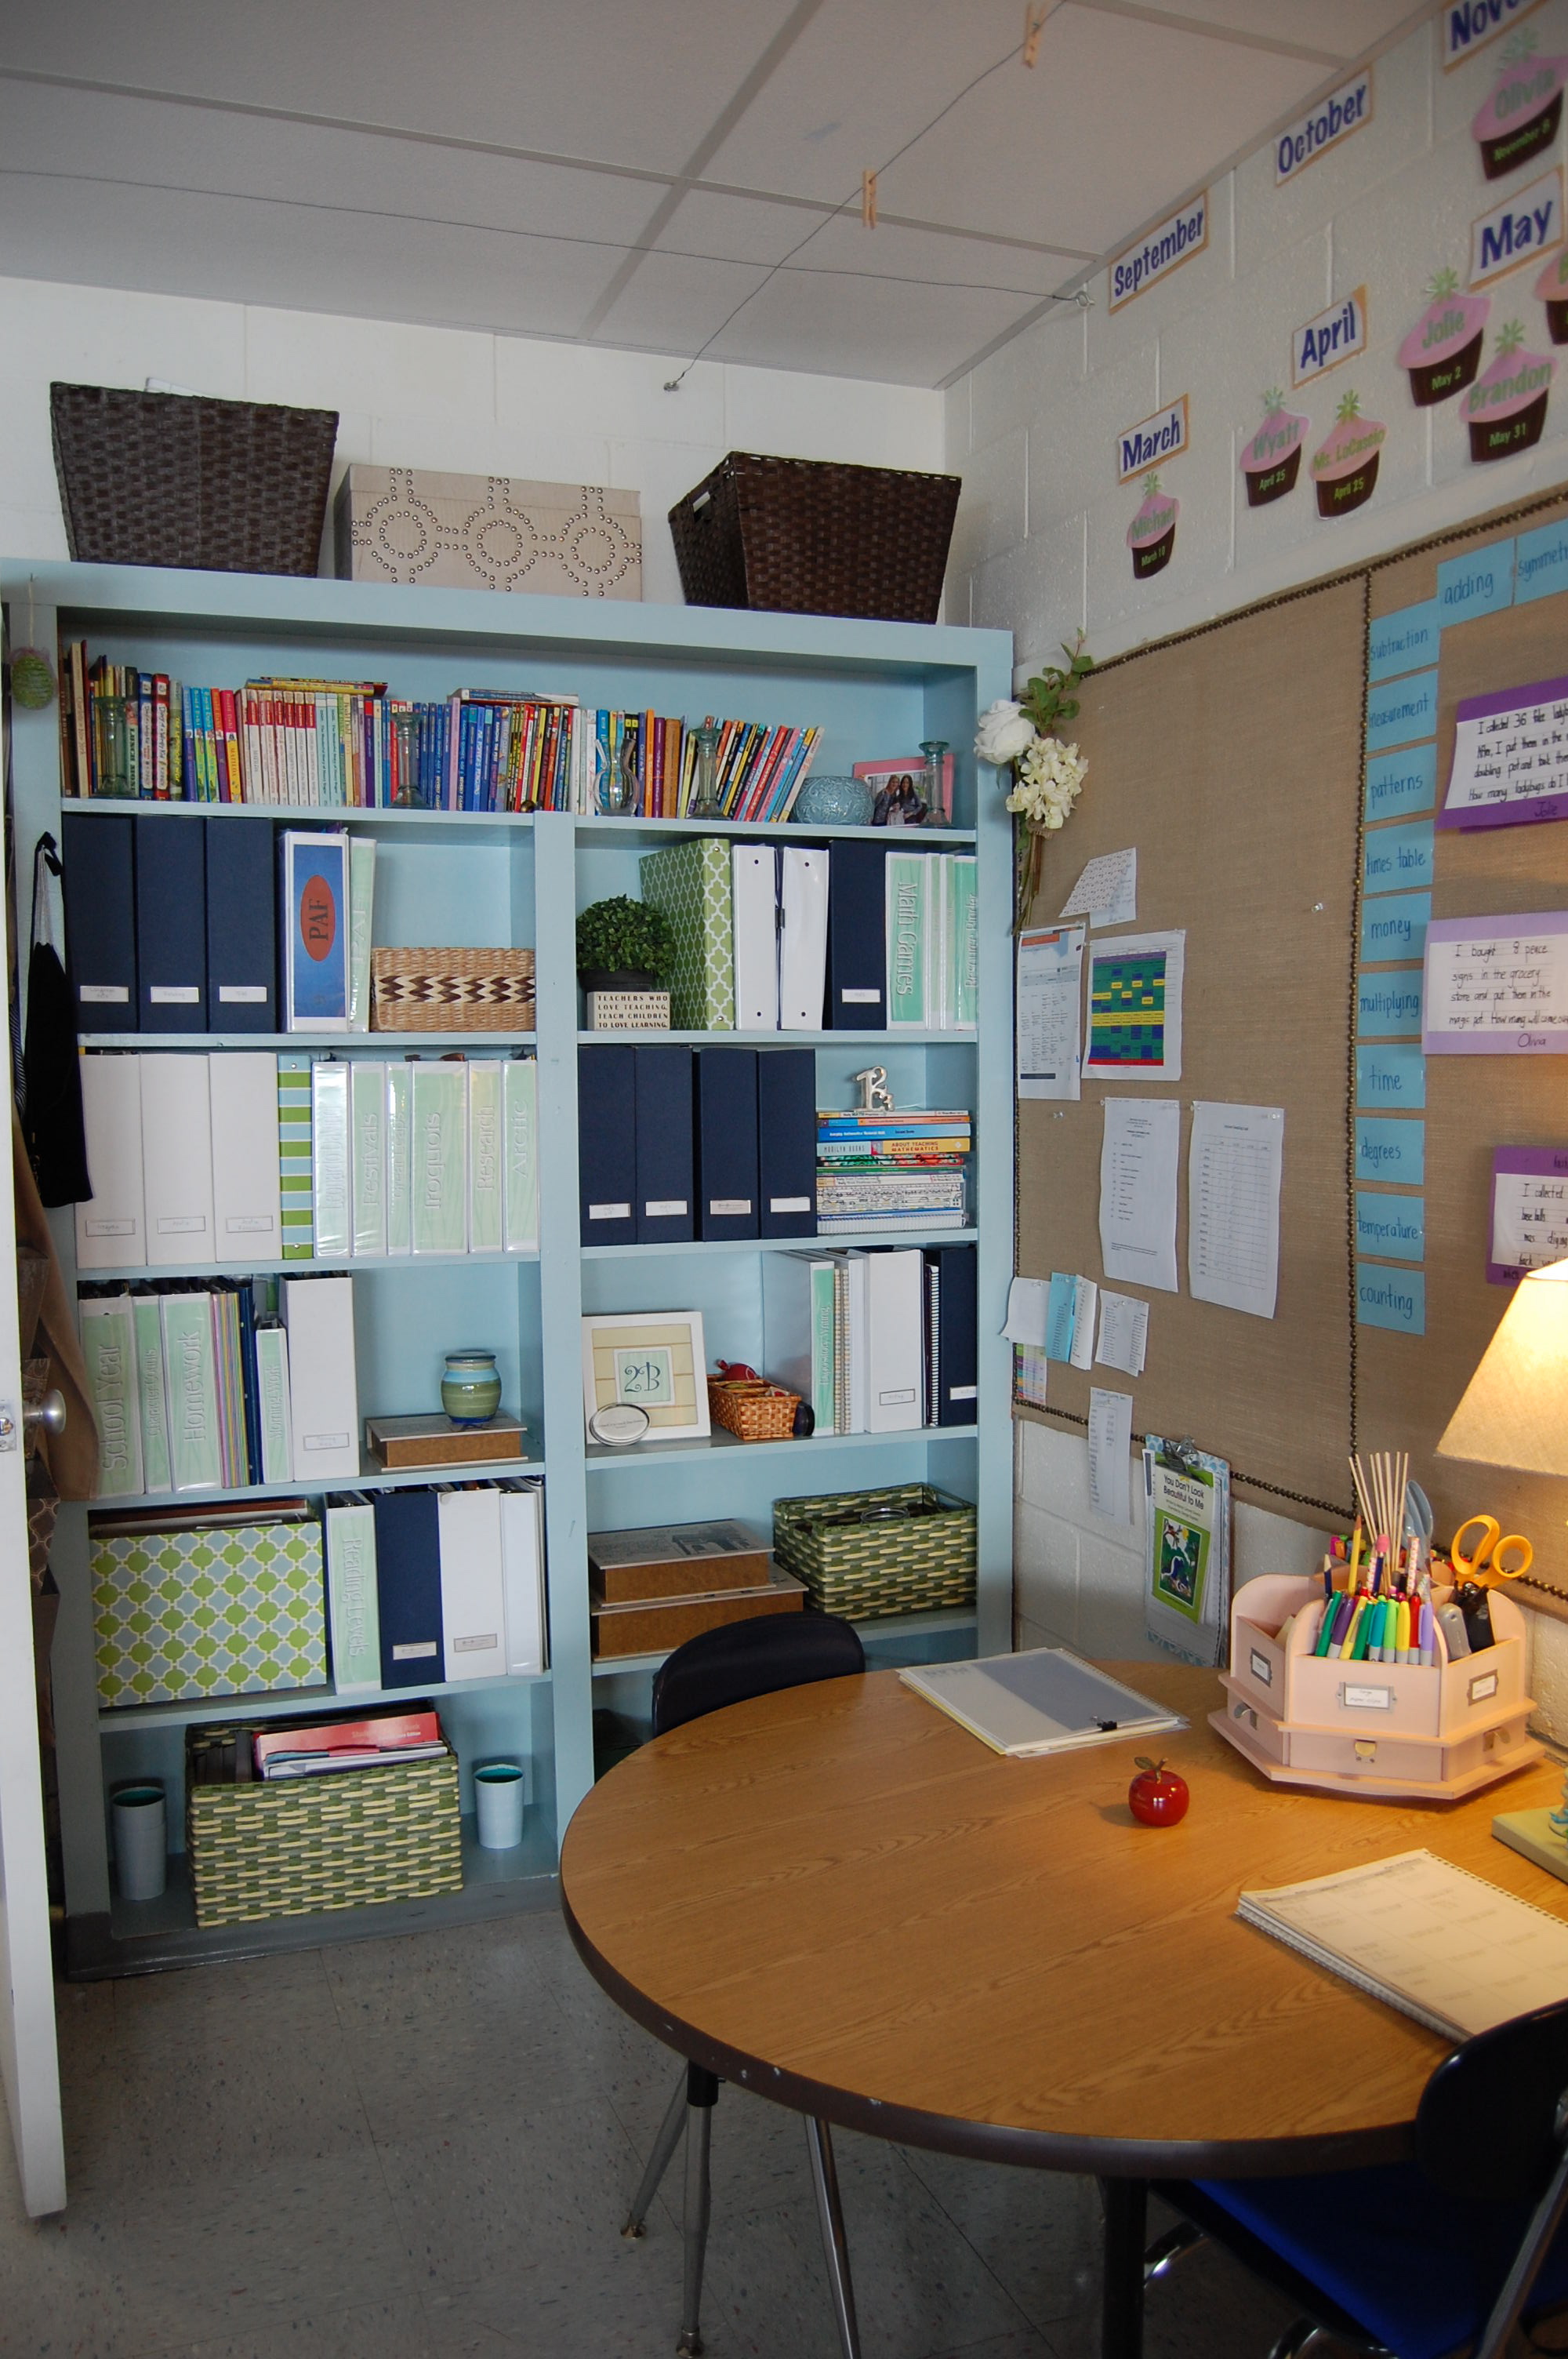
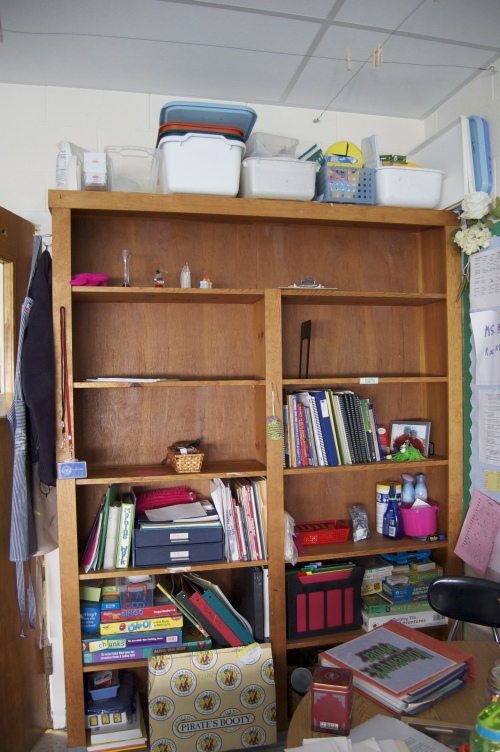
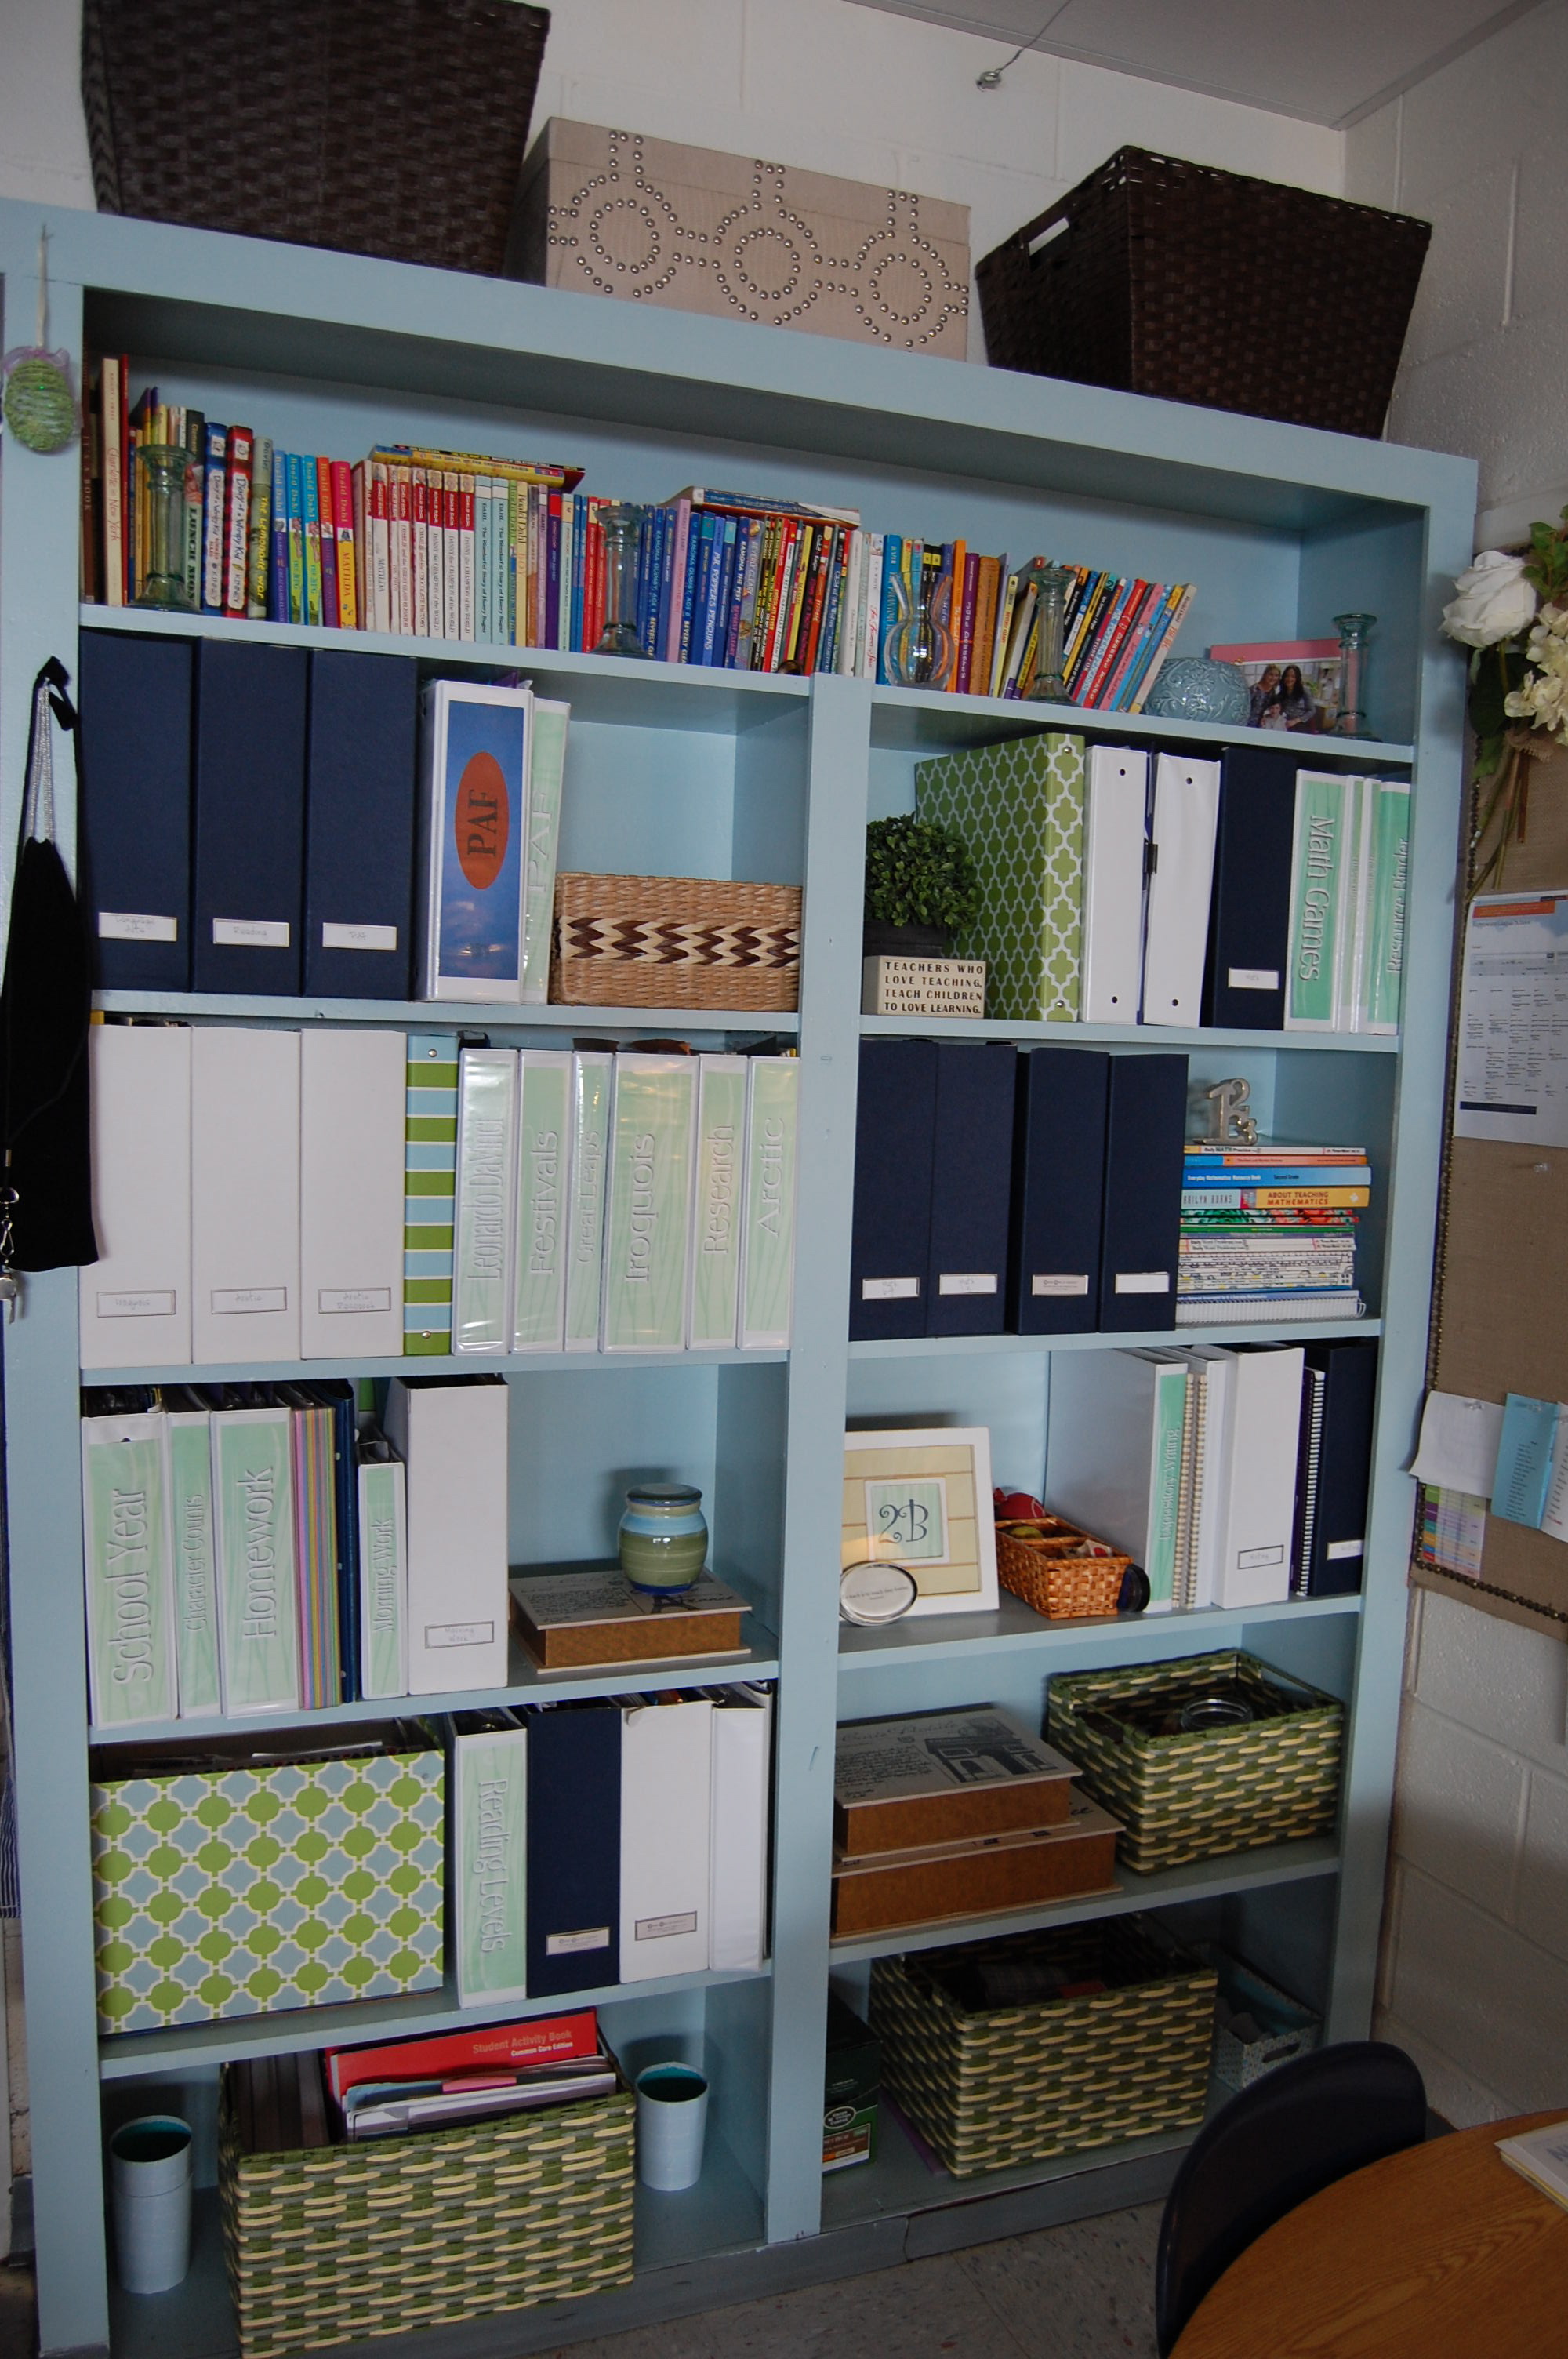
To give you a better sense of this bookcases makeover here is what it looked like when I first got my hands on it and started to clean it out.
You can check out this post on how the whole bookcase came together. Another thing you might notice is I have lamps all around the room. I almost never put the overhead florescent lights on. I also have the other side of the building across from my room and the sun hits it and reflects tons of natural light into the room.
And since the new iphone upgrade allows you to take panoramic shots here is the one I took! (Click the photo to enlarge)
Hopefully there is something in this space that will inspire you…classroom or no classroom! I certainly enjoy spending most of my time in here 🙂
Follow Made2Style on Facebook
