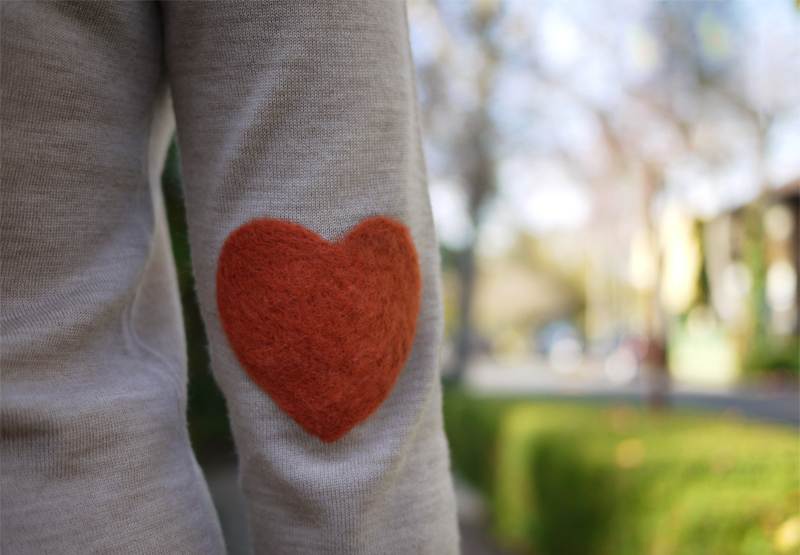
I am so flippin’ excited for the winter edition of the Pinterest Challenge! Now there is a very good chance that you may have pinned this image or you have at least scrolled past it on Pinterest.
Well this image was my inspiration. I couldn’t help but think how cool it was and I totally wanted to tackle an elbow patch. Being true to who I am I knew that needle felting was not the direction I wanted to go in but rather something with some more bling! I’ve seen some tops online that offer sequin elbow patches but they were well over $50 and that just wasn’t happening so true to form I decided I would DIY it.
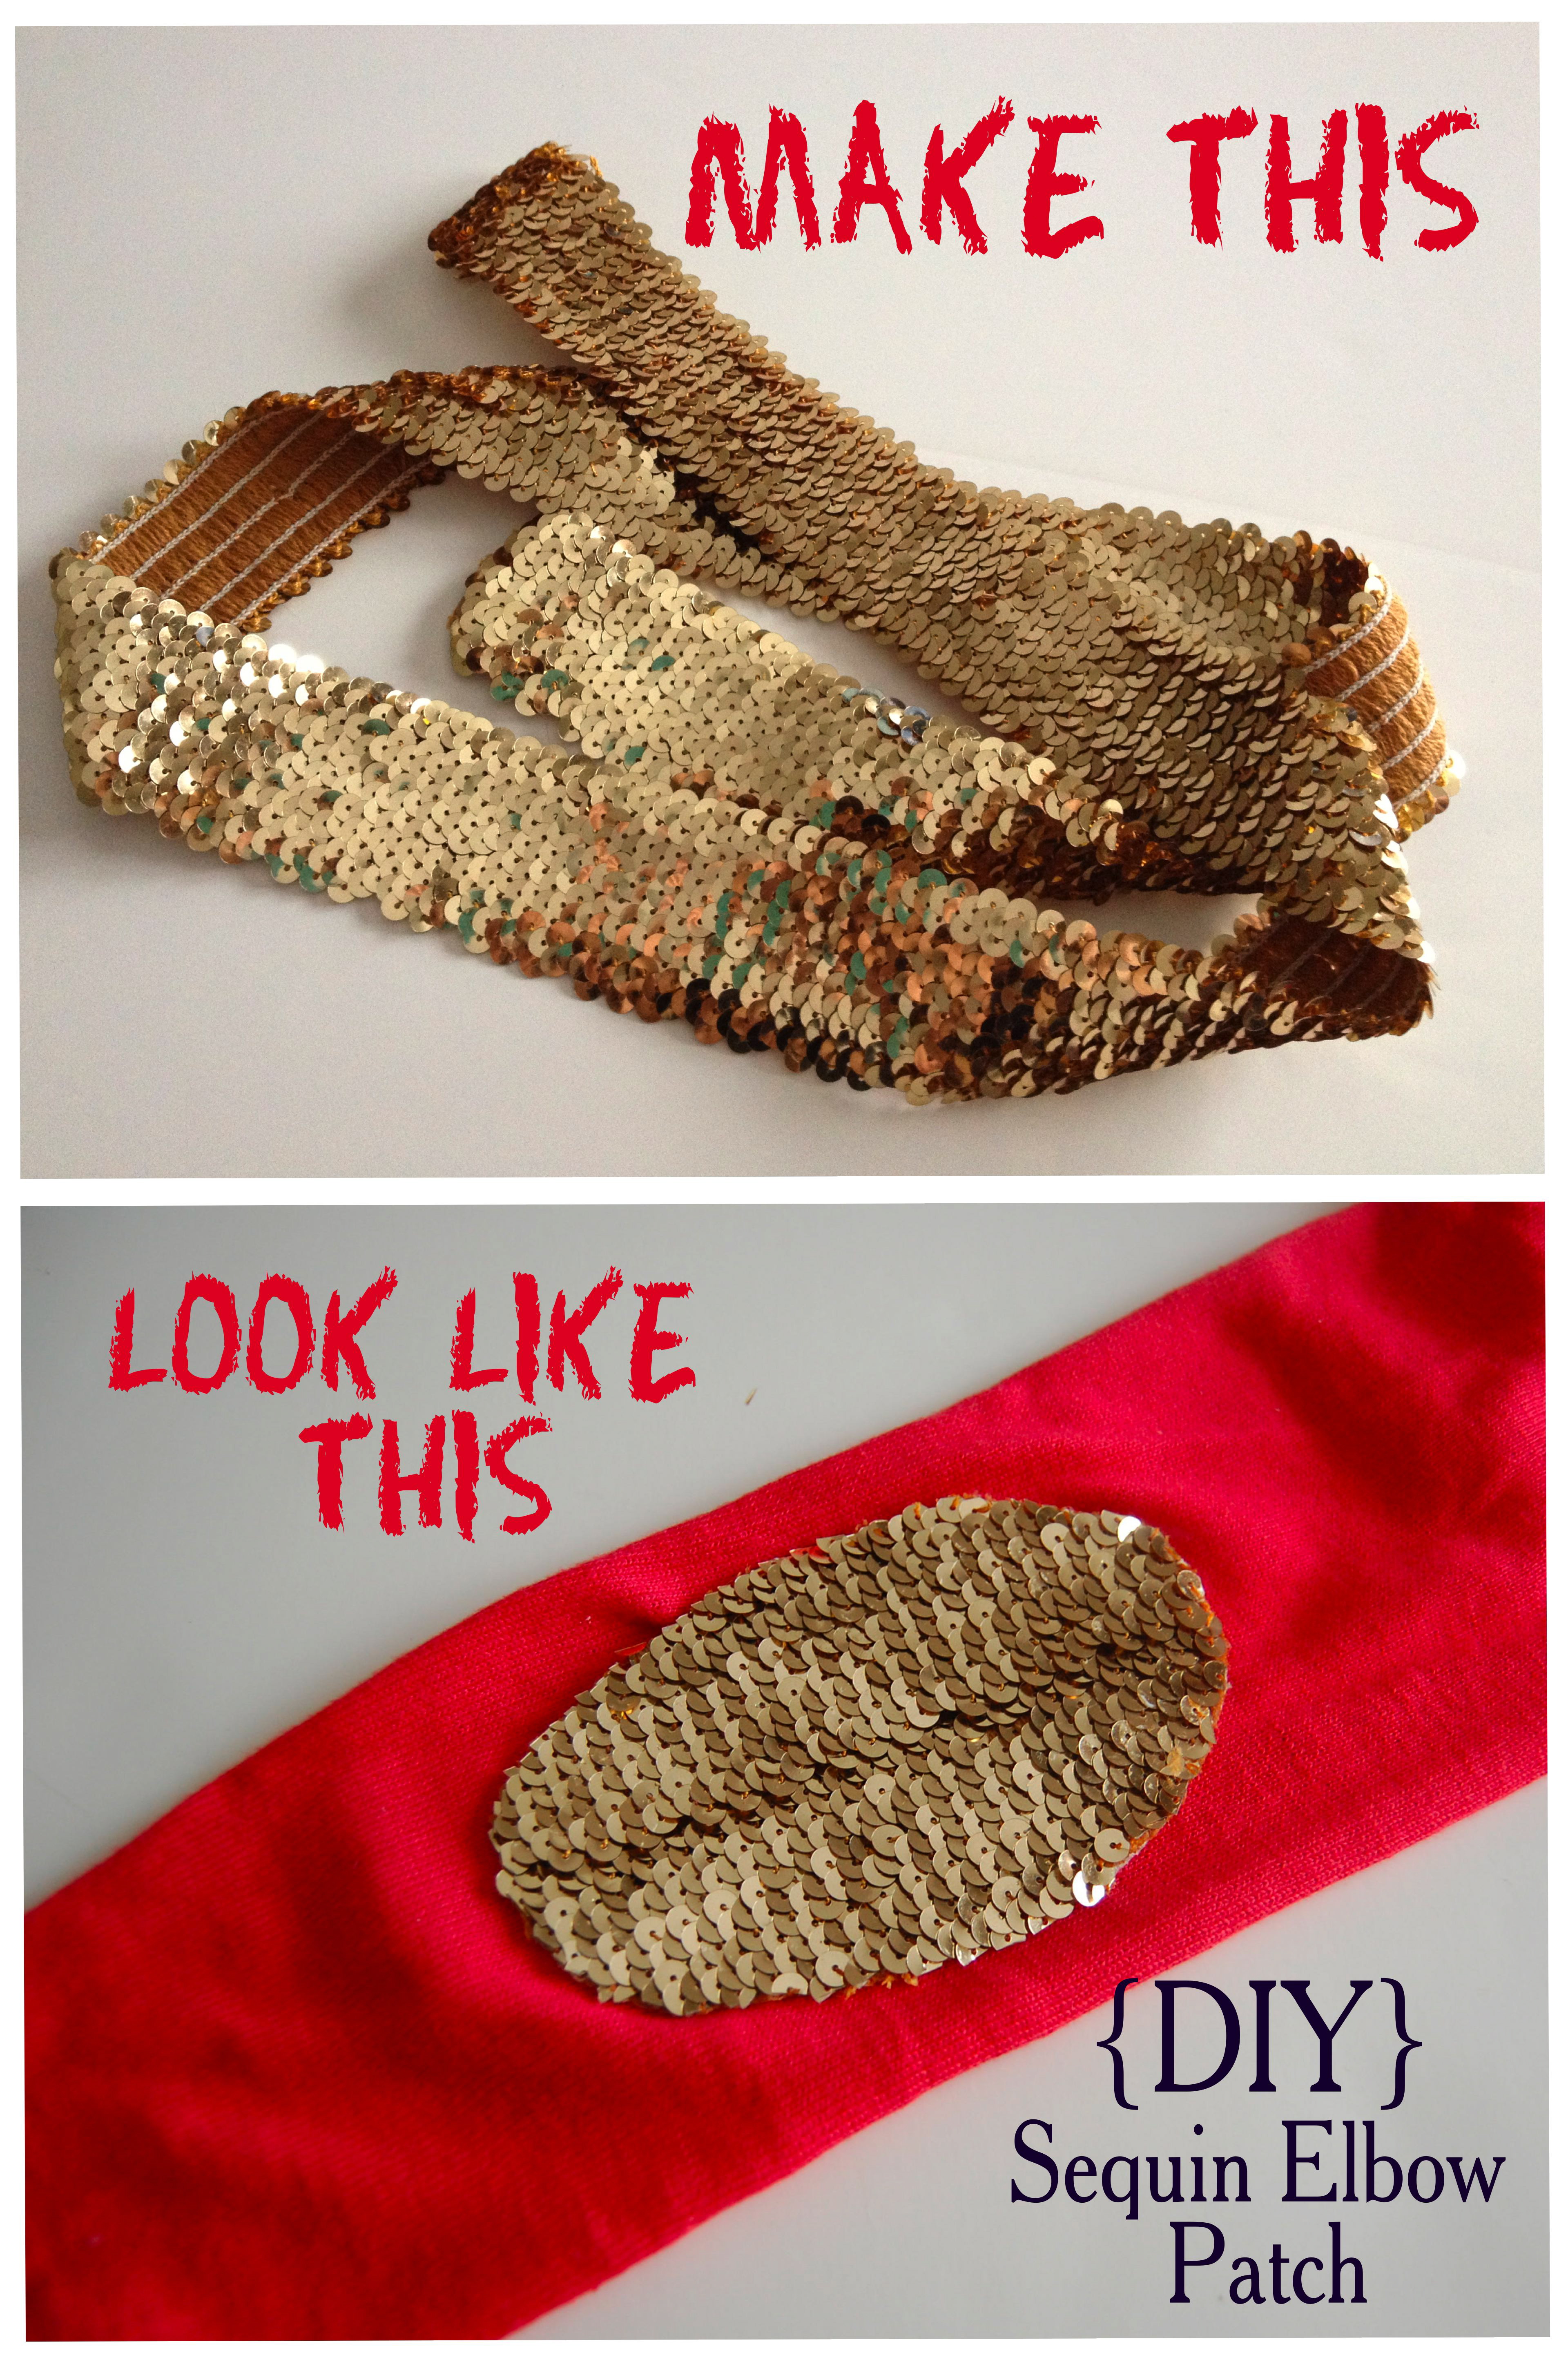
I went to Joann’s to see if I could find a sequined fabric but they just didn’t have what I was looking for. I also looked online but I was worried that what I would order wouldn’t be what I expected. My idea was to head down to NYC and go to Mood…this was months ago. So when I saw the Pinterest Challenge post over at YHL I knew exactly what I wanted to tackle. The only problem was, I was just not looking forward to going into the city nor did I have time so I went back to Joann’s and thought I would try something else, sequined ribbon. I had no idea if it was going to work so I was just hoping for the best but to save you from the gut wrenching nervous feeling of not knowing I’ll let you in on a secret: it totally worked!
Keep reading to find out how to:
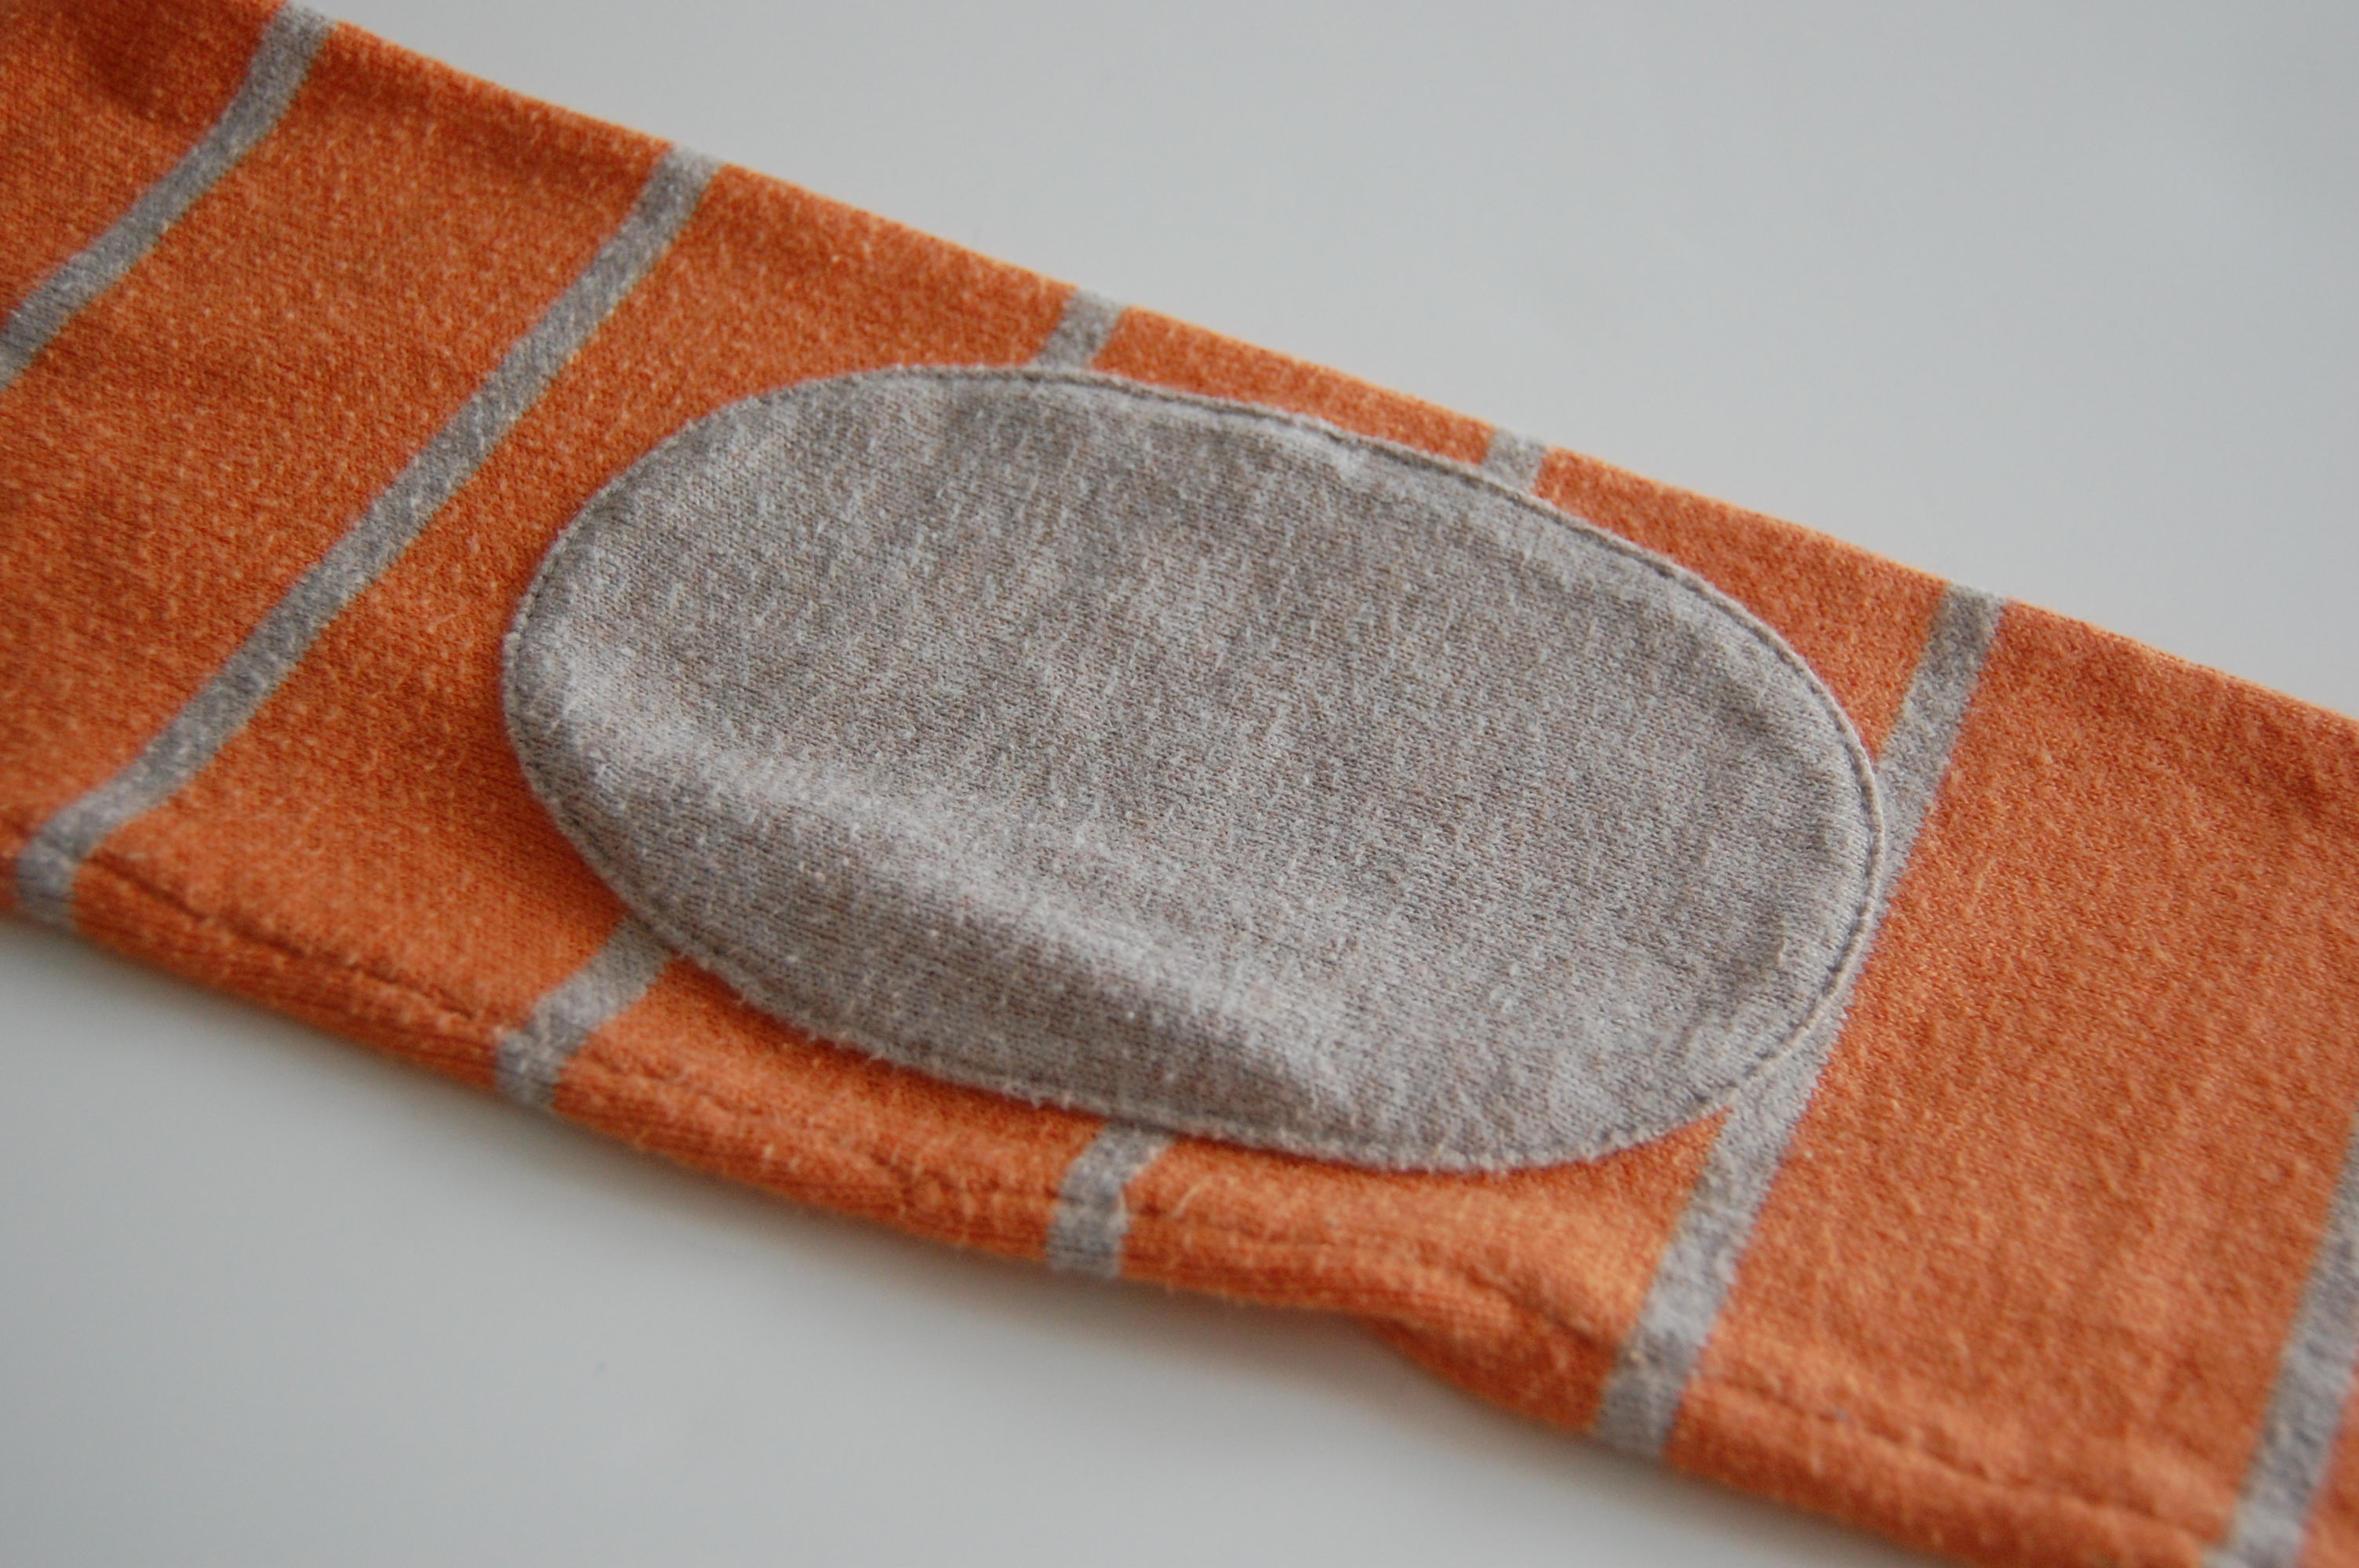
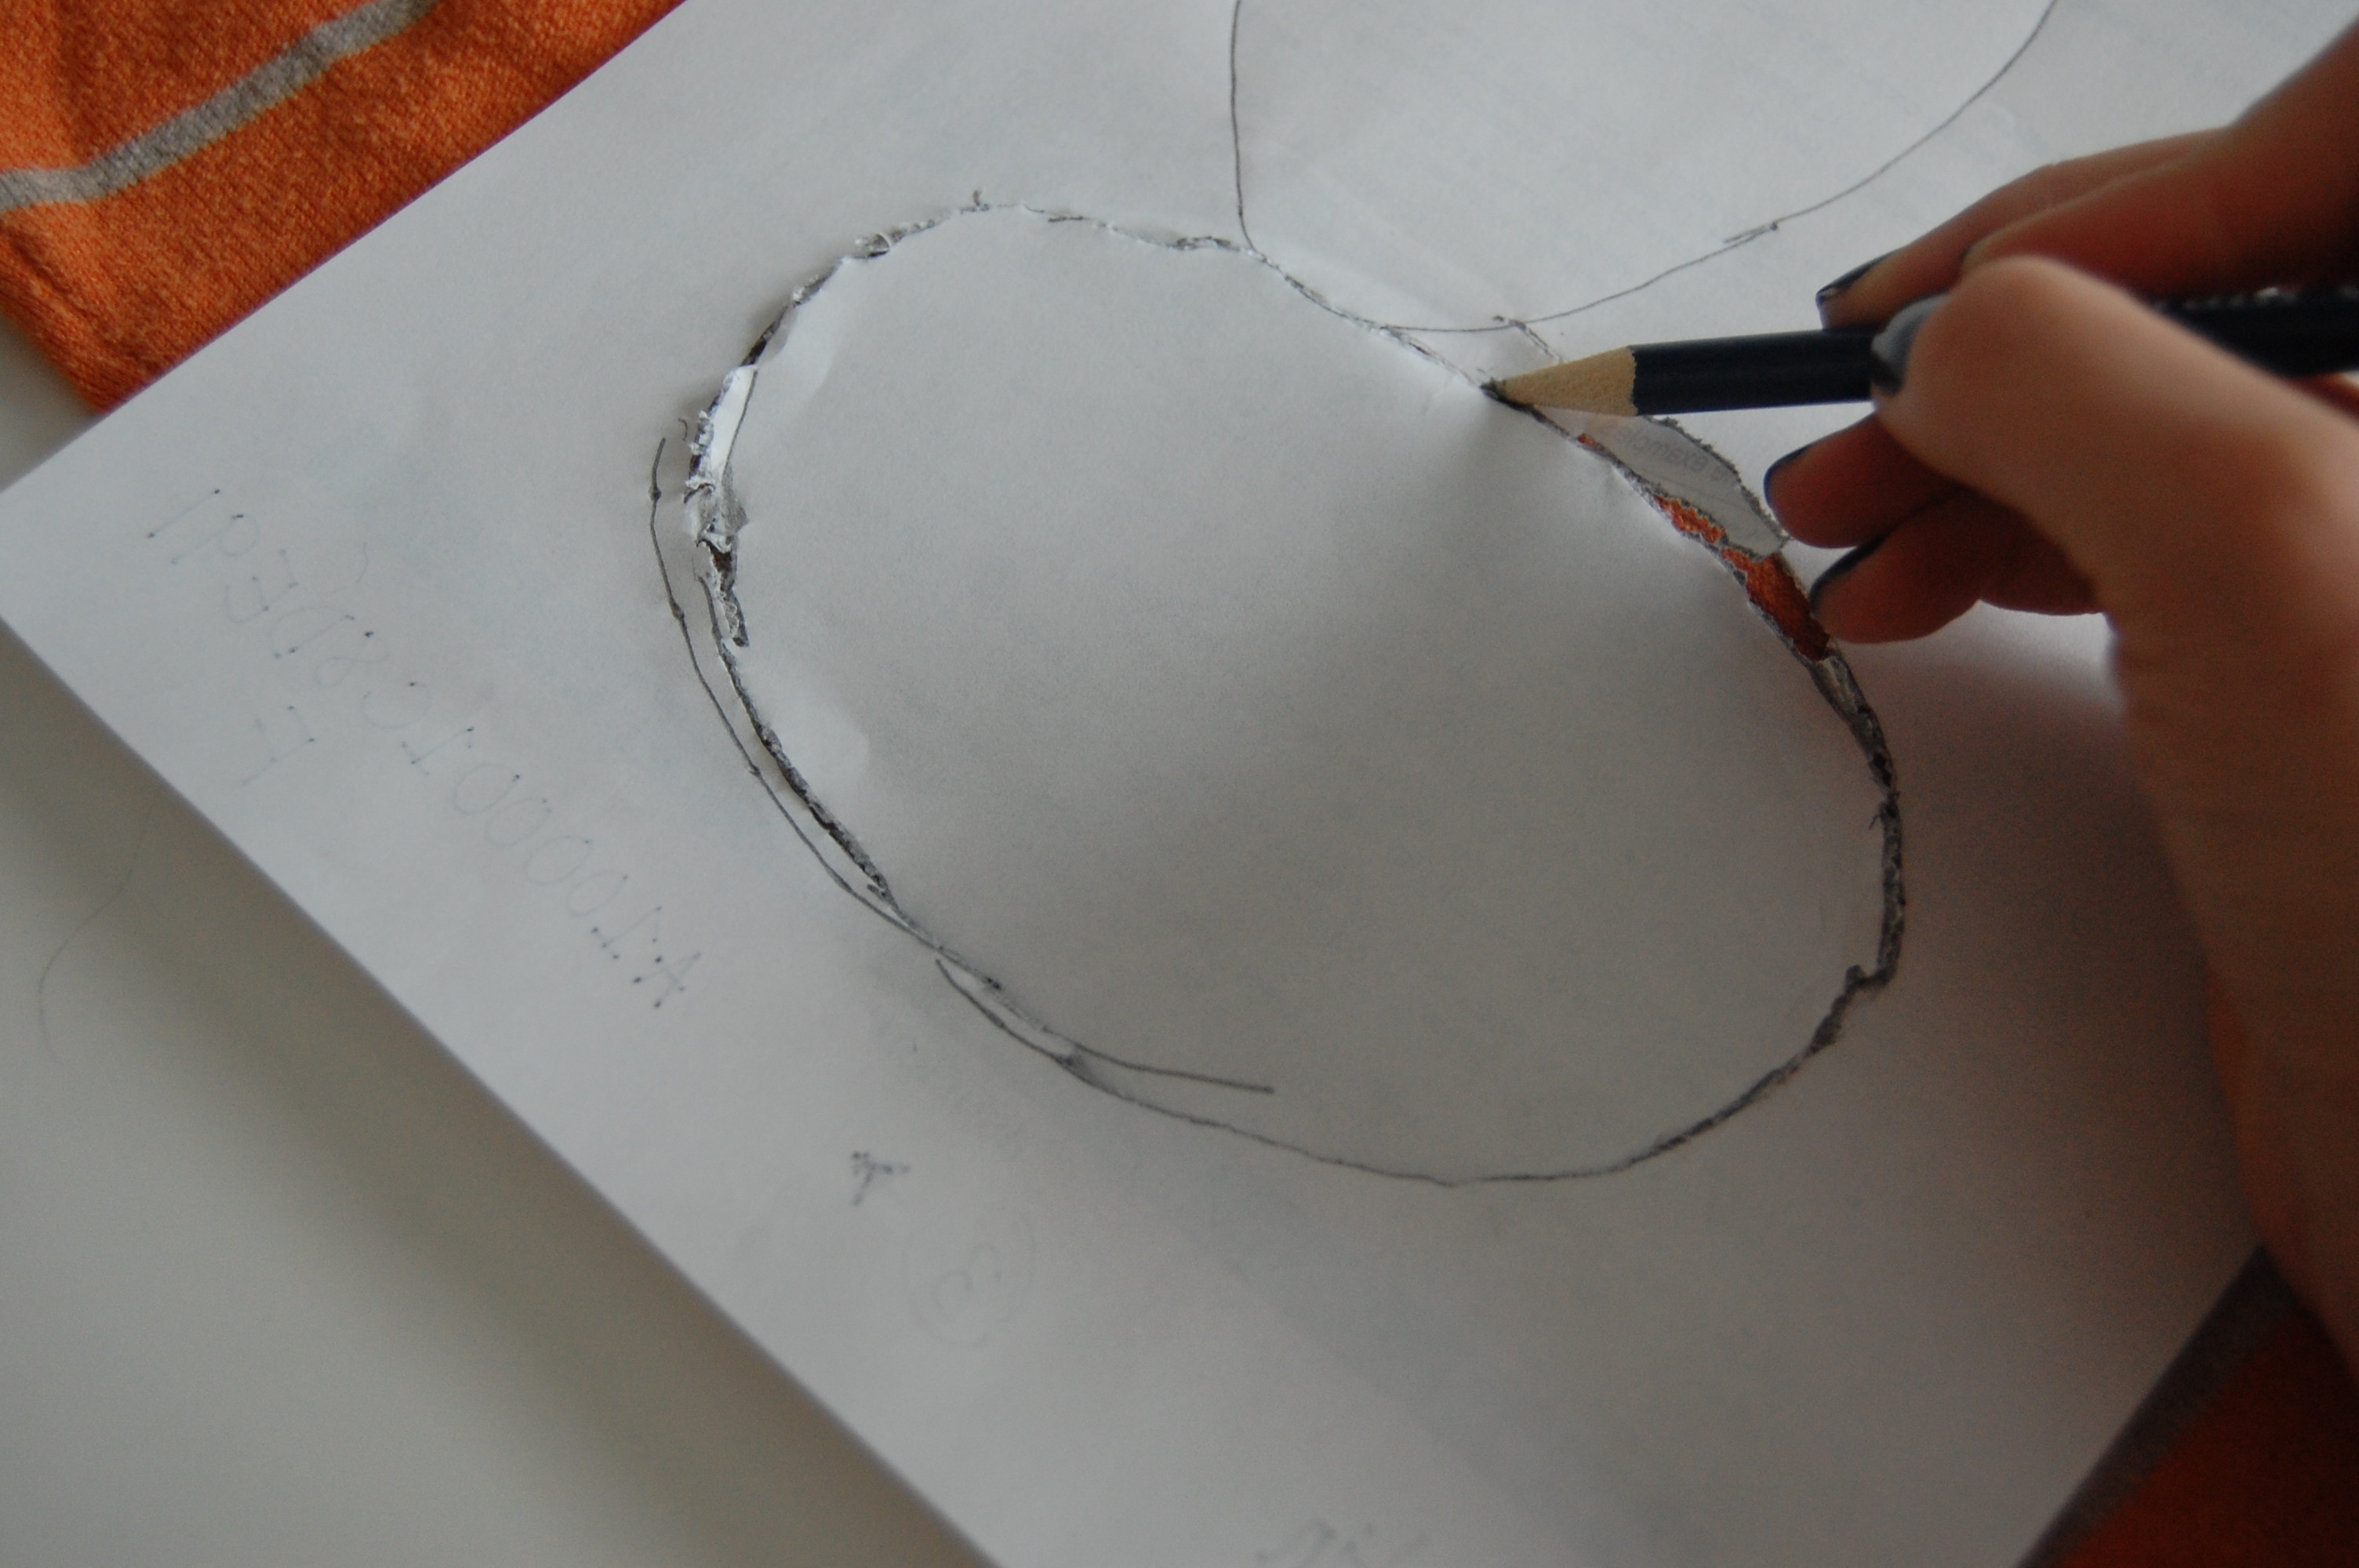
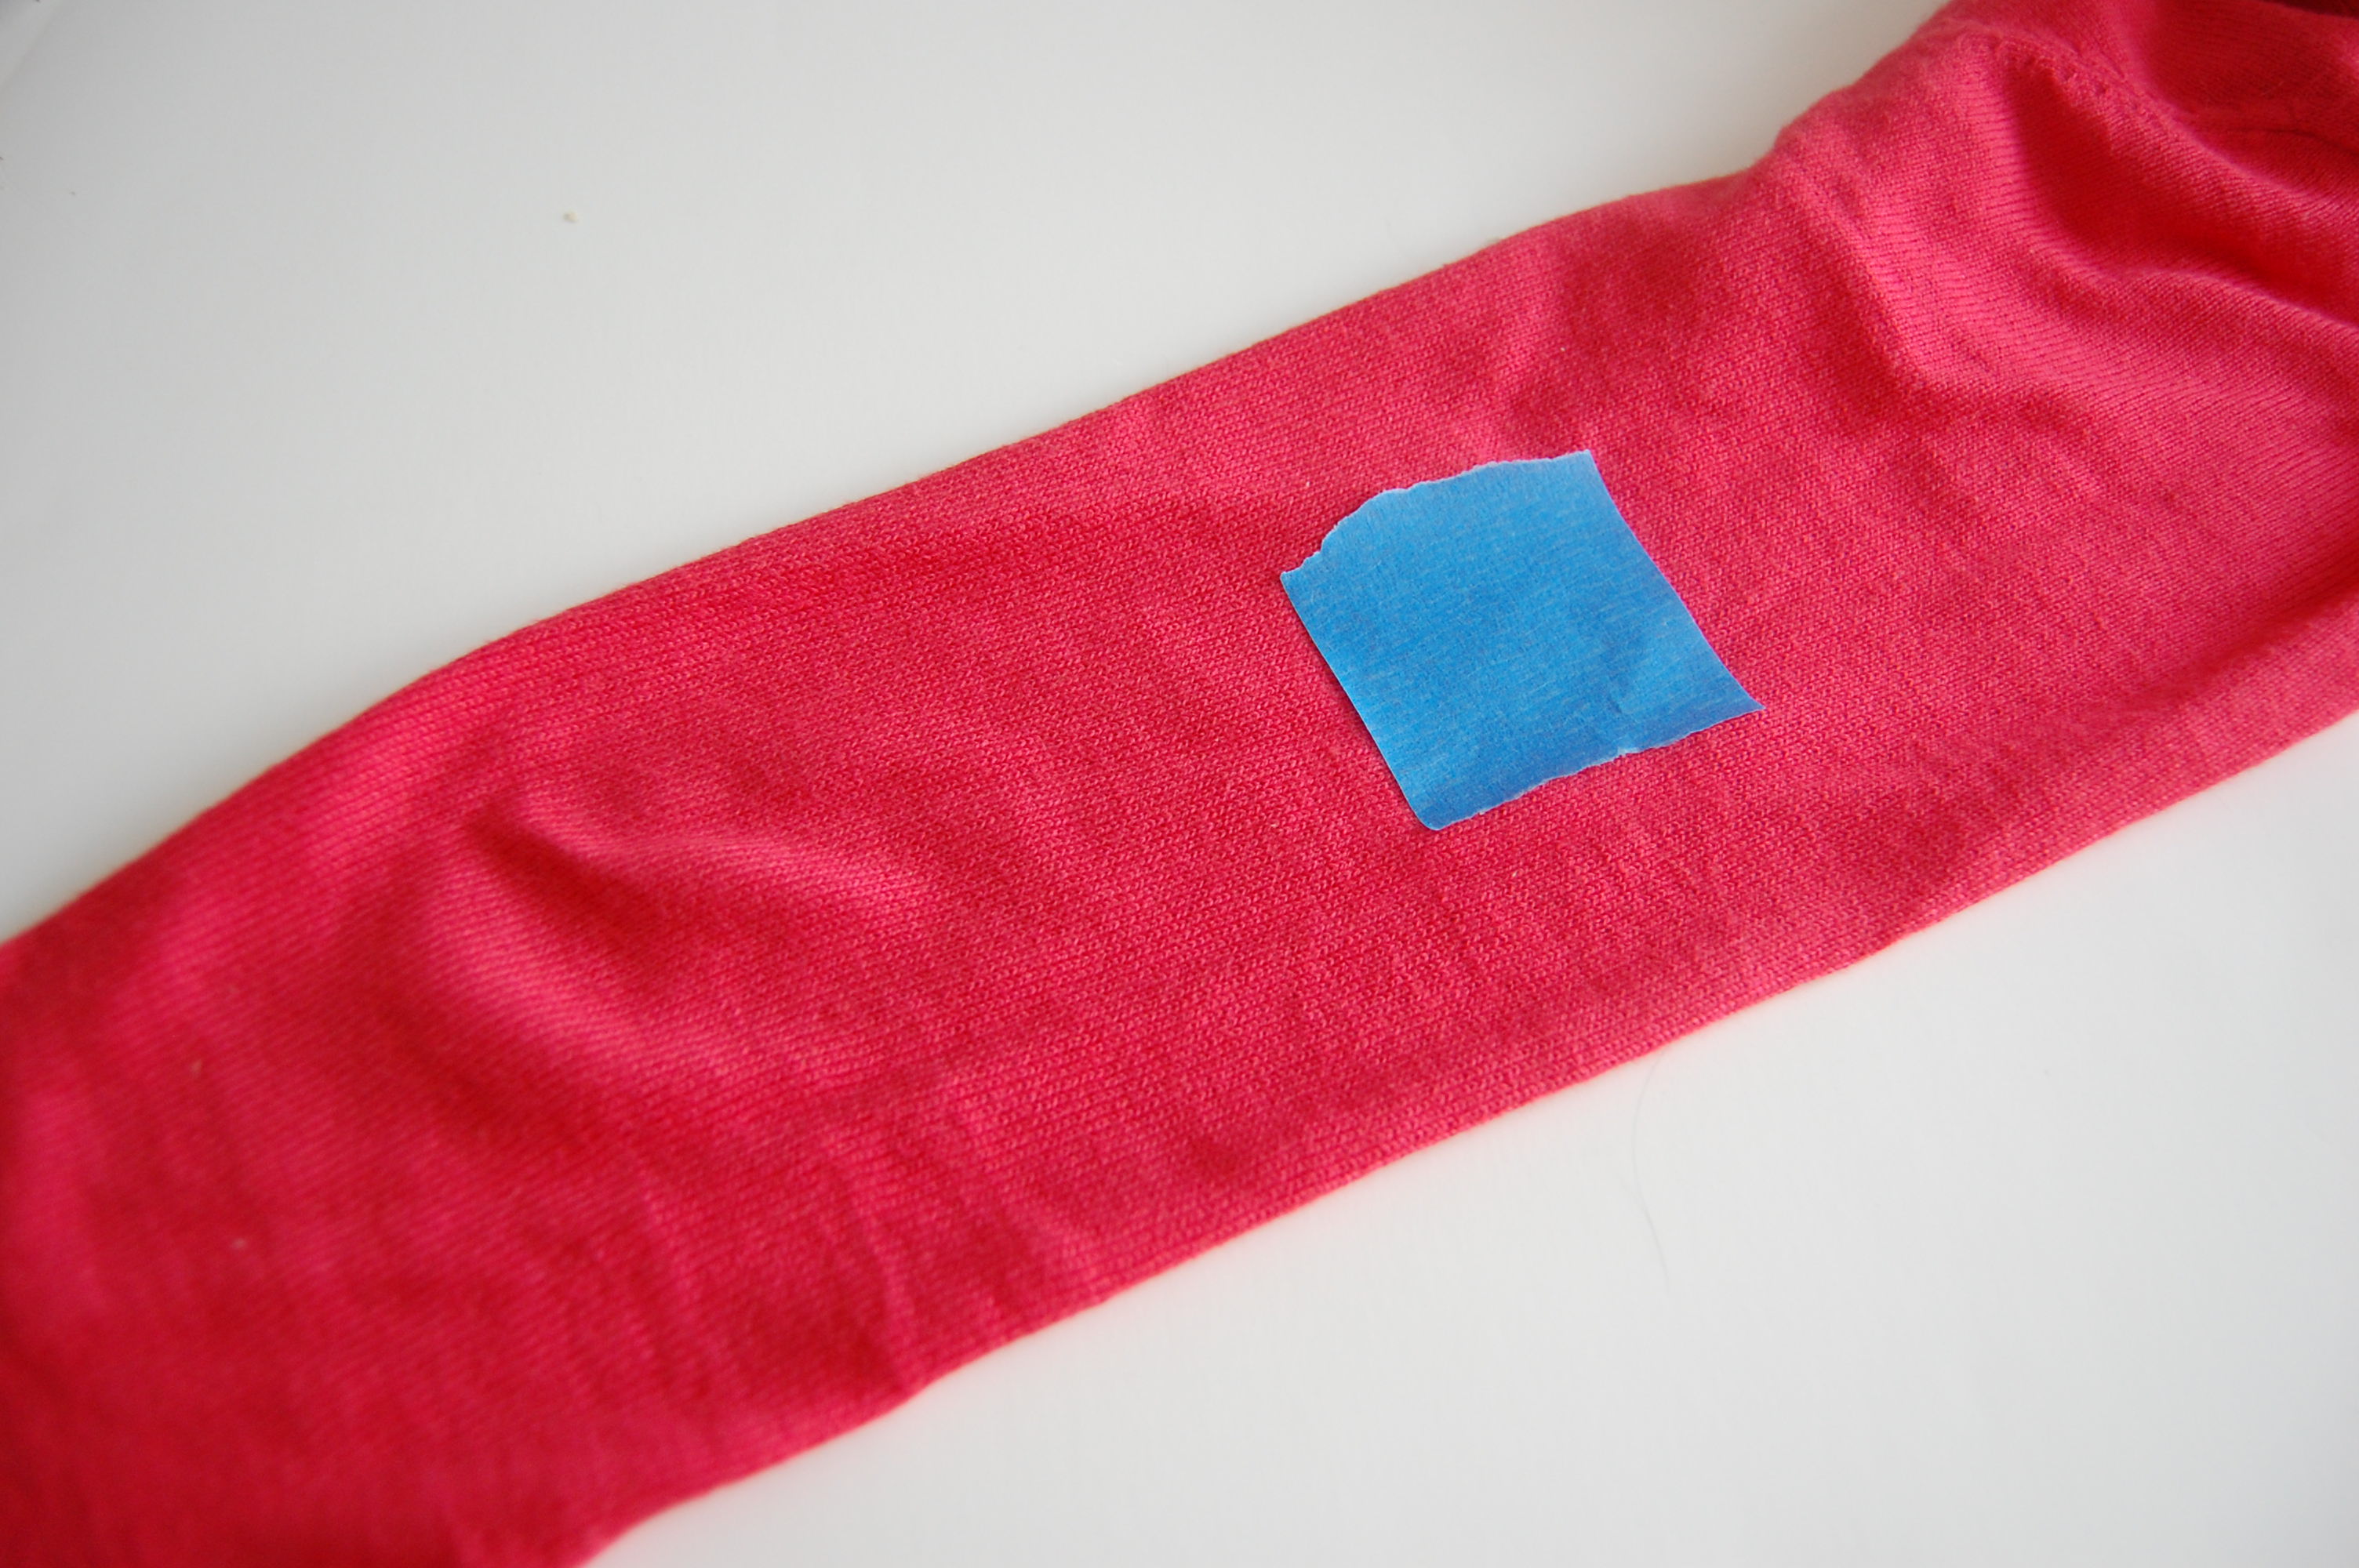
What you’ll need is 1 yard a sequined ribbon, any extra fabric you have laying around, fabric adhesive, (that’s right, no sew!) fray check and scrap paper. I happened to have a sweater that has elbow patches so I used that as my guide but you could easily trace your hand and use that as your guide.
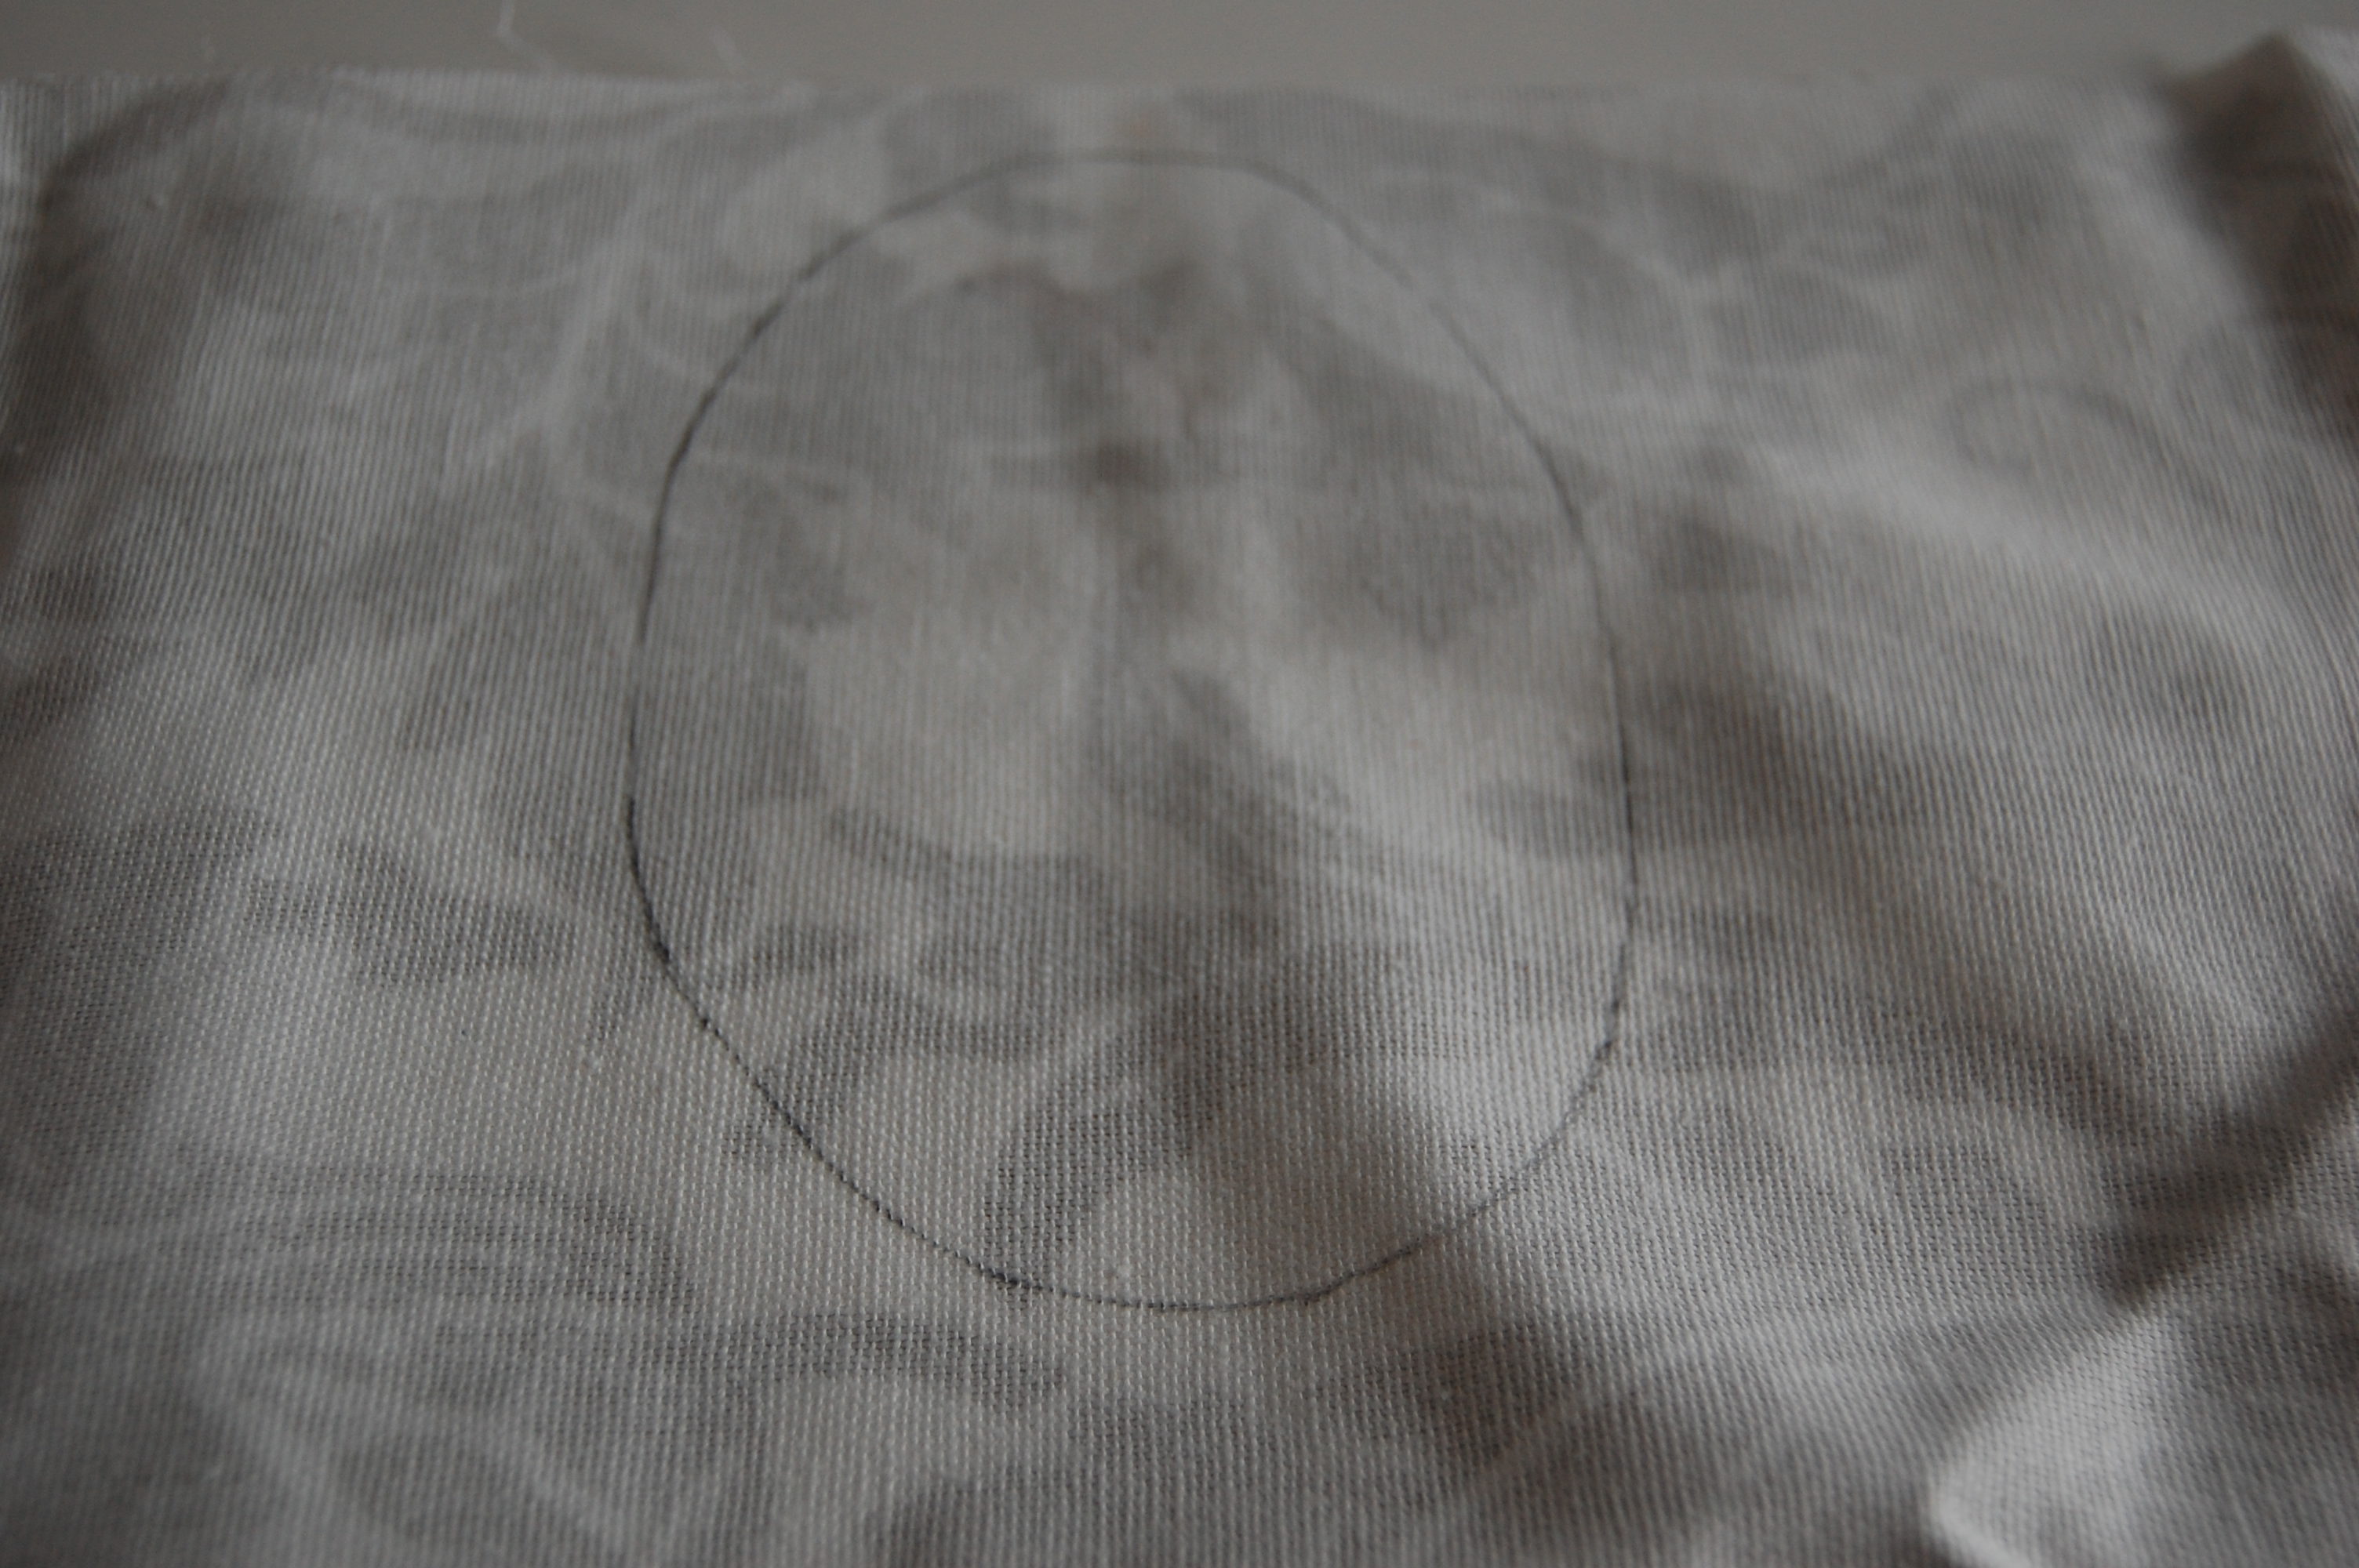
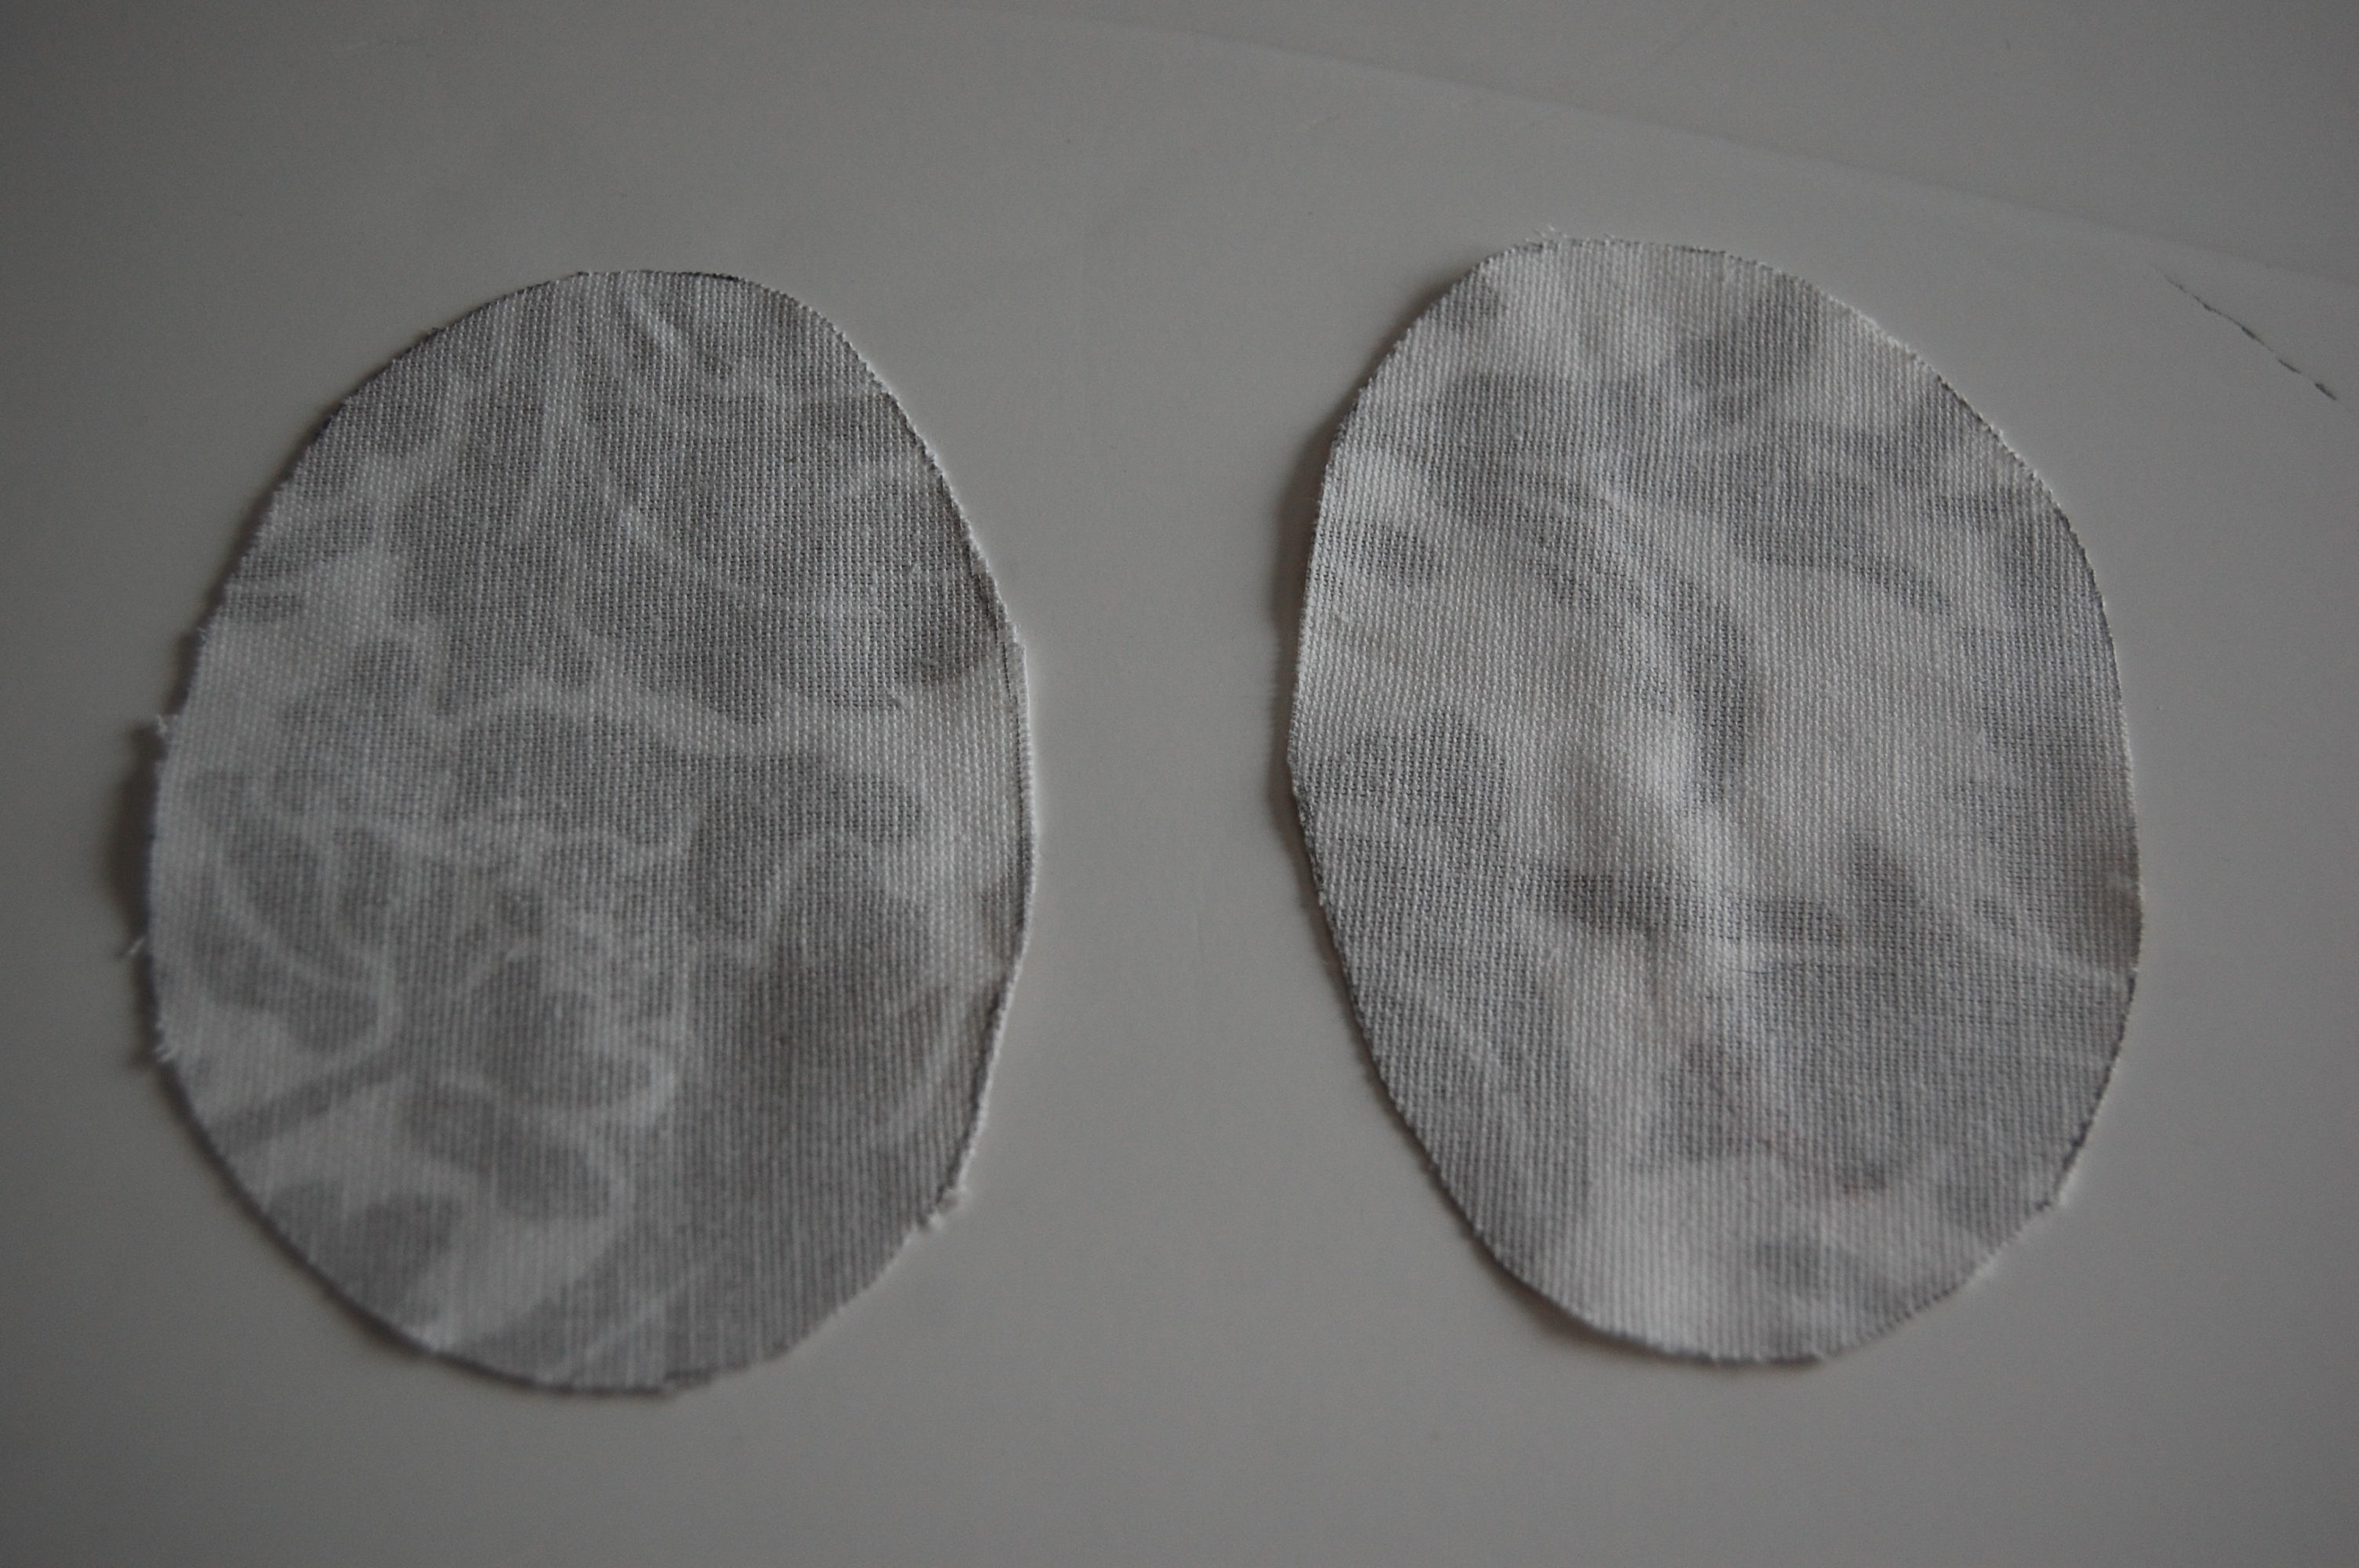
Using the shape, I traced it out onto some leftover fabric I had, creating two elbow patches.
Now to apply the ribbon to the patches I used Tear Mender which is a fabric adhesive. The reason I chose to use Tear Mender was because it allows for flexibility and considering these are going on my elbows they need to be flexible. I purchased it at Joann’s. 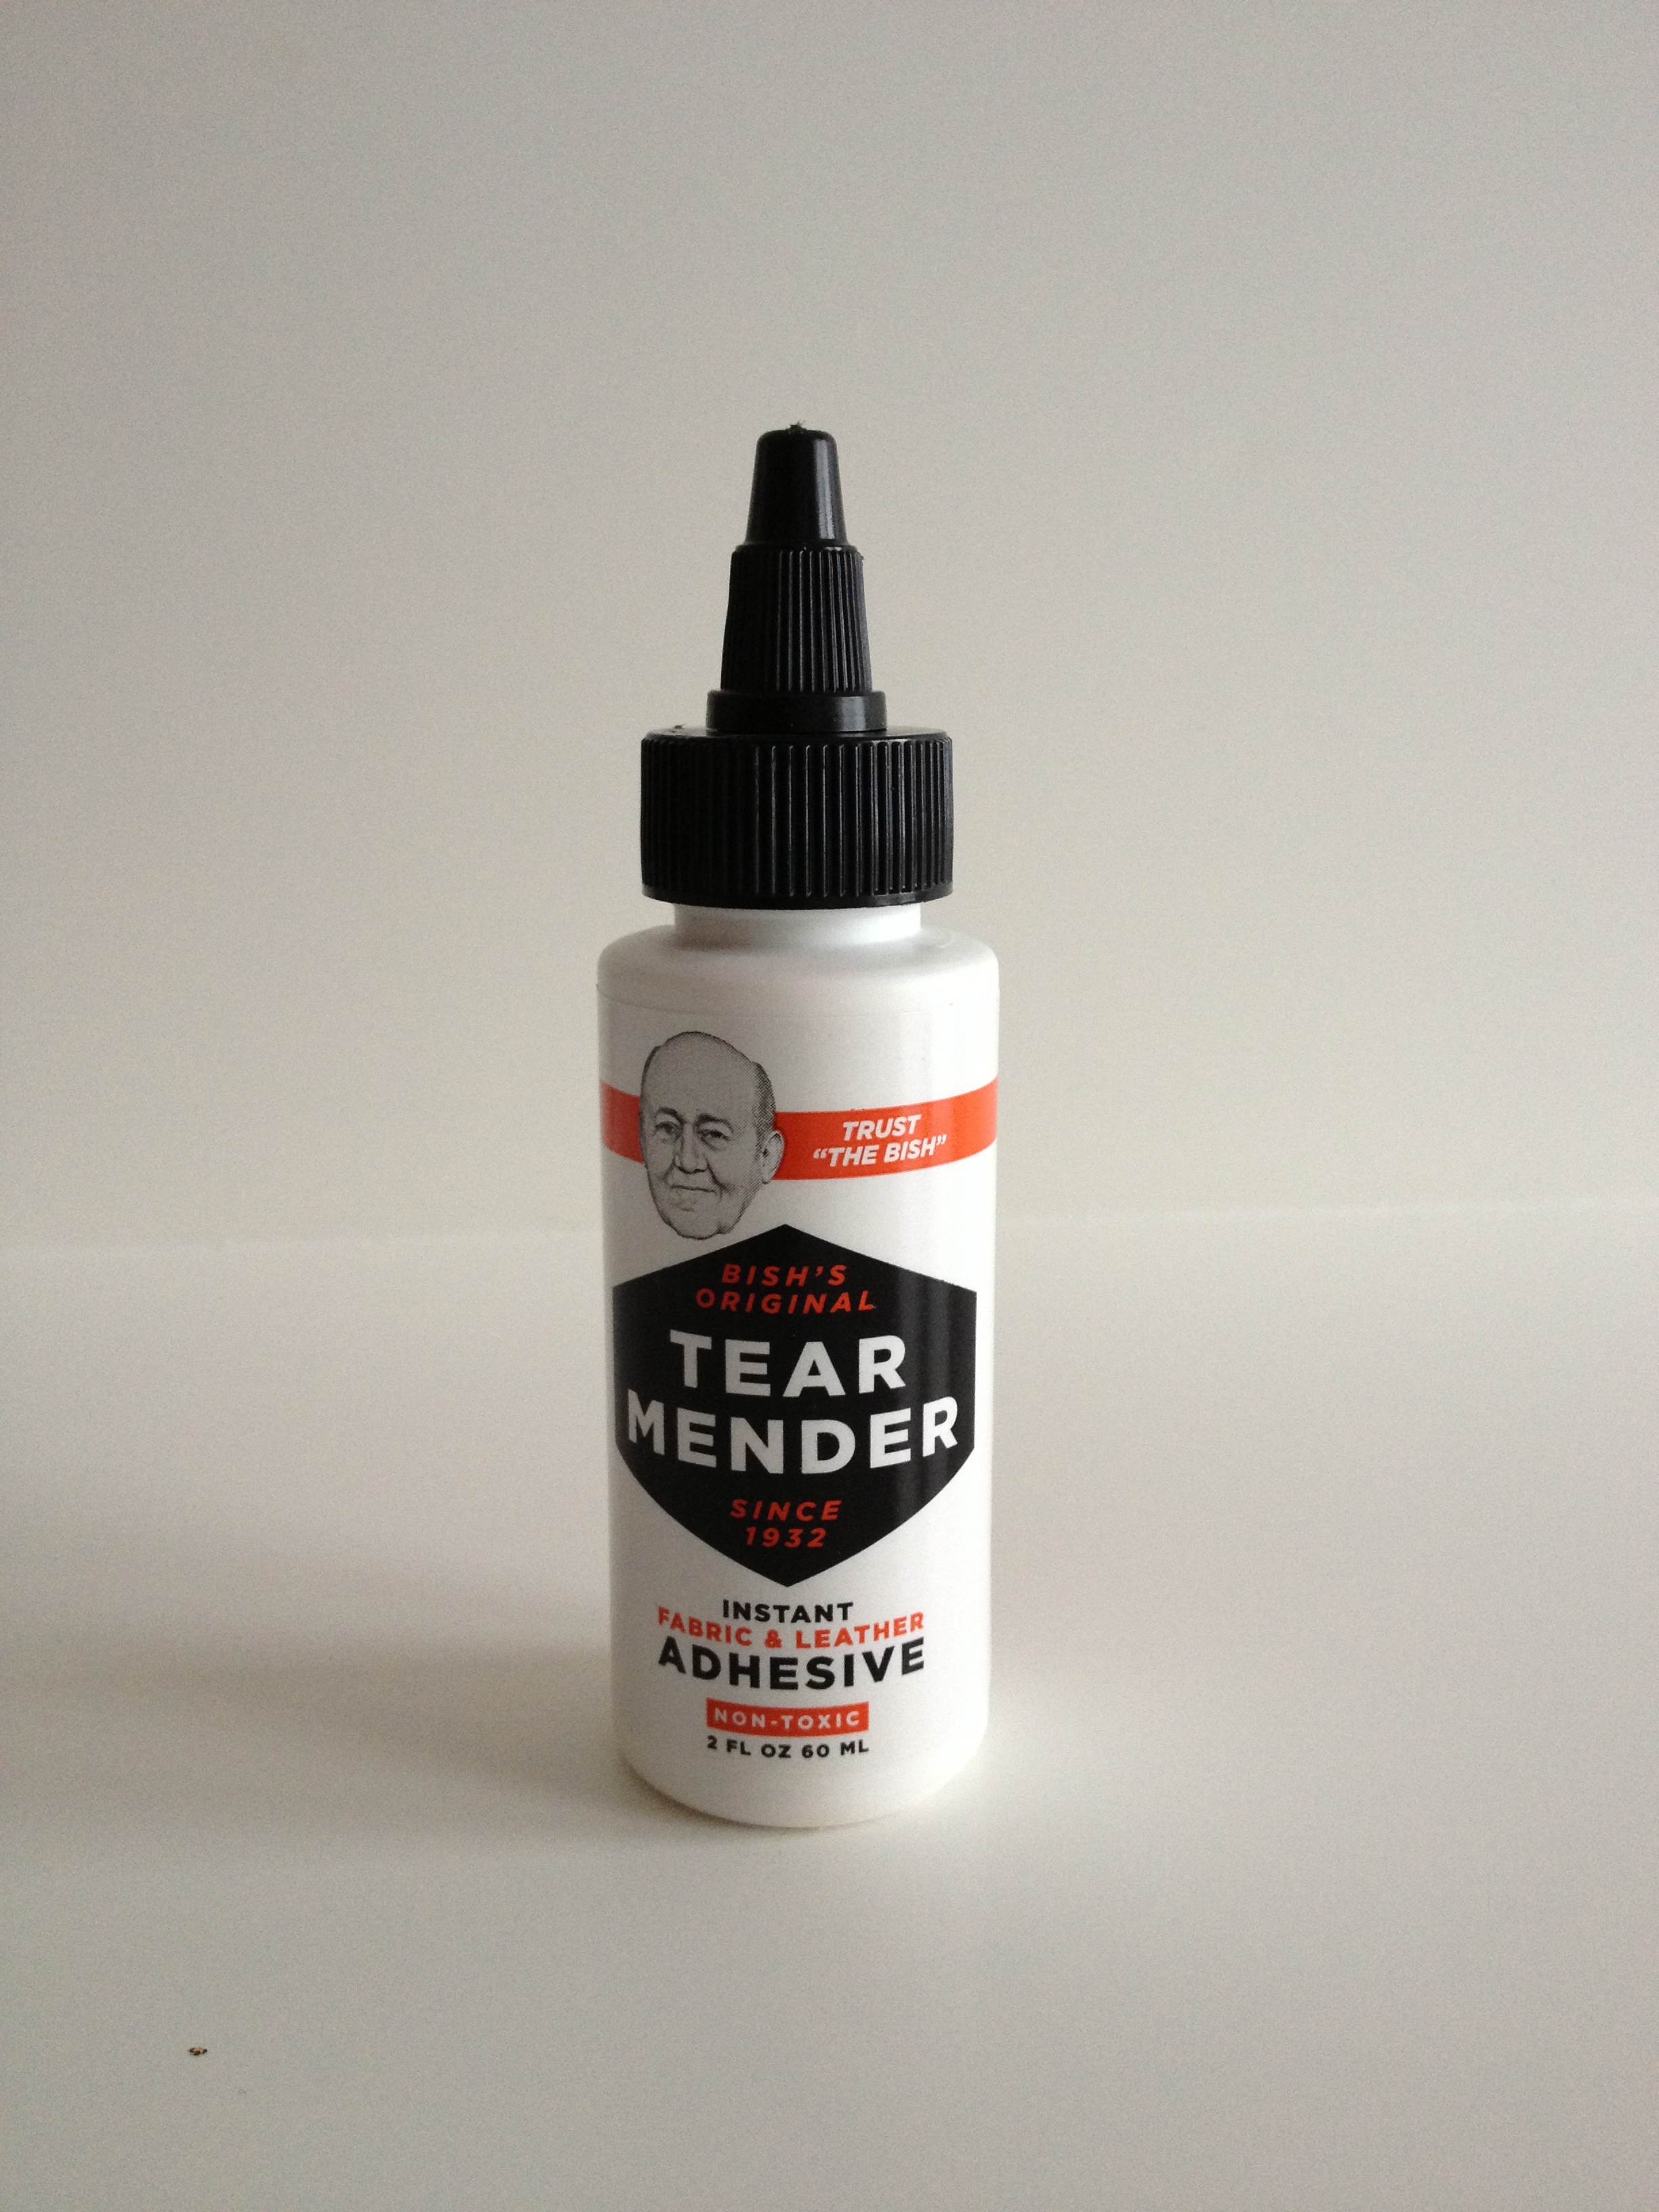
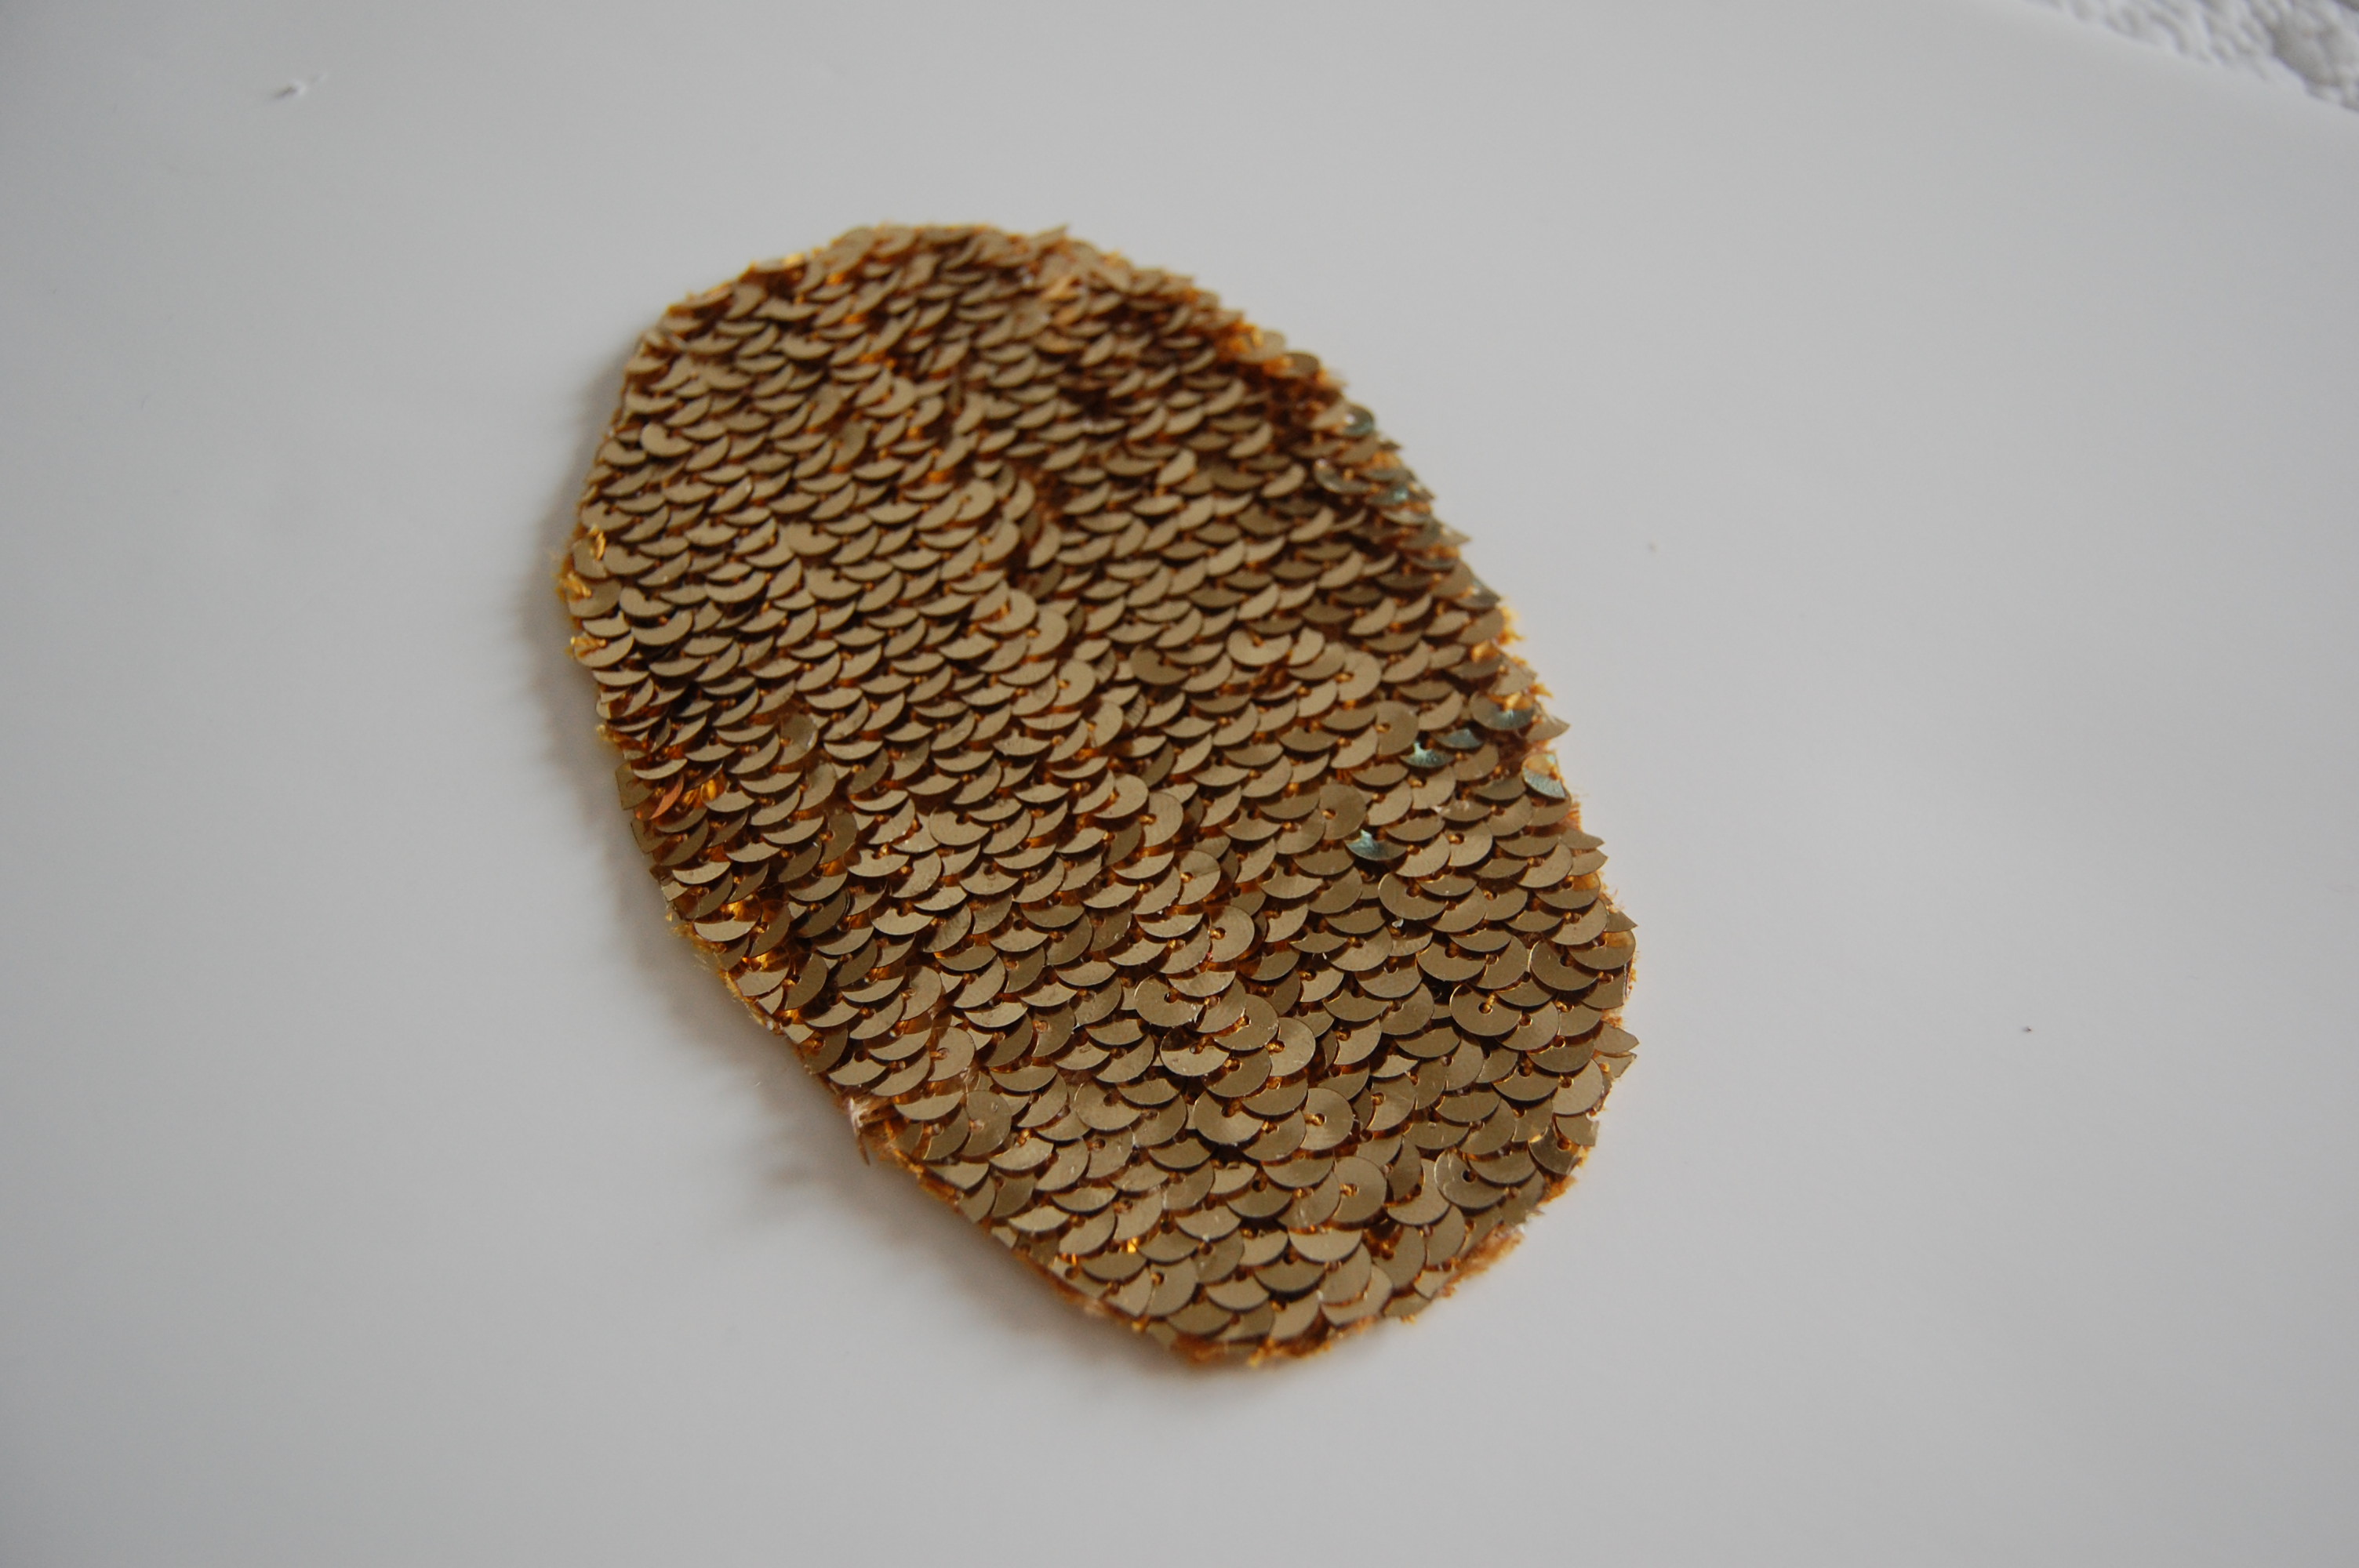
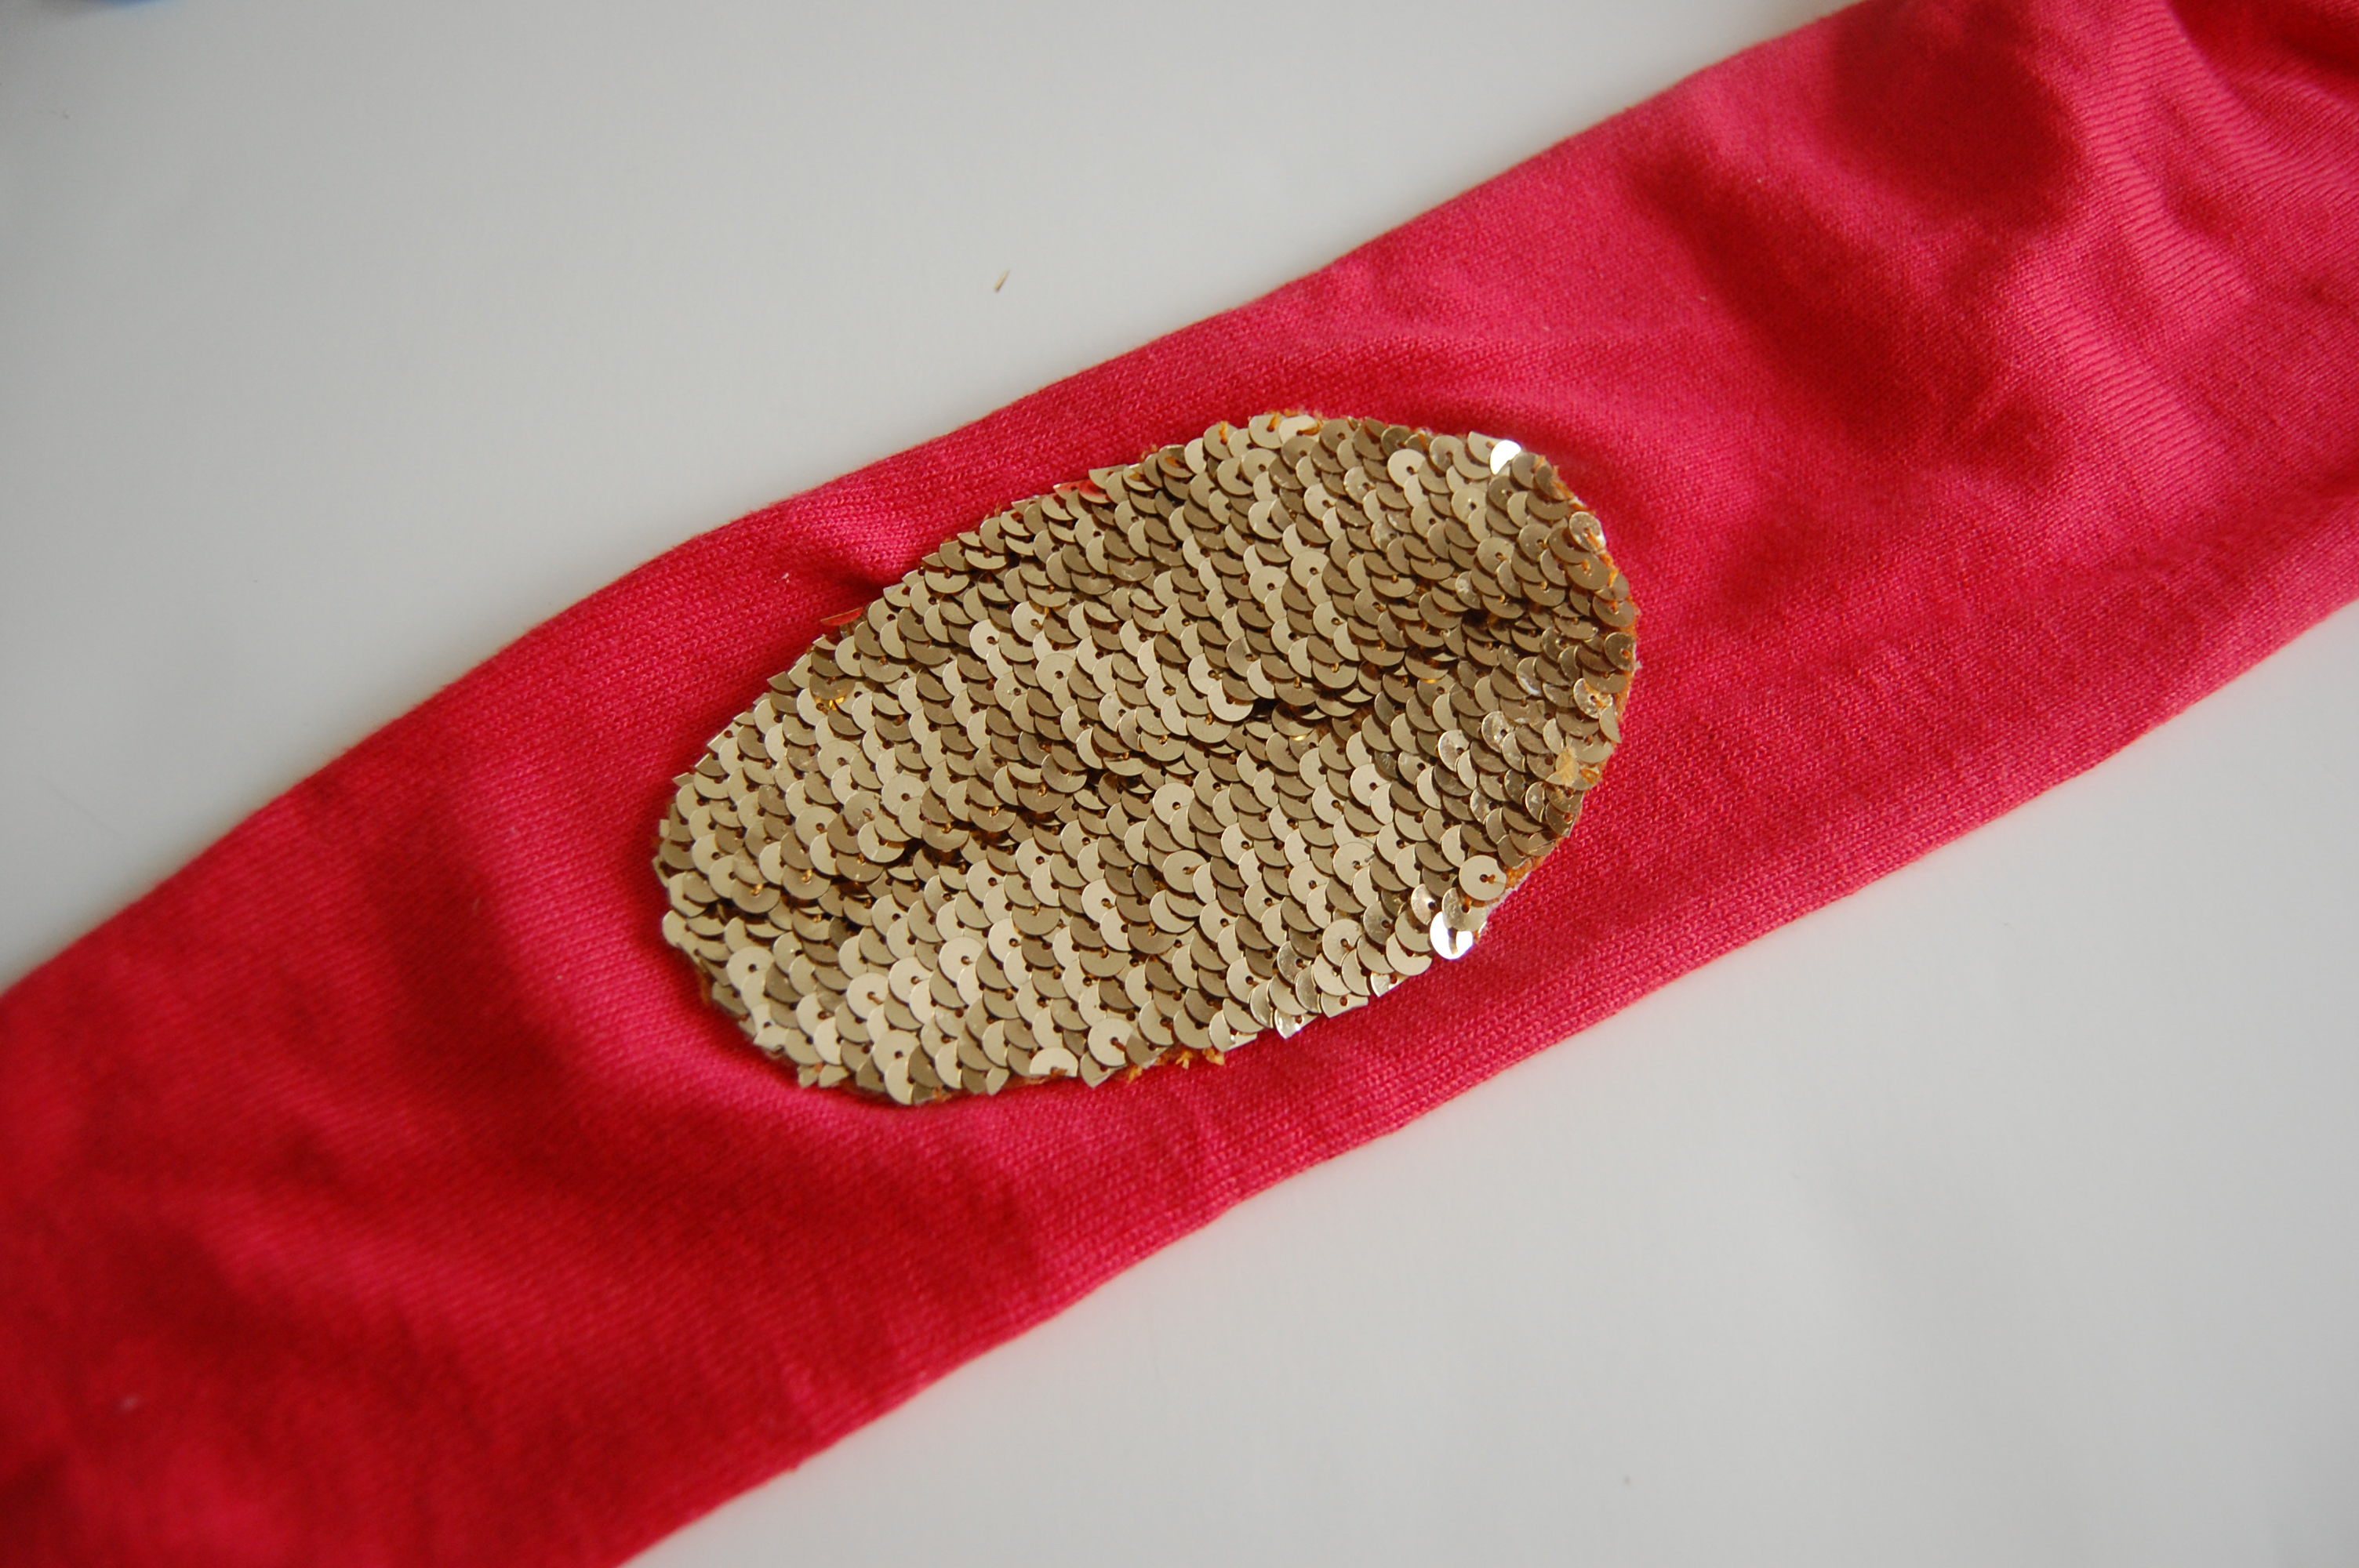
To attach the ribbon I simply added a thin layer to one half of the patch as well as a thin layer to the ribbon and then pressed them together, waited a few minutes and then did the same thing for the other half.
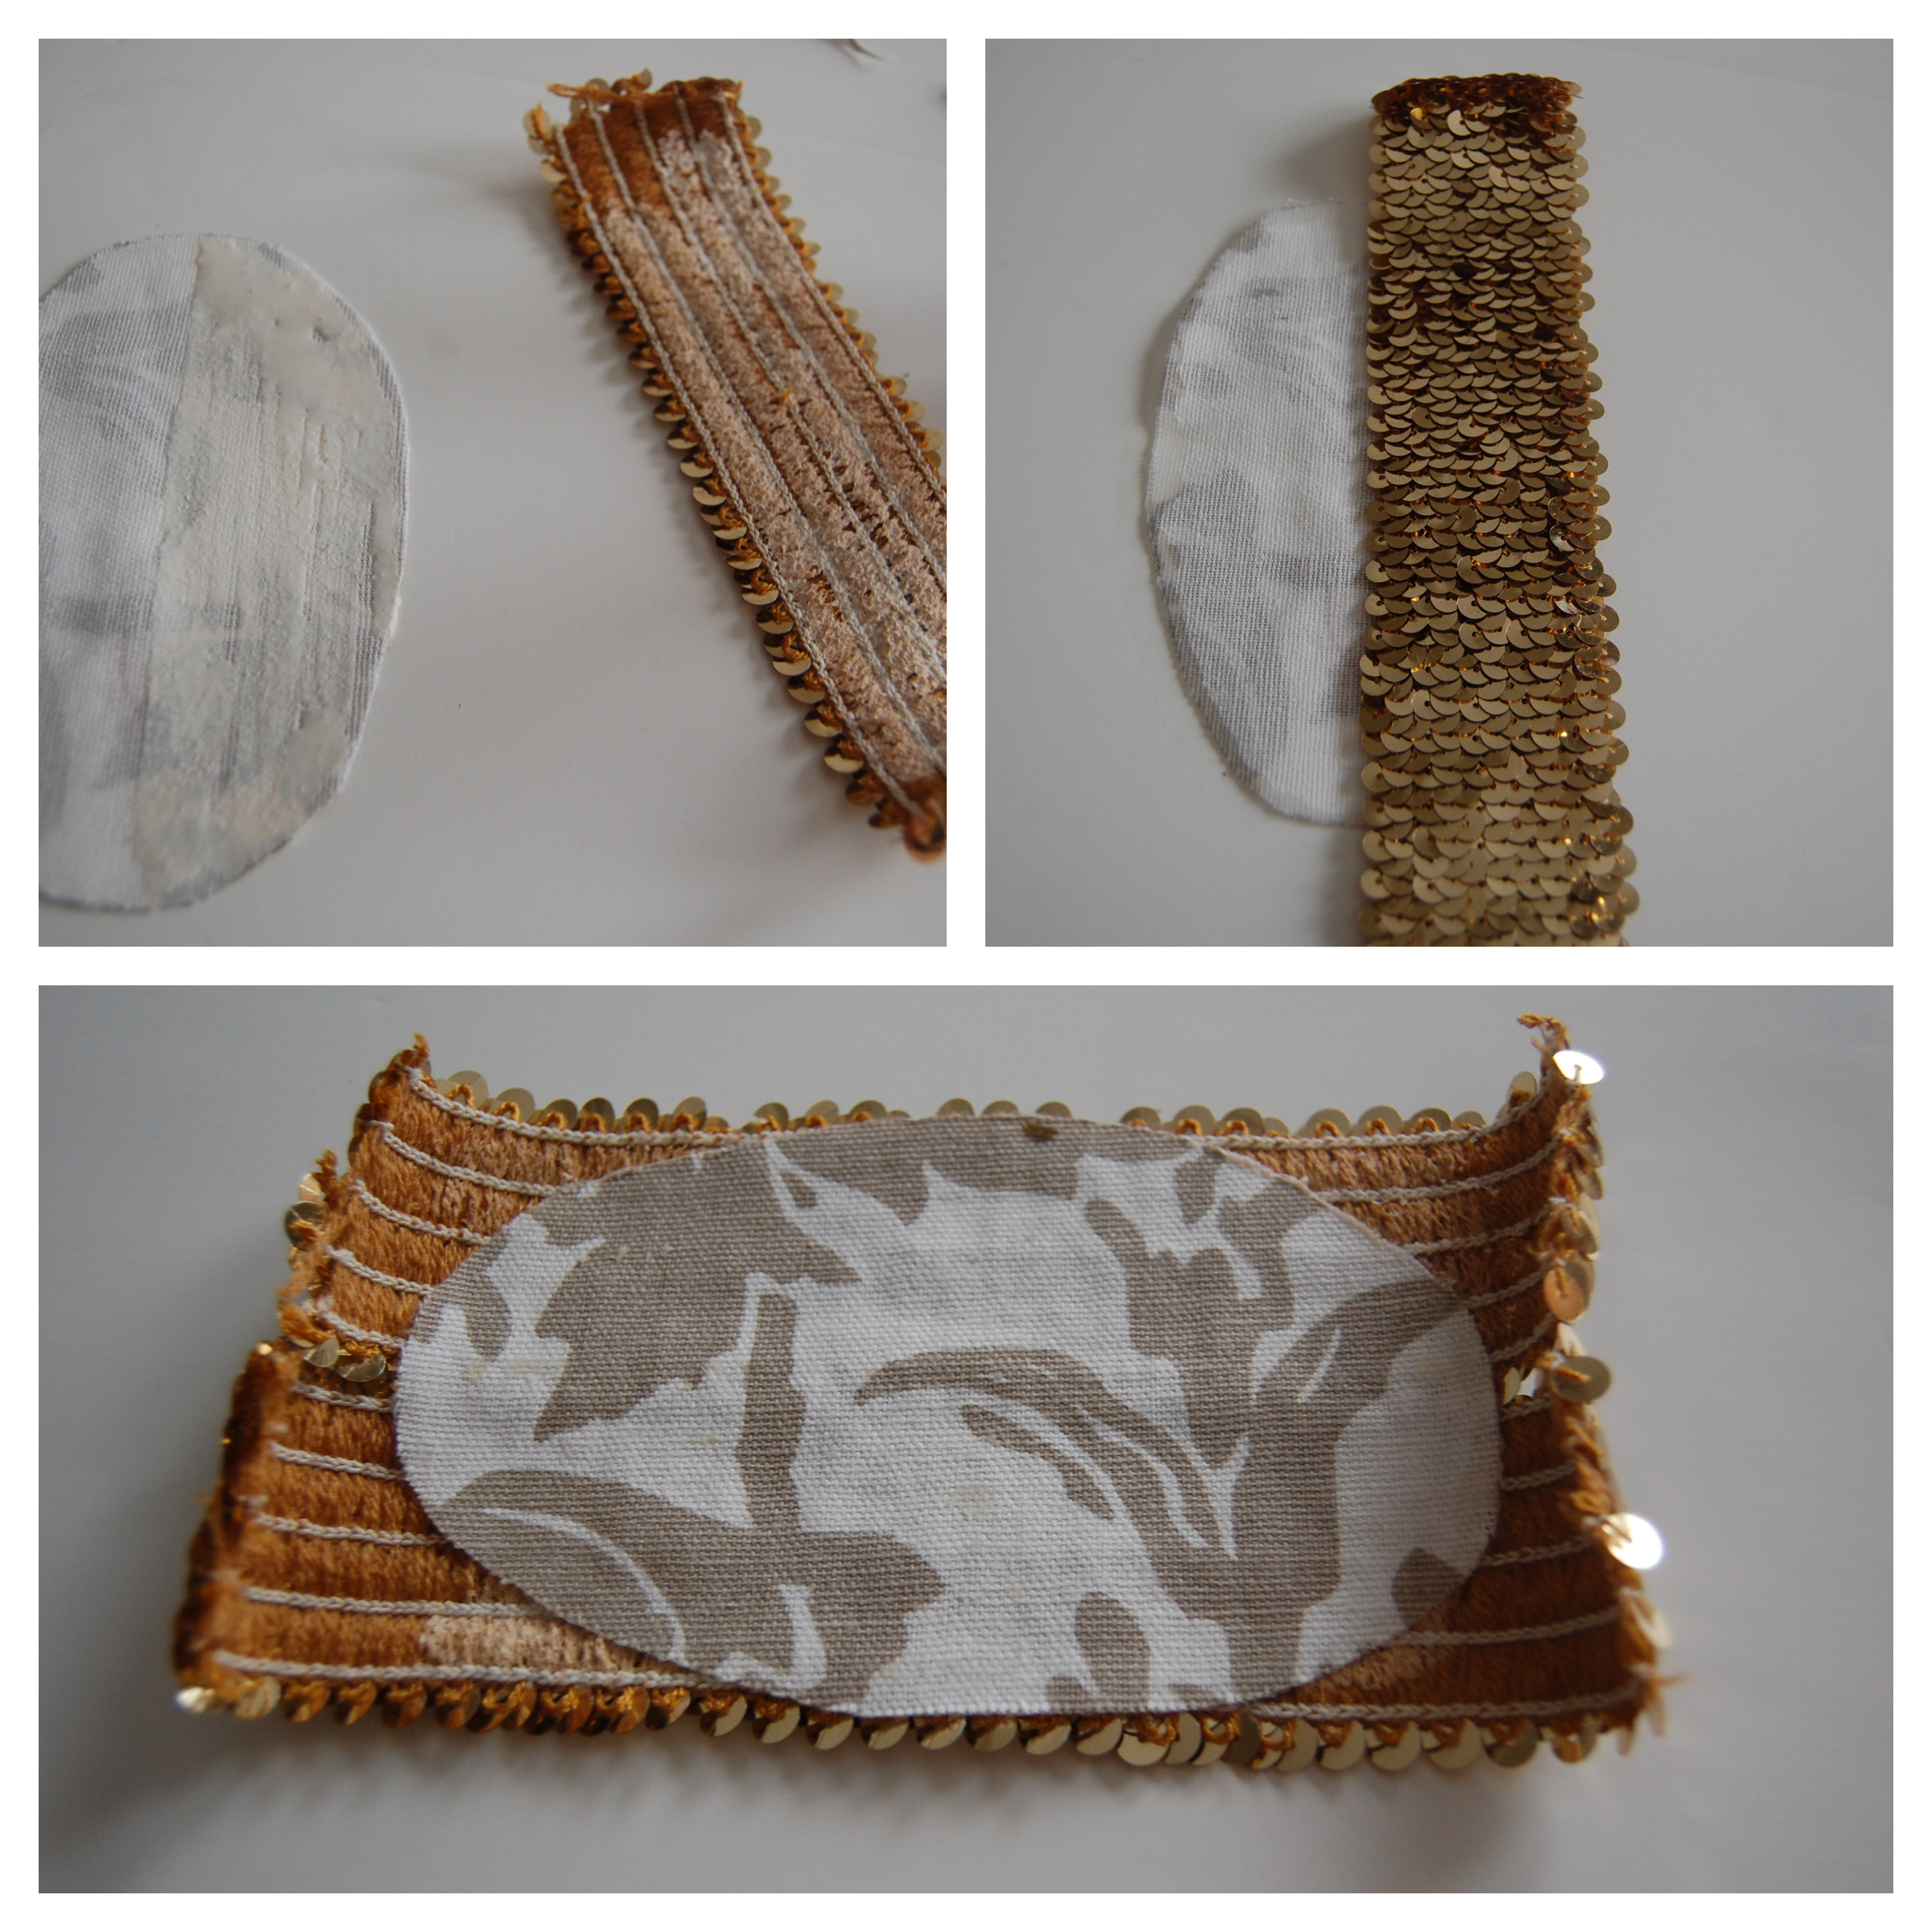 Then I trimmed off the ribbon and added fray check all around the edges.
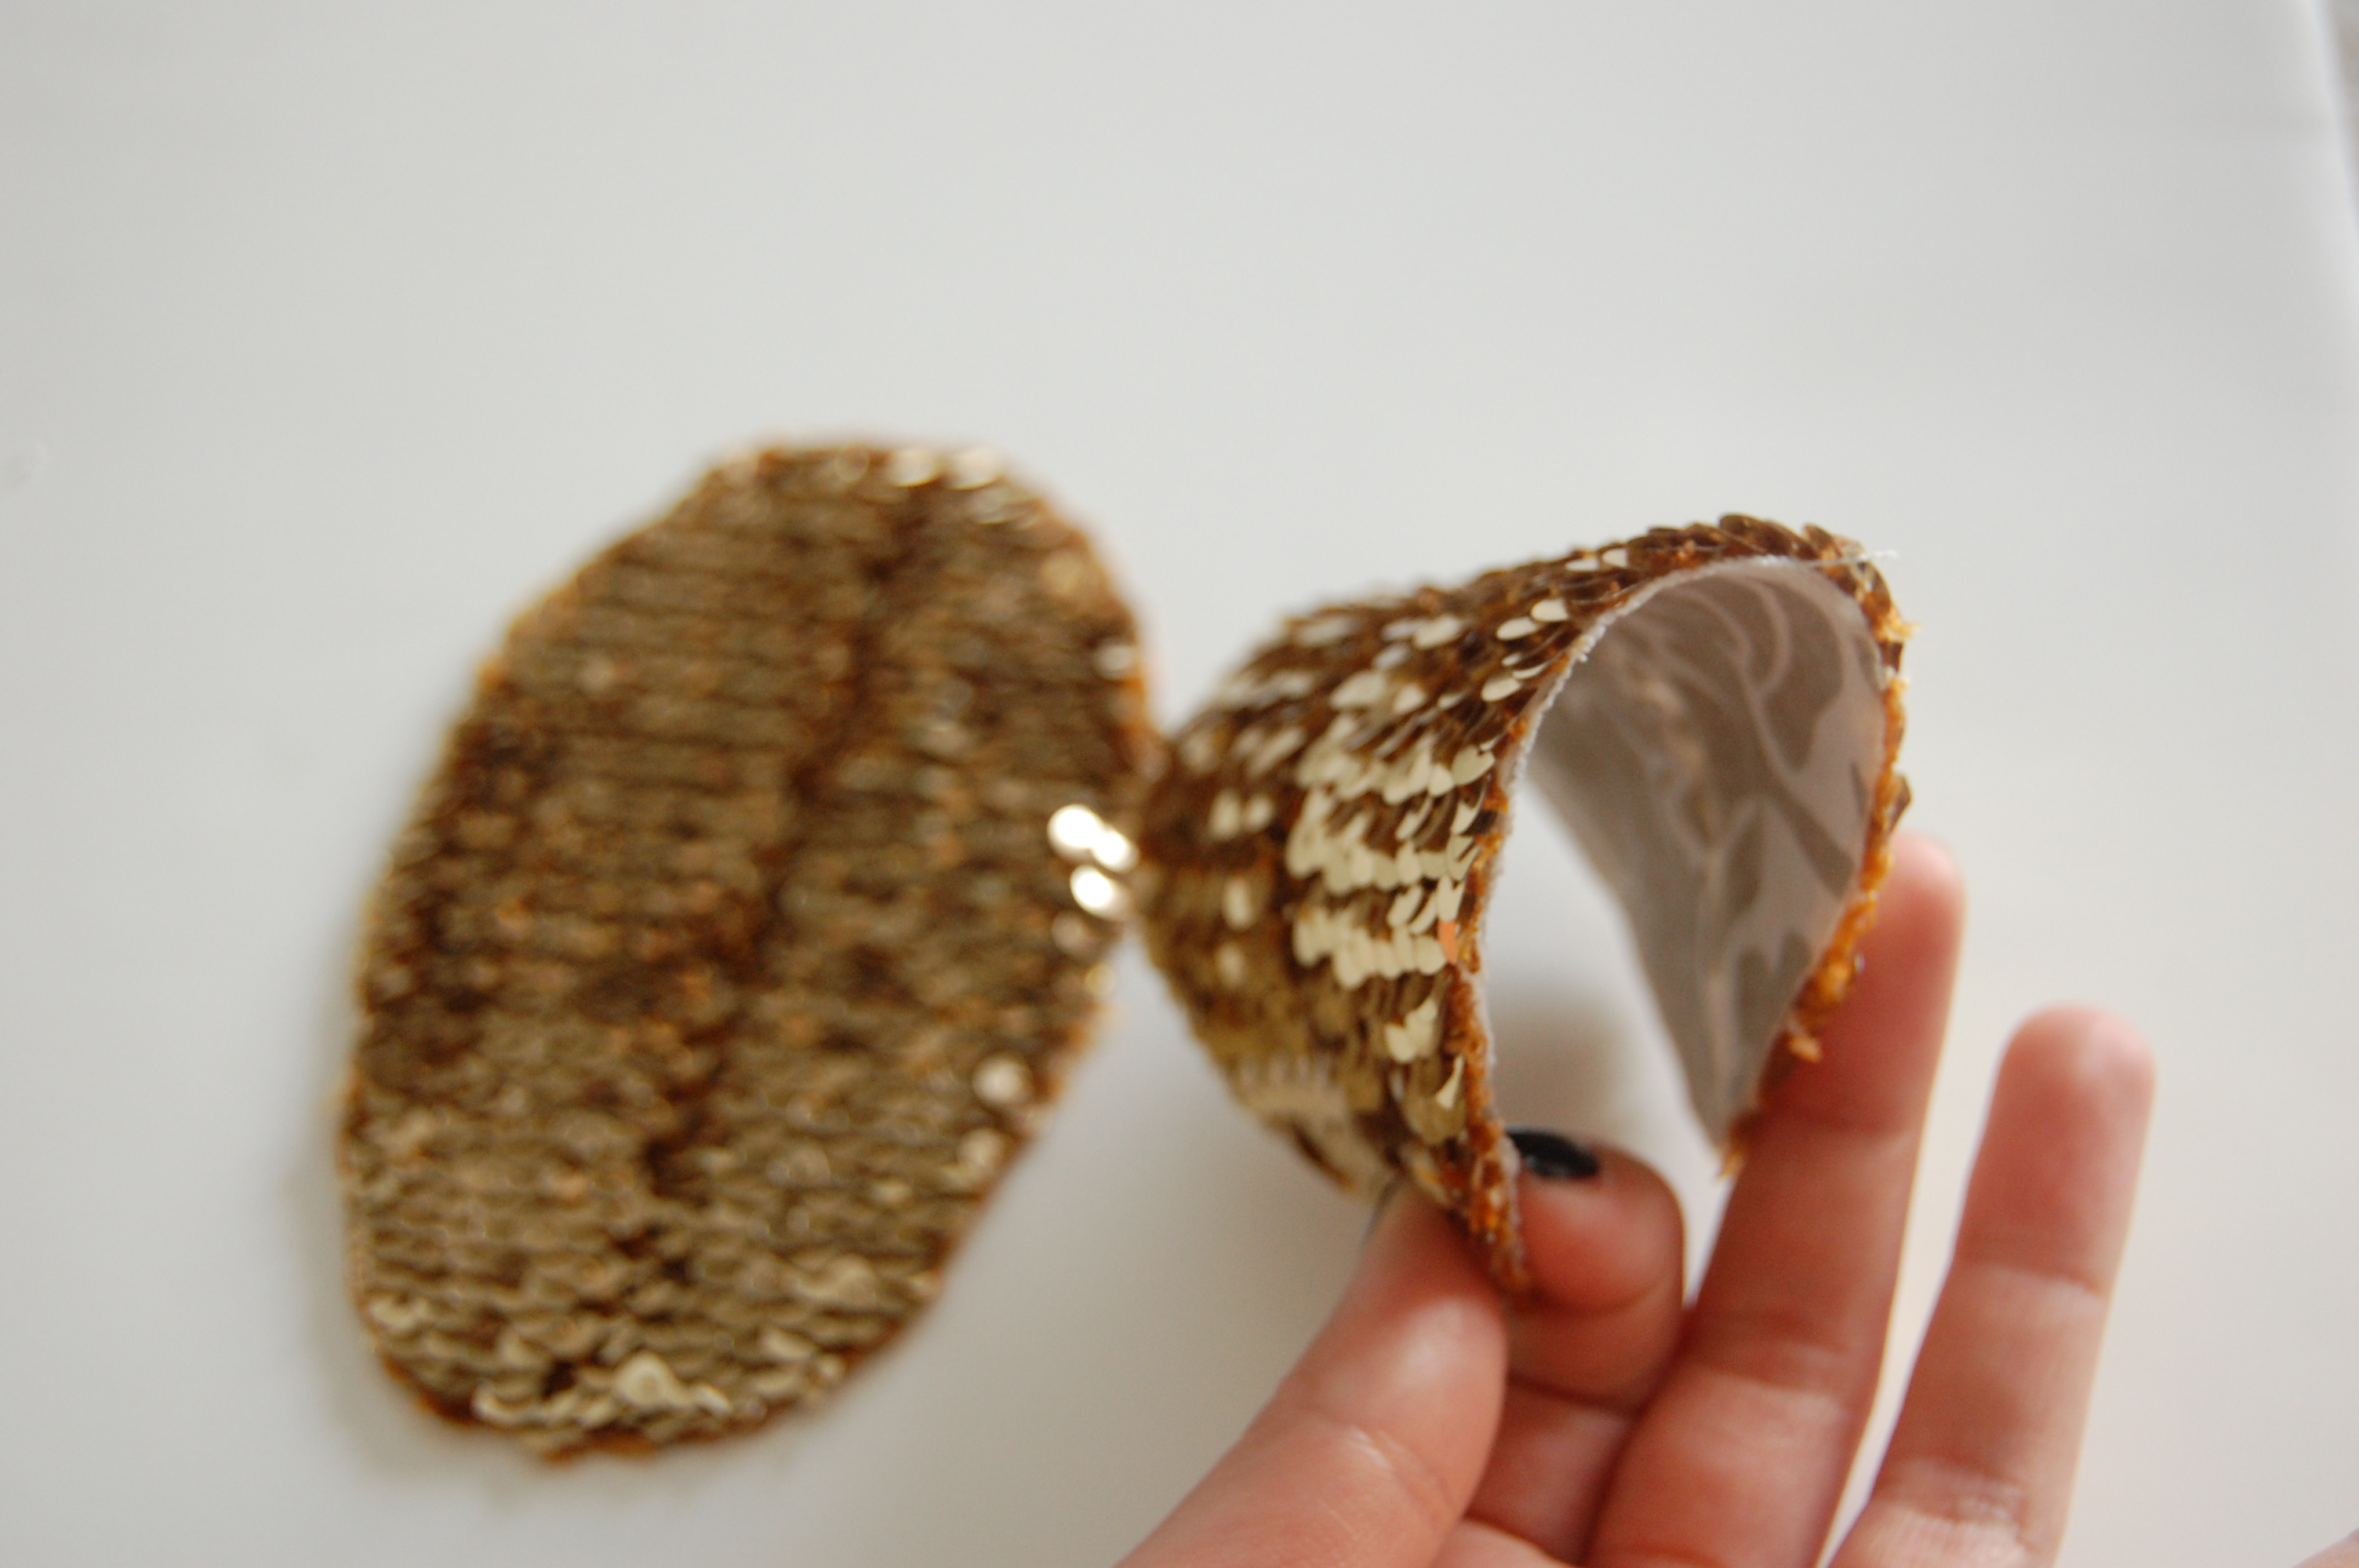
The best part was that even though there was ribbon on top of fabric the patch was still quite flexible!
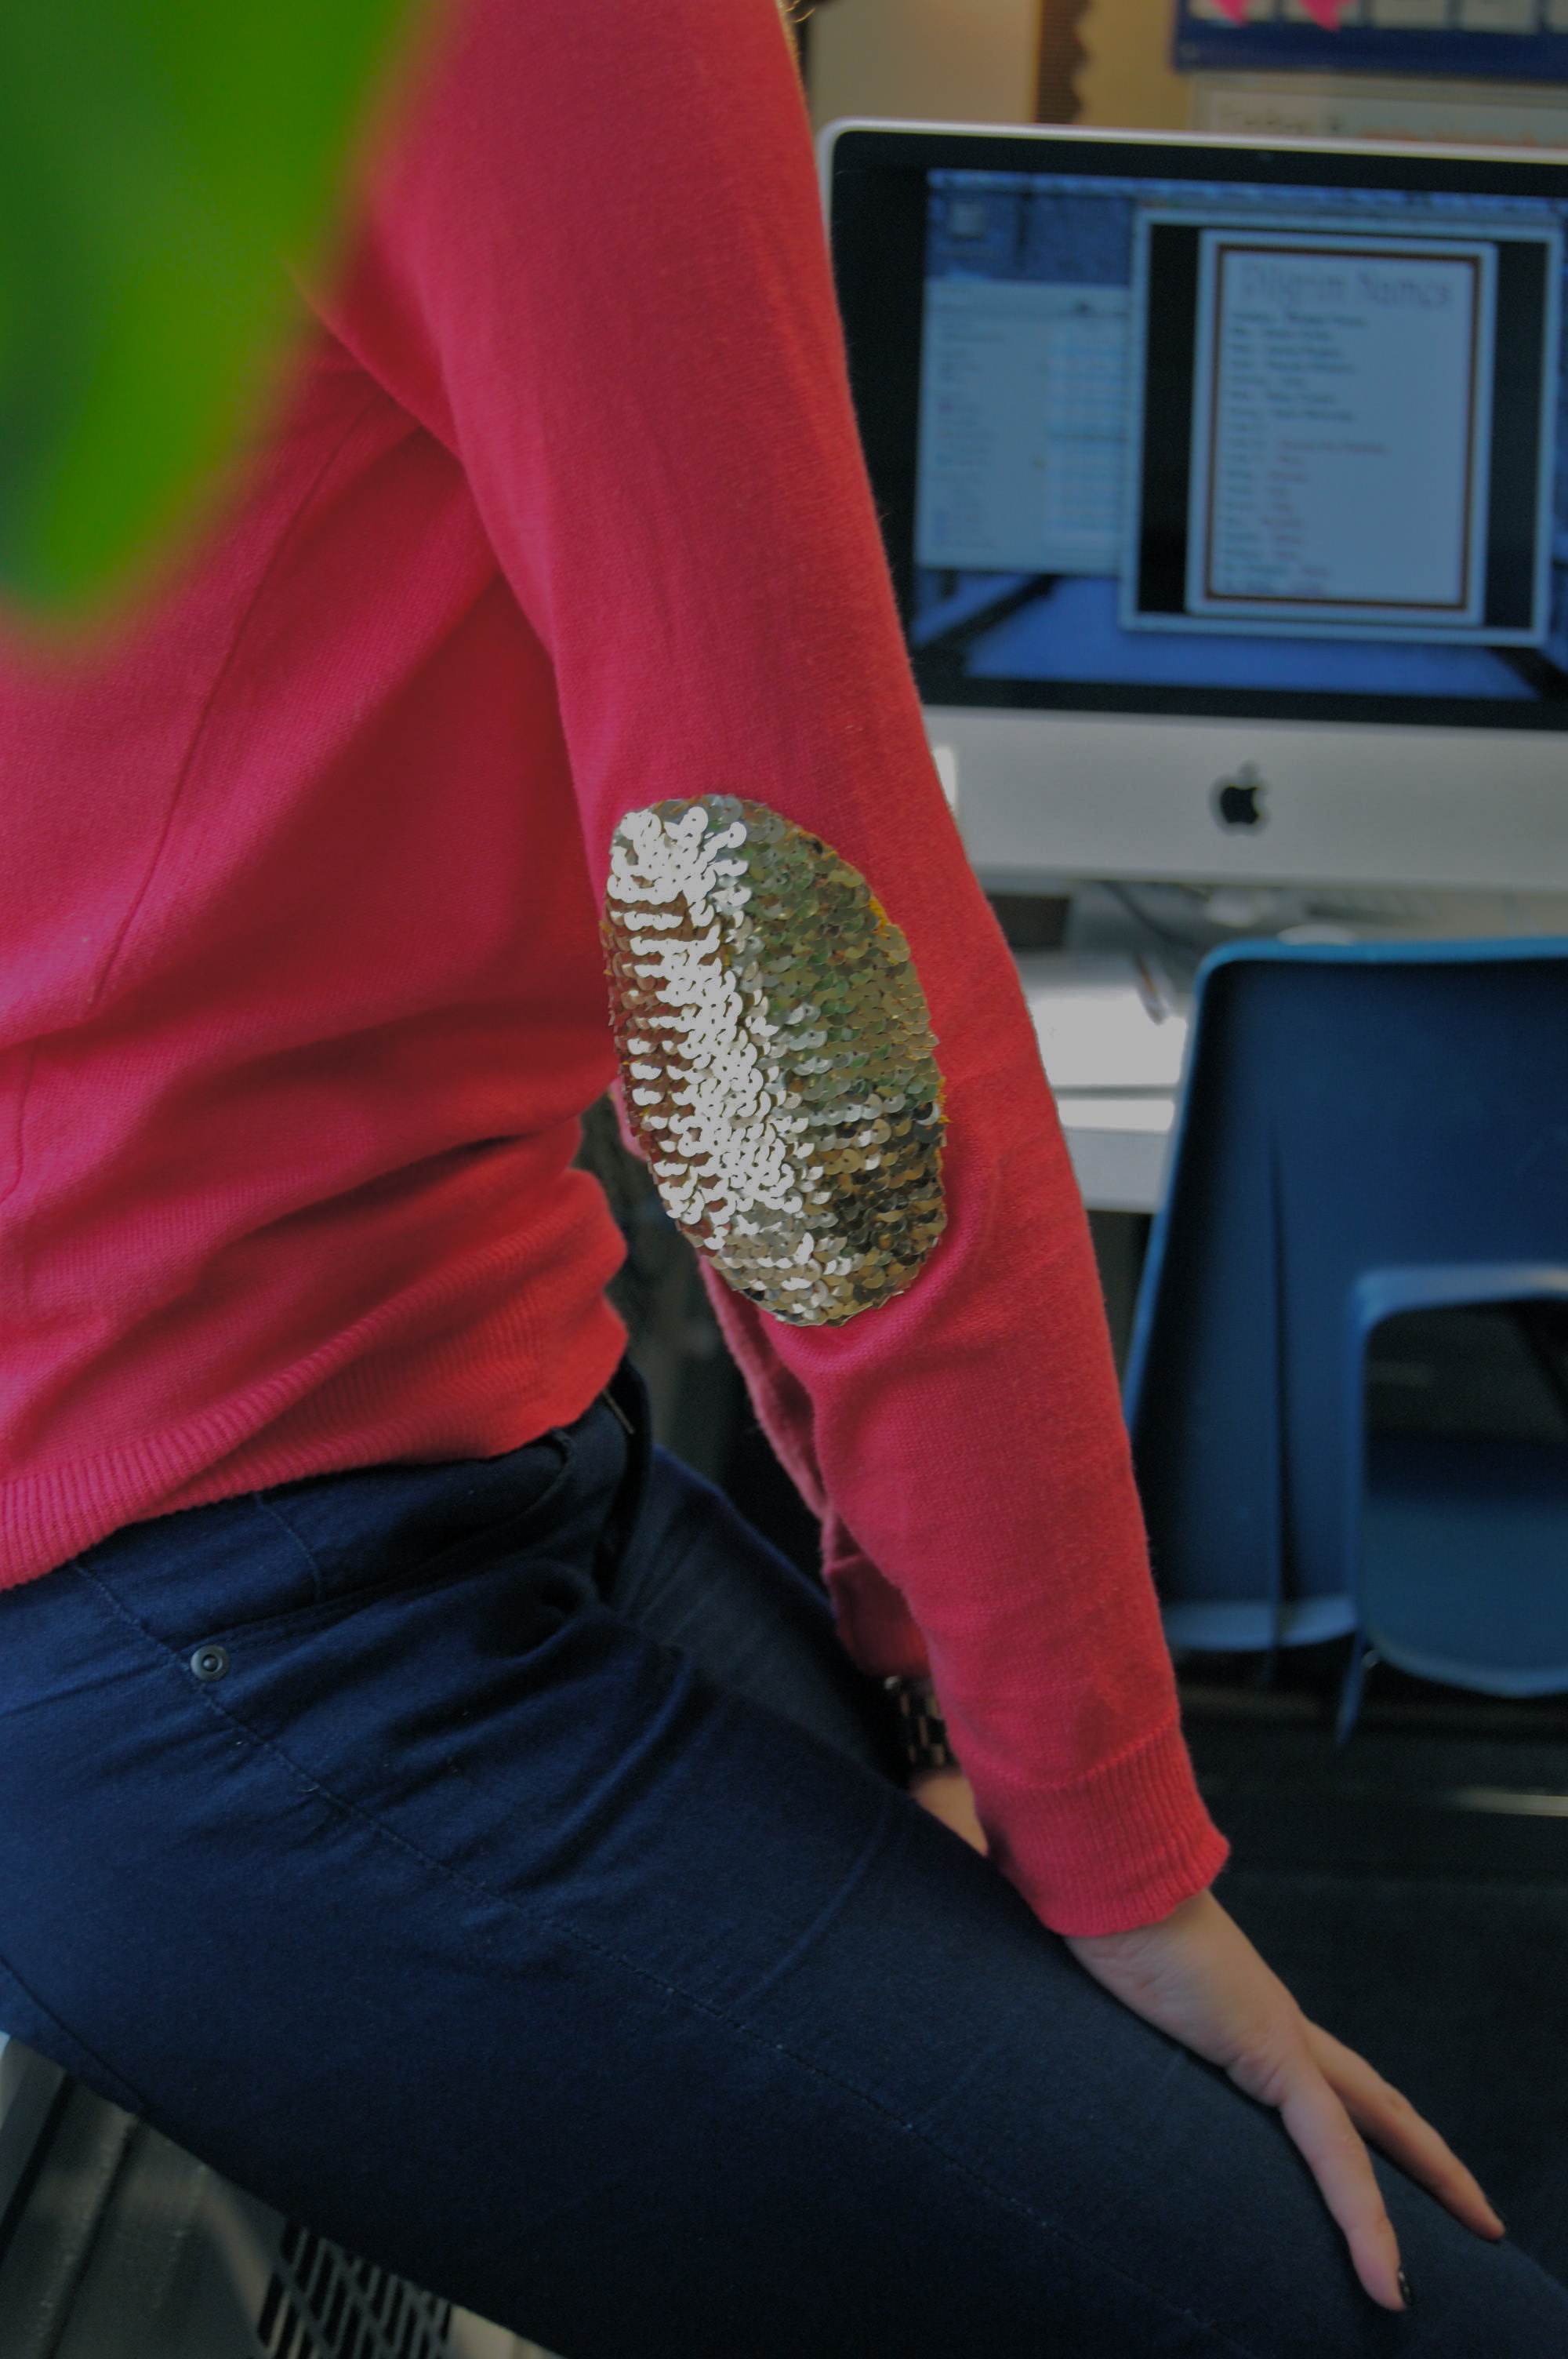
To add them to my sweater I just marked the area where I wanted it to start and with the adhesive, applied a thin layer and laid it down! Be sure to add a small piece of cardboard inside the sleeve so that the glue doesn’t seep through.
I wore this all day on Monday and it really added that little bit of sparkle I was looking for!
If I head into the city soon I may still try it again with just a sequined fabric but for now this works just fine!
Linking up to:
