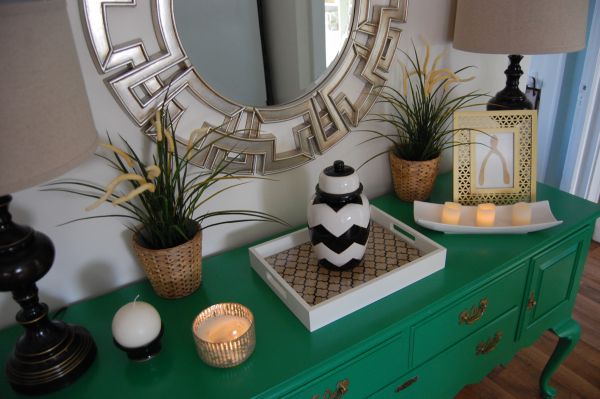
If there is one thing in this world that I can always use more of it’s shoes storage space! I’ve managed to work with what I have but when I catch myself leaving things around because I have no where else to put them it’s time to find a solution. Case in point, the space underneath my console. Here is a shot taken from the top.
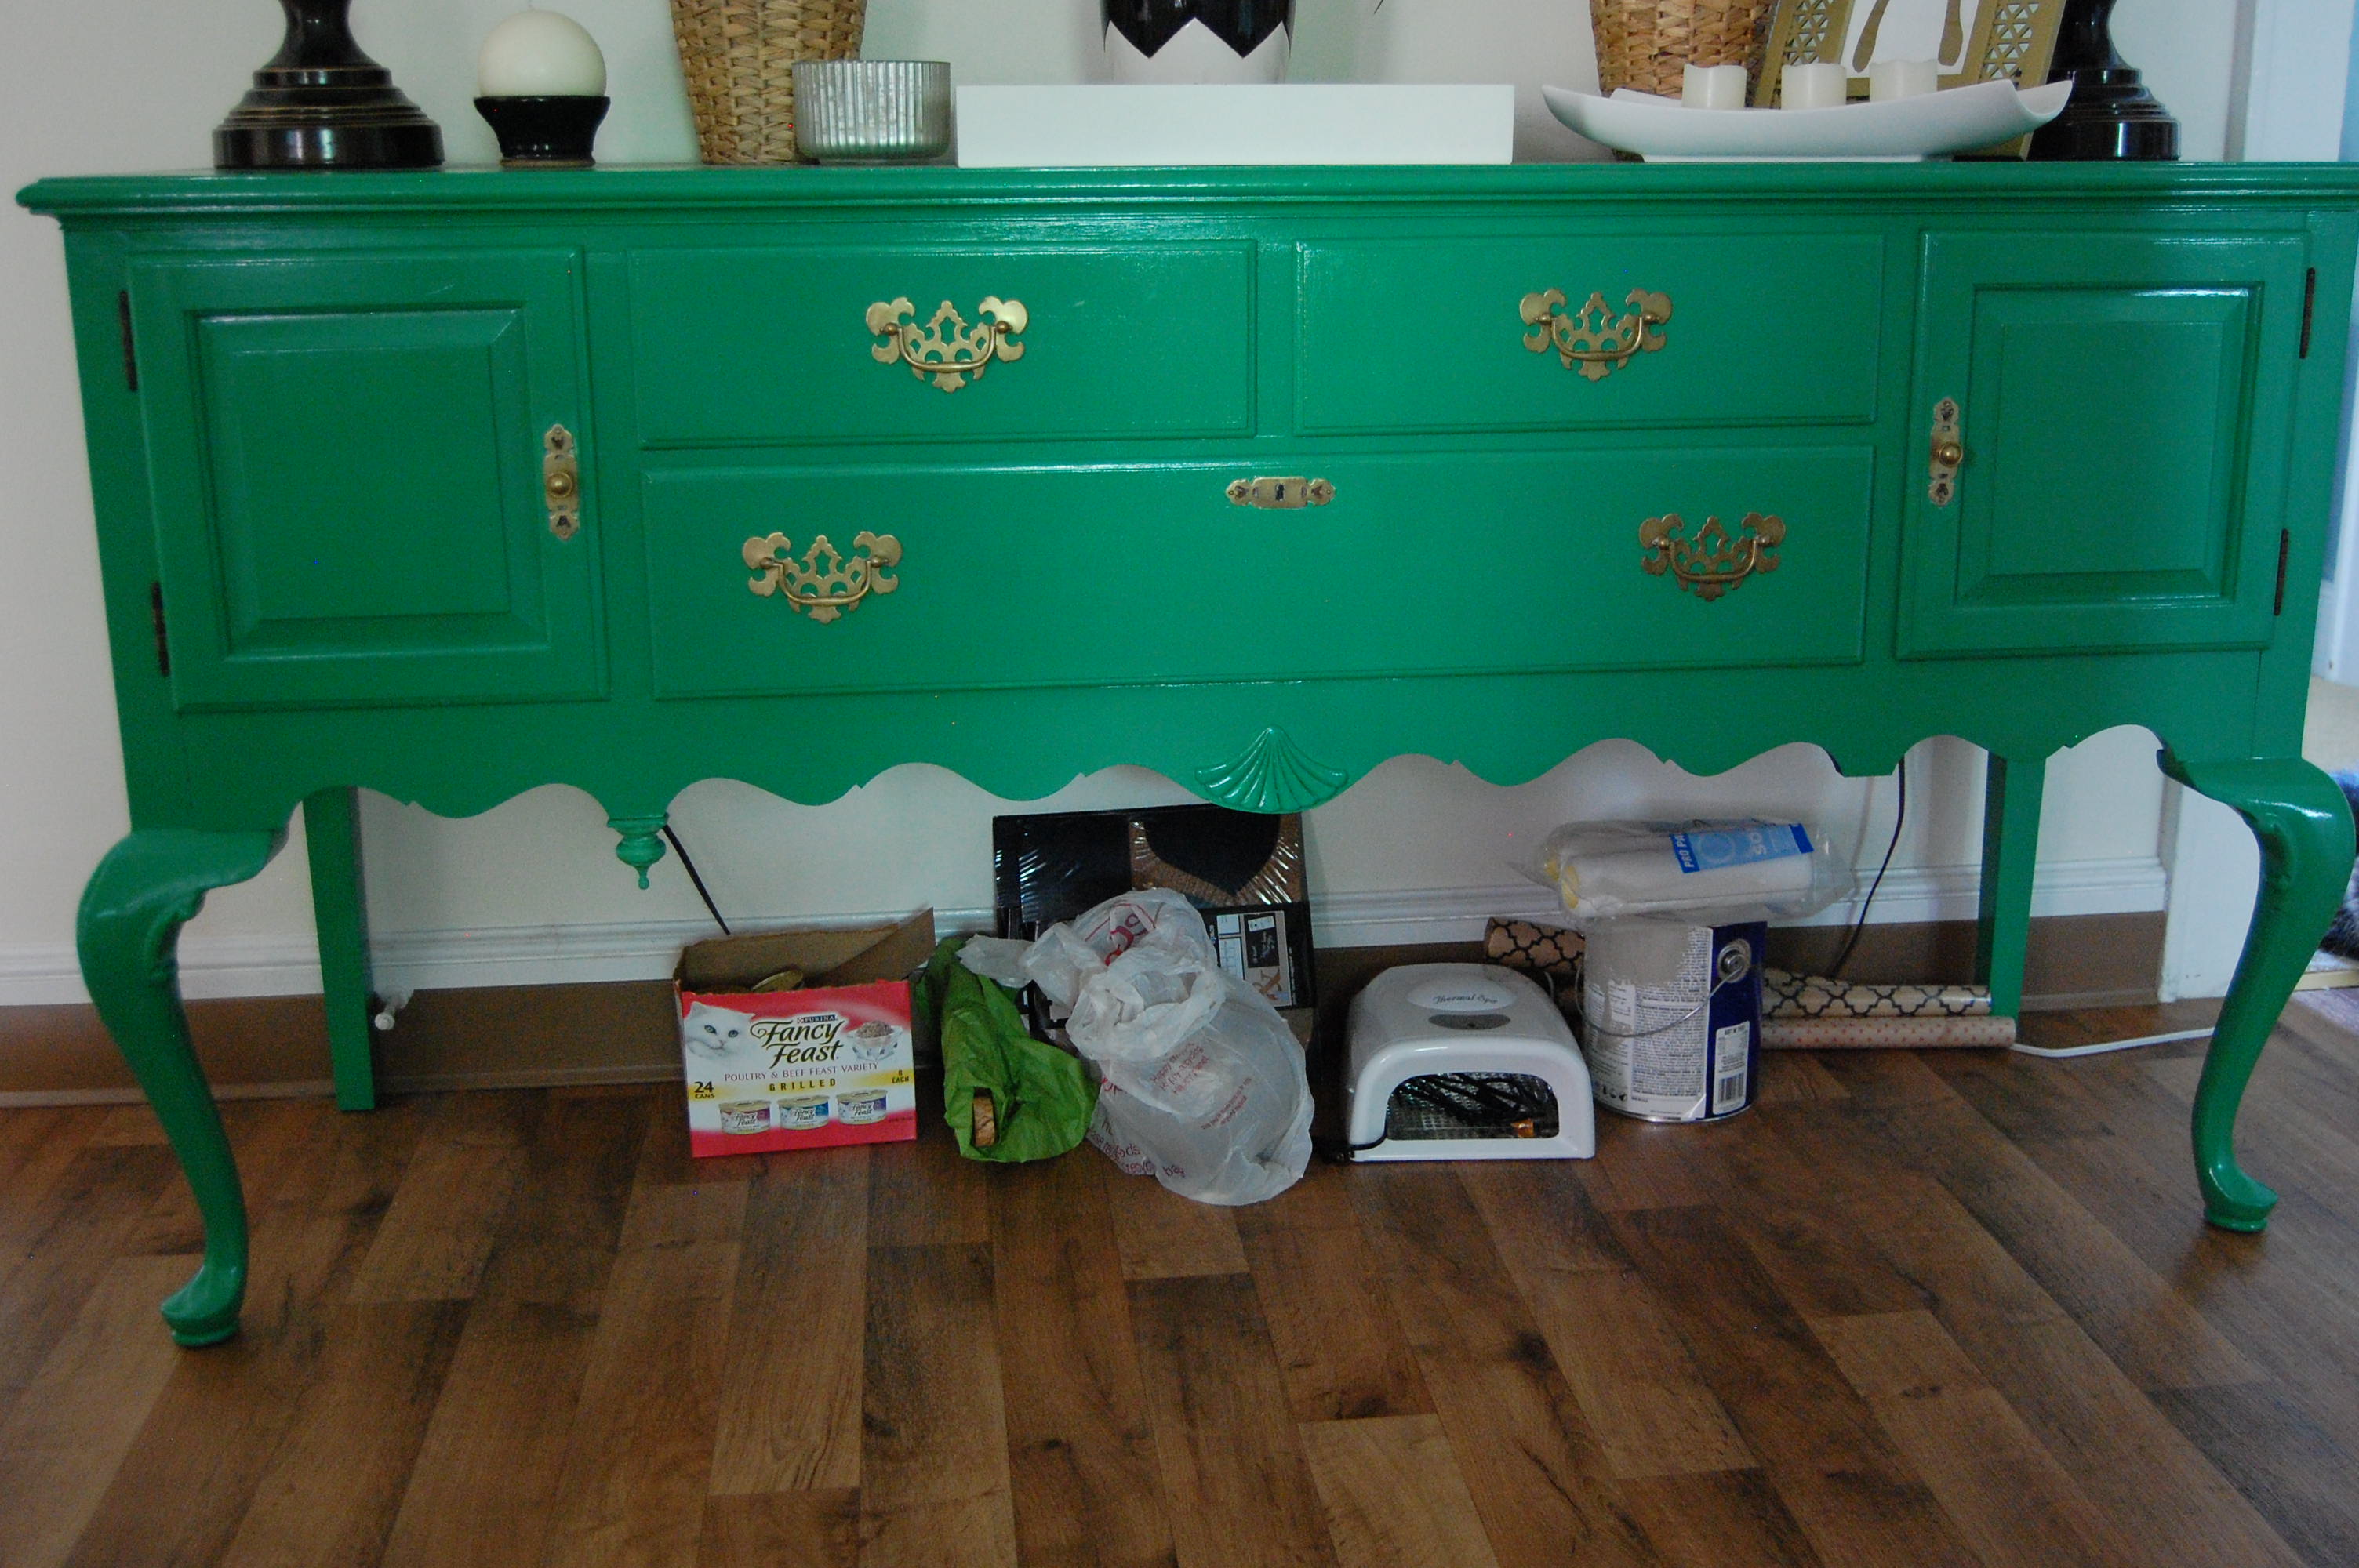 That’s right! Oh there’s shame in my game. So let’s see, we’ve got a box of cat food because it’s been more convenient to have it there than in the pantry. That green thing is a cutting board that I bought at Pivot House that I’m not quite ready to use (it’s so nice!), some stuff from Home Goods, my UV light for my gel manicure, because where does one keep that otherwise? A can of paint that actually needs to go into a small jar and some rollers and wrapping paper. Why are they there? Because there just isn’t a designated spot for them and that’s where they ended up. I started thinking that I could find a place for all of those things but then I was in Target and came across these.
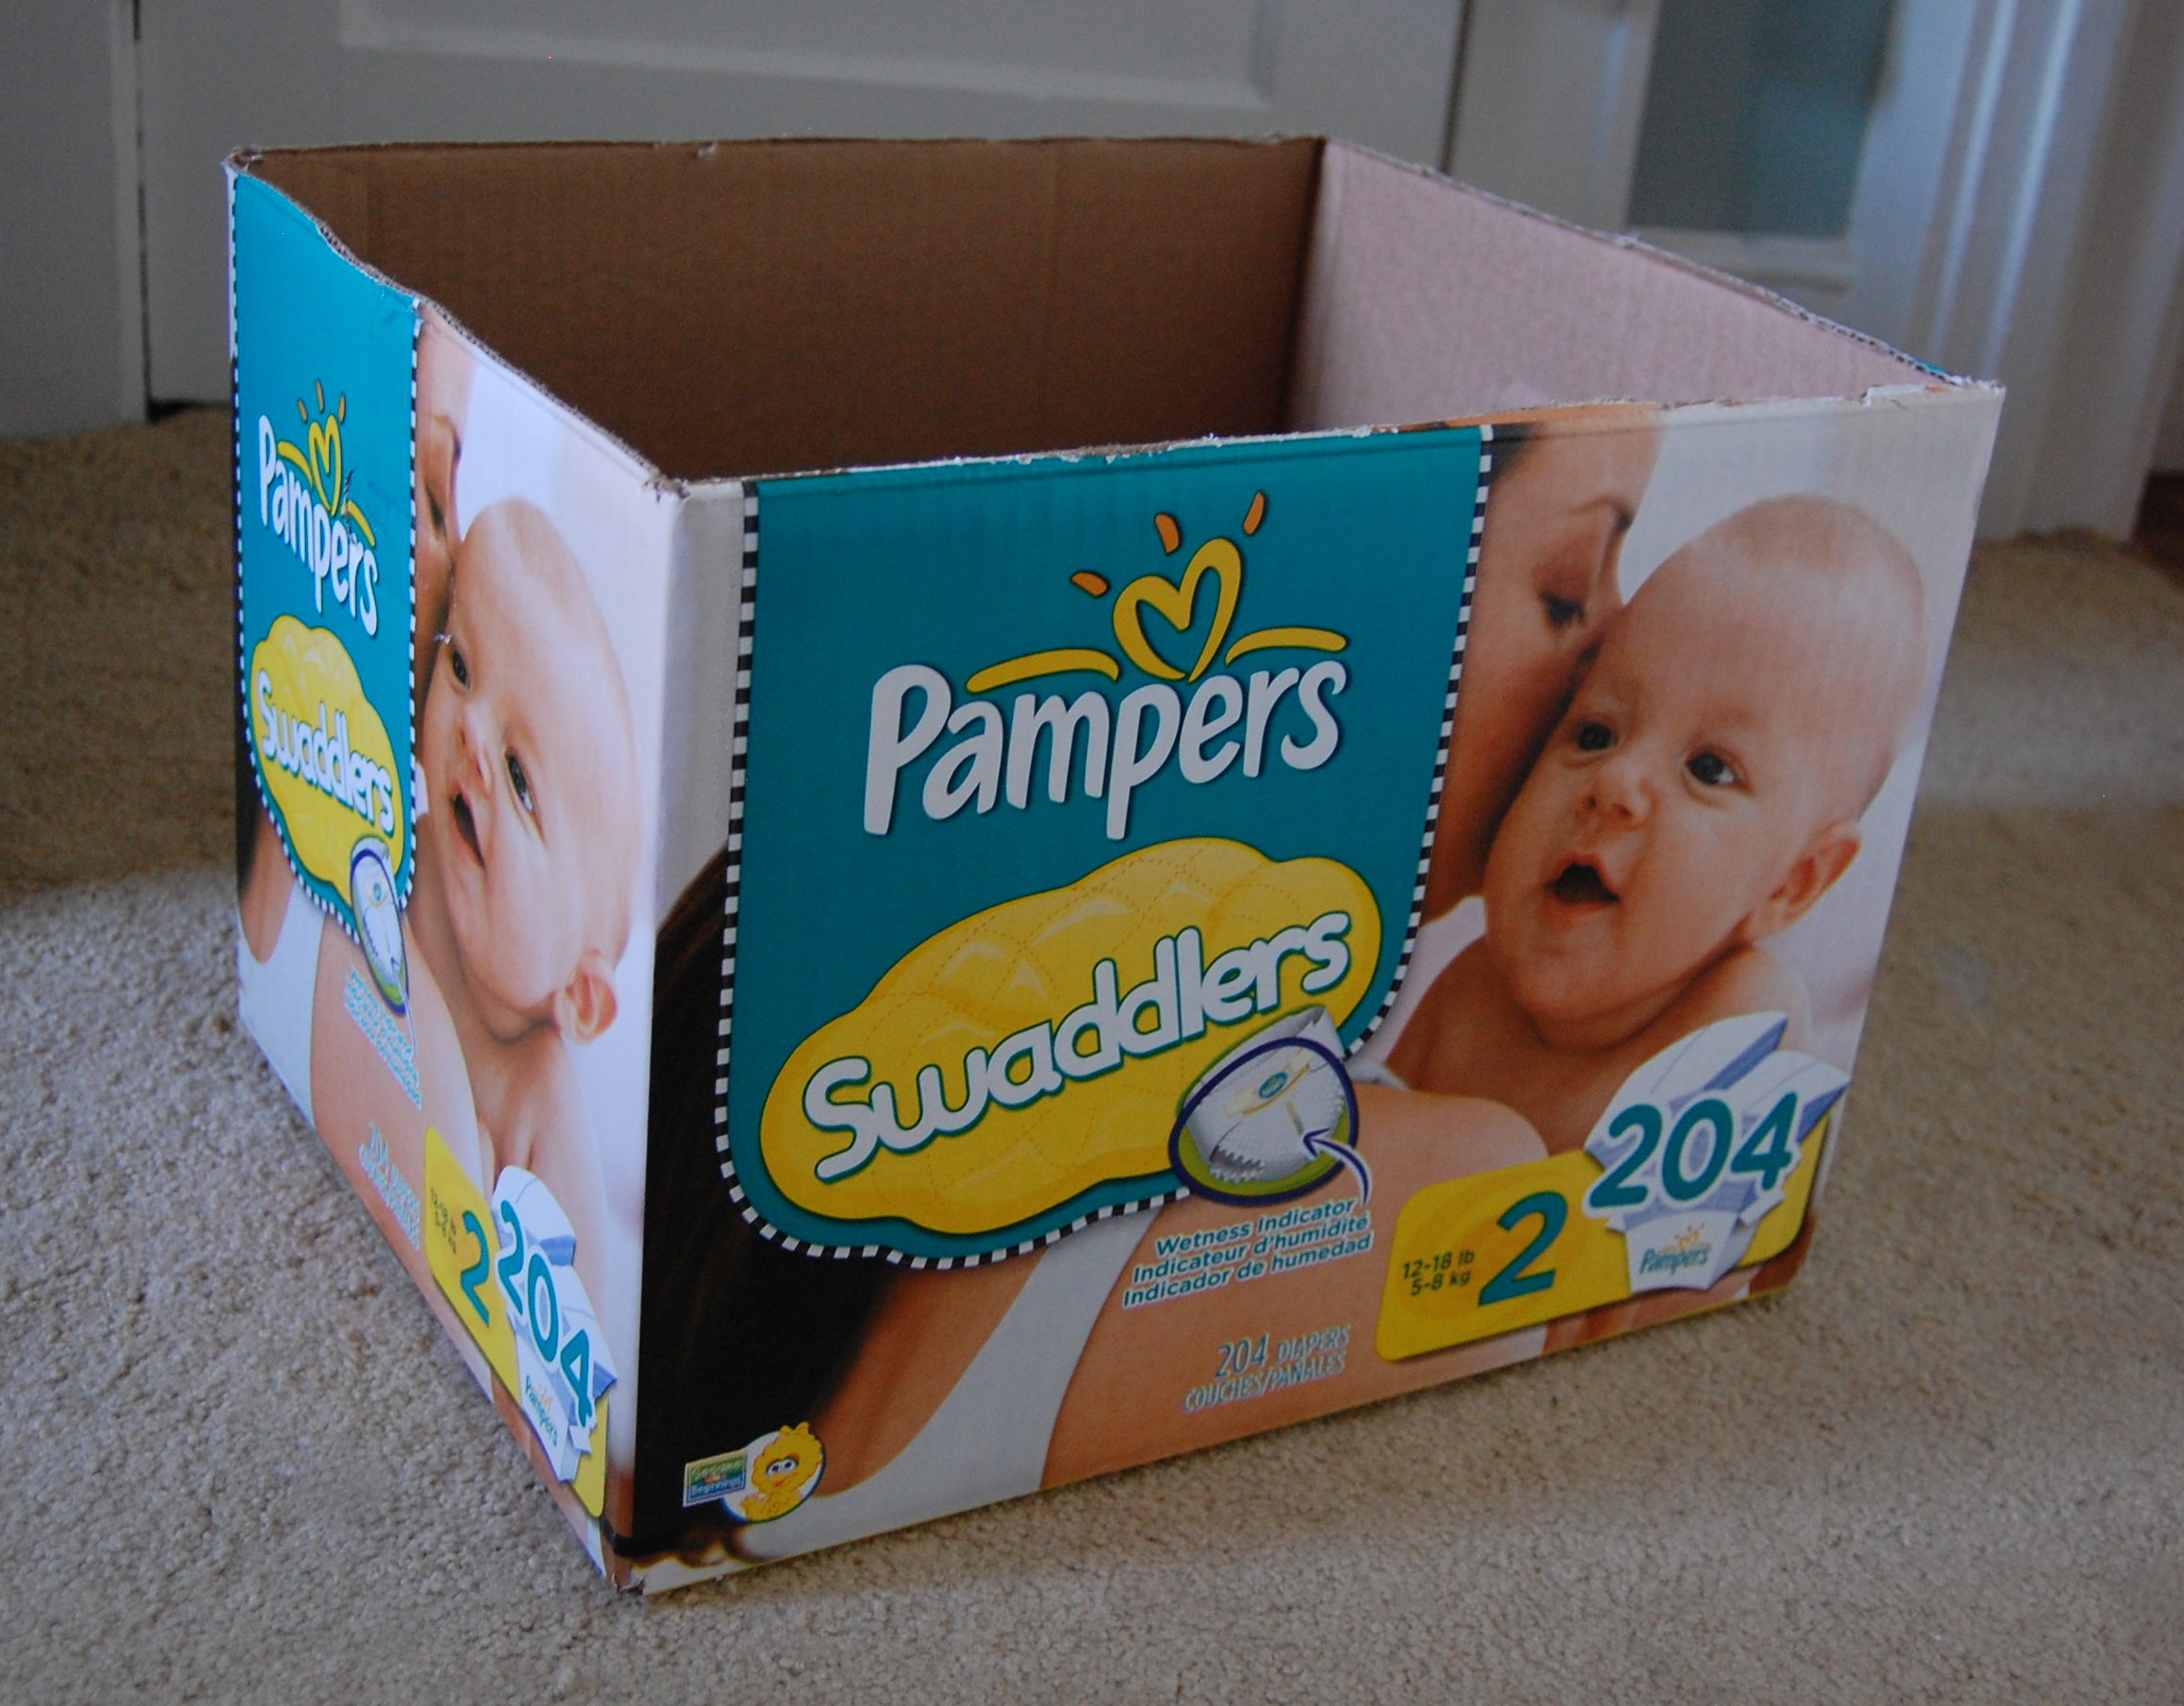
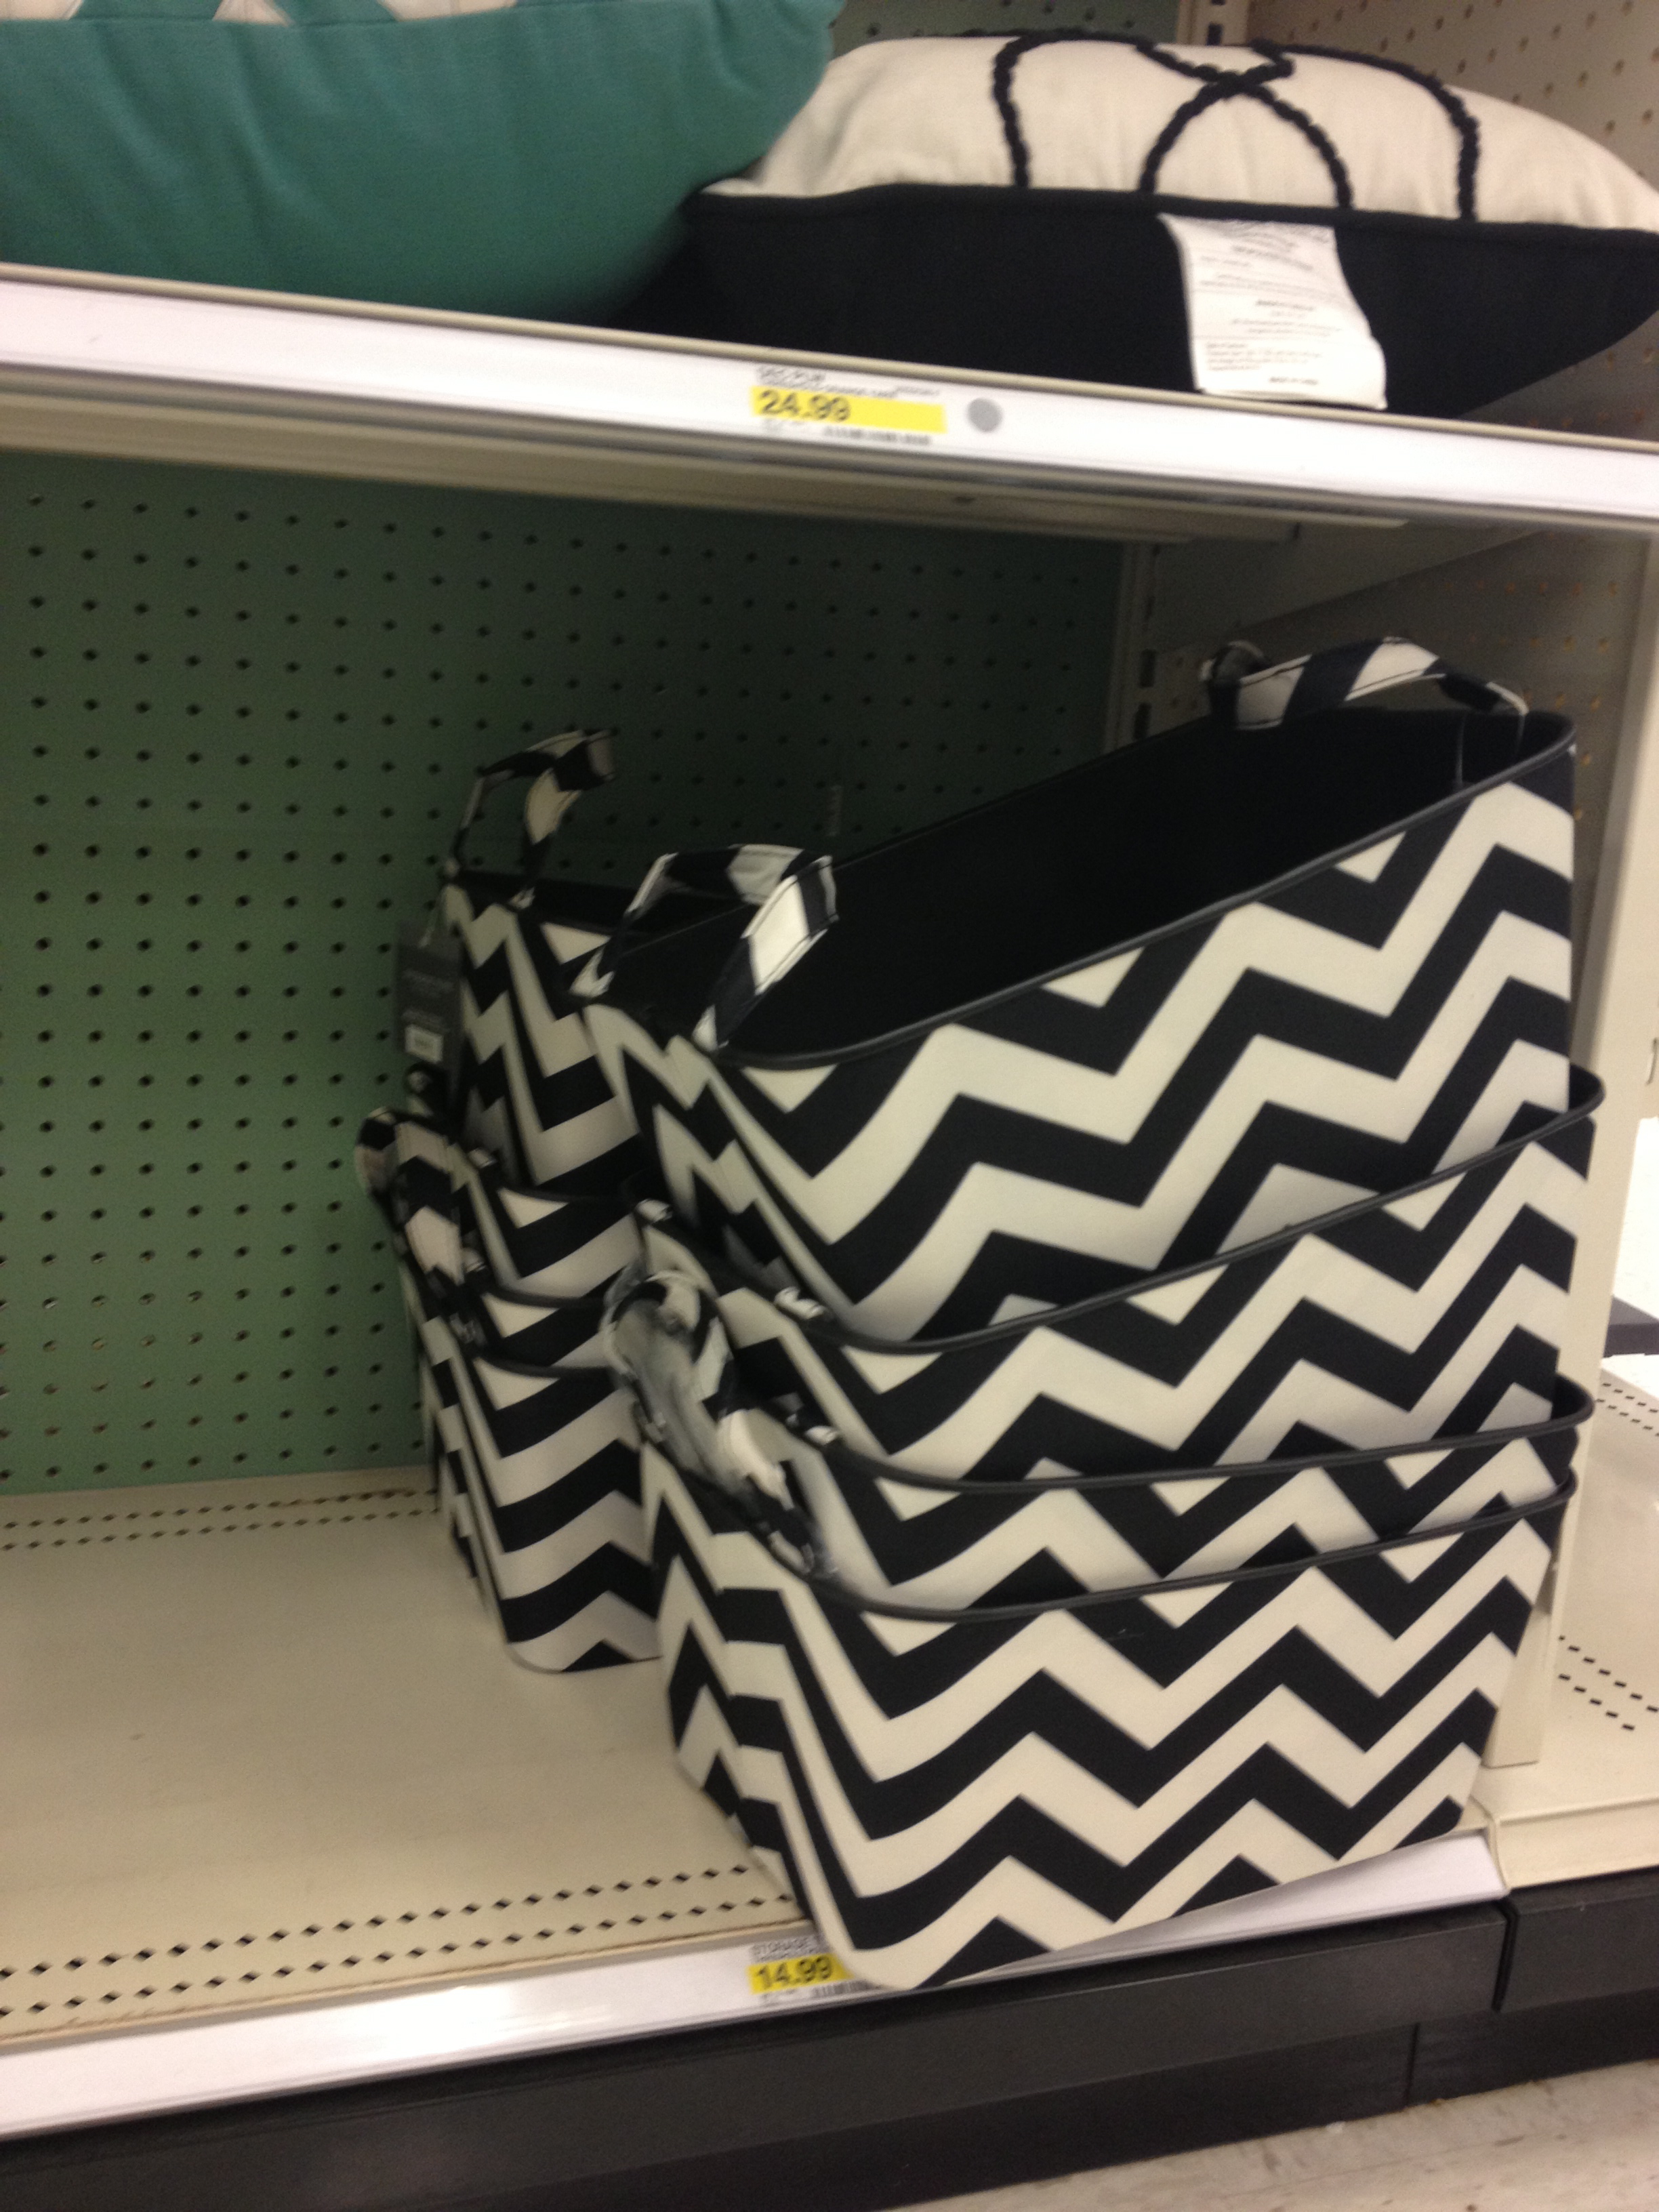 I loved them! But there were three things standing in my way of purchasing them. 1. Might be too small. 2. Wasn’t feeling the price because 3. I could make those for much cheaper. I love that they were black and white chevron because I thought about how the pattern would play off of the urn that’s on the console. So, off I went asking my baby making friend for her left over diaper boxes and to fabric.com to order the fabric.
I wanted to use diaper boxes because they are made of pretty thick cardboard and I needed something sturdy. Once I got them I just cut the flaps off in order to get started.
Now here’s where things got tricky for me. I had no idea what I was doing. No plan at all. Just a box and some fabric. I went online to see if I could find any tutorials and there were tons. The only problem was they all required cutting and folding in ways that meant the sides of my boxes wouldn’t match the front. I had a heavily patterned fabric and I wanted the fabric to wrap all the way around so I just began to follow this tutorial but realized it wasn’t going to give me what I wanted so I just messed around until I figured it out. Now the best way for me to show you how I accomplished this is using a smaller box. So if you’re looking to learn how to wrap a patterned fabric around a box then stick around!
* * *
So I started out by placing my box in the middle of my fabric. (Please Note: This was leftover fabric from after doing my diaper boxes, it turns out it wasn’t enough but you can still get an idea) The amount of fabric you will need will depend on the size of your box. For my diaper boxes I used about 1 1/2 ft.
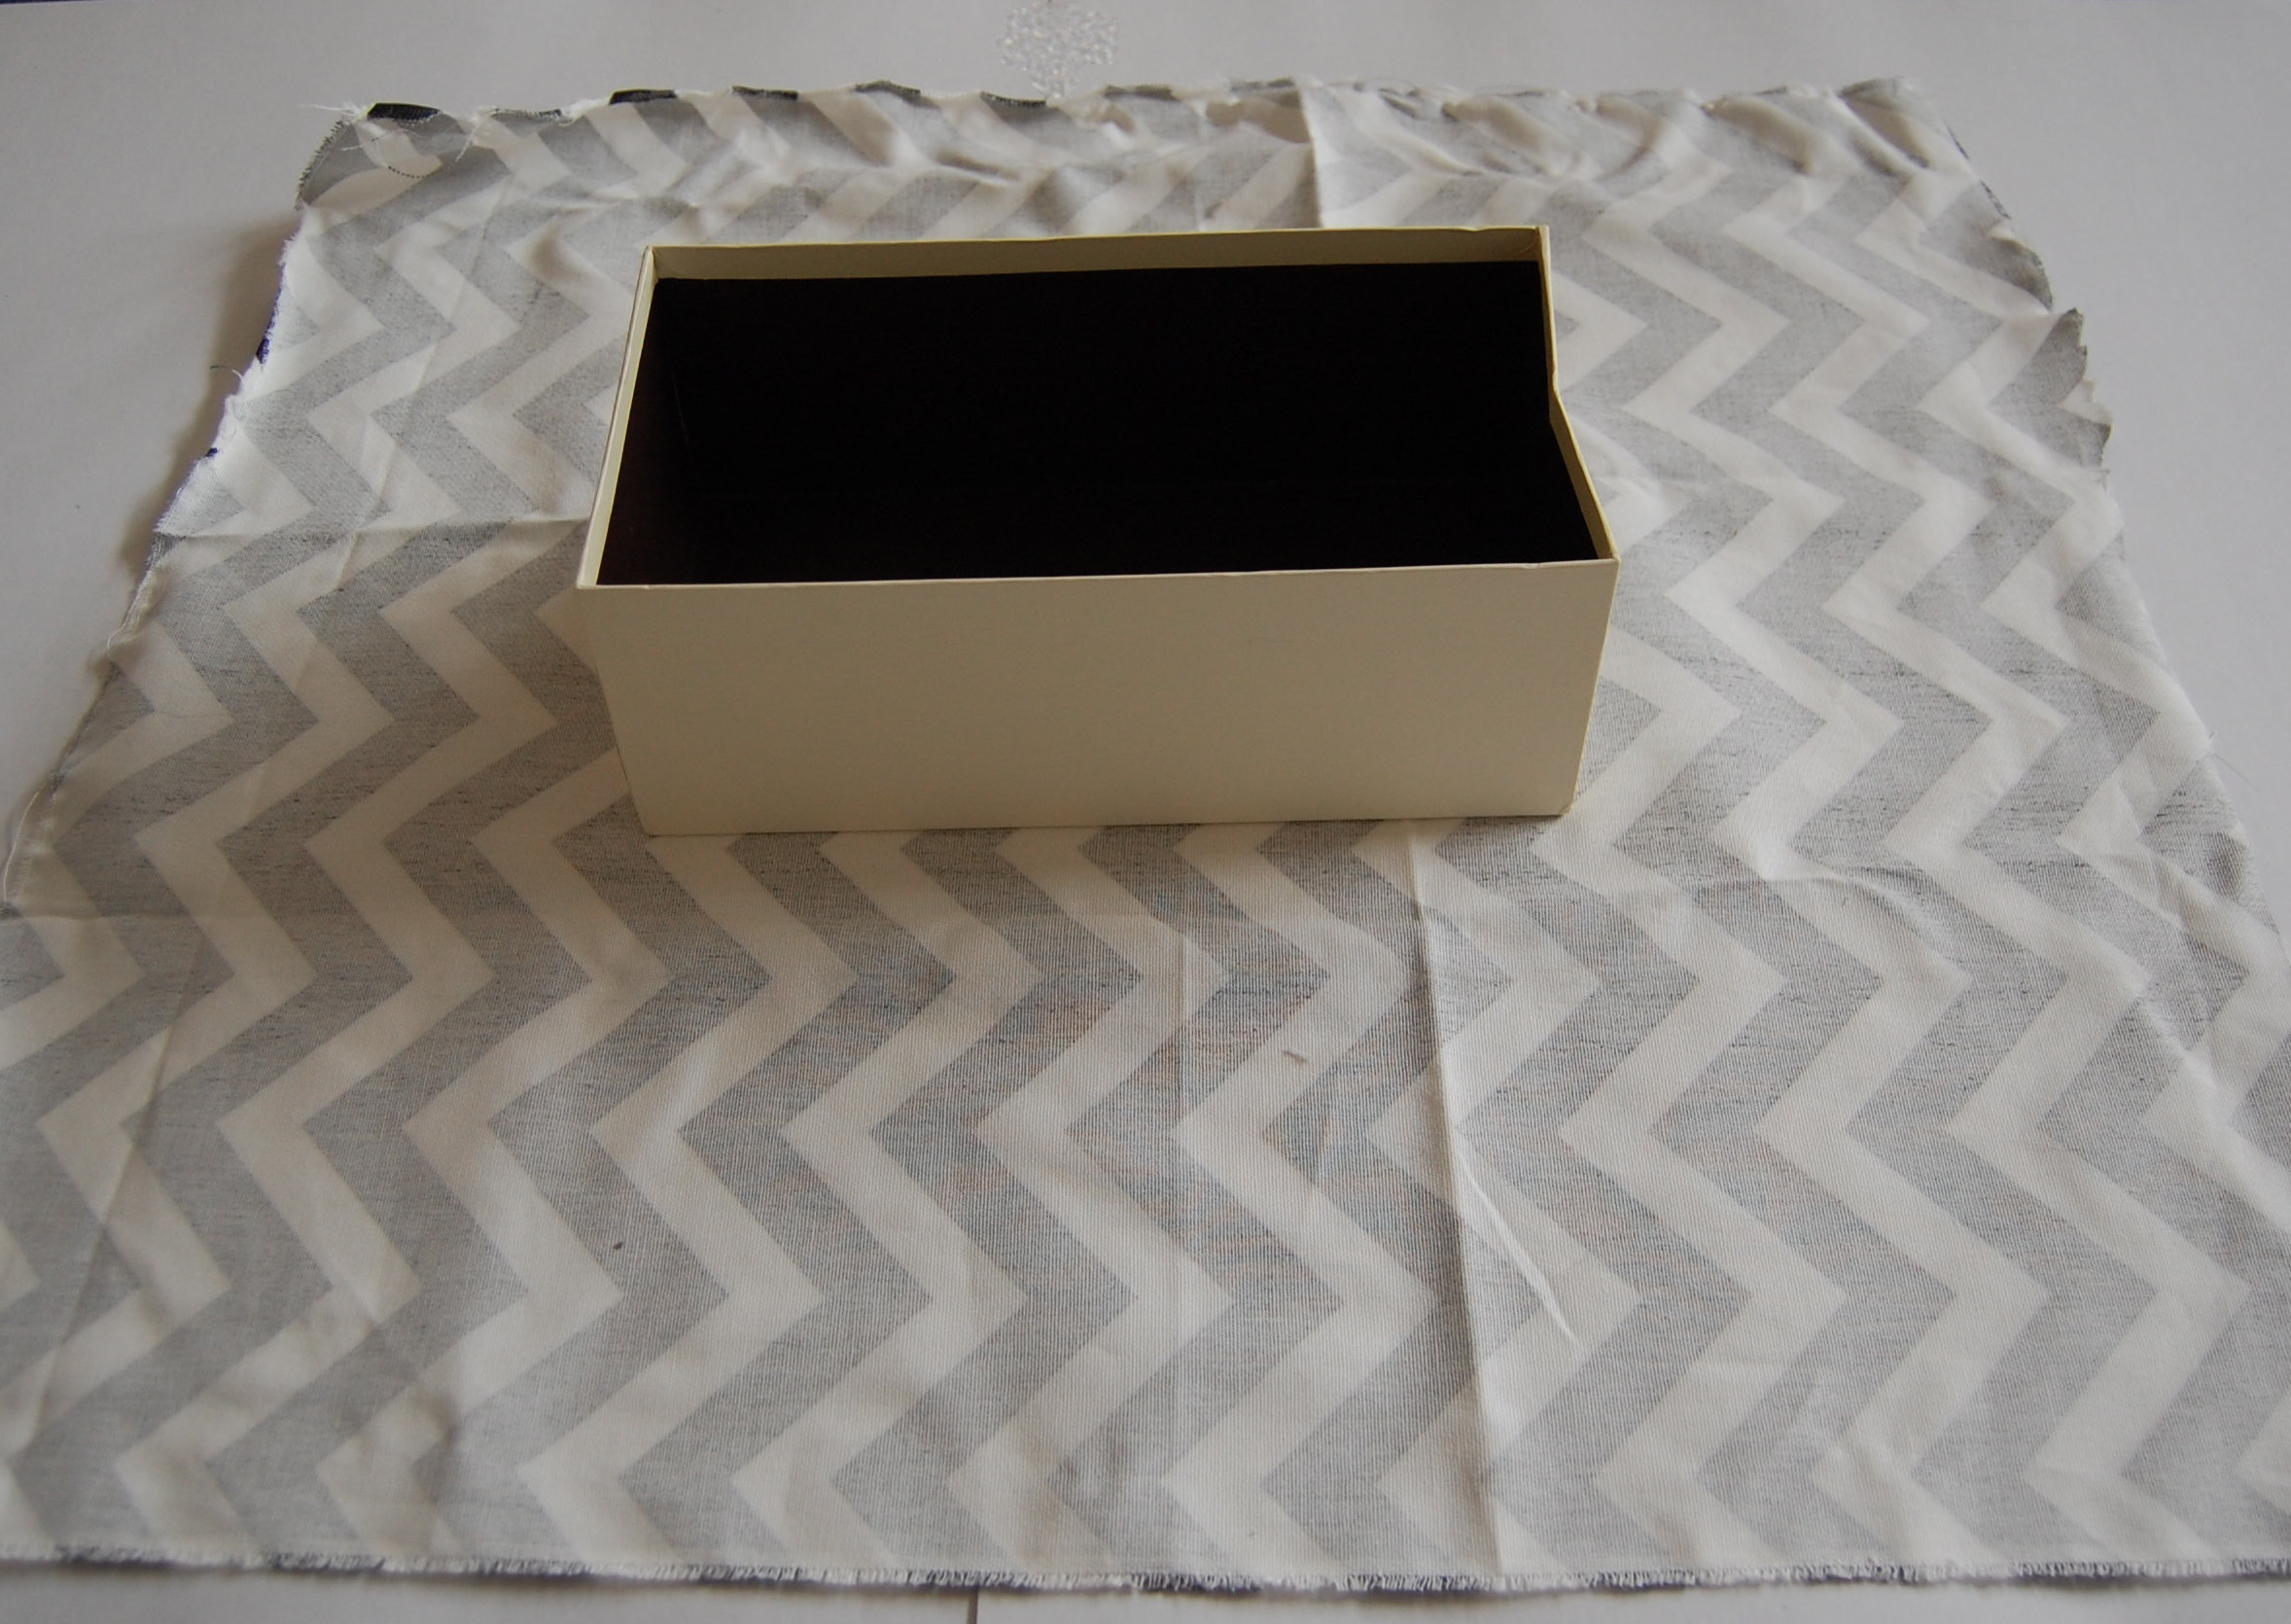 Next you will have to cut 4 slits (2 on each side) measuring roughly 1″ wider than your box and stopping once you’ve reached the corners.
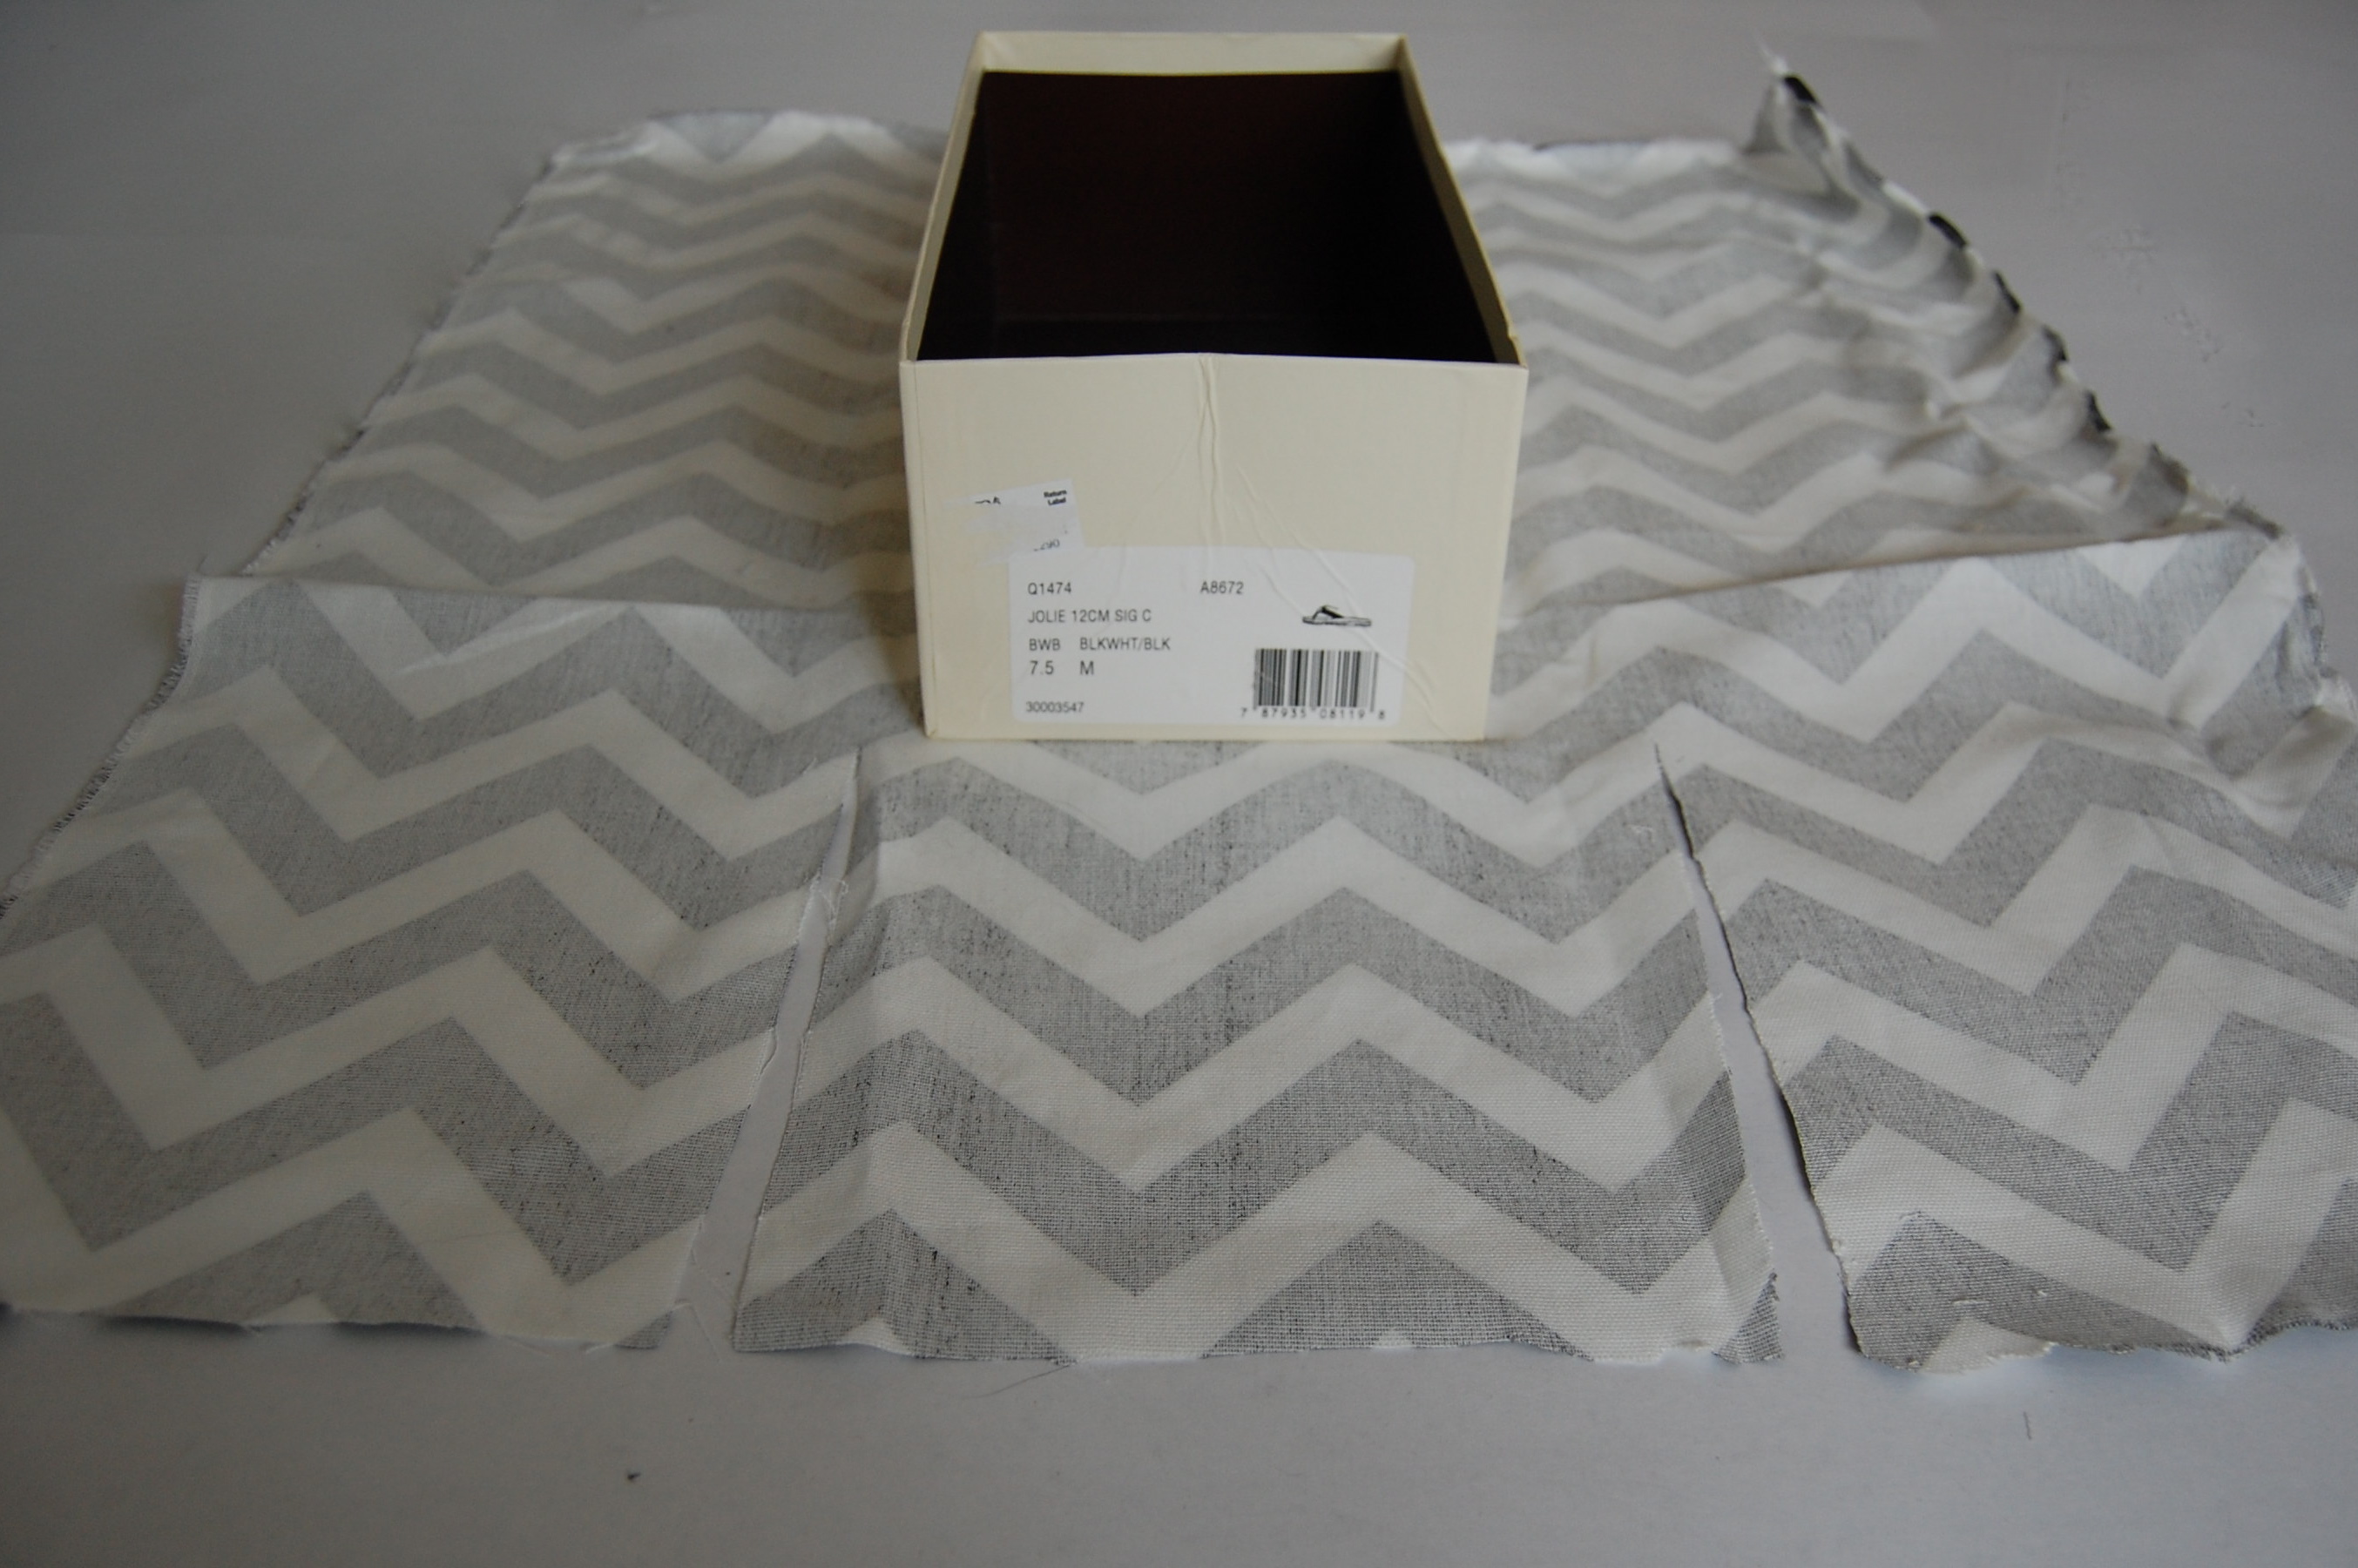
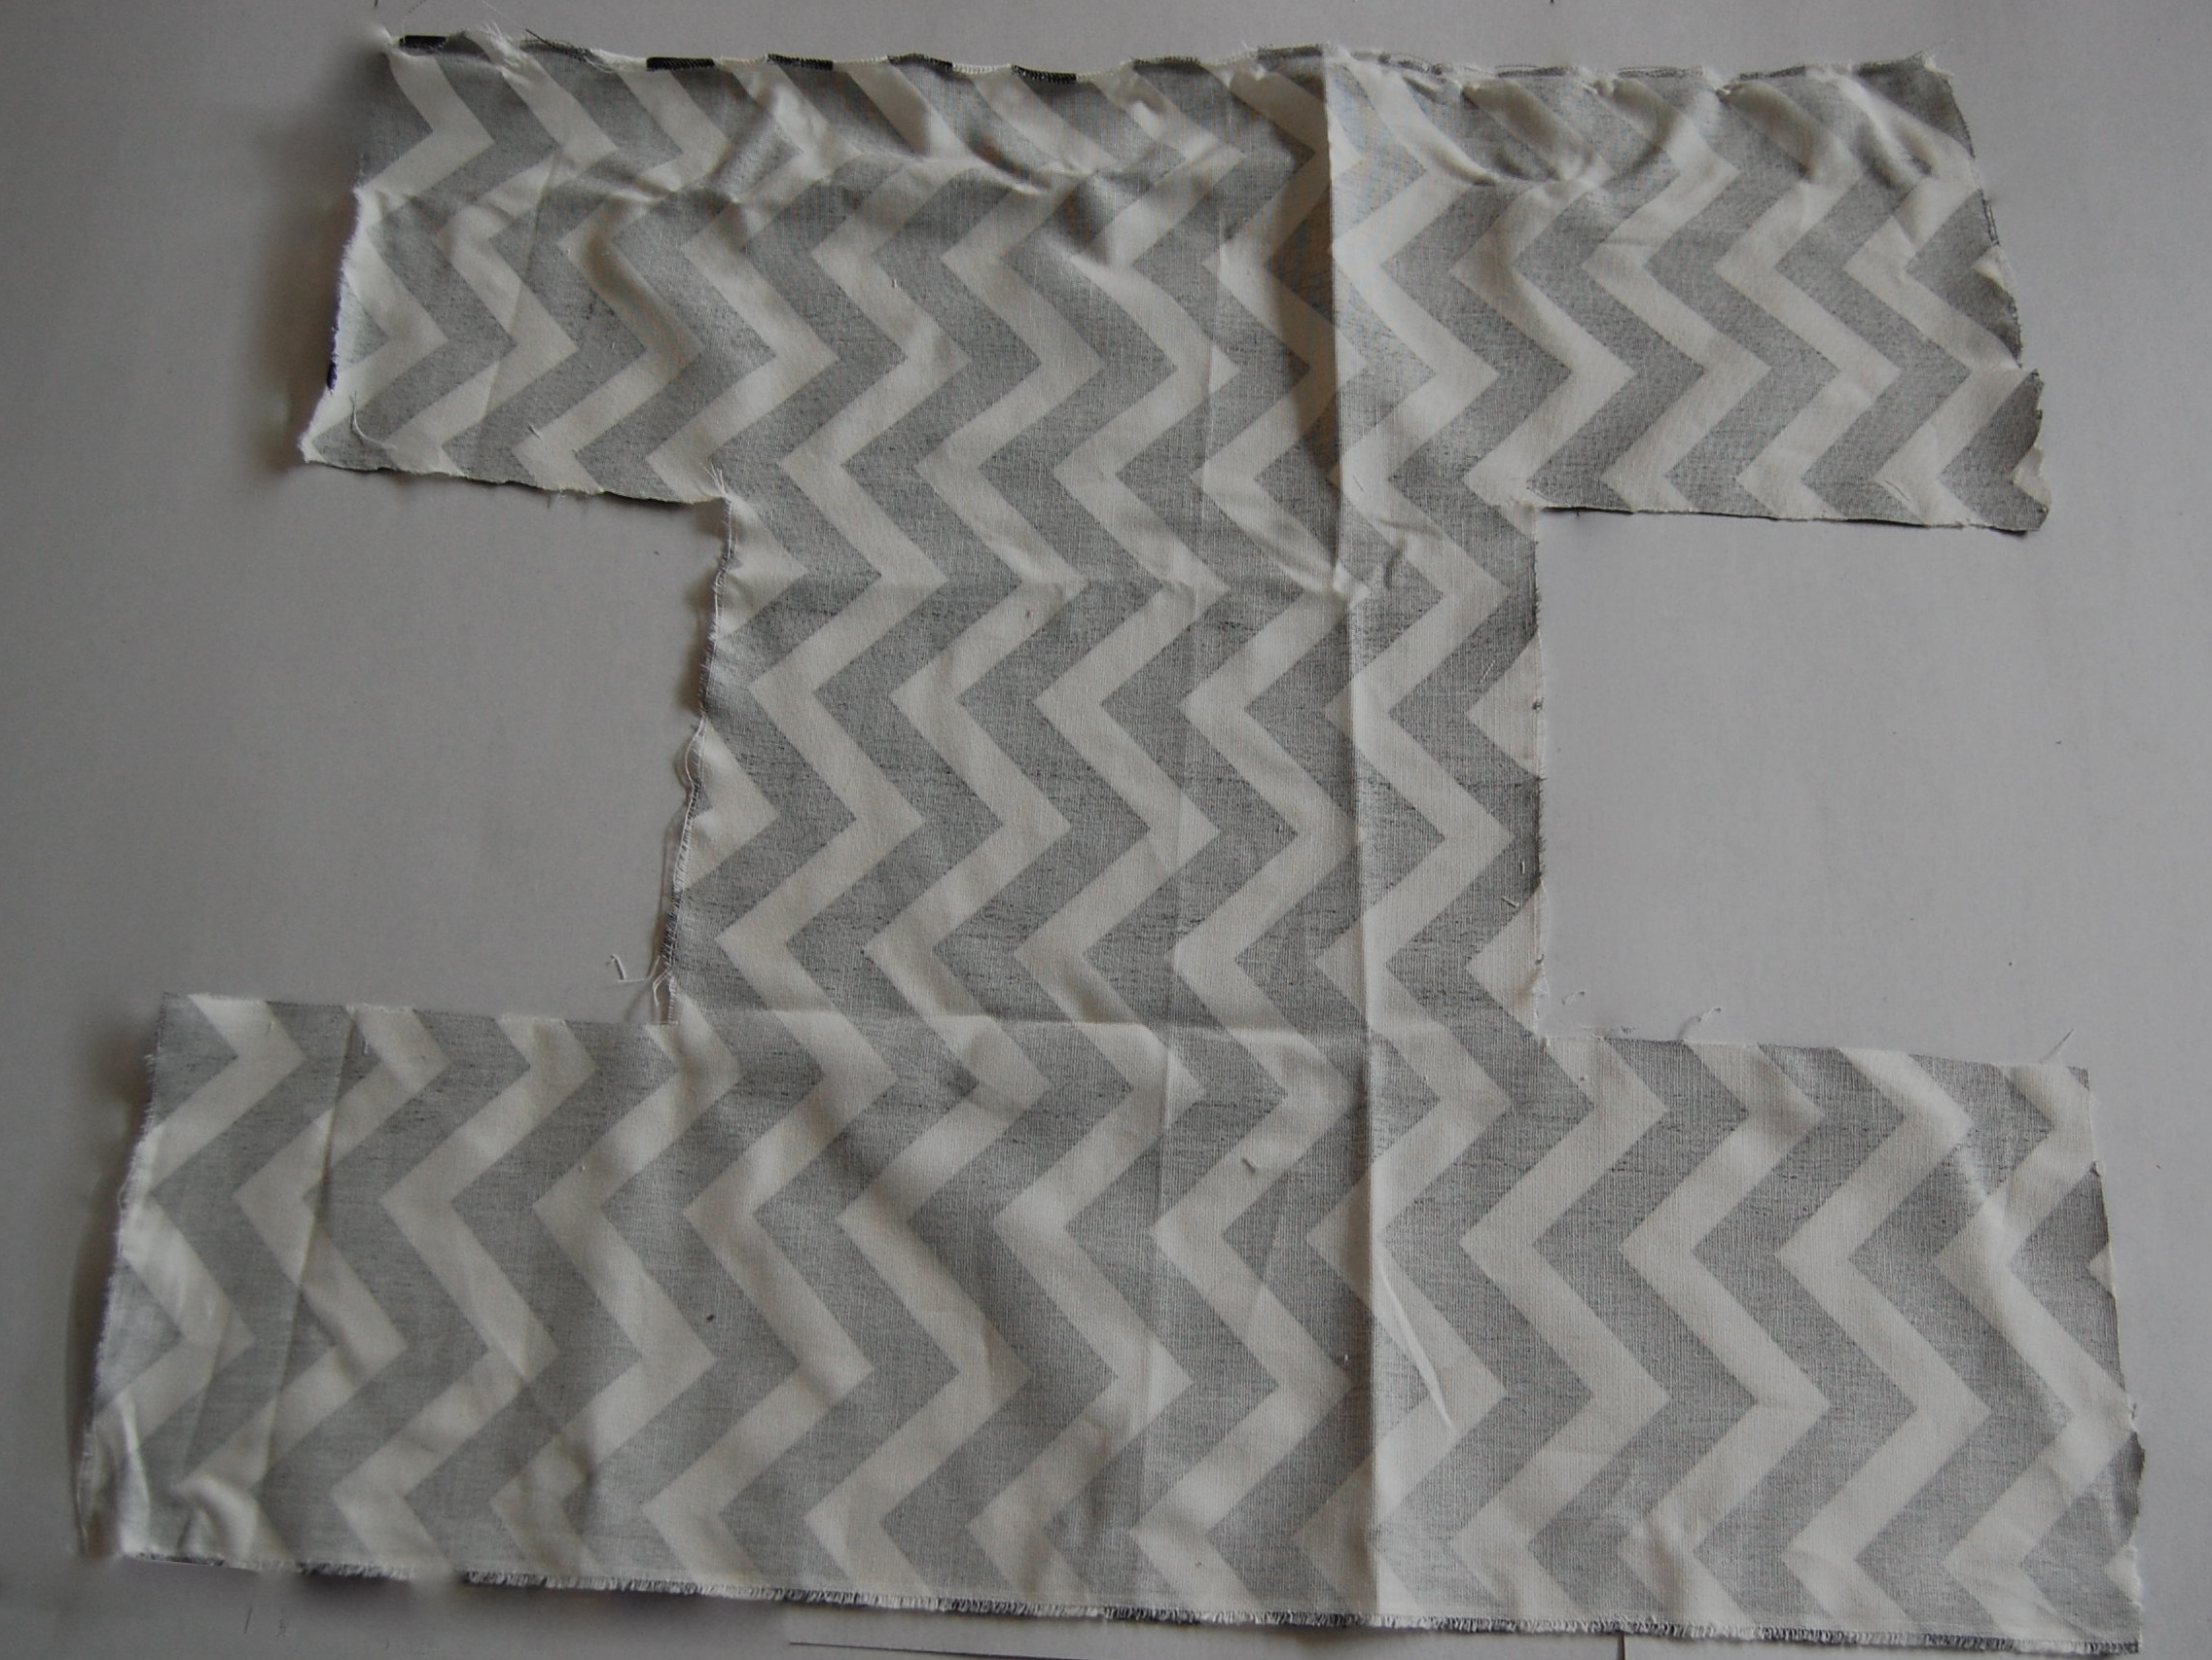
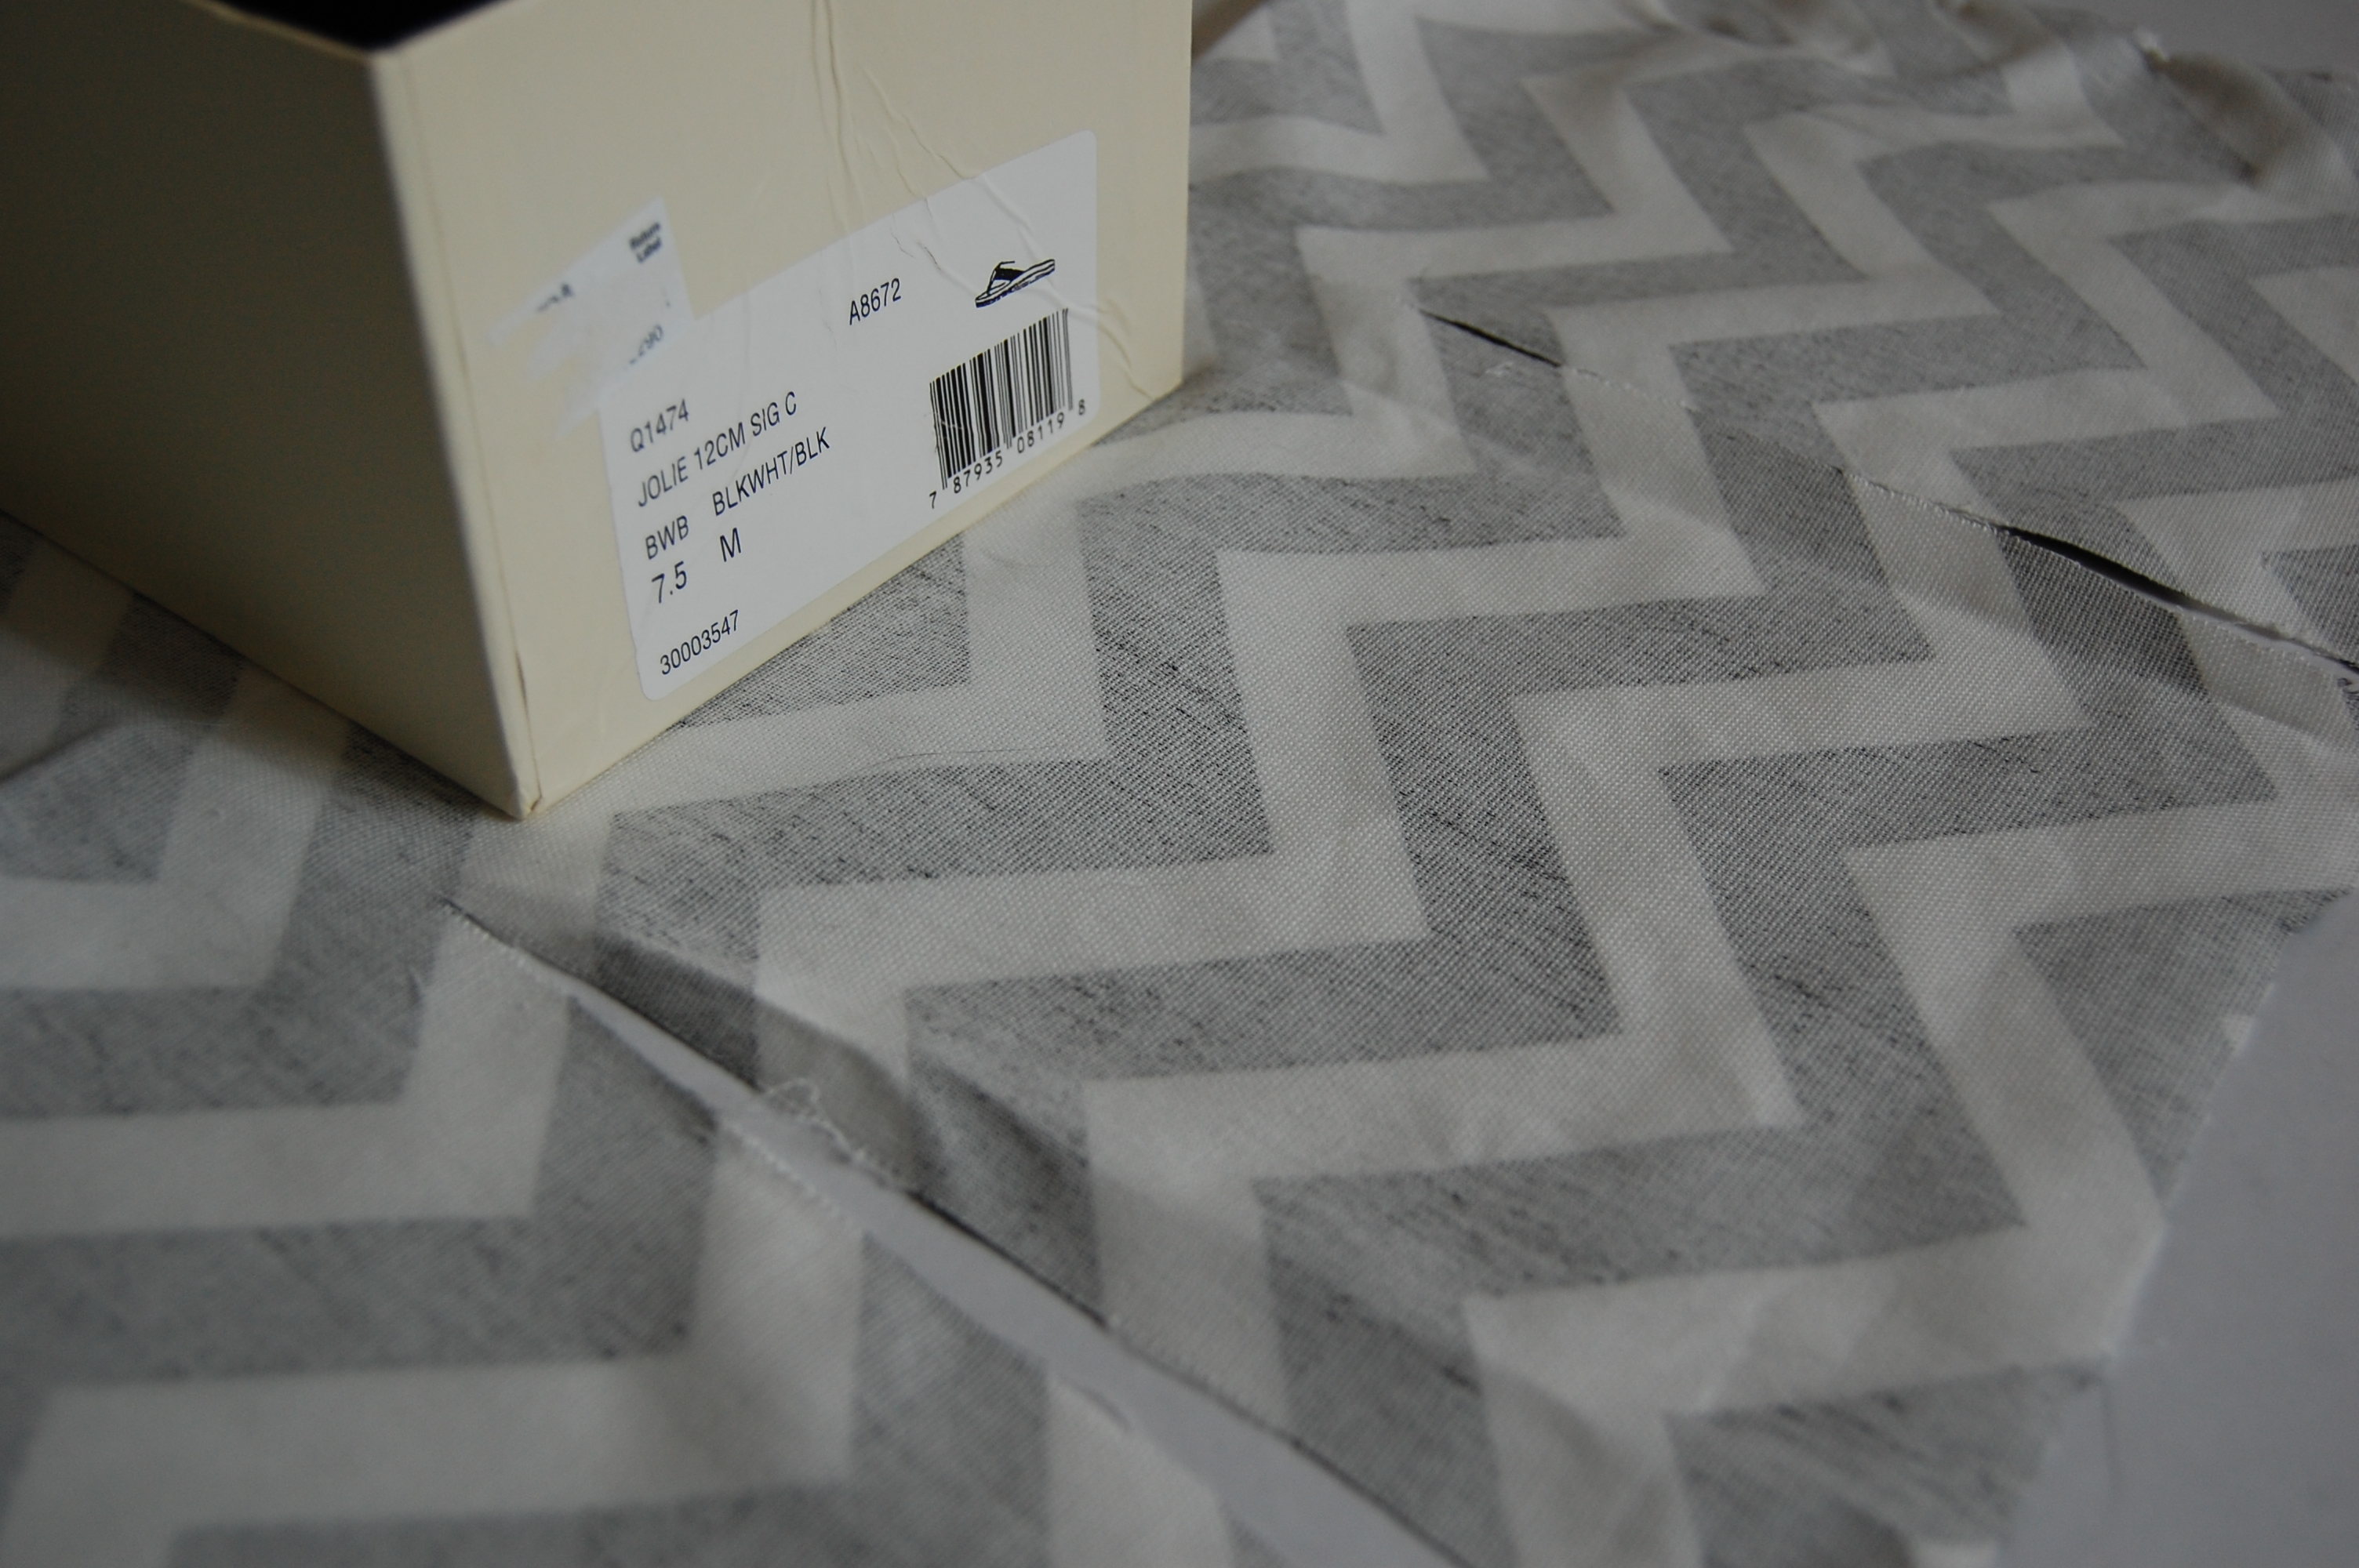 Next, you’ll cut those slits off creating a piece of fabric that looks like an I, or an H depending how you look at it!
 Then just place your box in the middle again and take the bottom part of your “I” and lift it in order to wrap it around your box.
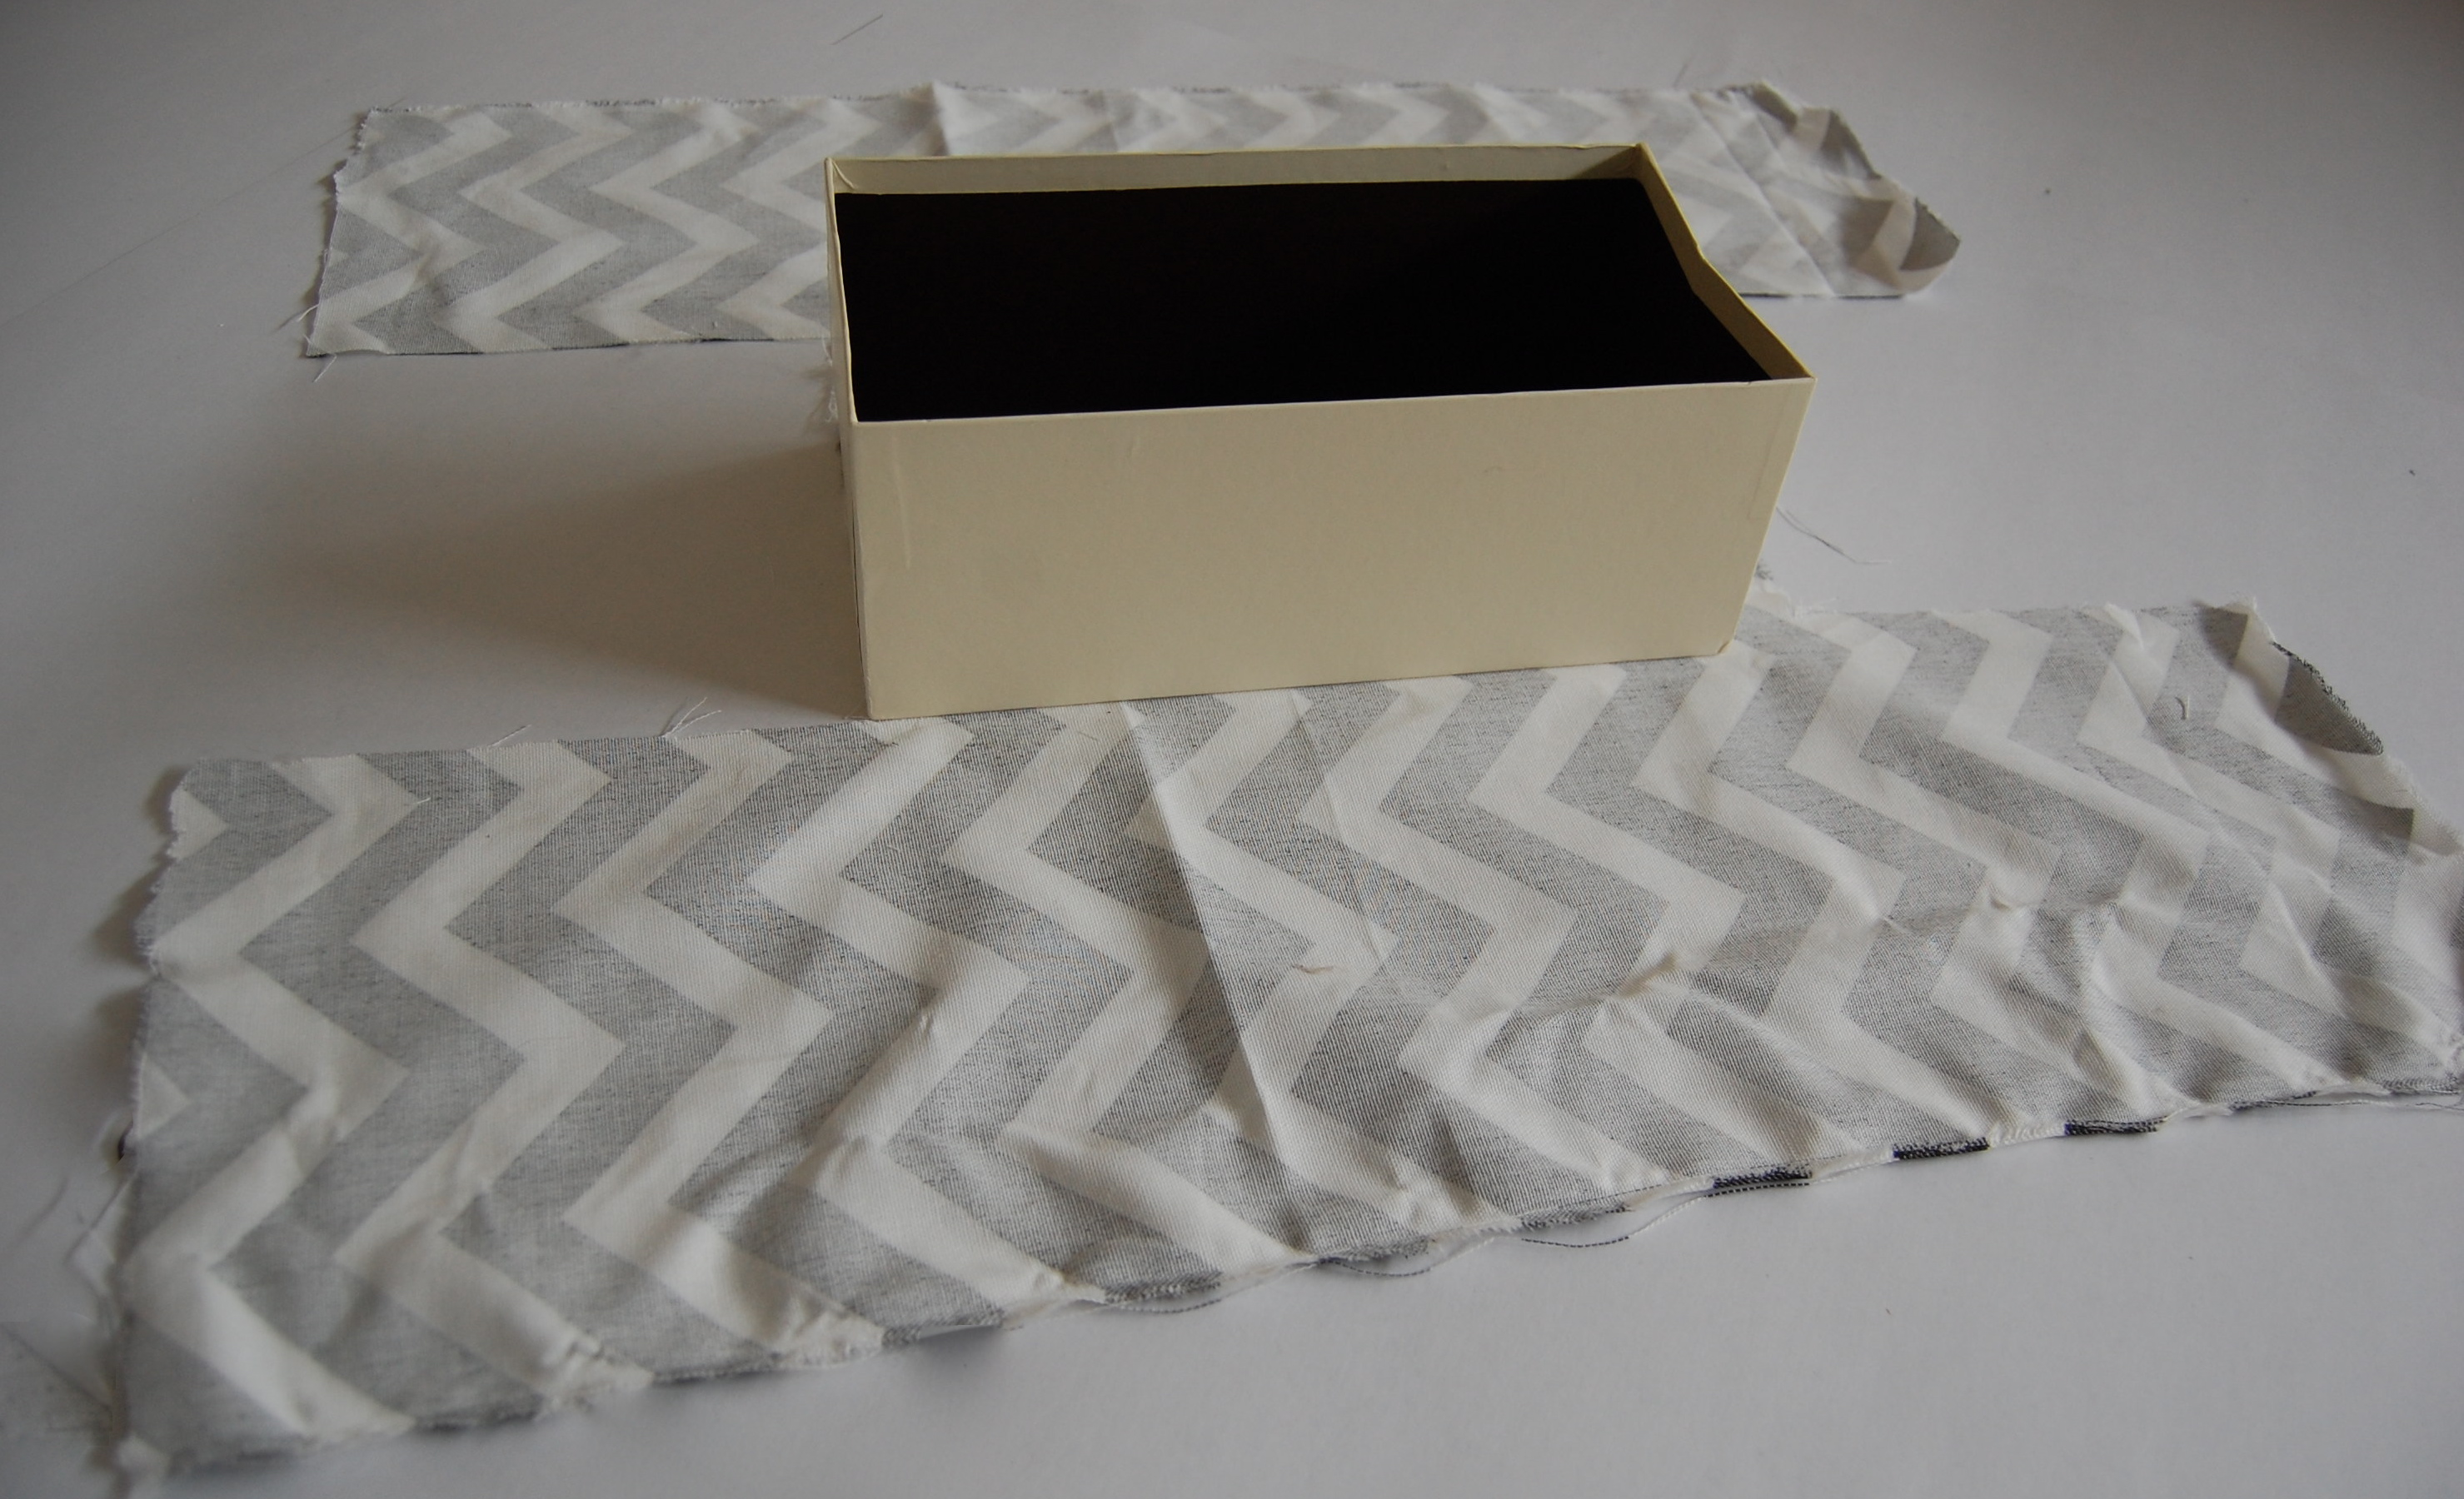
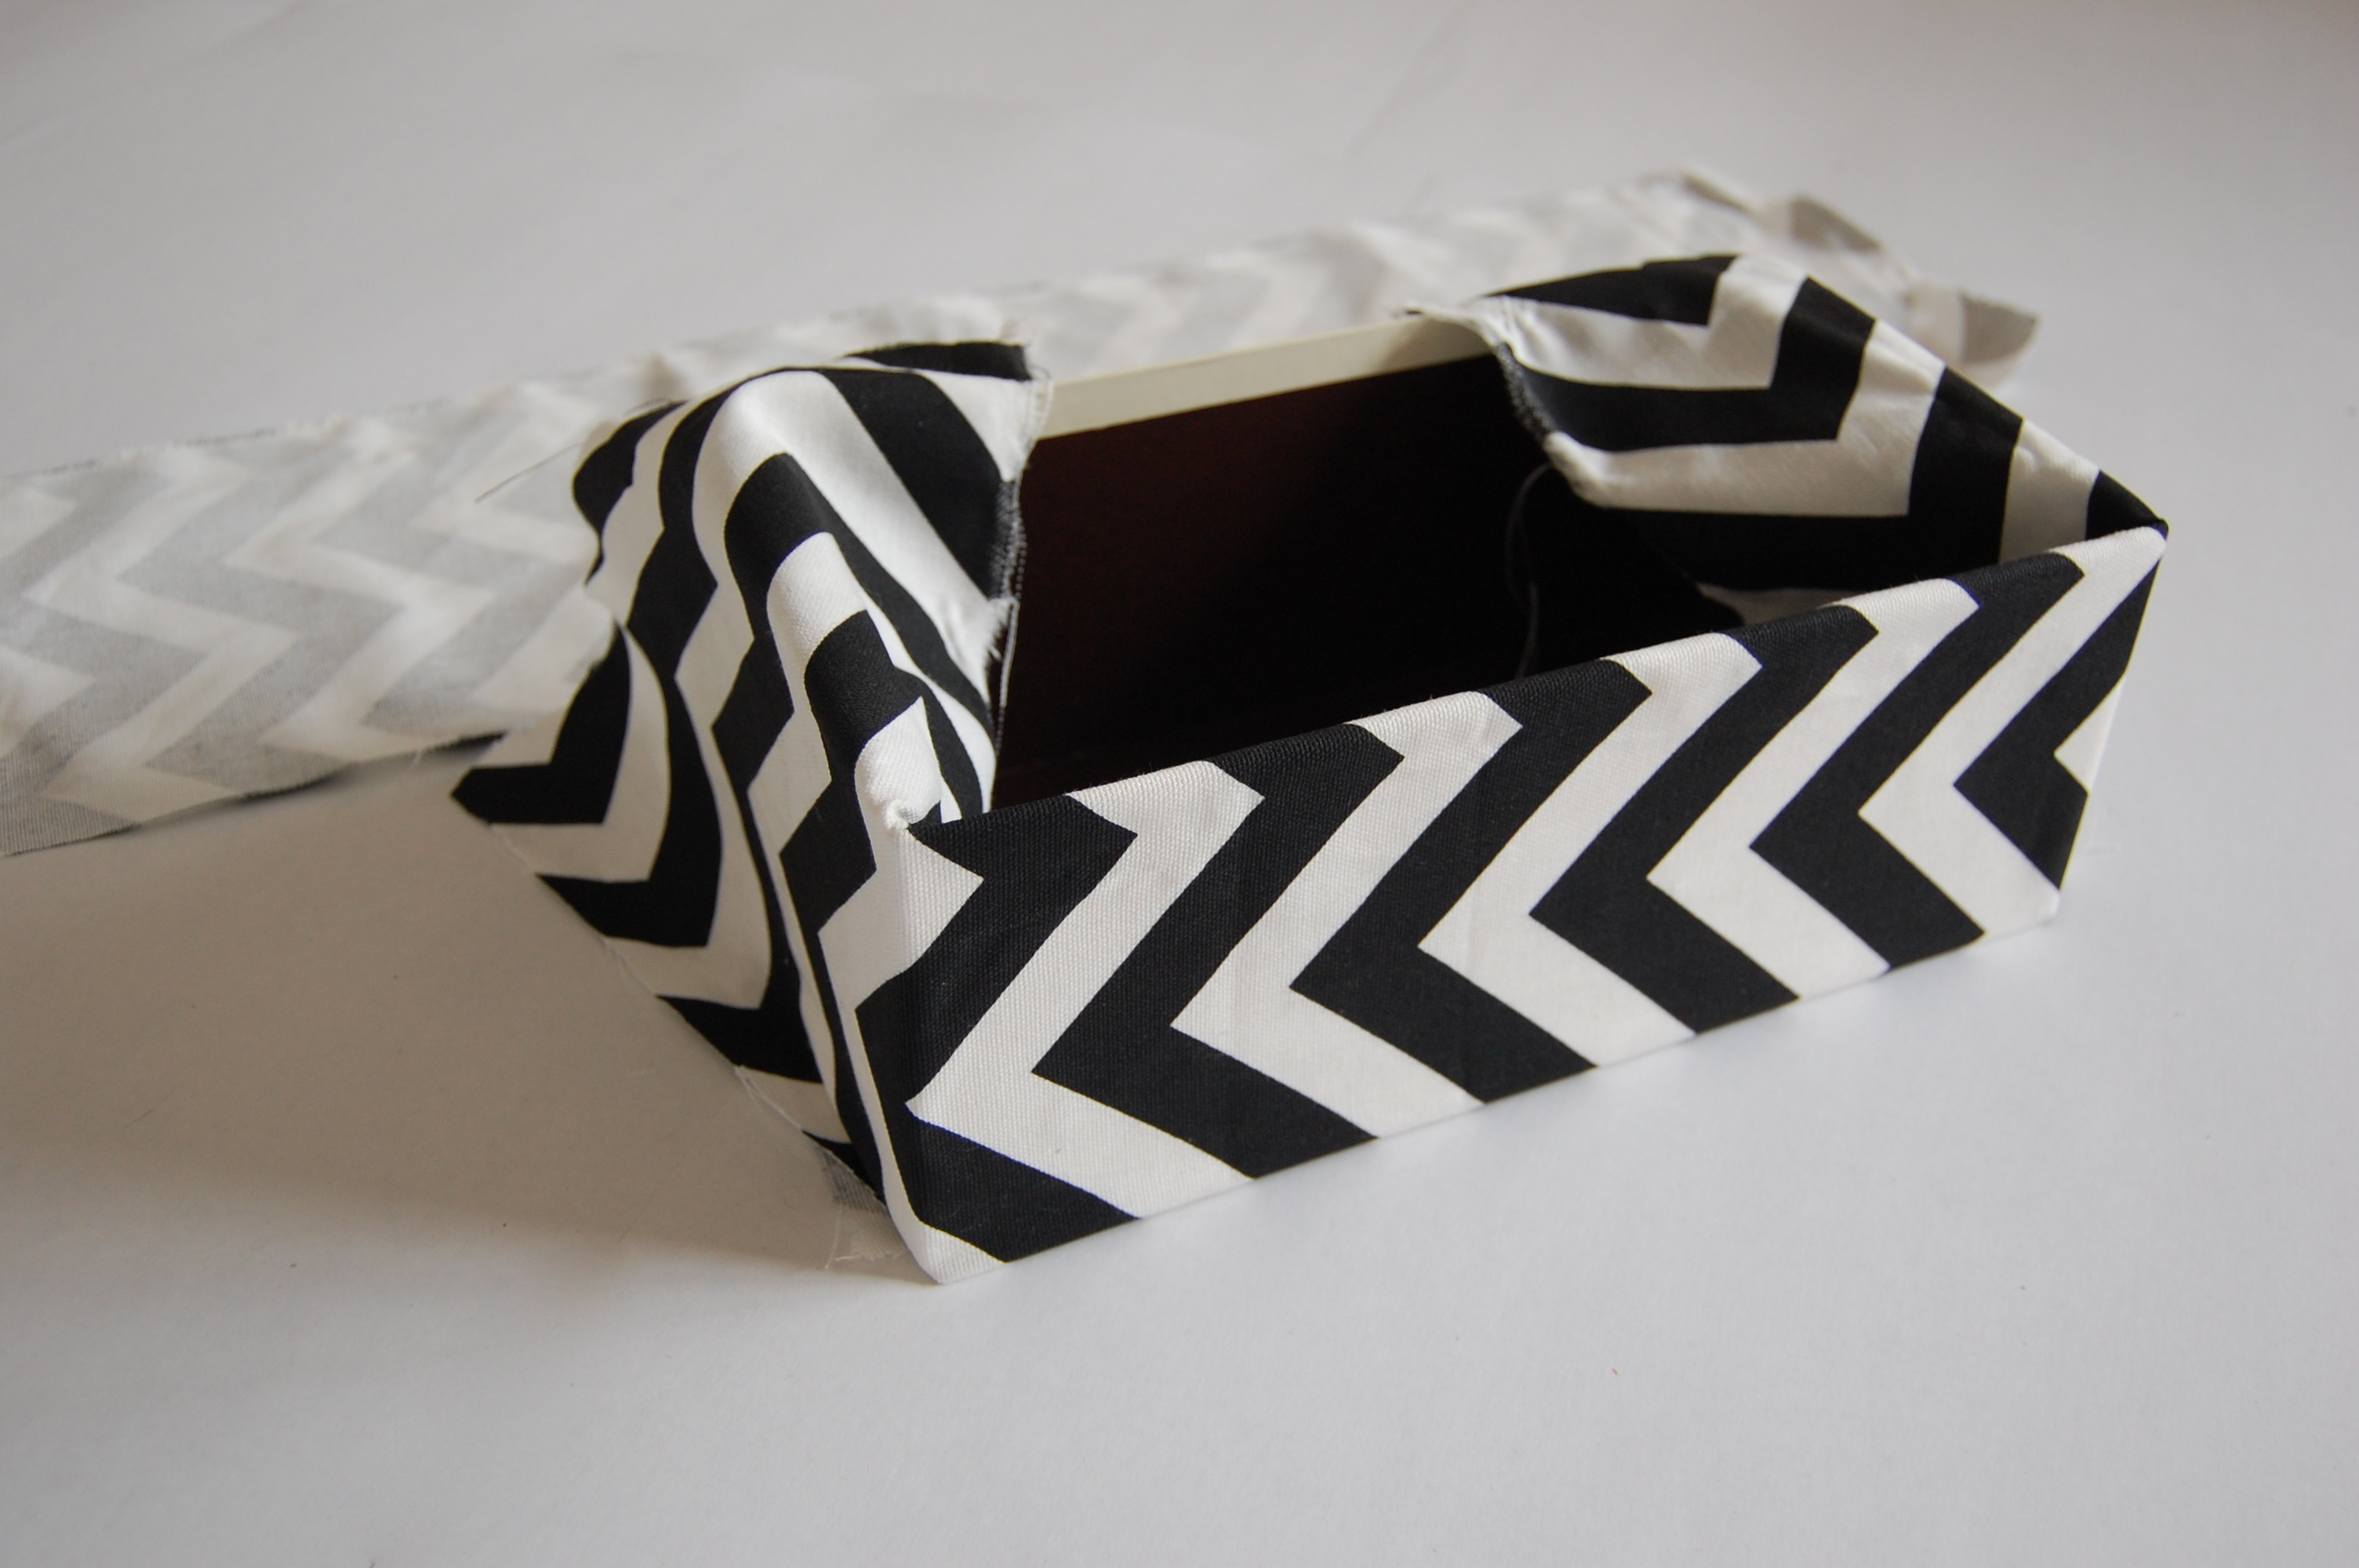 Here’s another shot from the side.
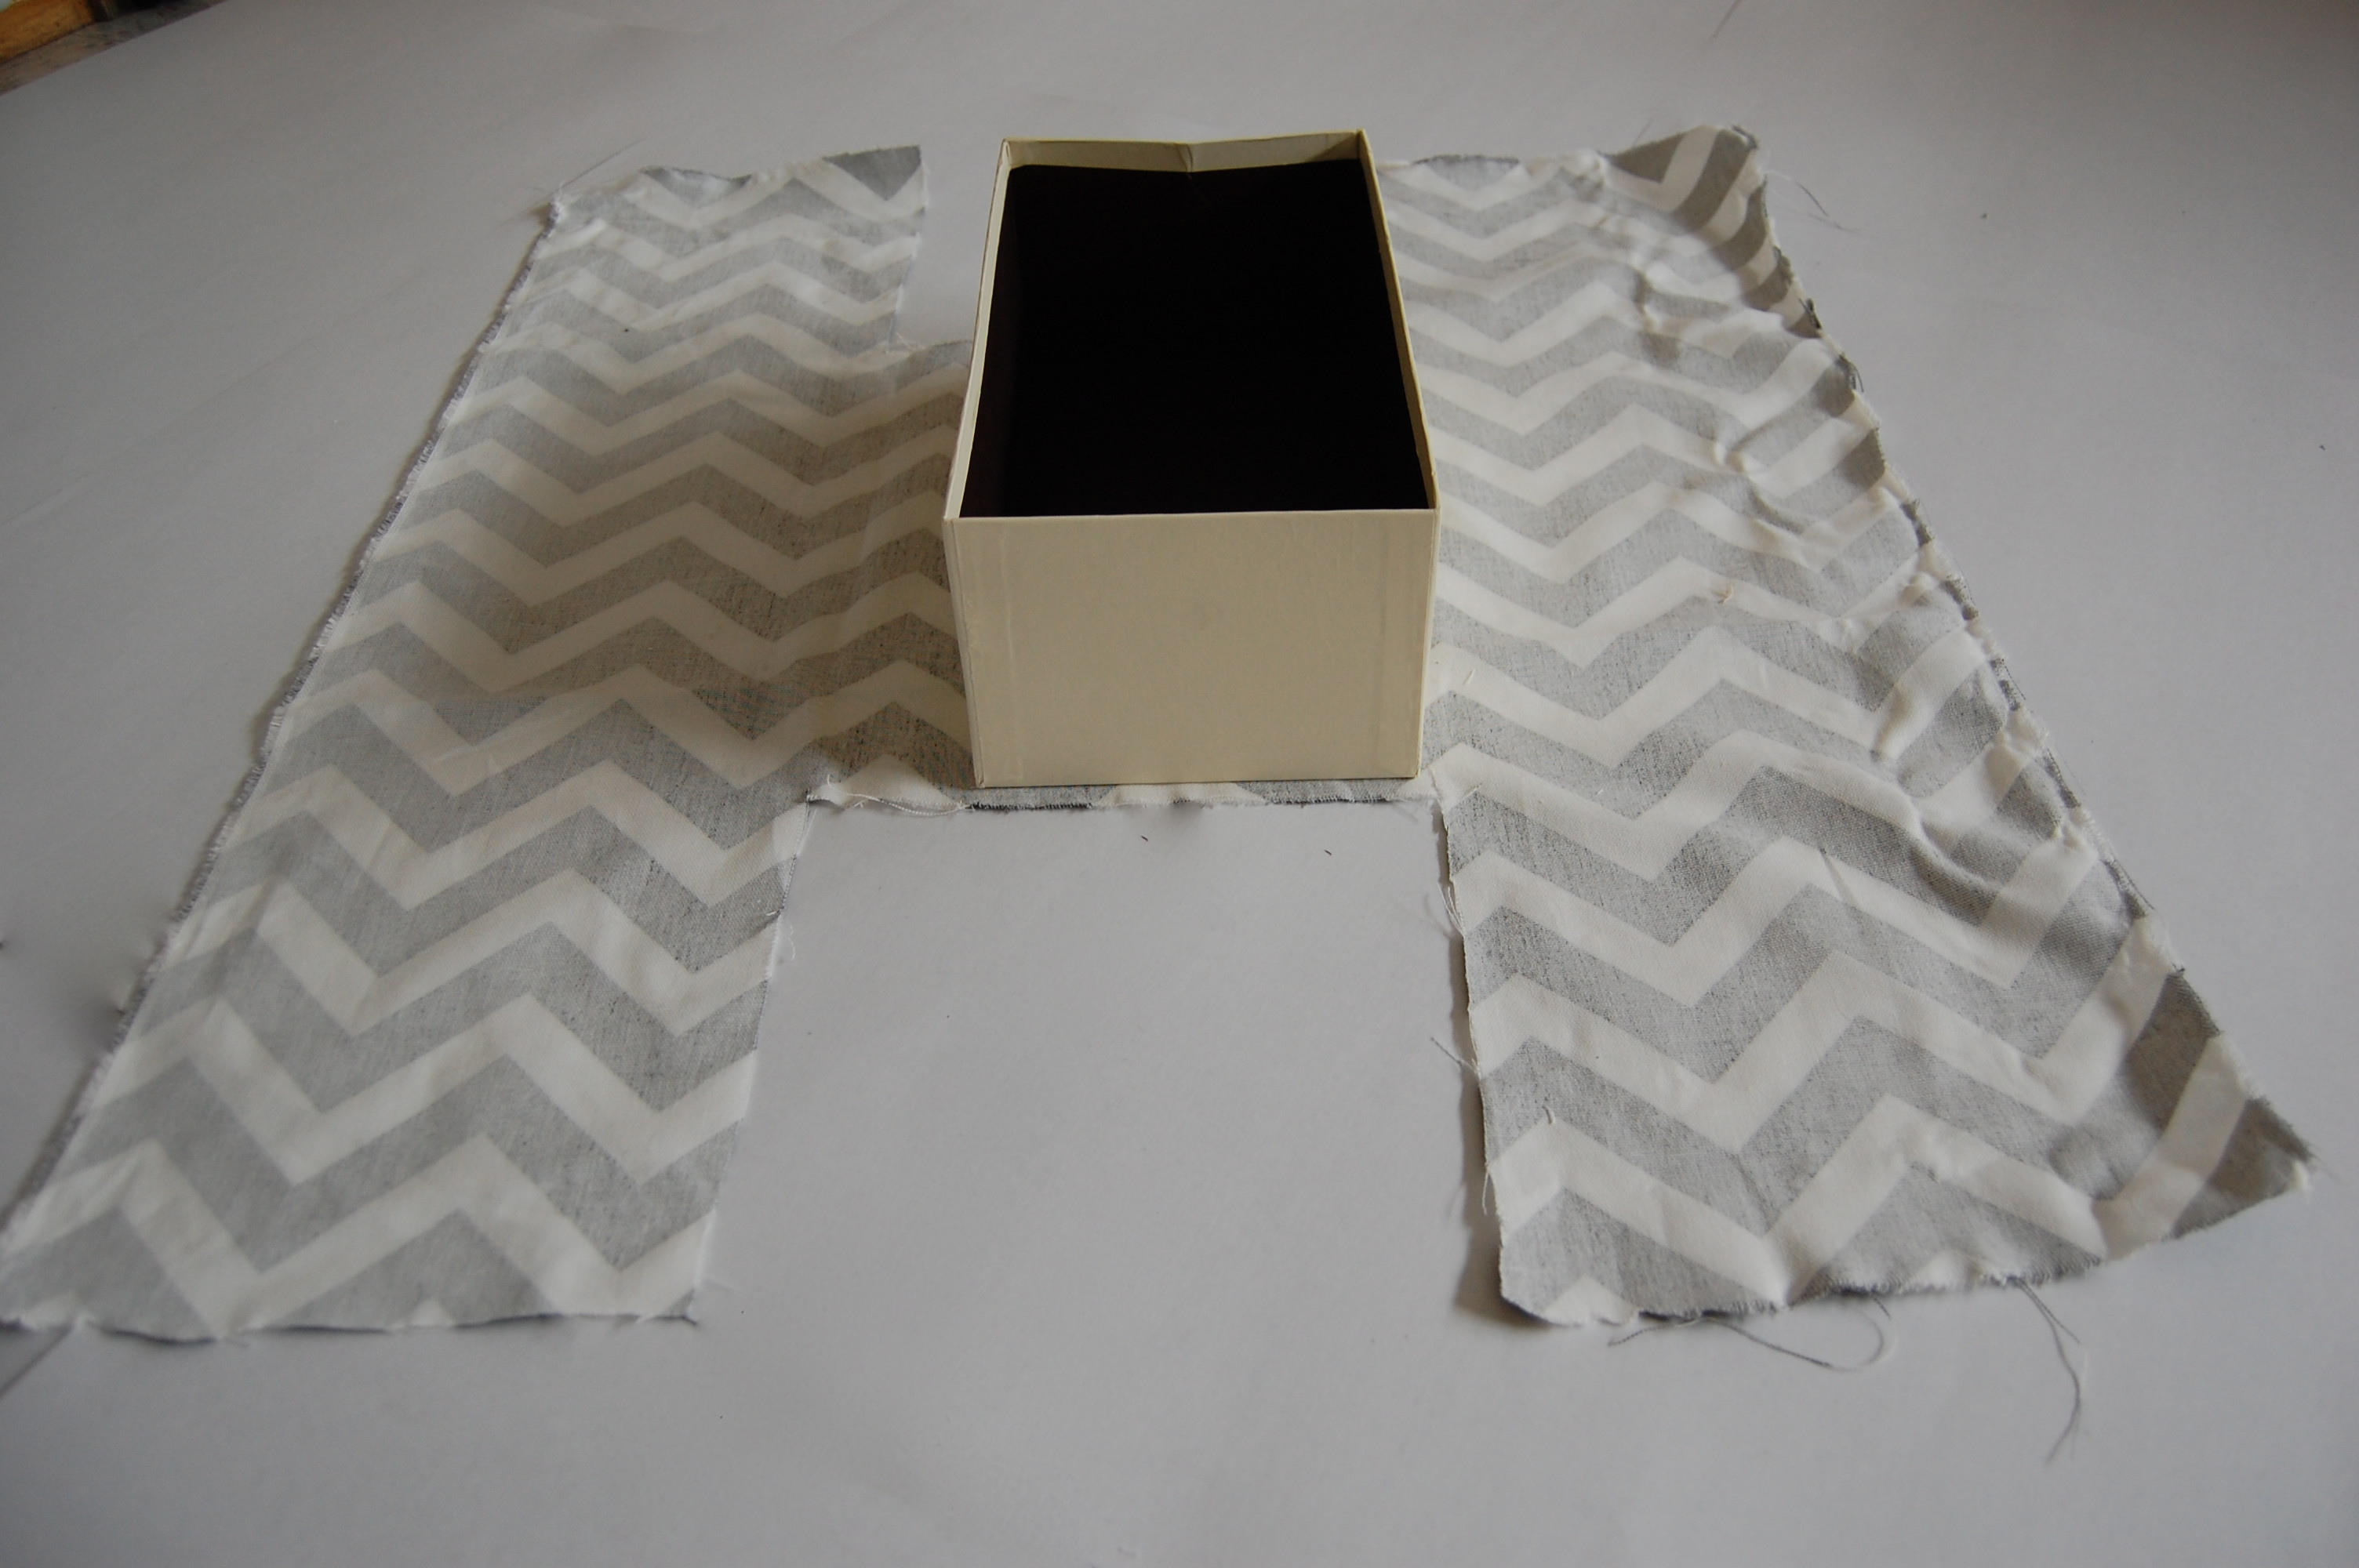
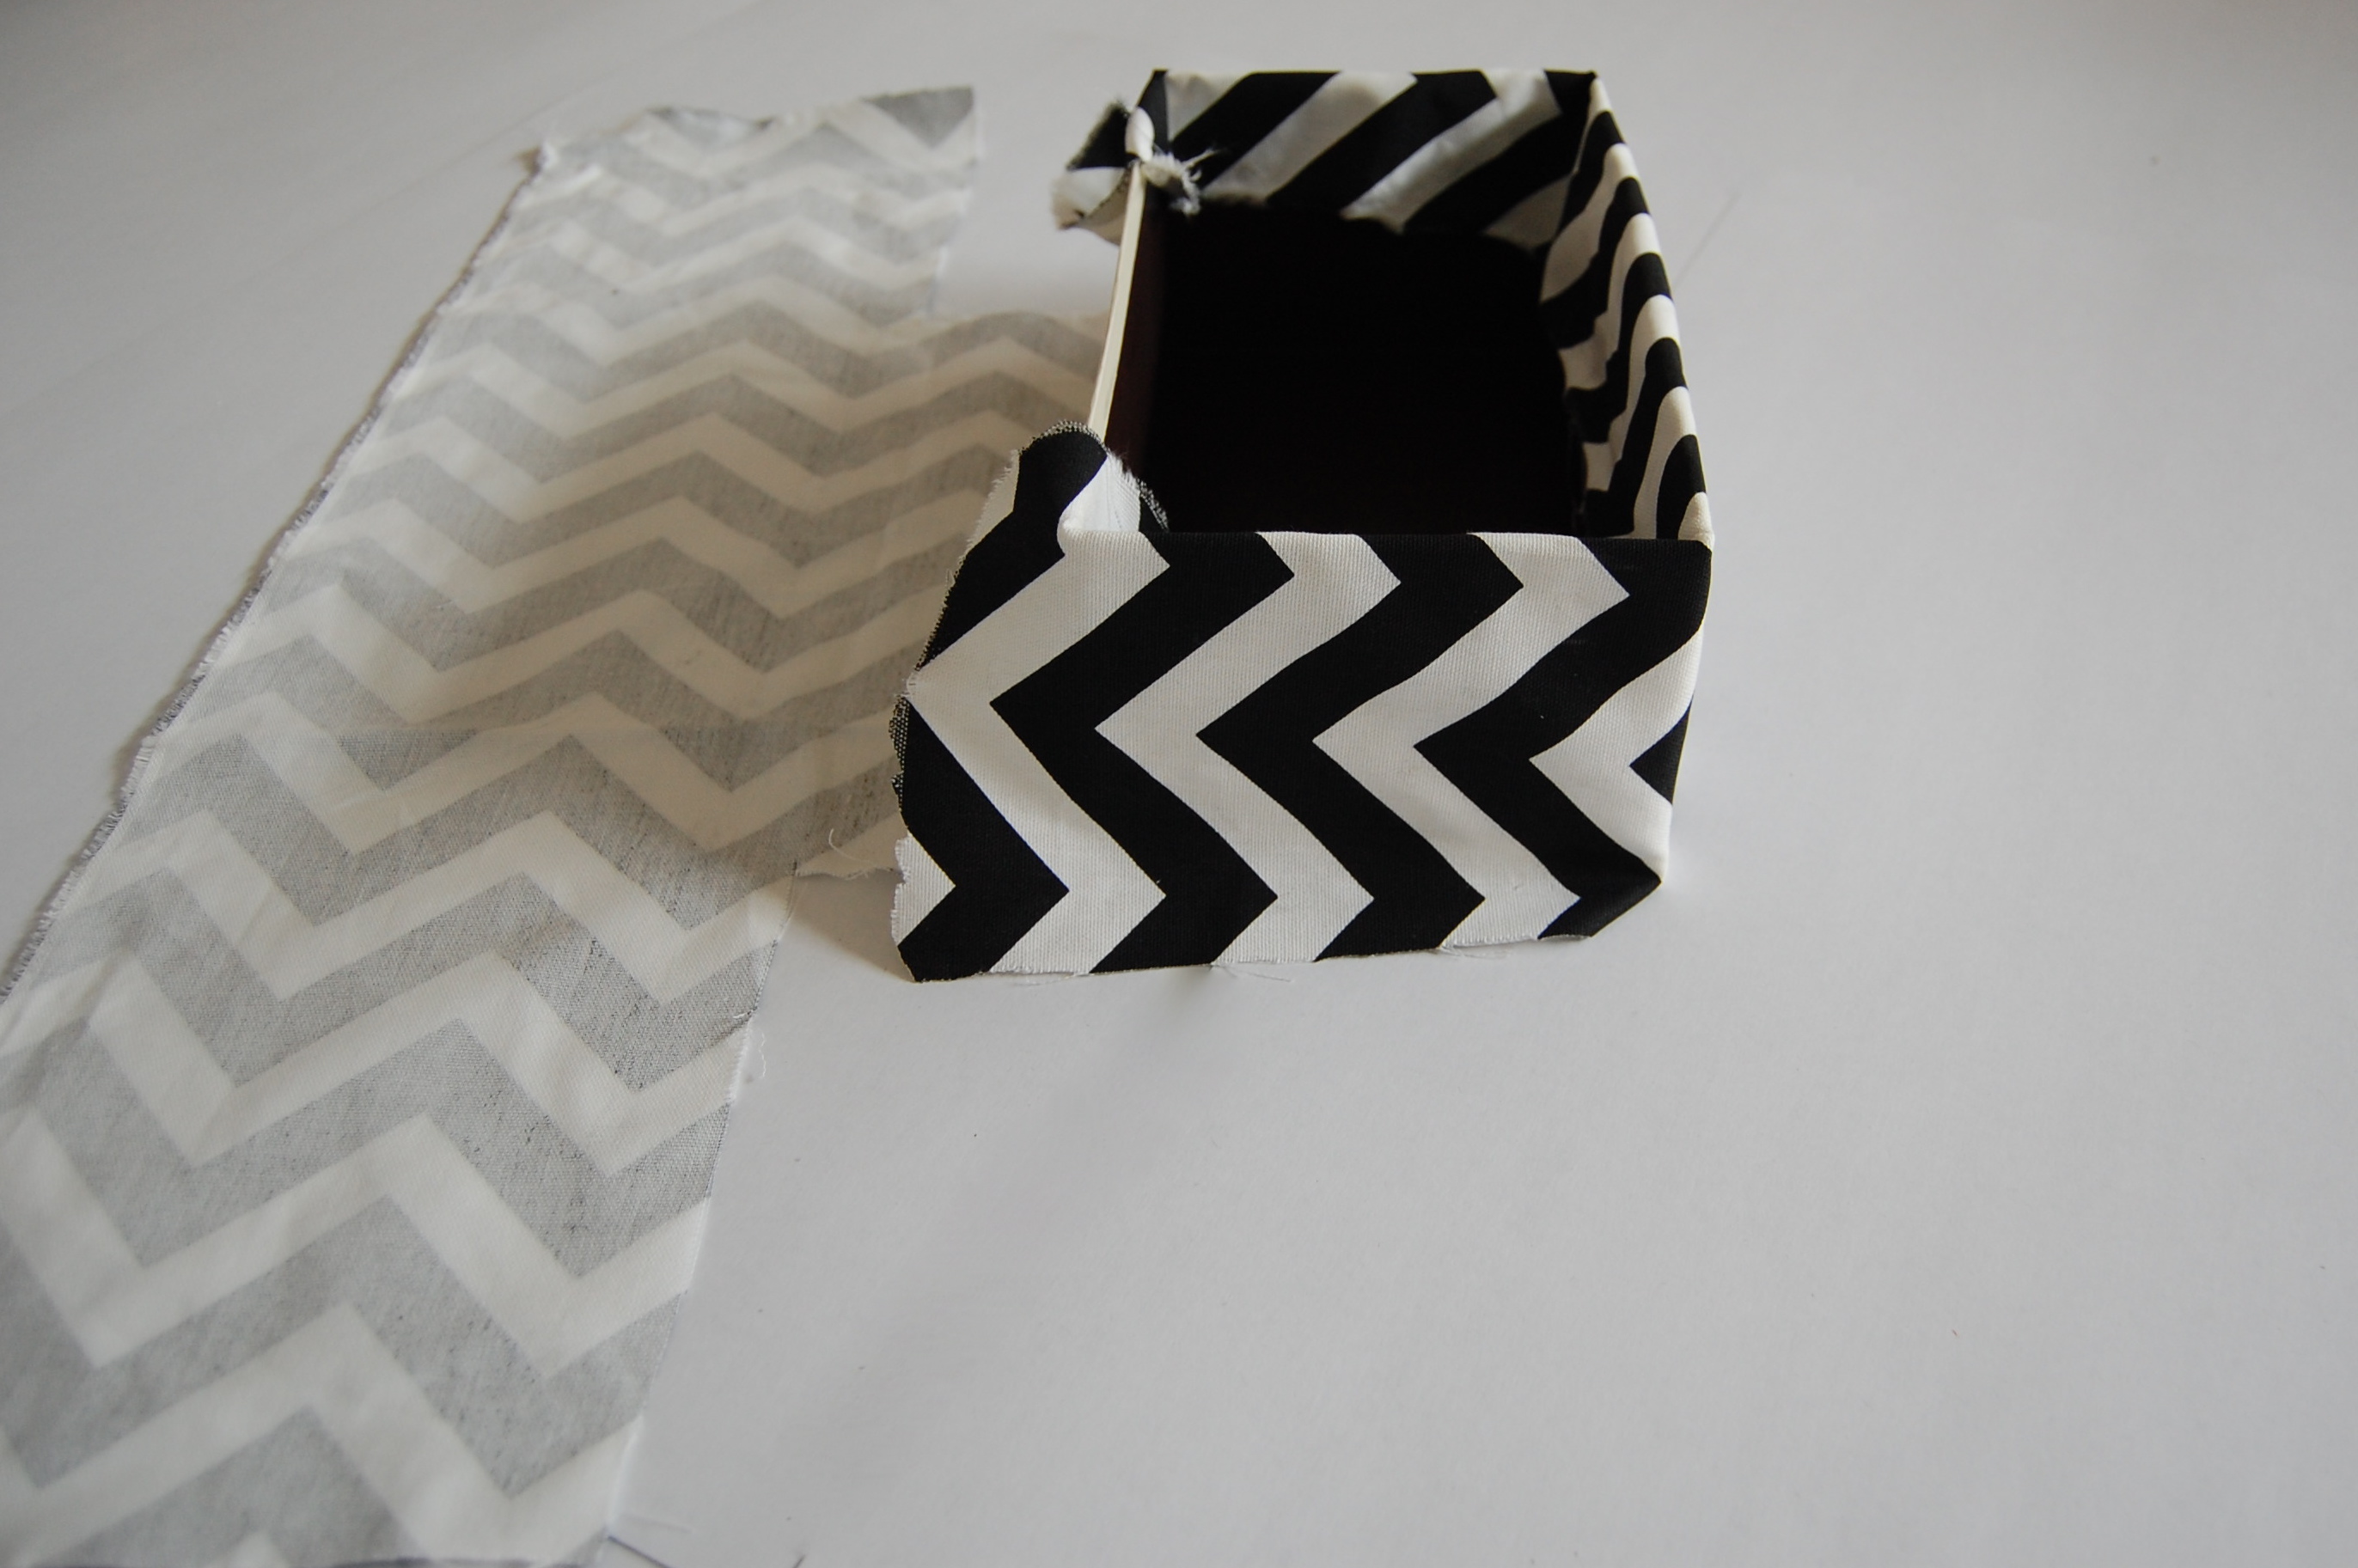 Now, remember how I said that this was a scrap leftover piece of fabric and it wasn’t big enough? Well here is what I mean. Your fabric, and the fabric for my diaper boxes will be long enough to wrap around the back…unless you have a humongous box in which case you may need to add fabric separately. Here is an idea of how long your fabric would come out to.
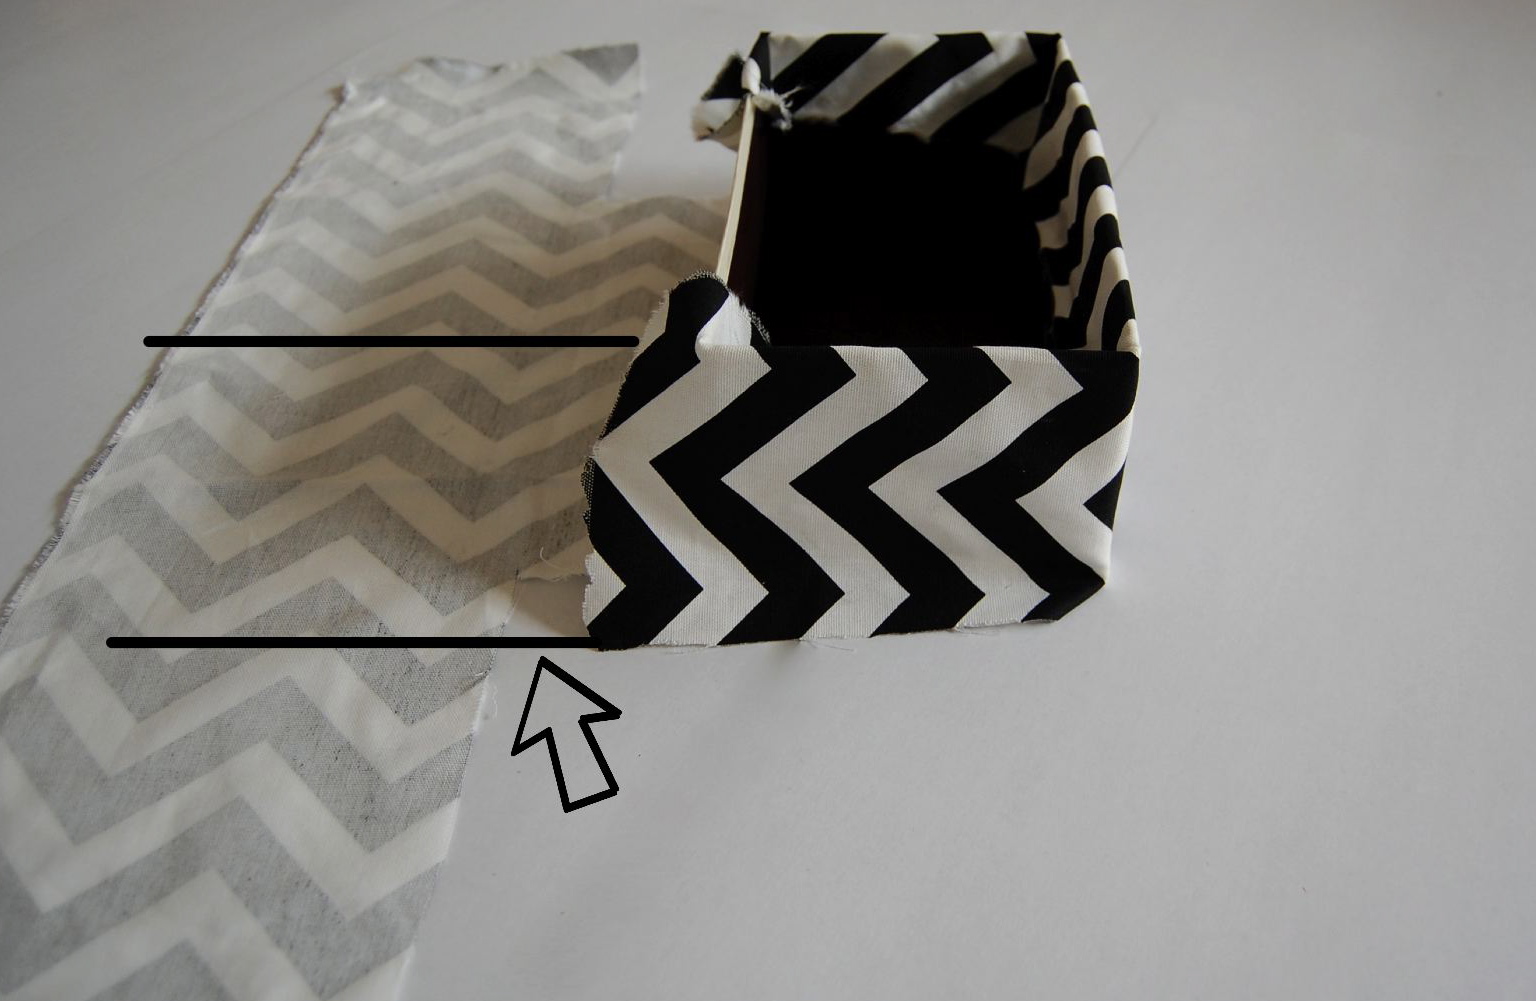 You would then just wrap that around the back of the box along with the other side. Ideally, you want to measure the perimeter of your box to figure out how wide you’ll need your fabric to be. With me so far? Now that piece that is still laying flat…you can cut that right off we won’t be using it.
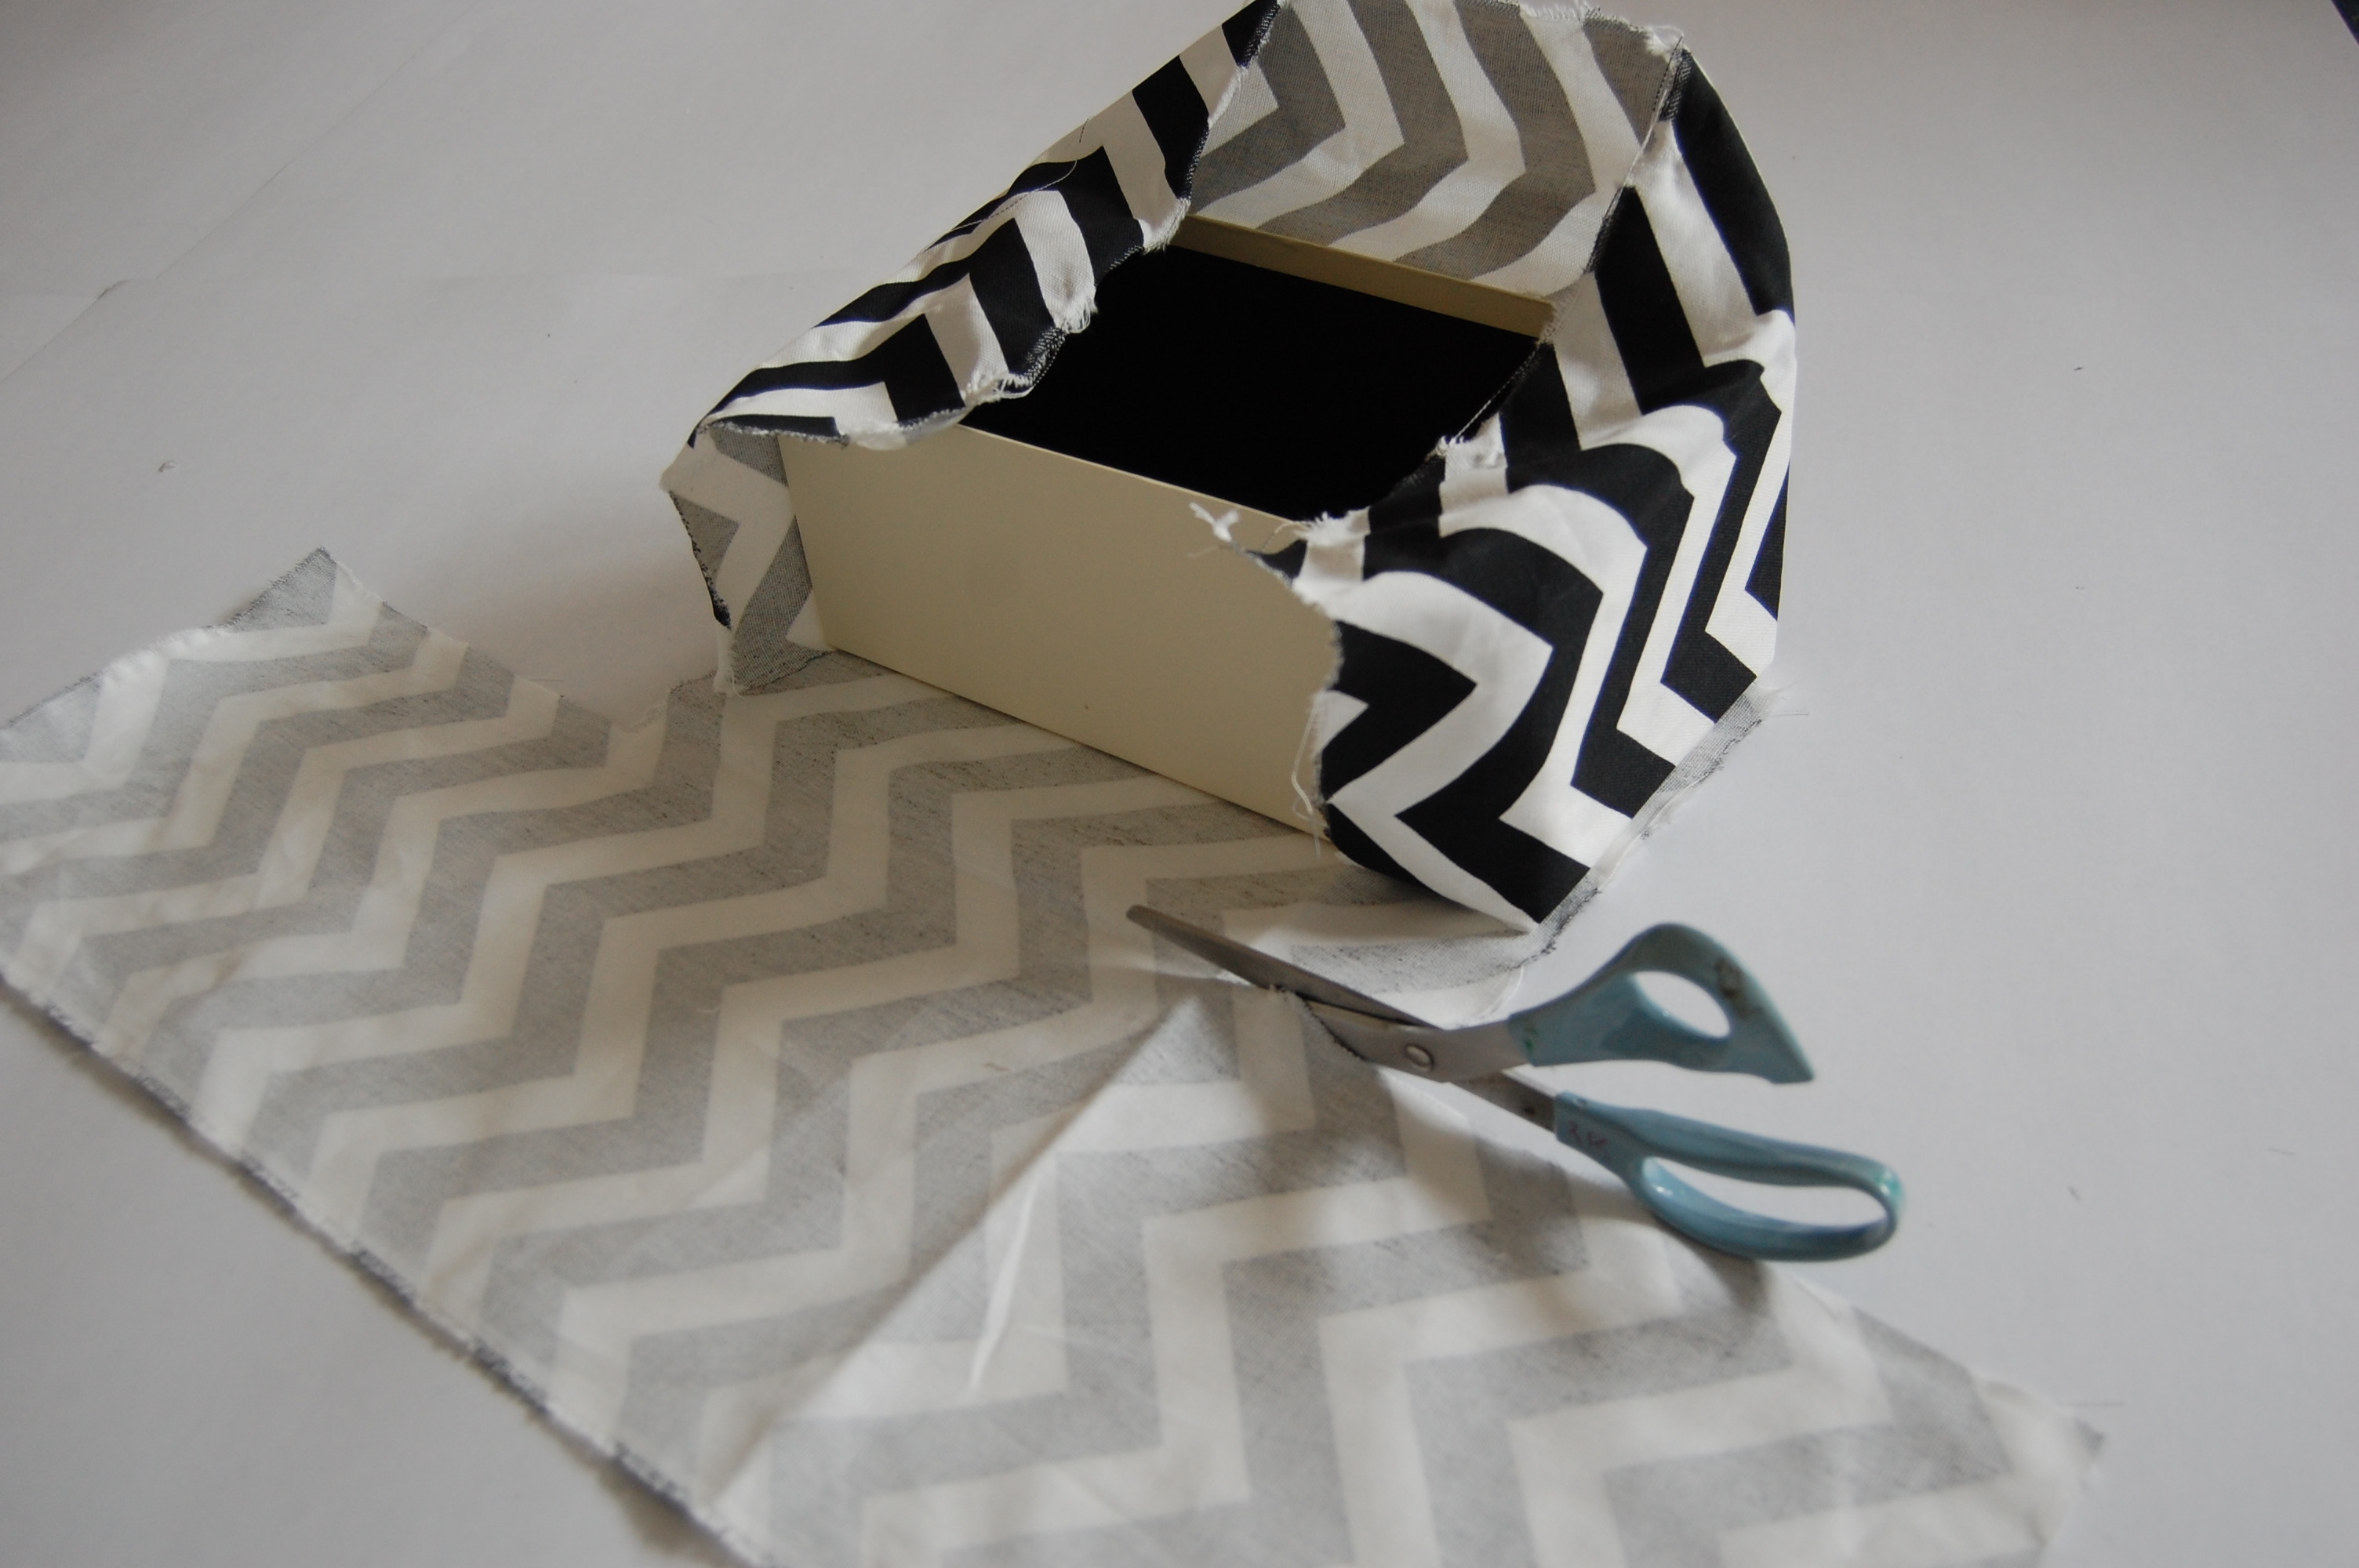 All that is left to do now is glue this sucker down. You can use spray adhesive or a hot glue gun. I went with the glue gun but either will work. And since this fabric didn’t wrap all the way around I used the piece I cut off to add it to the back. I started by gluing the faces (the four sides), underneath, and then carried the fabric inside of the box.
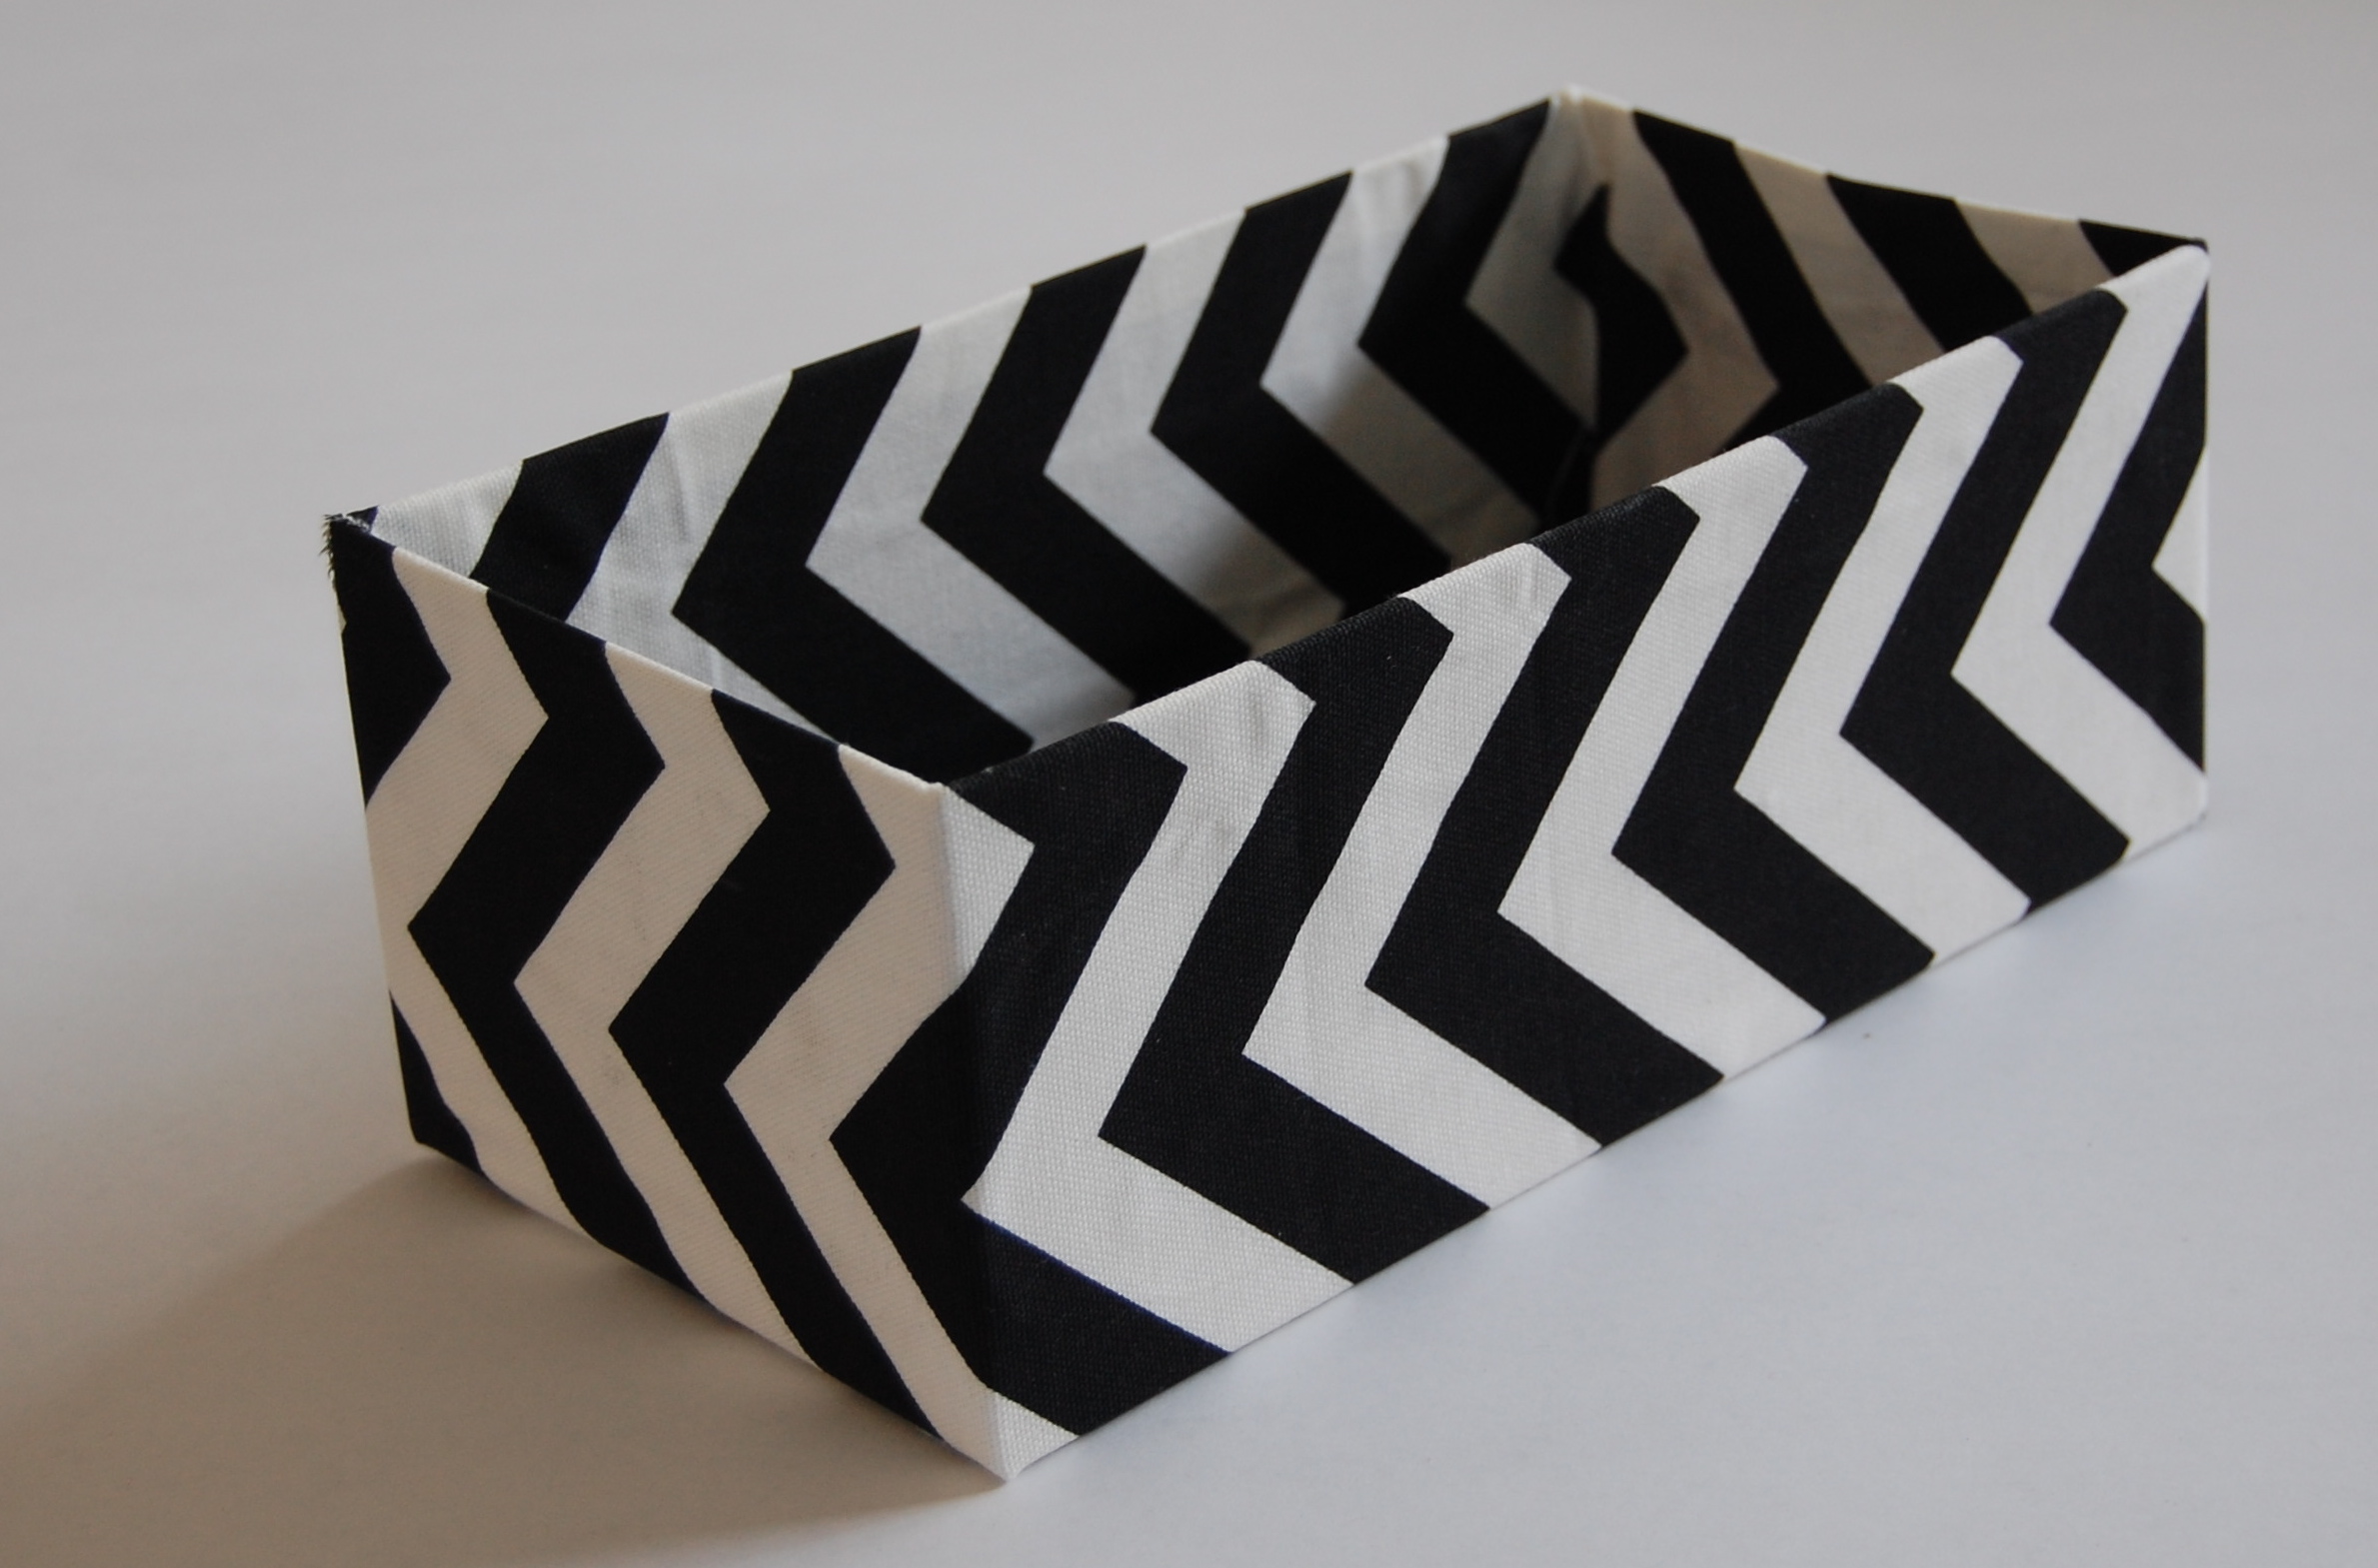
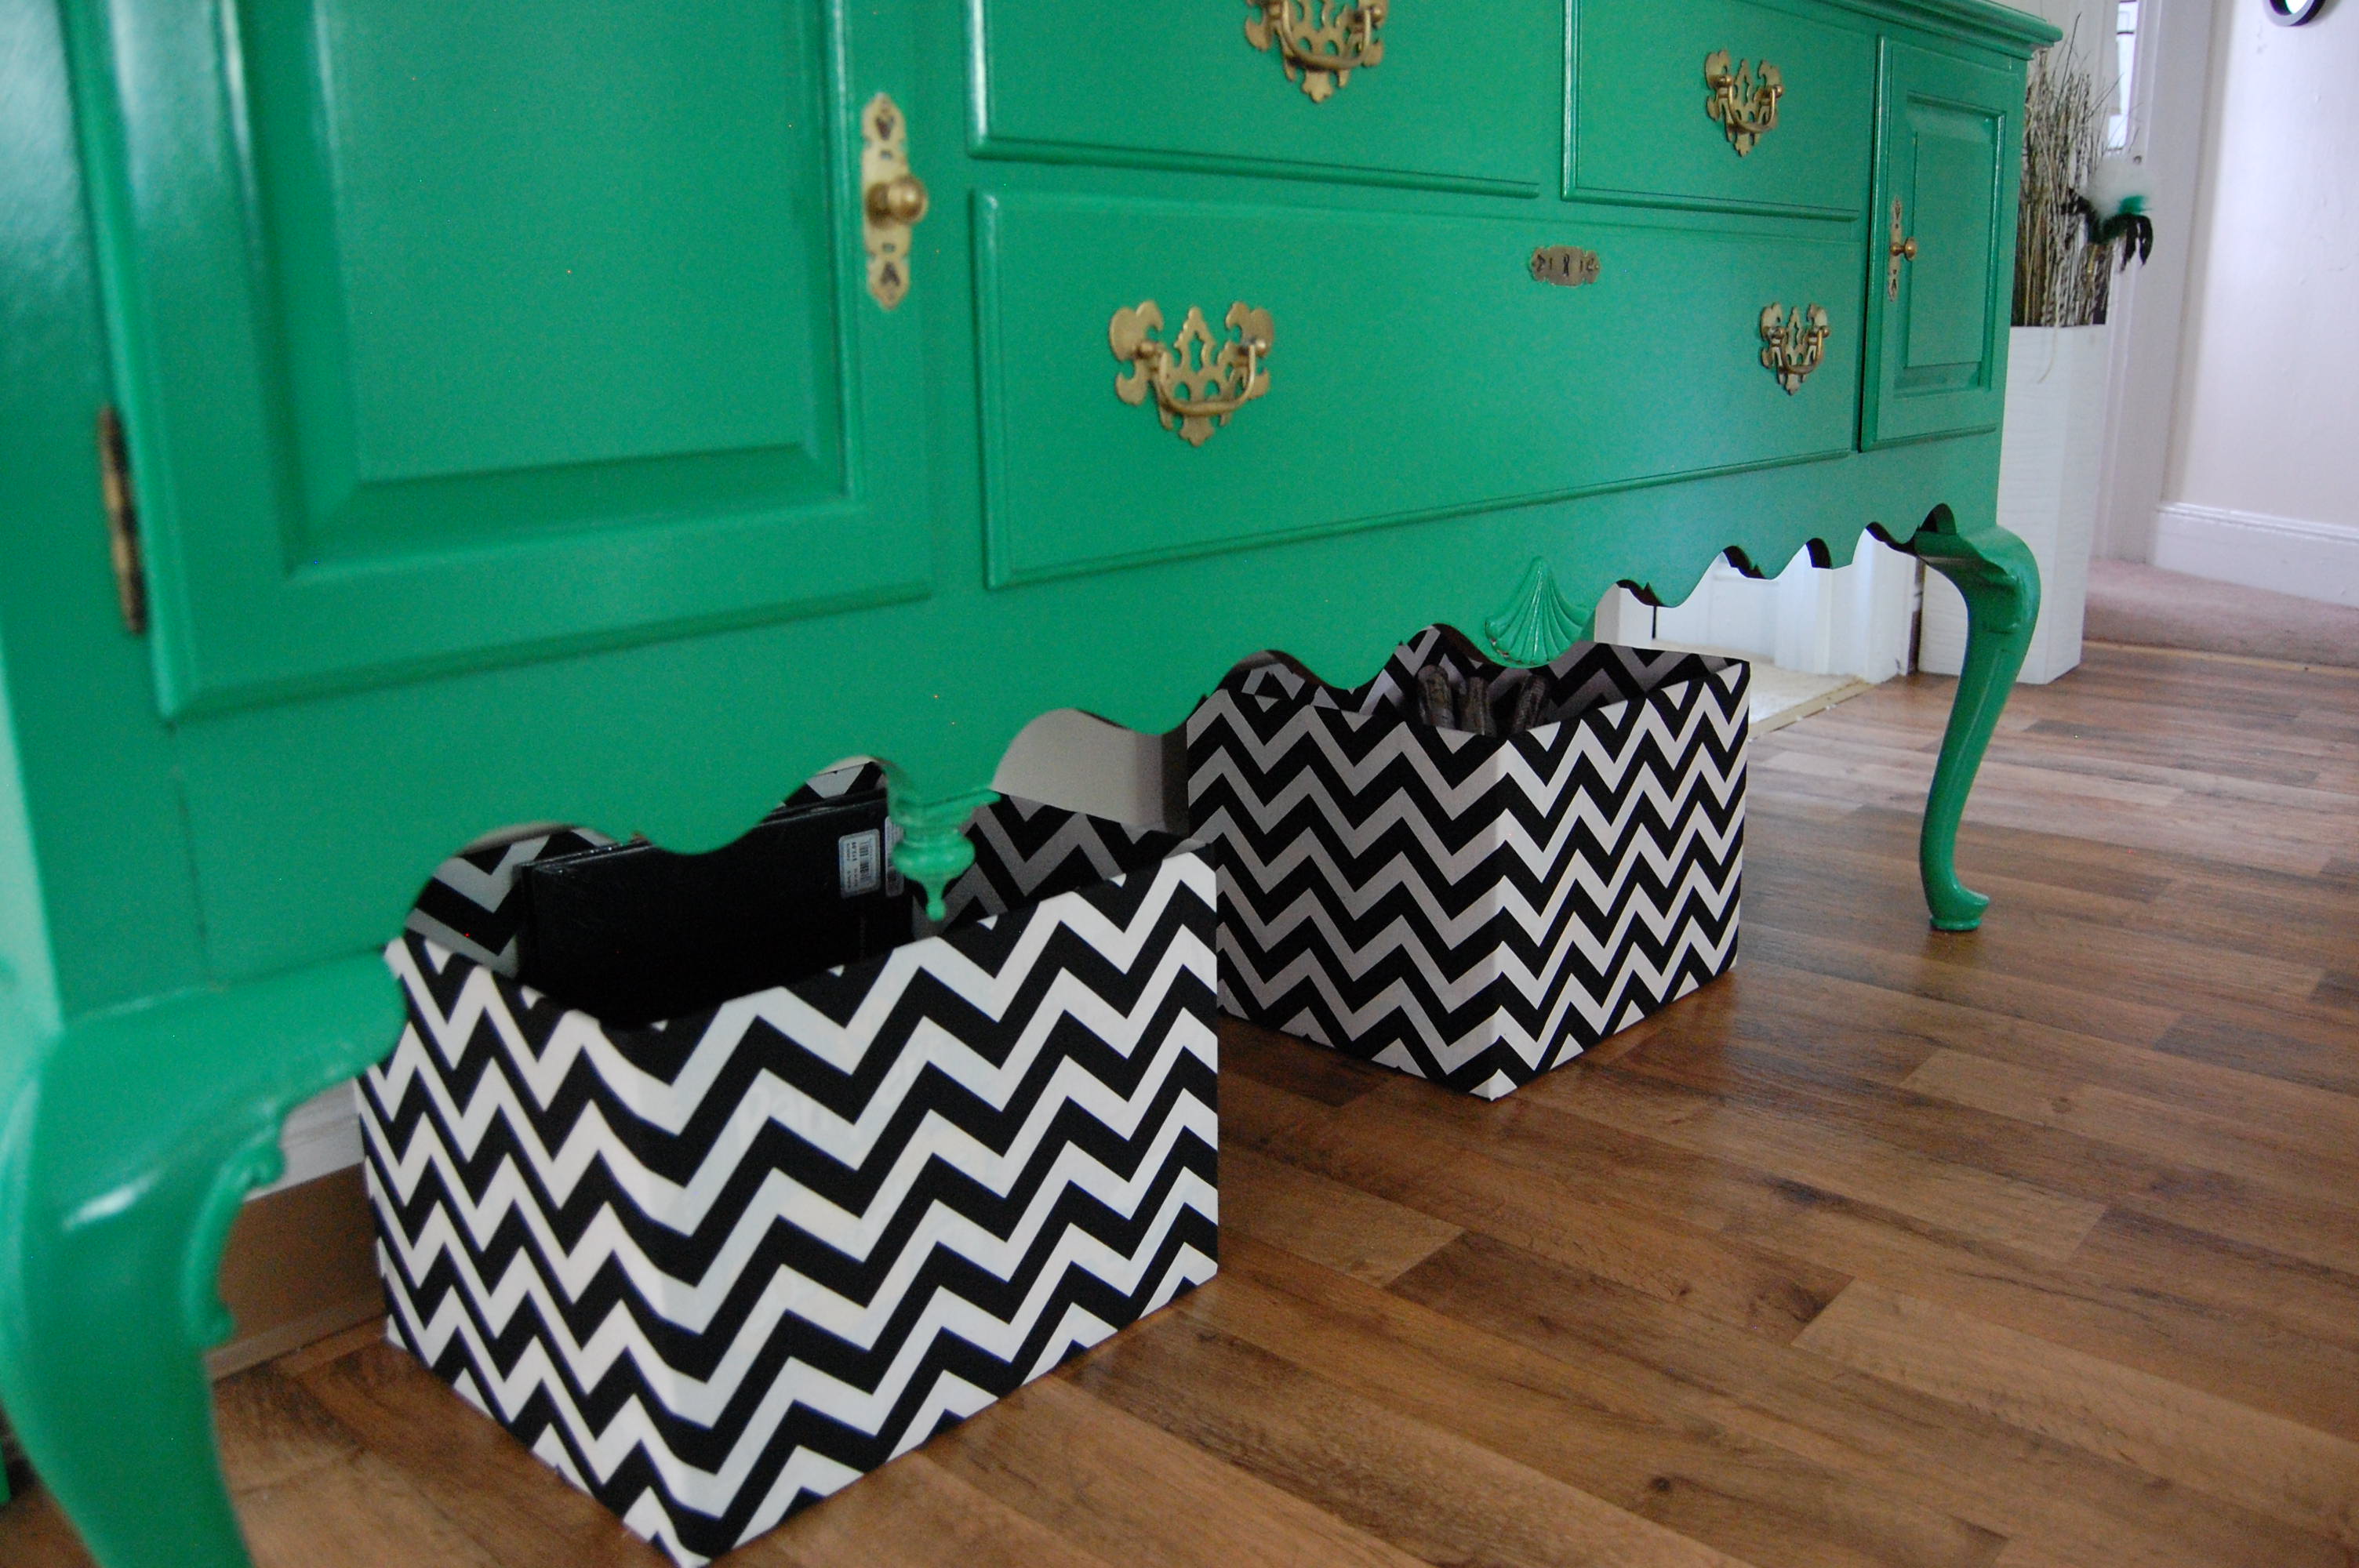
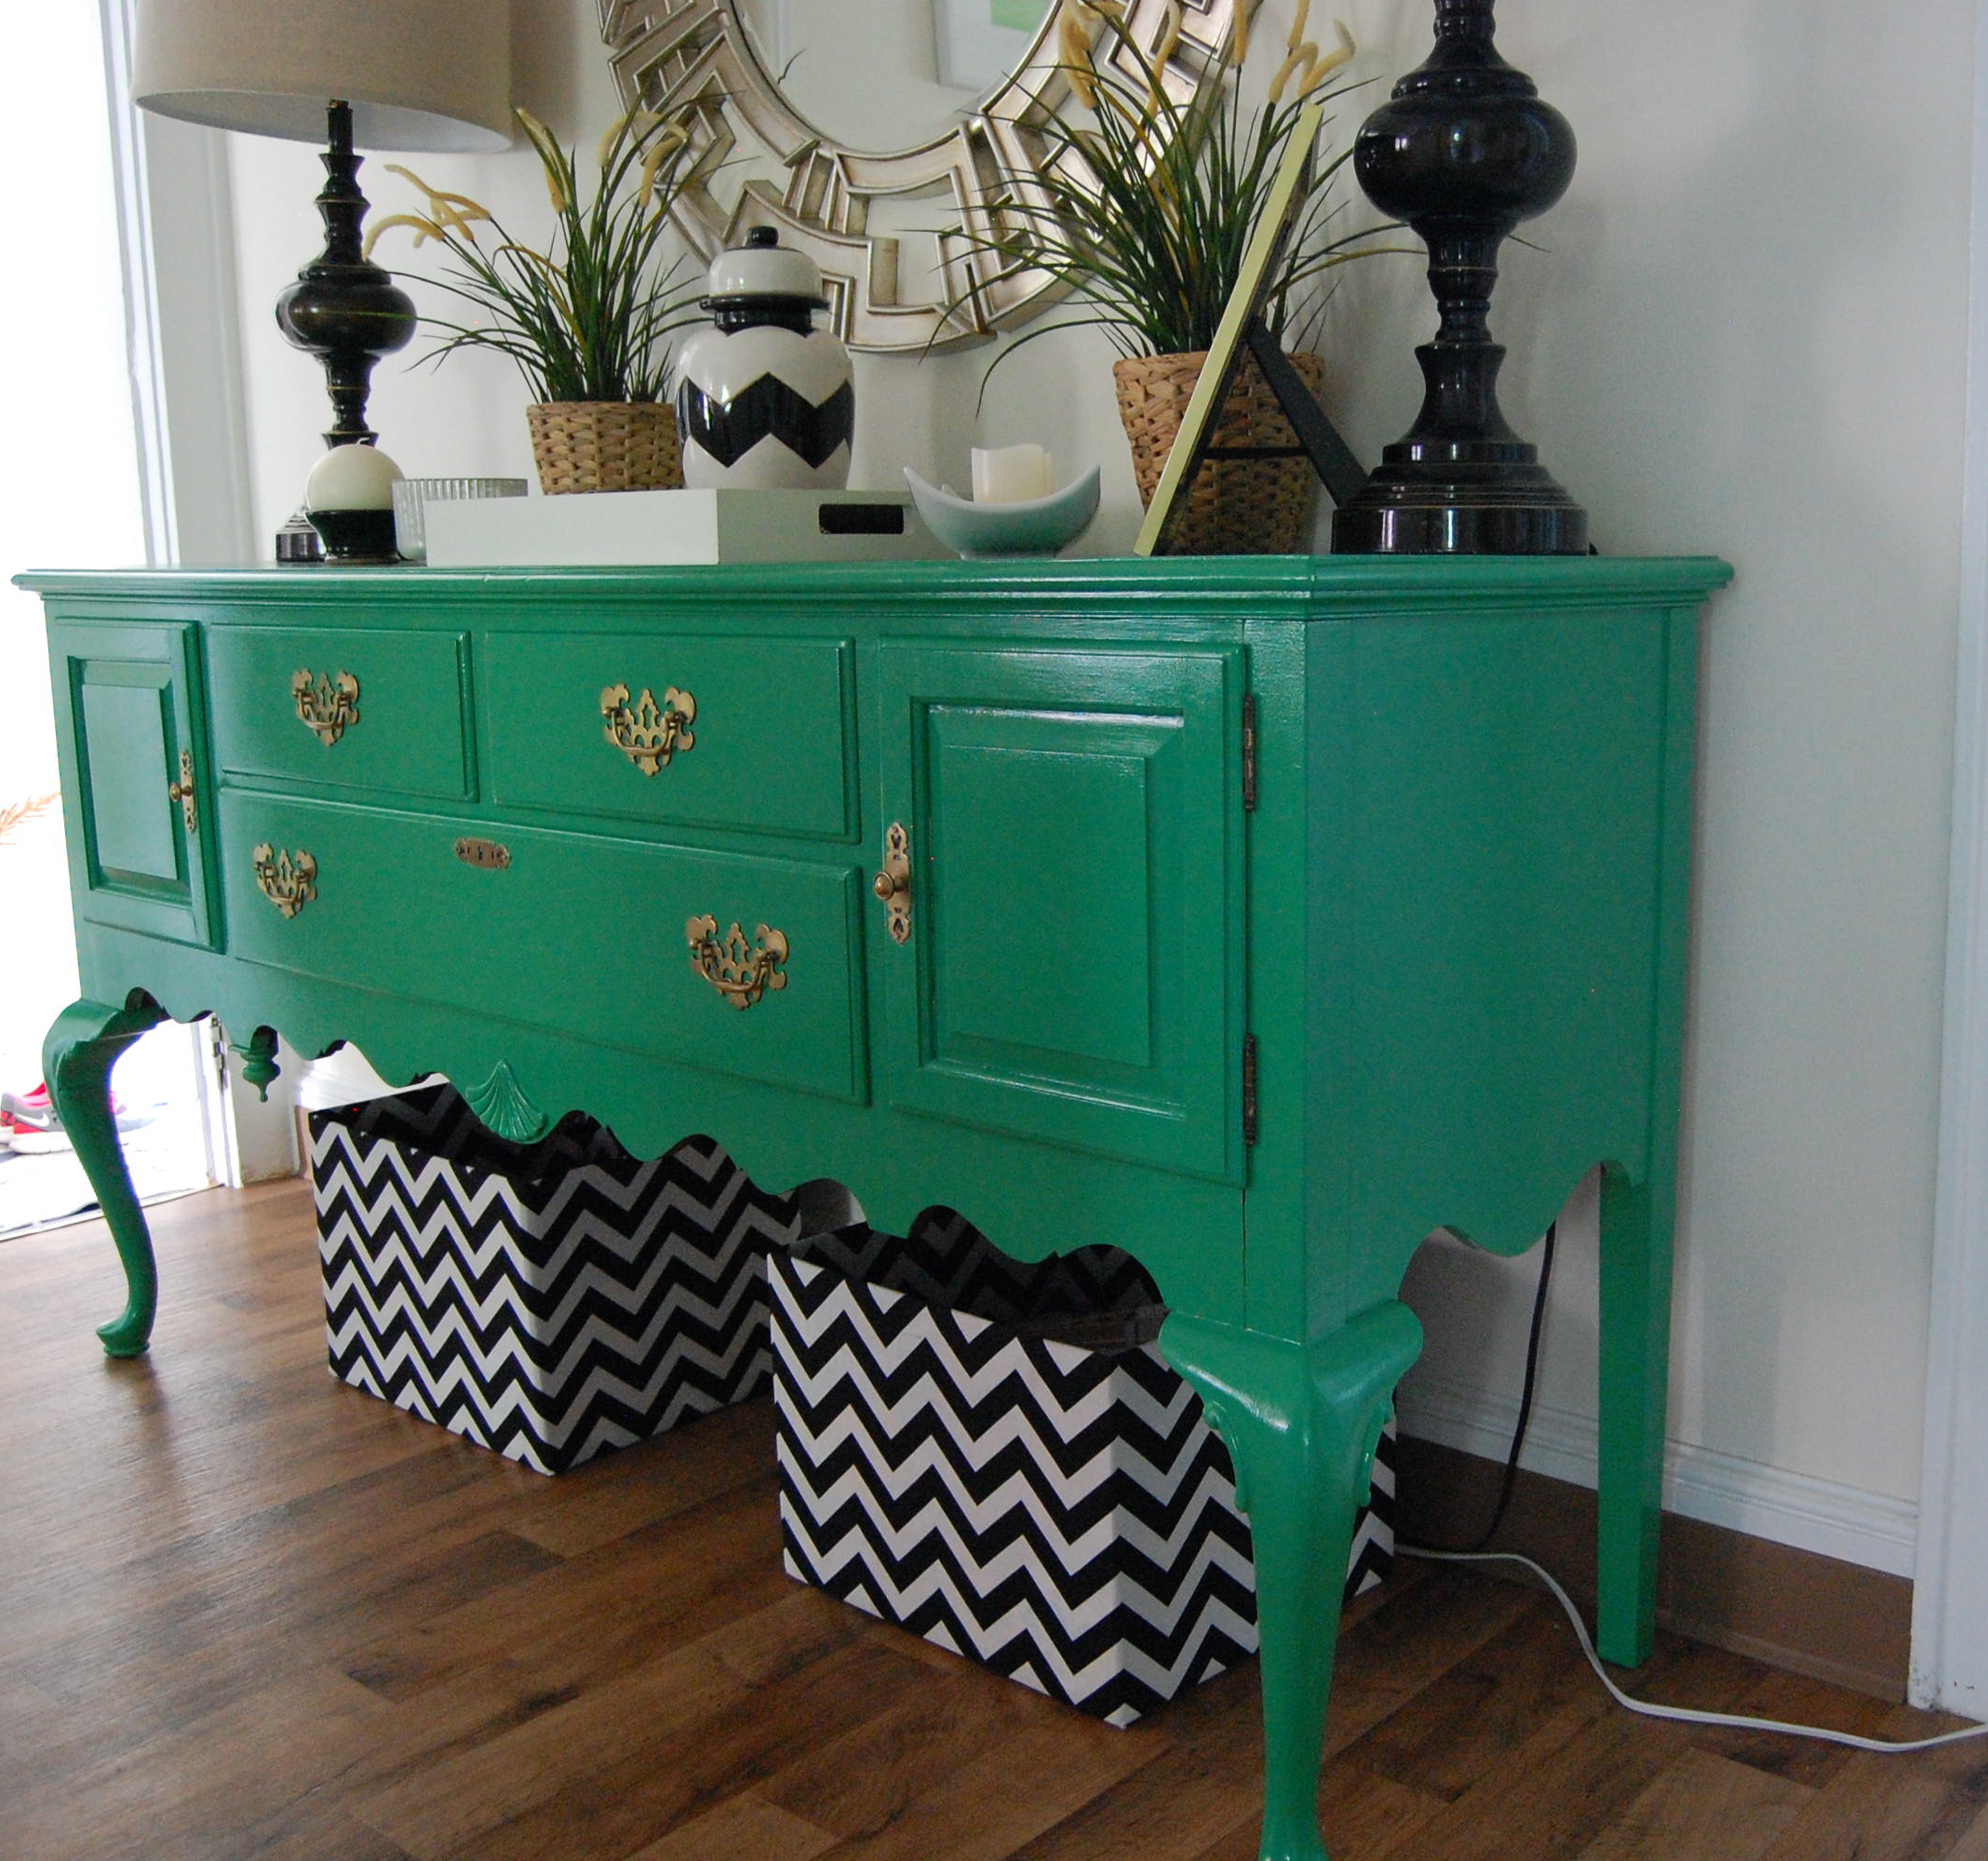
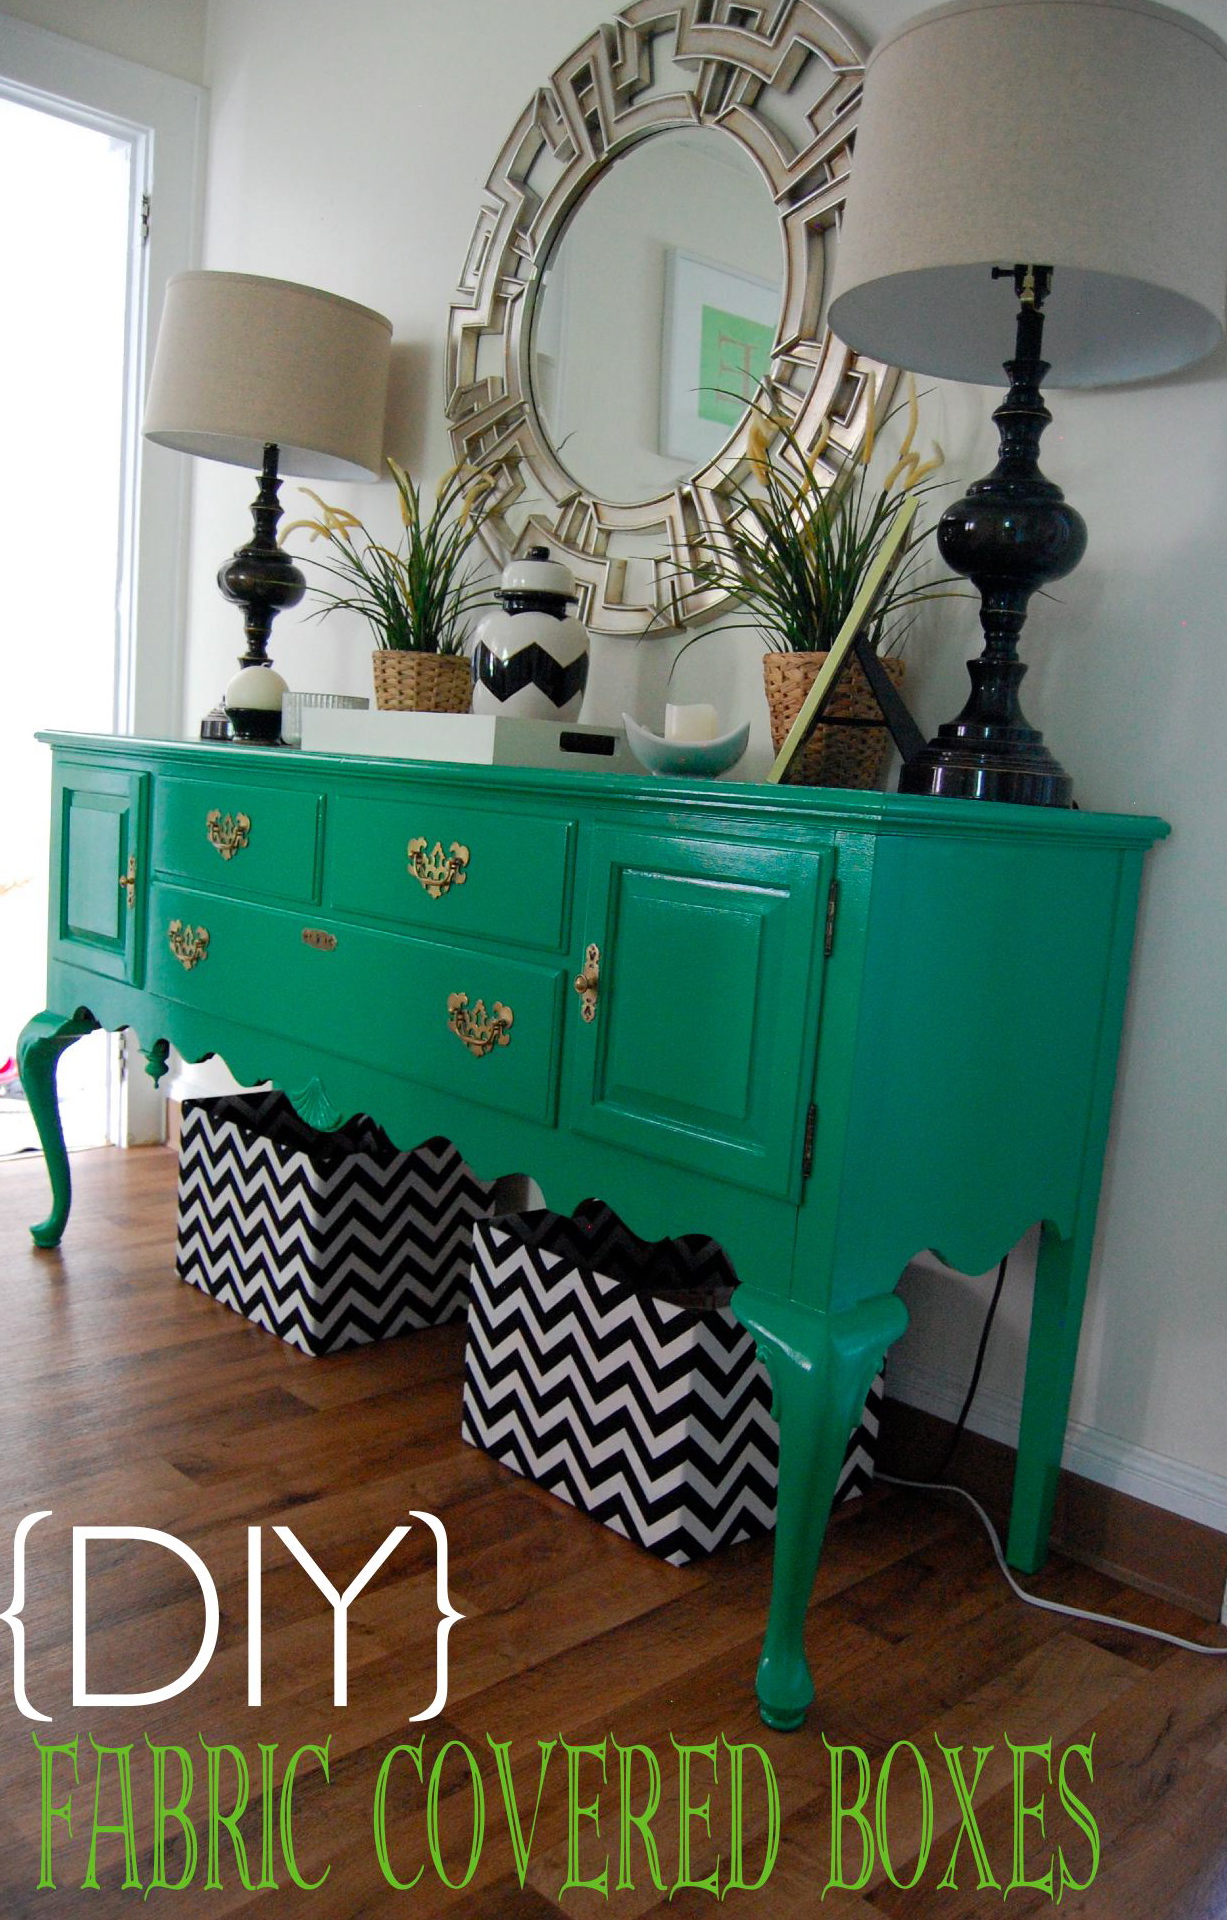
Did anyone else catch on that I cut the fabric in the wrong direction and totally missed out on the chevron pattern, ha! Still looks good! And now for the completed diaper boxes using this exact tutorial!
I hope this was helpful! Don’t forget to subscribe for more great projects!
