Hello dolls and Happy Labor Day! Sorry for being so MIA but what can I say summer has been calling my name and I’m certainly not one to post for the purpose of posting. With that said I am super sad that summer is ending. Mostly because it’s one of my favorite seasons but also because it means back to work for this girl! Although there is nothing like a new fall wardrobe, the smell of apple pie and football to get you in the mood for cooler weather. Tomorrow will officially be my first day back at work and while I’m excited to start a new school year there is always that little bit of anxiety about going back. Even teachers get the first day jitters 😉
At the end of every school year I always make a to do list of what I want to do in my classroom for the next year. My list for this year was pretty short since I spent last year really transforming my classroom. You can click here for a tour. The one thing I knew I needed to do was get a new calendar for my room. I had been rocking a Crate and Barrel calendar mostly because I couldn’t find one that I liked or that worked for the space.
*All pictures were taken with my phone…sorry!
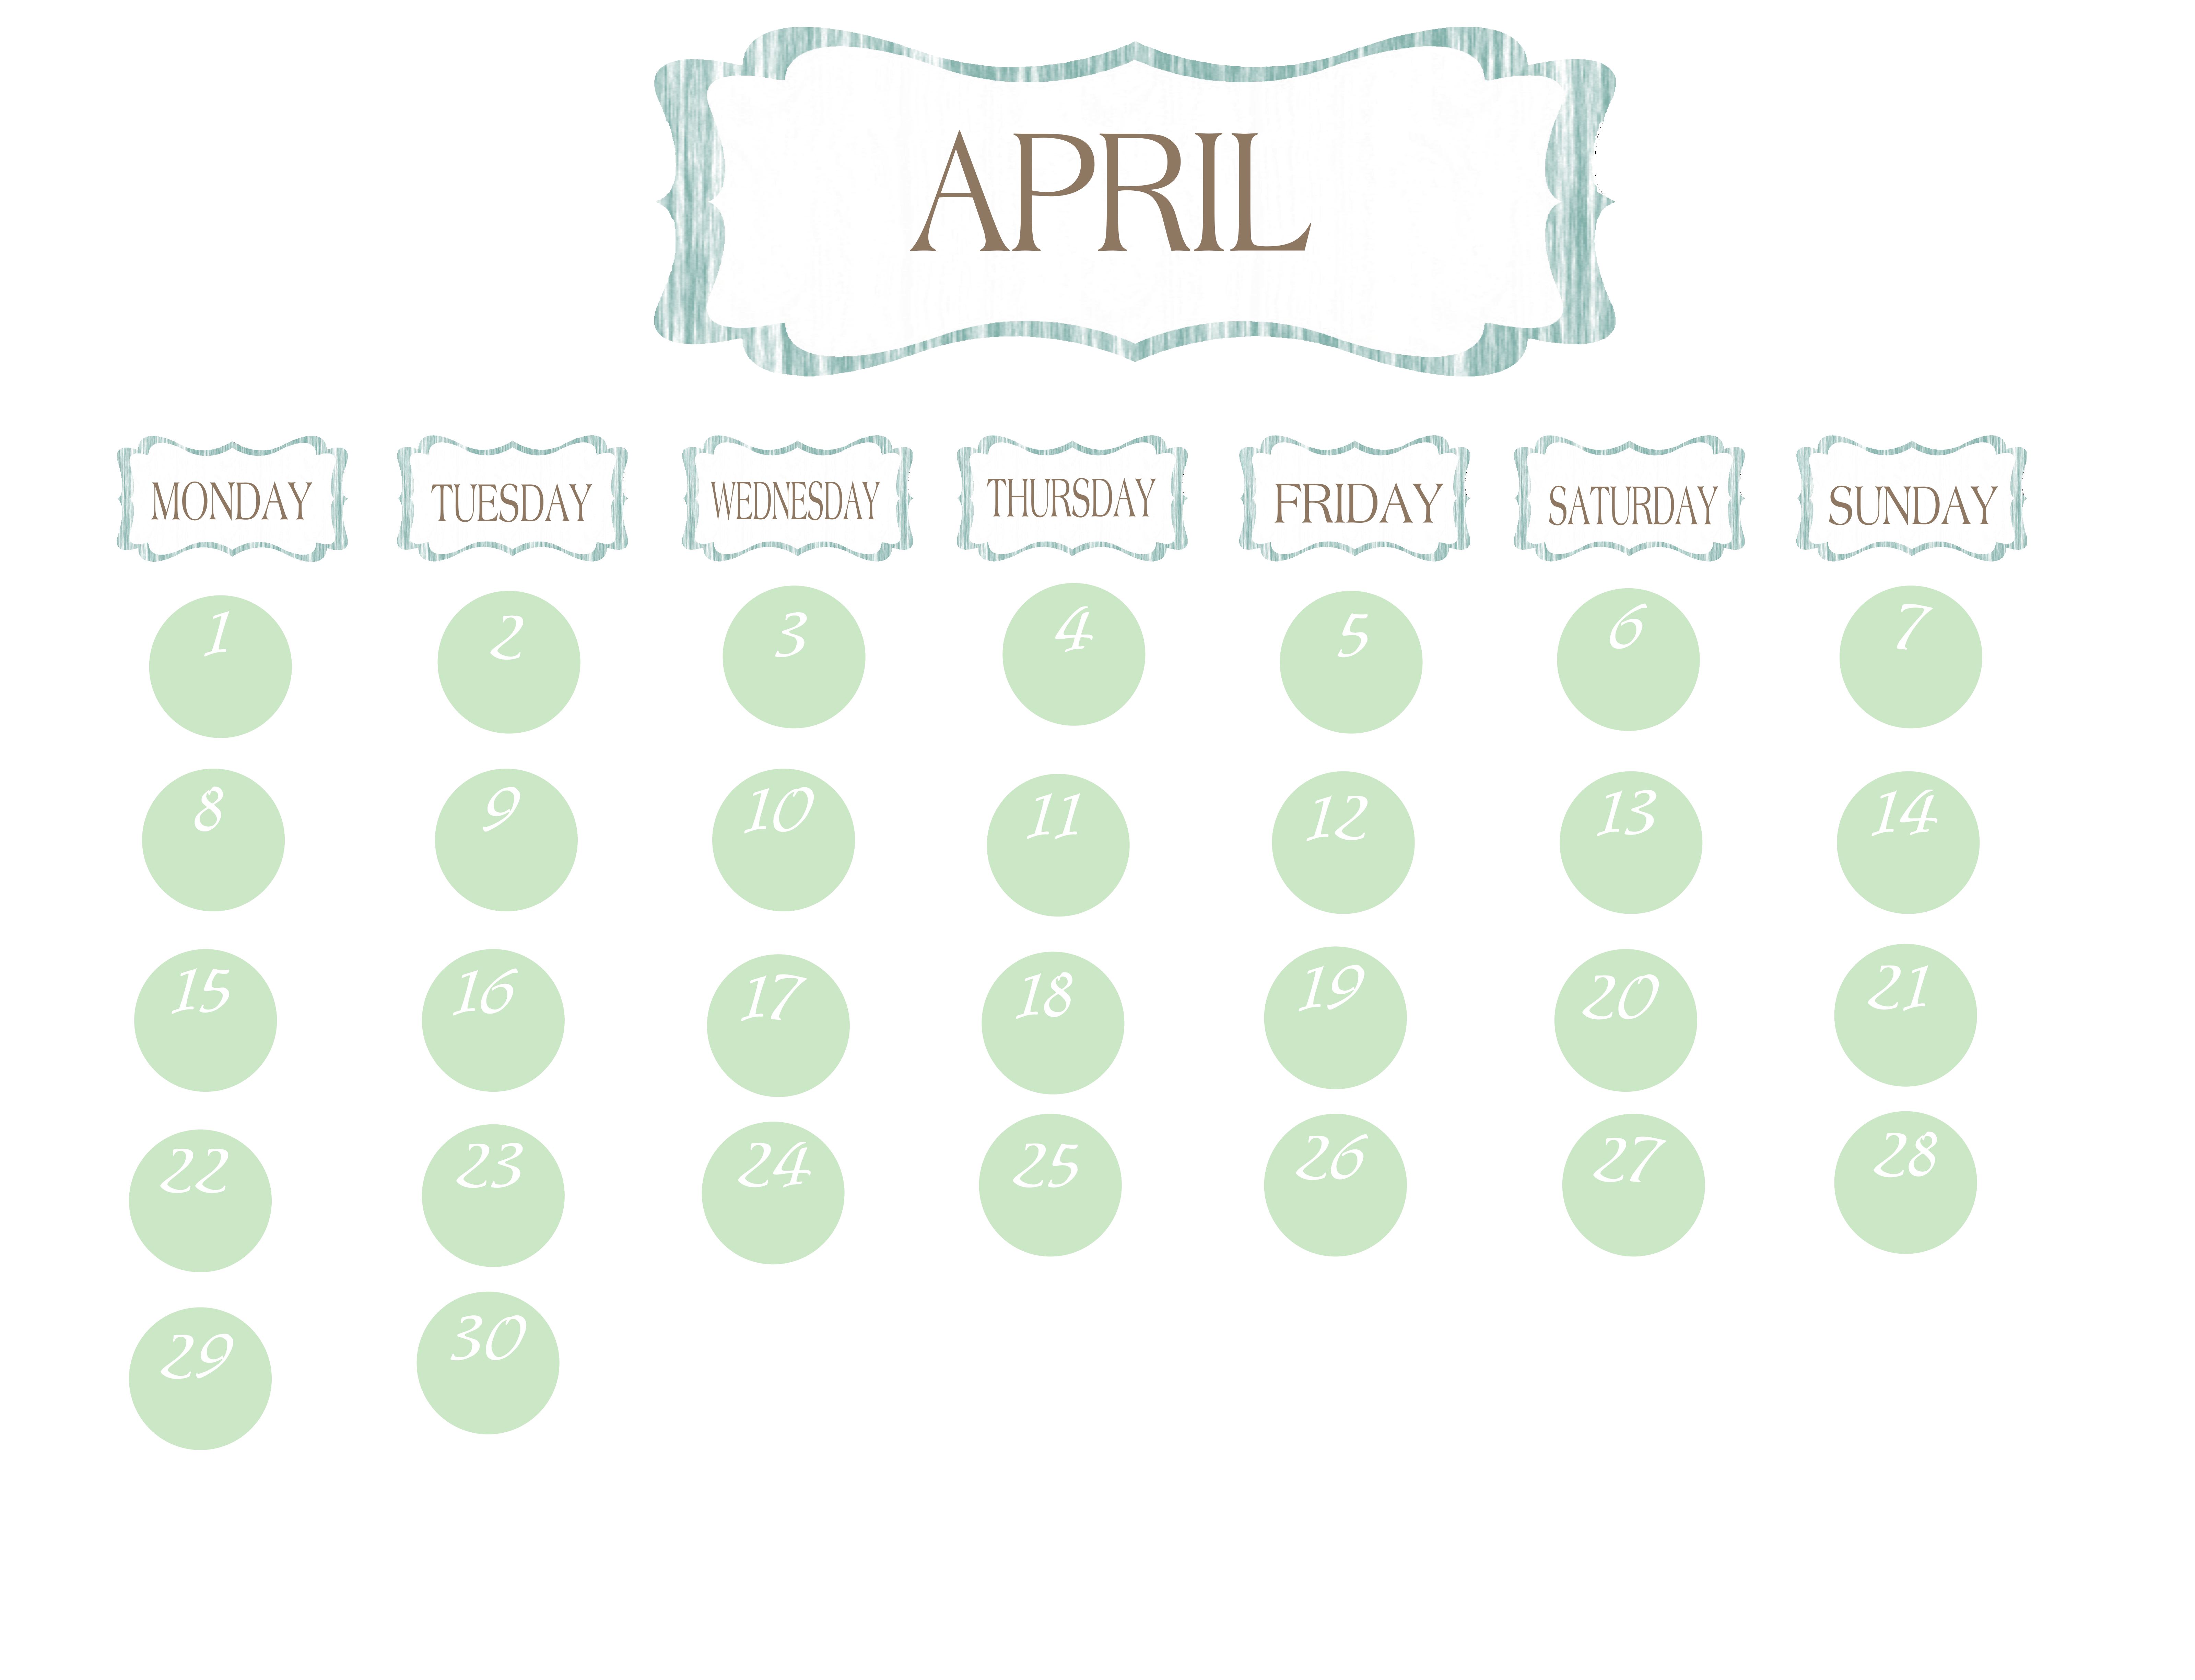
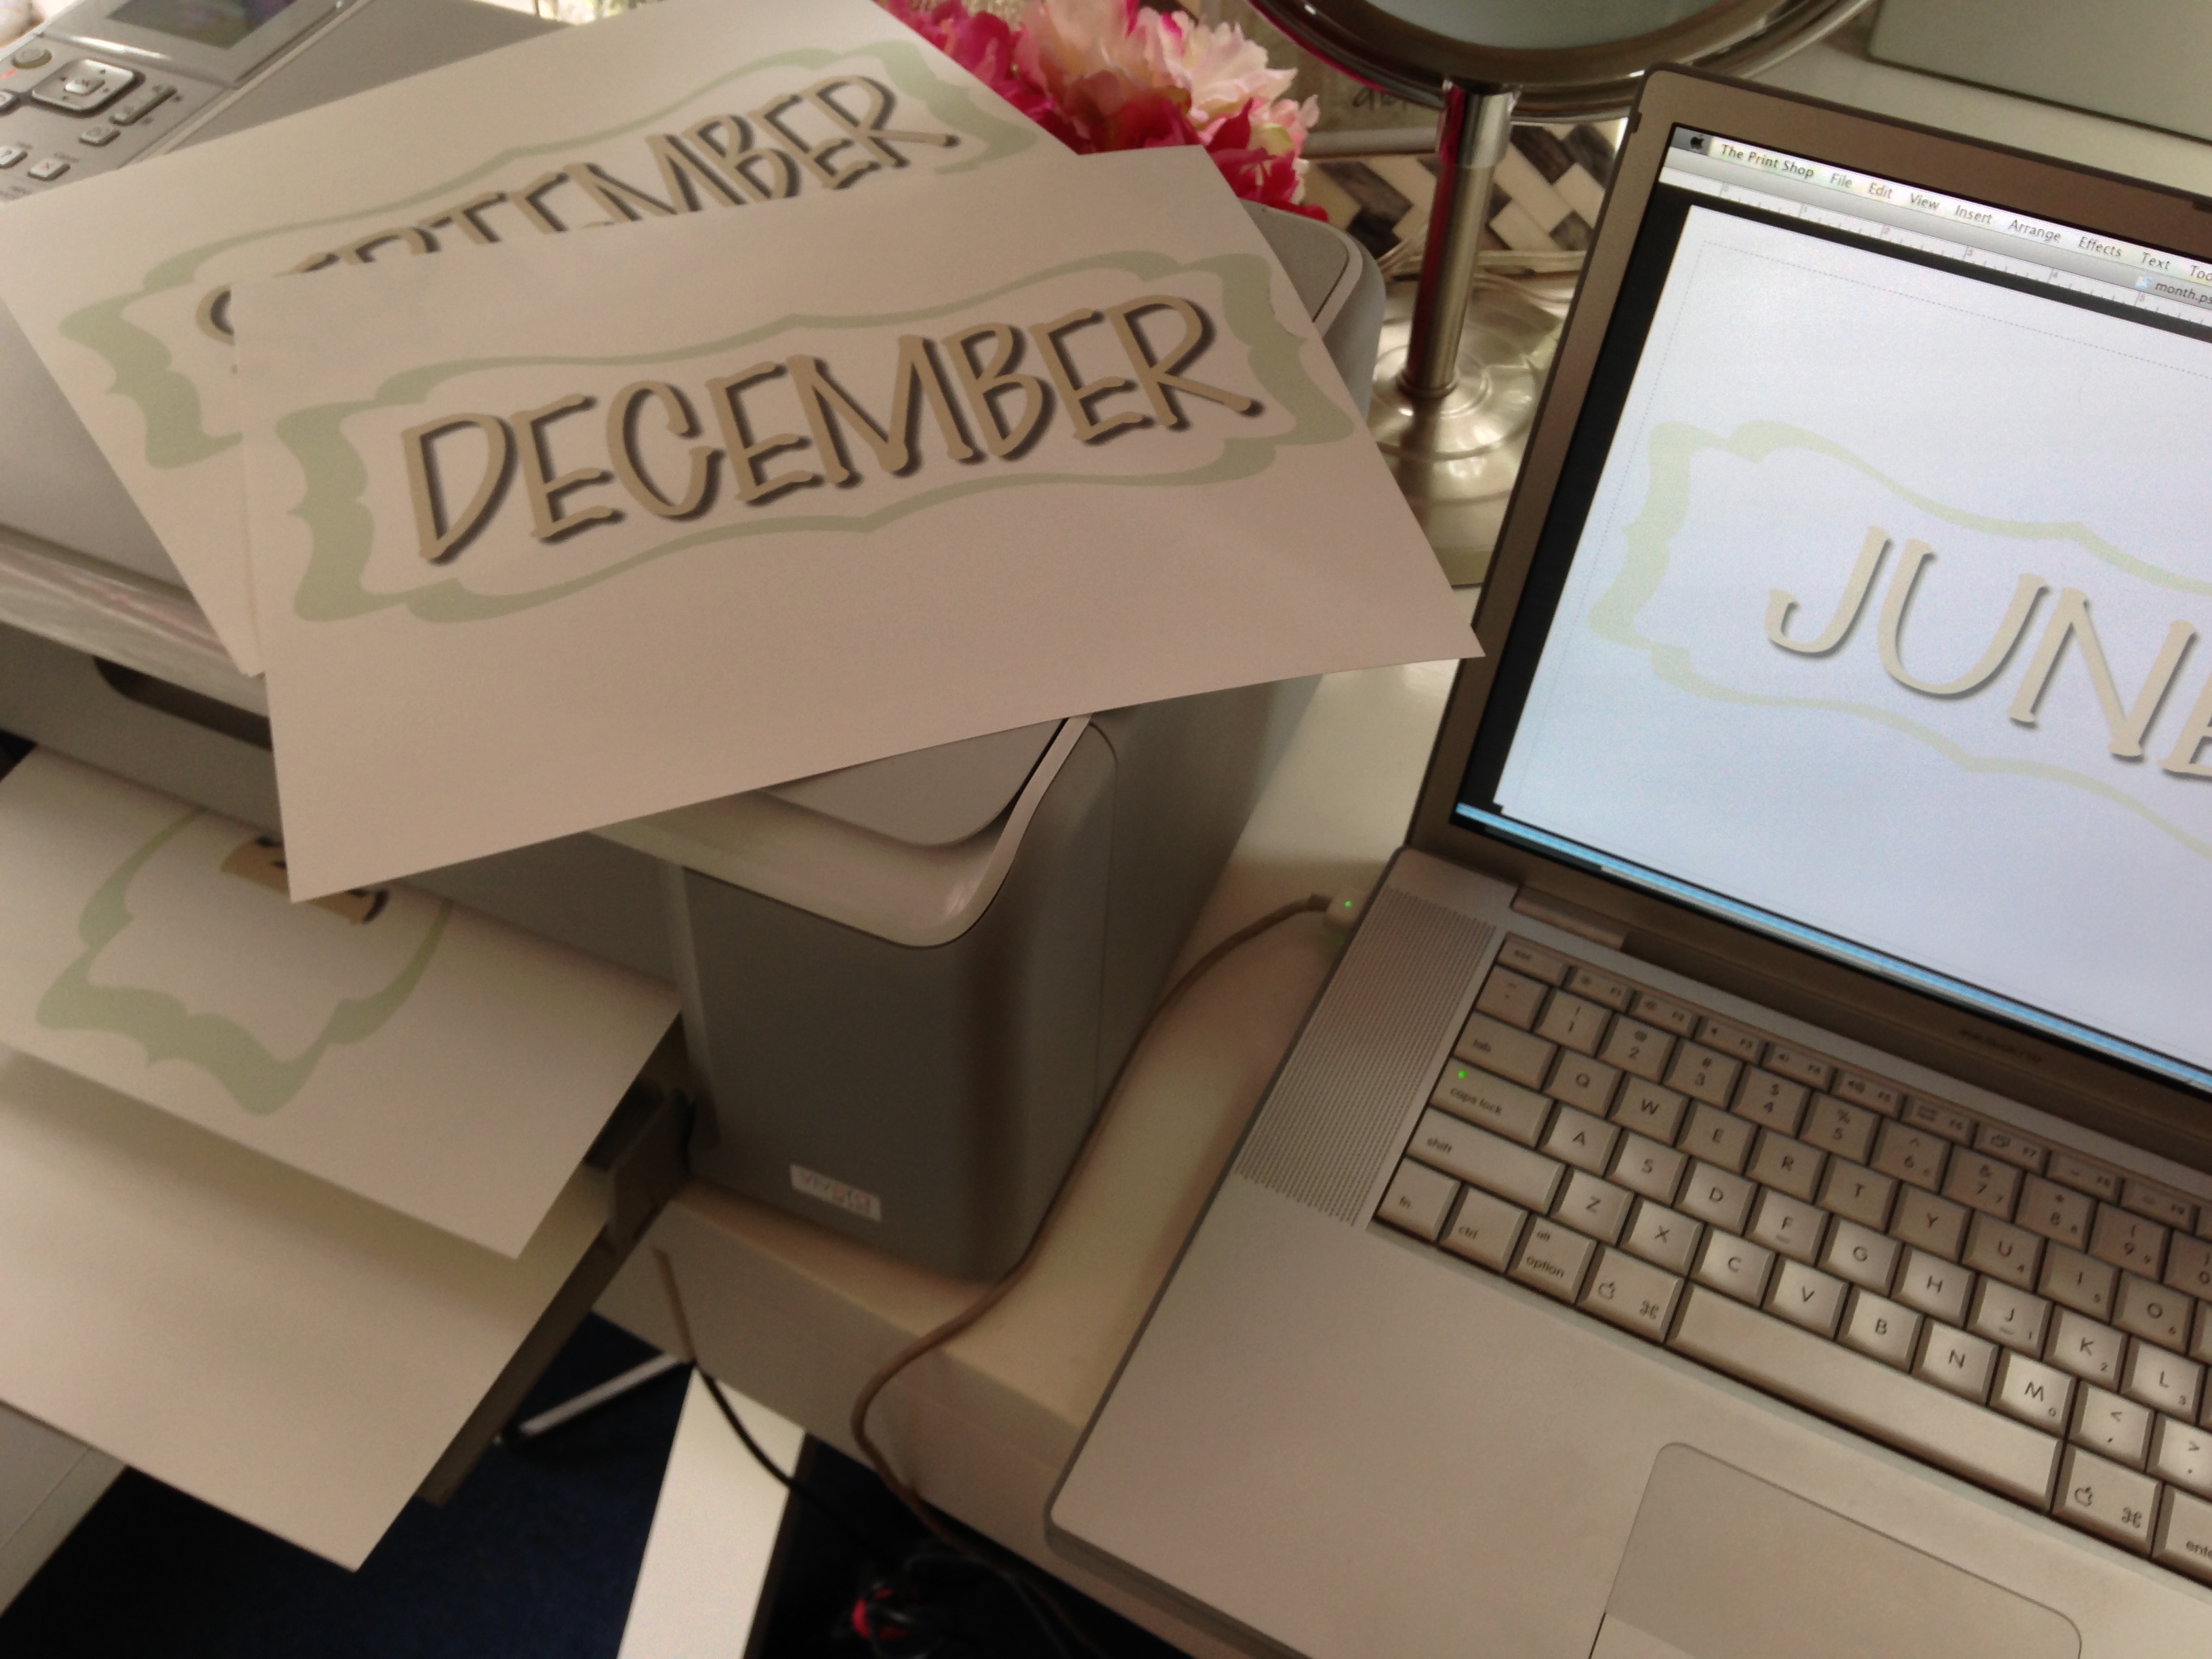
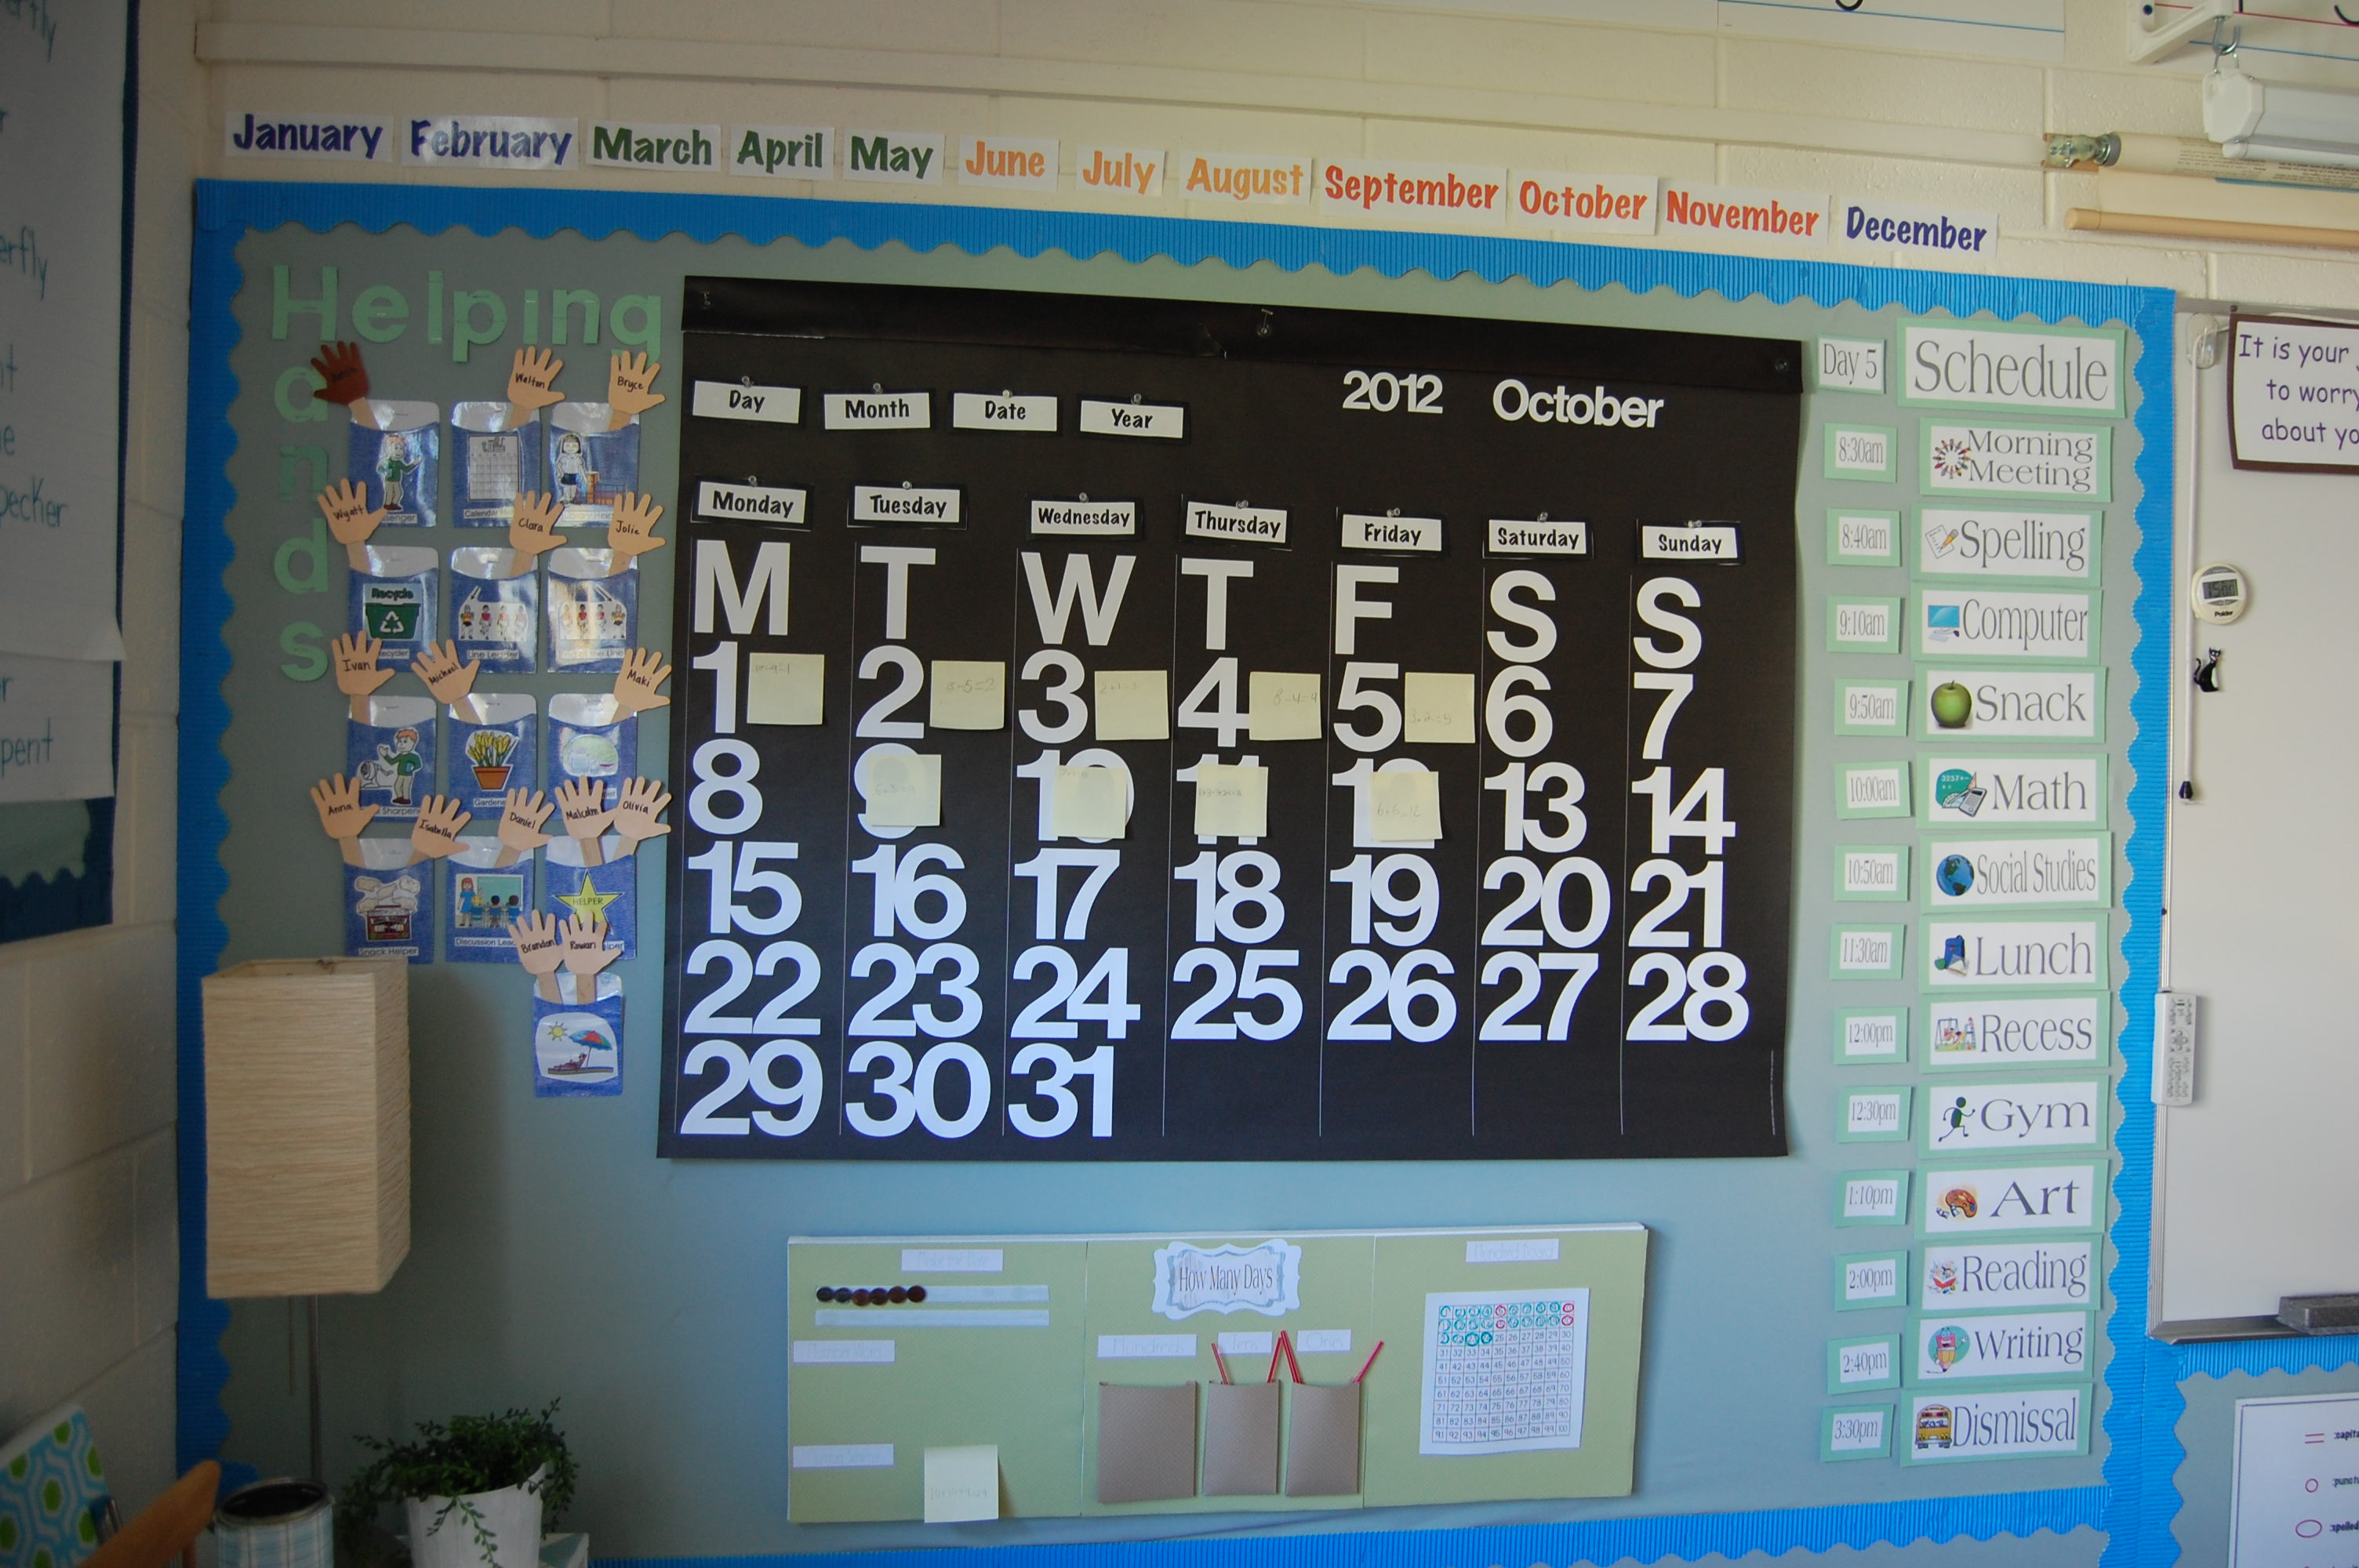 It was clear that a big black and white one wasn’t working either! My main goal for the new school year was to create a new calendar. I started by creating a sketch in Print Shop of what I wanted it to look like.
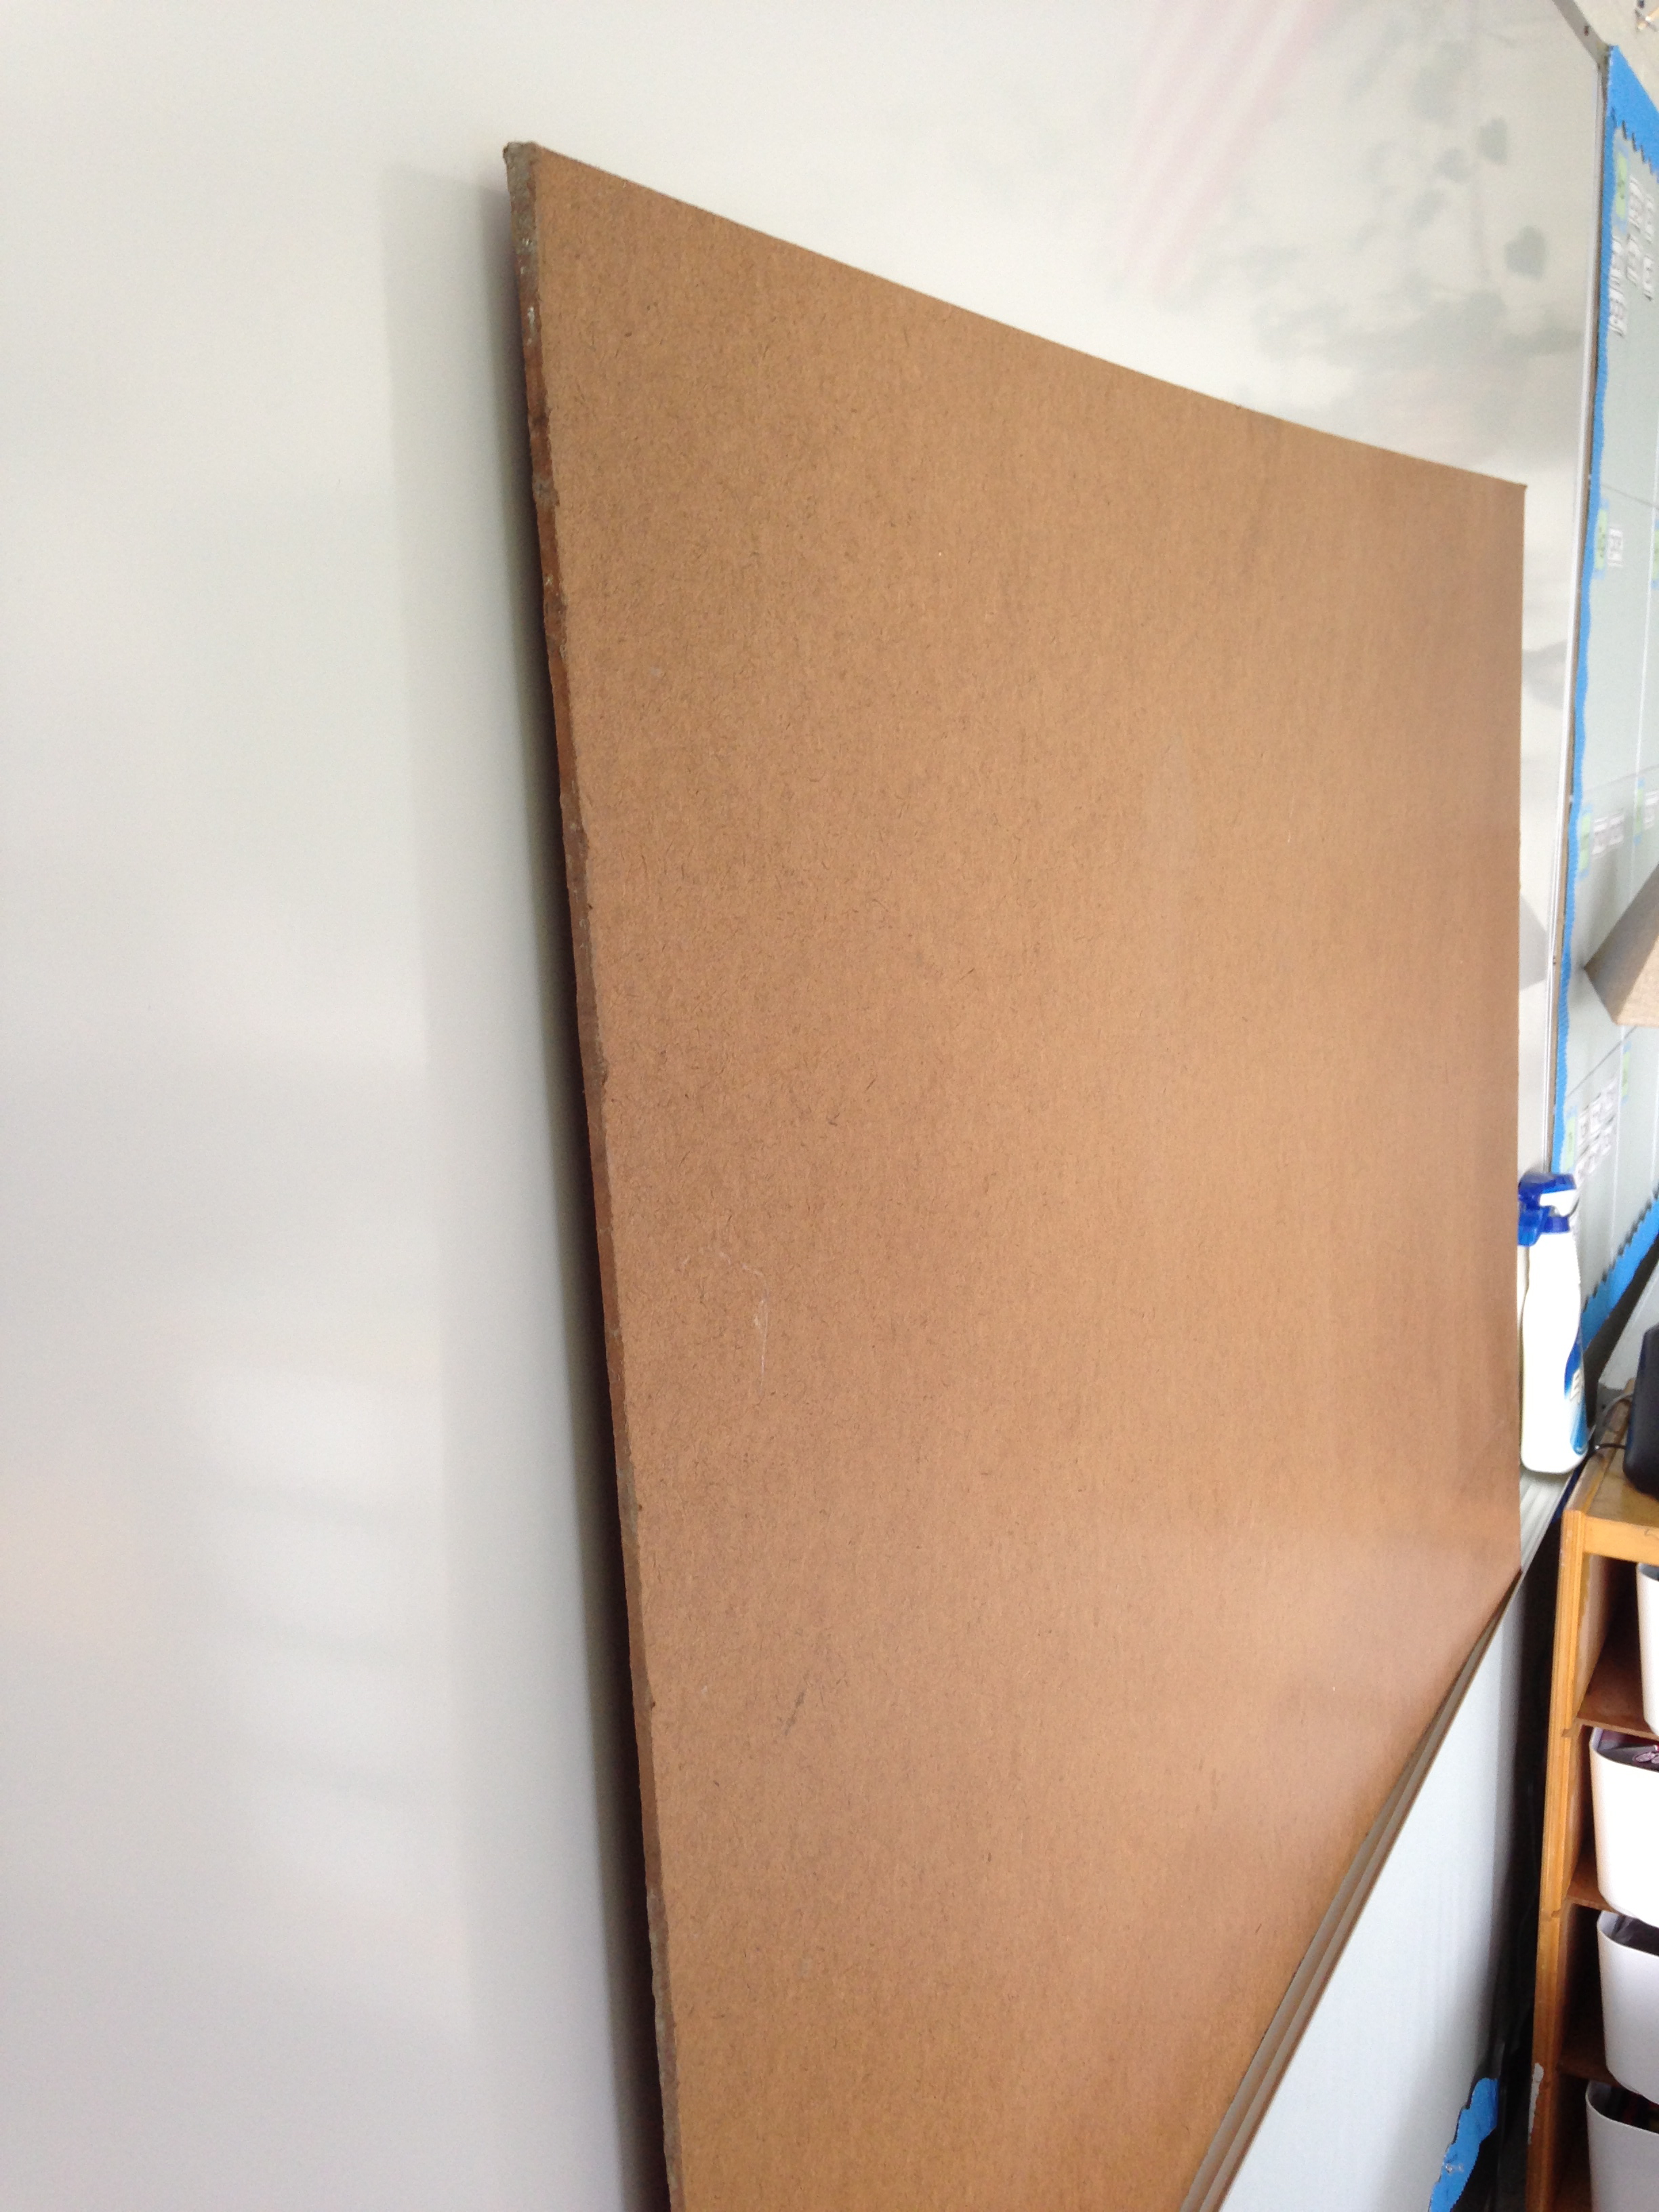
 In order to make this happen I got a hold of some particle board which was free because there are about 5 or 6 sheets of it just hanging out in the garage. I bought it in to my job and used a projector to create the shape I wanted and traced.
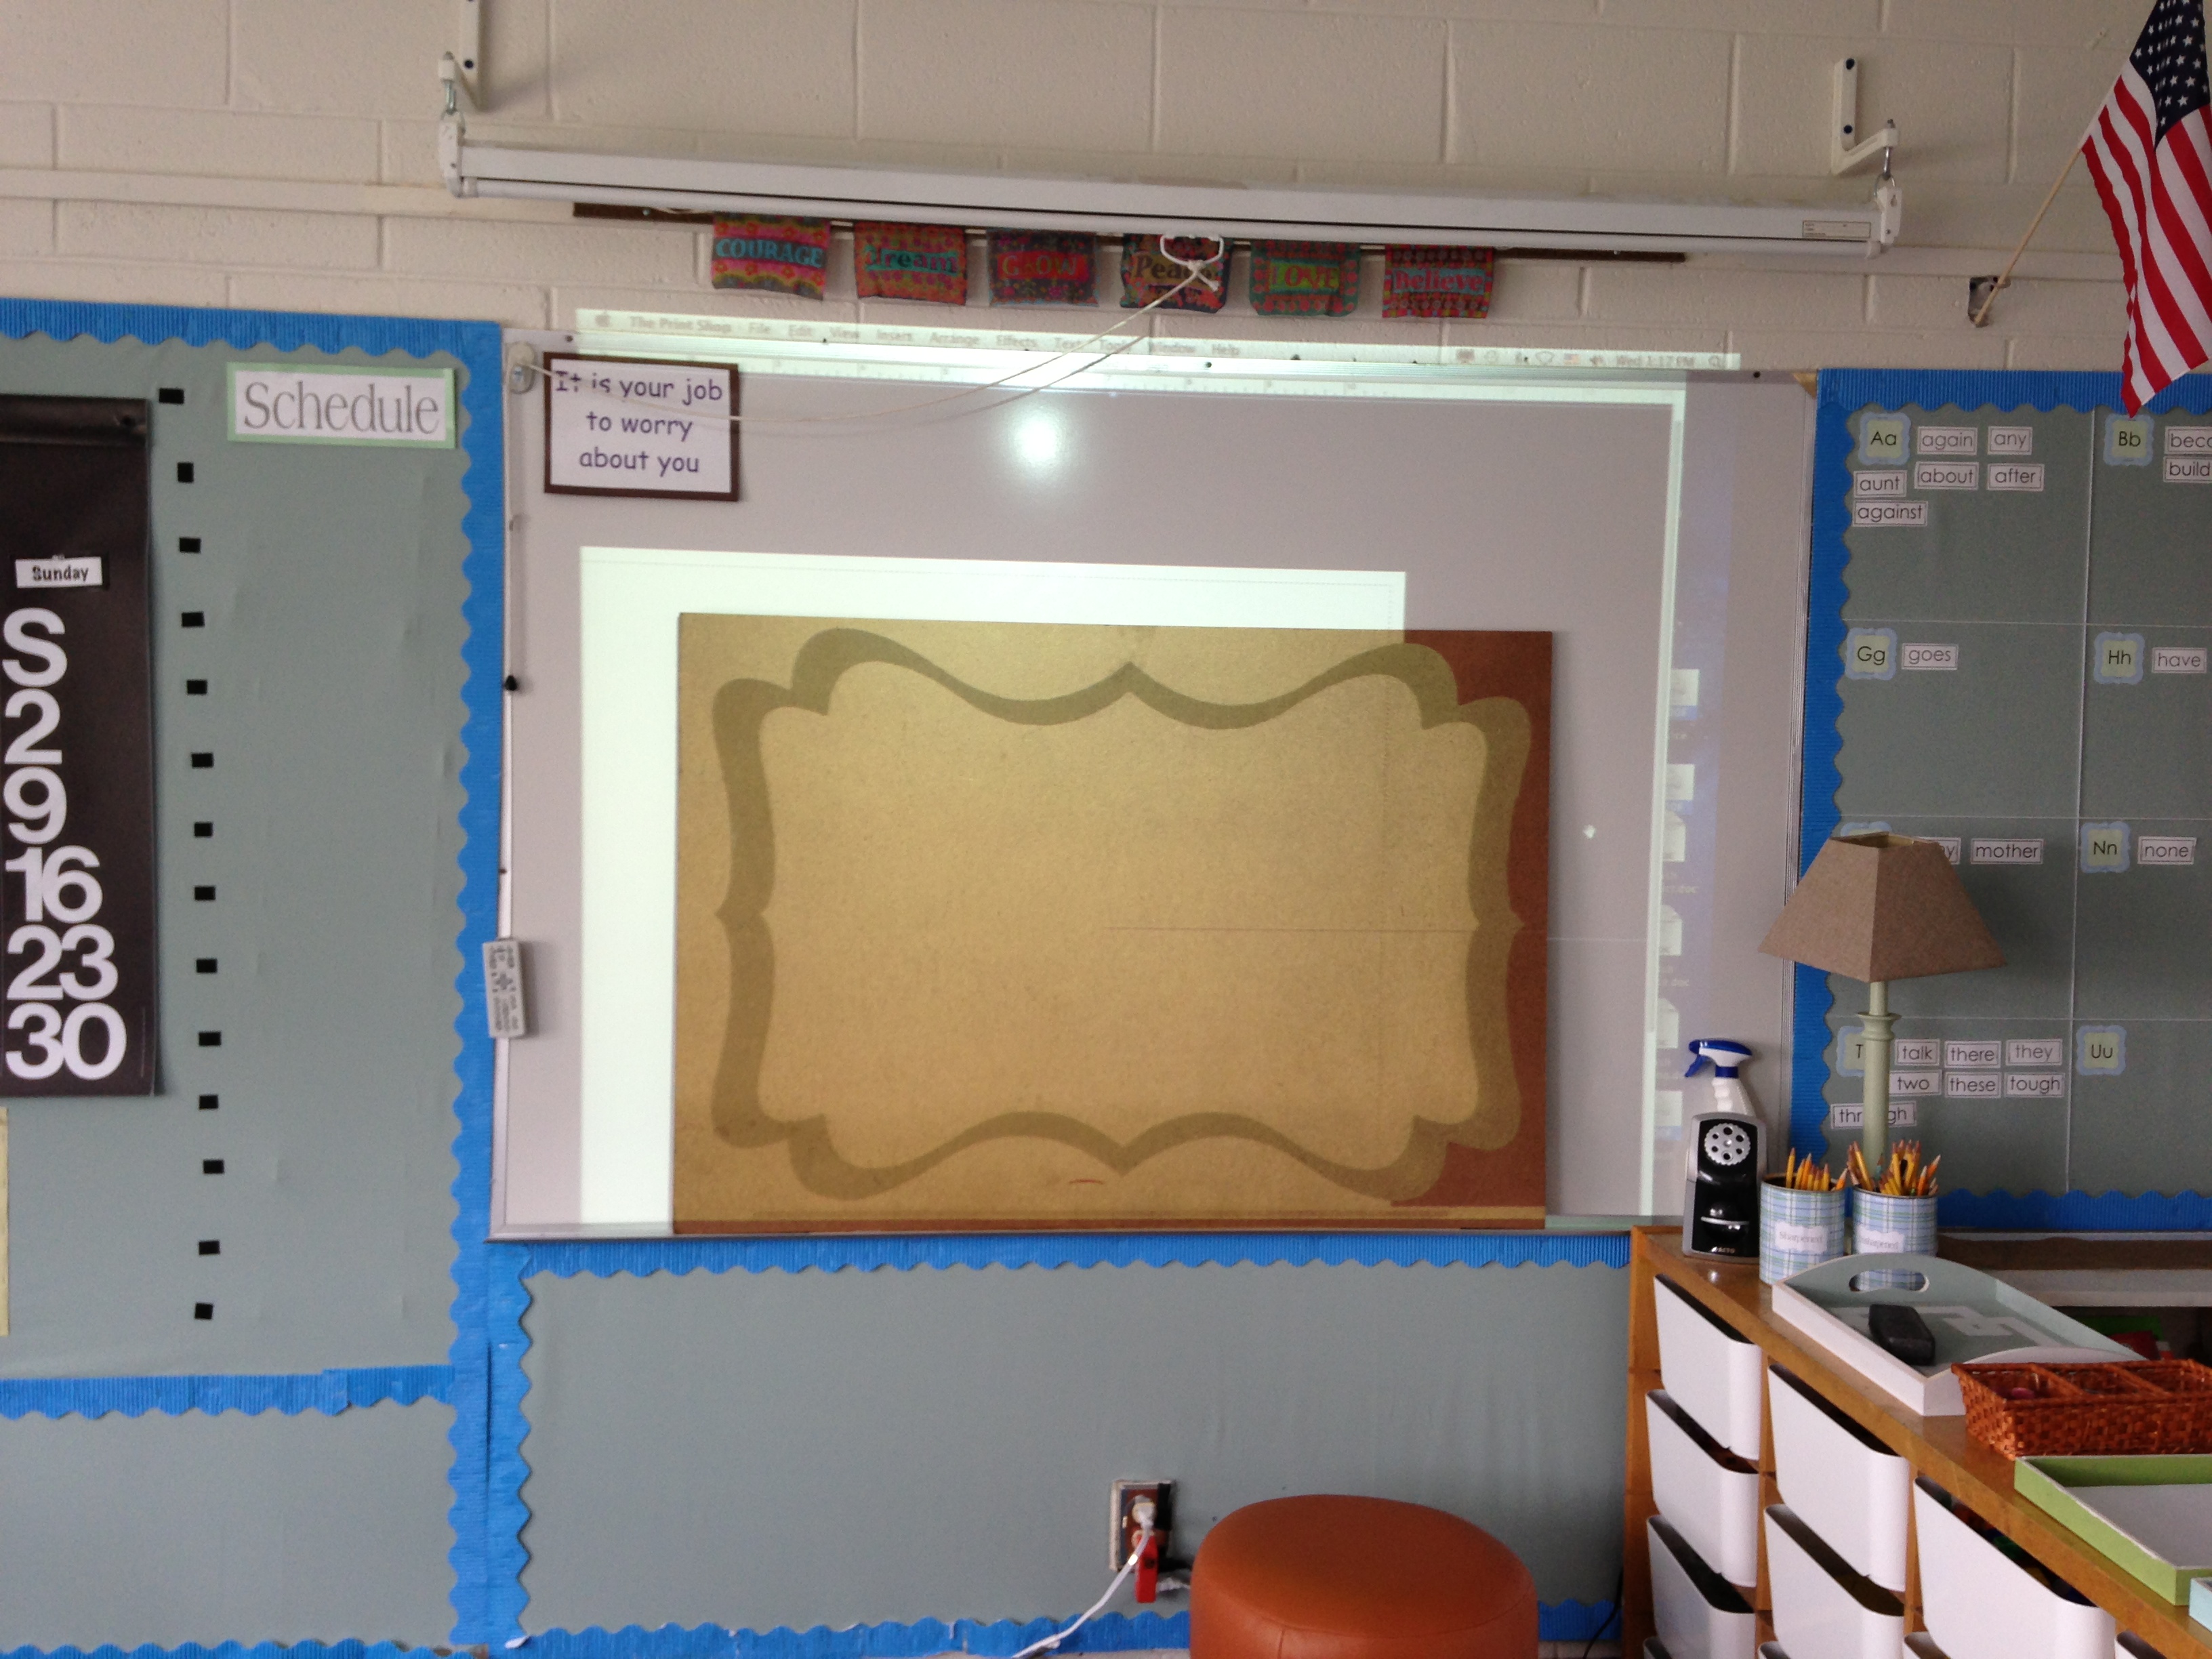 After the shape was traced I took the DIY part off my hands and asked Ray (just the most awesomely amazing maintenance guy) to cut the shape out for me. He made it happen in about 10 minutes! I took the beauty home to add some color to it. After thinking about how I would attach the numbers to the calendar I decided to go with magnets so I went out to Home Depot and bought a quart of magnetic paint and then white latex paint that would go over it.
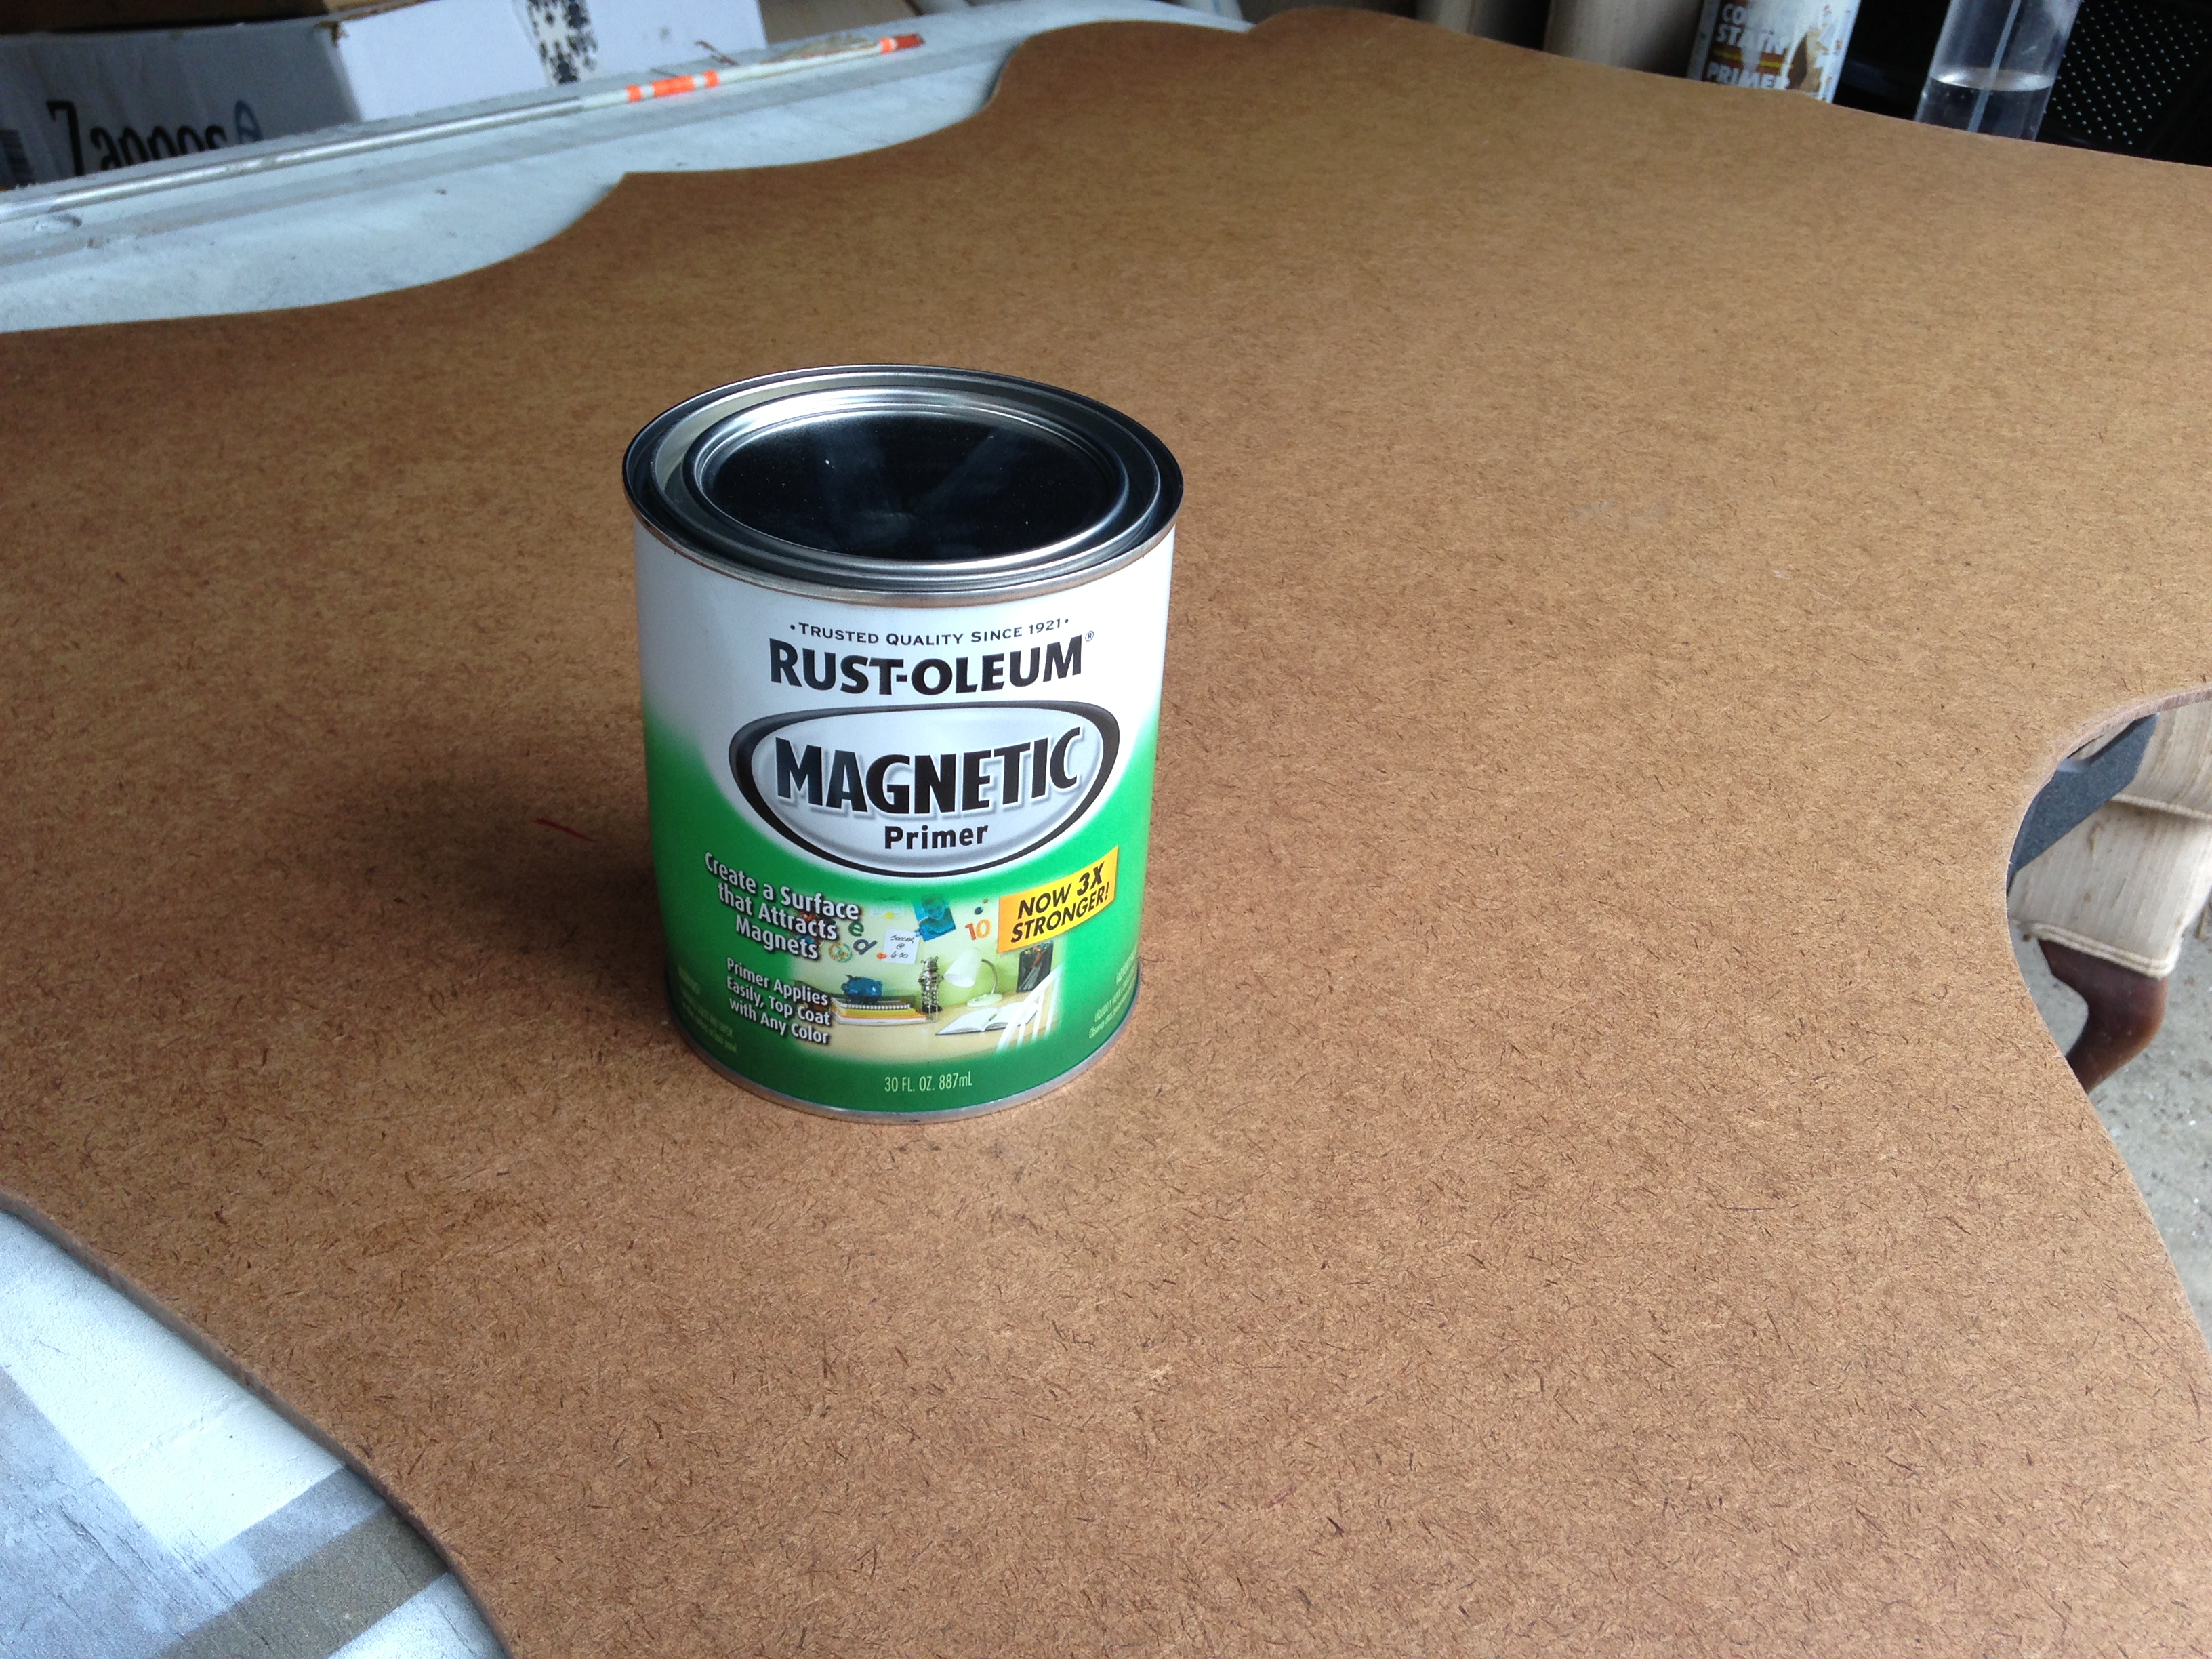 I used a small roller and did 3 thin coats. Once it was all dry, I waited 24 hours, then did 2 coats of the white latex paint.
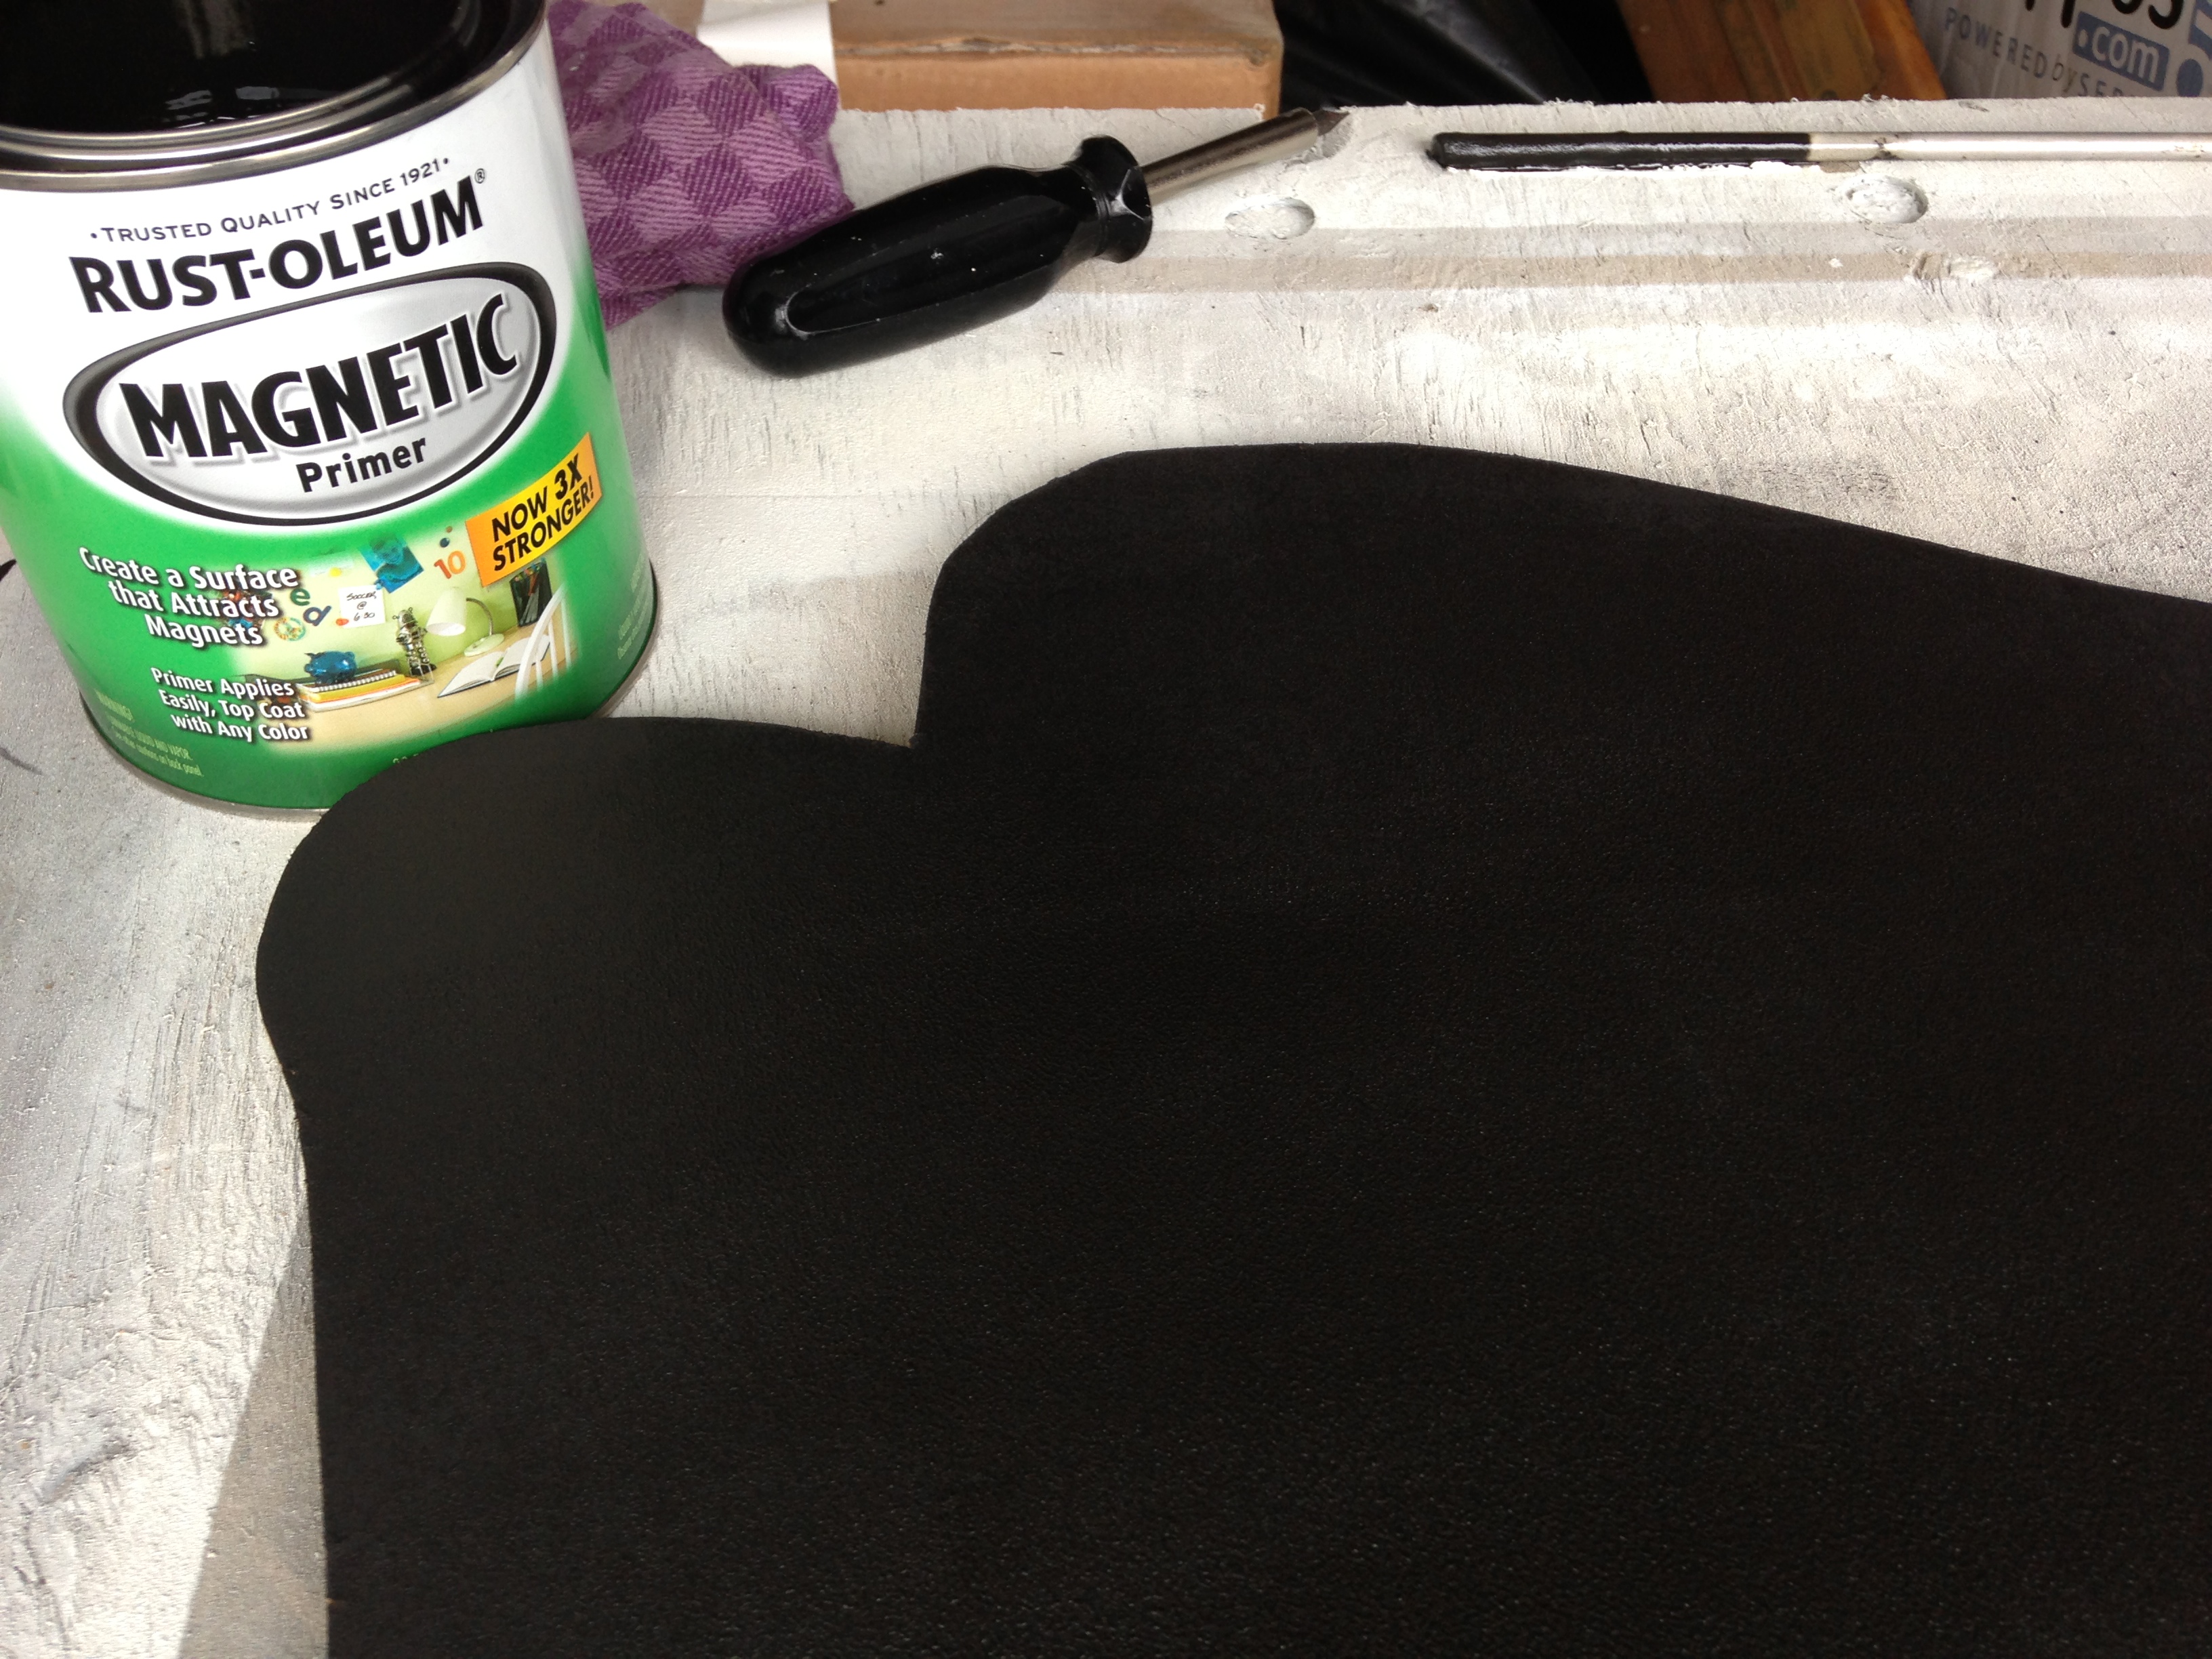


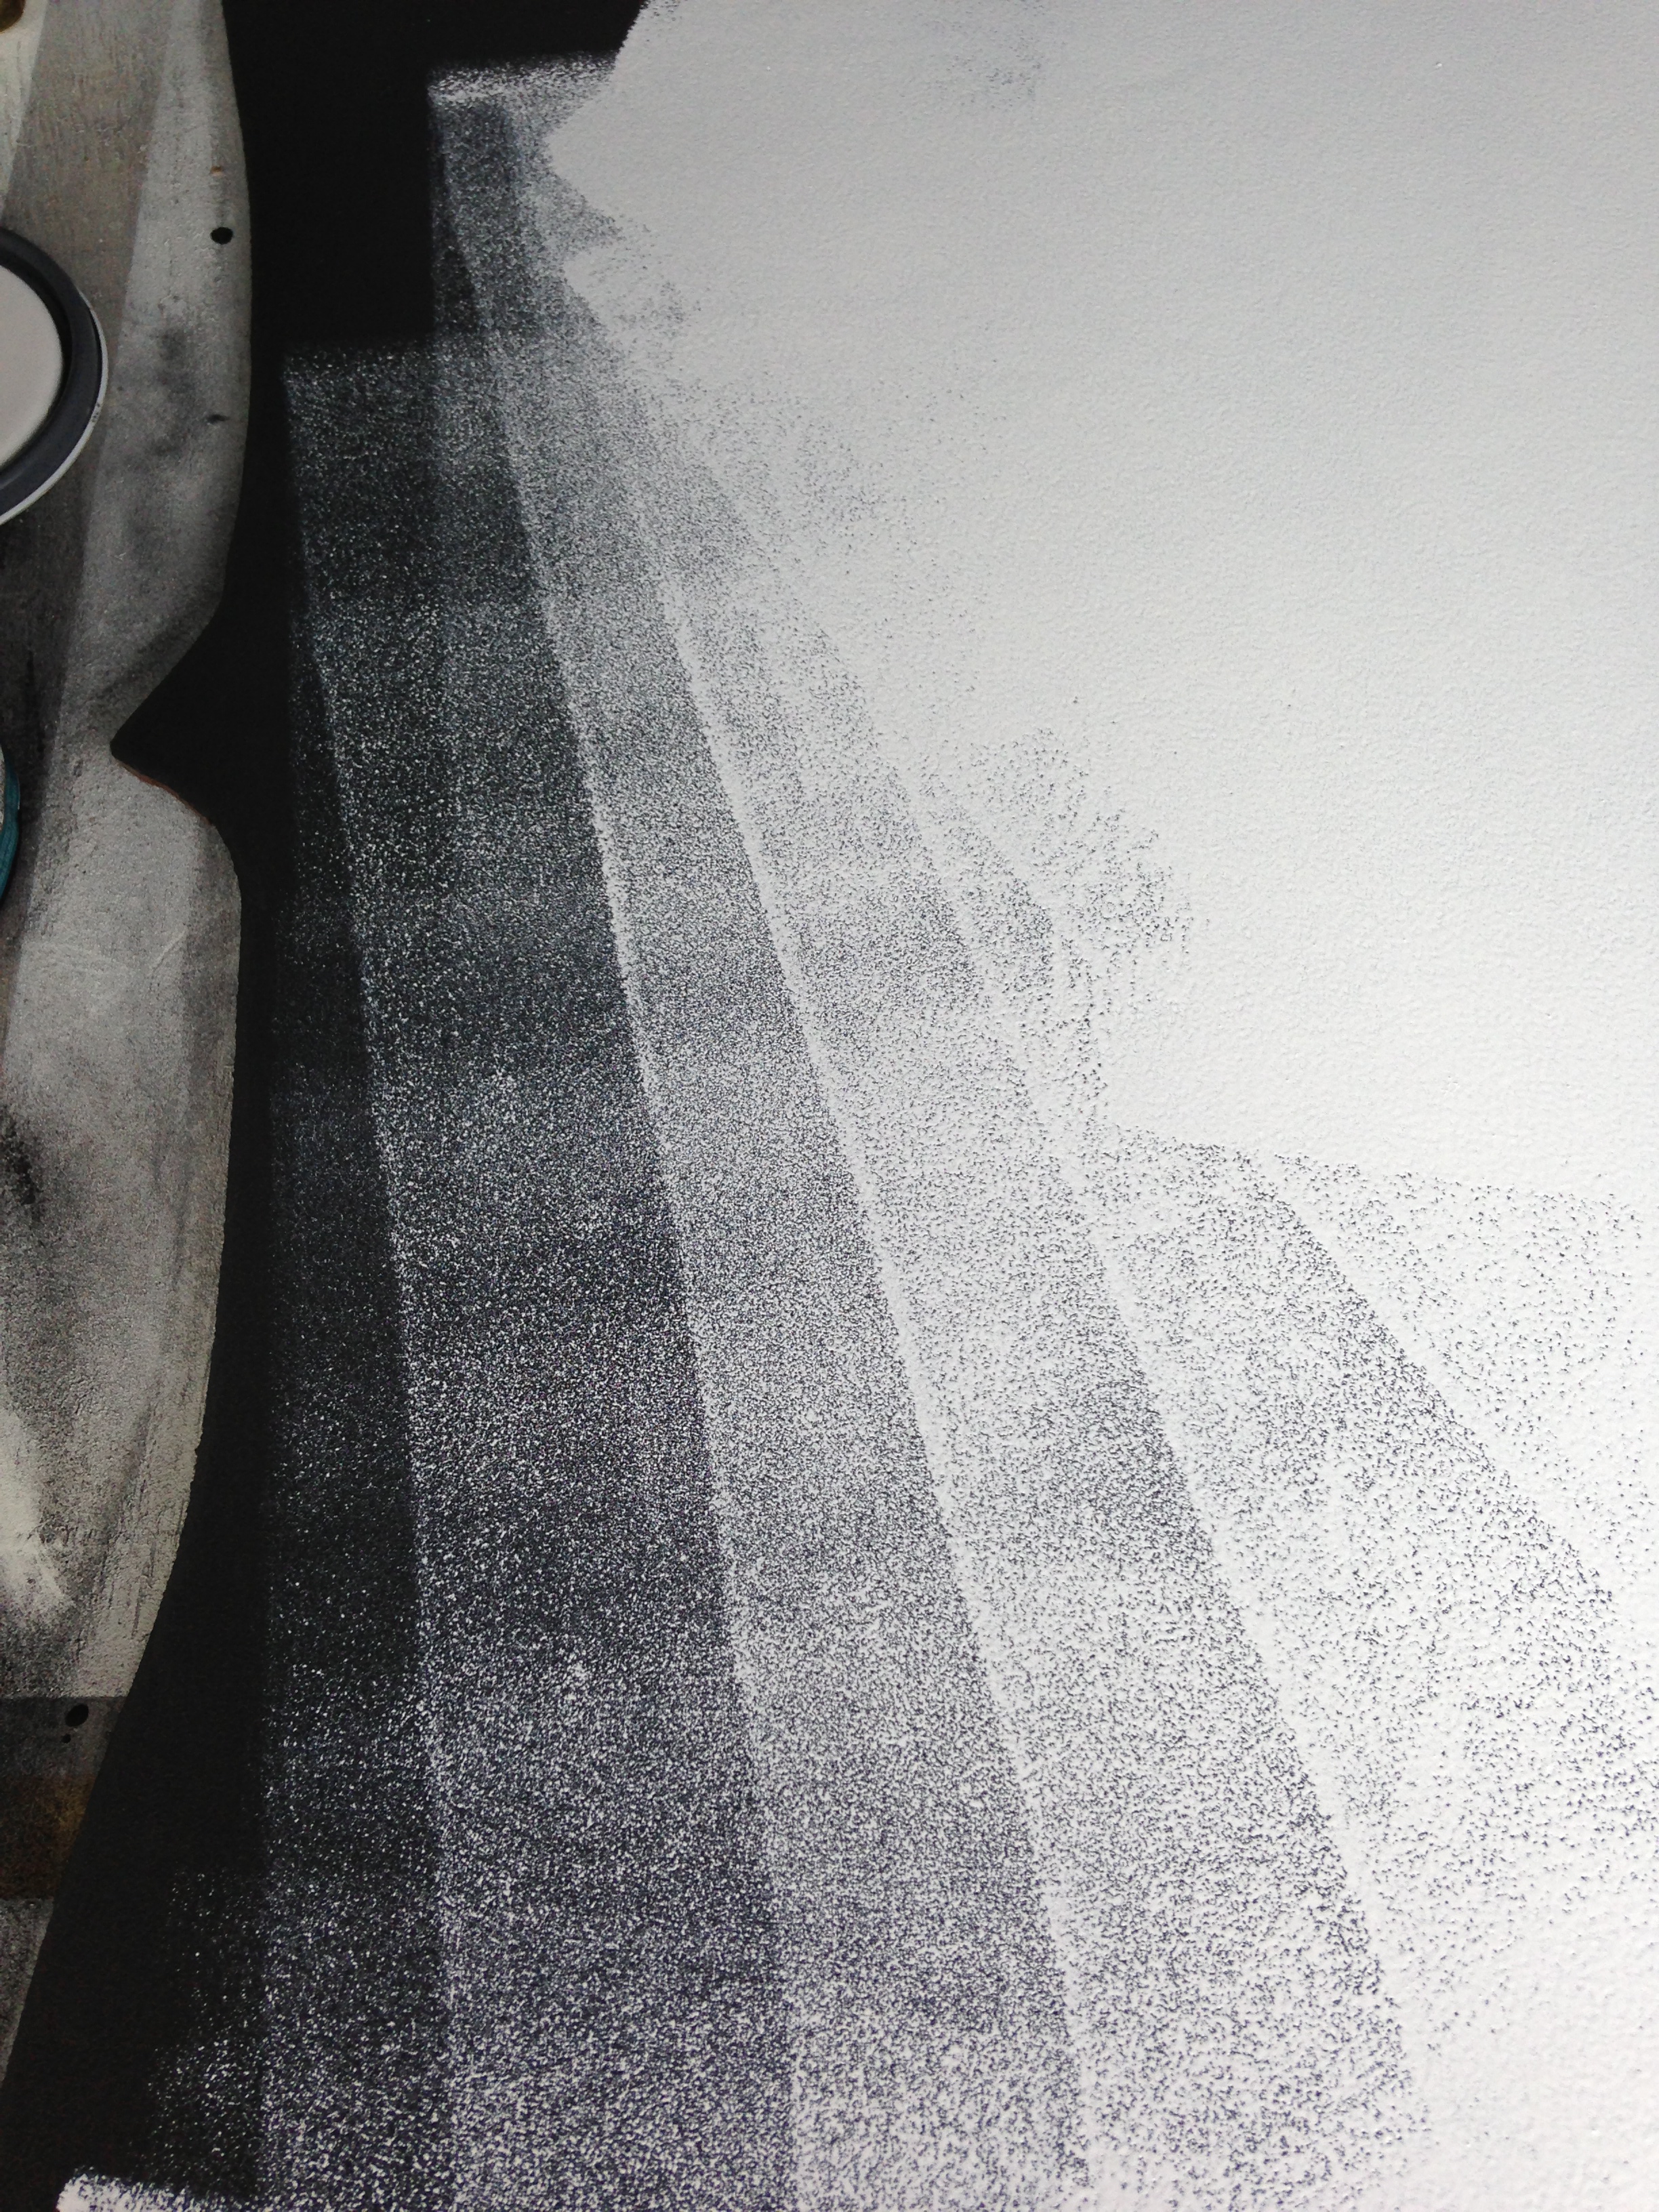 While that was drying it was time to work on the numbers and months. I printed the images for the months on white card stock and cut them out with scissors and then had then laminated.
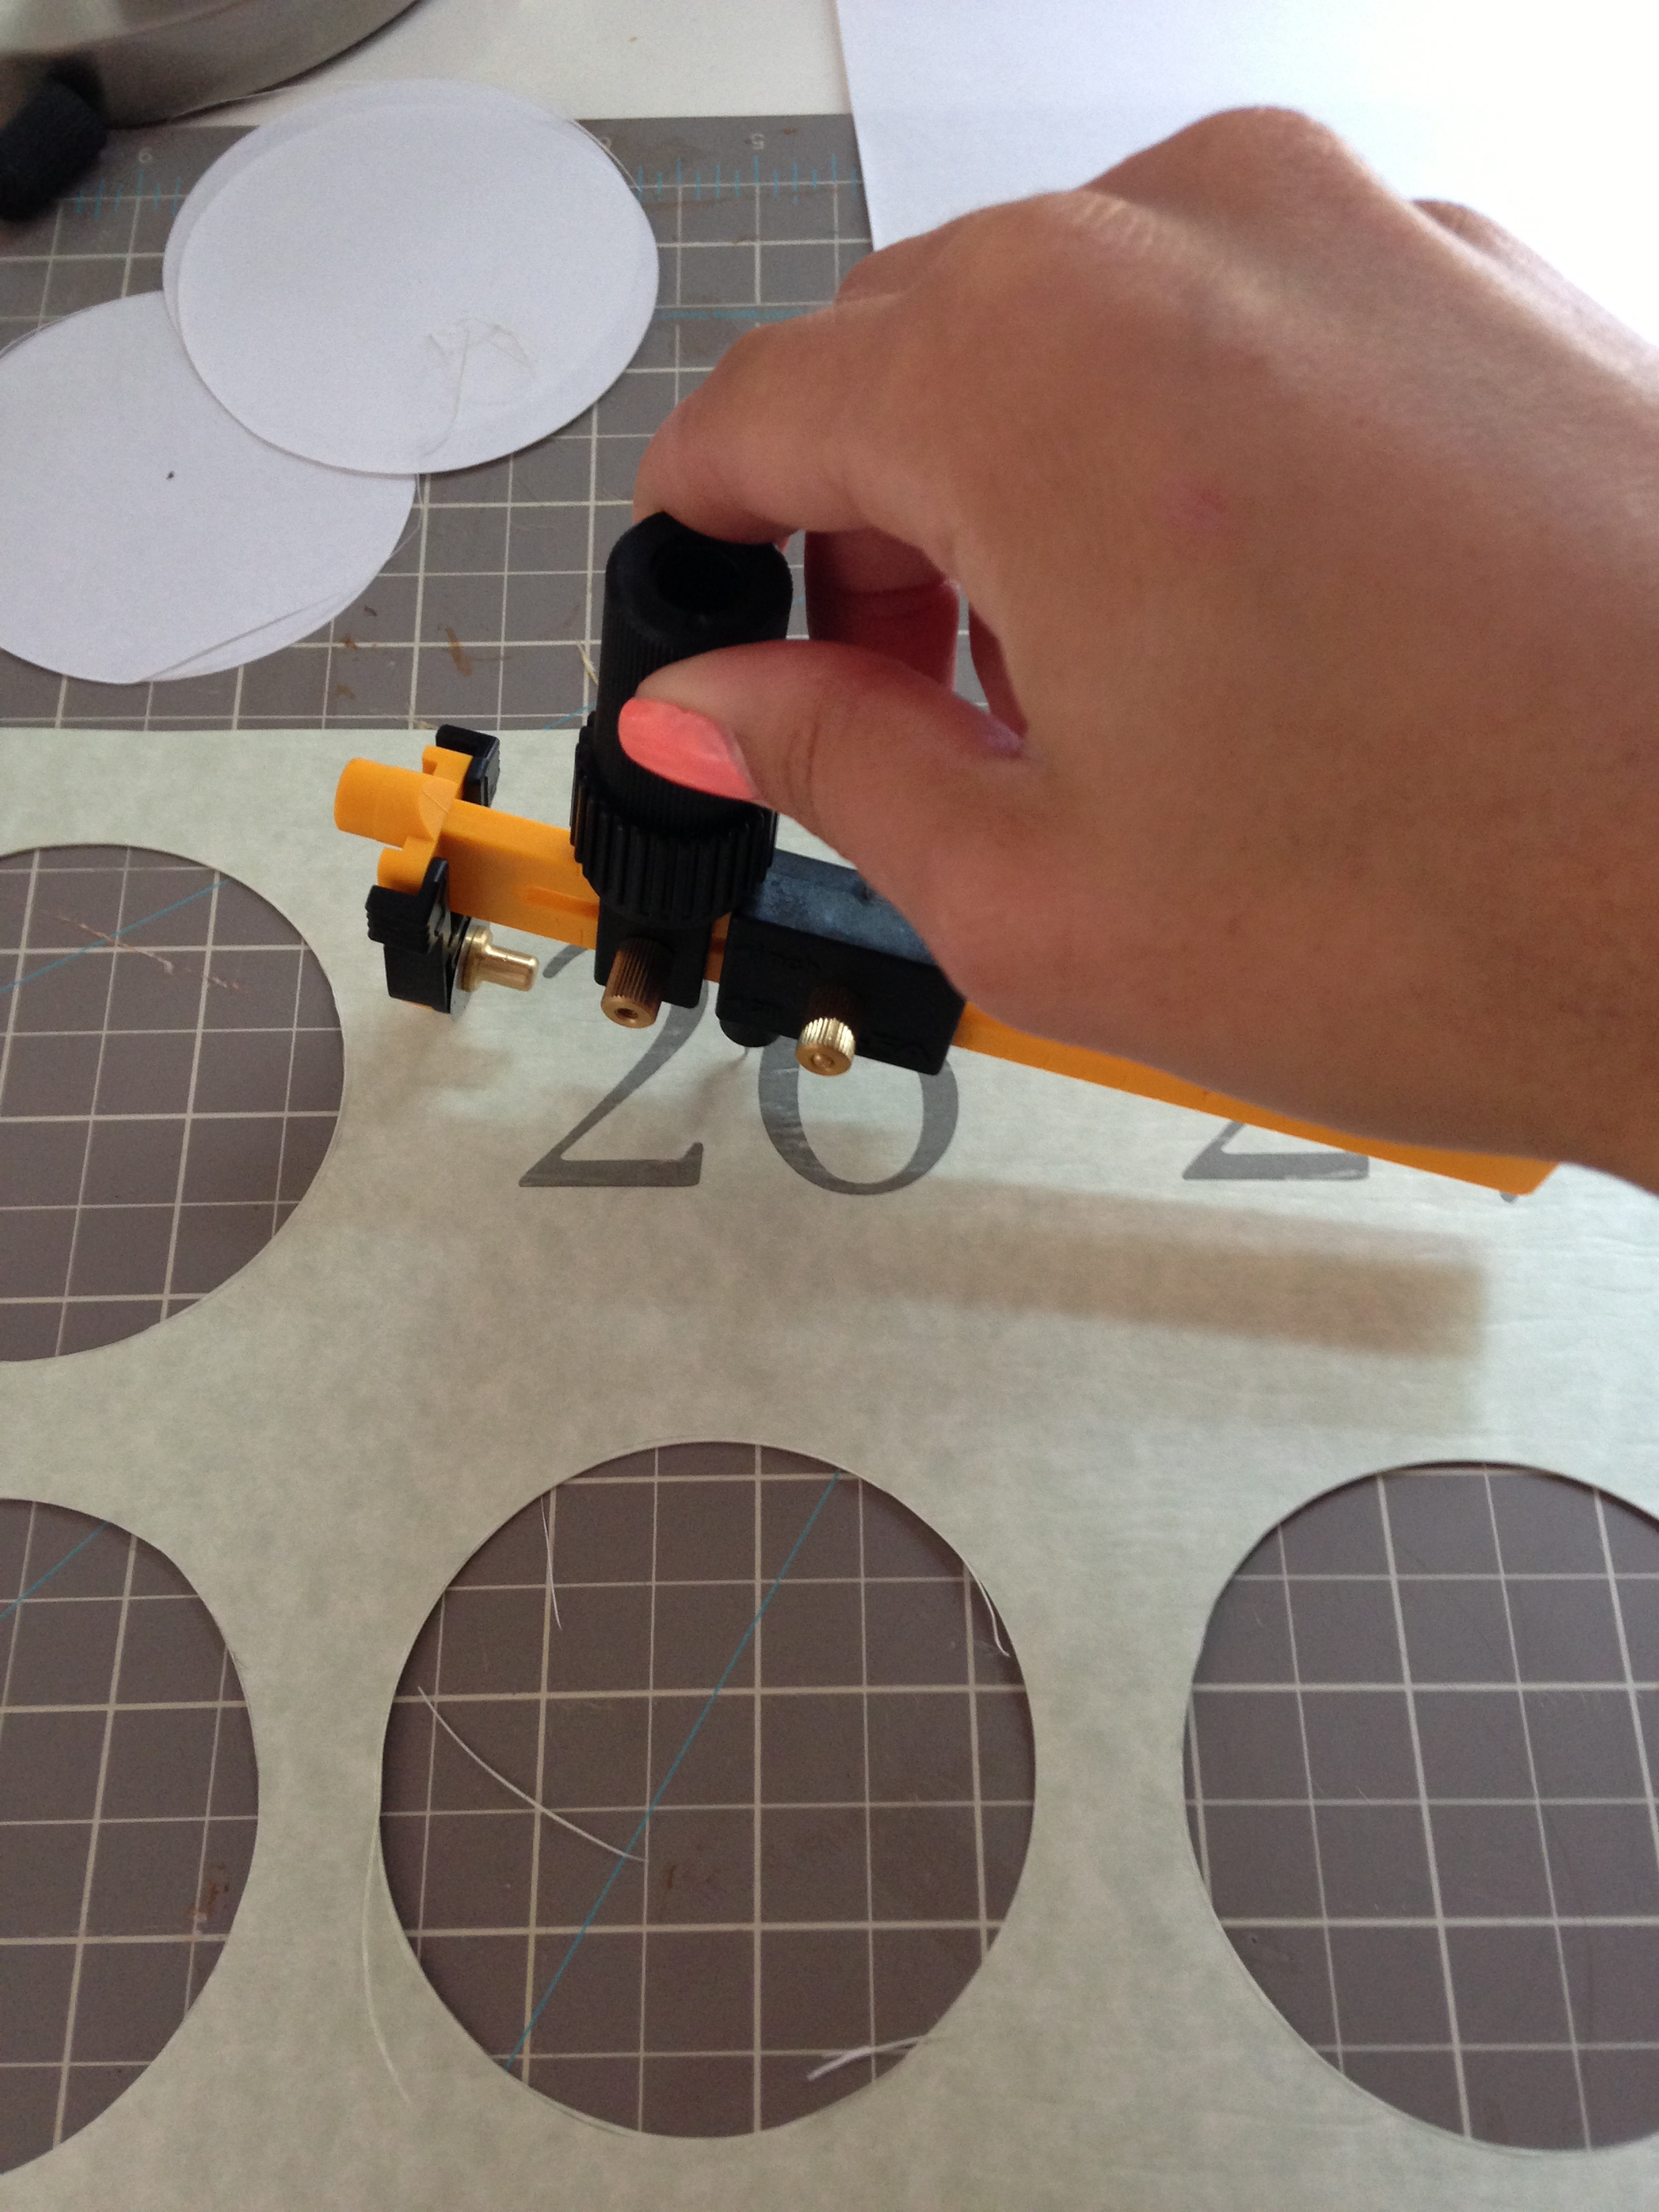
 For the numbers, I printed them on green card stock and then used my rotary circle cutter to cut them out and then added sticky magnets to the back of them after having them laminated.
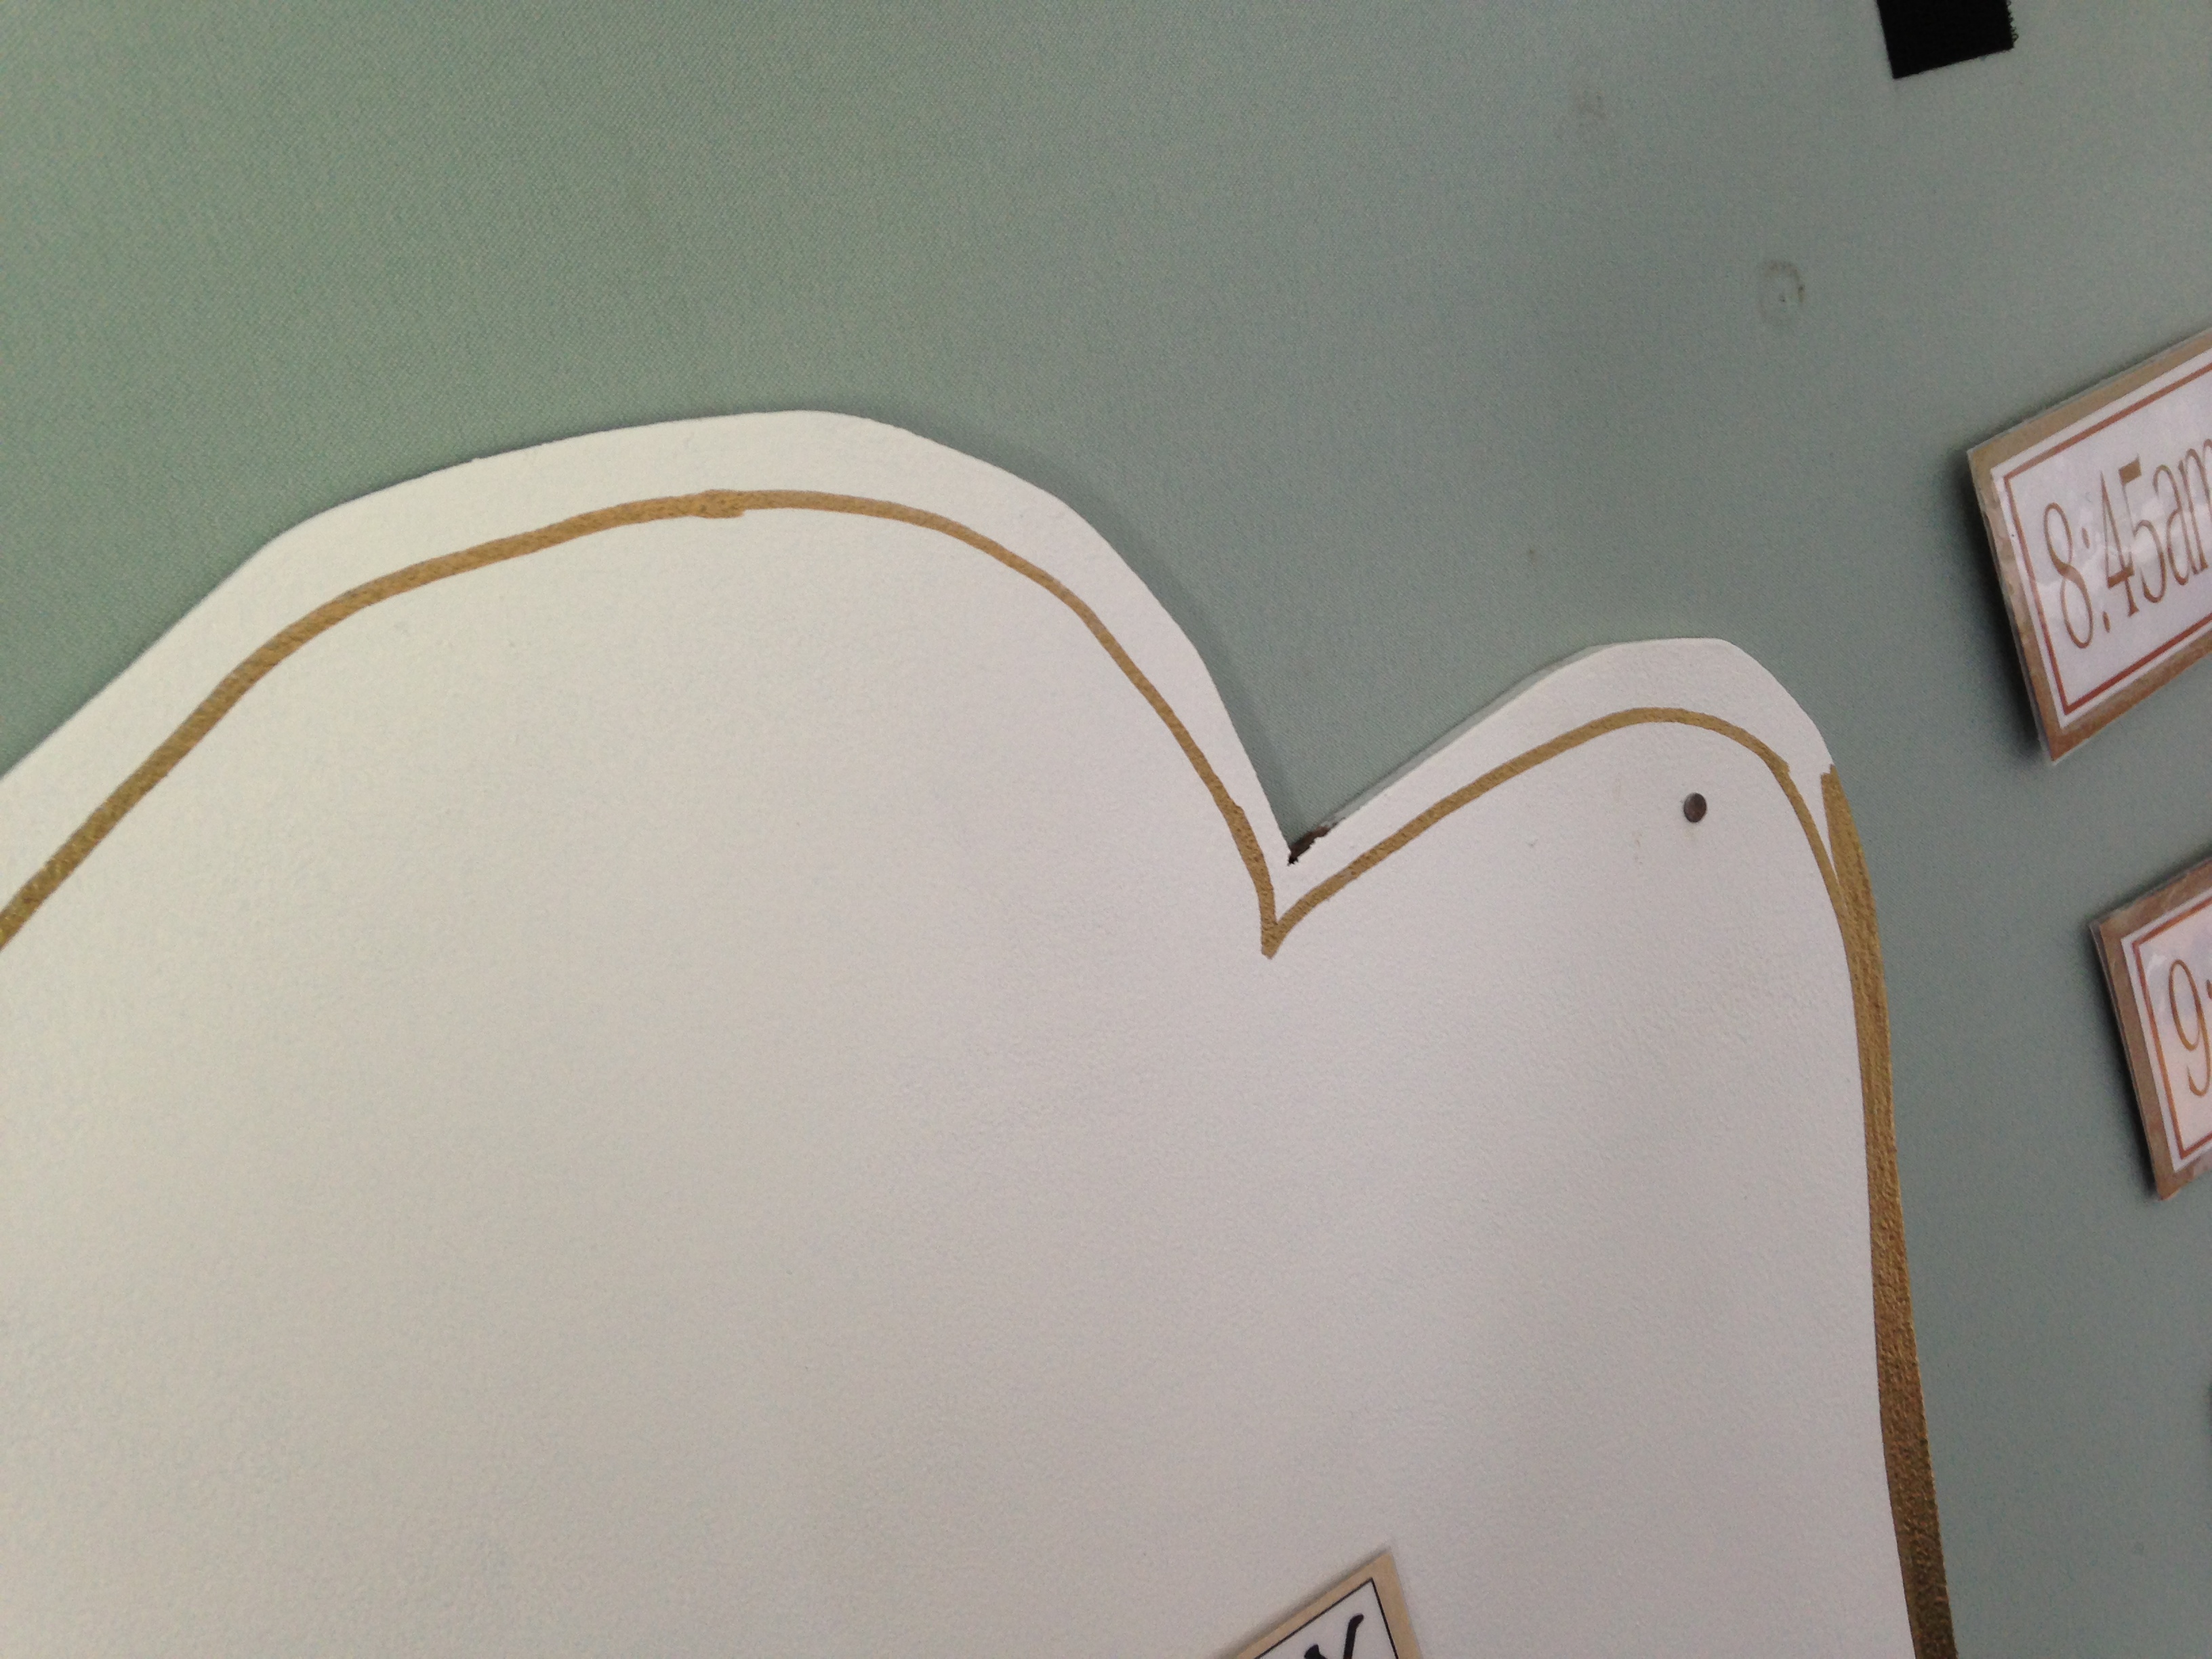
 Once the board went up I felt it was missing something. It looked to stark white against the board so I grabbed my trusty gold pen and created a boarder all around.
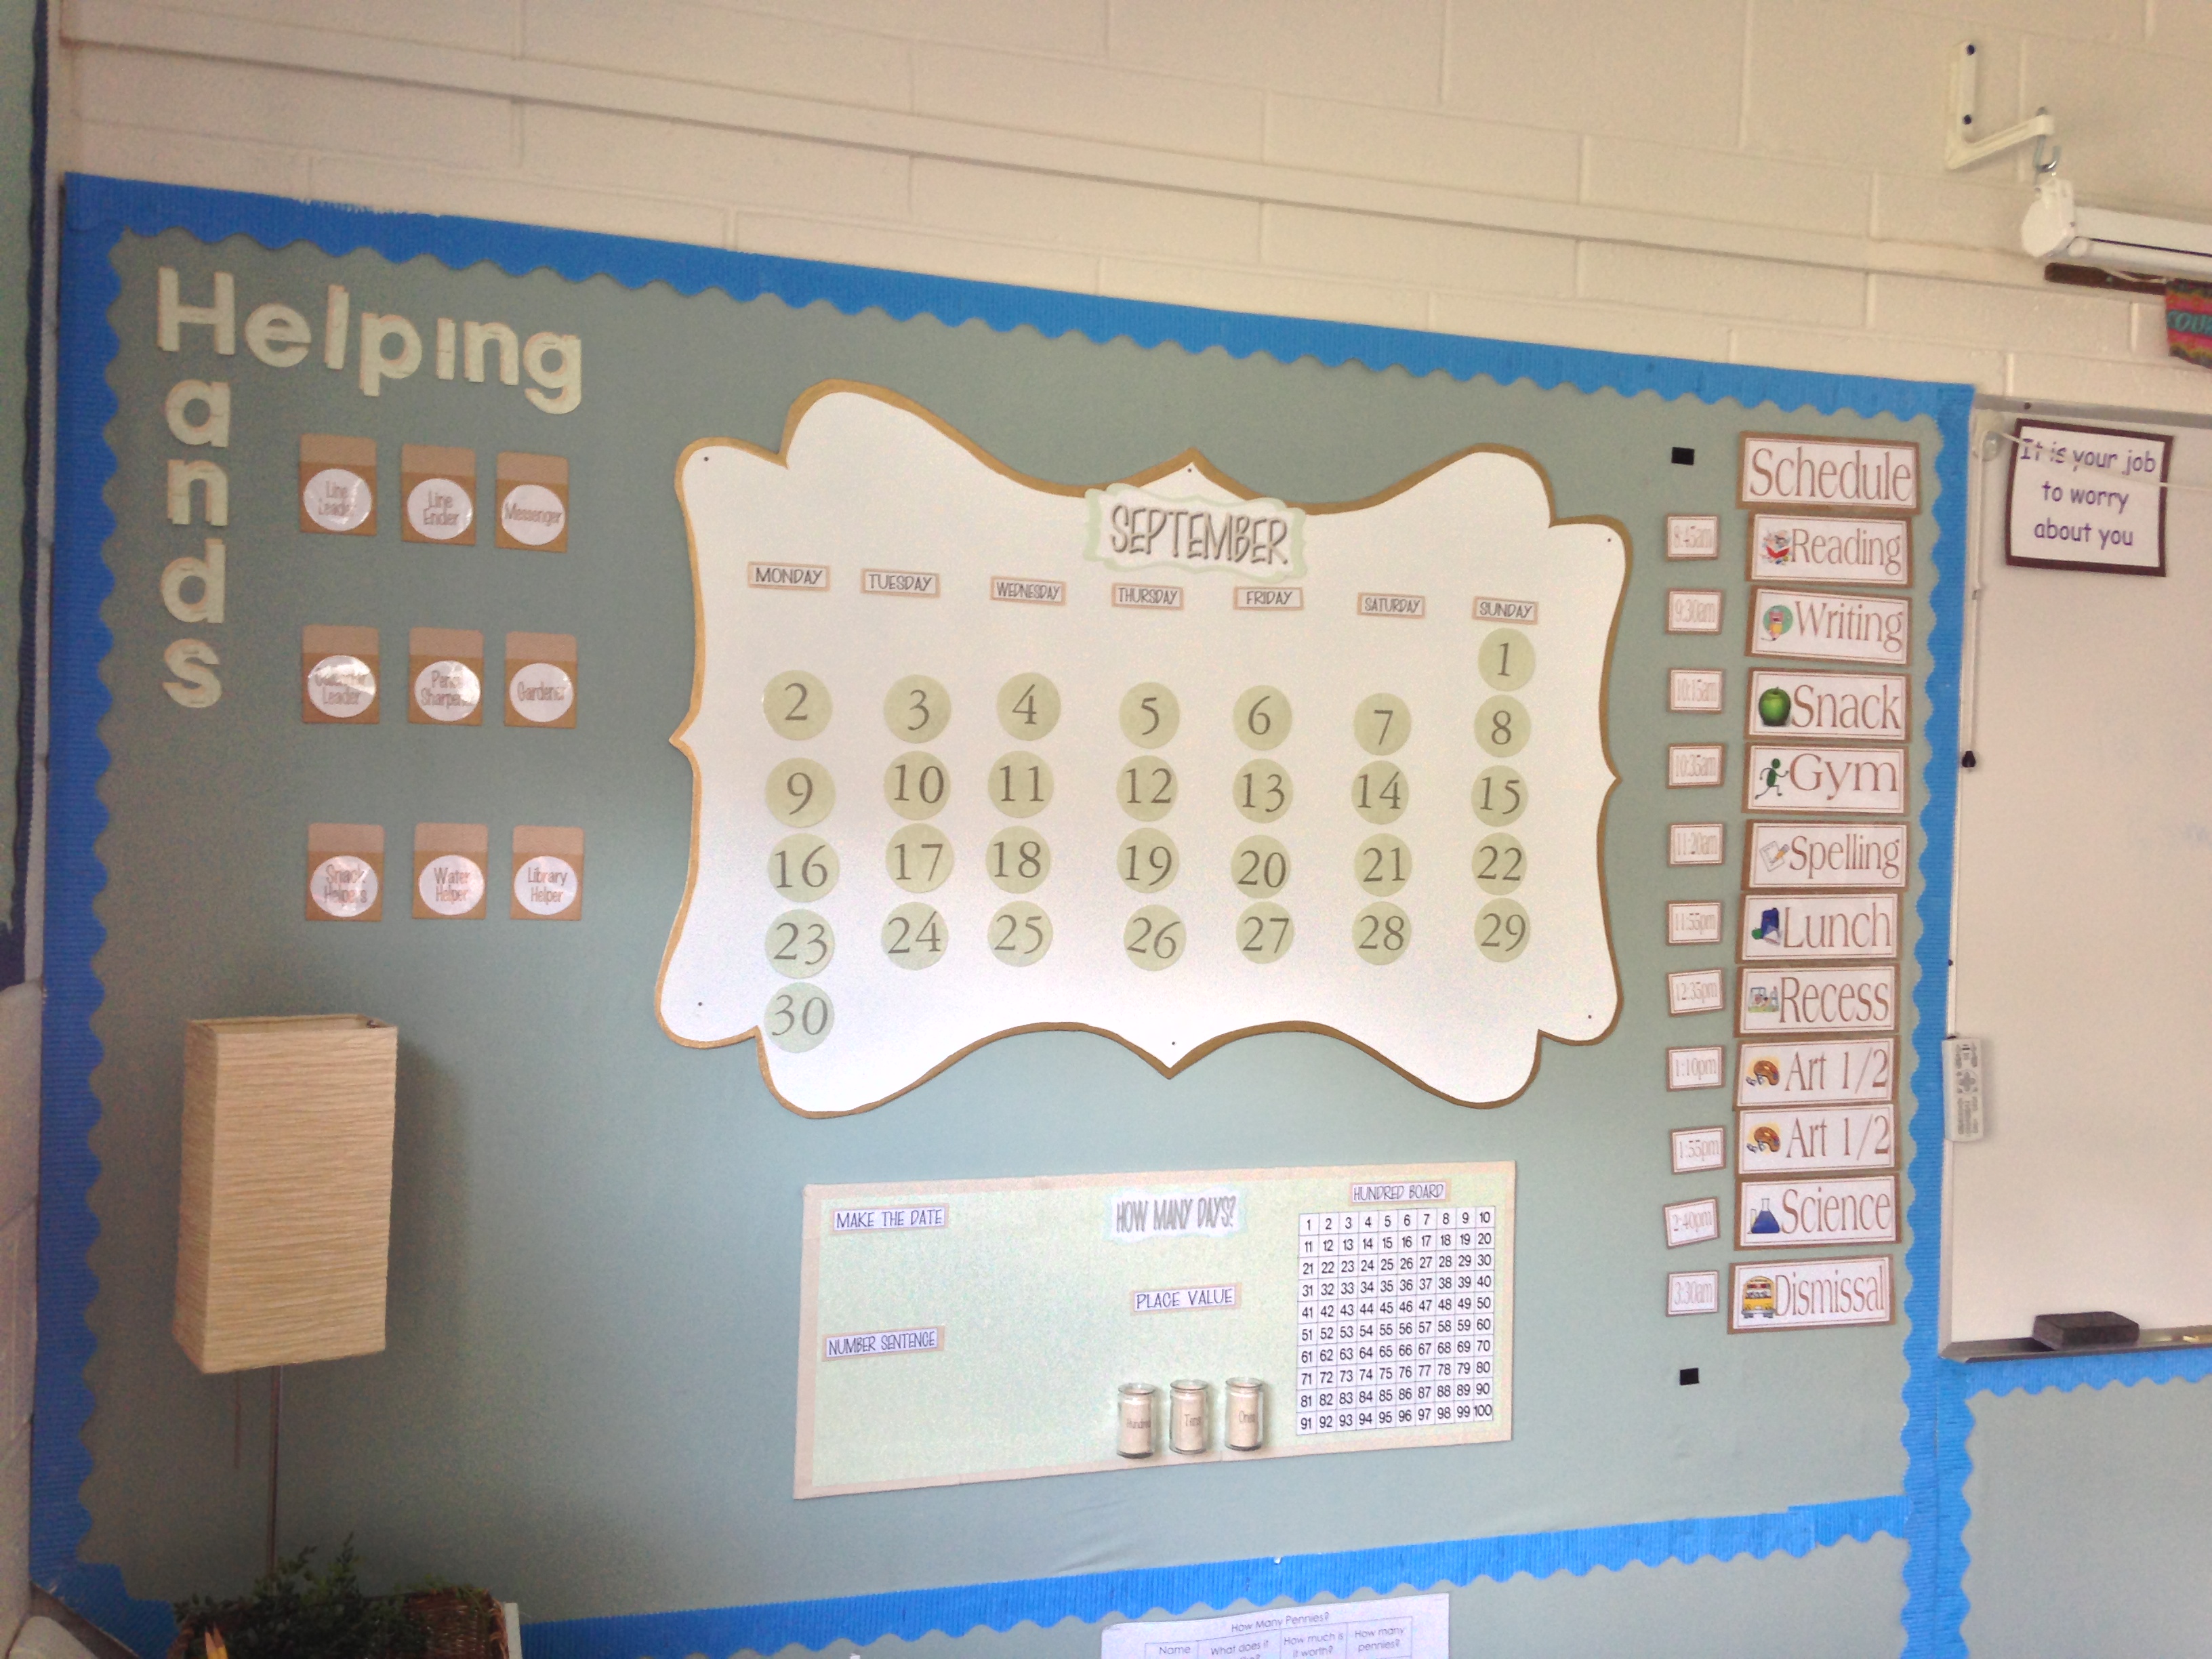
 And while I was at it I changed the color of the schedule because well the greens didn’t match anymore and that would have just make me crazy all year!
