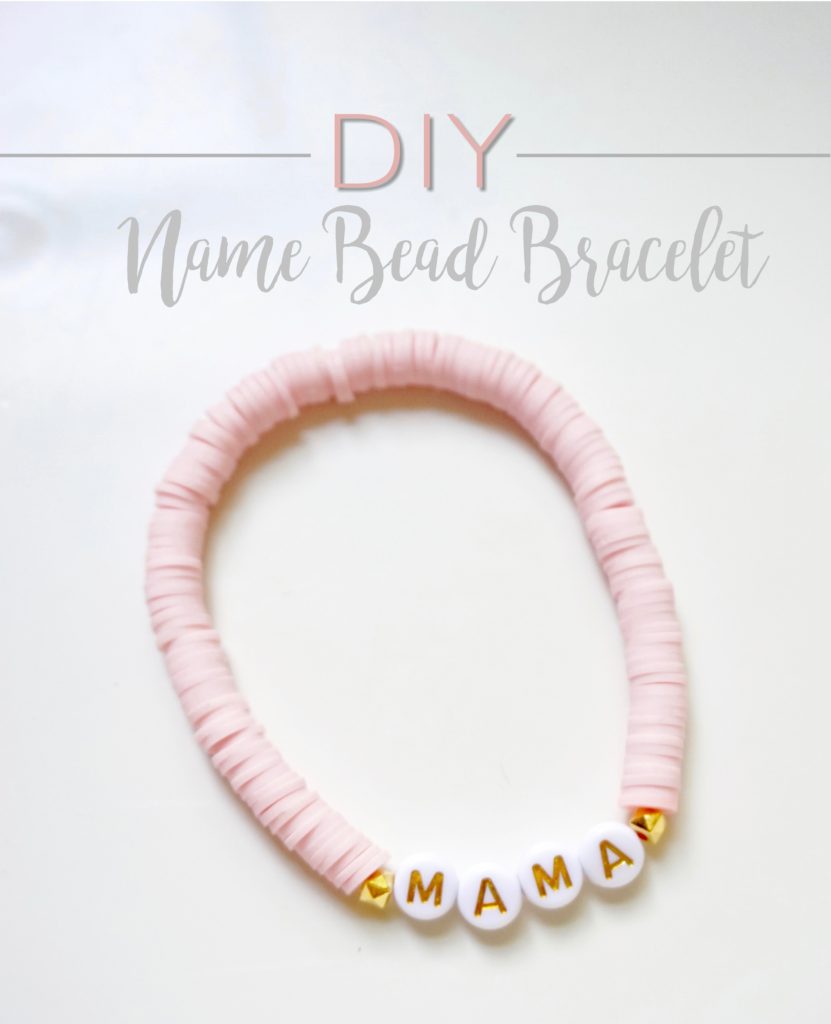
I’ve been seeing these bracelets everywhere and my DIY heart had to give them a try because I love some cute arm candy!
I turned to Amazon for my supplies which included flat clay beads and cute gold spacers. I choose to go with gold letter beads as well. You can shop all the supplies HERE!
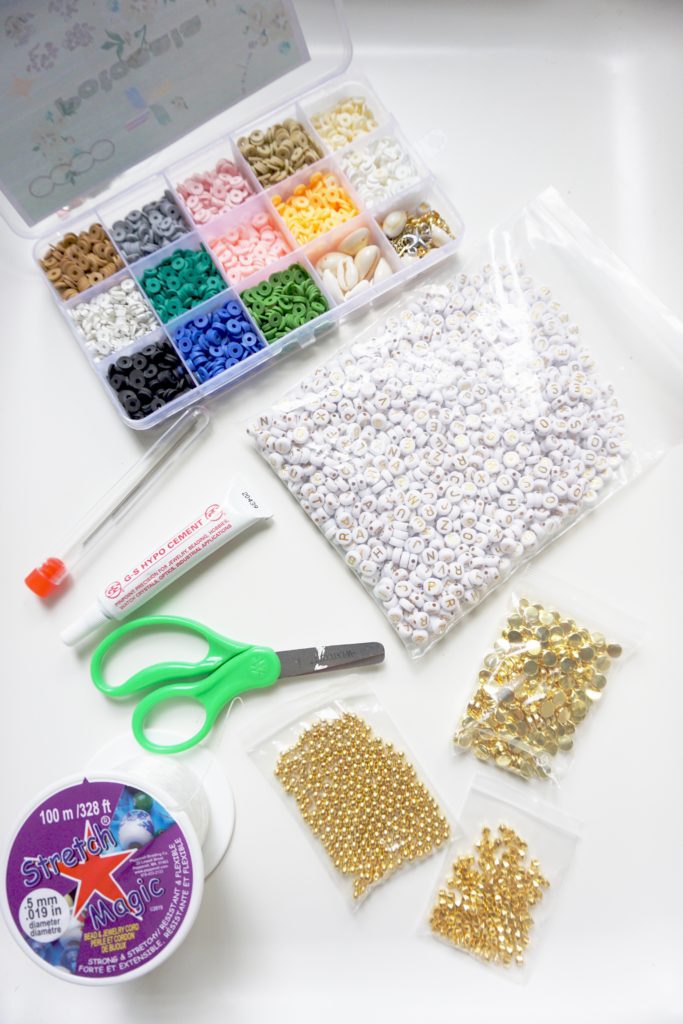
I used this chart to help me figure out the length to make the bracelet but ultimately I just tested it on my own wrist to make sure it was comfortable.
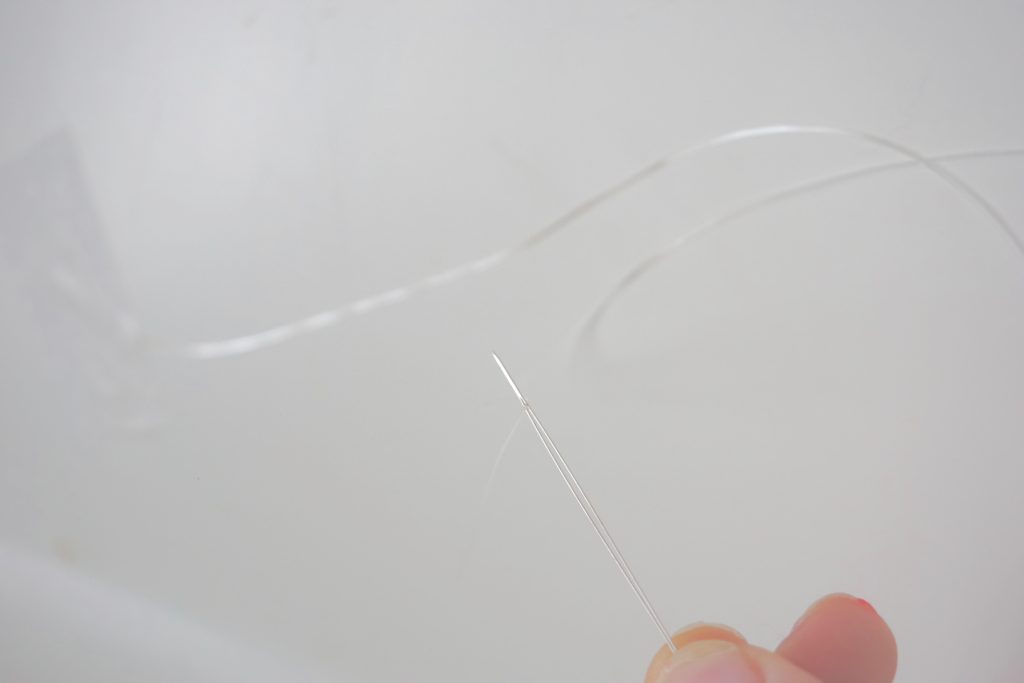
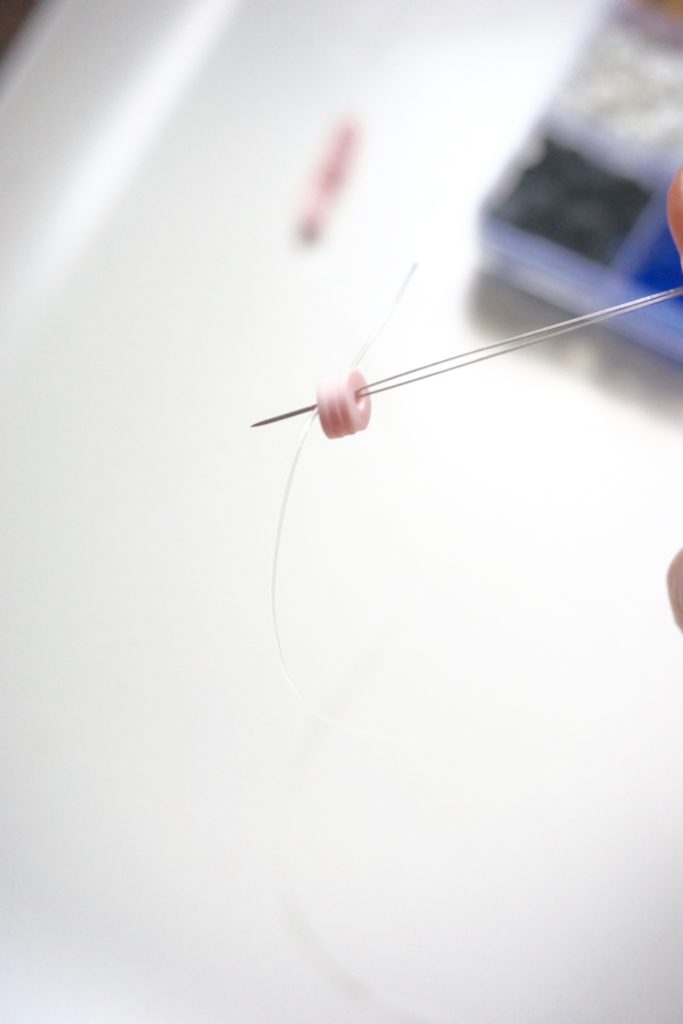
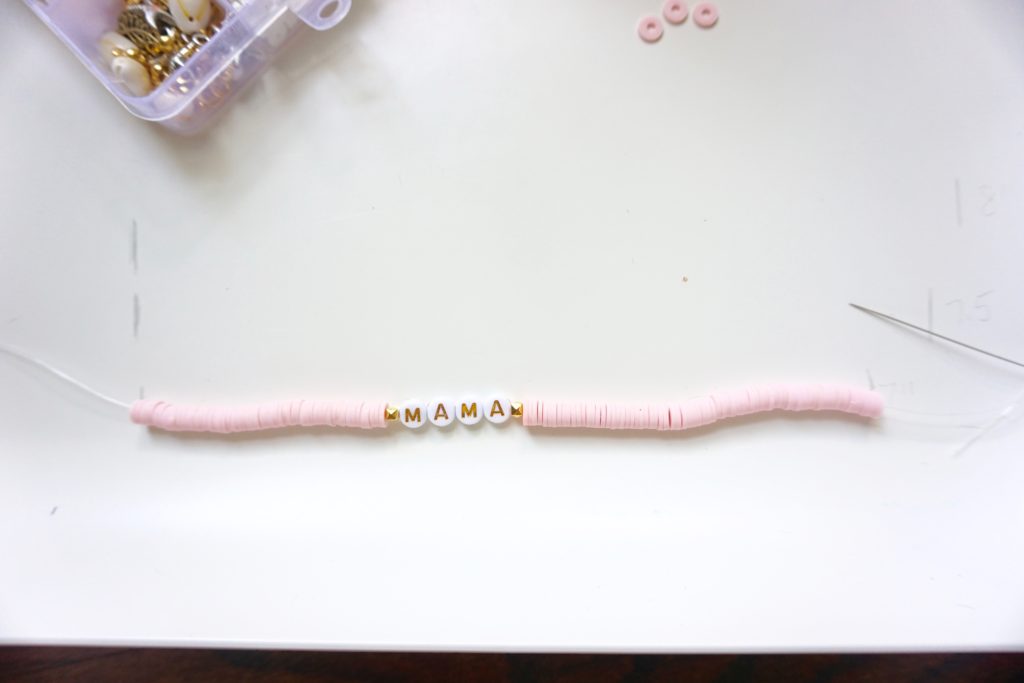
The first thing I did was cut the 5mm stretch string. A good rule of thumb is to give the string a good stretch to help it from ever snapping before you start beading. I taped one end to my tray and used a beading needle to help put the beads on.
You can used any beads you want for these but if you are looking to create the same type of bracelet then clay beads are the way to go! As far as any other spacer beads, I purchased those in 4mm. I was making a Mama bracelet here for a friend so I went with a soft pink color.
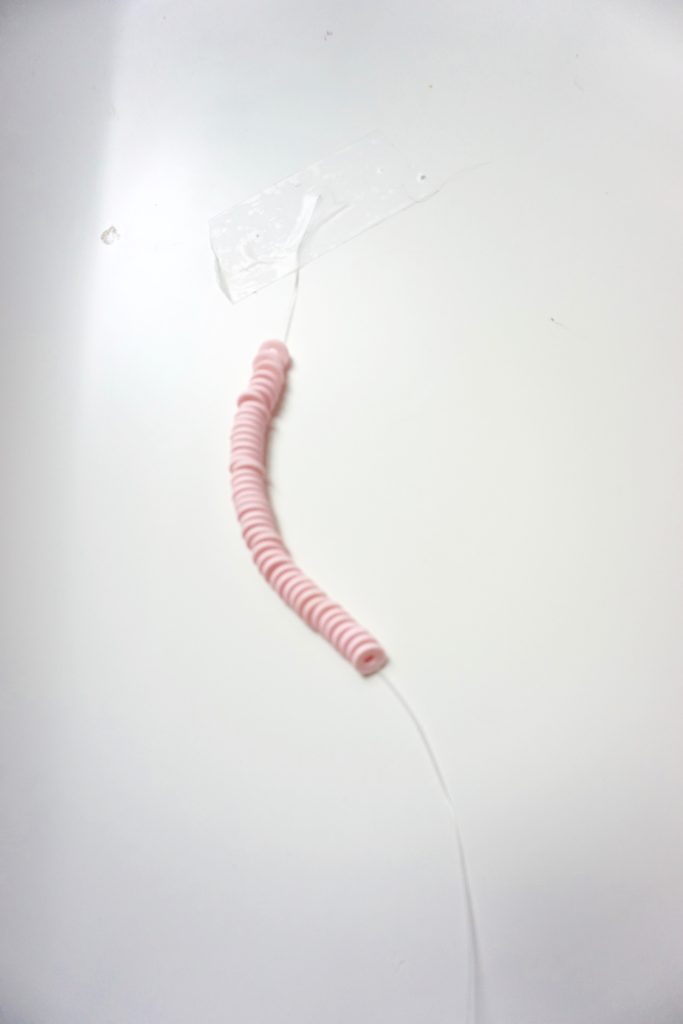
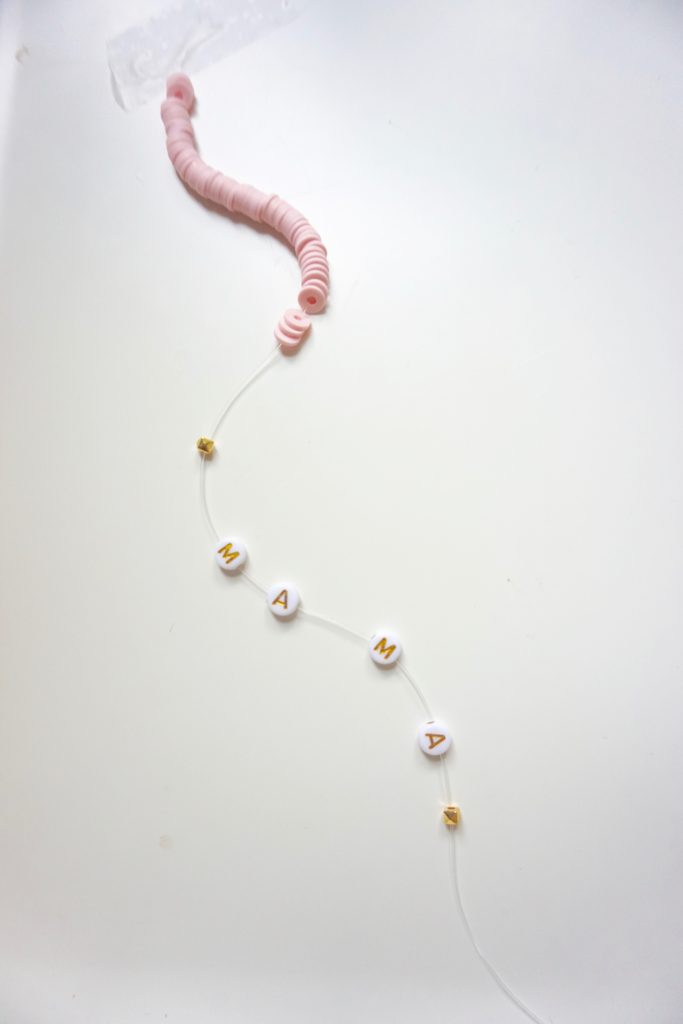
For the name part I added a cute gold spacer before and after the letter beads and then a few more pink clay beads. It doesn’t matter how many clay beads you add to the left and right of the letter beads because it will all come together when you close it.
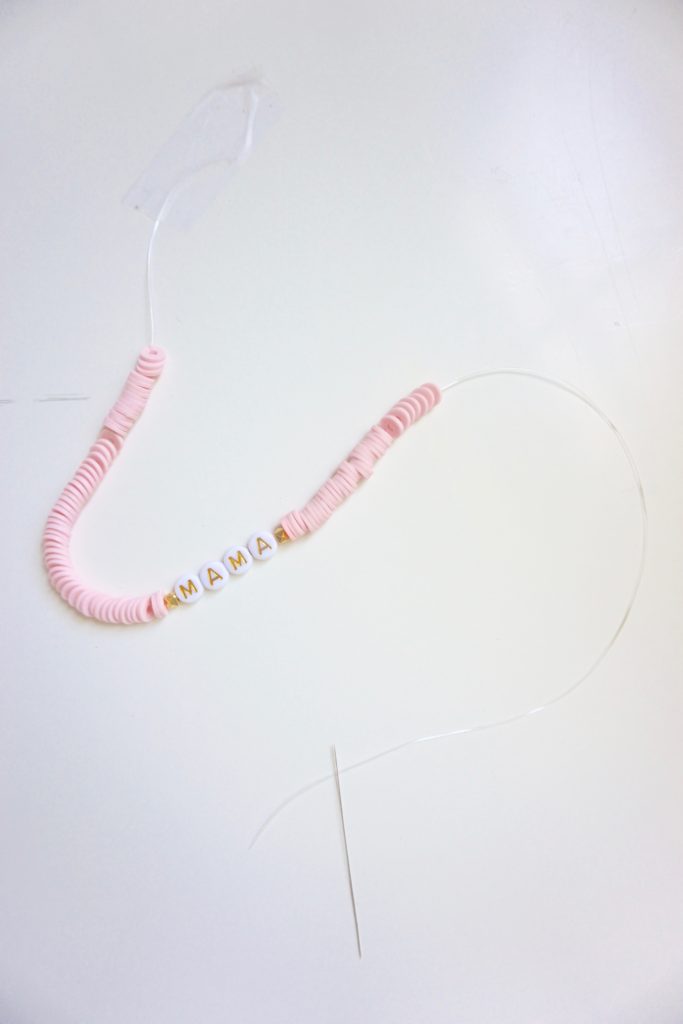
I made marks on the tray to help me with the sizing.
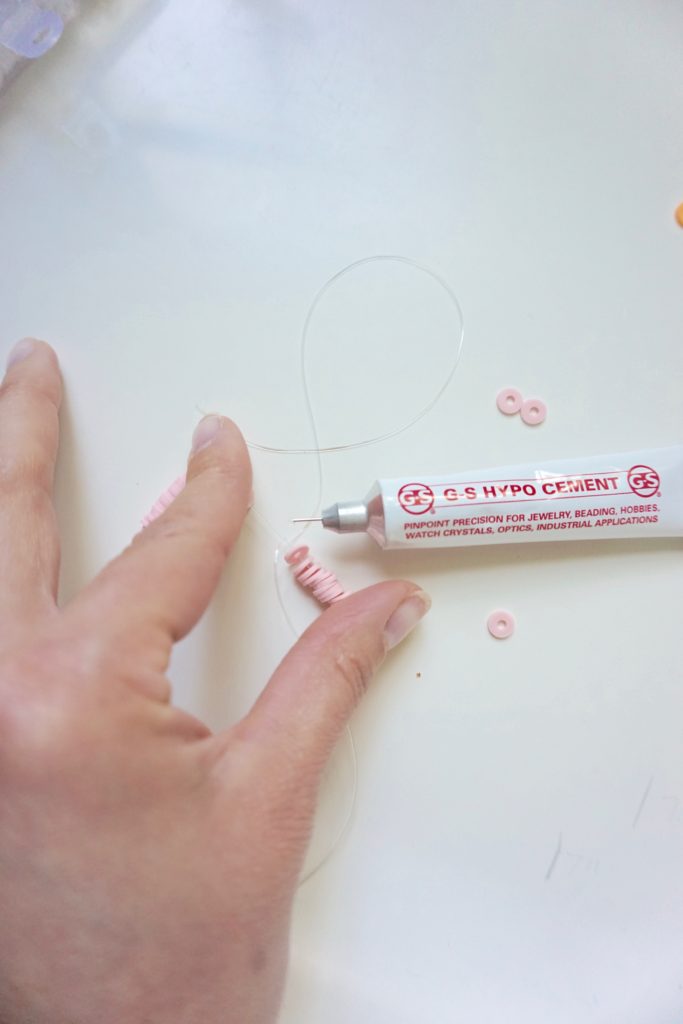
Once I’ve figured out the sizing, I tied my knots. I didn’t do anything fancy, I just tied 4 tight knots but one thing I did to secure it was use G-S Hypo Cement right on the knots to make sure it doesn’t come undone.
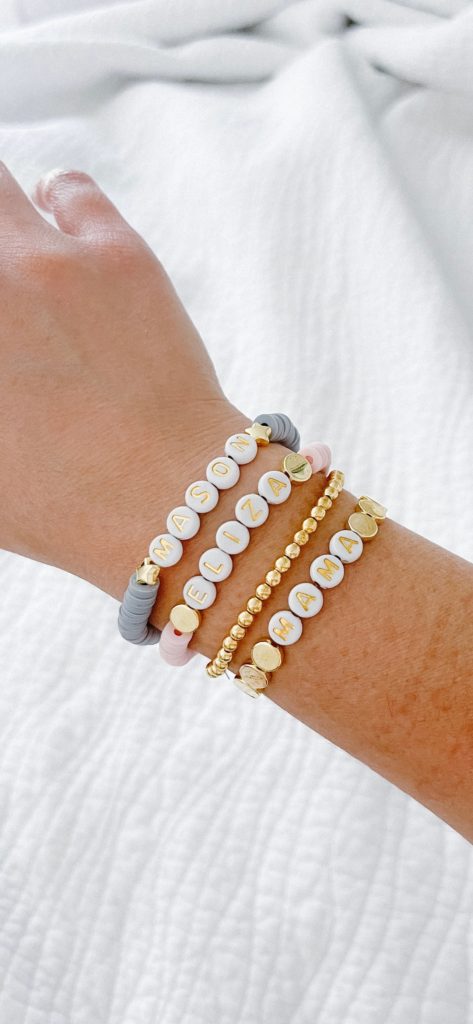
After that I was all done! You can make so many different colors and designs and have the cutest arm candy ever!

You can use the widget below (affiliate links) to shop everything you need to make your own!
