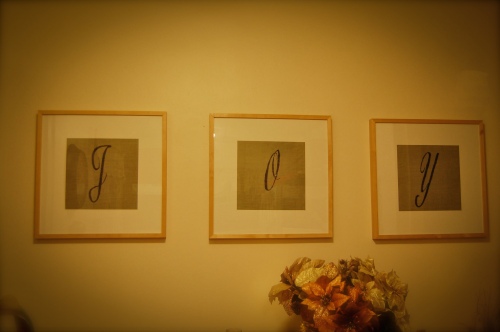
Happy Monday everyone!! I hope you’ve all had a great weekend and for those of you who have the extra day off I hope you continue to enjoy it! Over the weekend I made a much needed change that I have been meaning to do for a long time. If you are new to Made2Style (WELCOME!!) then I will give you a little back story on how I used to have a kitchen table but then I sold it and put this awesome console table which I dubbed Miss Kelly in its place. Ok, you’ve been schooled! When I had the kitchen table I also had an Ikea Lack shelf as a place to put my keys and mail. Now that I have a place to drop all of those things (AKA Miss Kelly) the shelf needed to go! The only problem was what would go in it’s place? Here is where my 3 Ribba frames came into play. The frames used to live above the kitchen table but since I replaced it the frames have had no where to go. Here is a shot of them from last Christmas.
Now here is a shot of the shelf.
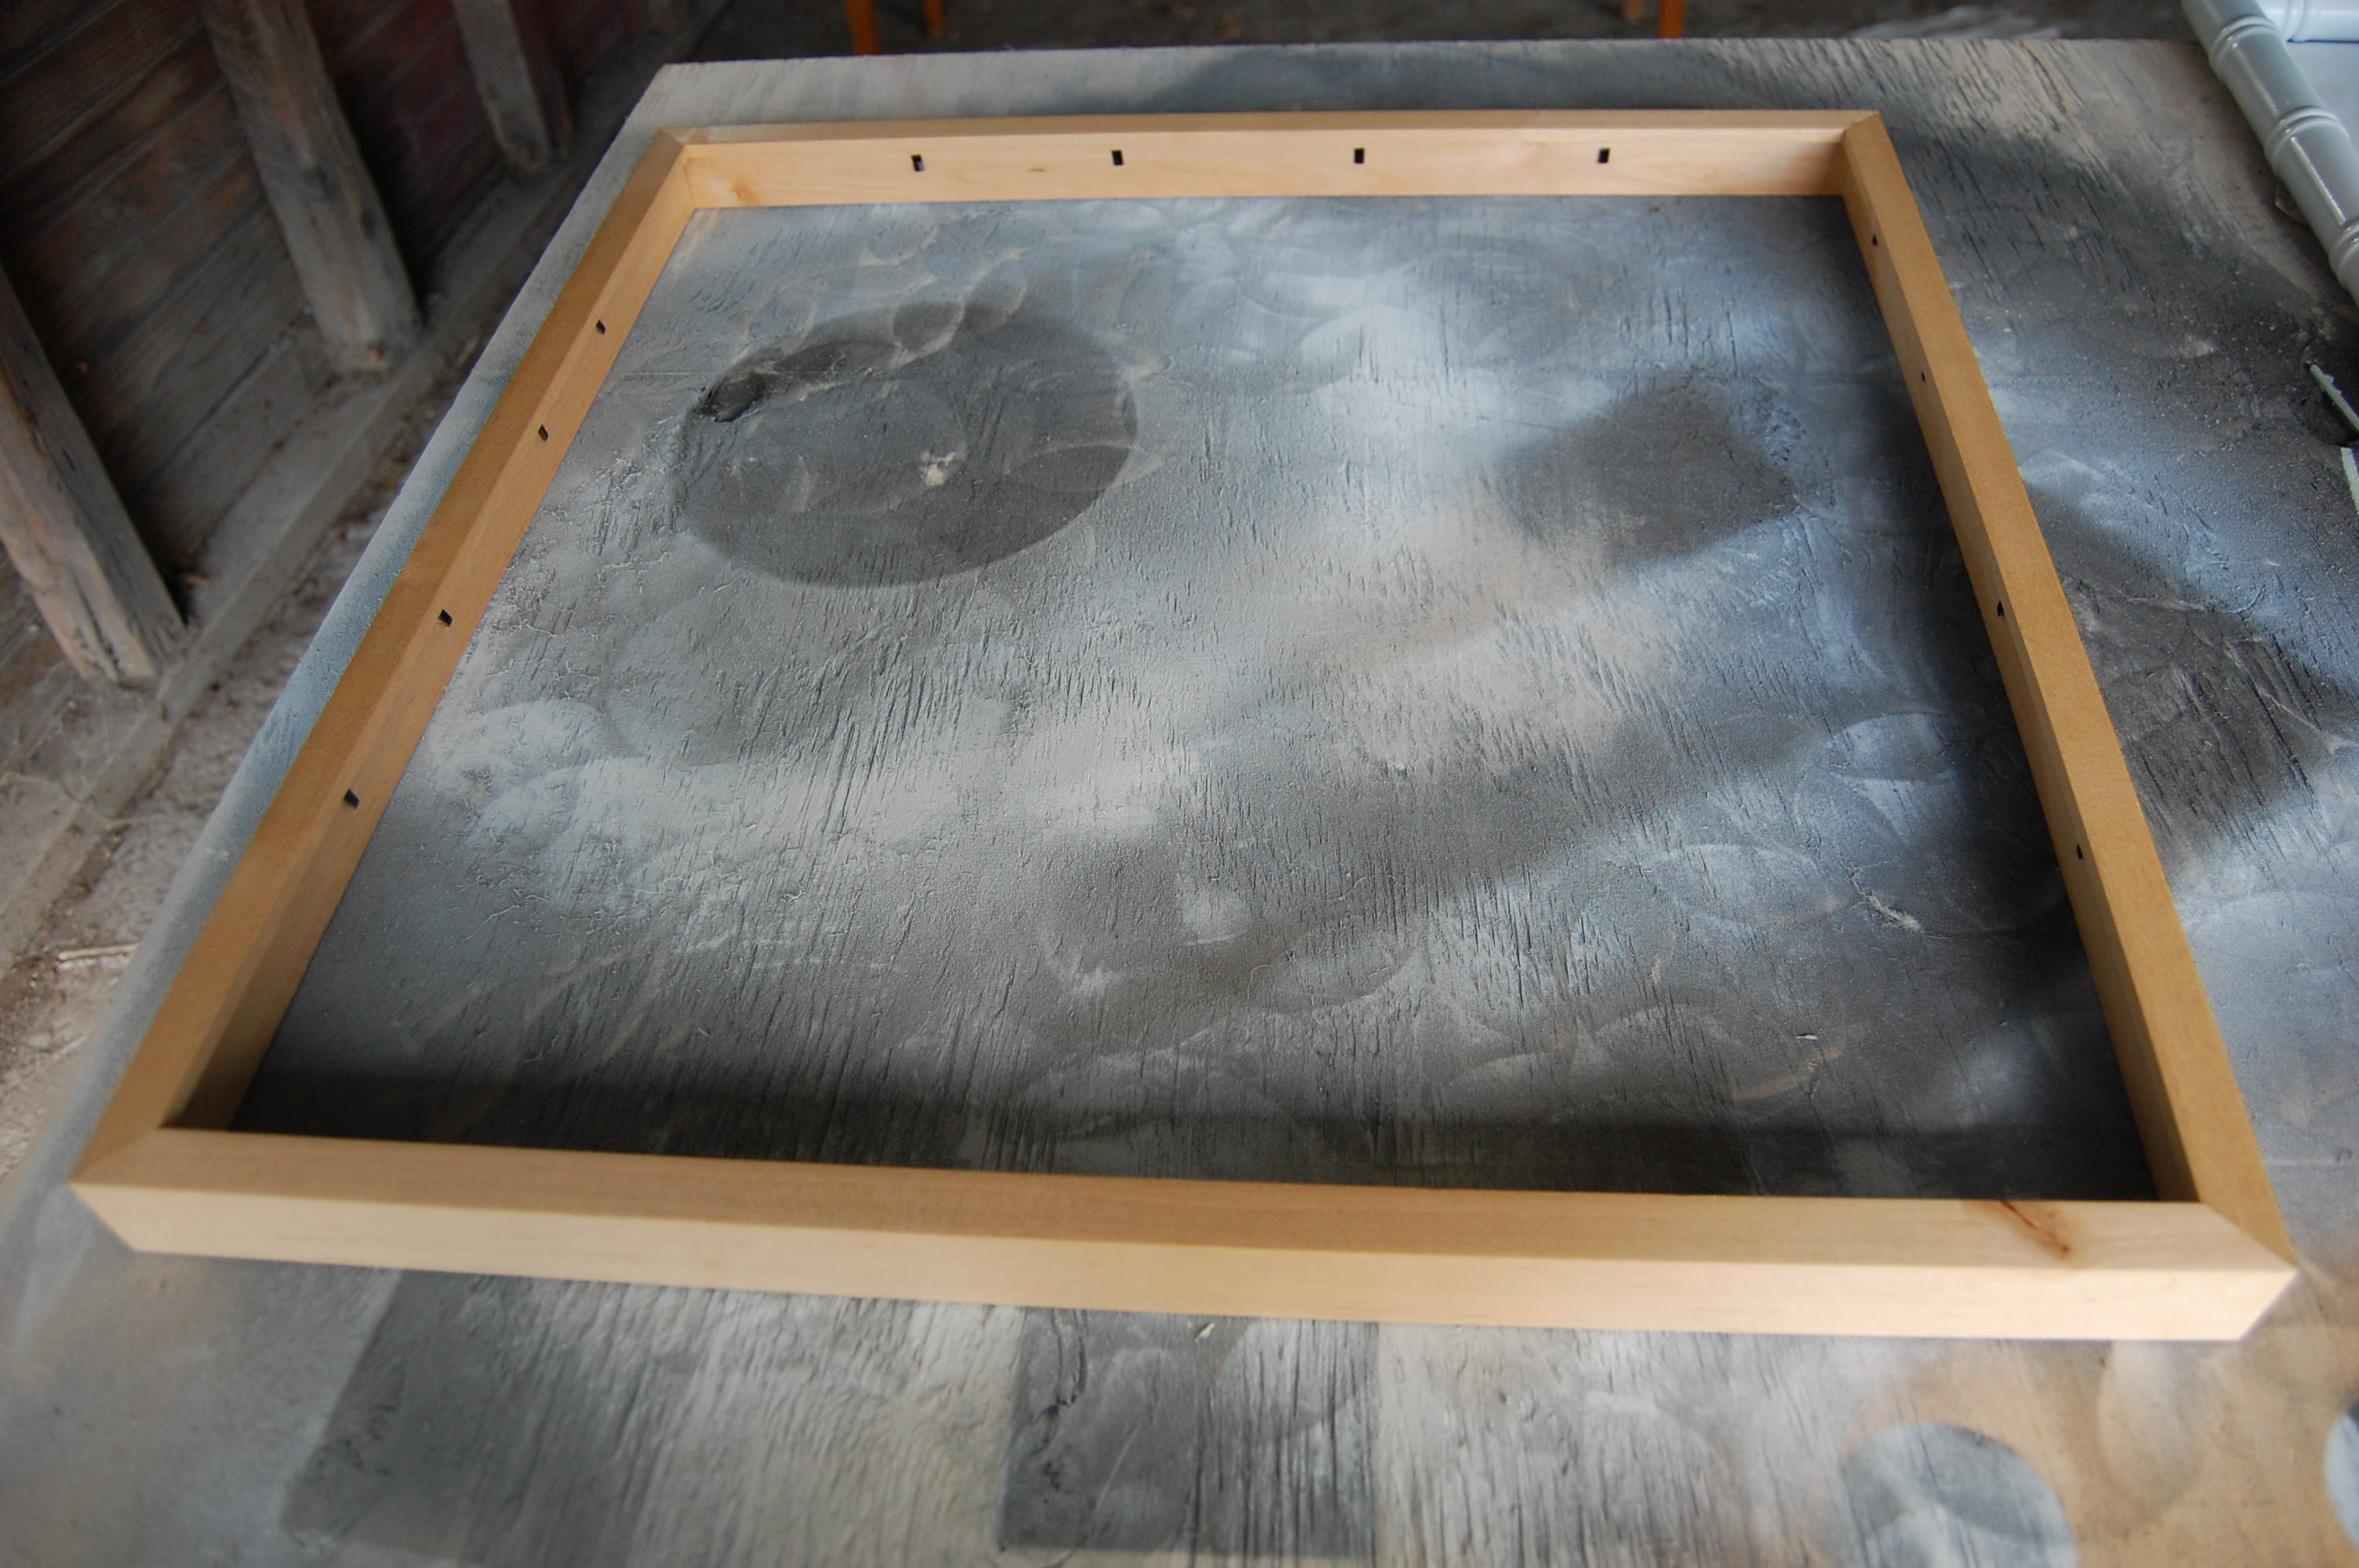
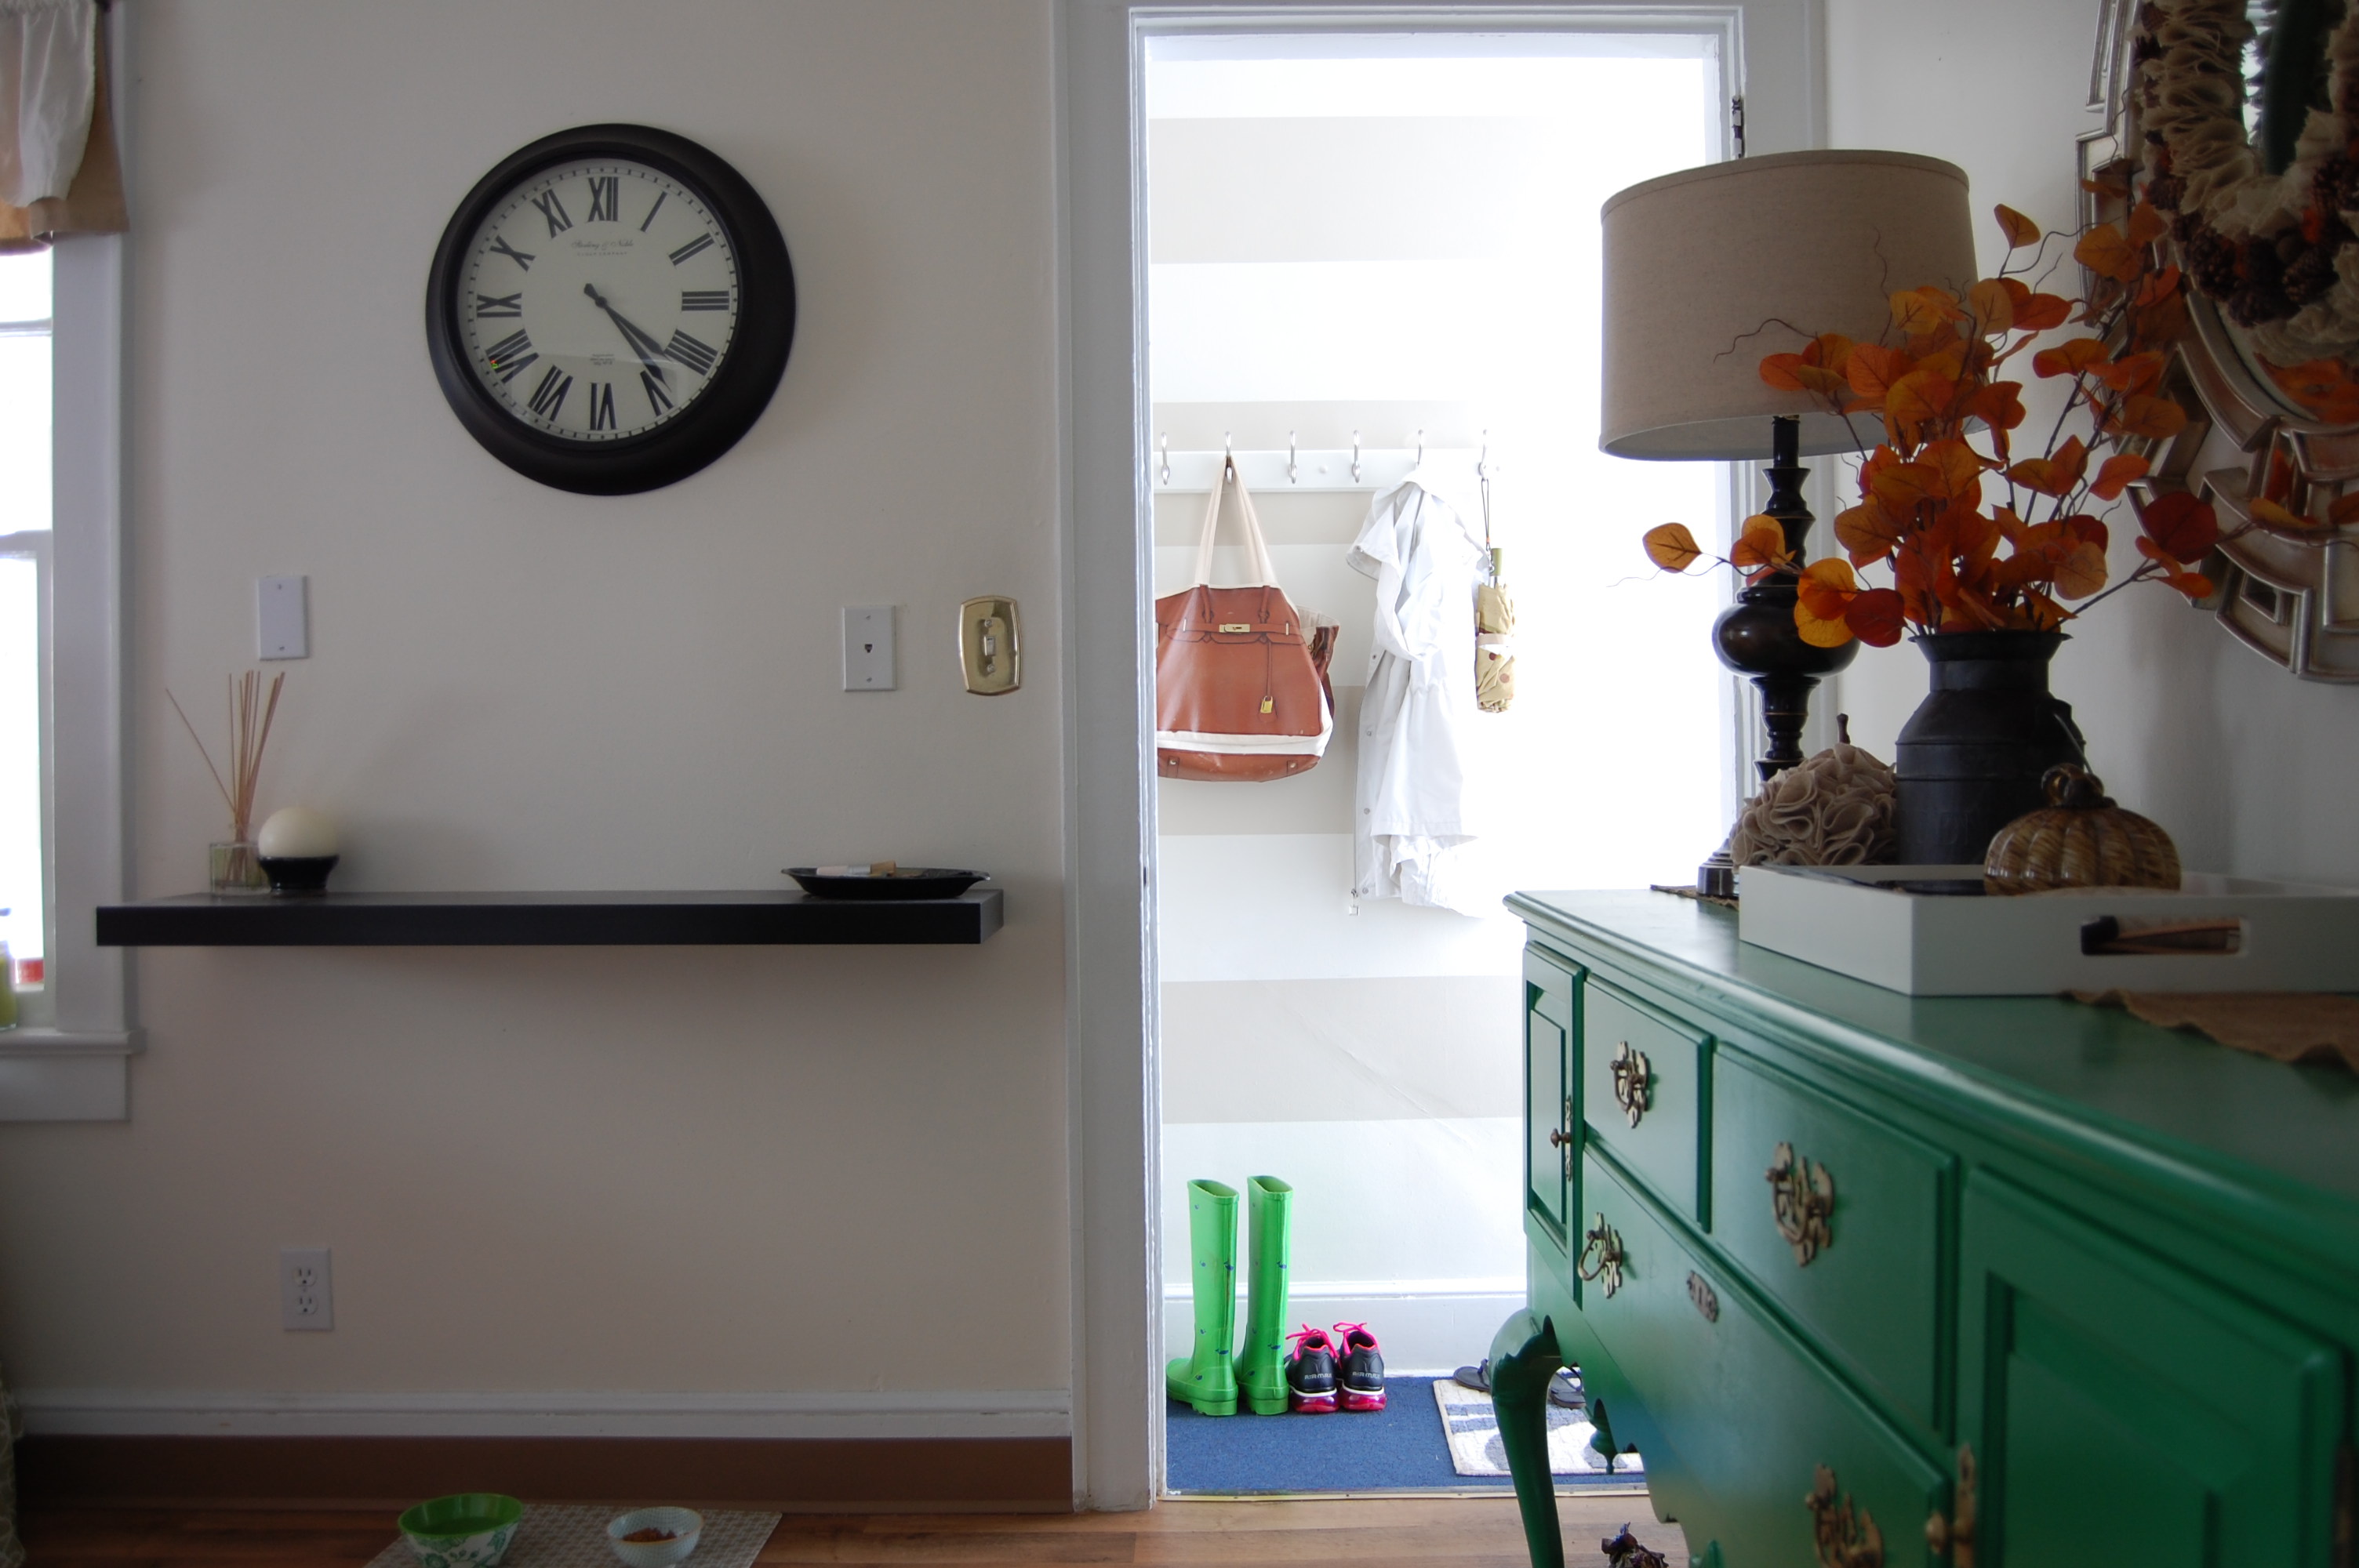 (Ugh…I never noticed how annoying all those jacks and outlets were until I saw this picture..I mean c’mon are they really necessary!) My plan was to get rid of the shelf, move the clock and place the three frames one on top of the other in their place. First thing first, paint those suckers white! This was a simple makeover and an enjoyable one because I love any reason to spray paint. I just took the backing off along with everything else to reveal just the frame then I used the same process I did with the tray…prime, paint, seal.
When I removed the shelf I used some spackle to cover the holes and then once dry I went over them with matching paint.
 Then I followed the same steps I did here for hanging the frames. I just traced the frames on some cardboard that I had, and by had I mean hoard because I’m no longer allowed to throw out cardboard in the dumpster and the place I am suppose to deliver it to is sooo far away (5 minutes) and I just don’t have the time (I’m too lazy). Once they were cut out I used them as a guide to see how I want to place the frame. I used painters tape to hold them up.
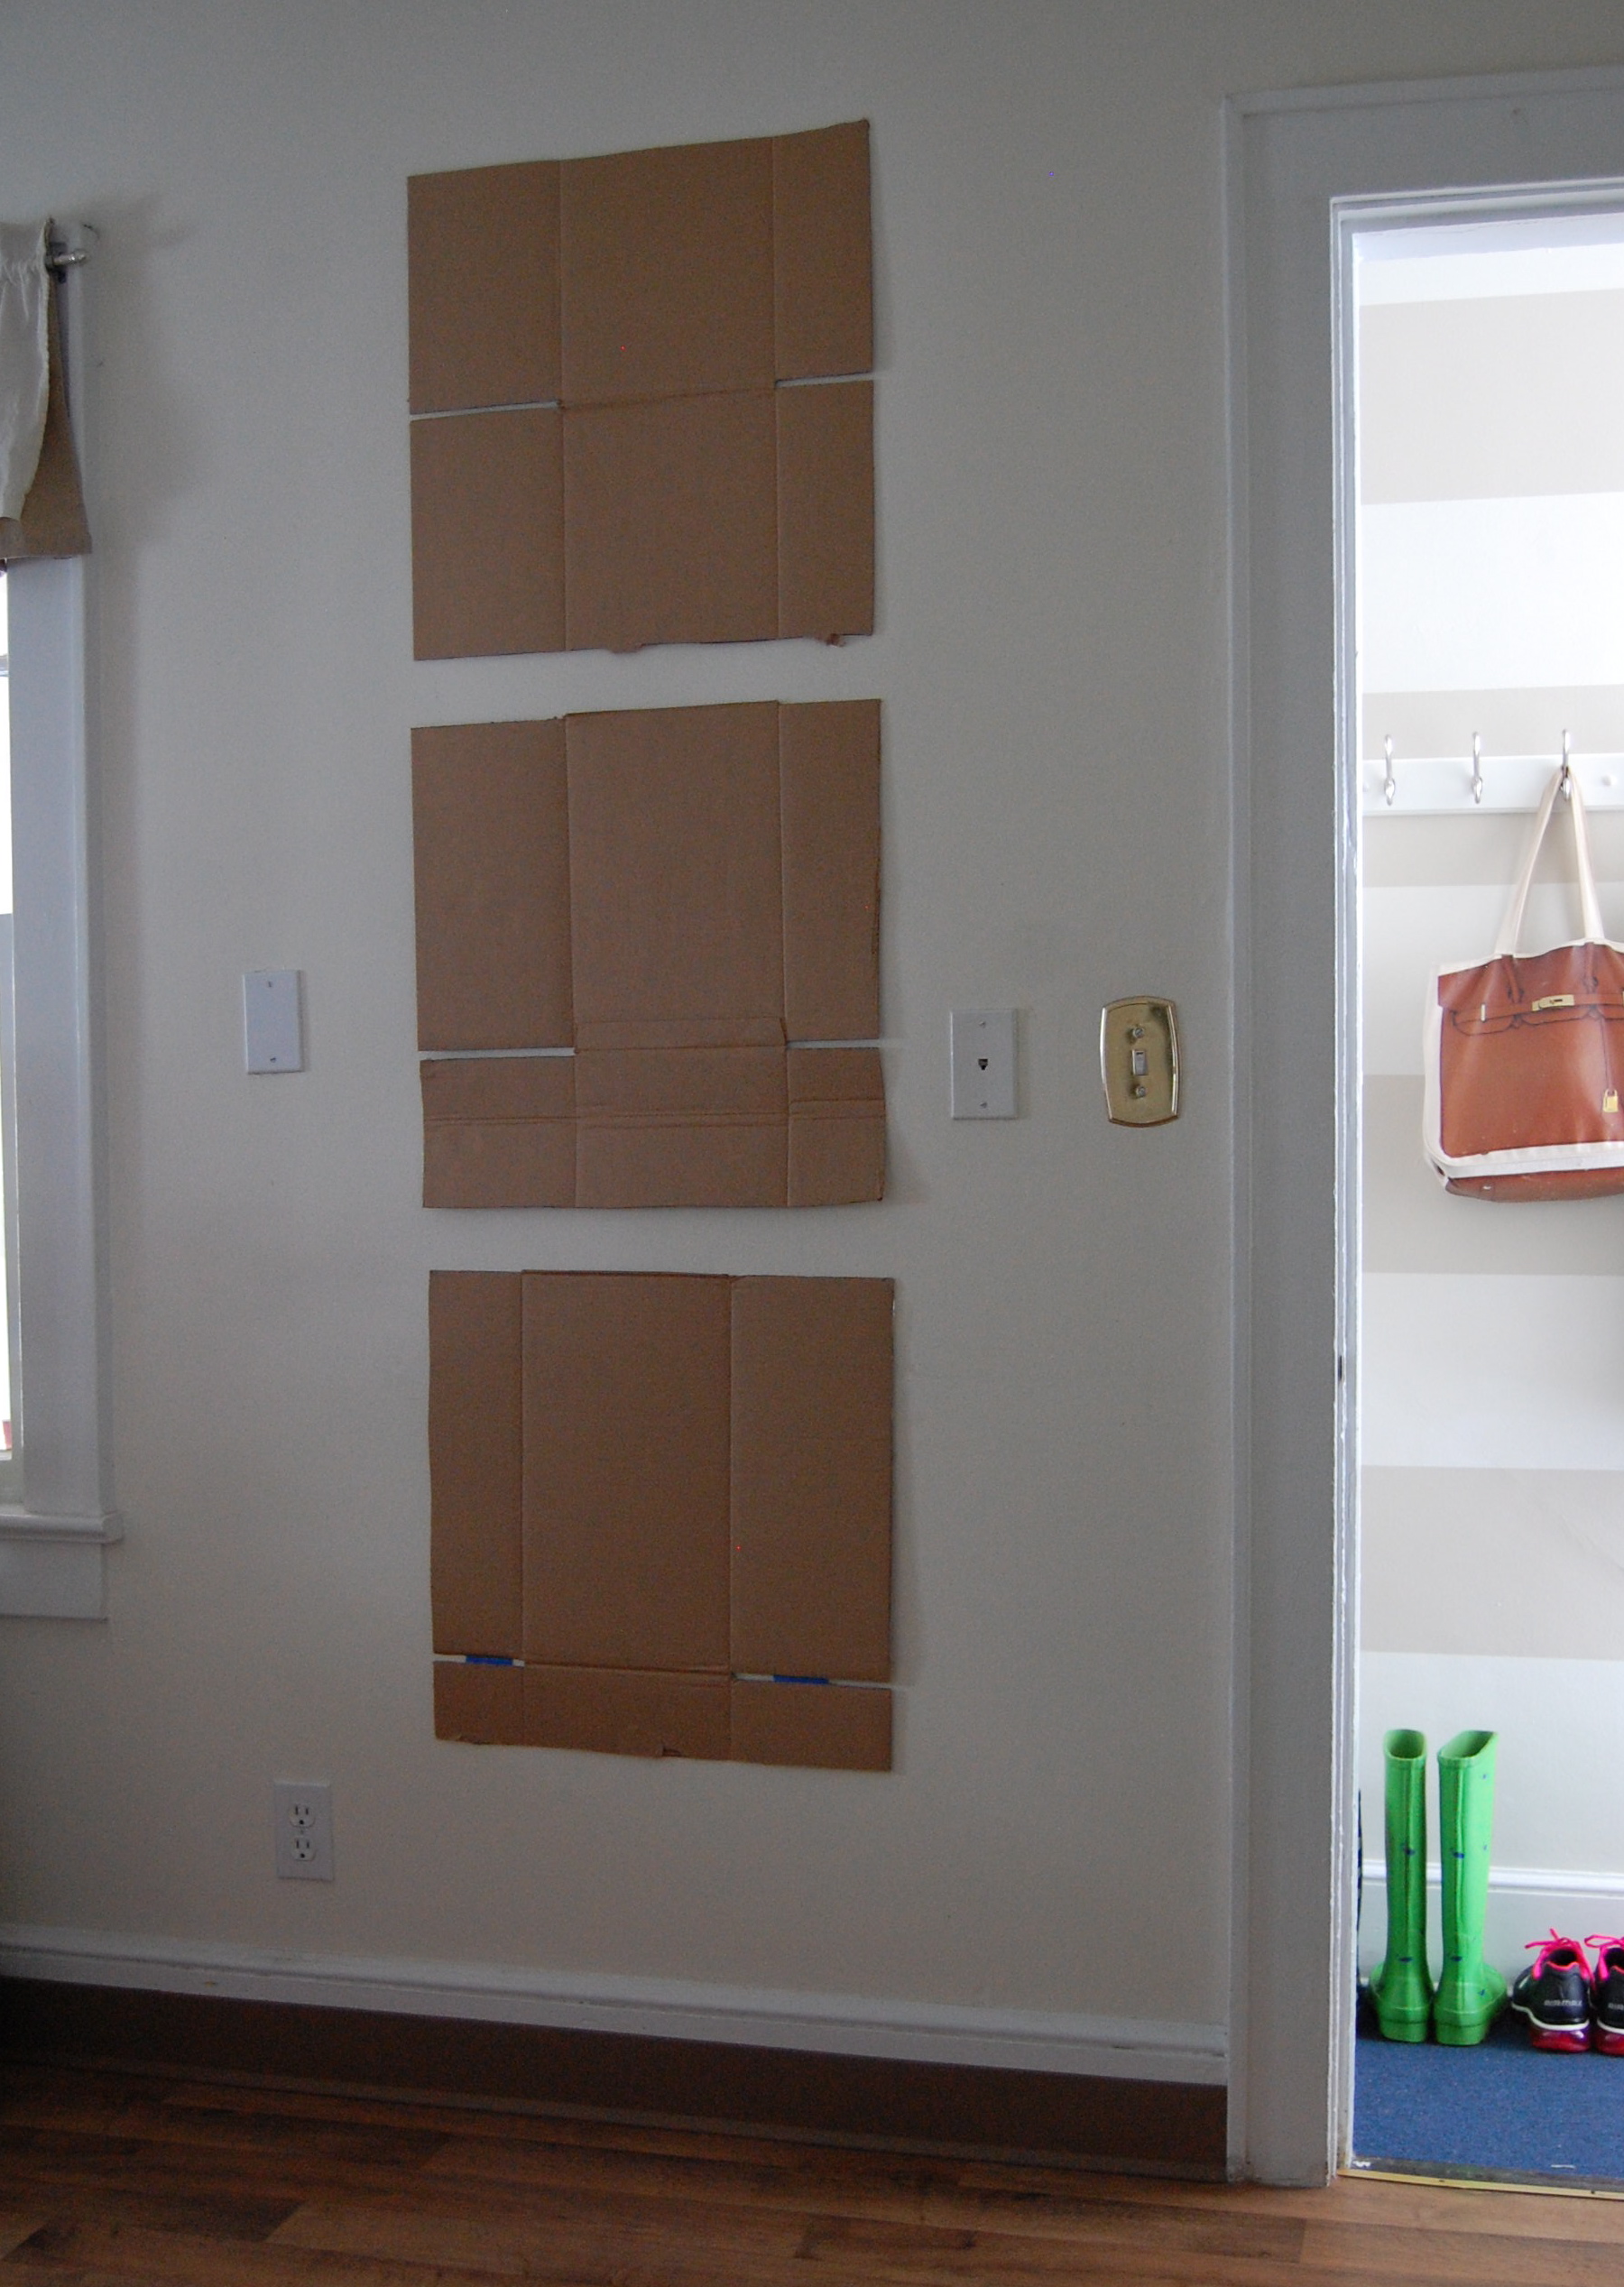 Now it was just time to hang them! I just measure the space from the top of the frame to where the nail would need to go and popped it in the wall and hung them. I kept the same image inside as I did last Fall which was just glittered scrapbook paper and a large leaf. They look so much brighter with the frames white now! Here’s a little before, middle, after!
The space seems a little bigger now that there isn’t a long black shelf sticking out of the wall! Did you make any quick changes to your home this weekend? I’d love to hear all about it!!
