So I have done tutorials on making your own headboard but the first one I ever made was my own and that was way before I started this blog. The one I made for myself had tufted buttons. Since I am super lazy to pull out my external hard drive to find a picture of it here is a picture I took of Luna being fresh a few weeks ago with my headboard in the back.
Since I haven’t done a tutorial on how to tuft a headboard I thought it was the perfect opportunity to do so when my BFF asked me to make her one for her guest room. We started out with the plywood cut to size. The headboard was for a queen size bed so we had it cut 60 x 30.
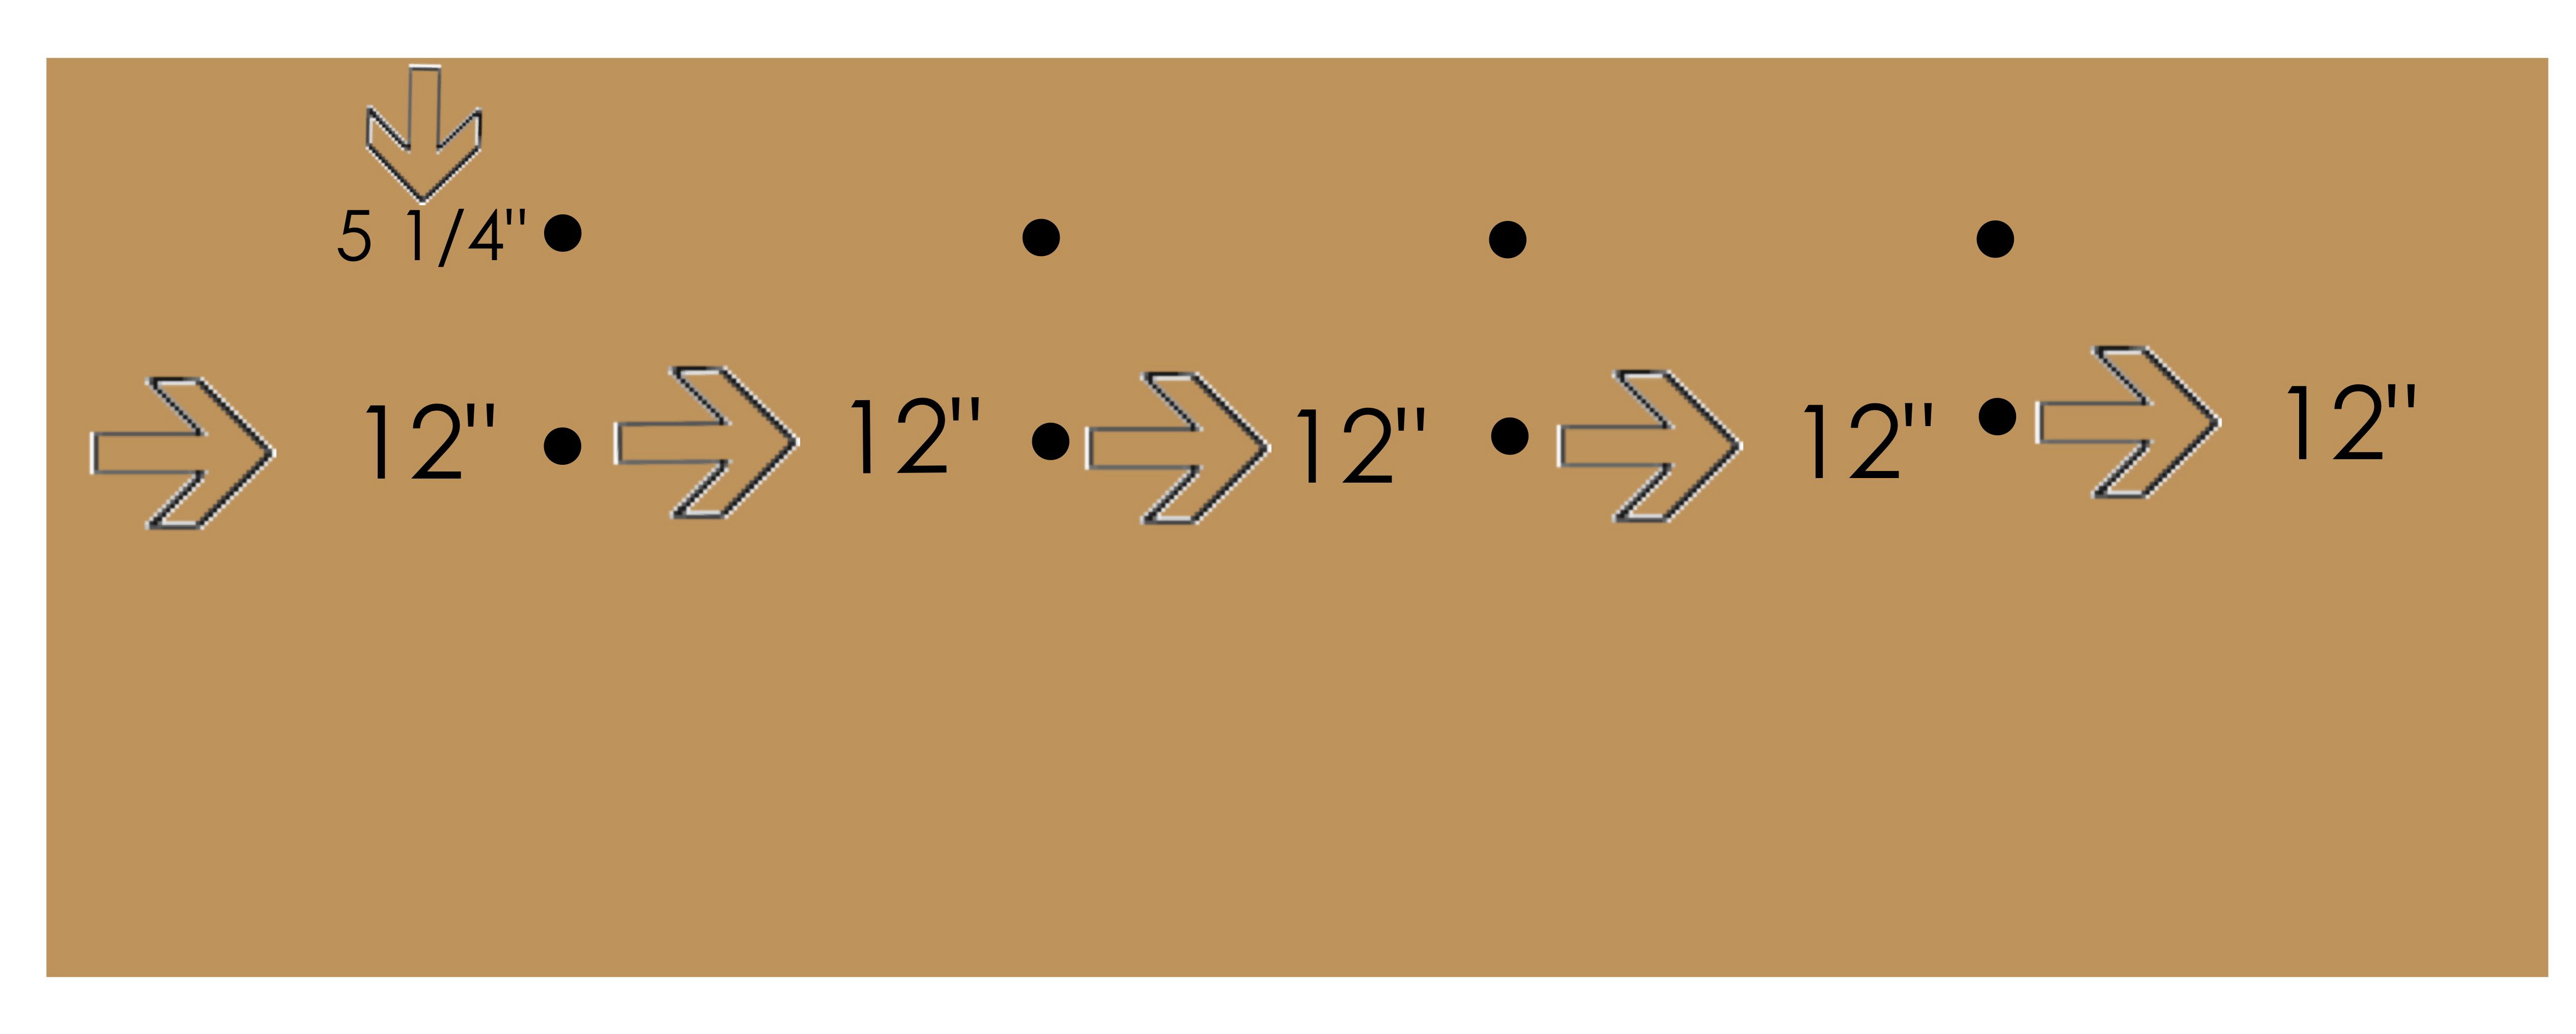
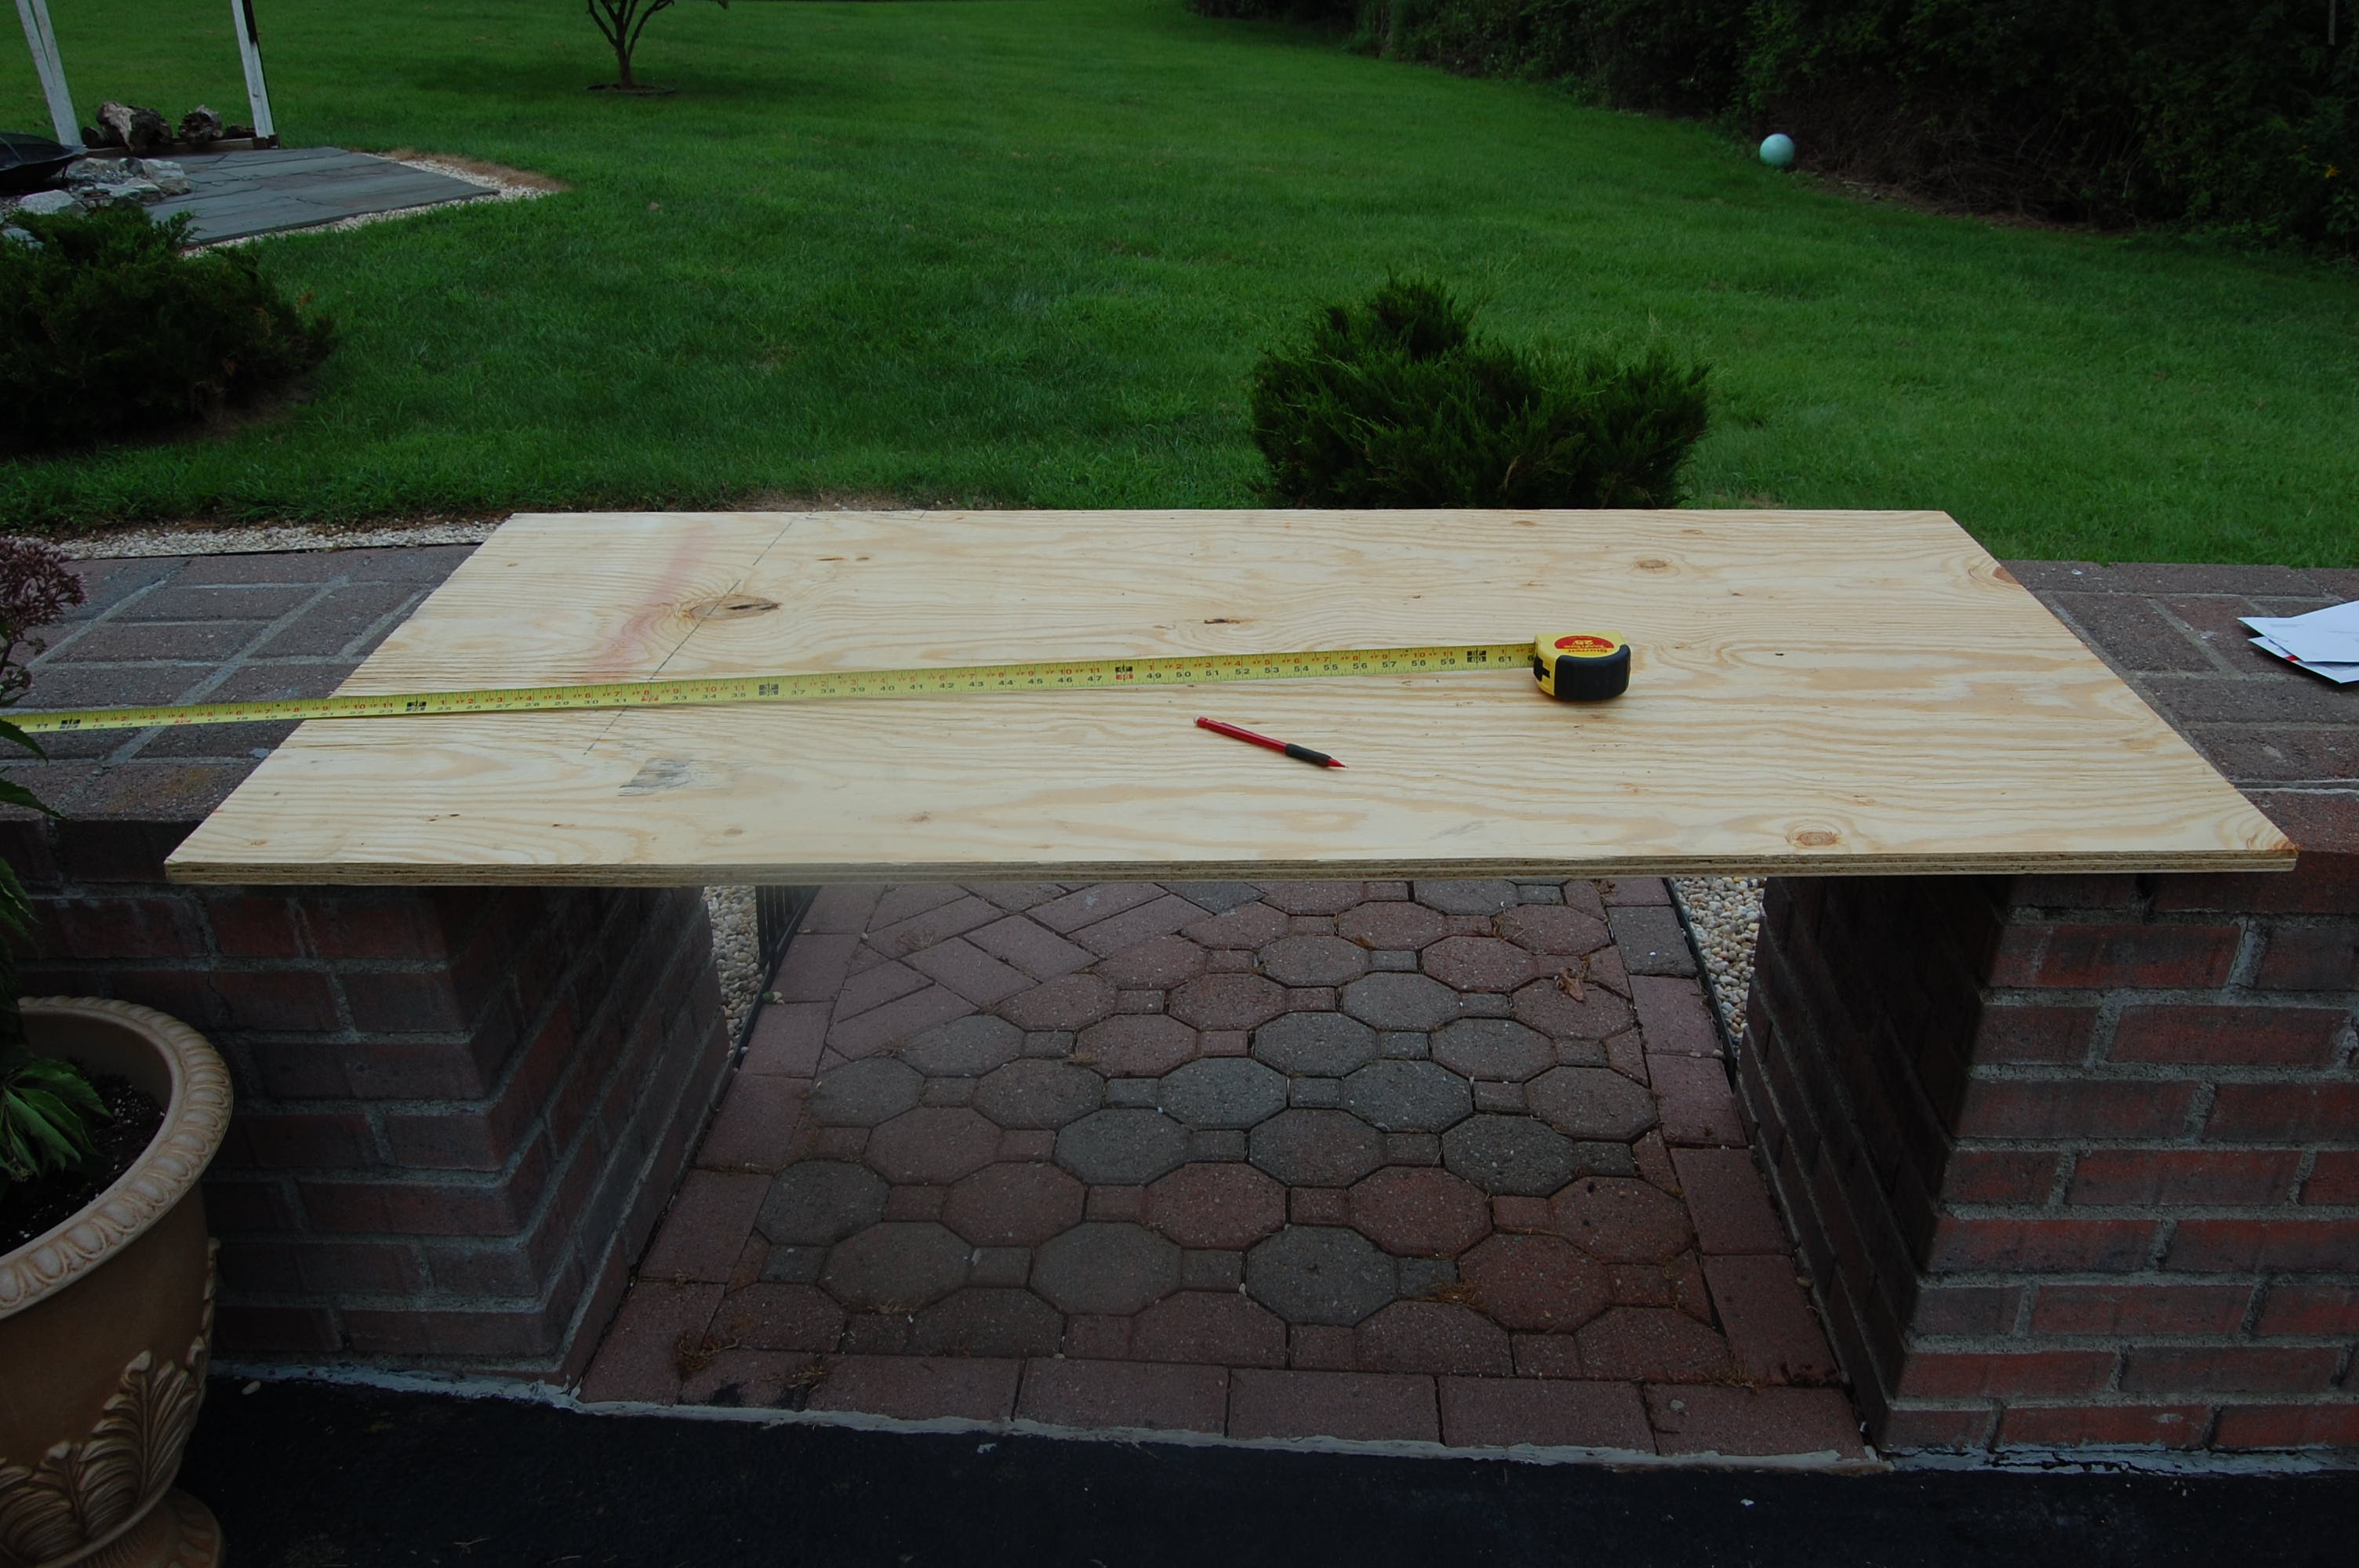 Since it was going to be the same amount of buttons as my current headboard (2 rows of 4 buttons) I went ahead and marked off where my holes would be. I measured my first mark by going 5 1/4″ from the top down and then from the left I came in 12″ and matched my marks.
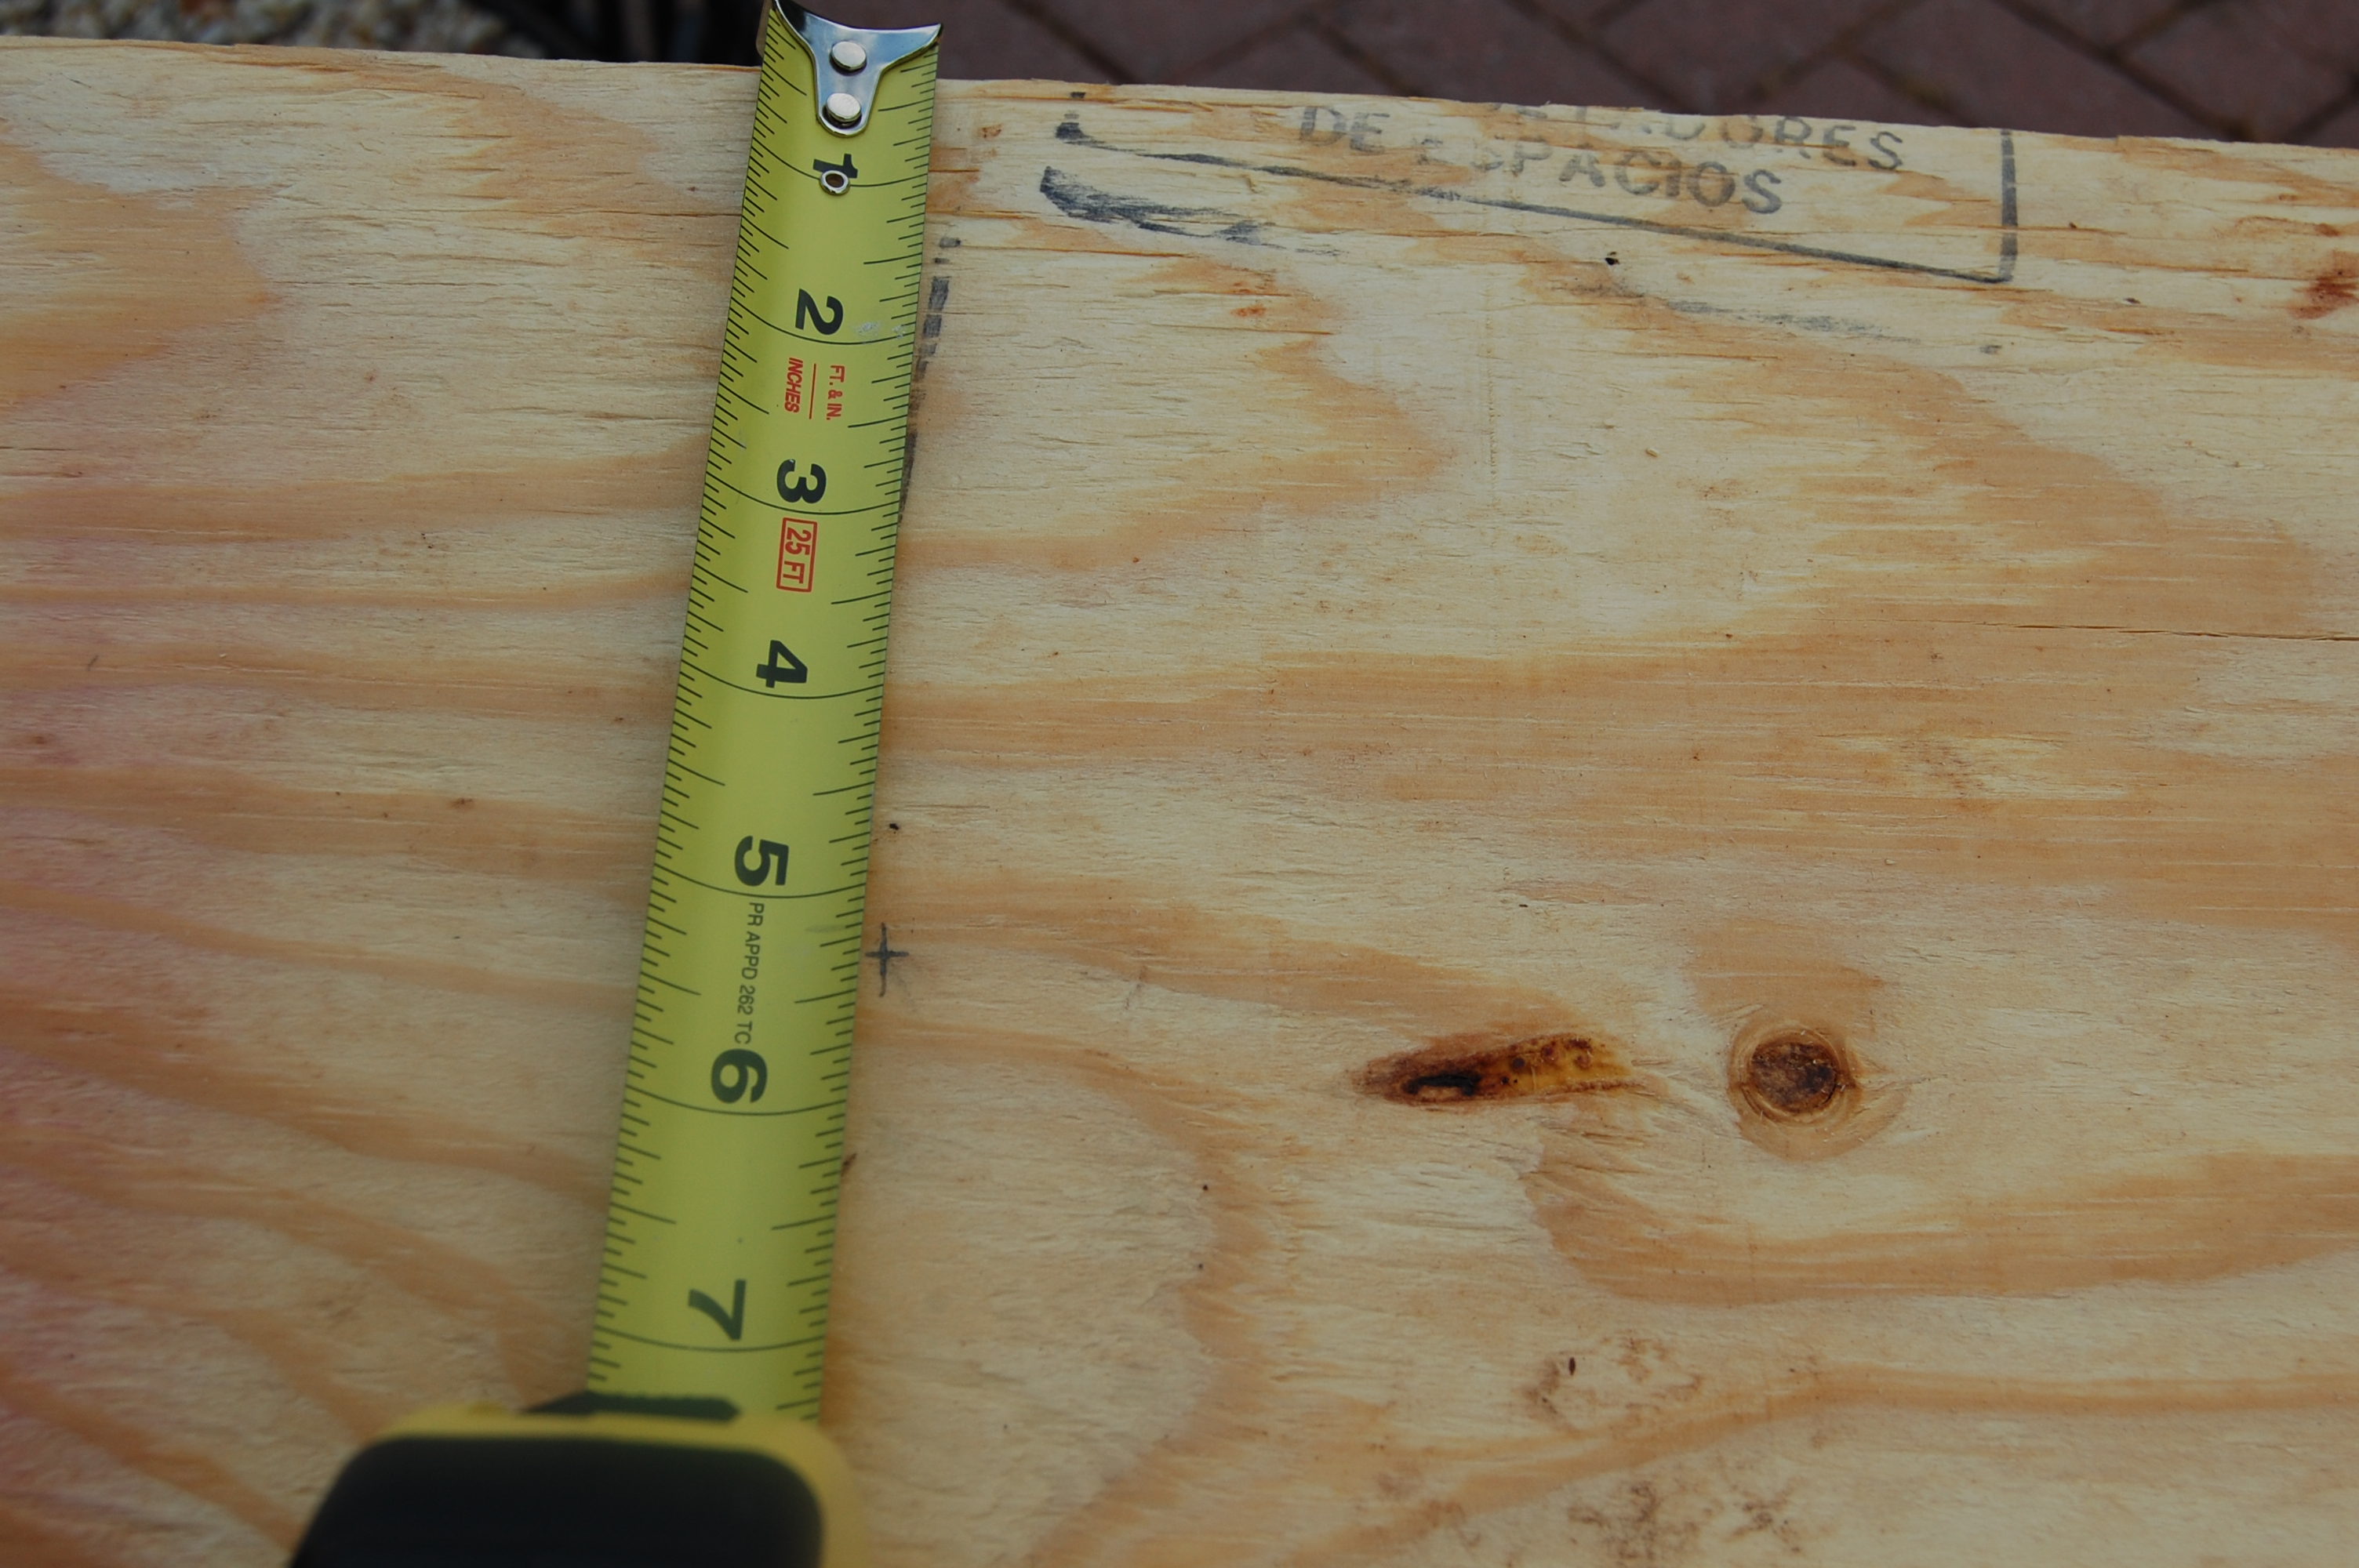 I continued to mark every 12″ until I had 4 marks and then I went down again another 5 1/4. Of course your holes for buttons may be completely different but this is what worked for what I had. Here is a diagram of what I did to help you better understand.
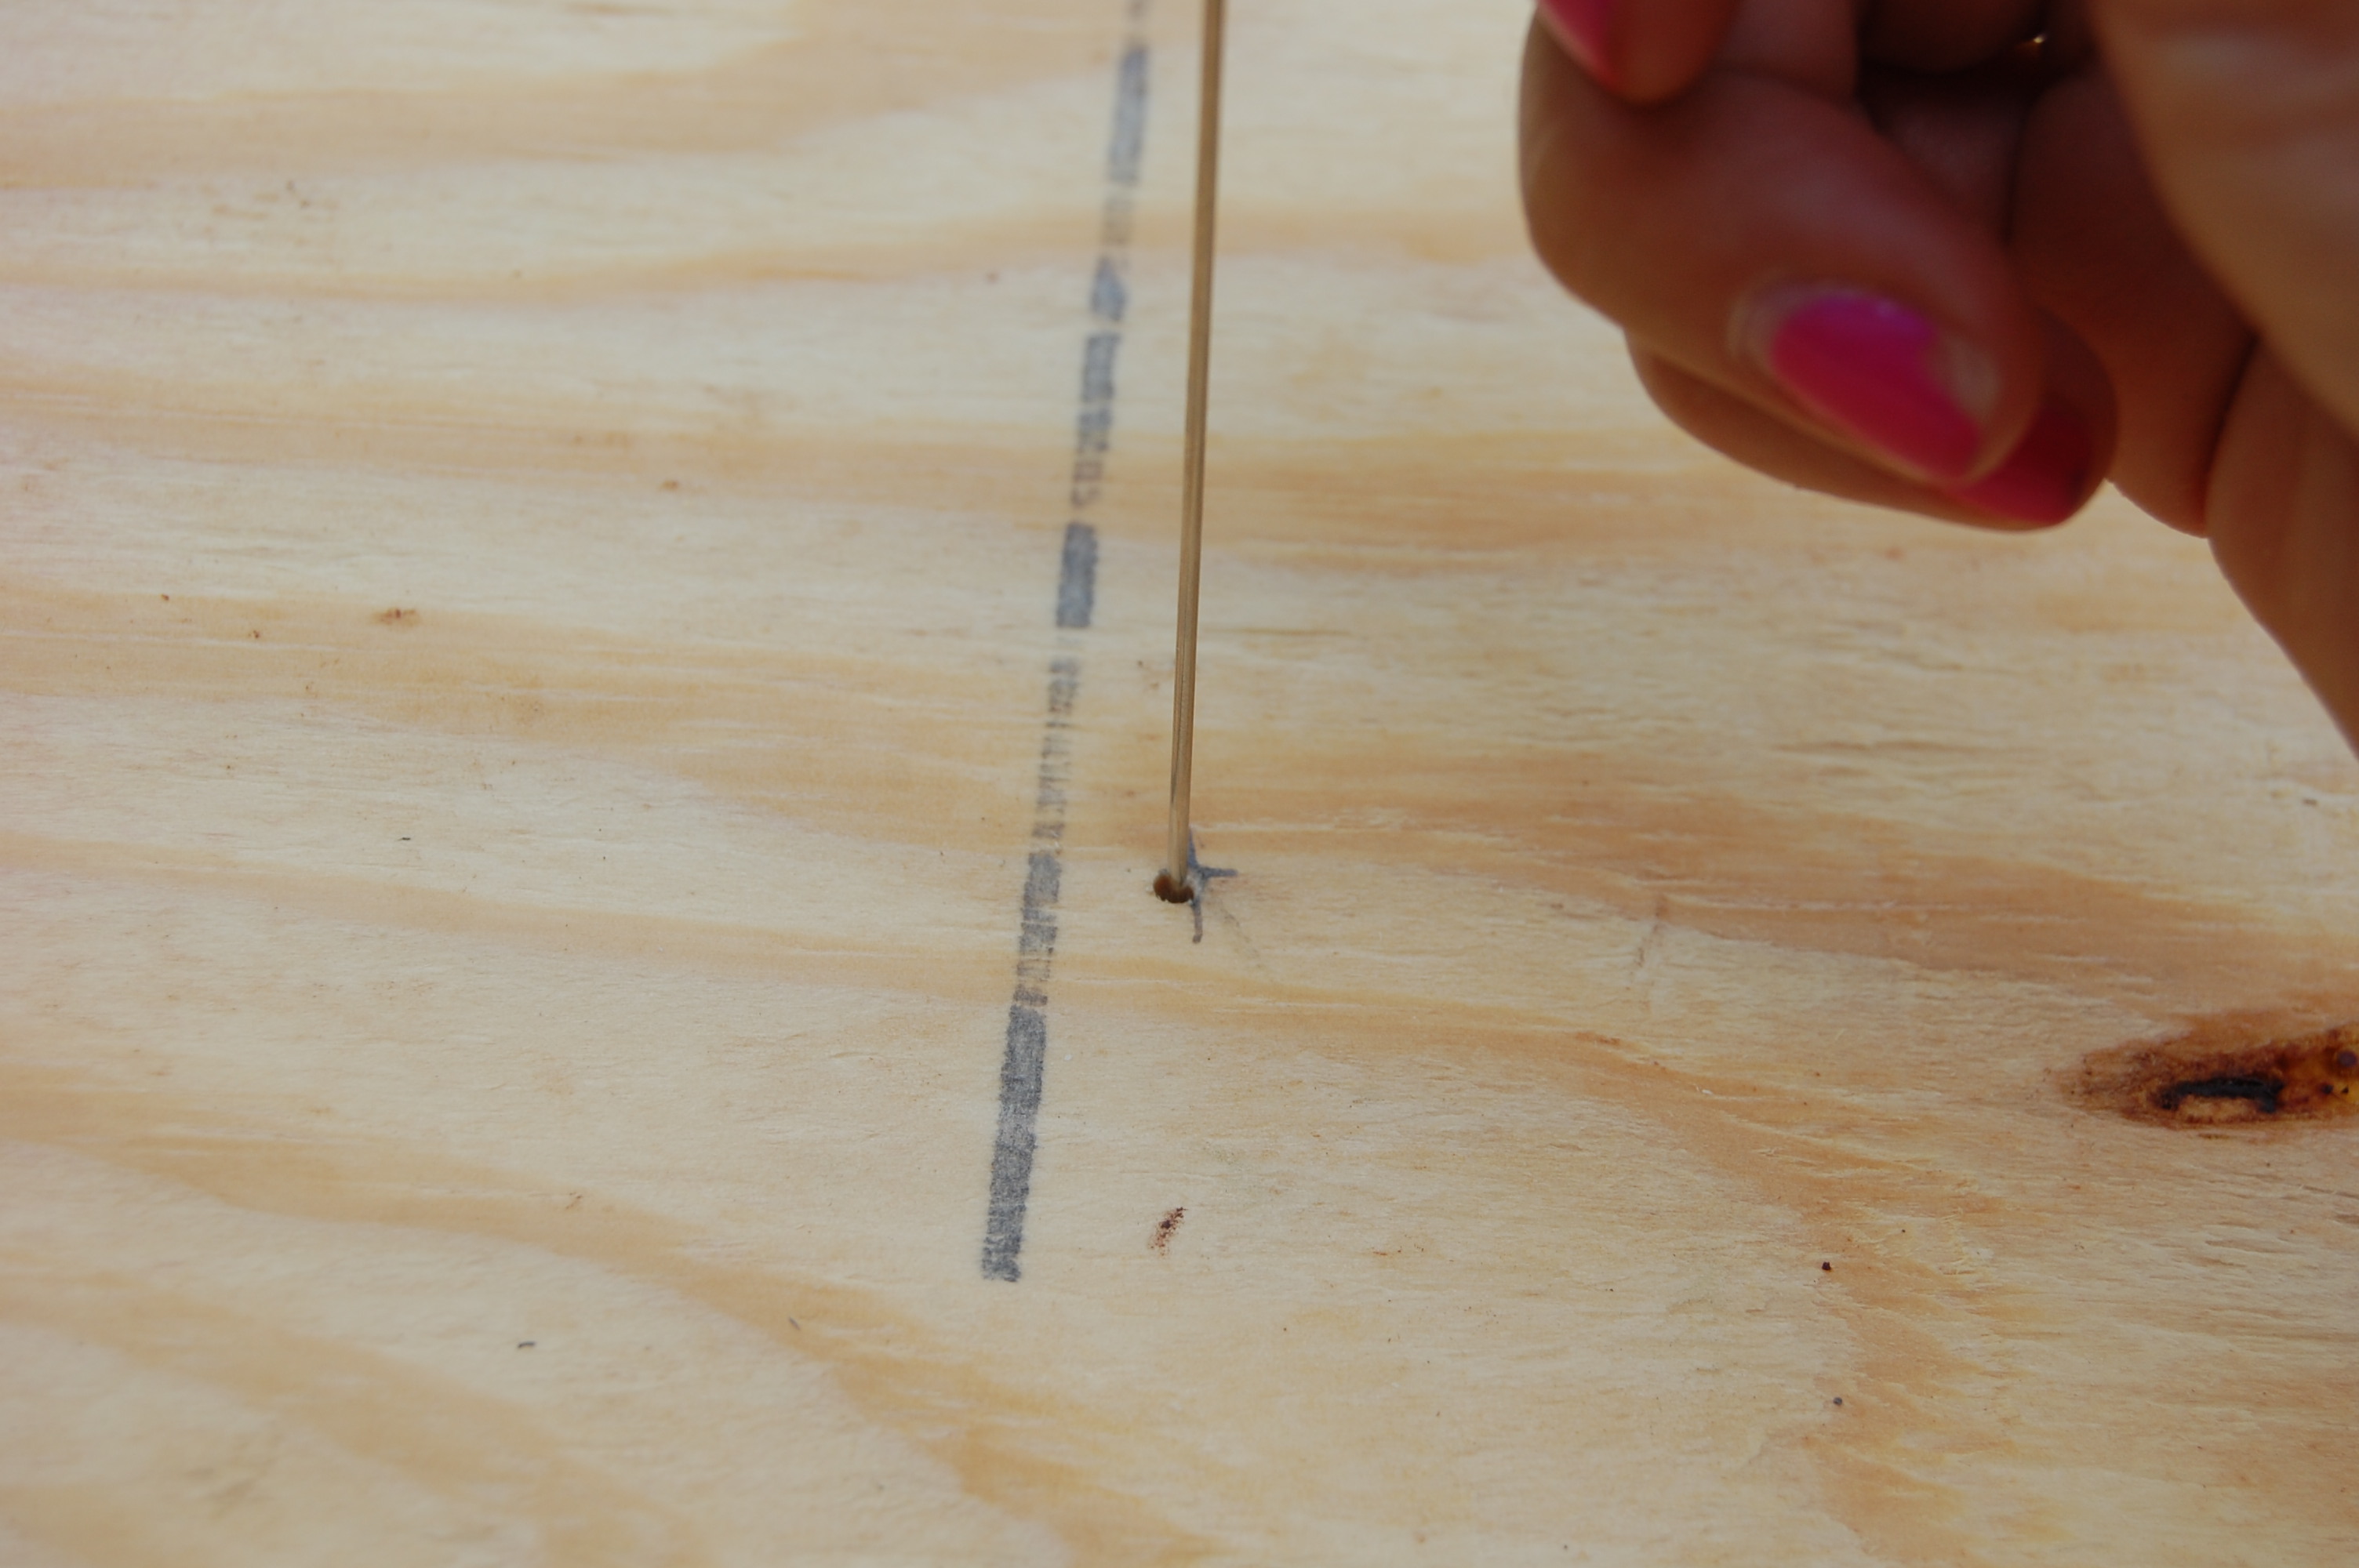
The next step was to use my drill to drill a hole in where the marks were. I tested the hole to make sure it was wide enough by fitting in my needle.
Once this was all done I just followed the same steps as here to upholster the board. You will need extra fabric and a cover button kit to make the buttons. Then you’re ready to start!
To tuft you will need:
pre-made buttons in same fabric
upholstery thread
upholstery needle
staple gun
duck tape
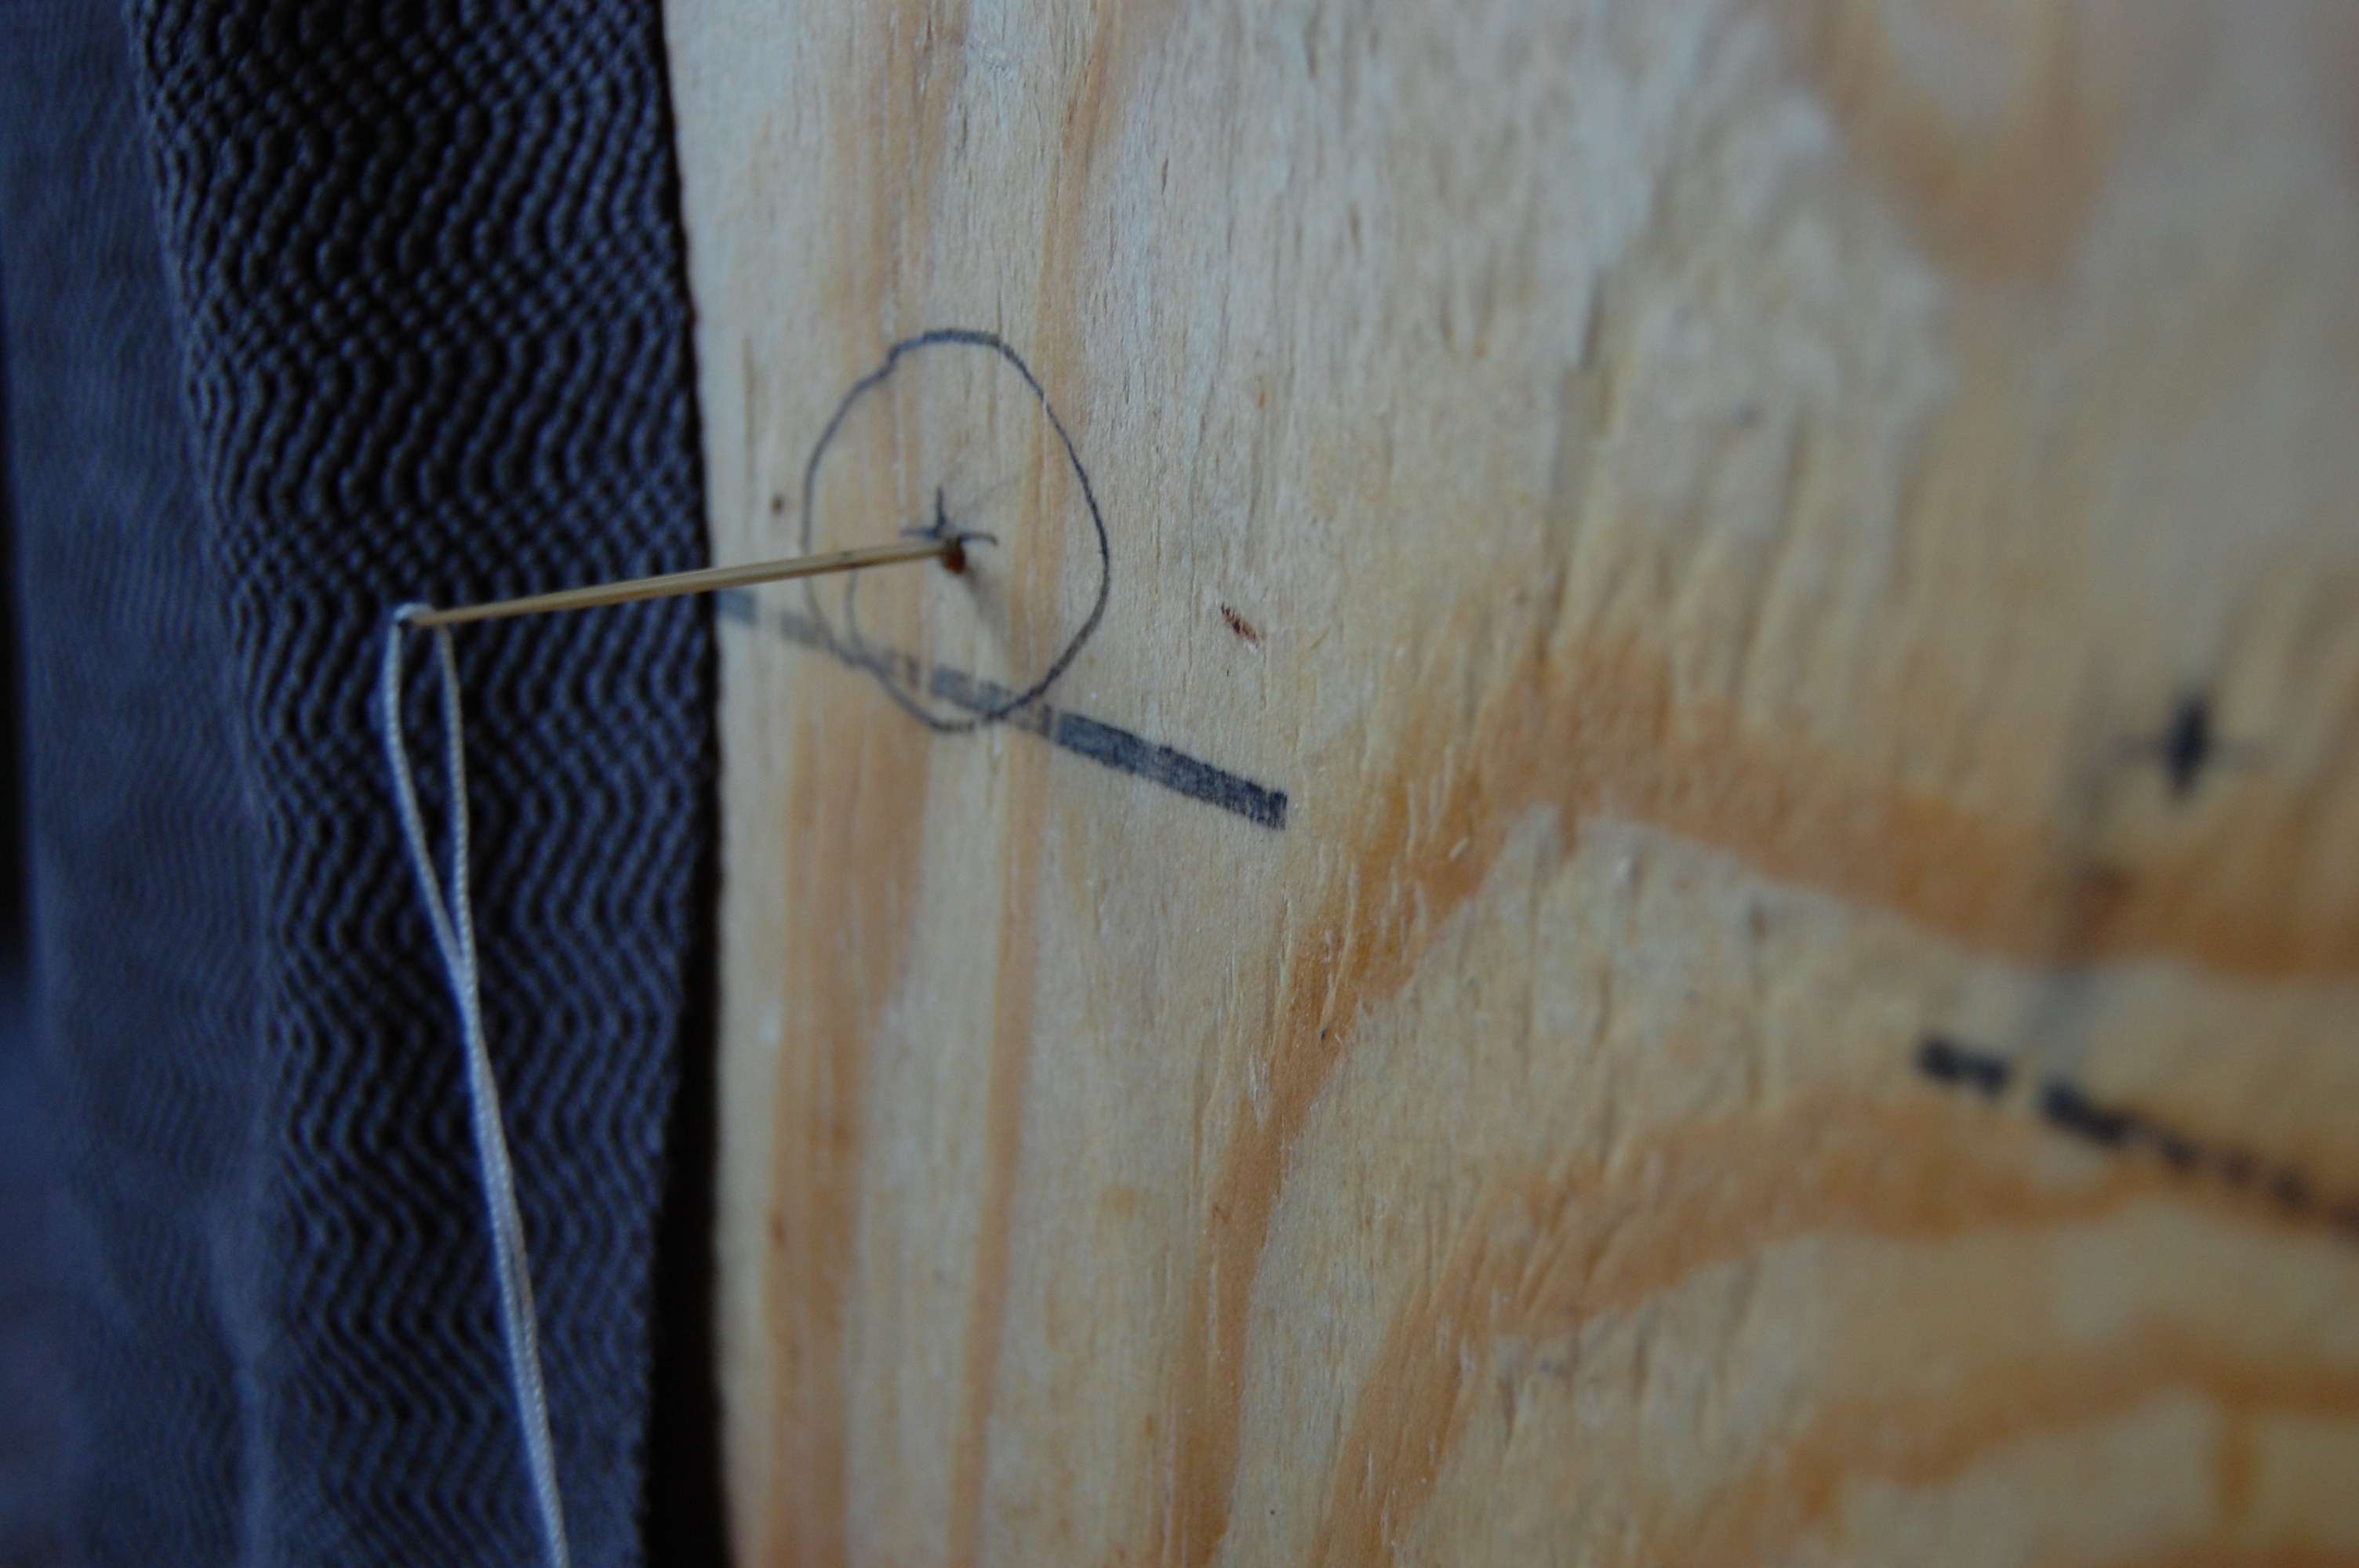
Start by cutting about 1 1/2′ of thread and threading it through the needle. Then place the needle into the first drilled hole from the back and come through the fabric.
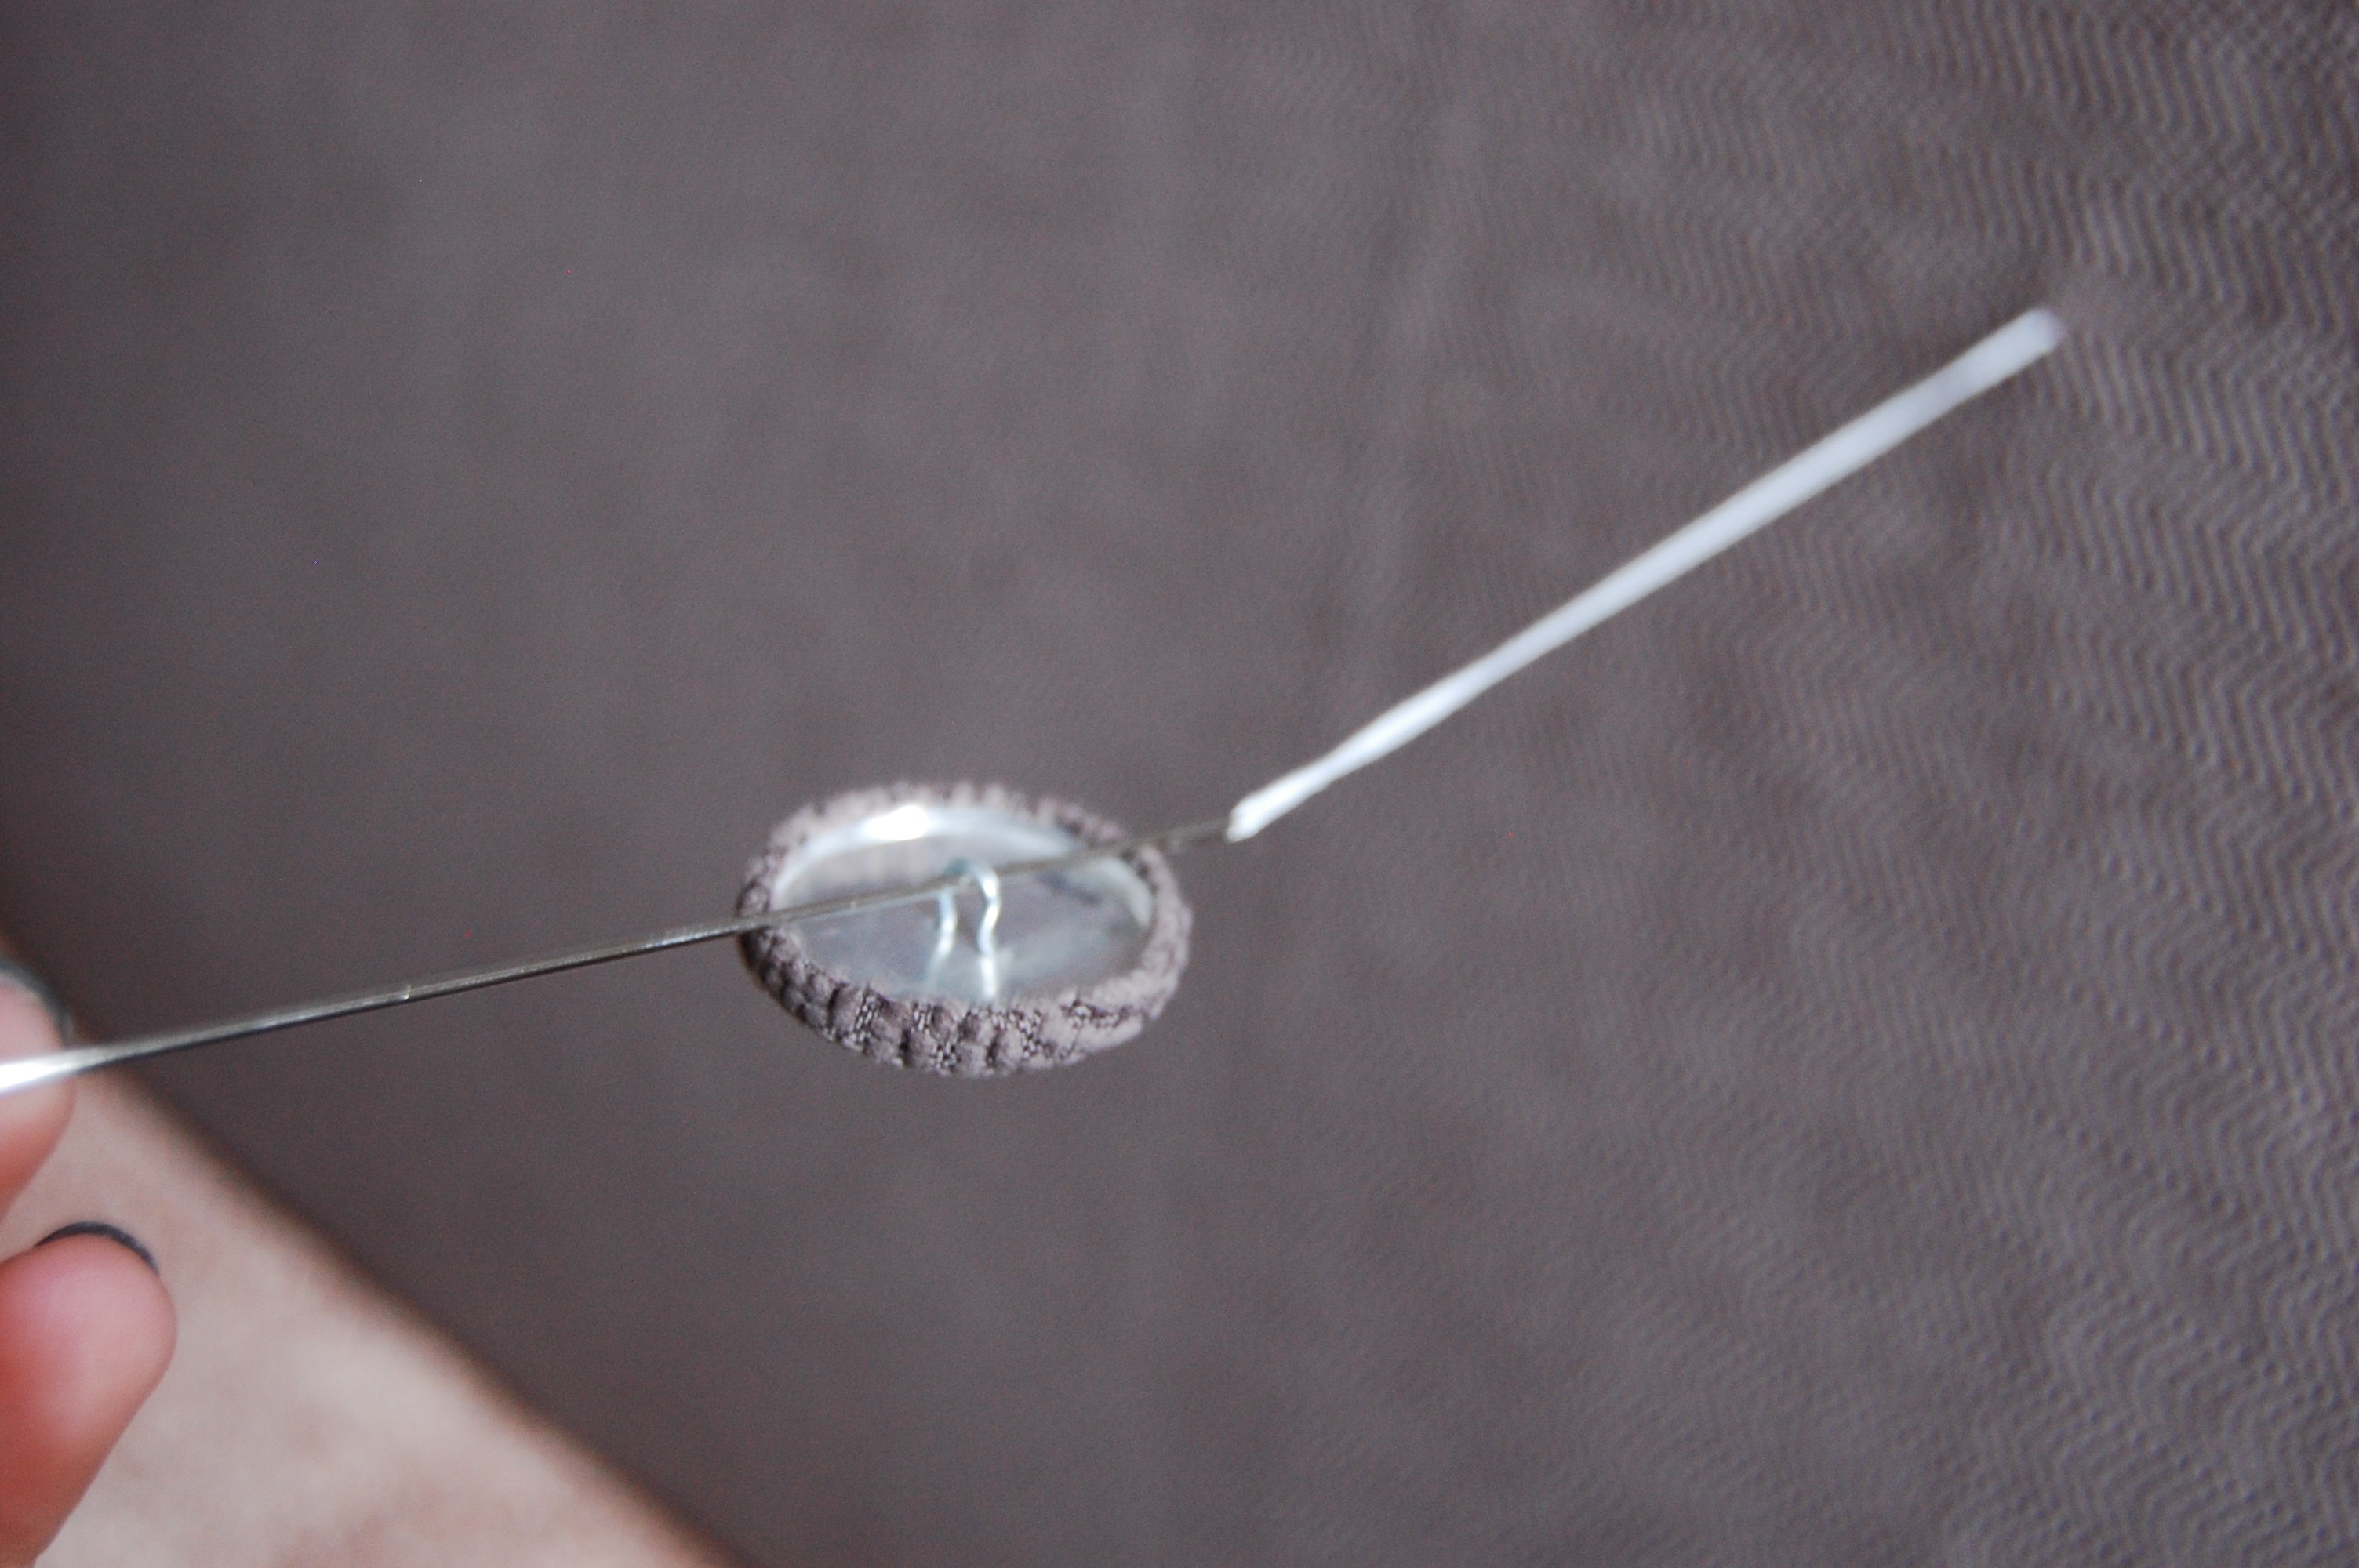
Once the needle has poked through the front (make sure not to pull the thread all the way through!) you will then place the button through the needle.
Then turn the needle and place it through the same hole that the thread is coming through. (This is why it’s helpful to have a lot of thread in your needle.)
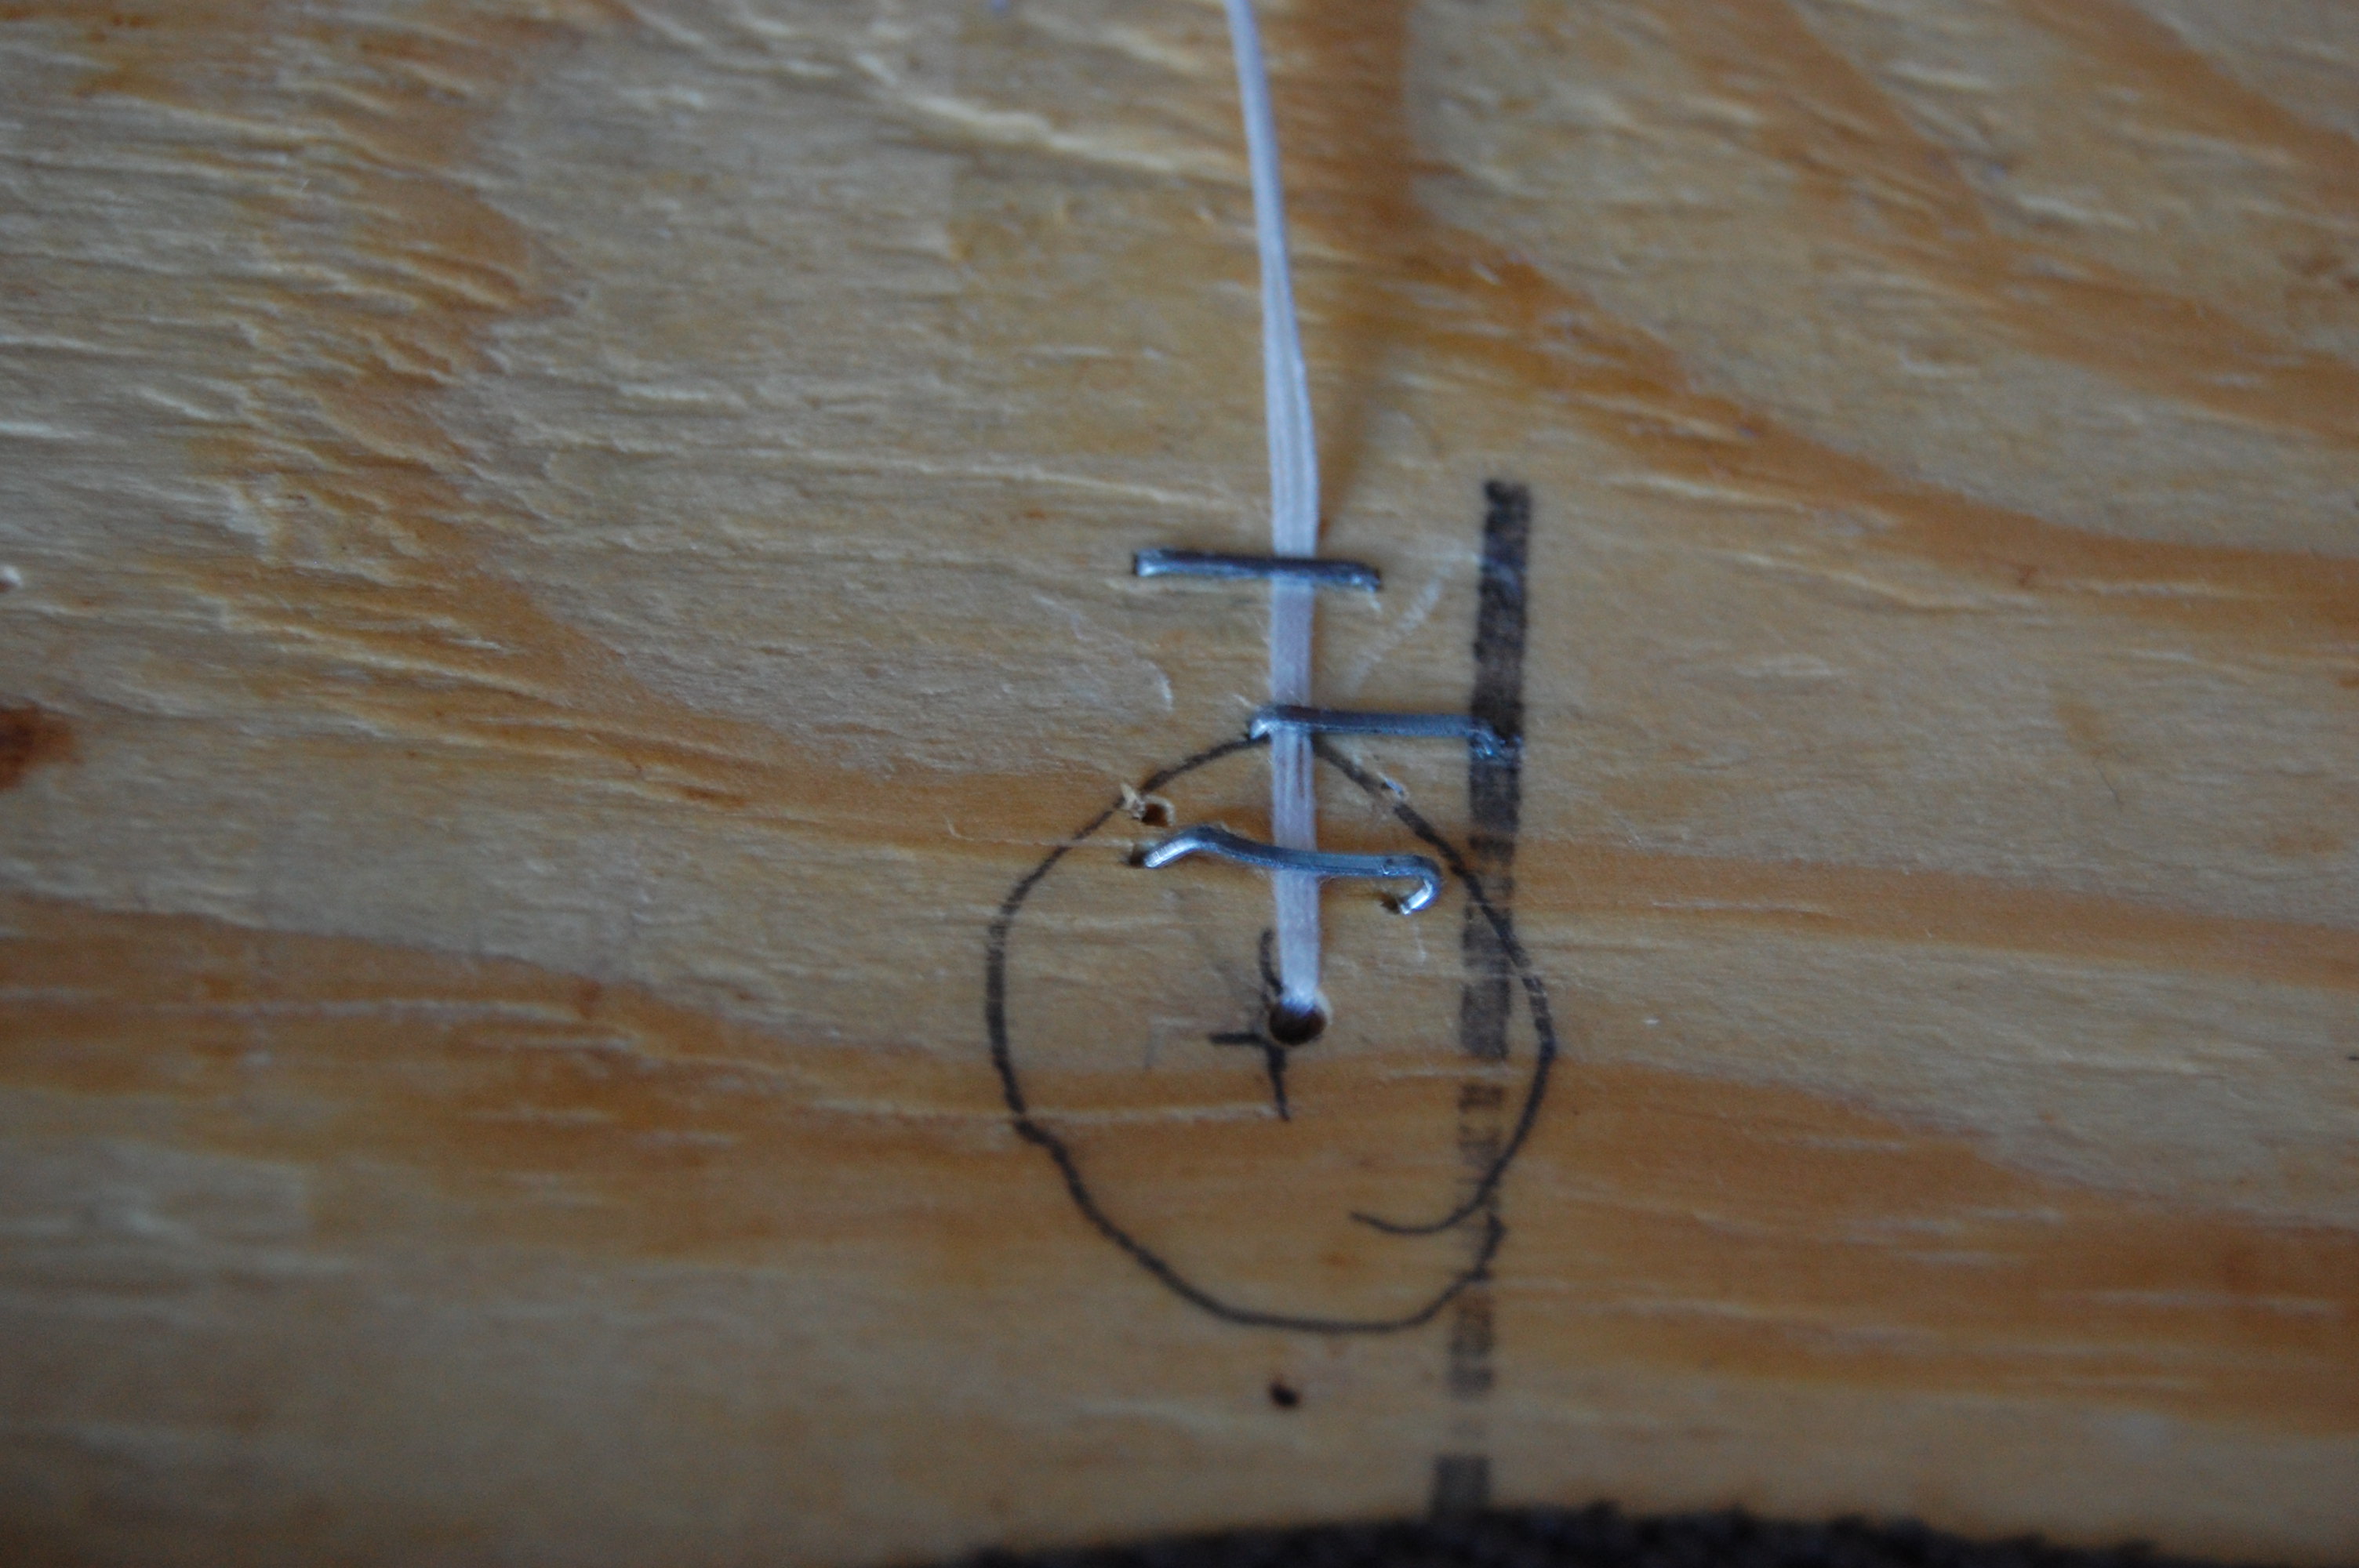
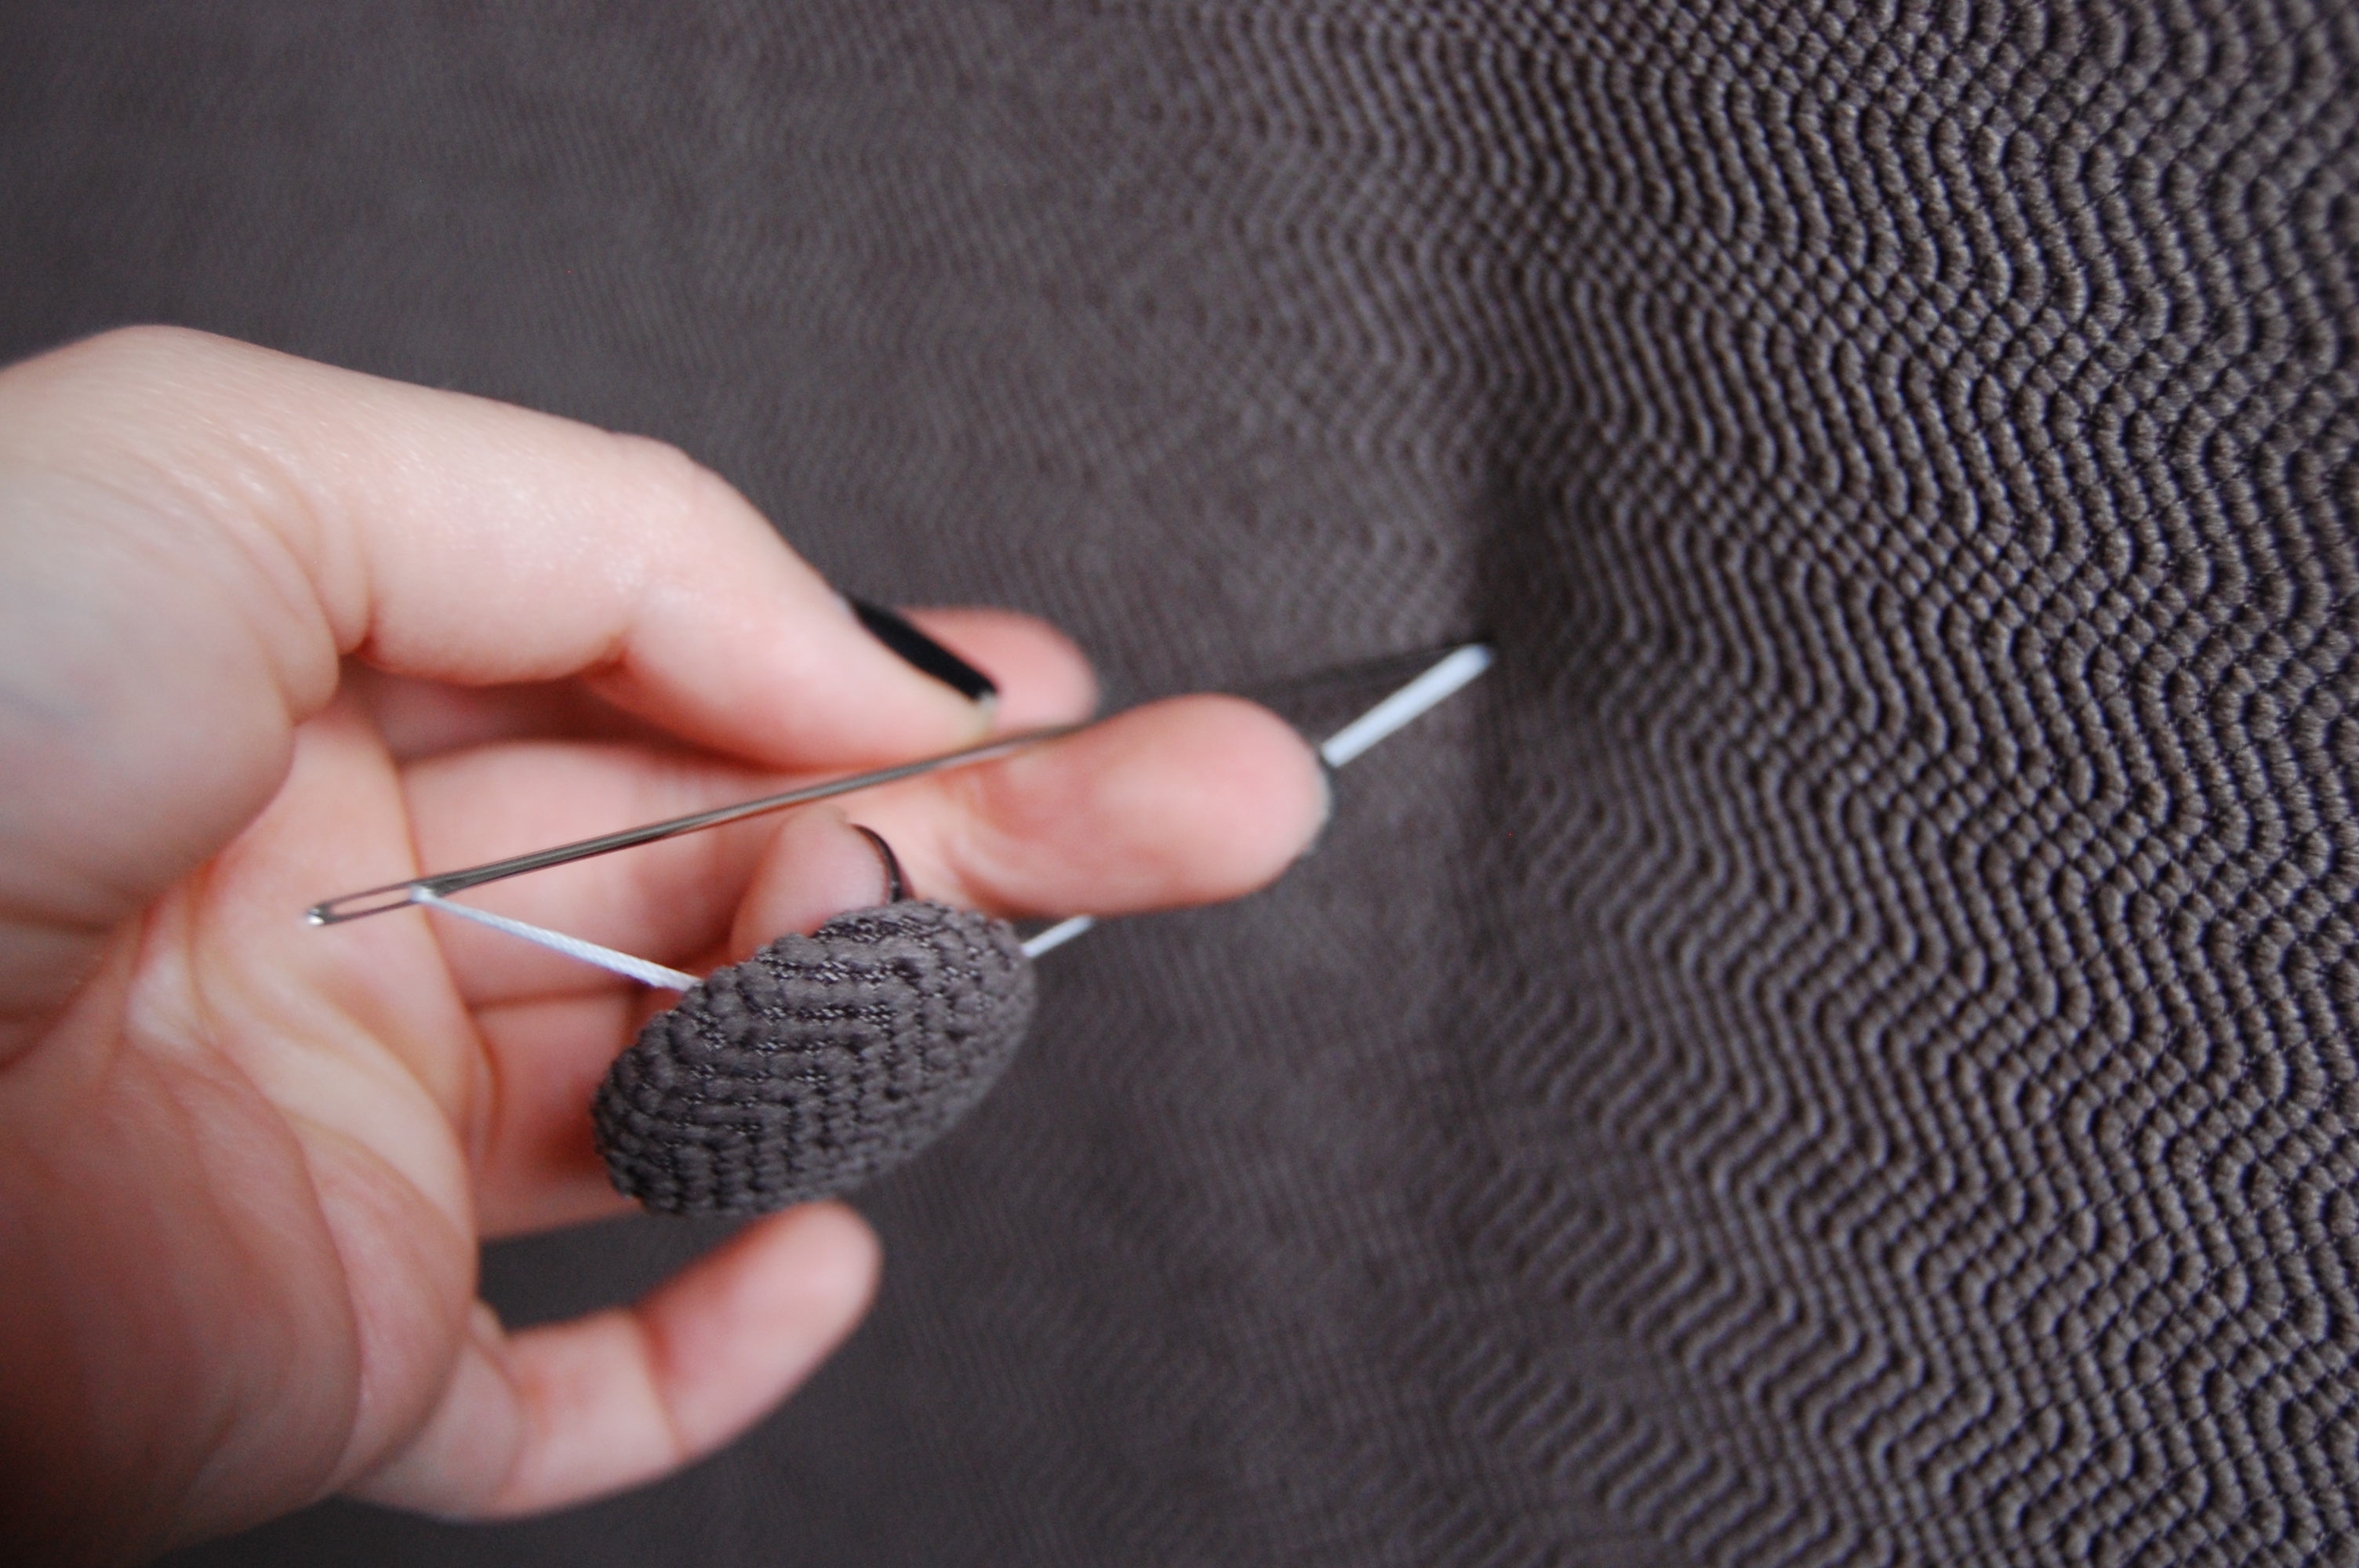 Once you get it through the other side pull the thread as tight as you can. To make the button “sink in” more you can push the button in while you pull the thread on the other side and then with your staple gun staple it down.
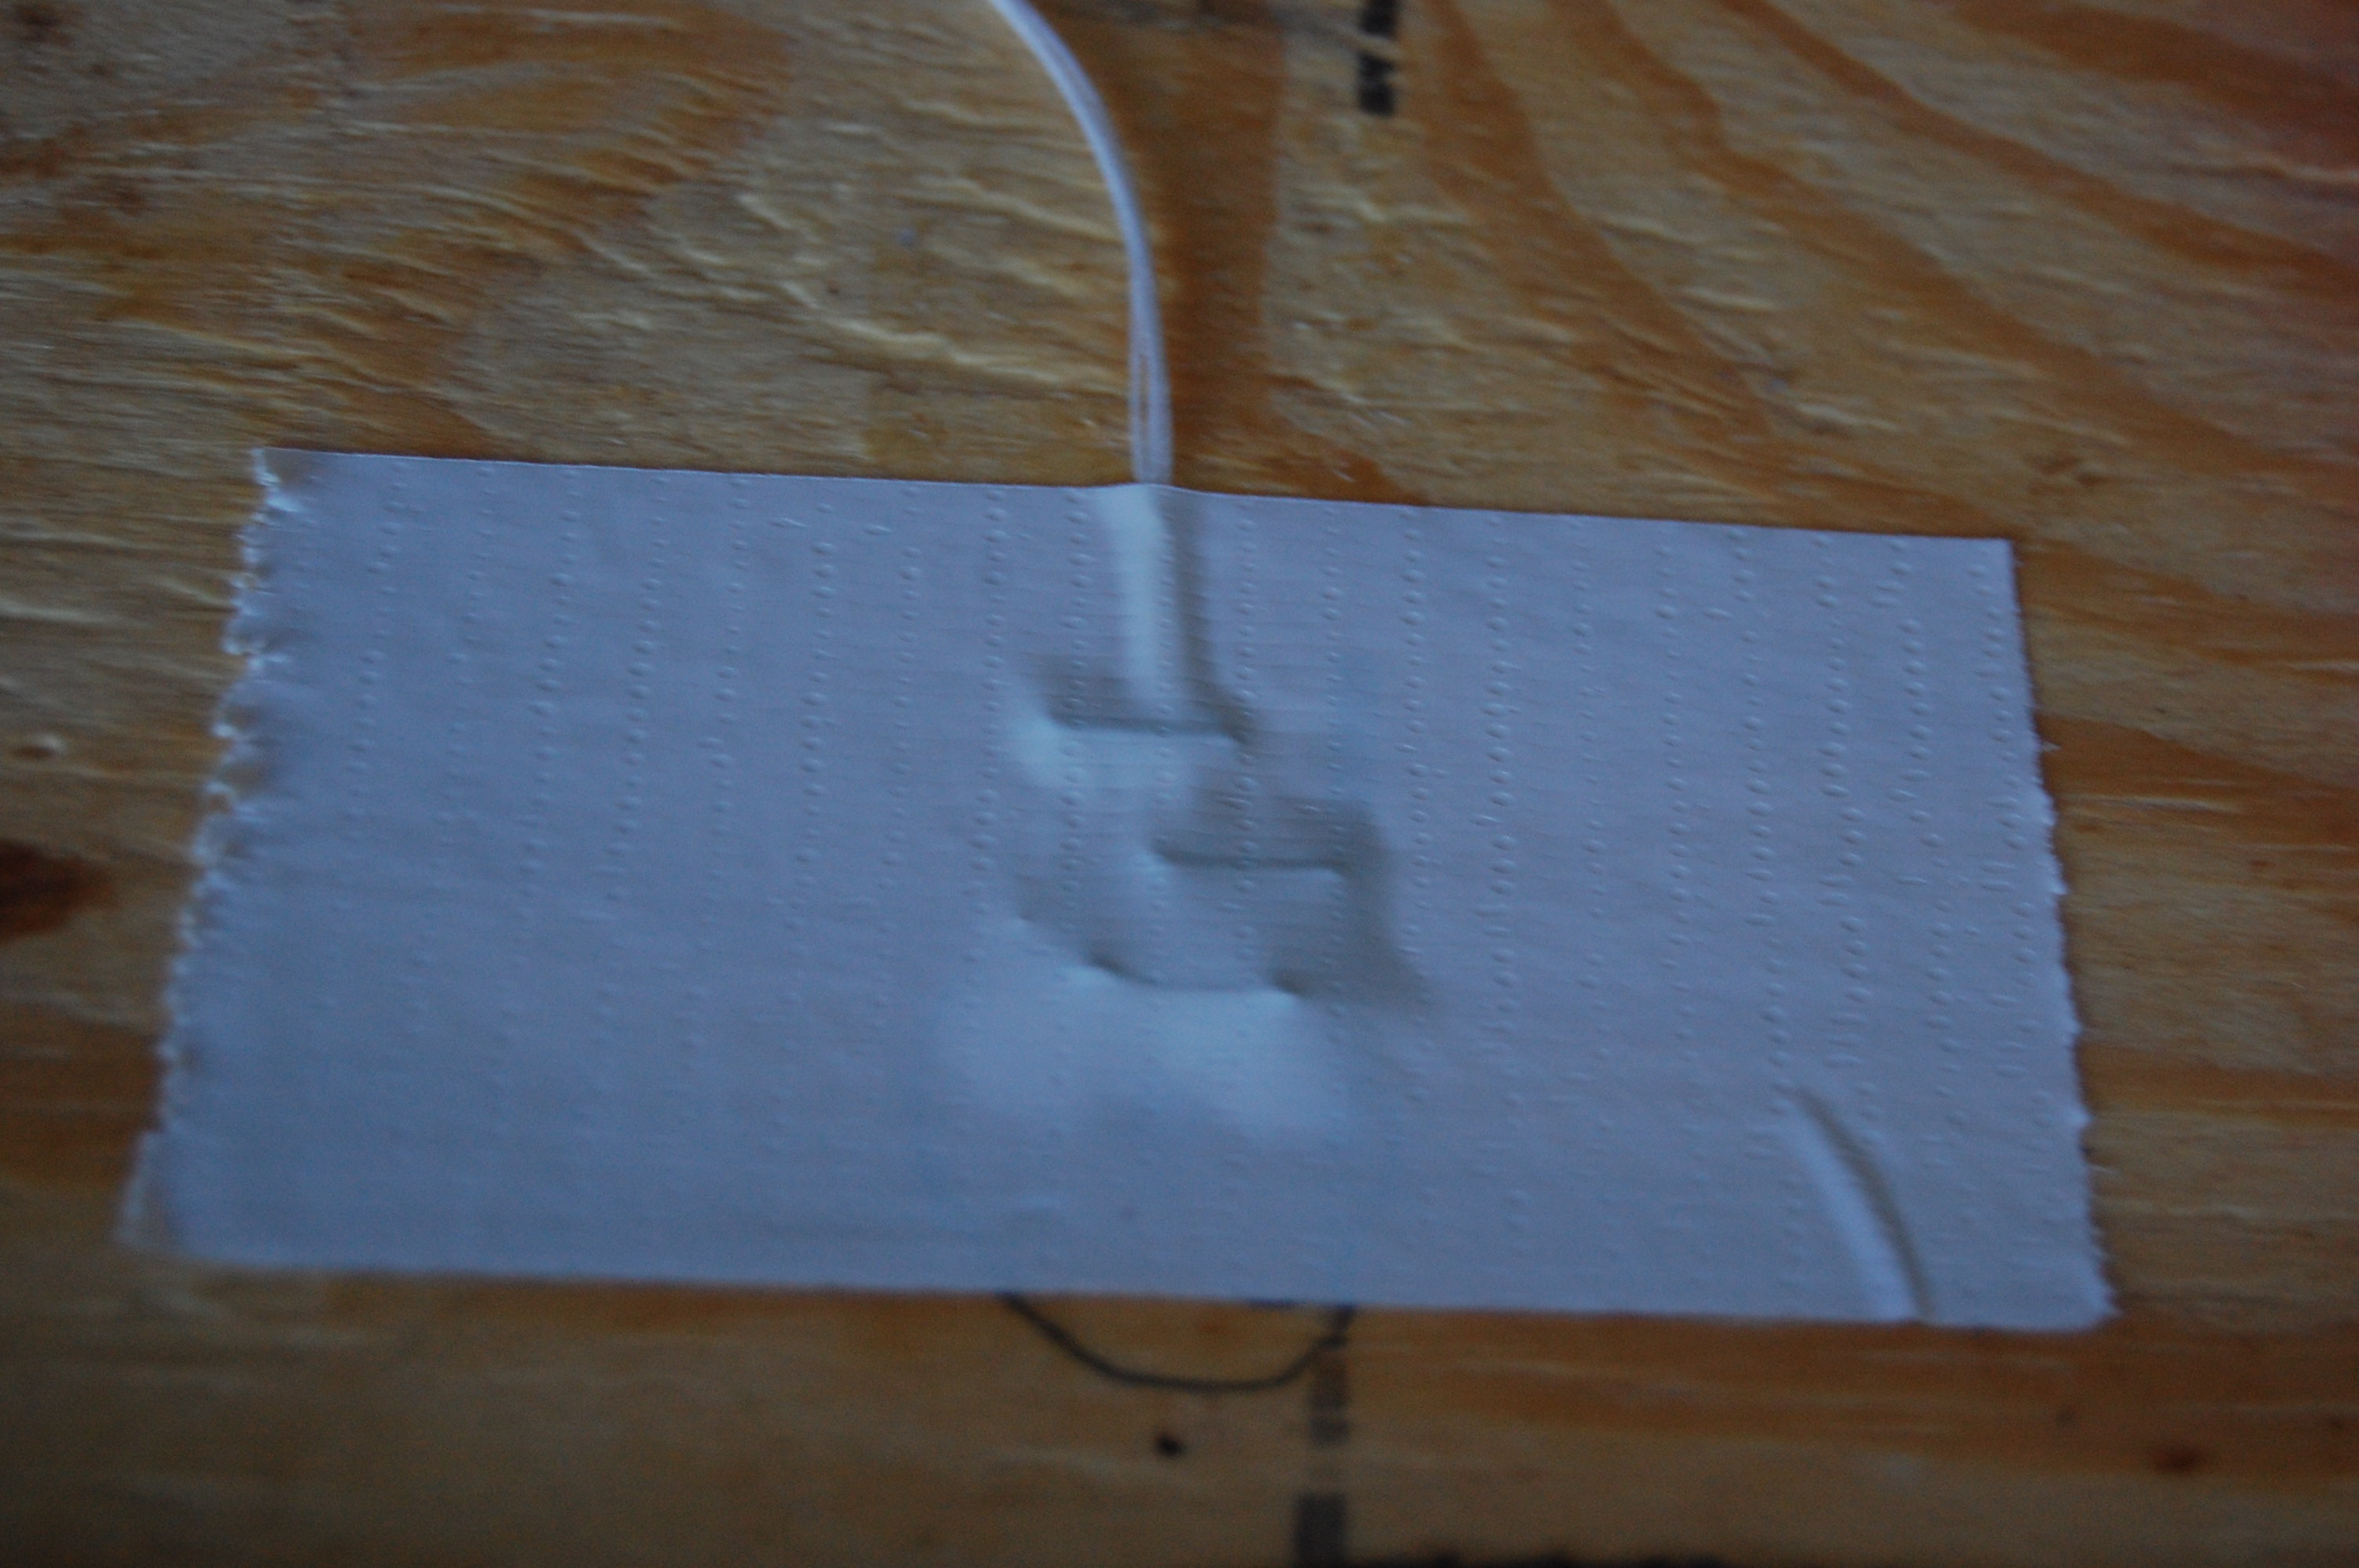
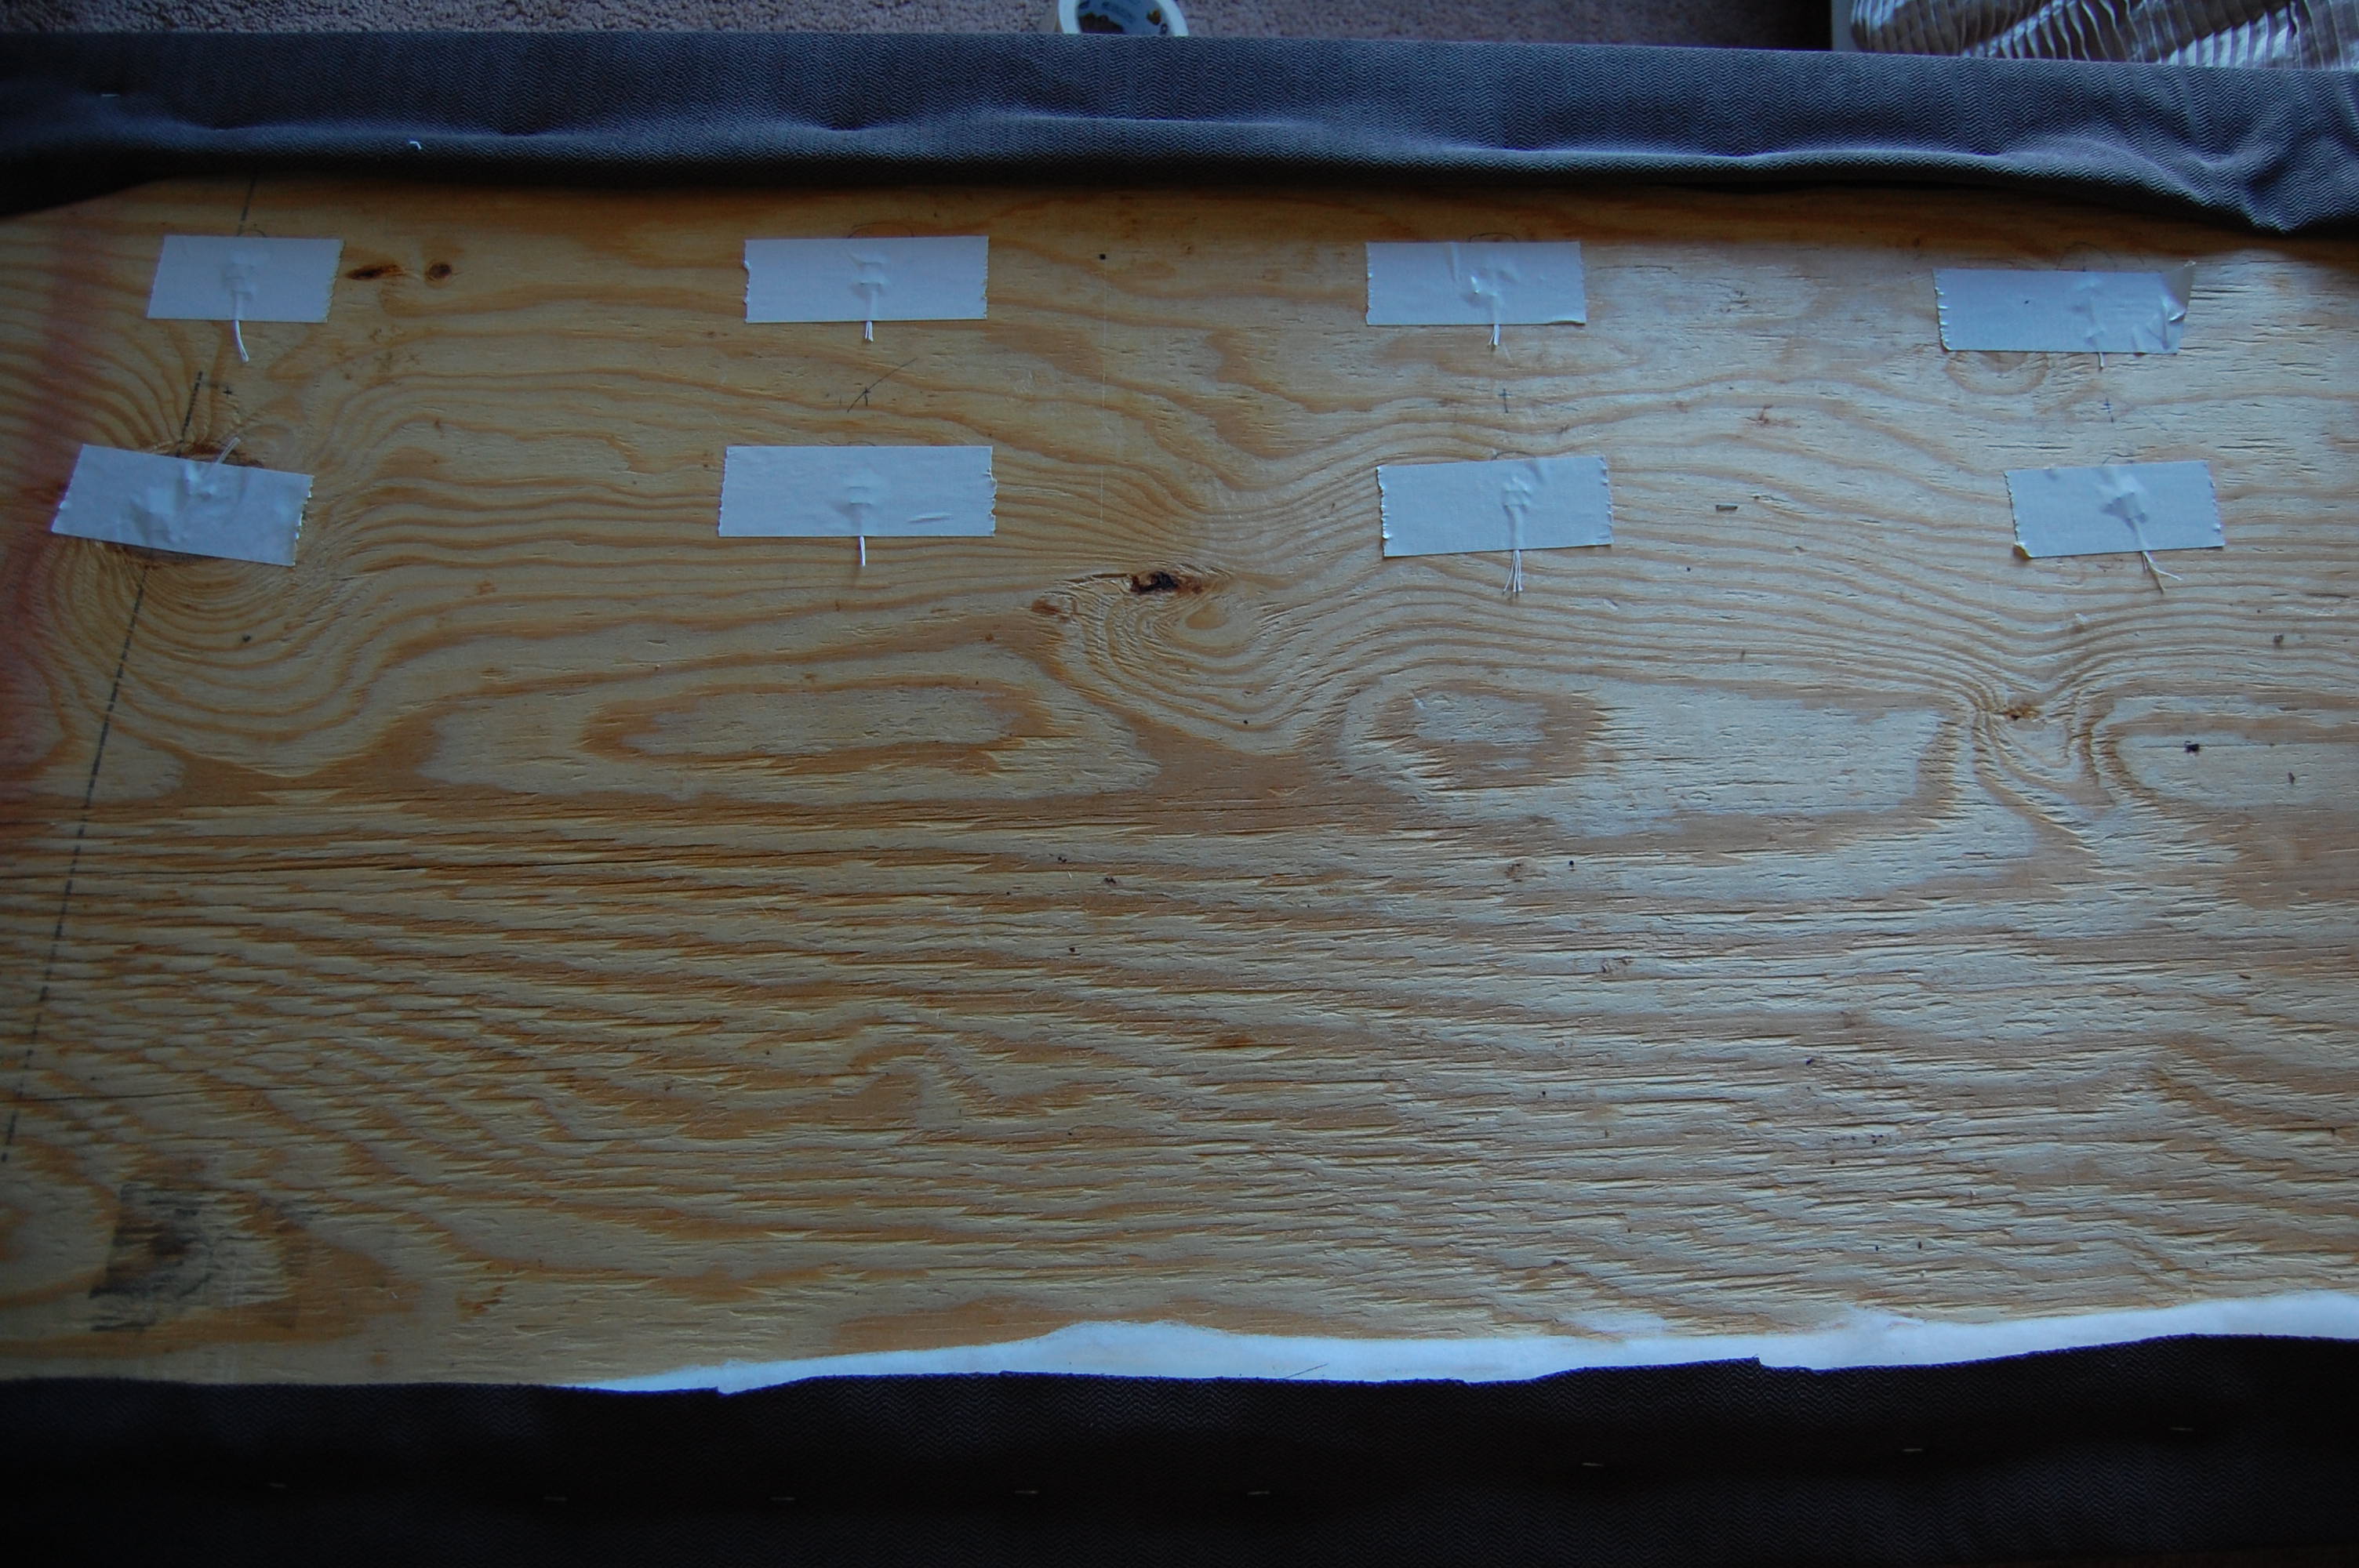
To secure it even more I place a piece of duck tape over it as well.
Then just continue the same process on all the other holes.
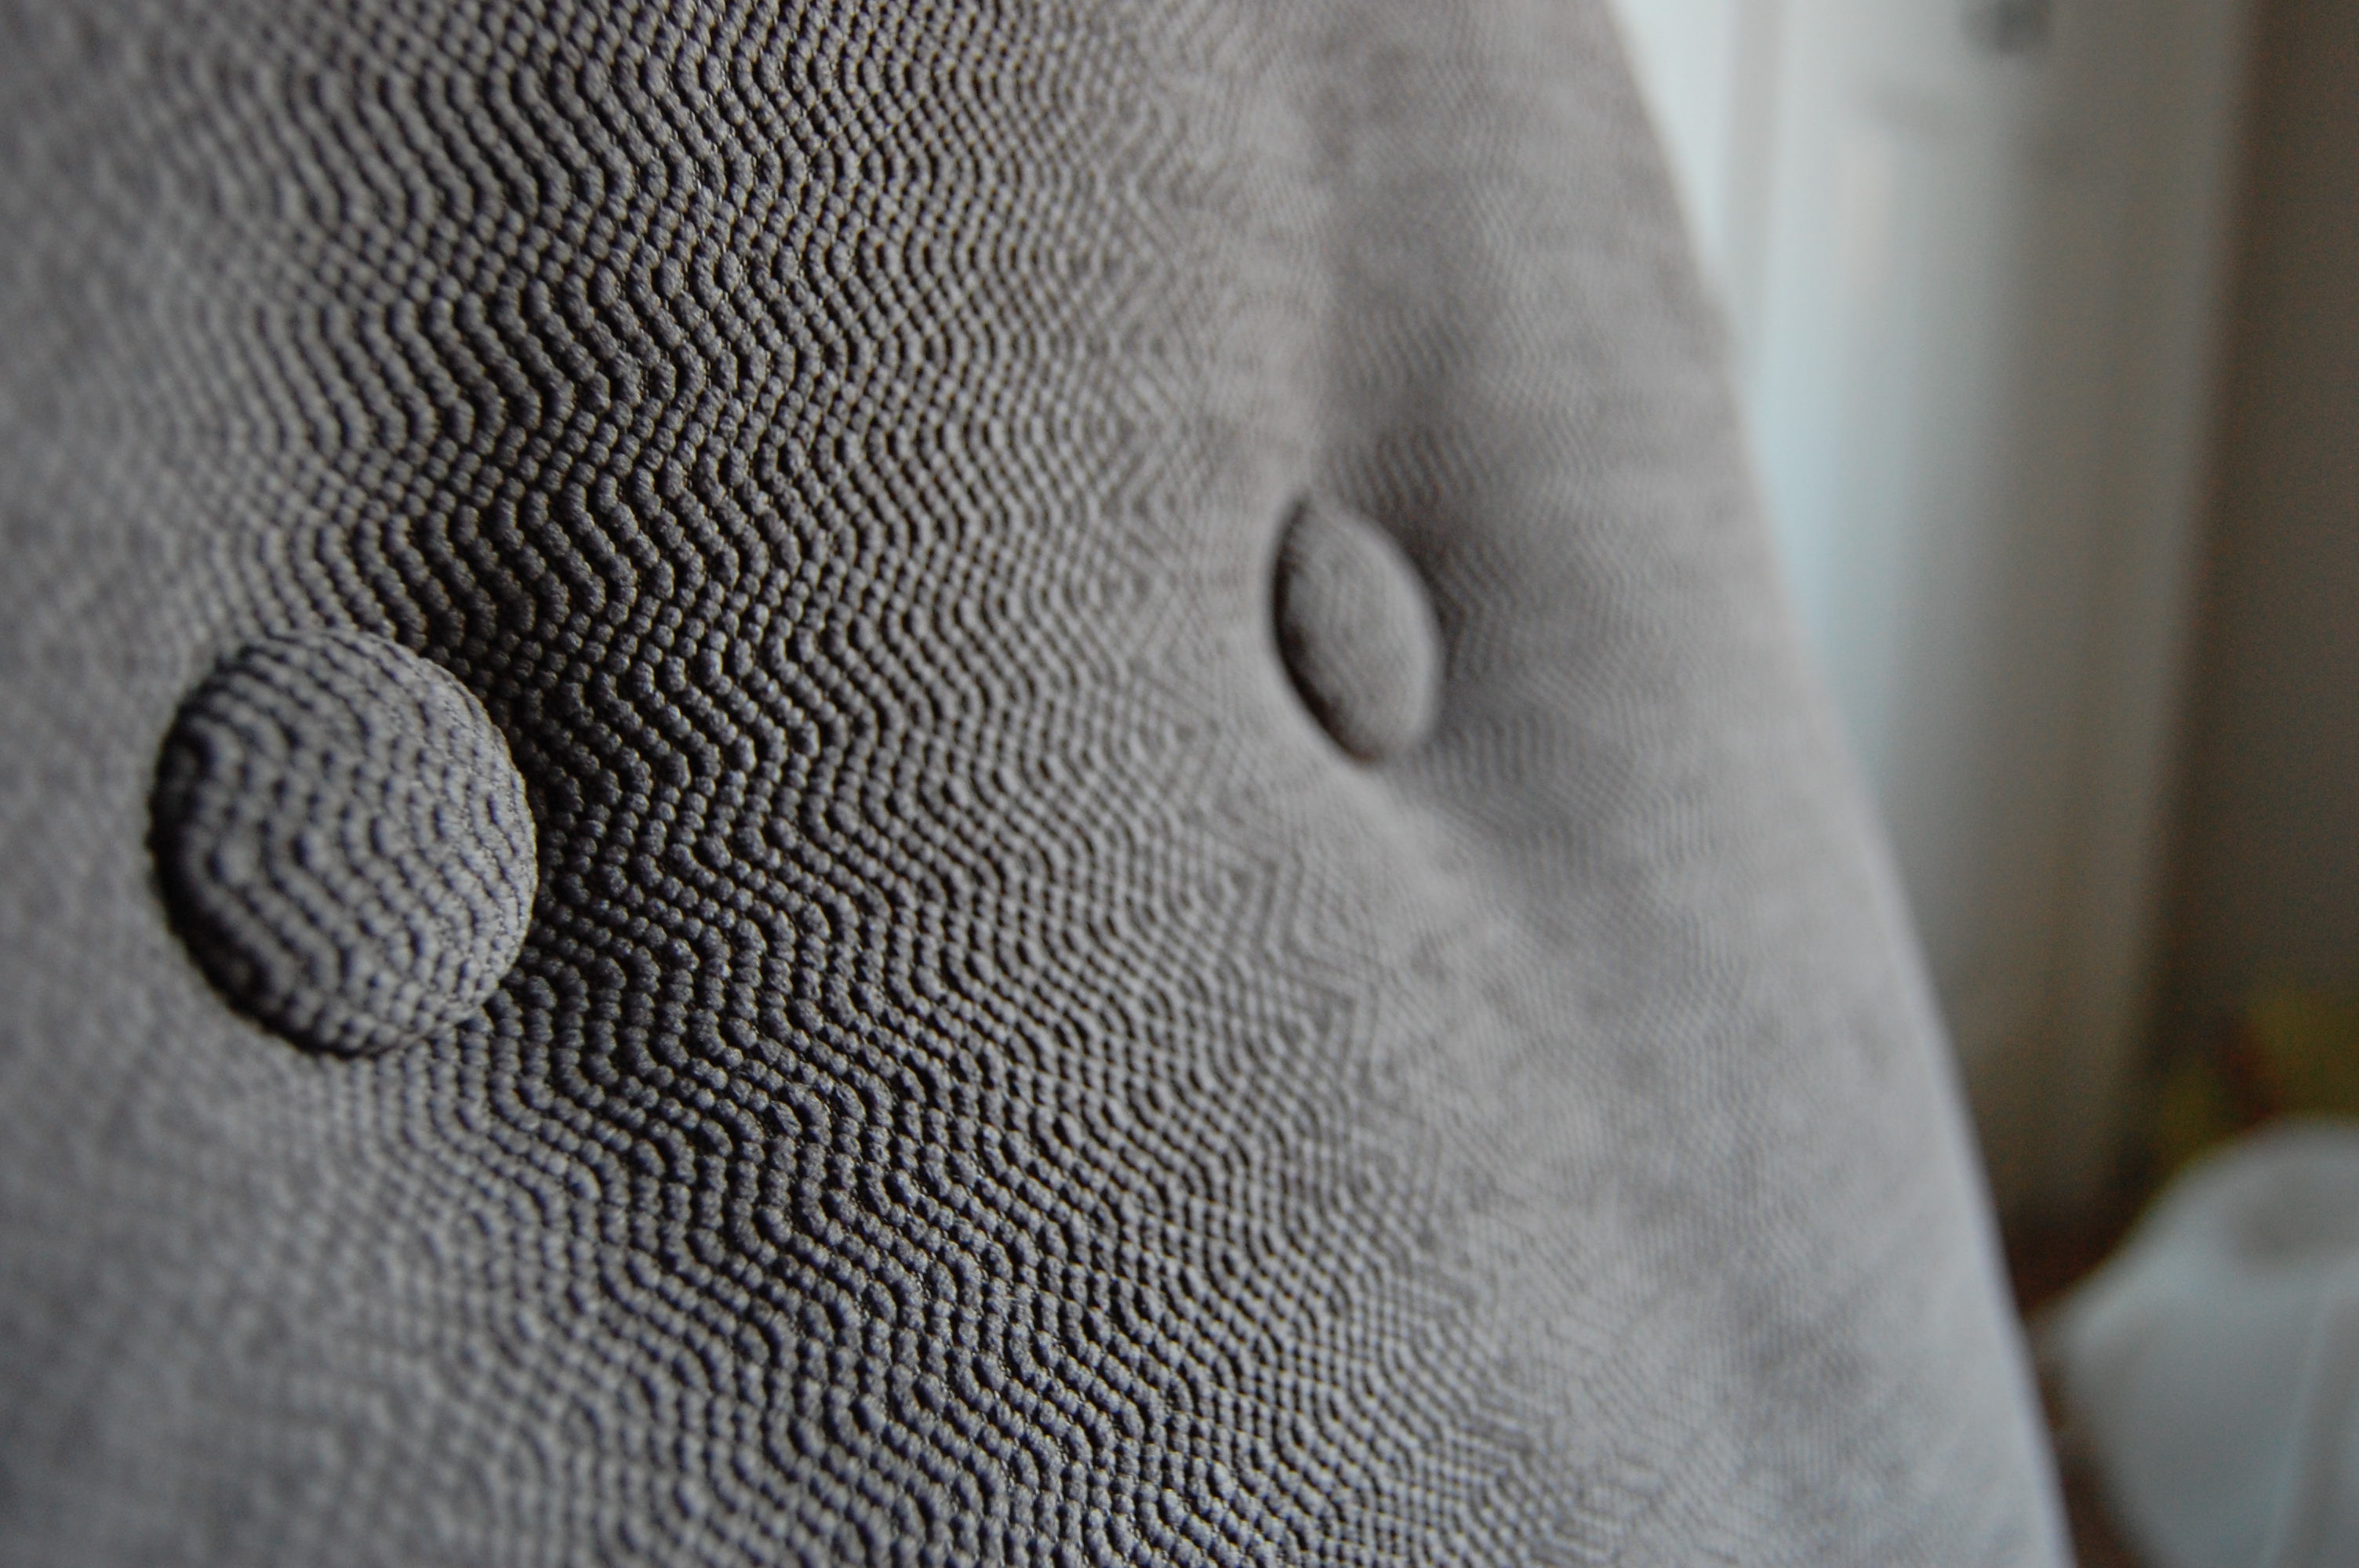
That’s it! You can refer back to this post on how to hang the board and while we did hang it up the bed wasn’t made and so I don’t have a final shot of it up but I will get it soon. Until then here’s a shot of the tufting!
