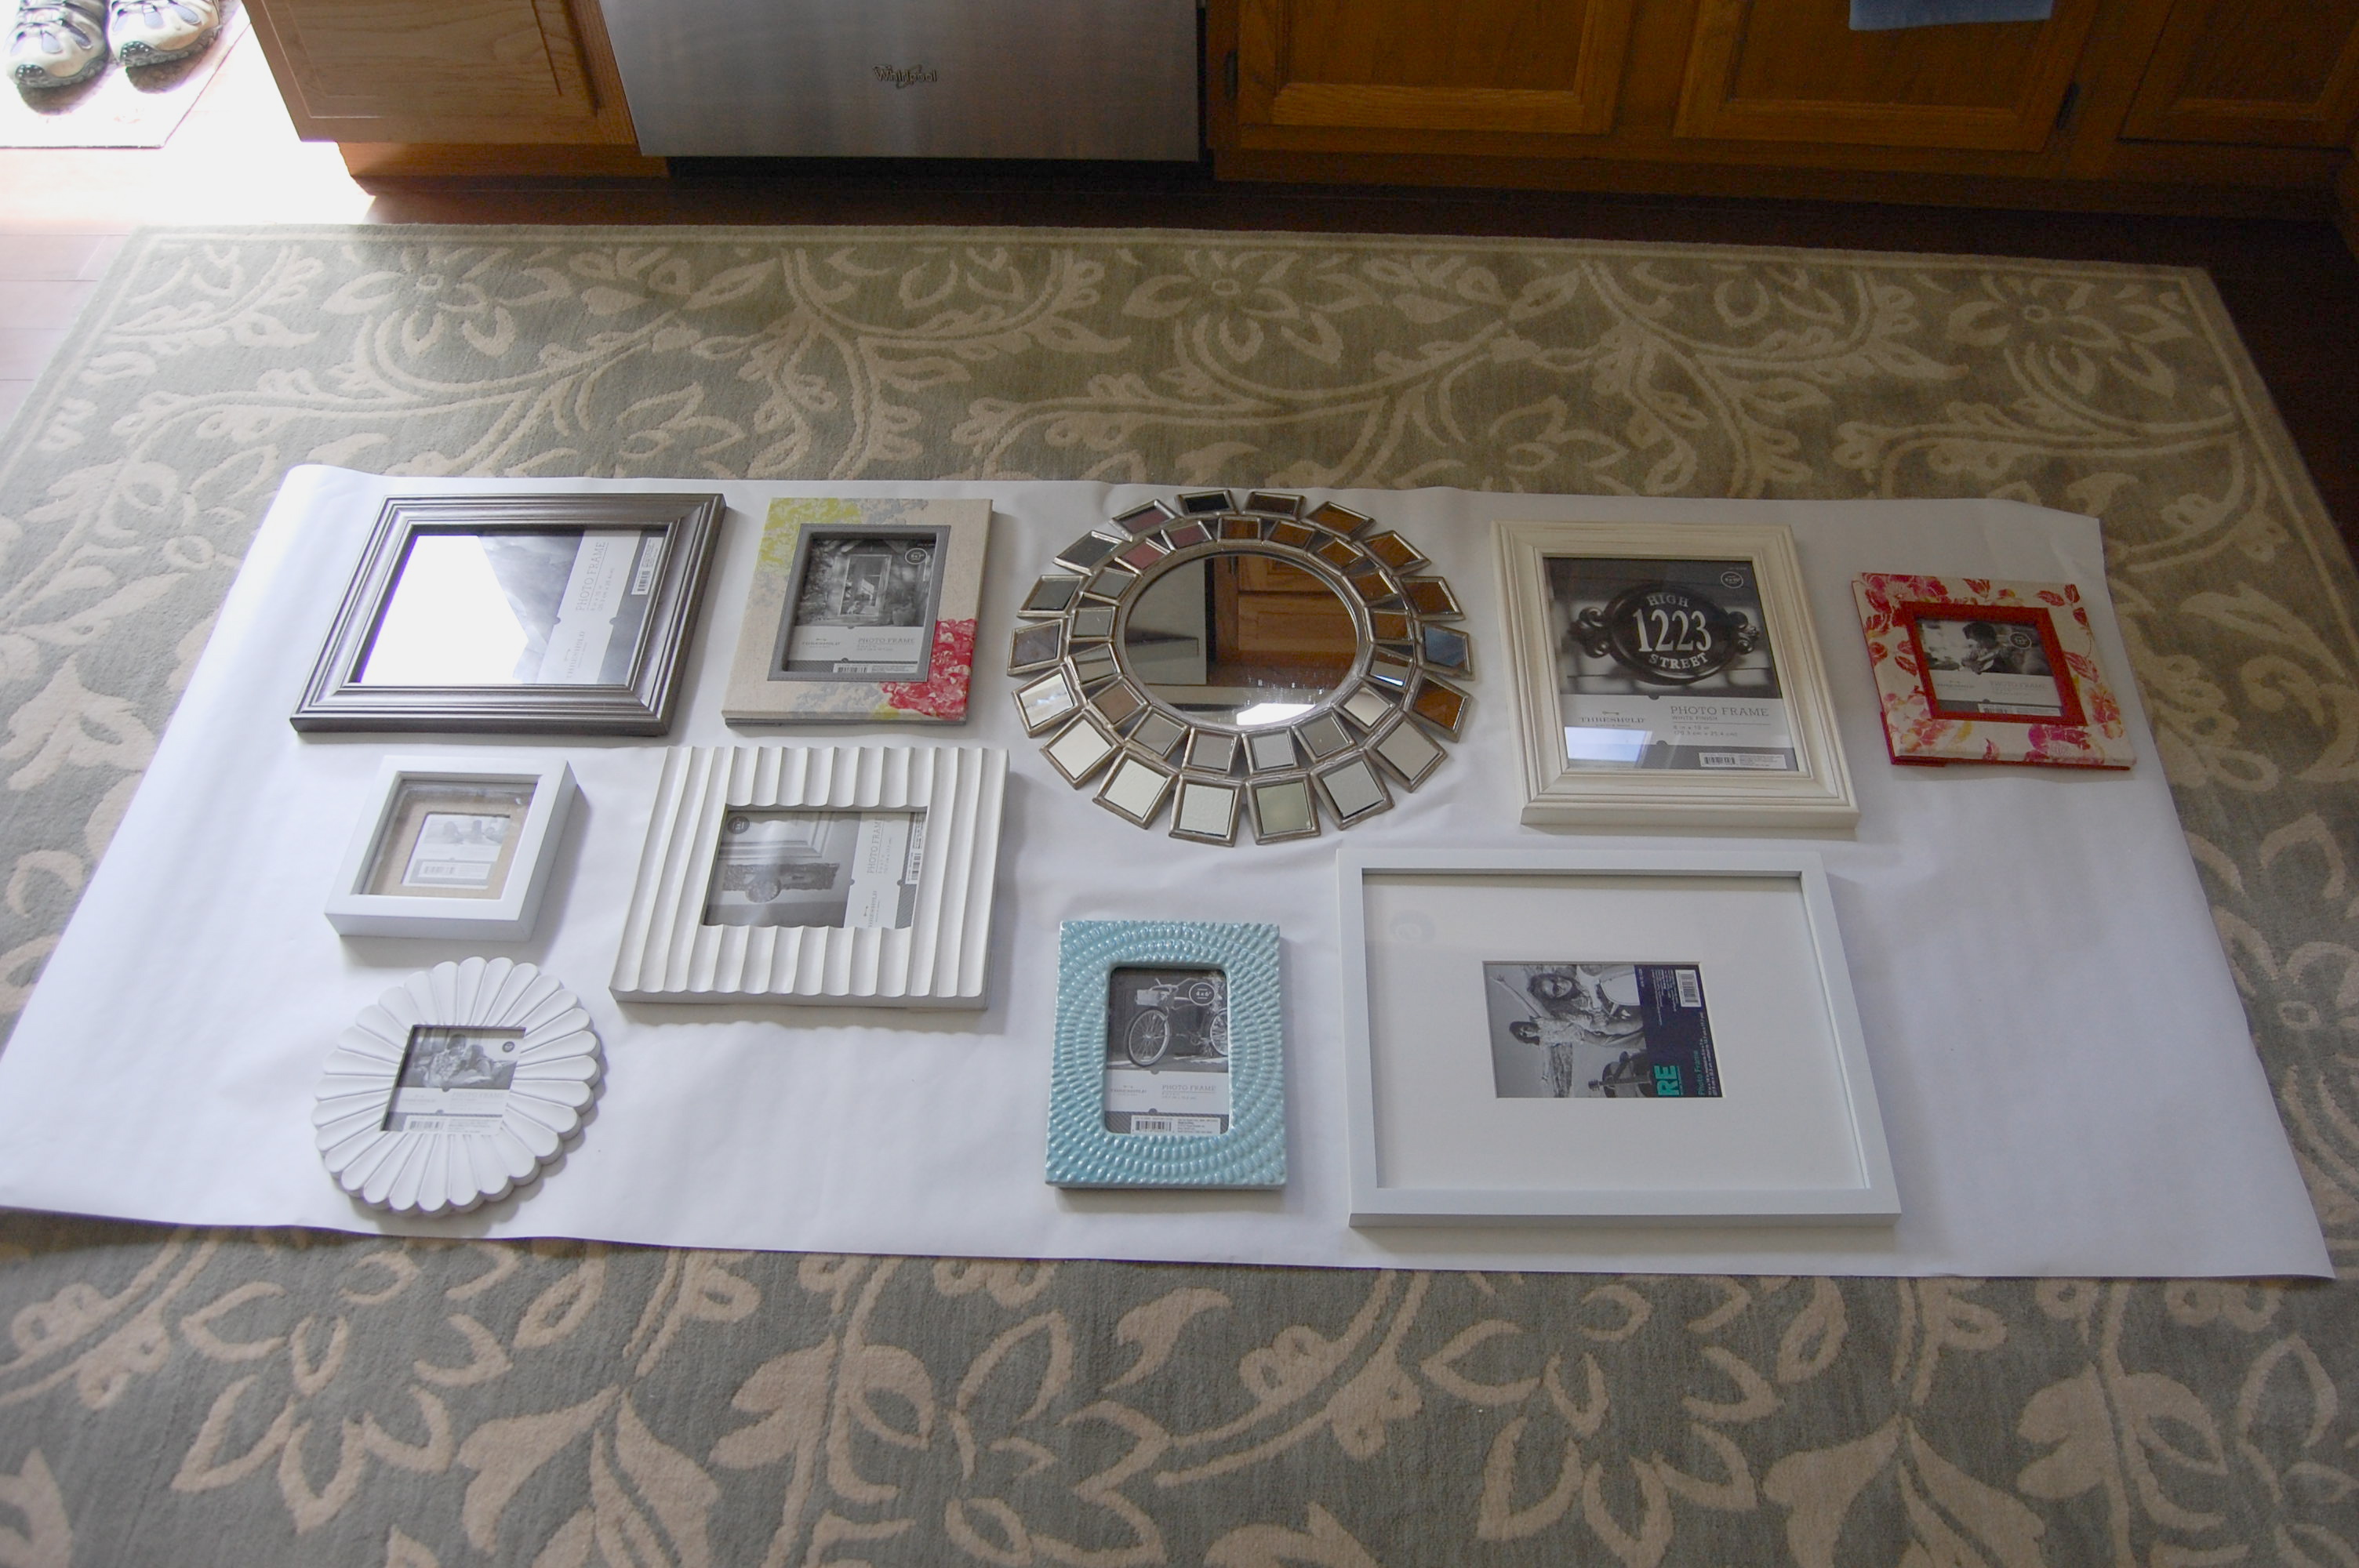
Hi lovelies! I’m here today to share a fool-proof way to put up a gallery wall! I knew that my cousin wanted some help putting up some frames on a blank wall she had in her entryway so before I had even arrived we were talking frames. She had mentioned wanting to get some at Ikea and some other stores and that she wanted white frames. Now, I am no stranger to a white framed gallery wall as seen here in my own entryway, but when we made a stop at Target I managed to persuade her to go in a bit of a different direction. I grabbed a handful of different frames that all worked really well together and placed them out right there on the floor for her to see.
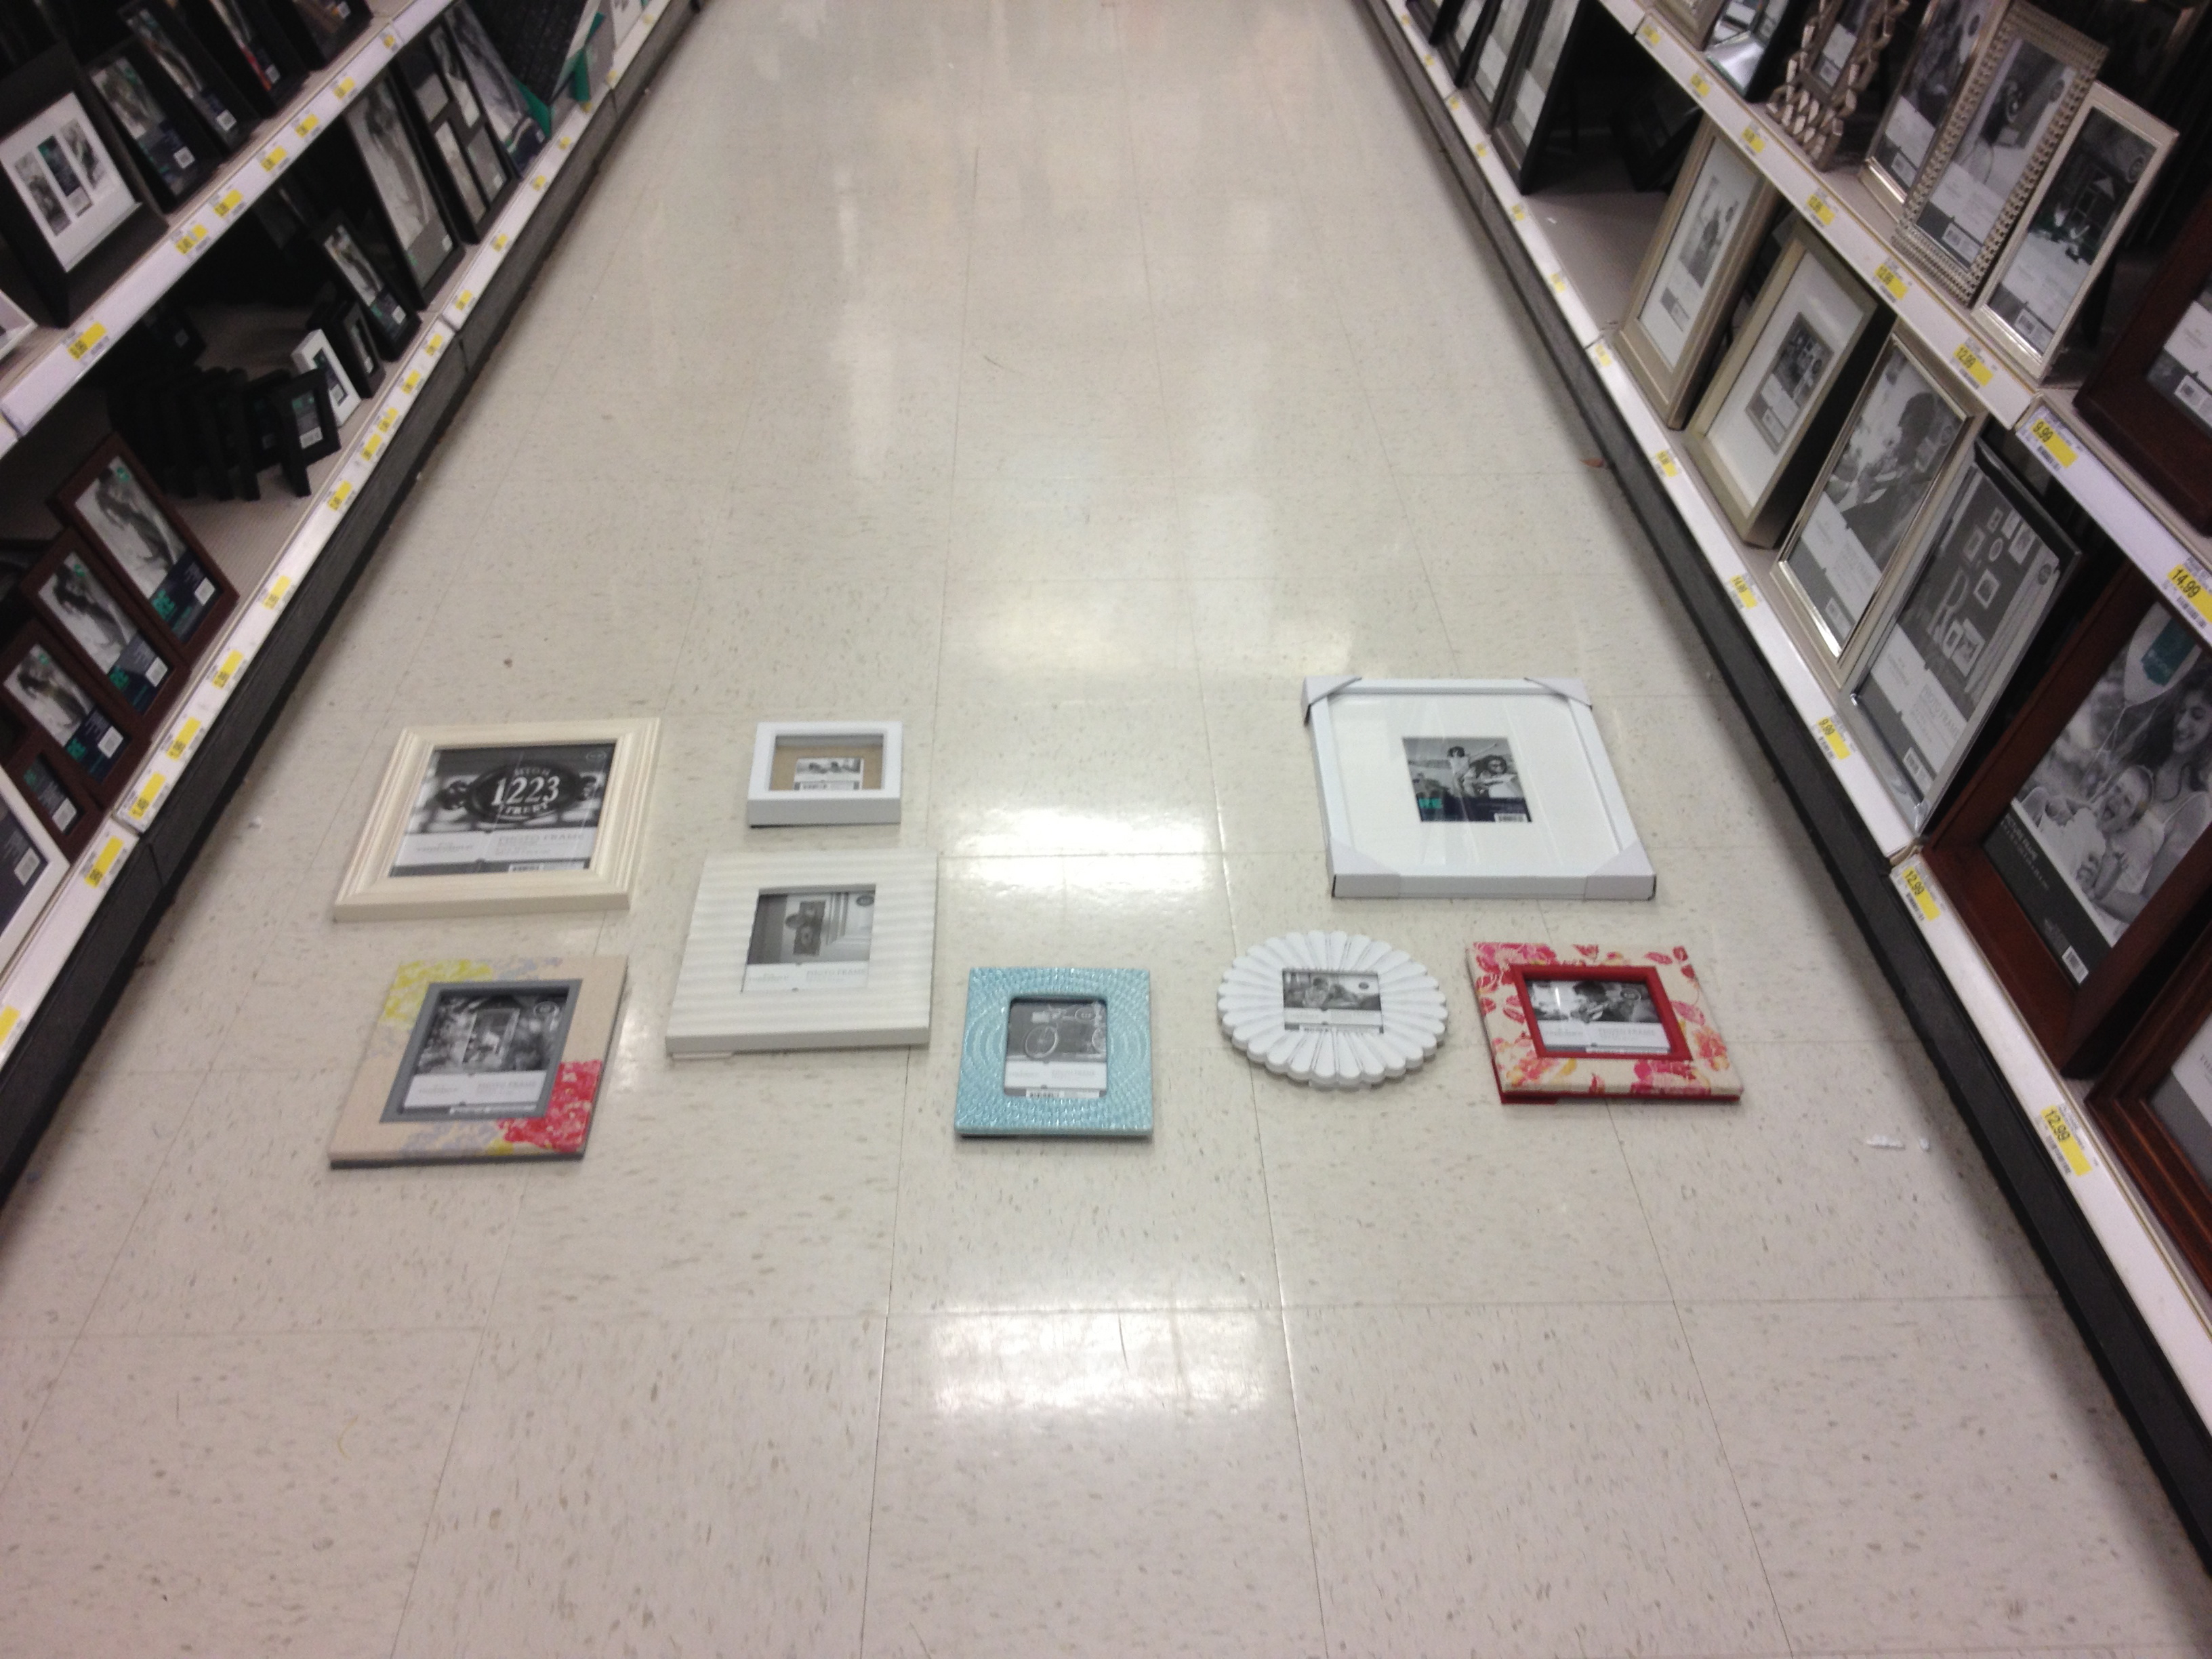 This wall was going to be about different colors and textures. I also love the idea of a gallery wall having different elements so I grabbed a mirror to throw in there as well.
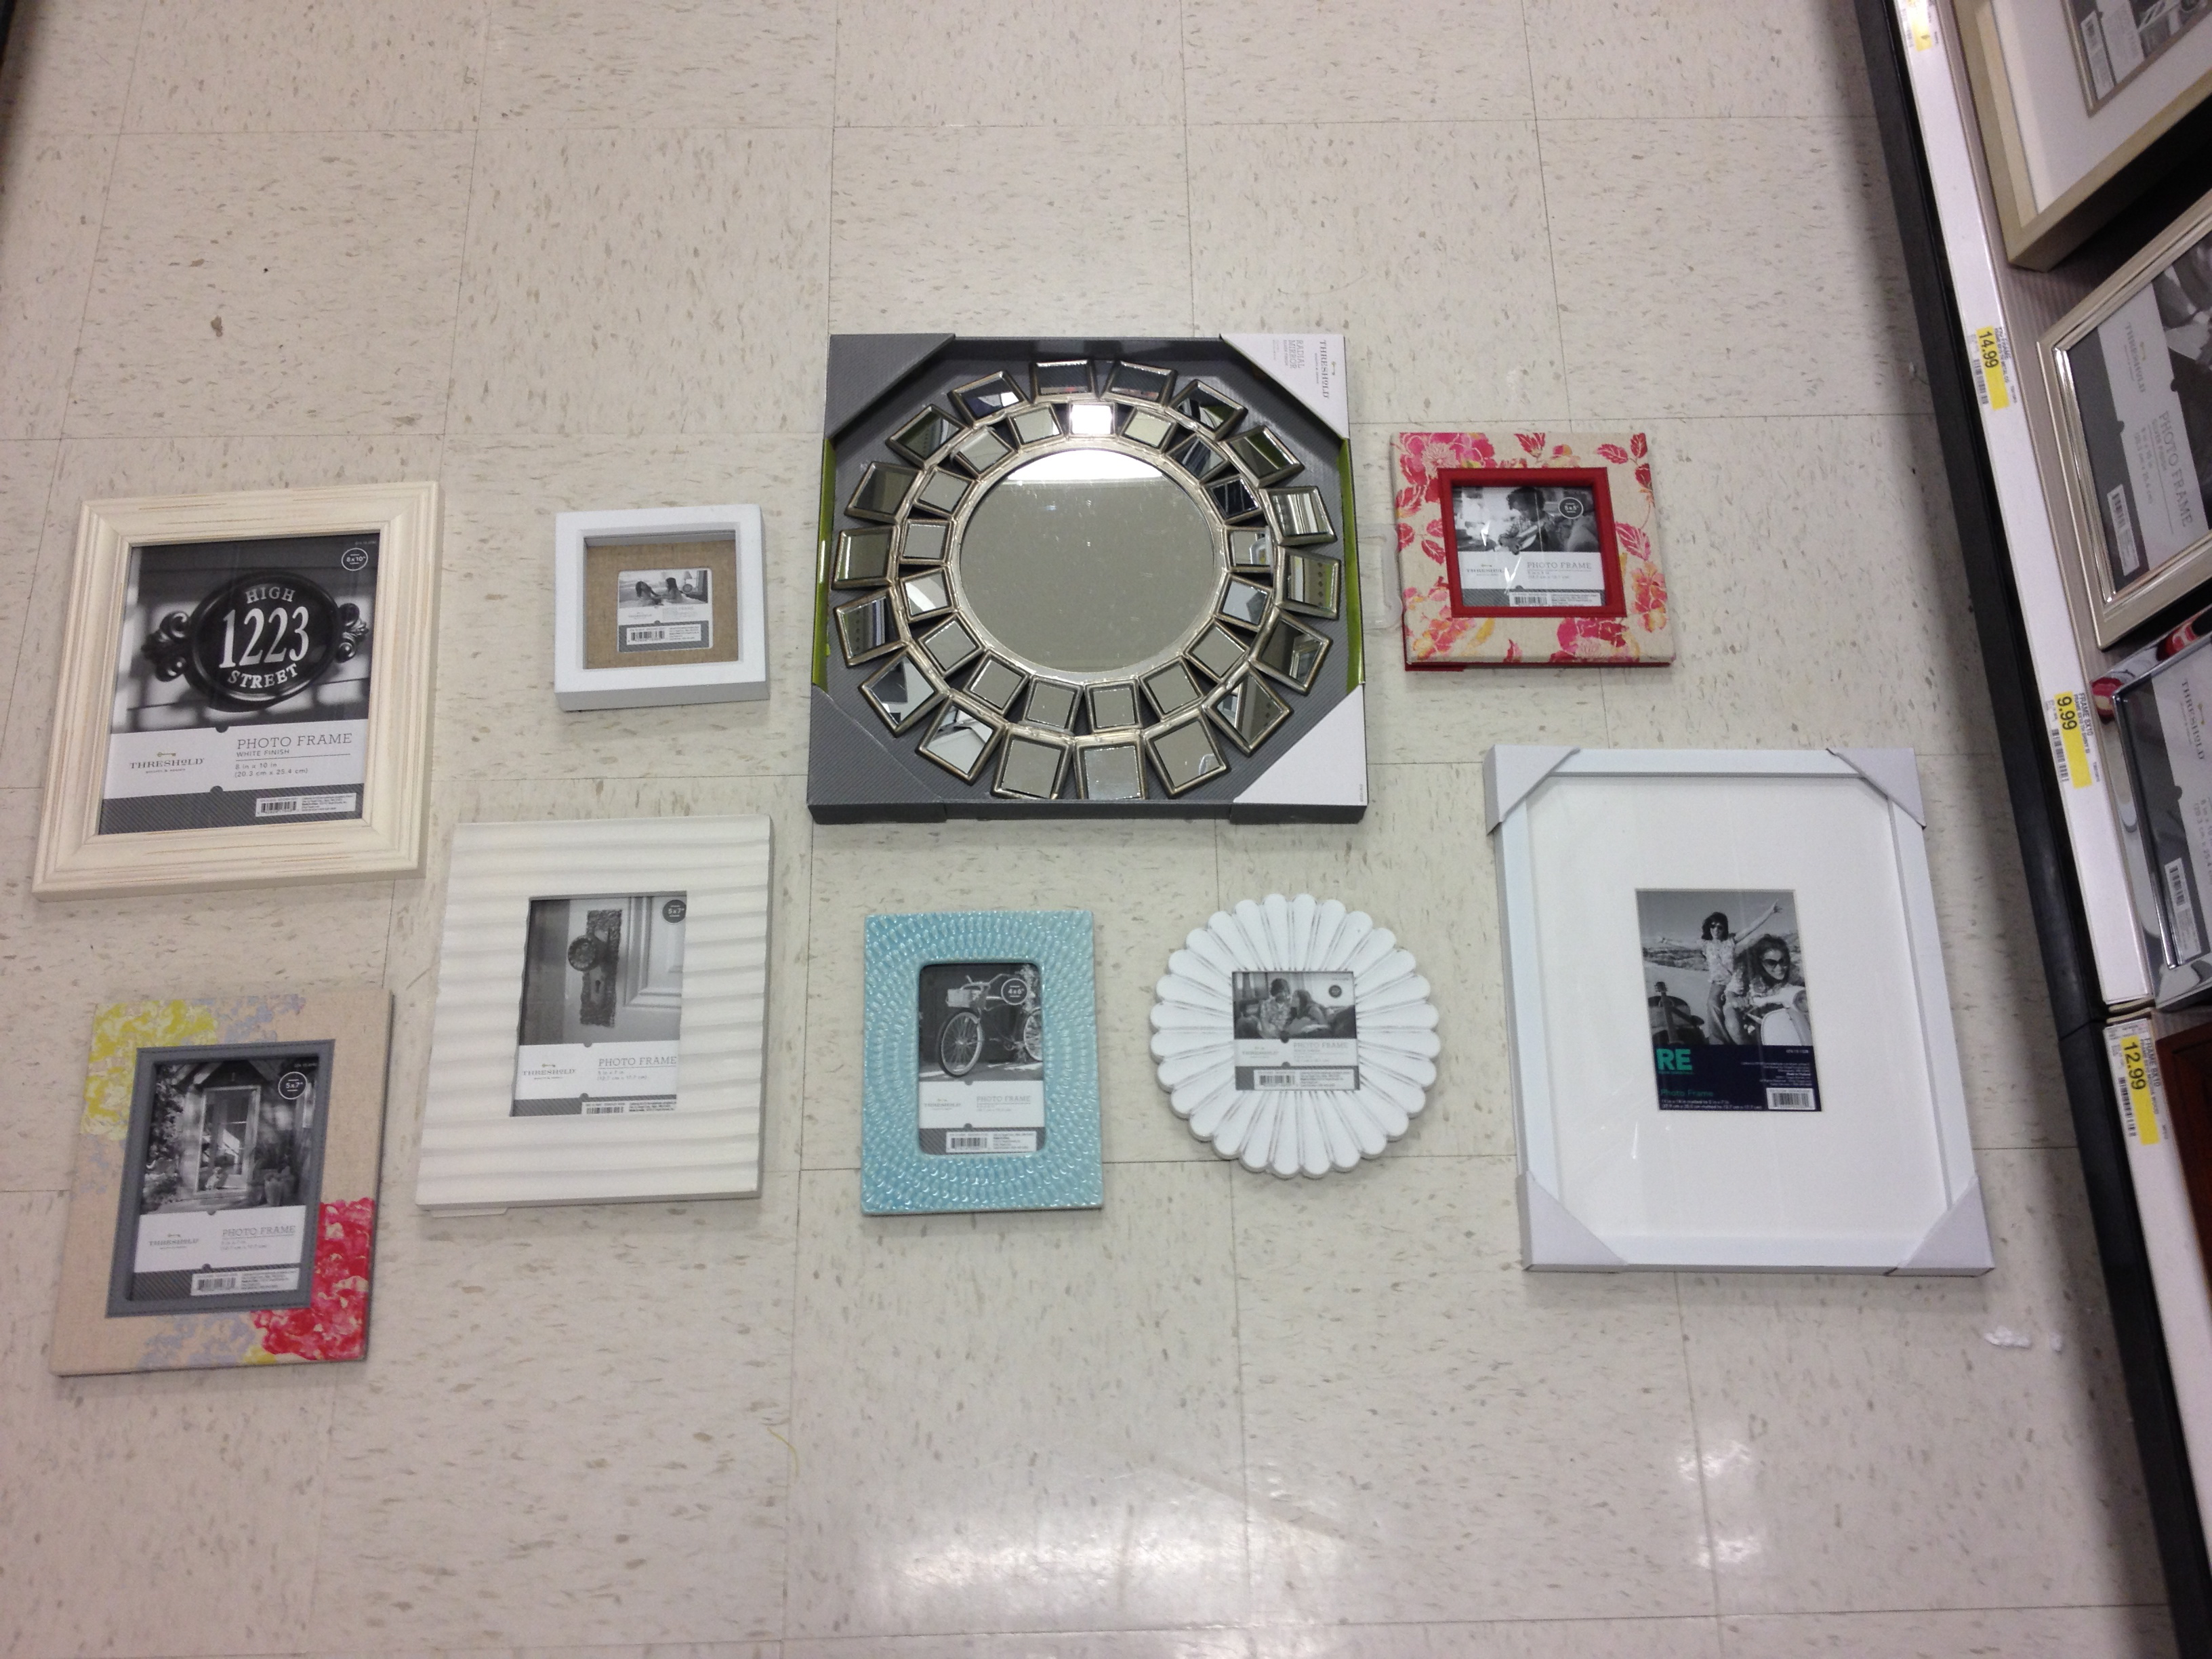 Naturally she loved it so into the cart it went! We also stopped by her local craft store so I could pick up some letters and numbers to add a much more personal touch to the wall. While we were there I grabbed a roll of white craft paper!
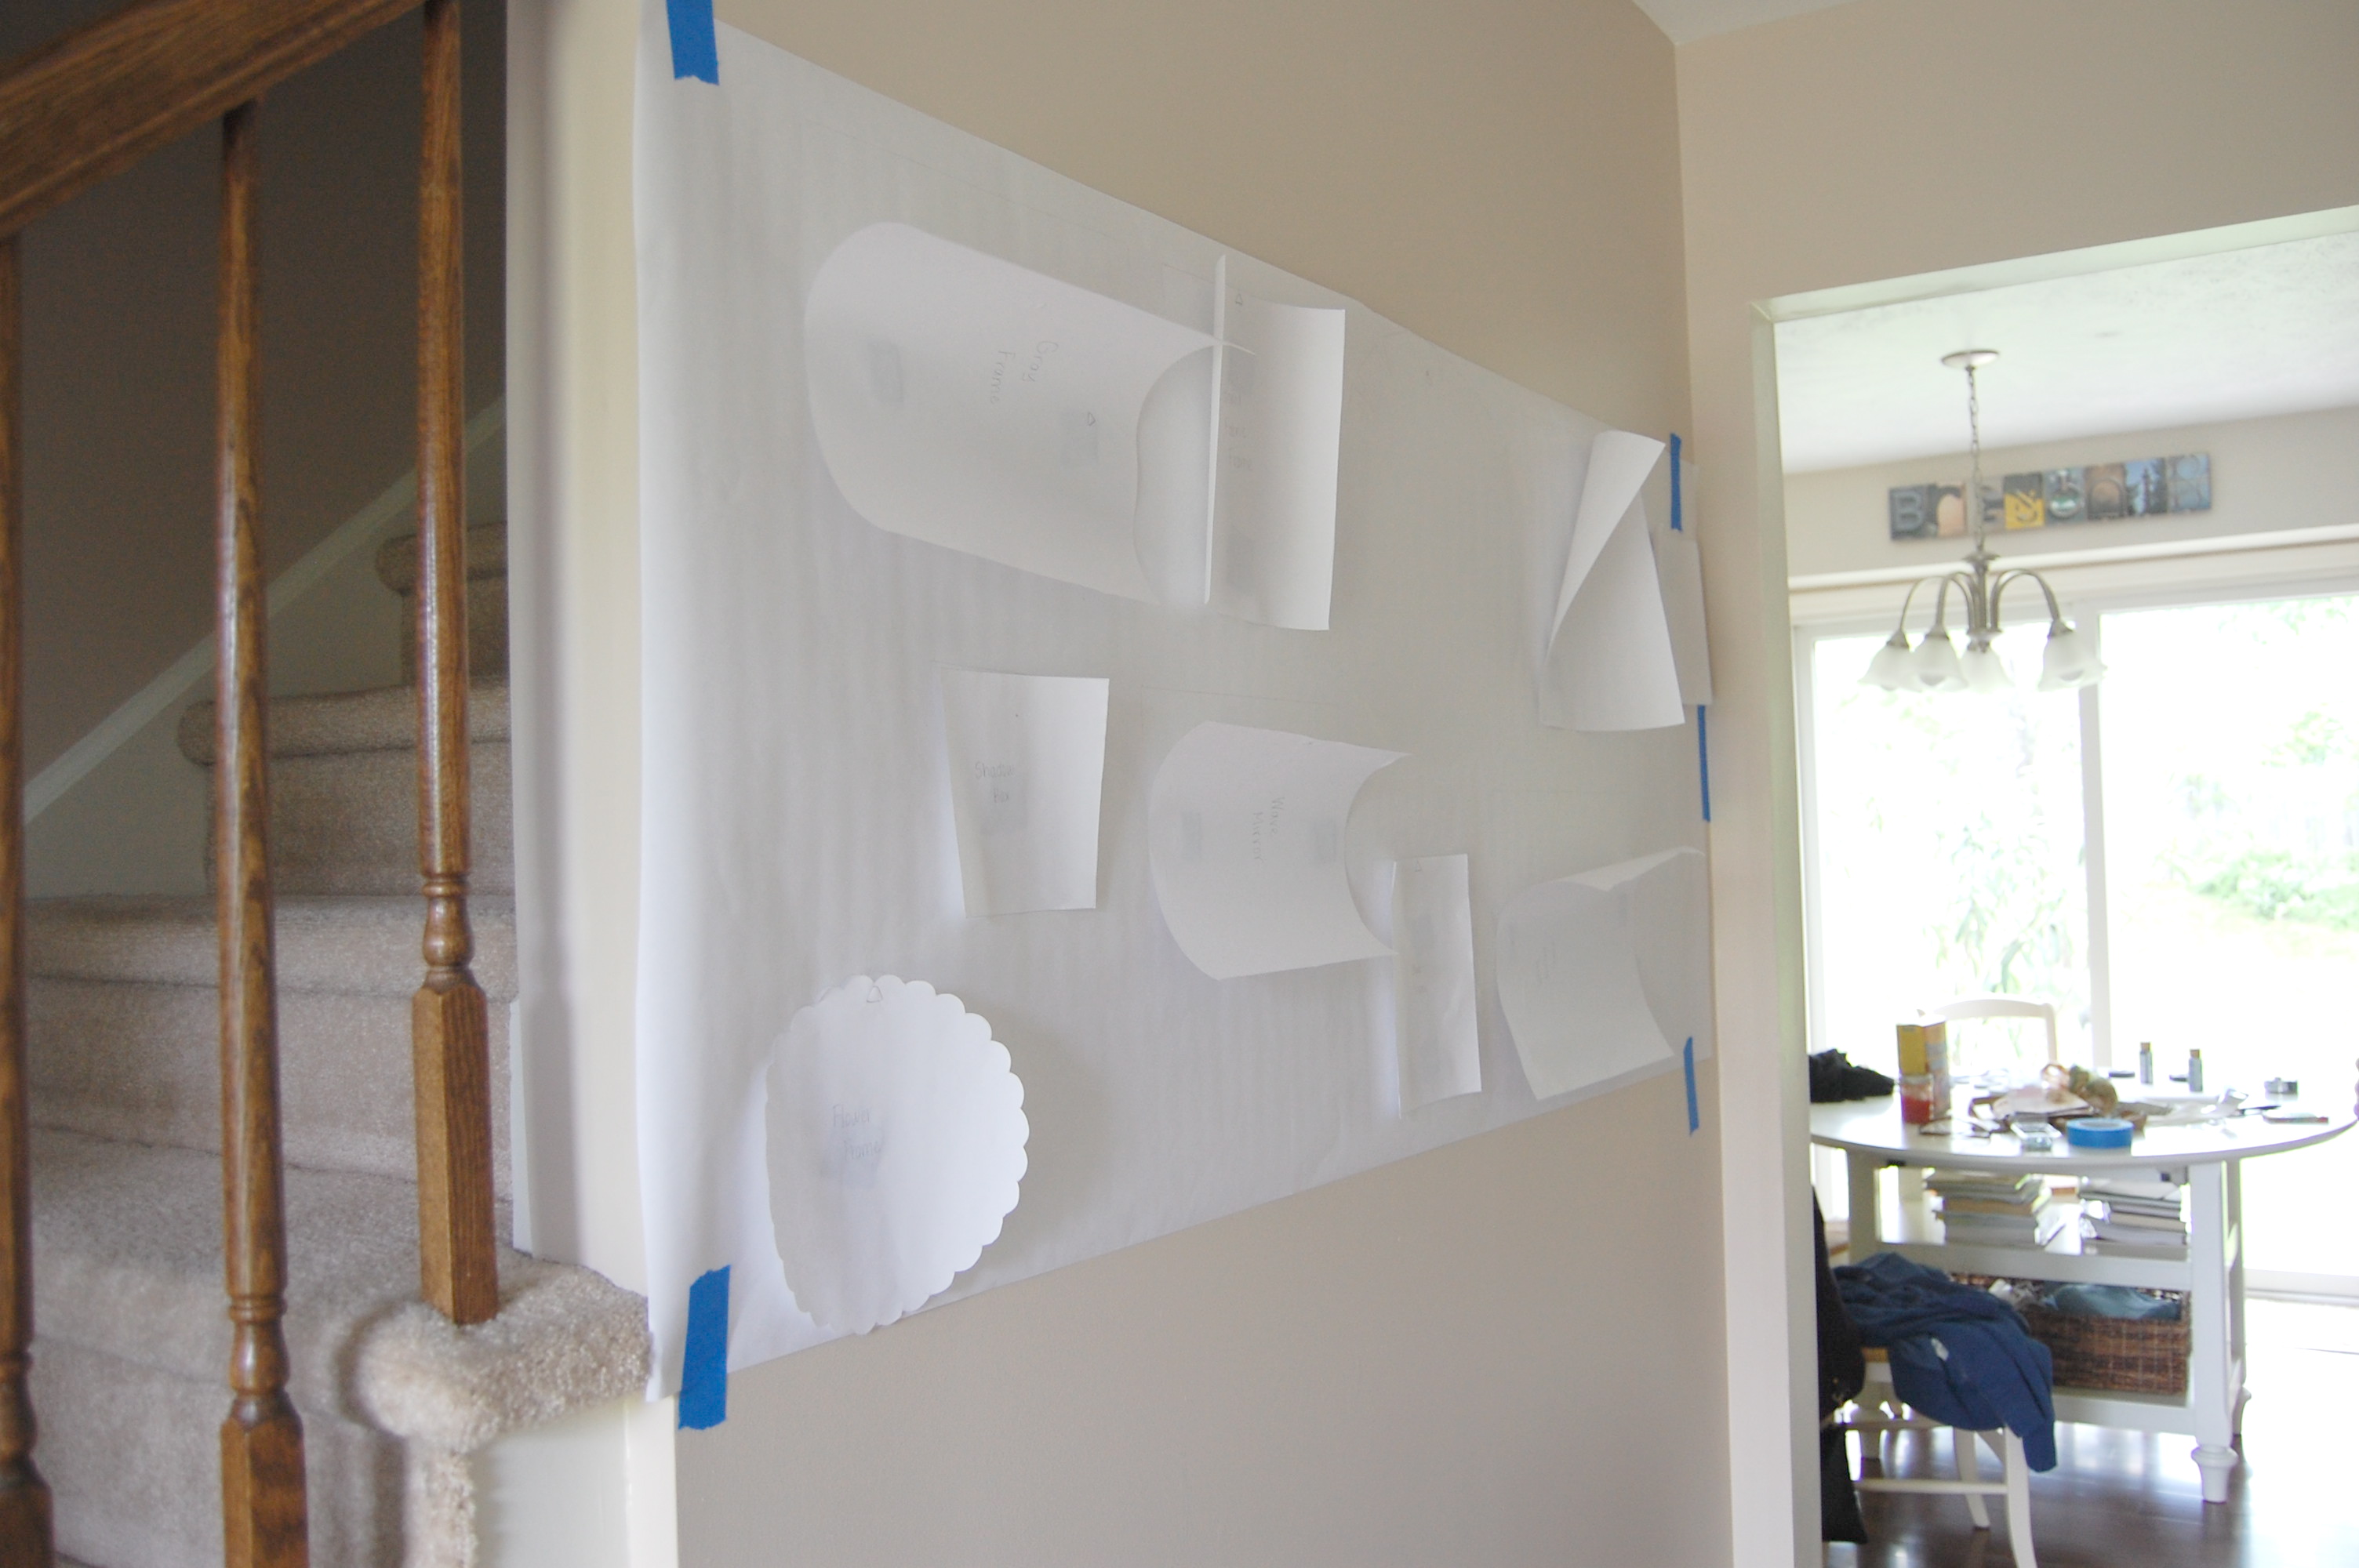
As soon as we got home I began tracing each of the frames and then cutting out the shape on the craft paper (you can use wrapping paper if that’s what you have handy.)
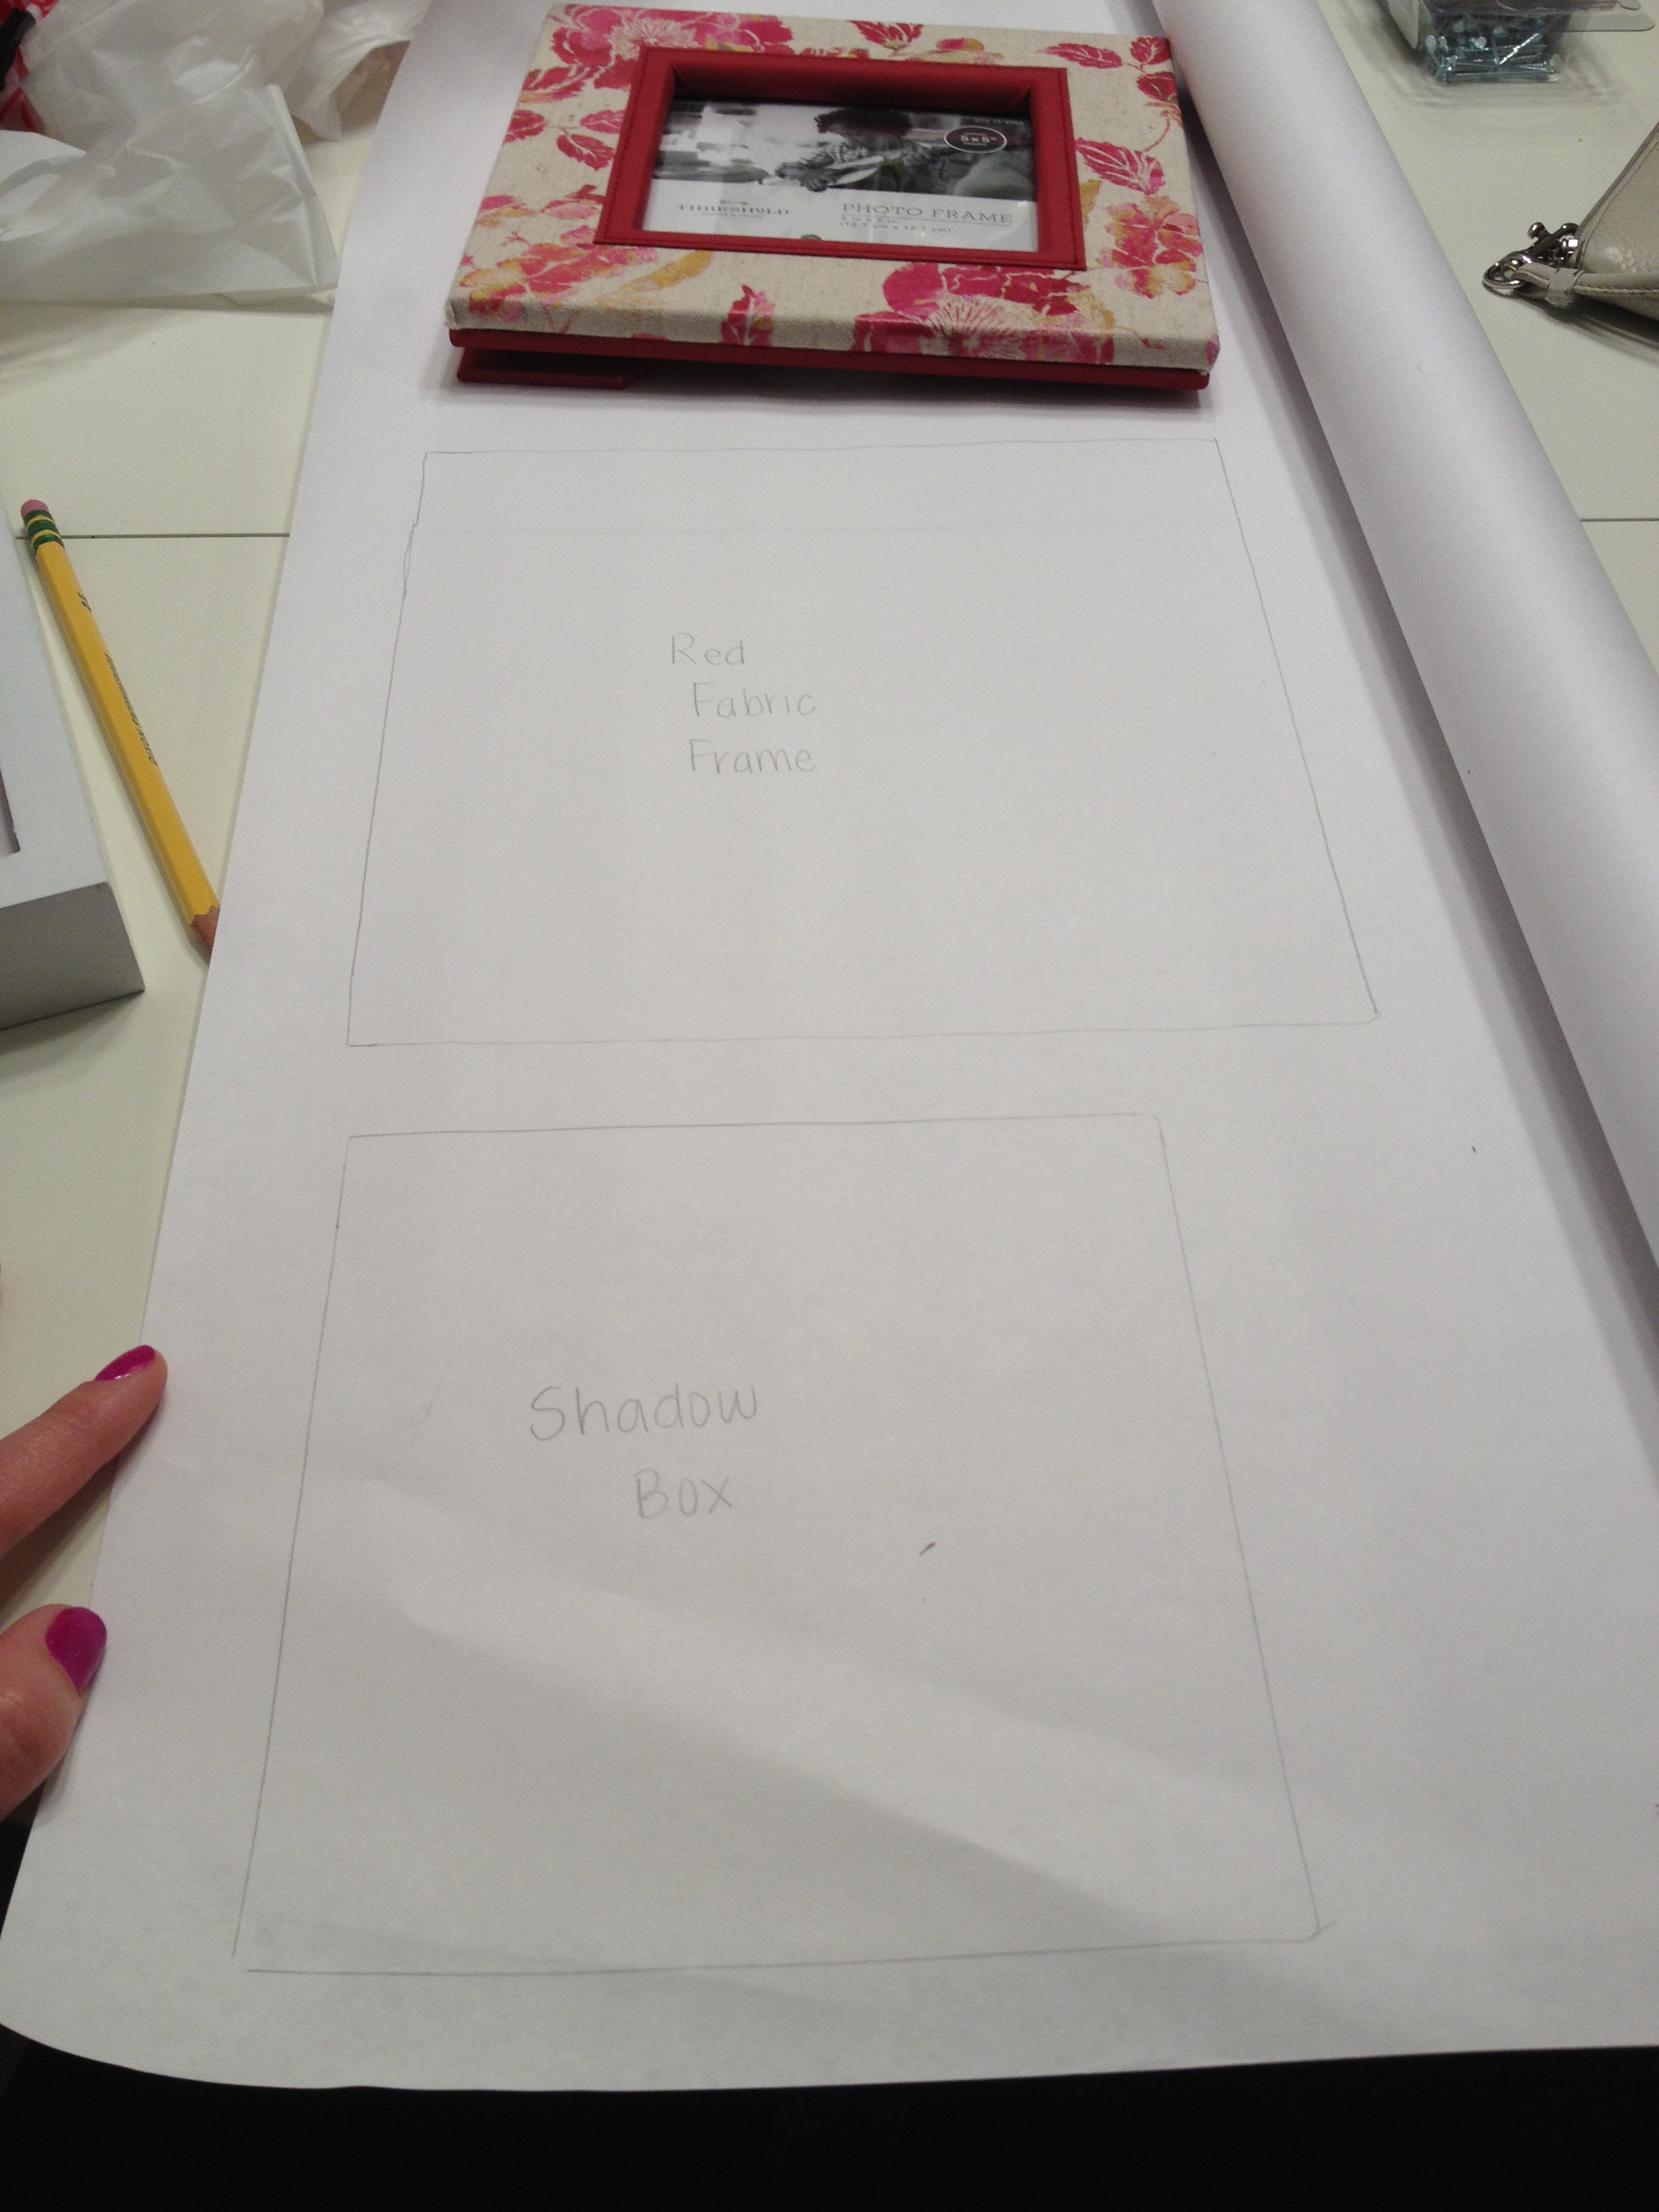 Once the shape was cut out I pressed it against the back of the frame so I knew exactly where the hanging hardware was located and could mark it on the paper. (I swear I took a photo of this step but somehow misplaced it!) Then I just measured the width of the wall with the craft paper and then placed the frames down exactly how we wanted it.
Once they agreed with the arrangement I just replaced the frames with the cut outs and then put the paper up on the wall at the height that they were happy with. There was no measurement involved with the placement. We just put them where we thought they looked good!
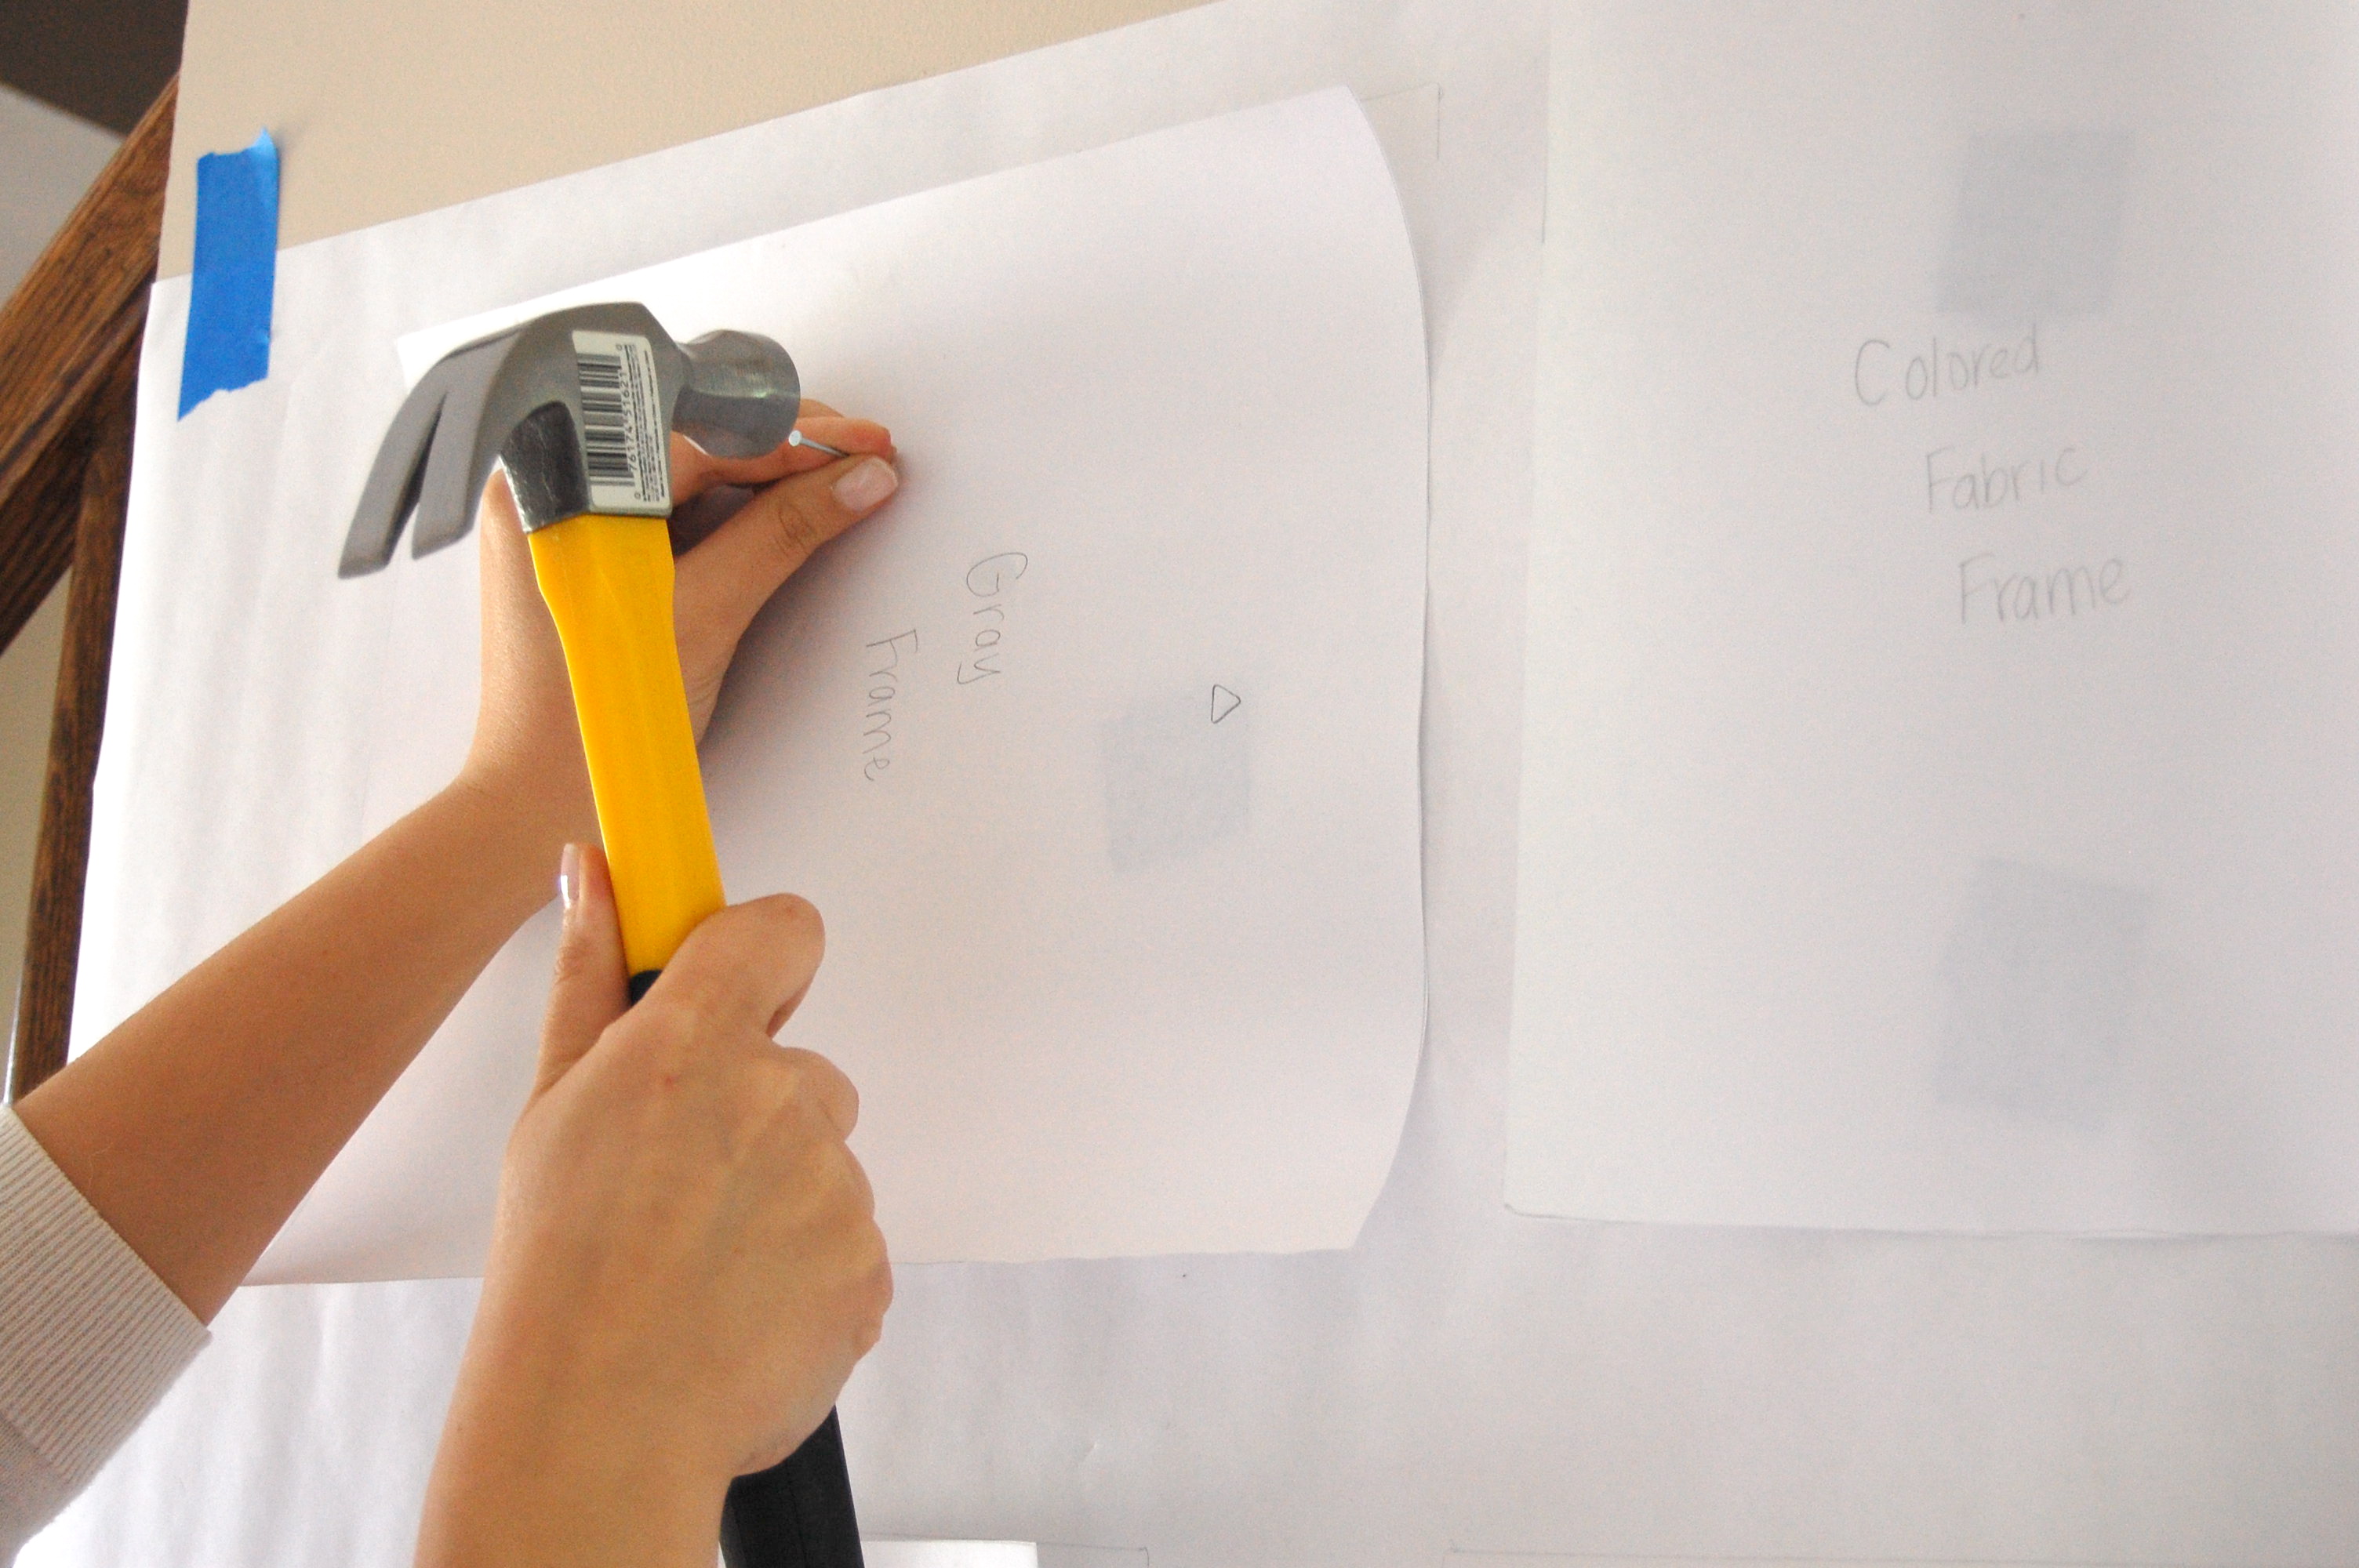
 Since each frame cut-out had a mark for where the hanging brackets were it was very simple to know where to add the nail.
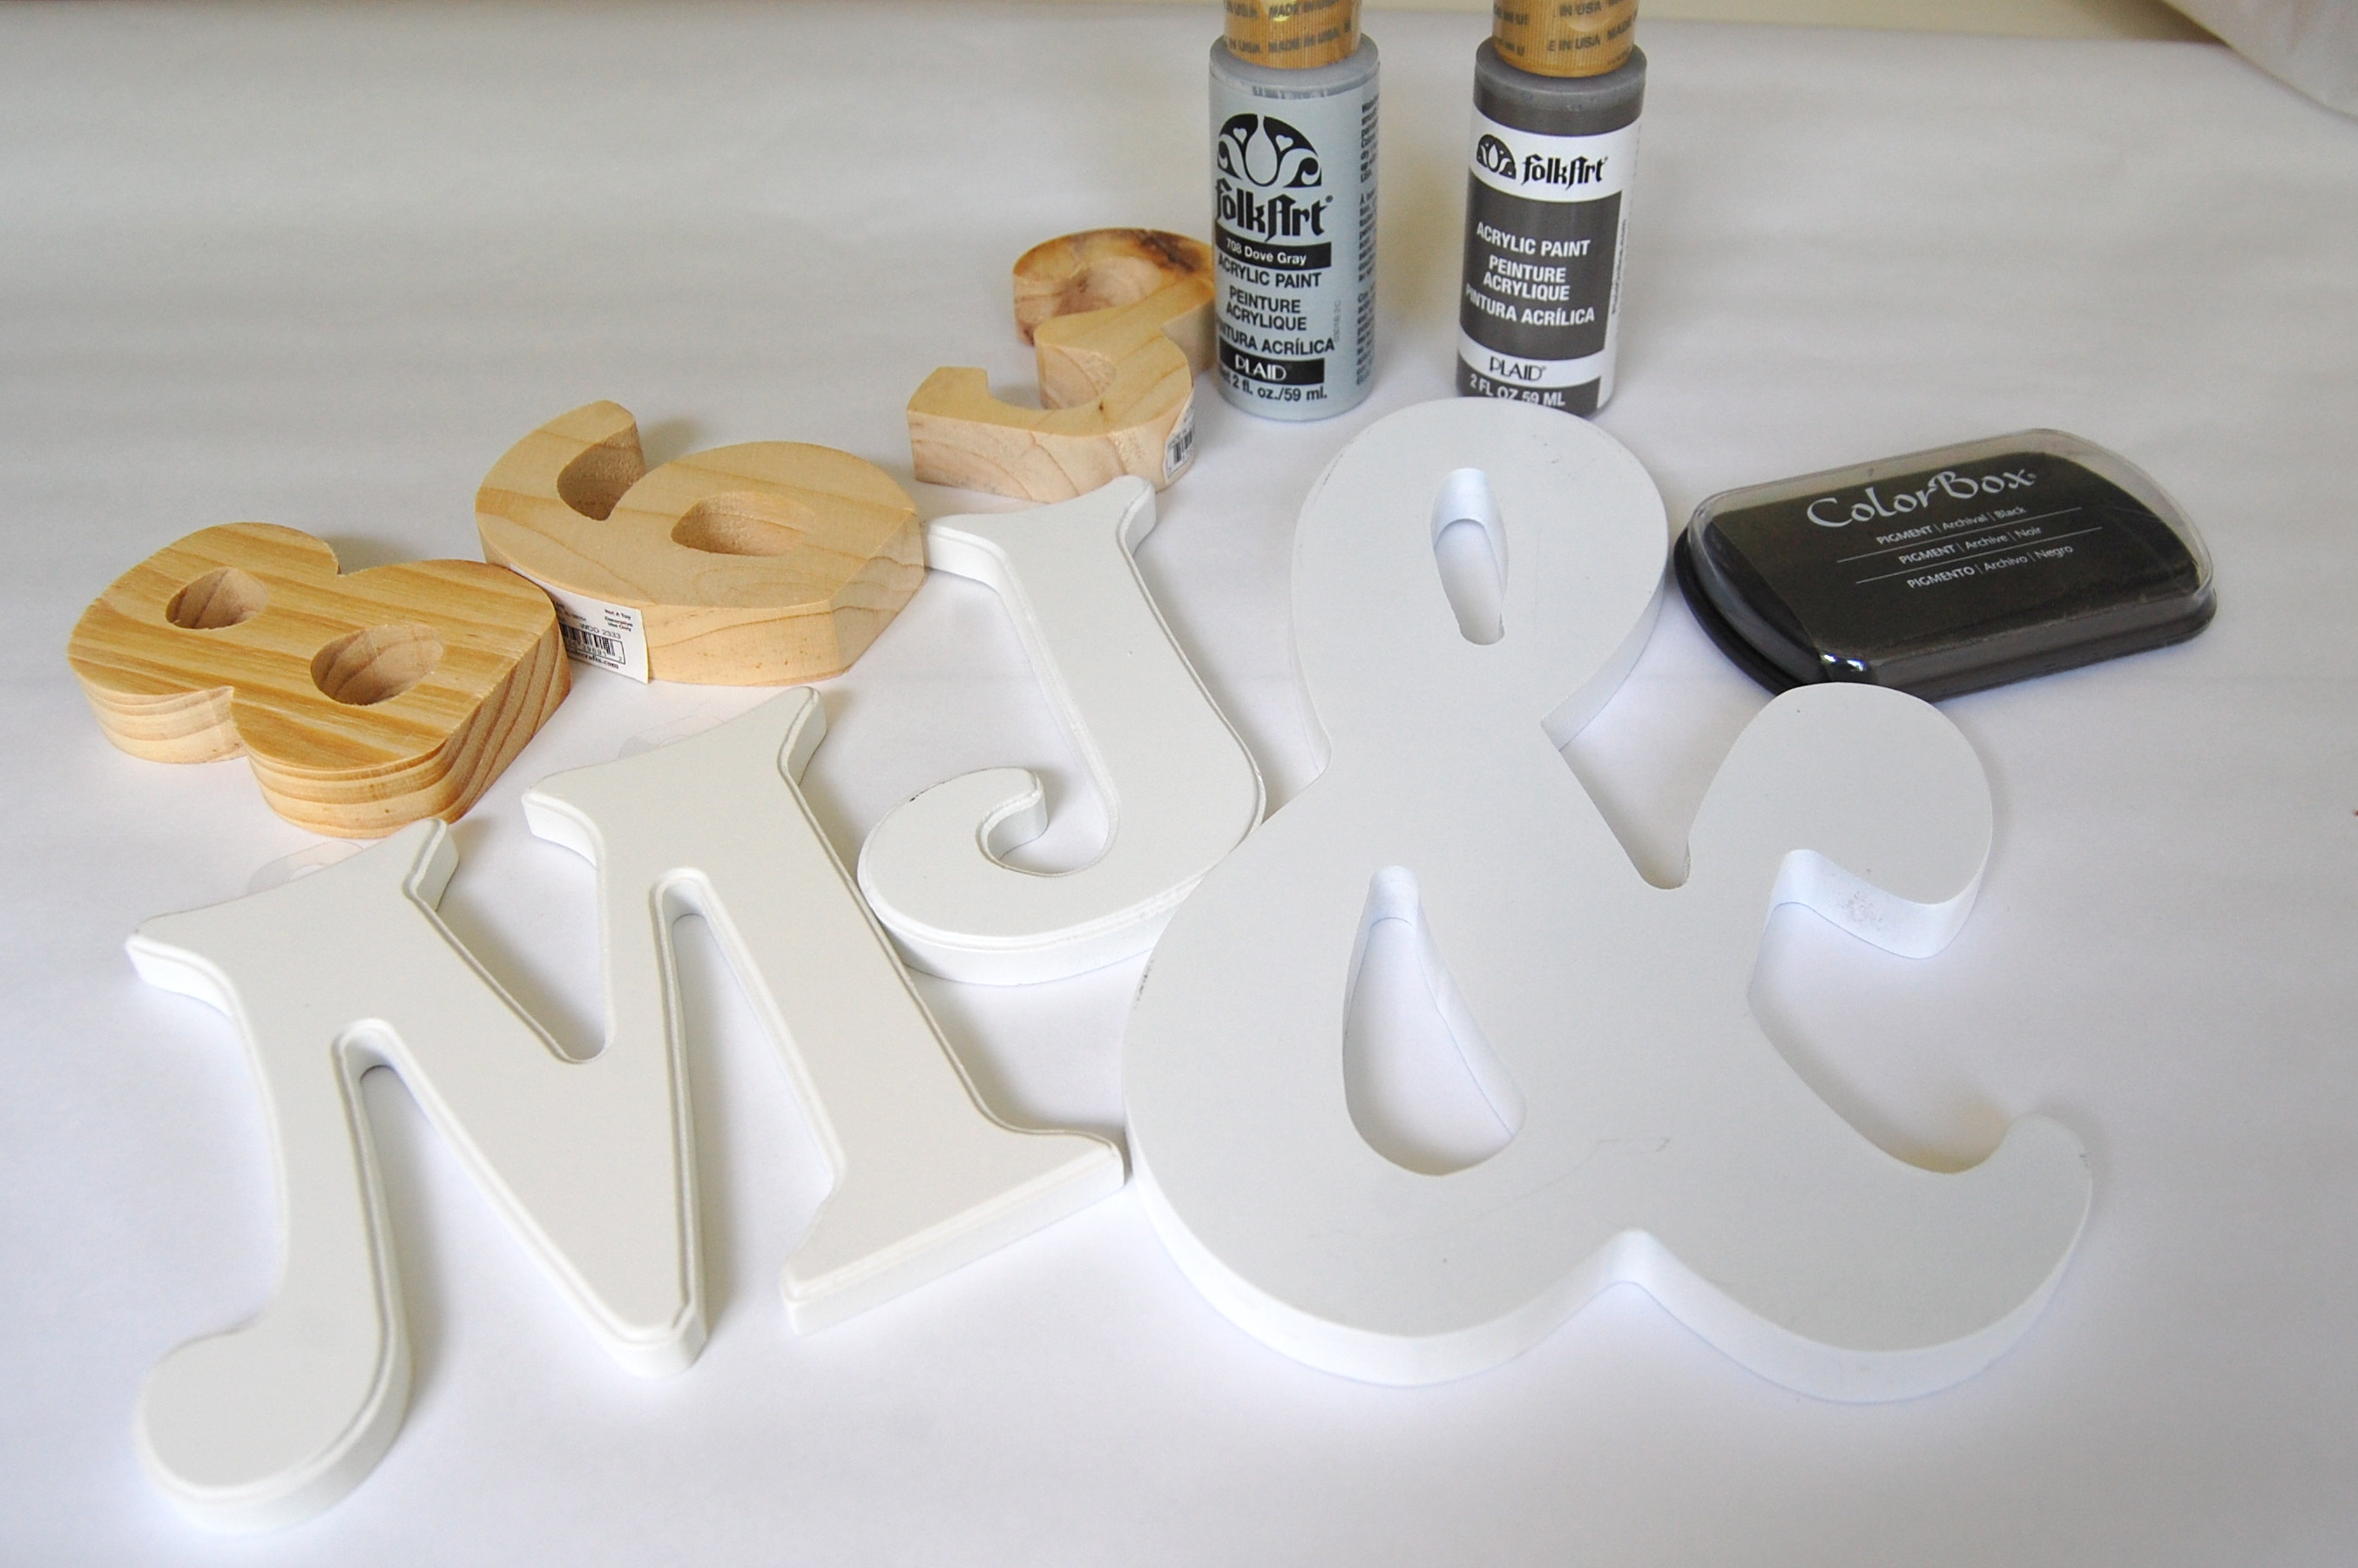
 While she was nailing away I started working on my little craft for the wall. Along with the letters and numbers I also purchased some paint, a stamp pad, and brushes to paint the letters and numbers. The letters are the letters of their first names and the numbers are the numbers of their house…their first home.
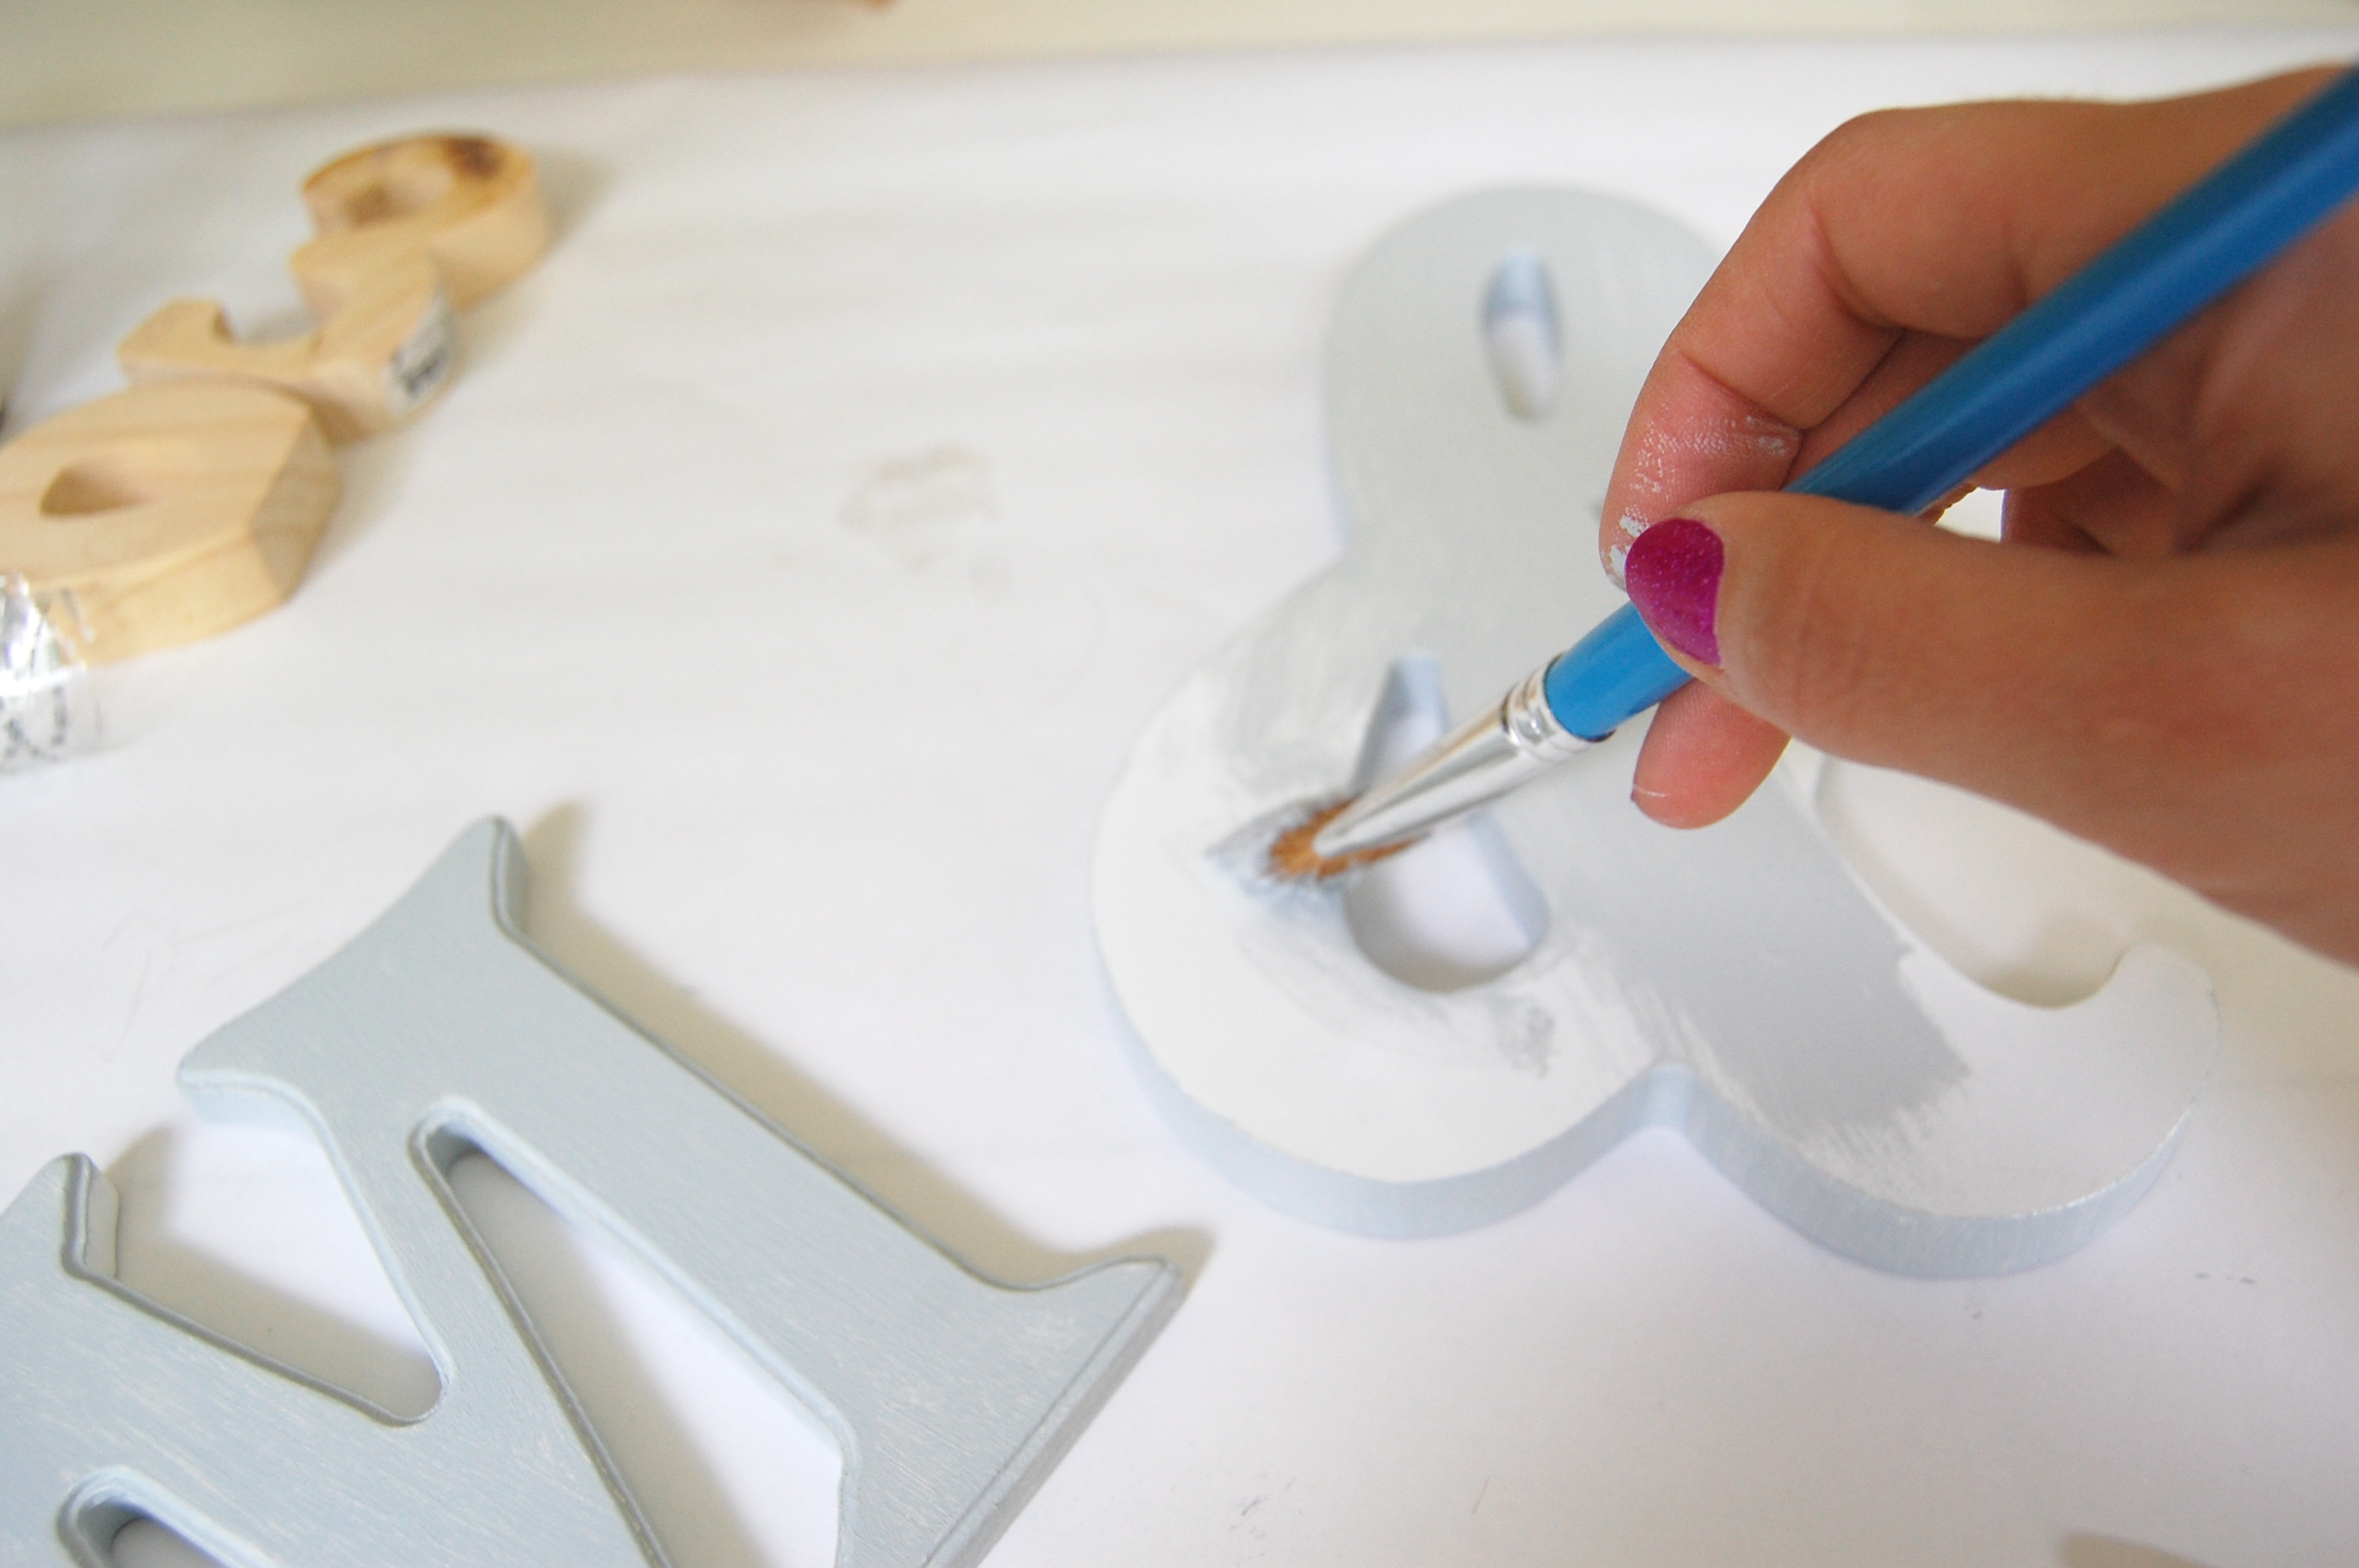
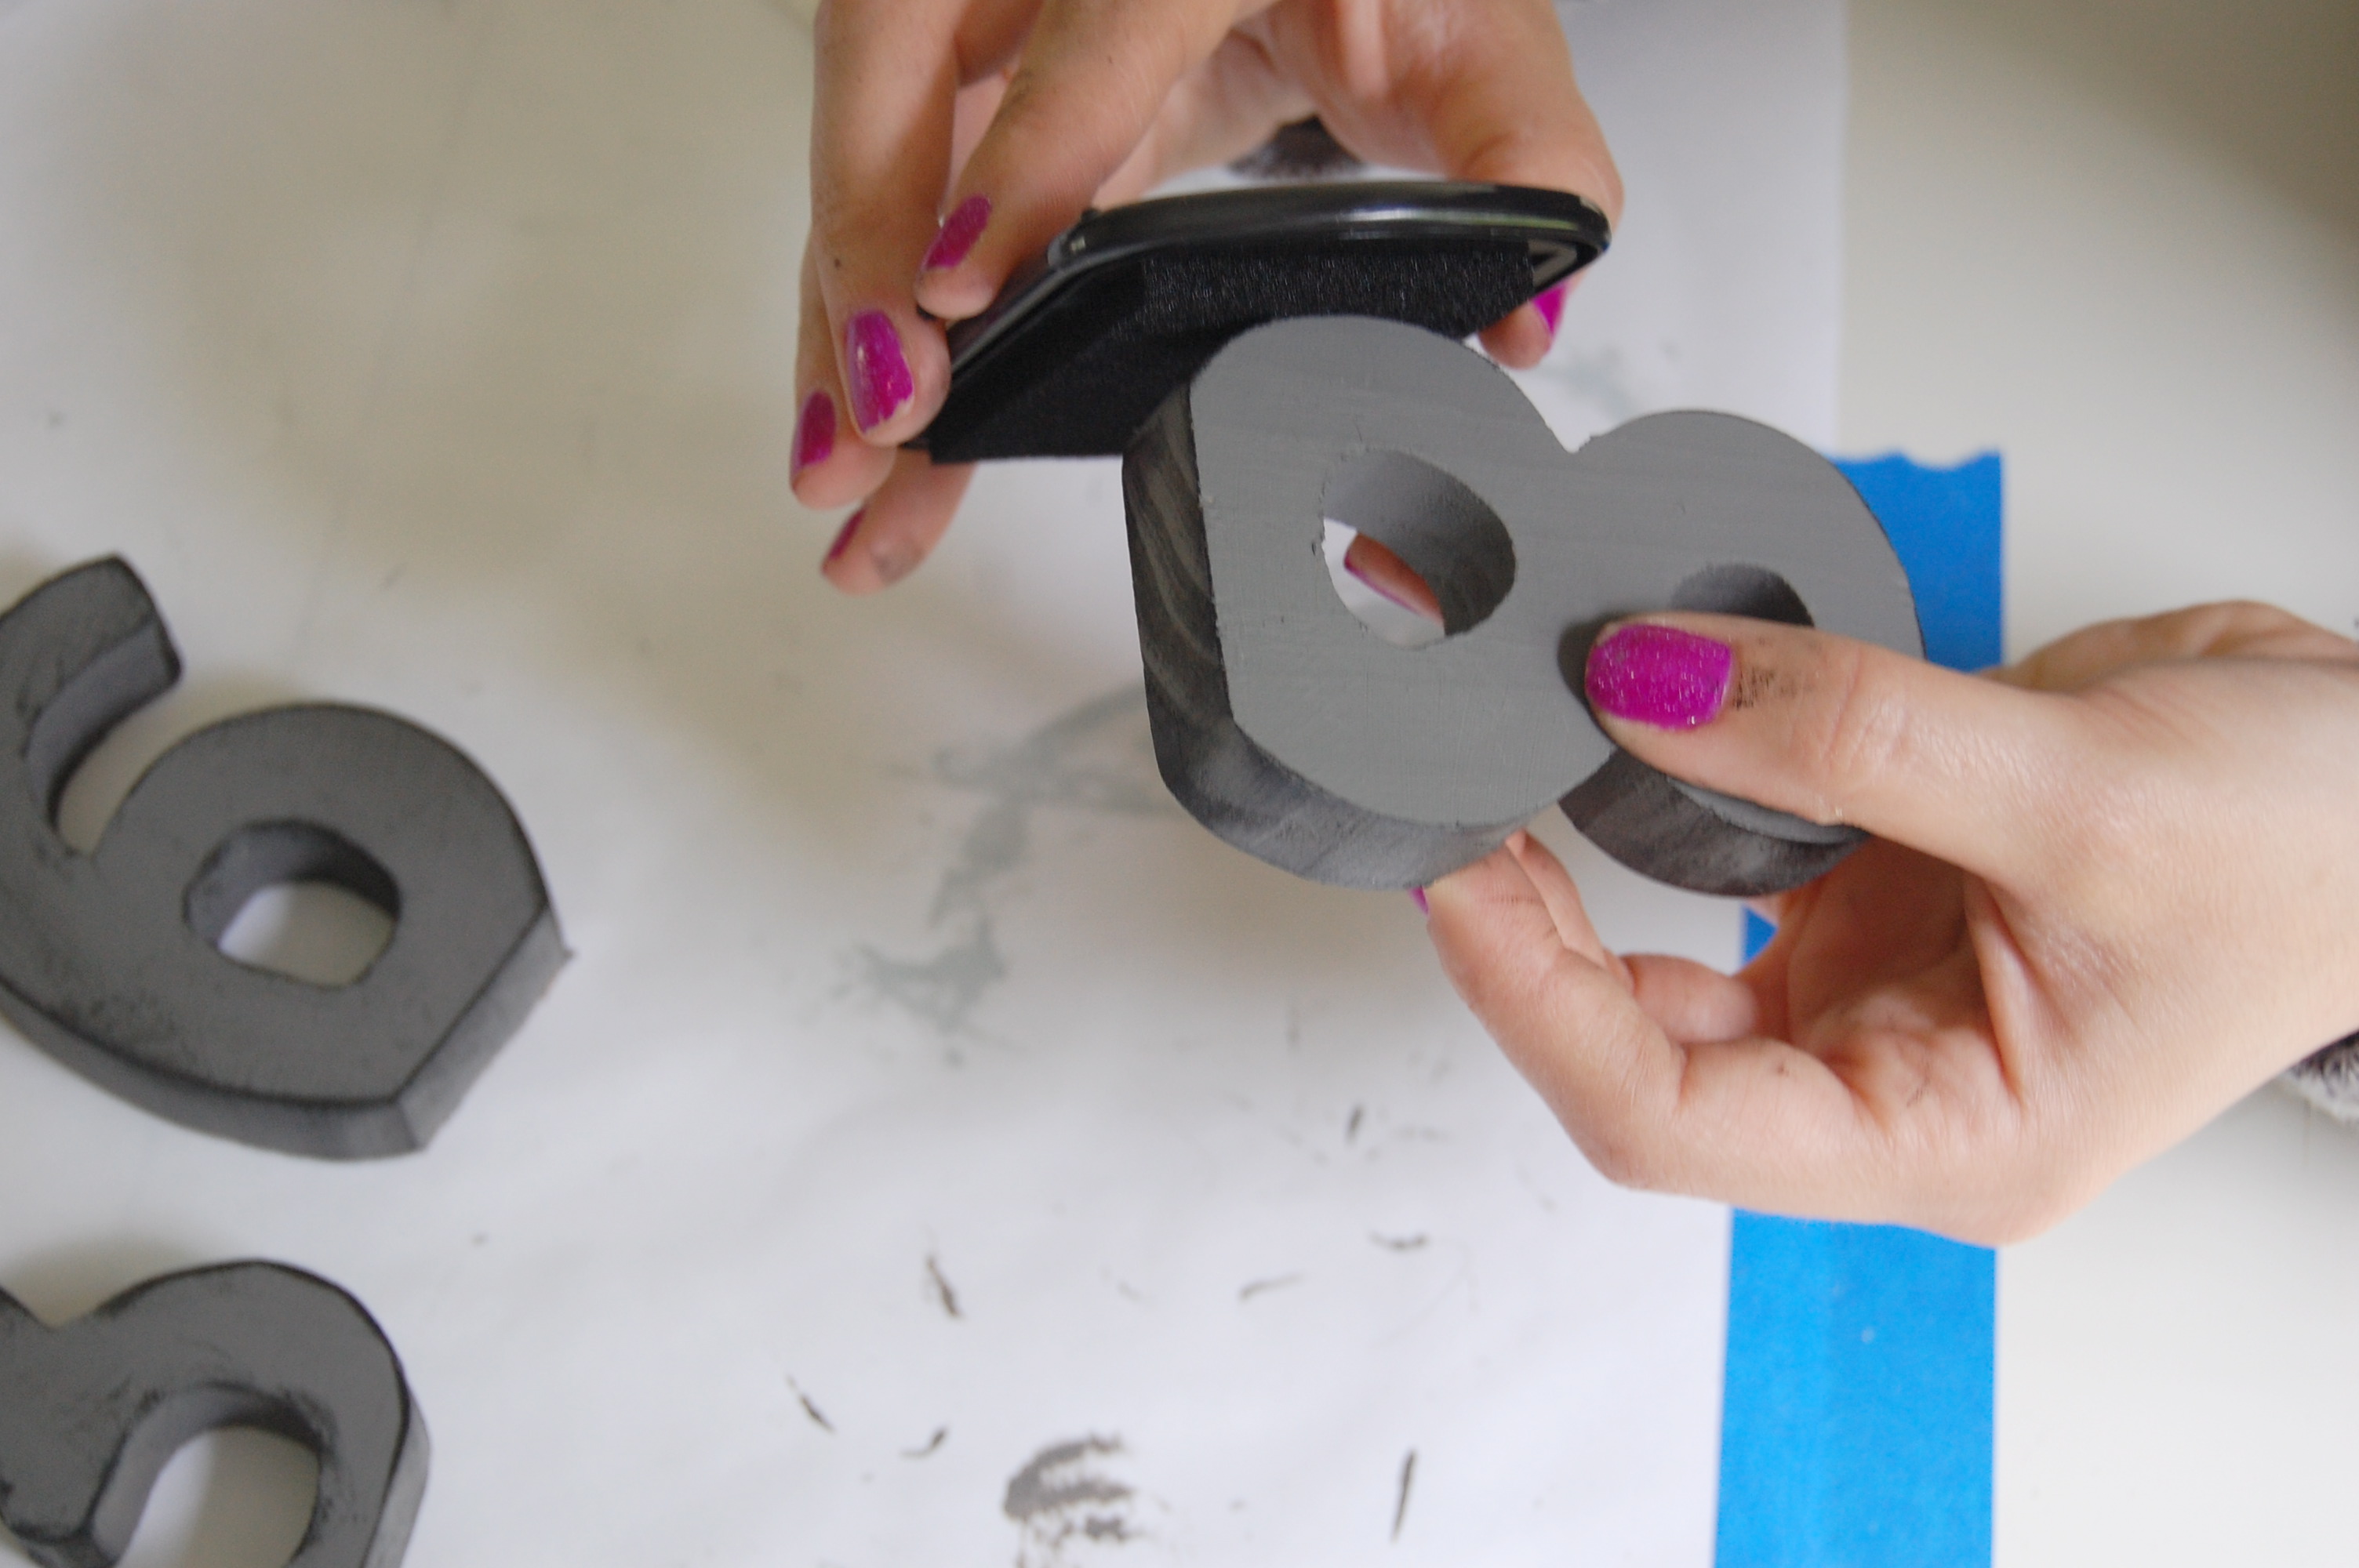
 I used command strips to add these to the gallery wall since they were lightweight.
And now time for the reveal!
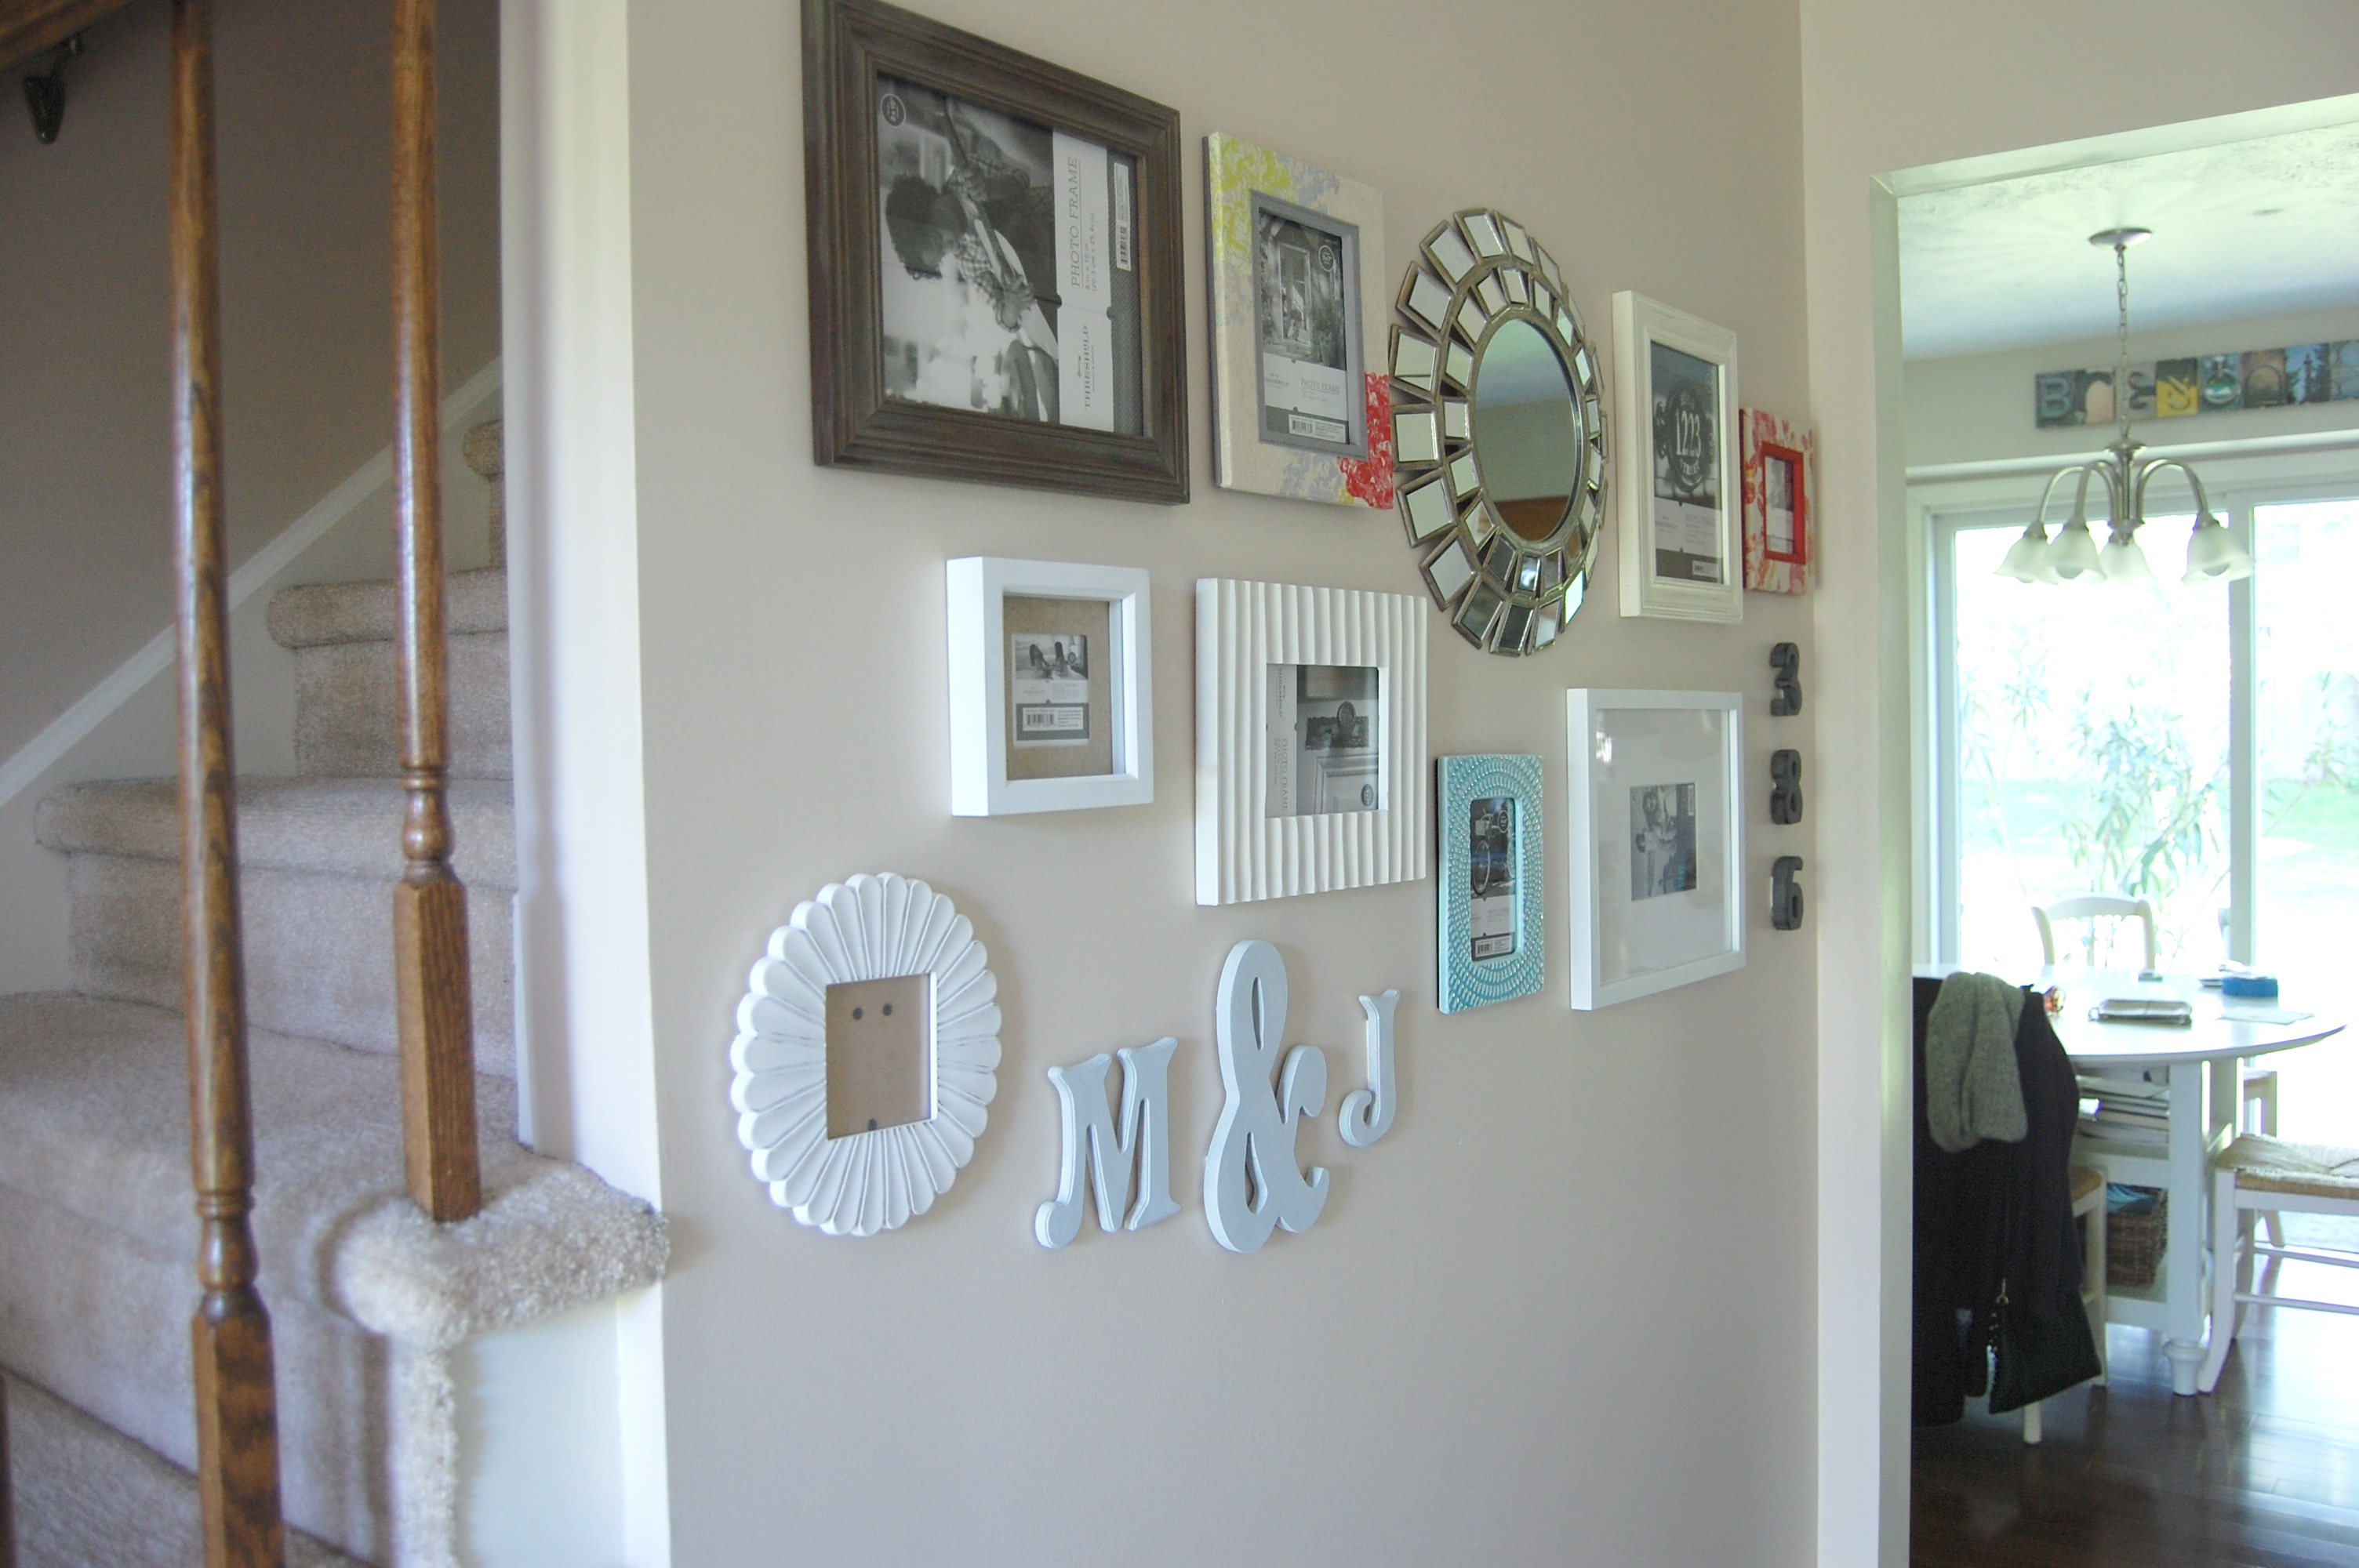
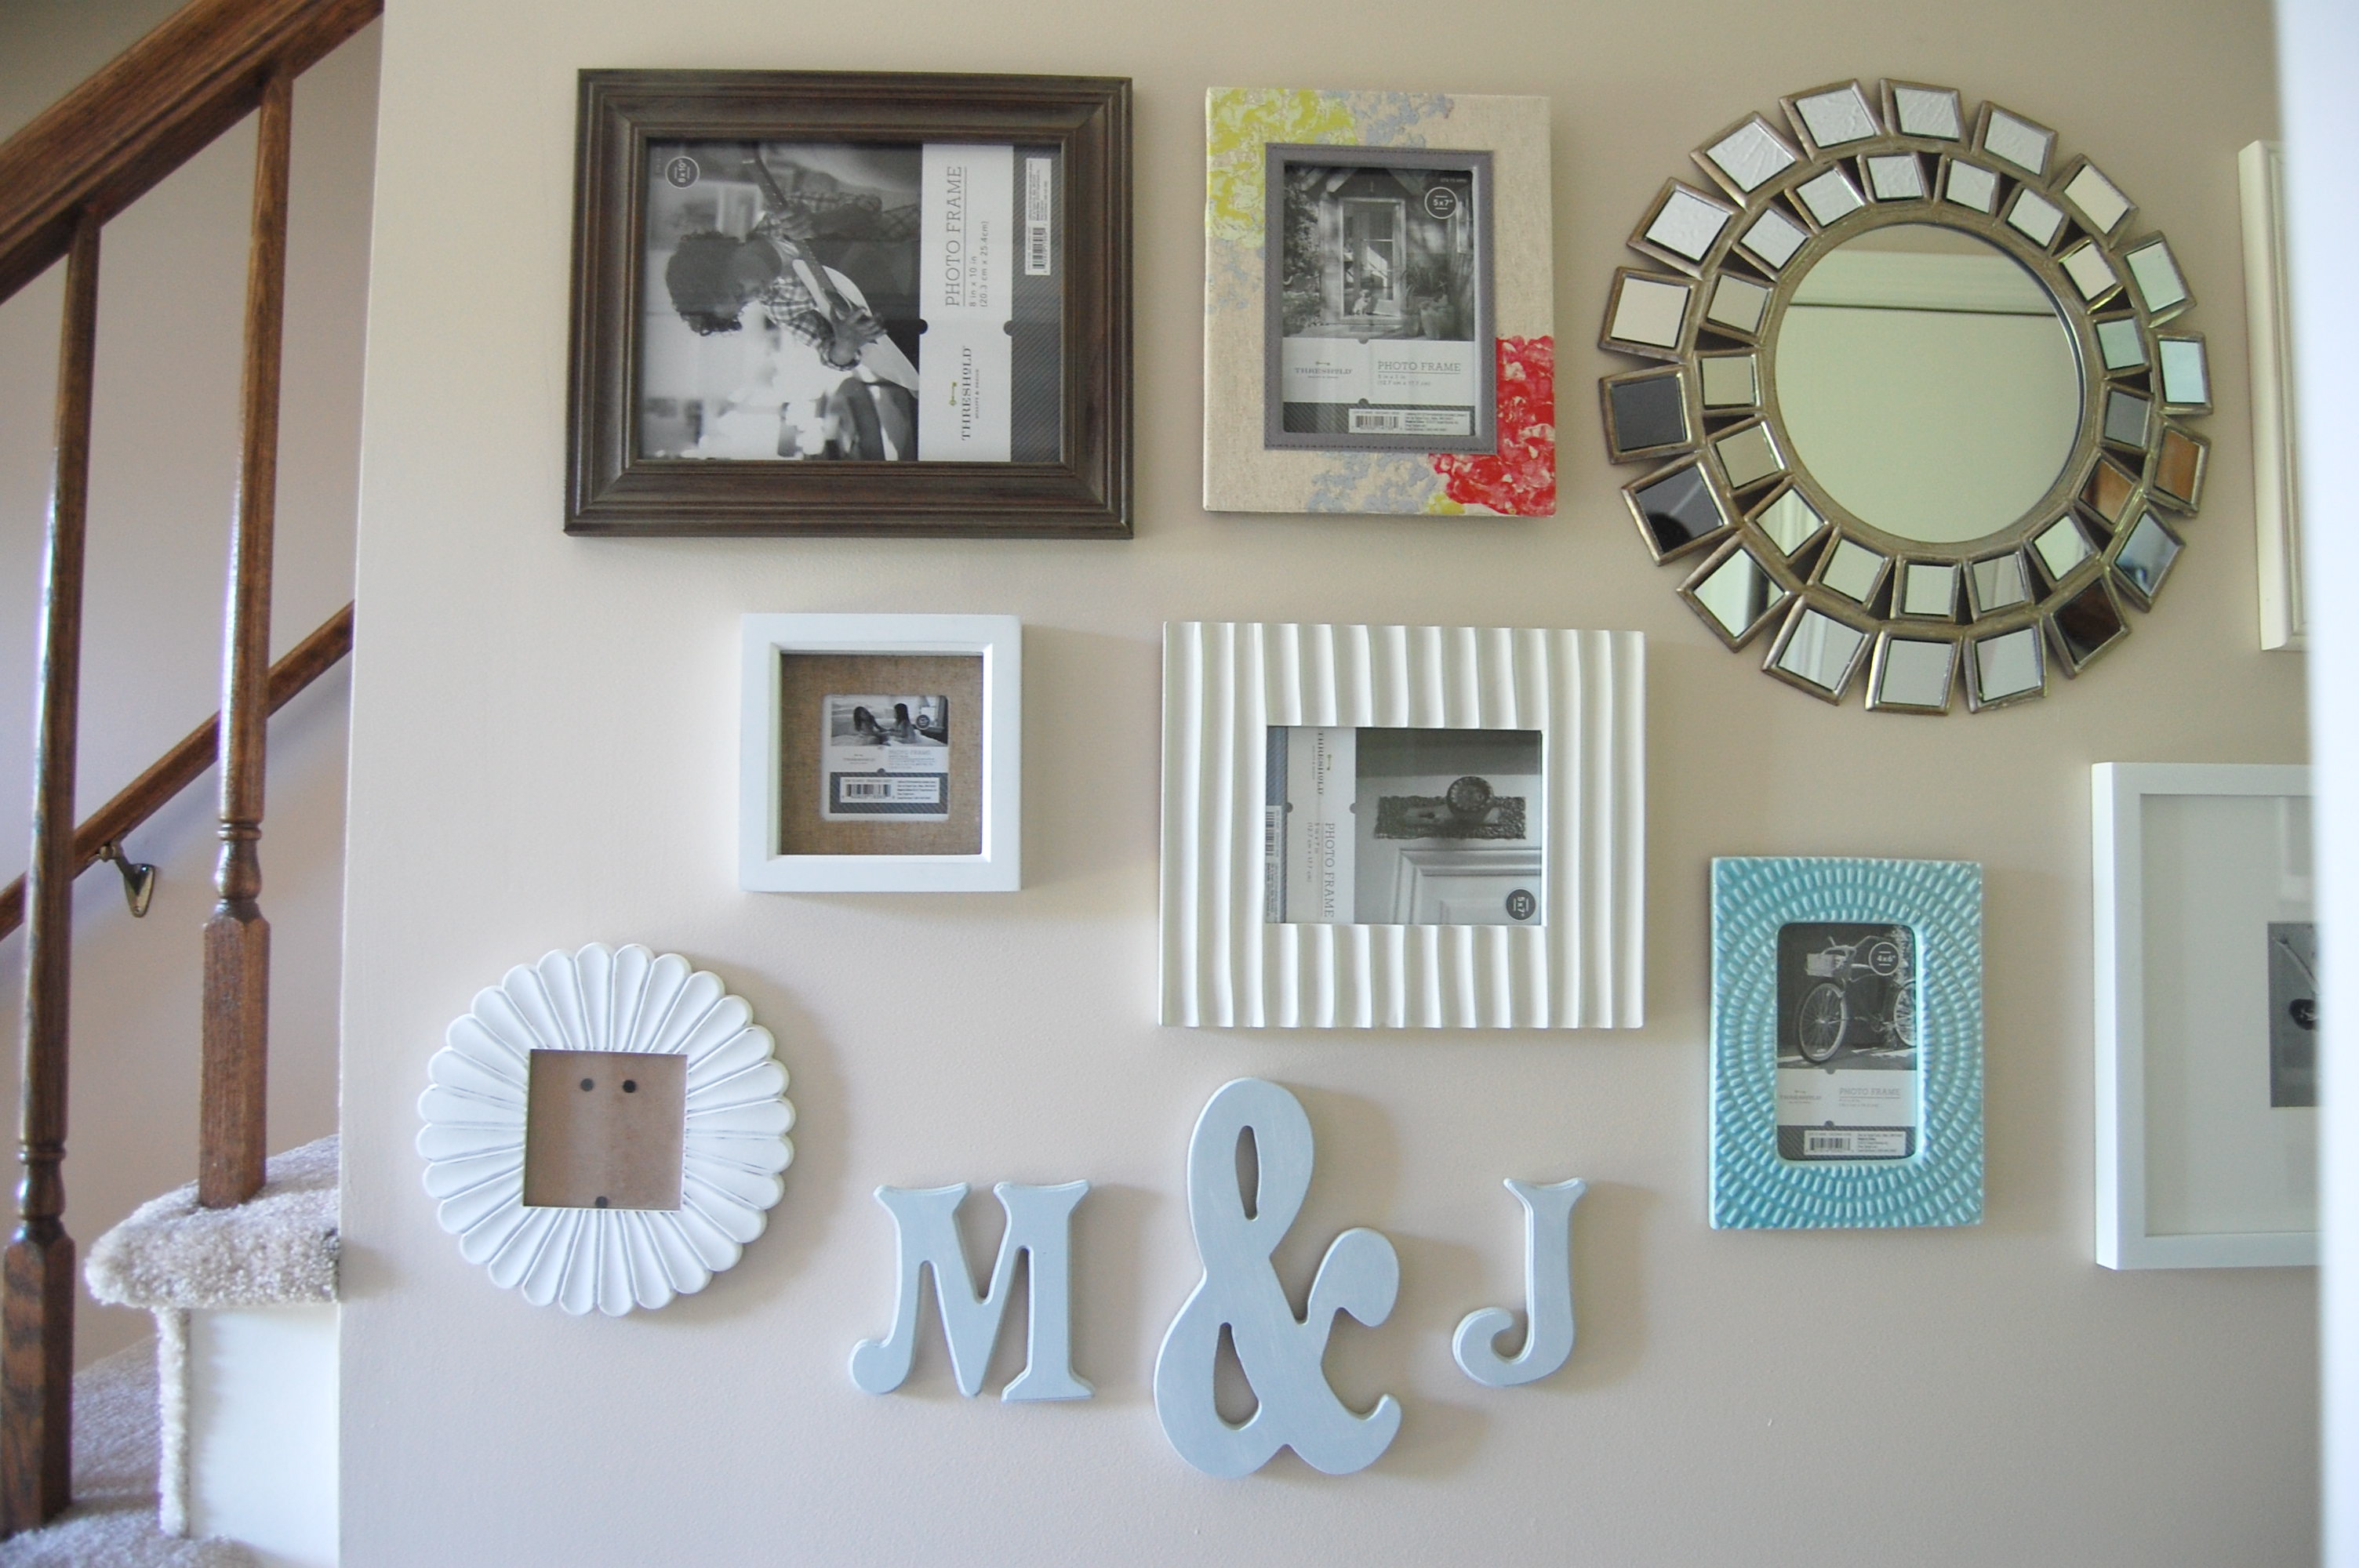
 I love the different colors and textures this gallery has! It suits them so perfectly and was seriously such a breeze to put together!
Thanks for stopping by!
