Hope all you east coasters were able to stay warm during the so called “blizzard.” I enjoyed the extra days off building snowmen, making snow angels and even going sledding. Hopefully this is the last of winter and the flowers can start growing now. Ok fine, wishful thinking!
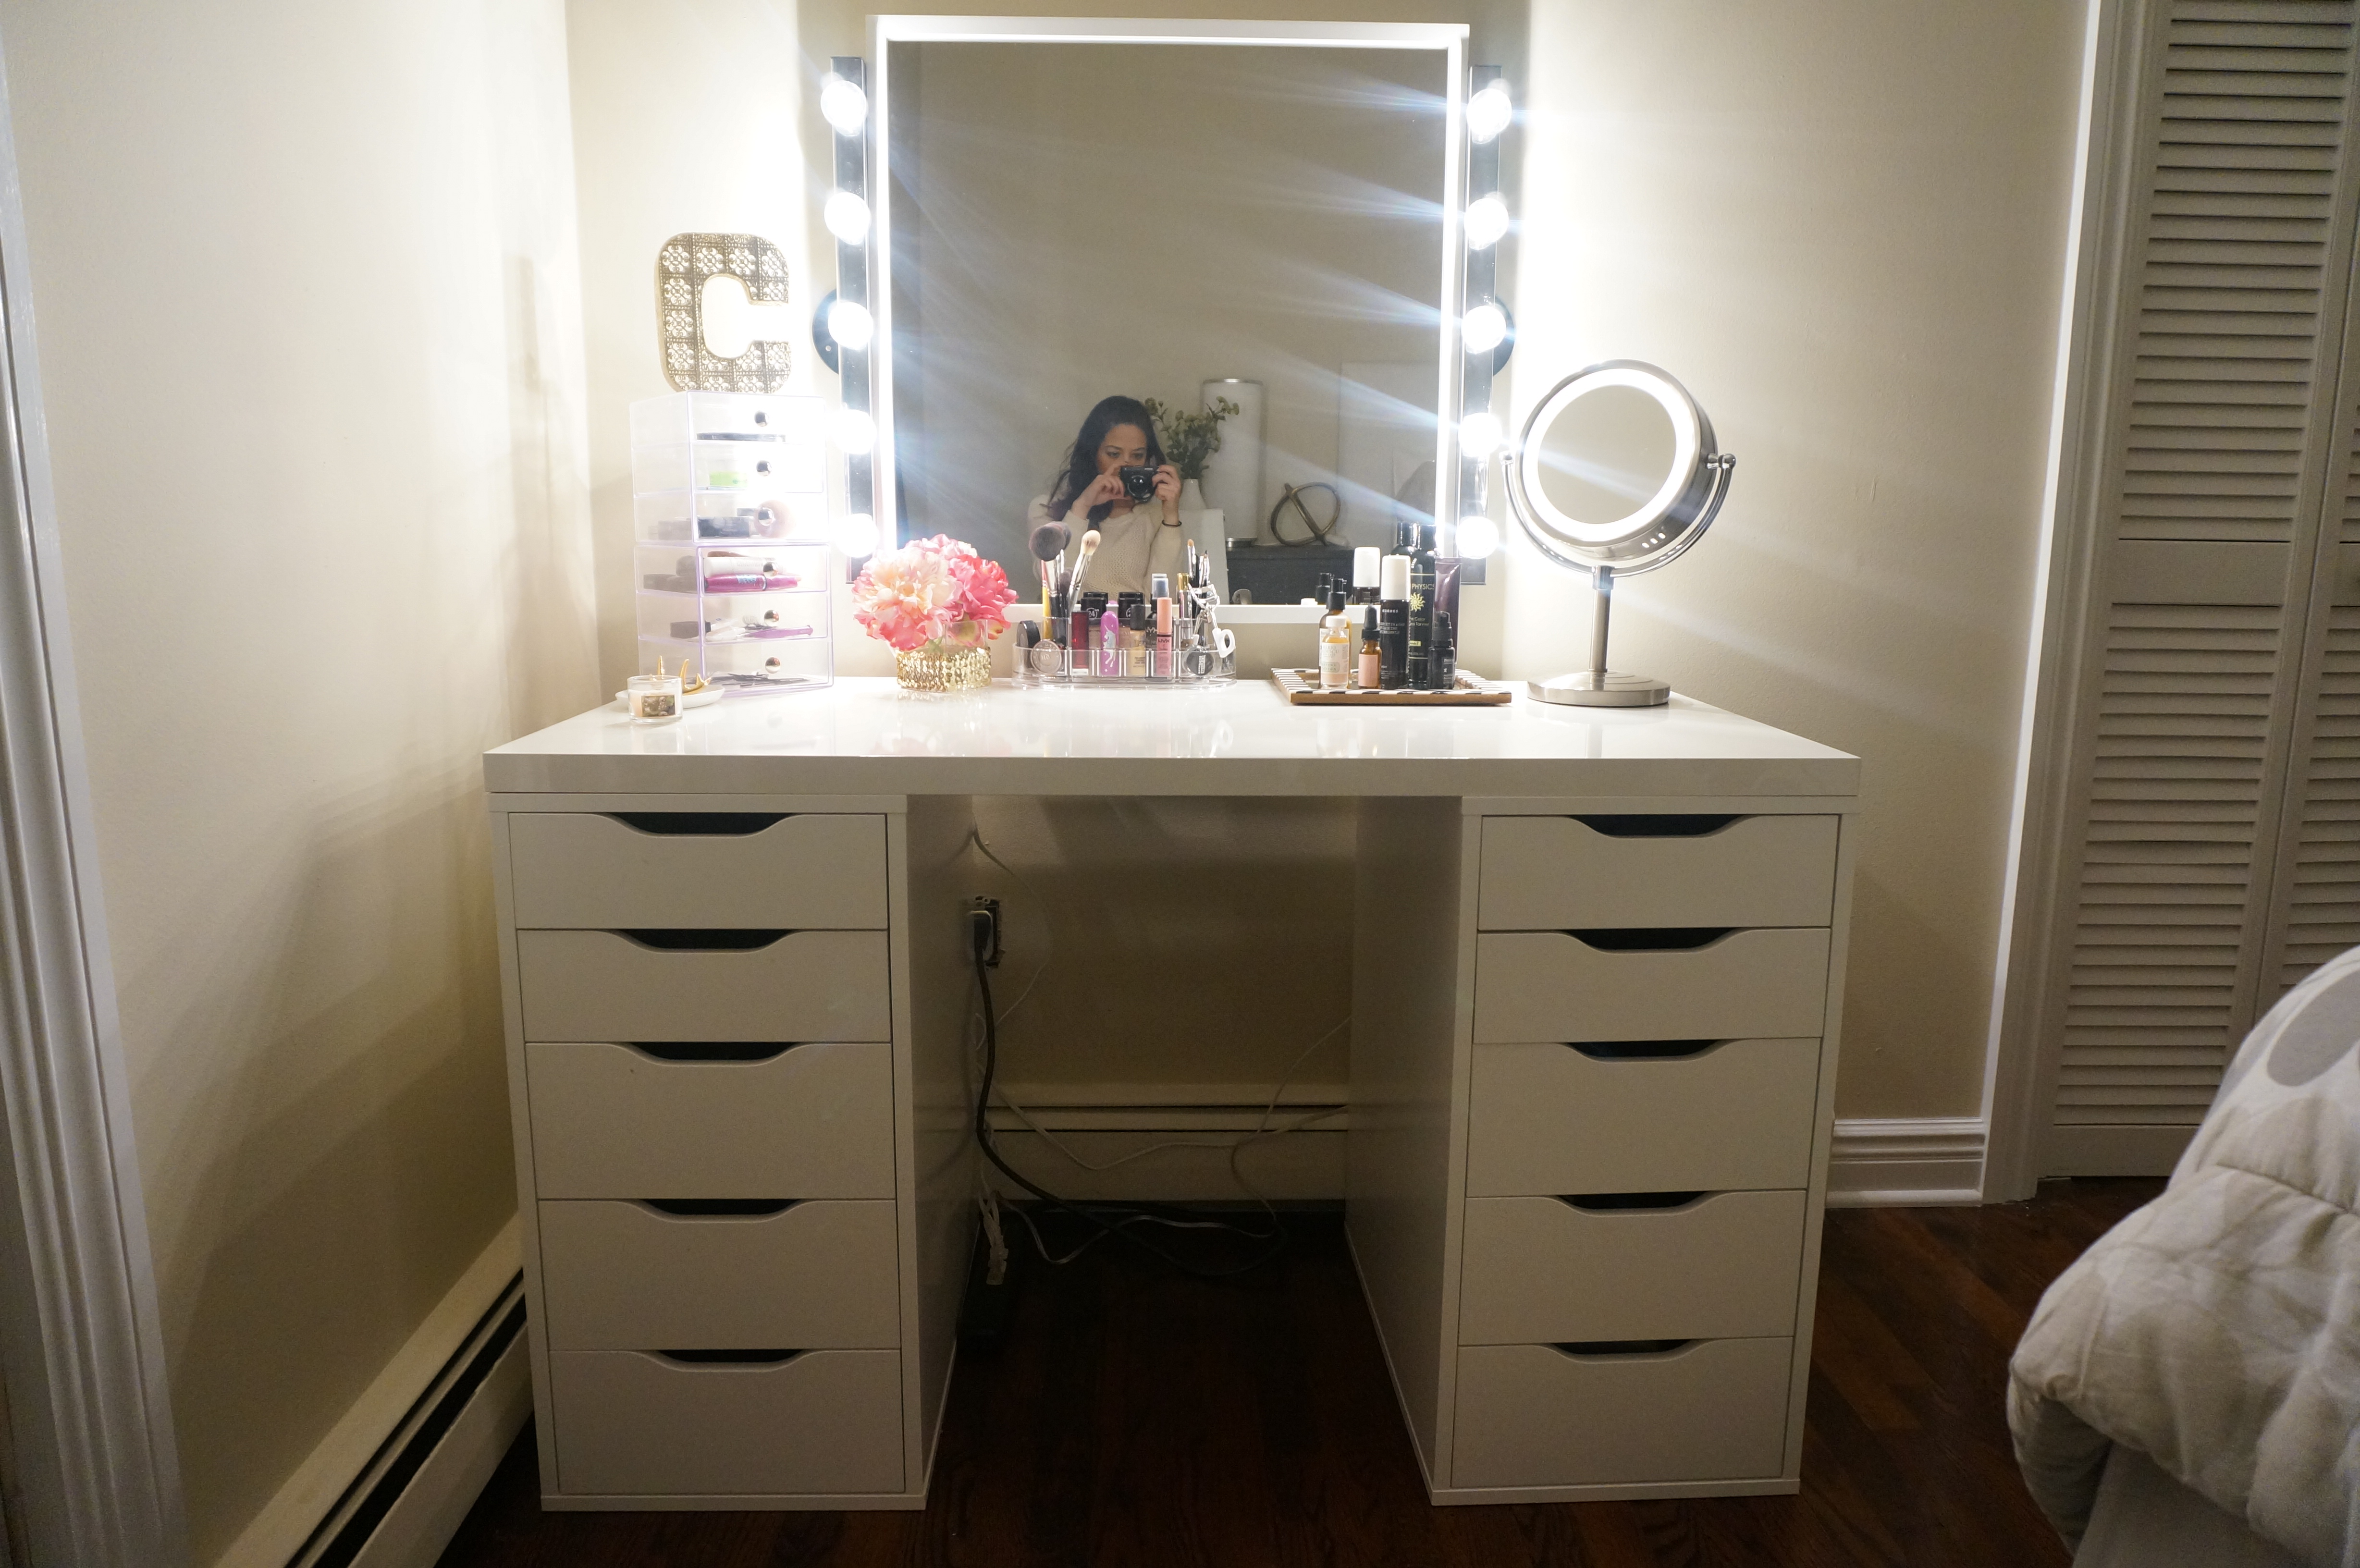
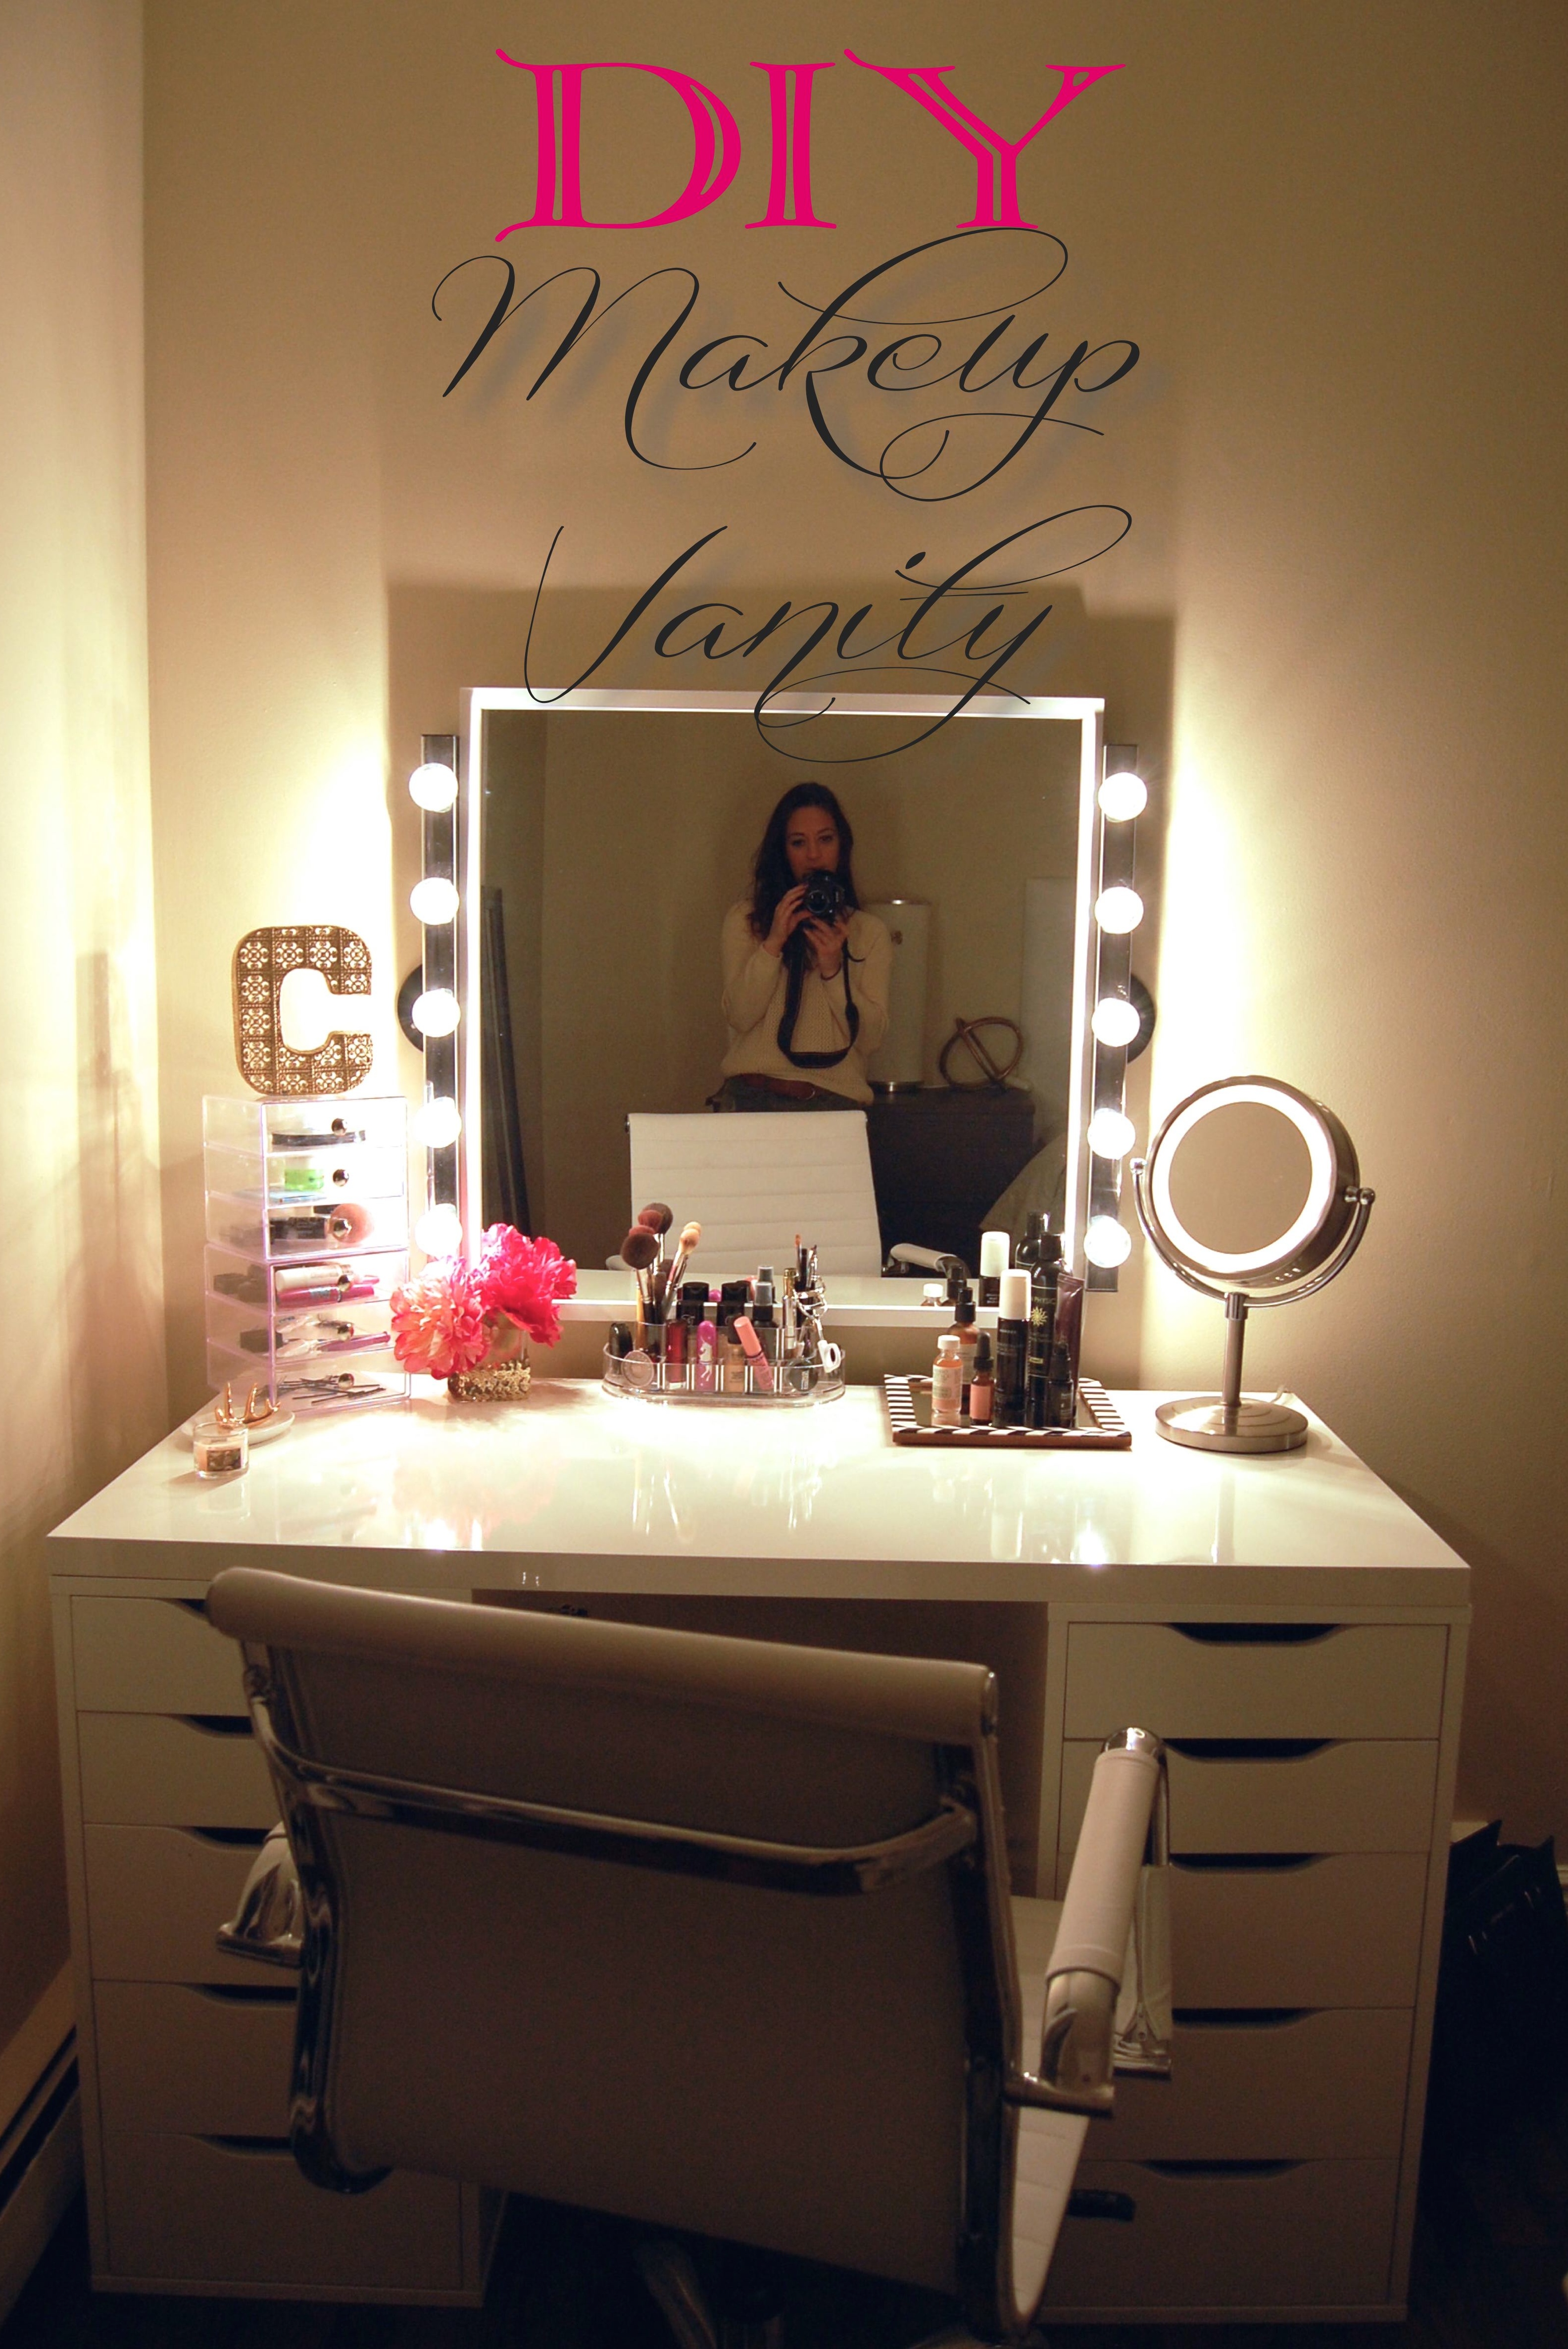
Today I am here to share a project I have been DYING to make! This one is strictly for the ladies! I’ve wanted a makeup vanity since forever! When I lived in my apartment there just wasn’t space for it and it wasn’t until we redid the guest room that I noticed the perfect spot to have one. Ladies, you are going to love this! The furniture itself is all from Ikea. The rest of the items needed can be purchased at your local hardware store.
To create the storage part of my vanity I purchased two Ikea Alex 5 drawer units and one table top in high gloss white (47×23). After recruiting some help to put the drawers together, I had this.
Because of where the bed comes out to I couldn’t center it which is why it is pushed all the way against the wall. You can imagine how much that urks me but I have some ideas on filling that space to the right. Now the next part is the fun part. It requires a little bit of electrical work but I promise you can totally do it. Here is what you’ll need:
Ikea Stave Mirror
2 Ikea Musik Wall Lamps
2 Extension Cords
3 Packs of Crystal Clear Round Light Bulbs
Wireless Remote Light Switch or Power Strip
Wire Cutters (not shown)
Wire Caps (not shown)
Electrical Tape (not shown)
Since the lights are meant to be hardwired we need to convert them to be plug ins. The first thing you need to do is remove the socket part of the extension cord.
With your wire cutters you’re just going to snip it right off.
Next, using the wire cutters or a wire stripping tool you need to remove some of the plastic coating and expose the wires inside. If you’re using your wire cutter be sure not to cut the wire, just the plastic coating.
 On the back of the wall lamp you will notice three wires, black, white, and yellow. You will be using only the black and white wires. The yellow is the ground wire. You can wrap the end of that with electrical tape.
Now on your extension cord you will notice that one side (wire) is smooth and one side is rigid.
 Taking the white wire, you’re going to wrap it around the wire with the rigid side. Once it’s all wrapped, cap it with the wire cap.
 Next, take the black wire and wrap it around the wire with the smooth side. After this your lights should work once you plug them in!
 Once you’ve removed the yellow wire you can use some pliers to try to remove the piece of metal that is on the back. Since you want your wall lamp to sit flush against your wall you’ll want it as flat as possible.
Repeat these steps for the second light.
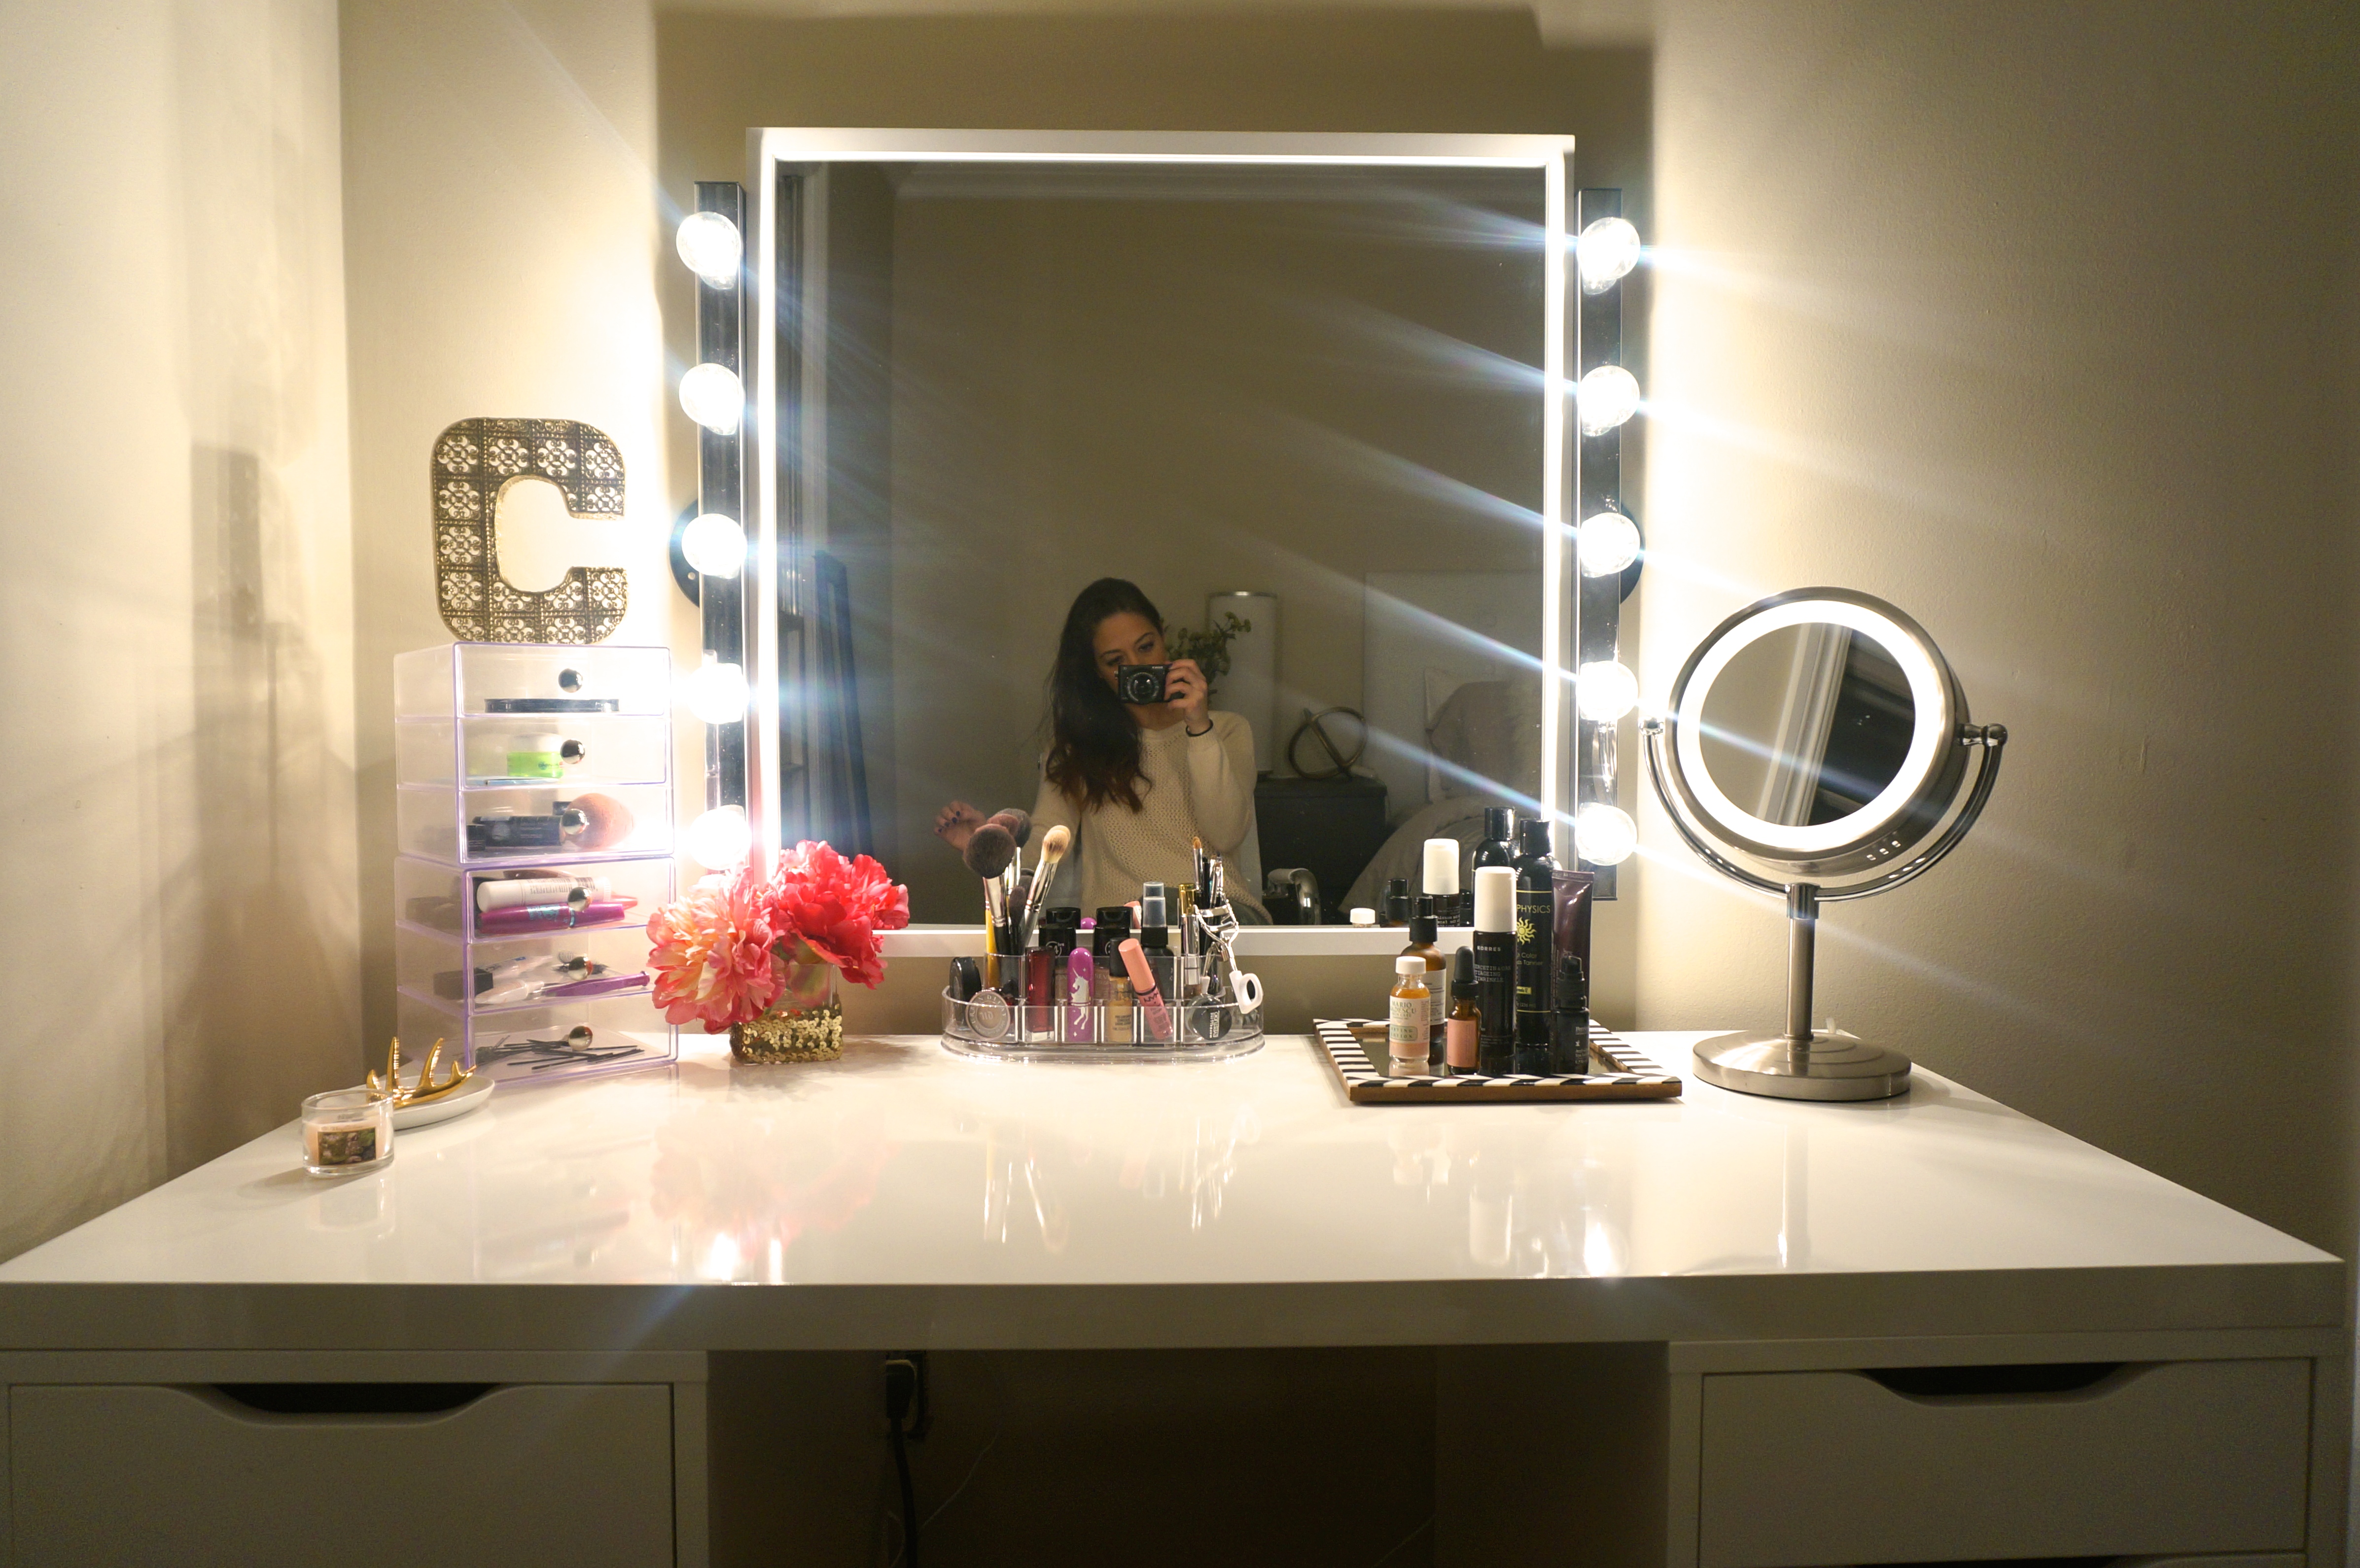
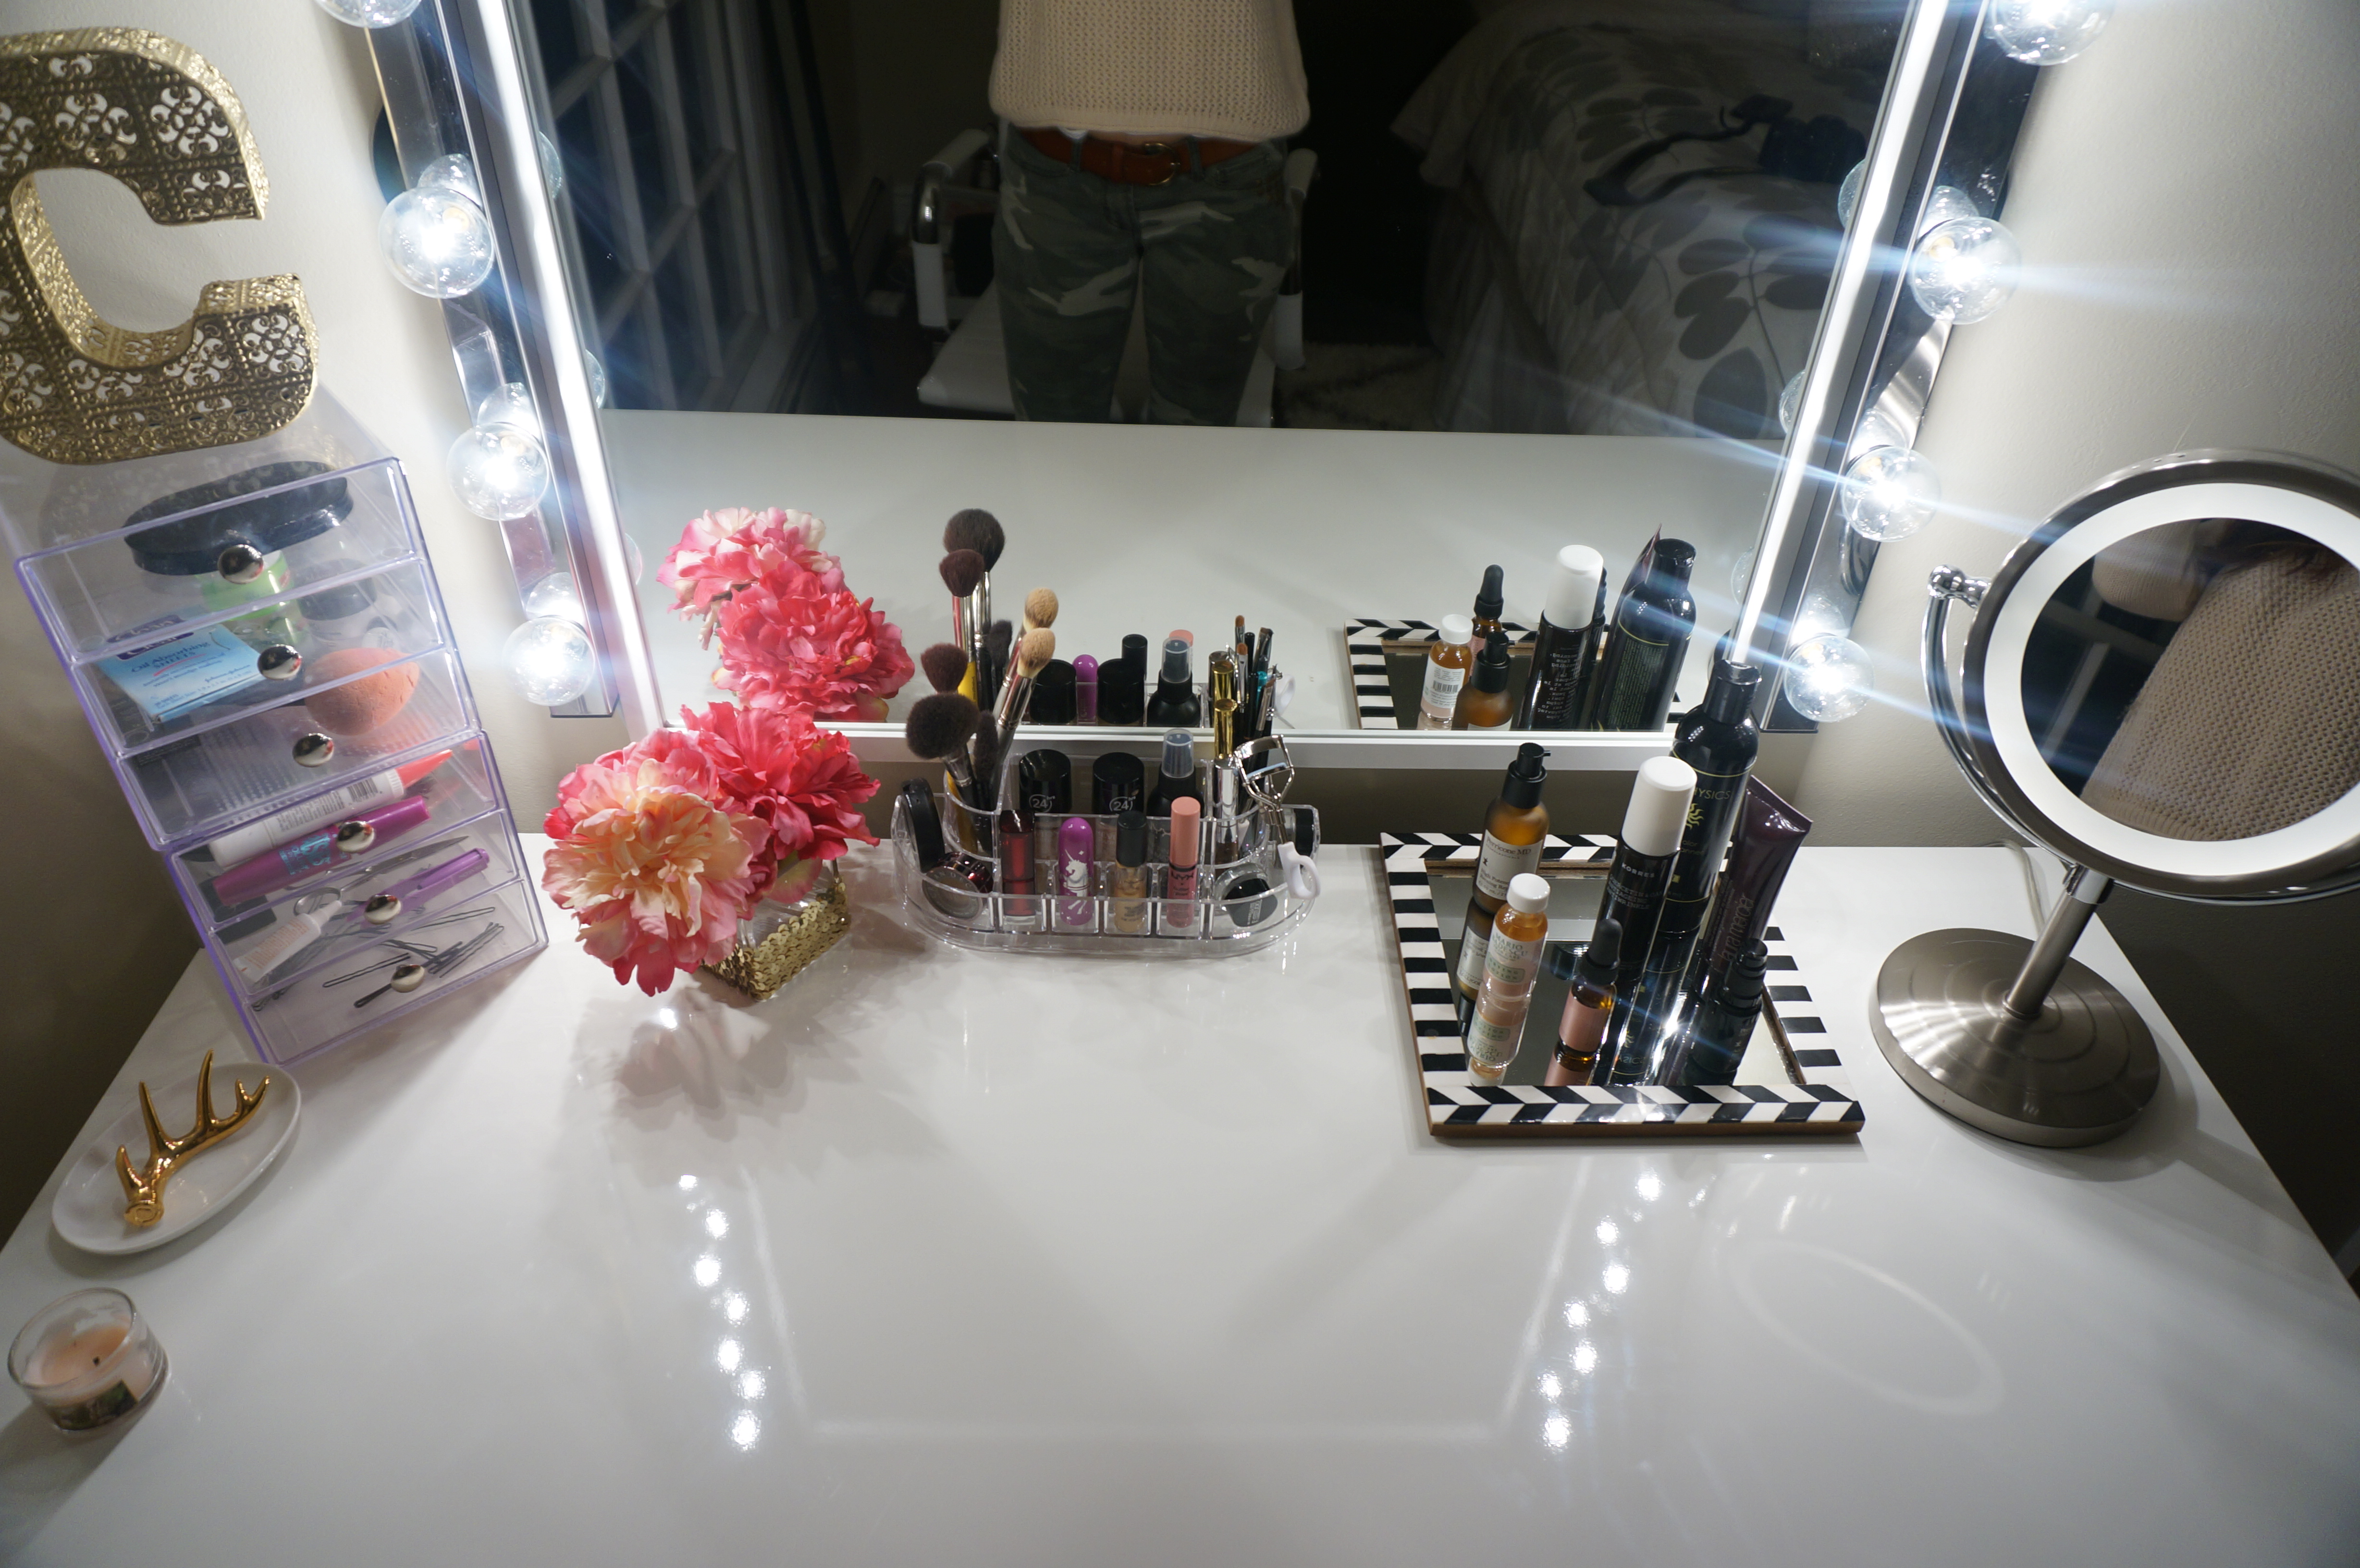
Using electrical tape to hold everything down and making your marks you can now screw in your pluggable lights! Just hang the mirror and then place your lights on either side. I plugged the cords into a power strip and just hit the red button when I want to turn the lights on. To say I am obsessed is an understatement. I’m so happy to finally have a place to organize all my hair and makeup products and tools.The drawer units allow for so much storage it’s crazy! I’m not even close to being done organizing it all but I don’t mind spending all my time here!
Do you love it as much as I do! The best part is how affordable it is. The mirror and lights will cost you less than $80 which is great considering similar mirrors and lights like this one go for $400! If you decide to make one, which you 100% should, I’d love to see it!
I’m currently working on a little gallery wall to go above the vanity as well. Stay tune for that!
xoxo
