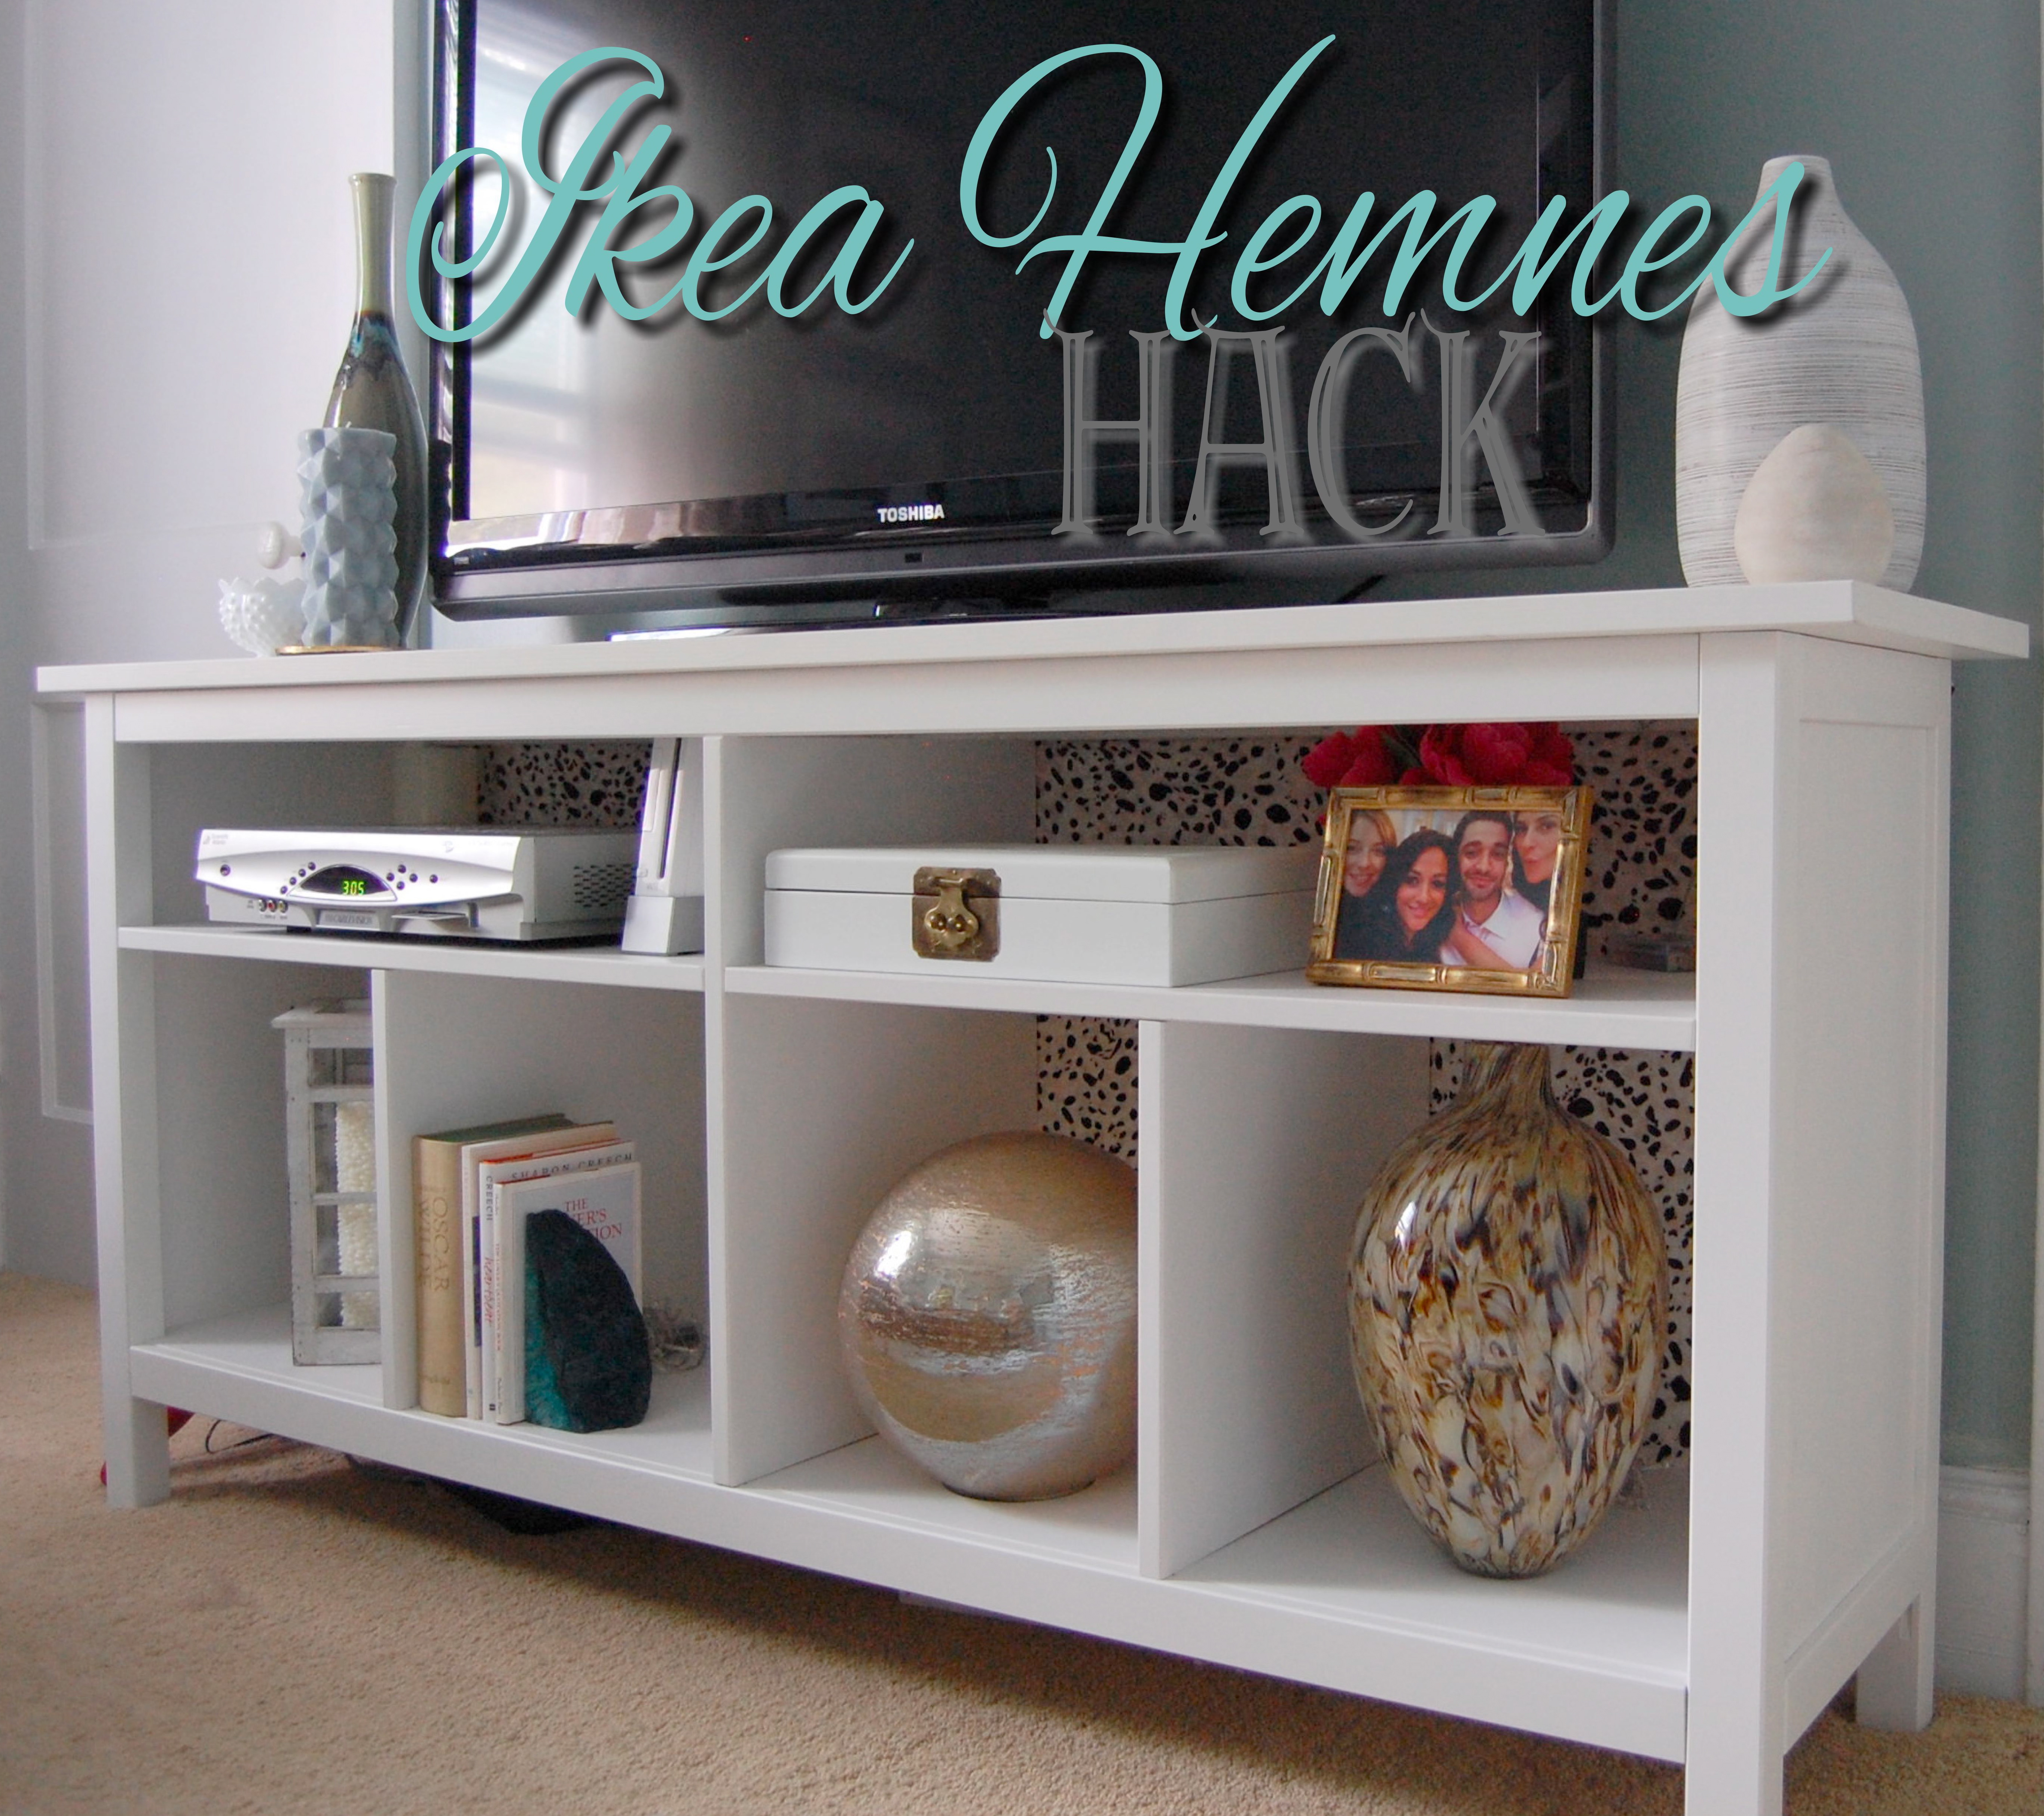
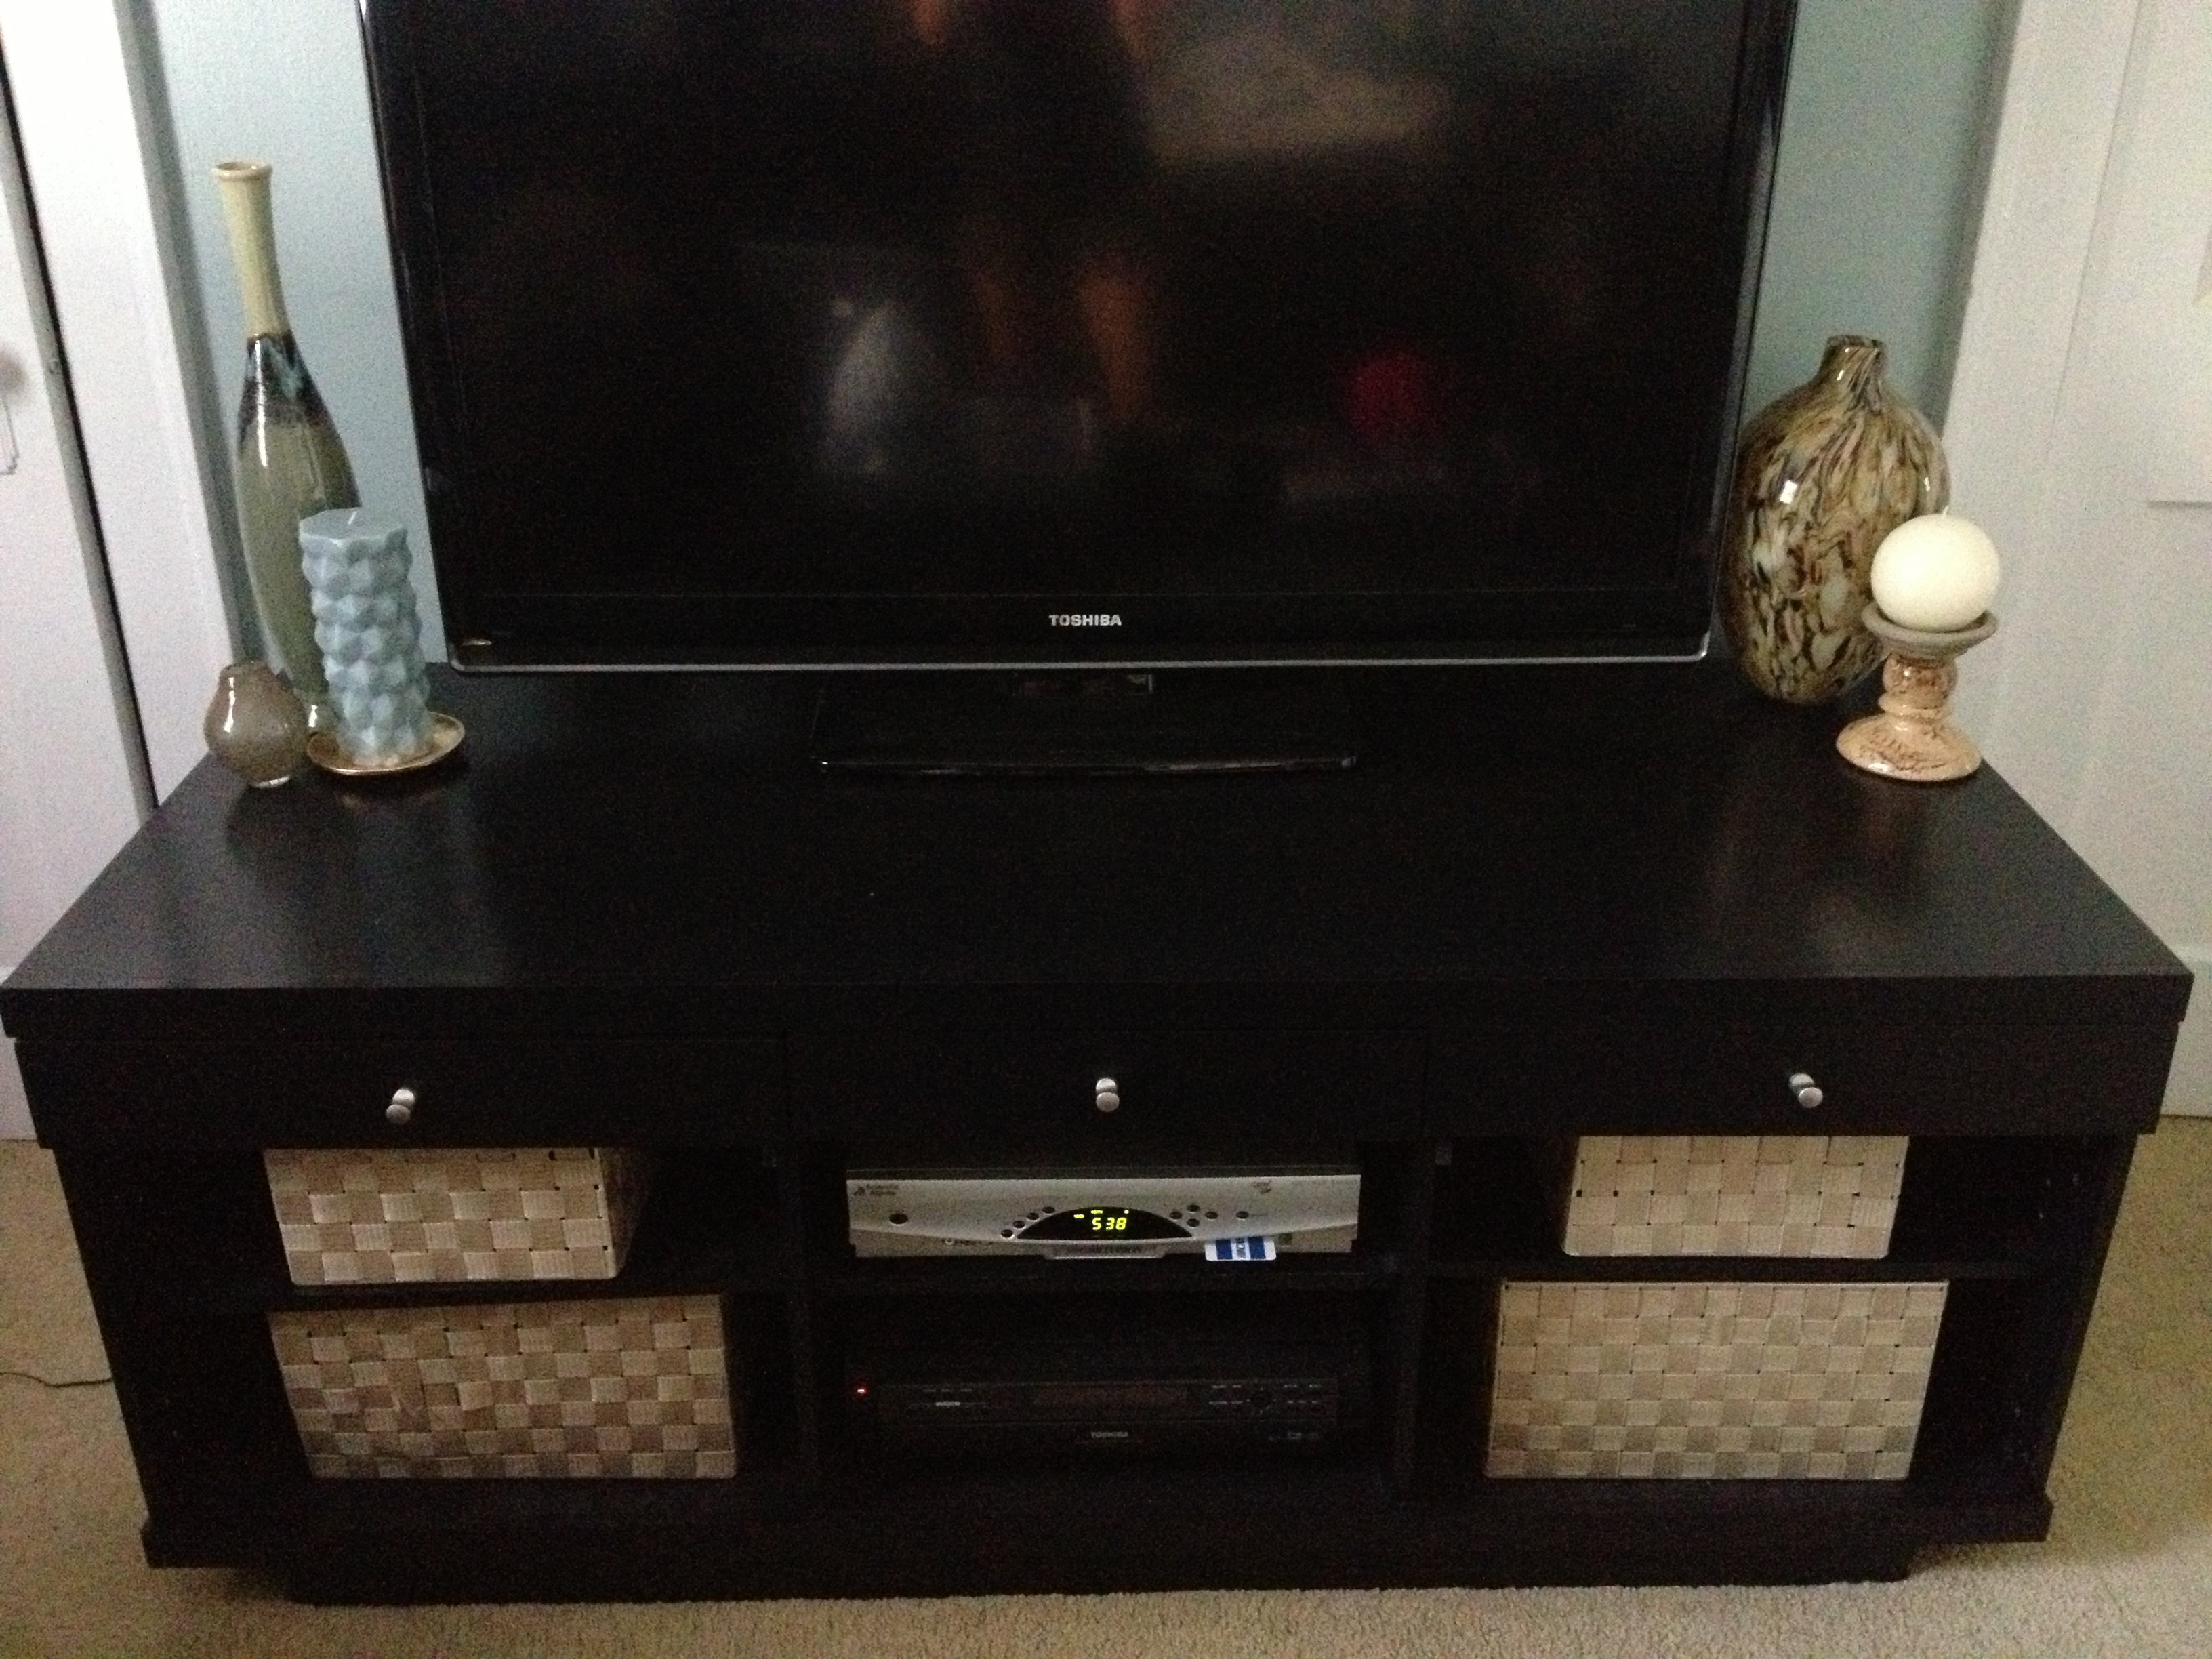
I’m really excited to share today’s post with you guys! So I had this moment one night while I was in my living room where I realized that everything in there was dark. Black media unit, black coffee table, black end table, chocolate brown couch. Oh and have I ever mentioned that my living room is super tiny! I have been on a mission to makeover this space and the first thing that had to go was my tv unit. I always liked it but I was done with the black and it was way too big for my space.
I wanted something that was white and slim. I did a lot of browsing online but found that many units were pretty deep and that’s not what I needed at all. My search was leading me to bookcases that I thought I could turn over but then I came across this baby on a visit to Ikea.
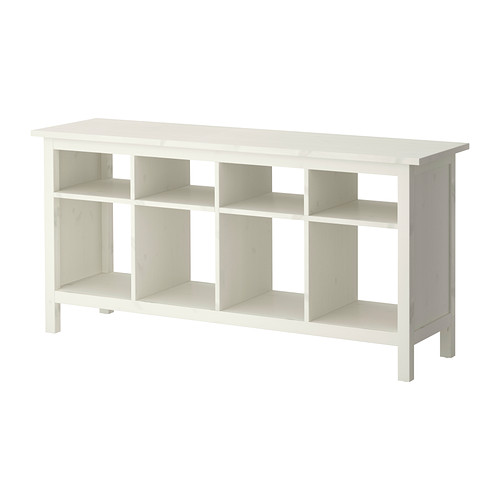
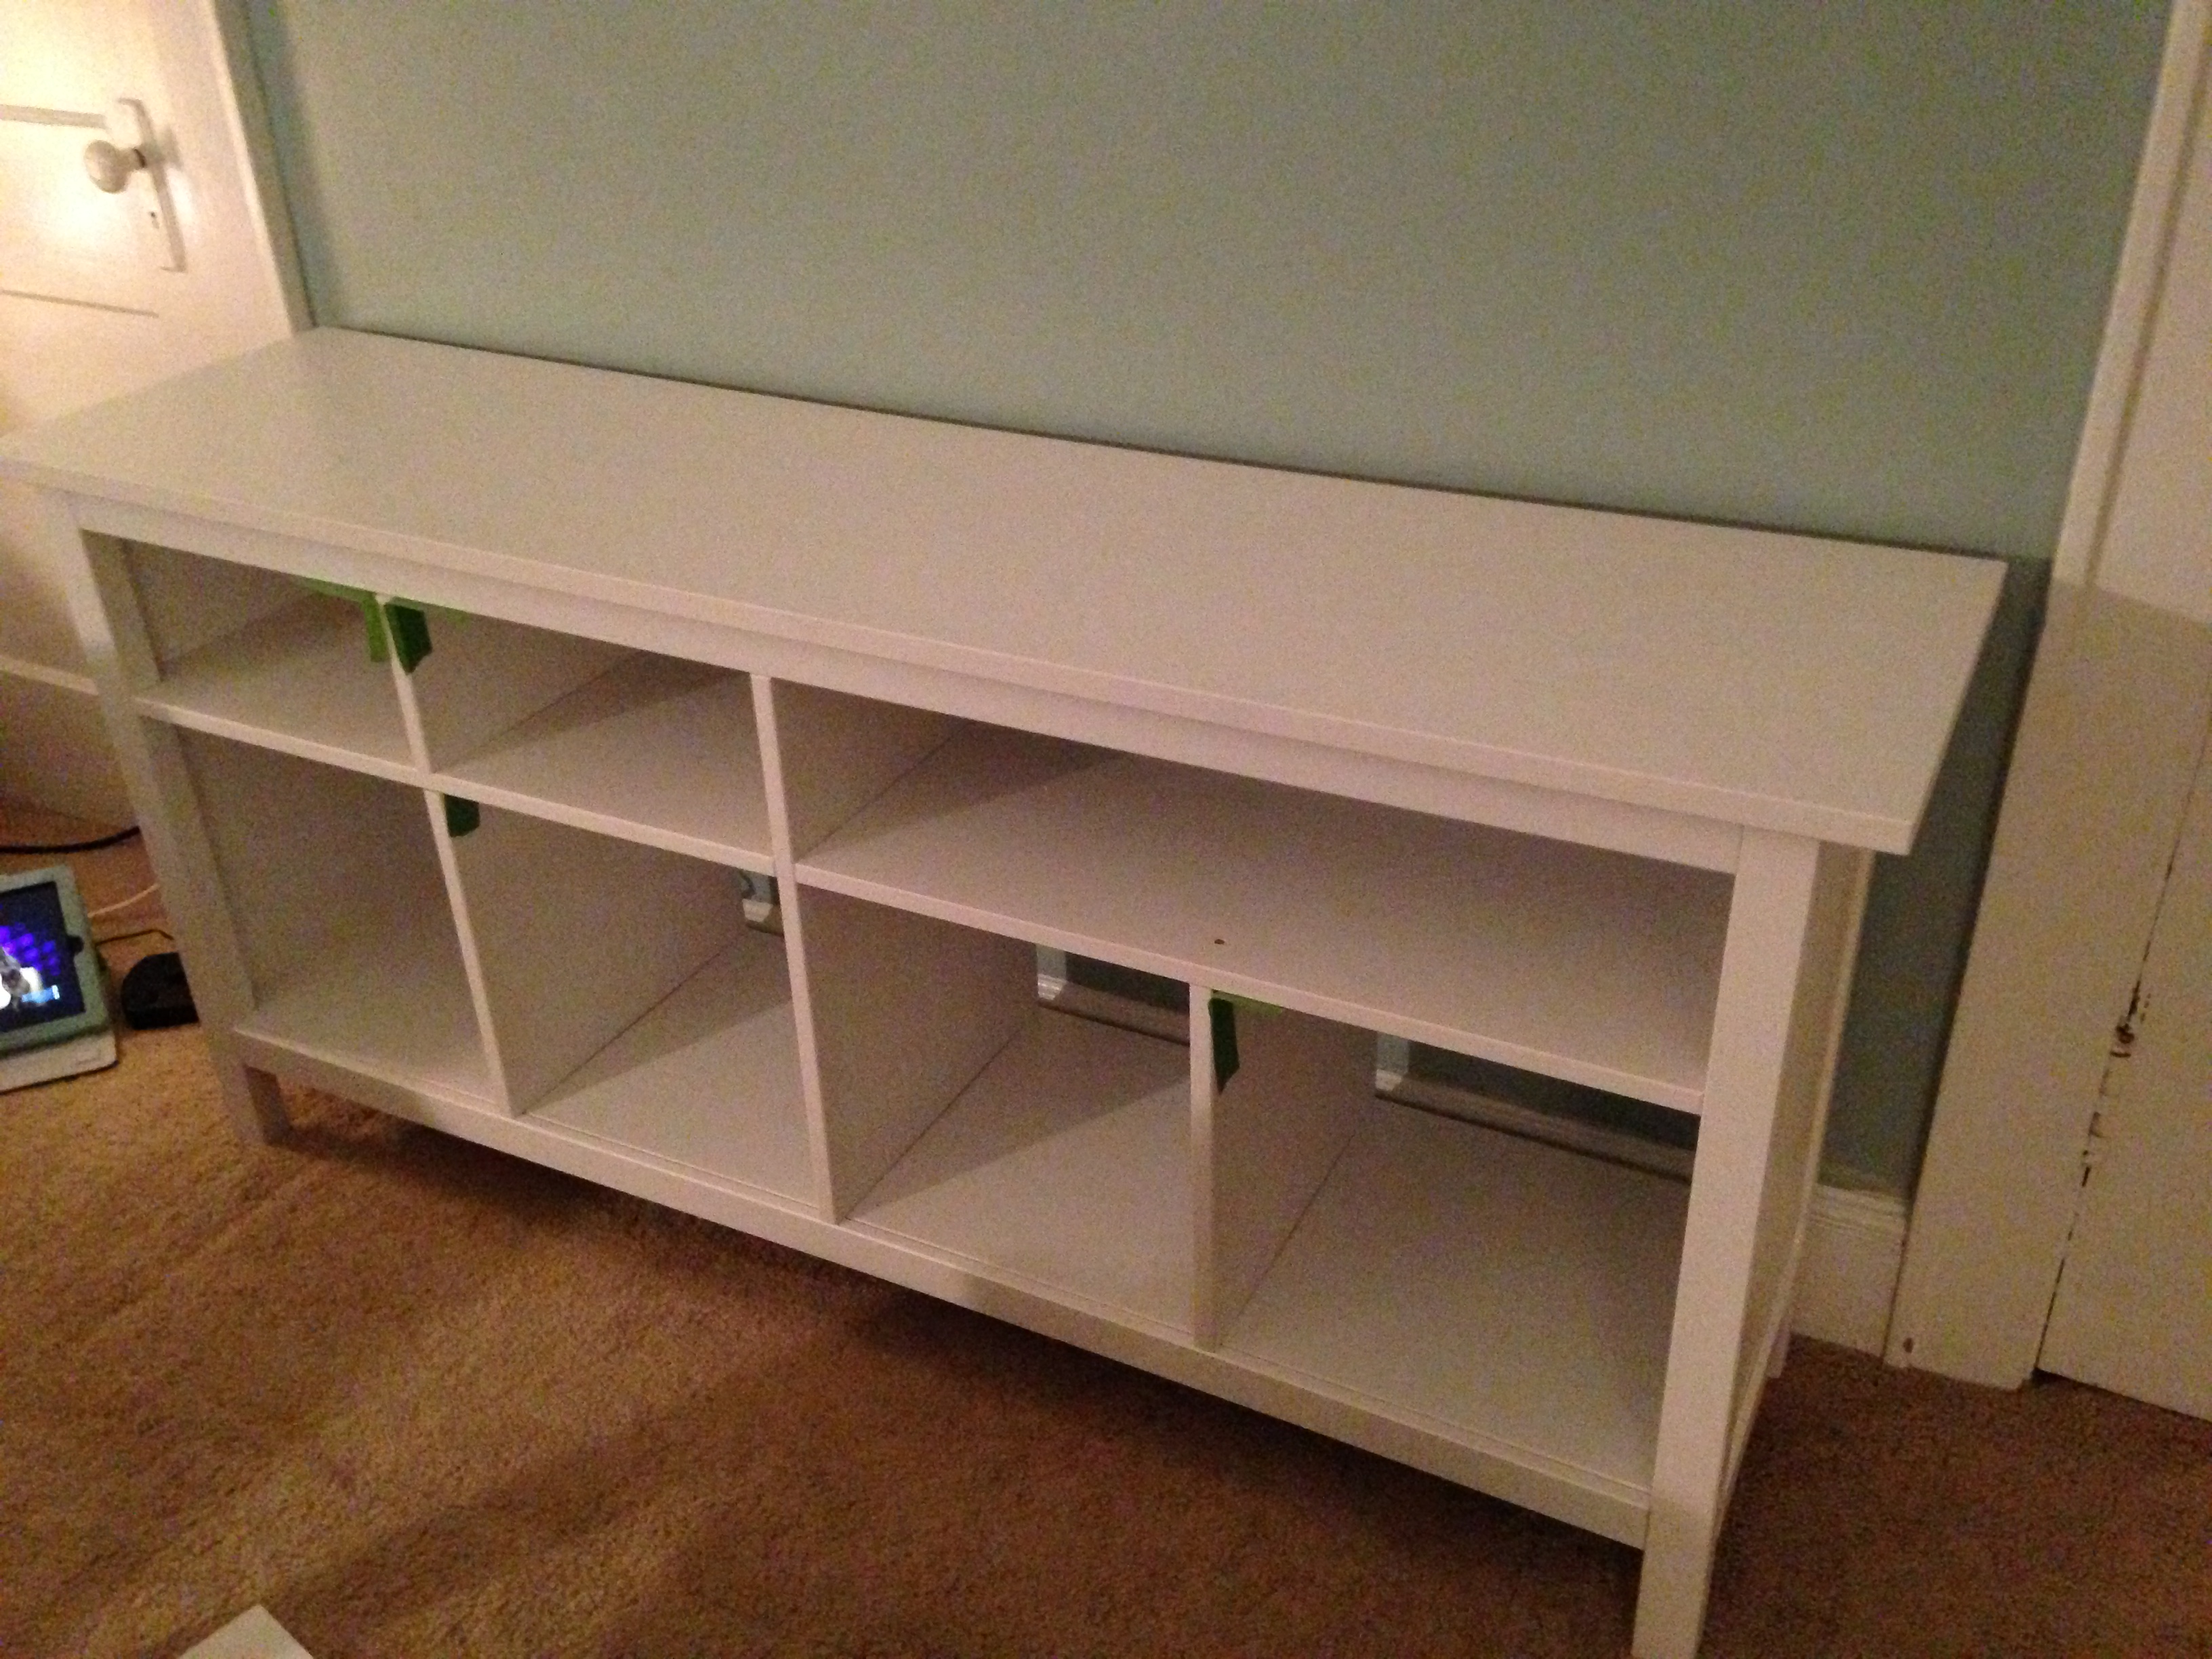
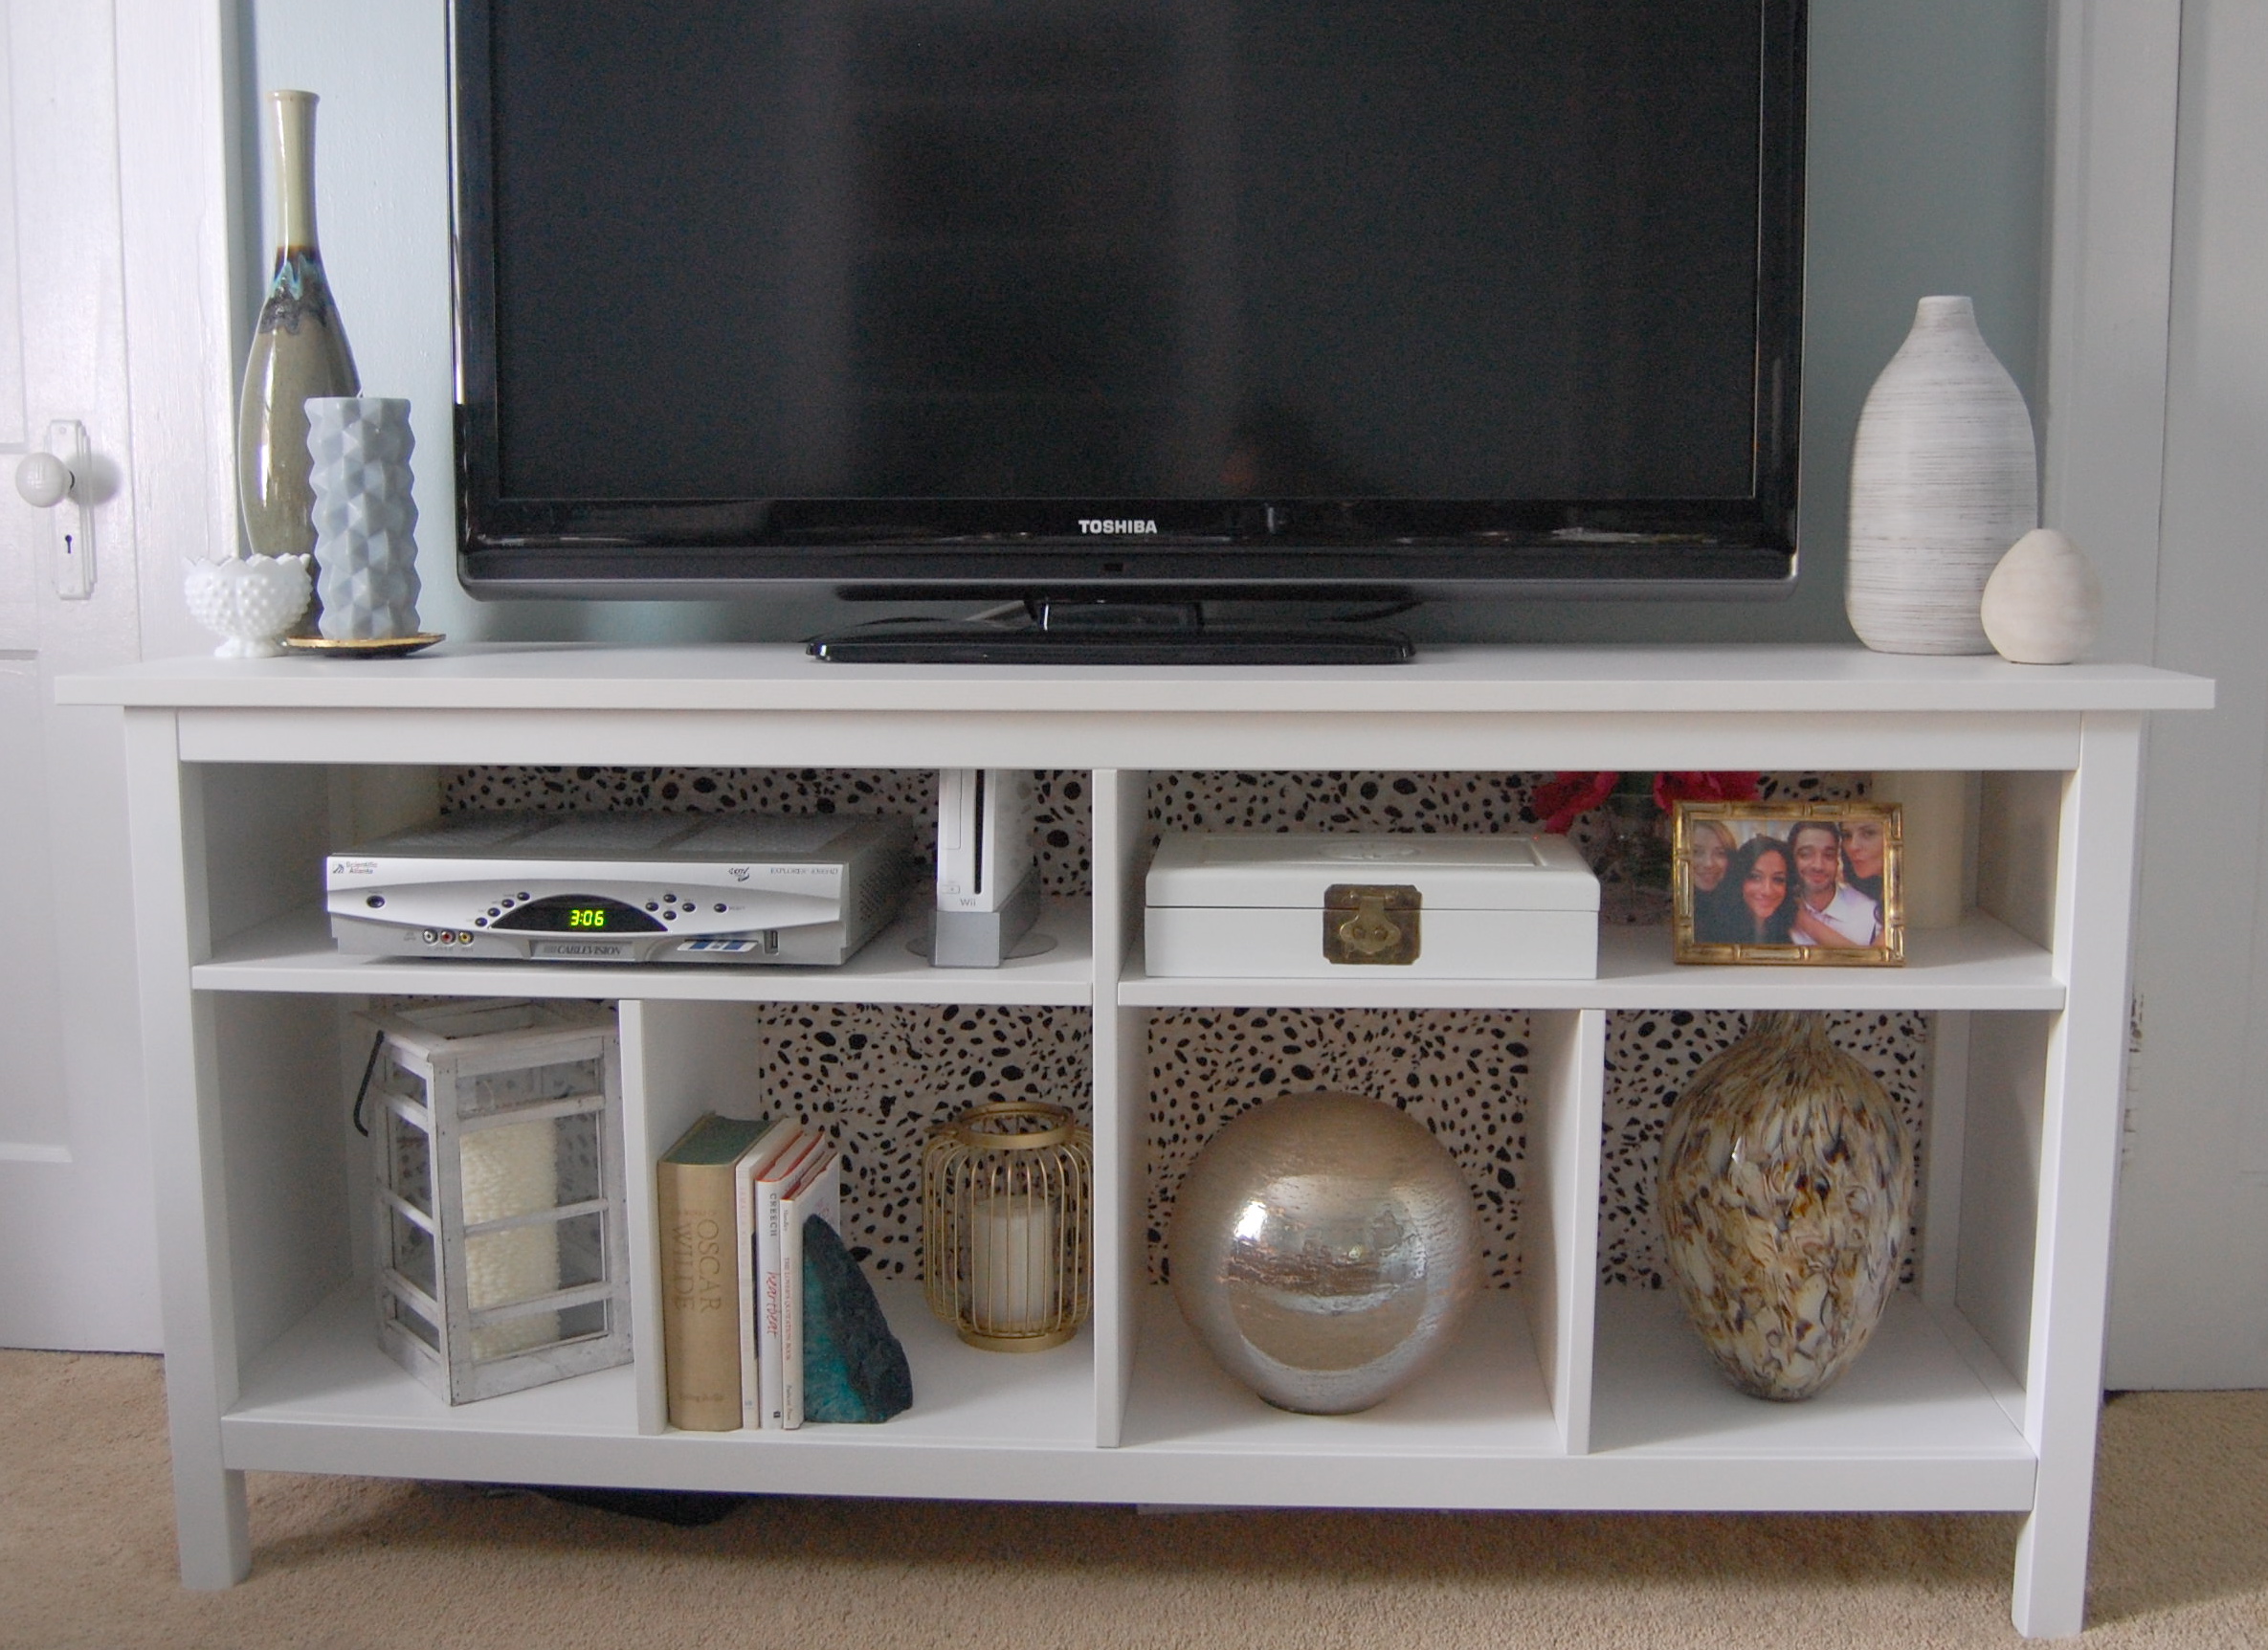
It was exactly what I wanted. White, slim, and the perfect height and width. There were two problems though…no back and the top 4 openings weren’t wide enough to fit my cable box. But guess what guys, if there wasn’t a problem then this post would be called “I put a piece of Ikea furniture together” and I’m pretty sure you wouldn’t care. So first let me show you what used to be there.
 So dark! Ok so back to the hack. I followed the normal Ikea building instructions but kept in mind that I didn’t want to have the middle piece inserted in the top left side or the top right side. In order to complete the build and move on to the next step those pieces had to be there so I just used some frog tape to hold them into place while I built the rest of it. When it was all done I easily removed them.
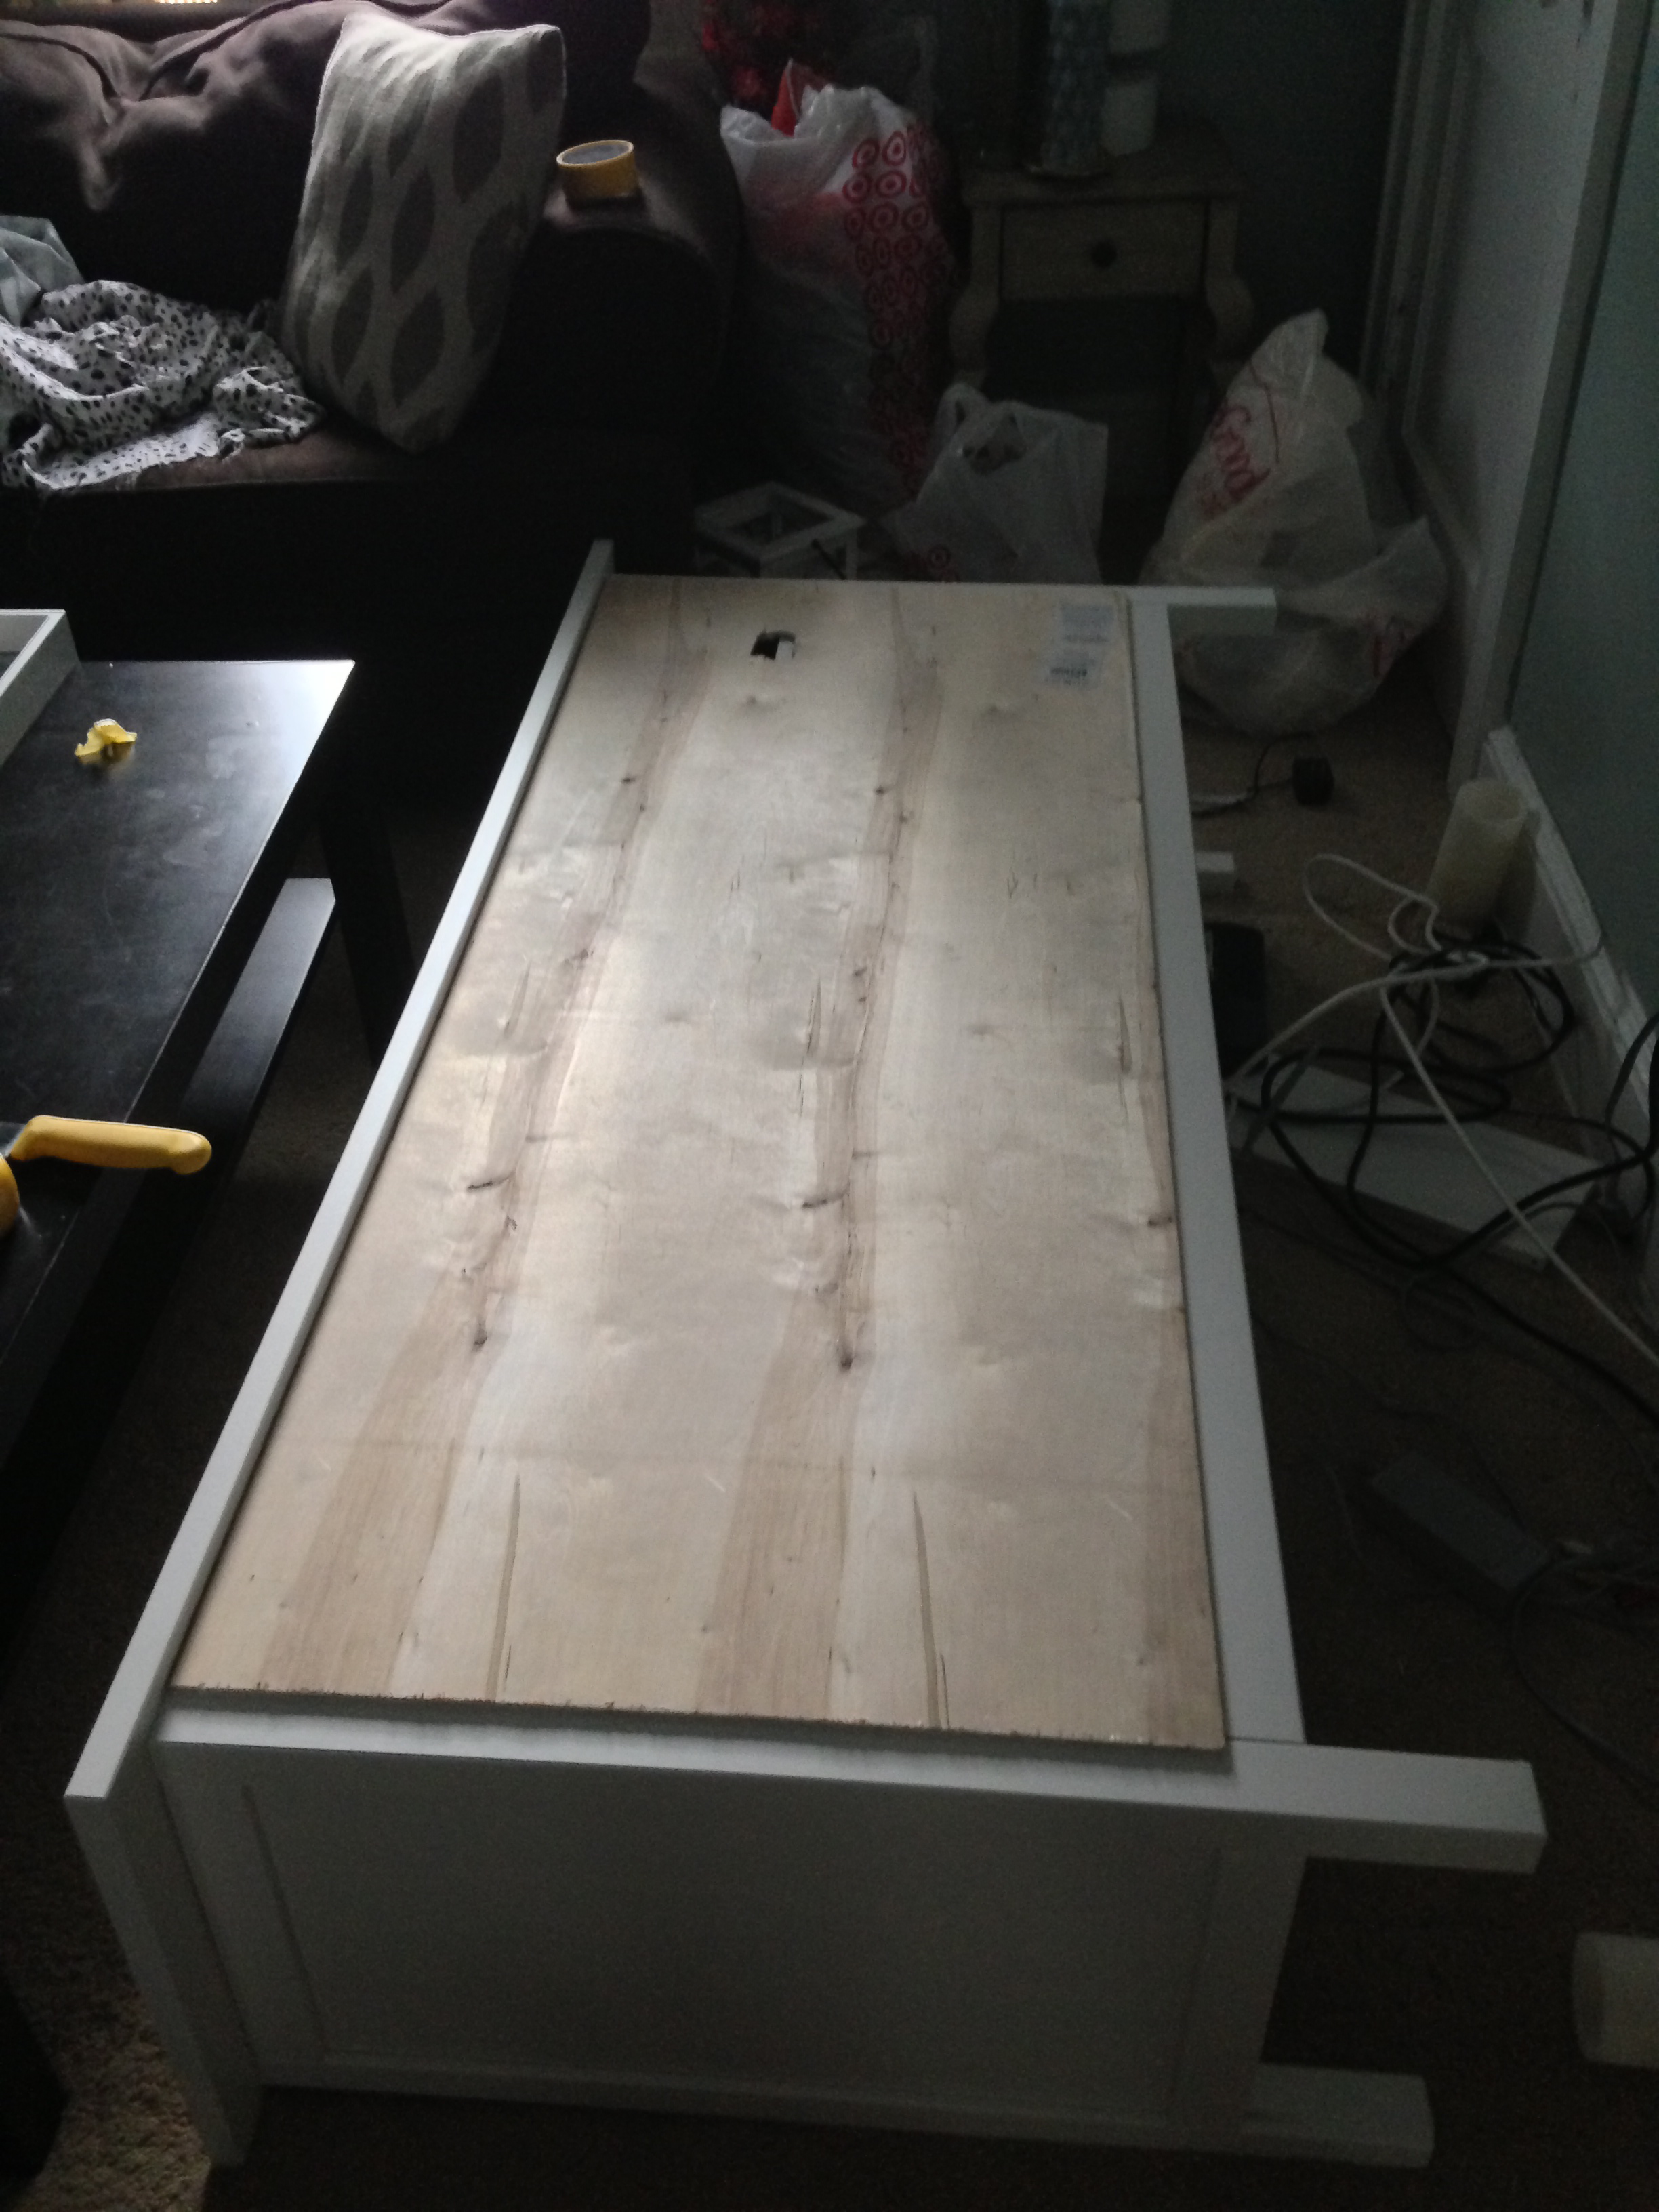
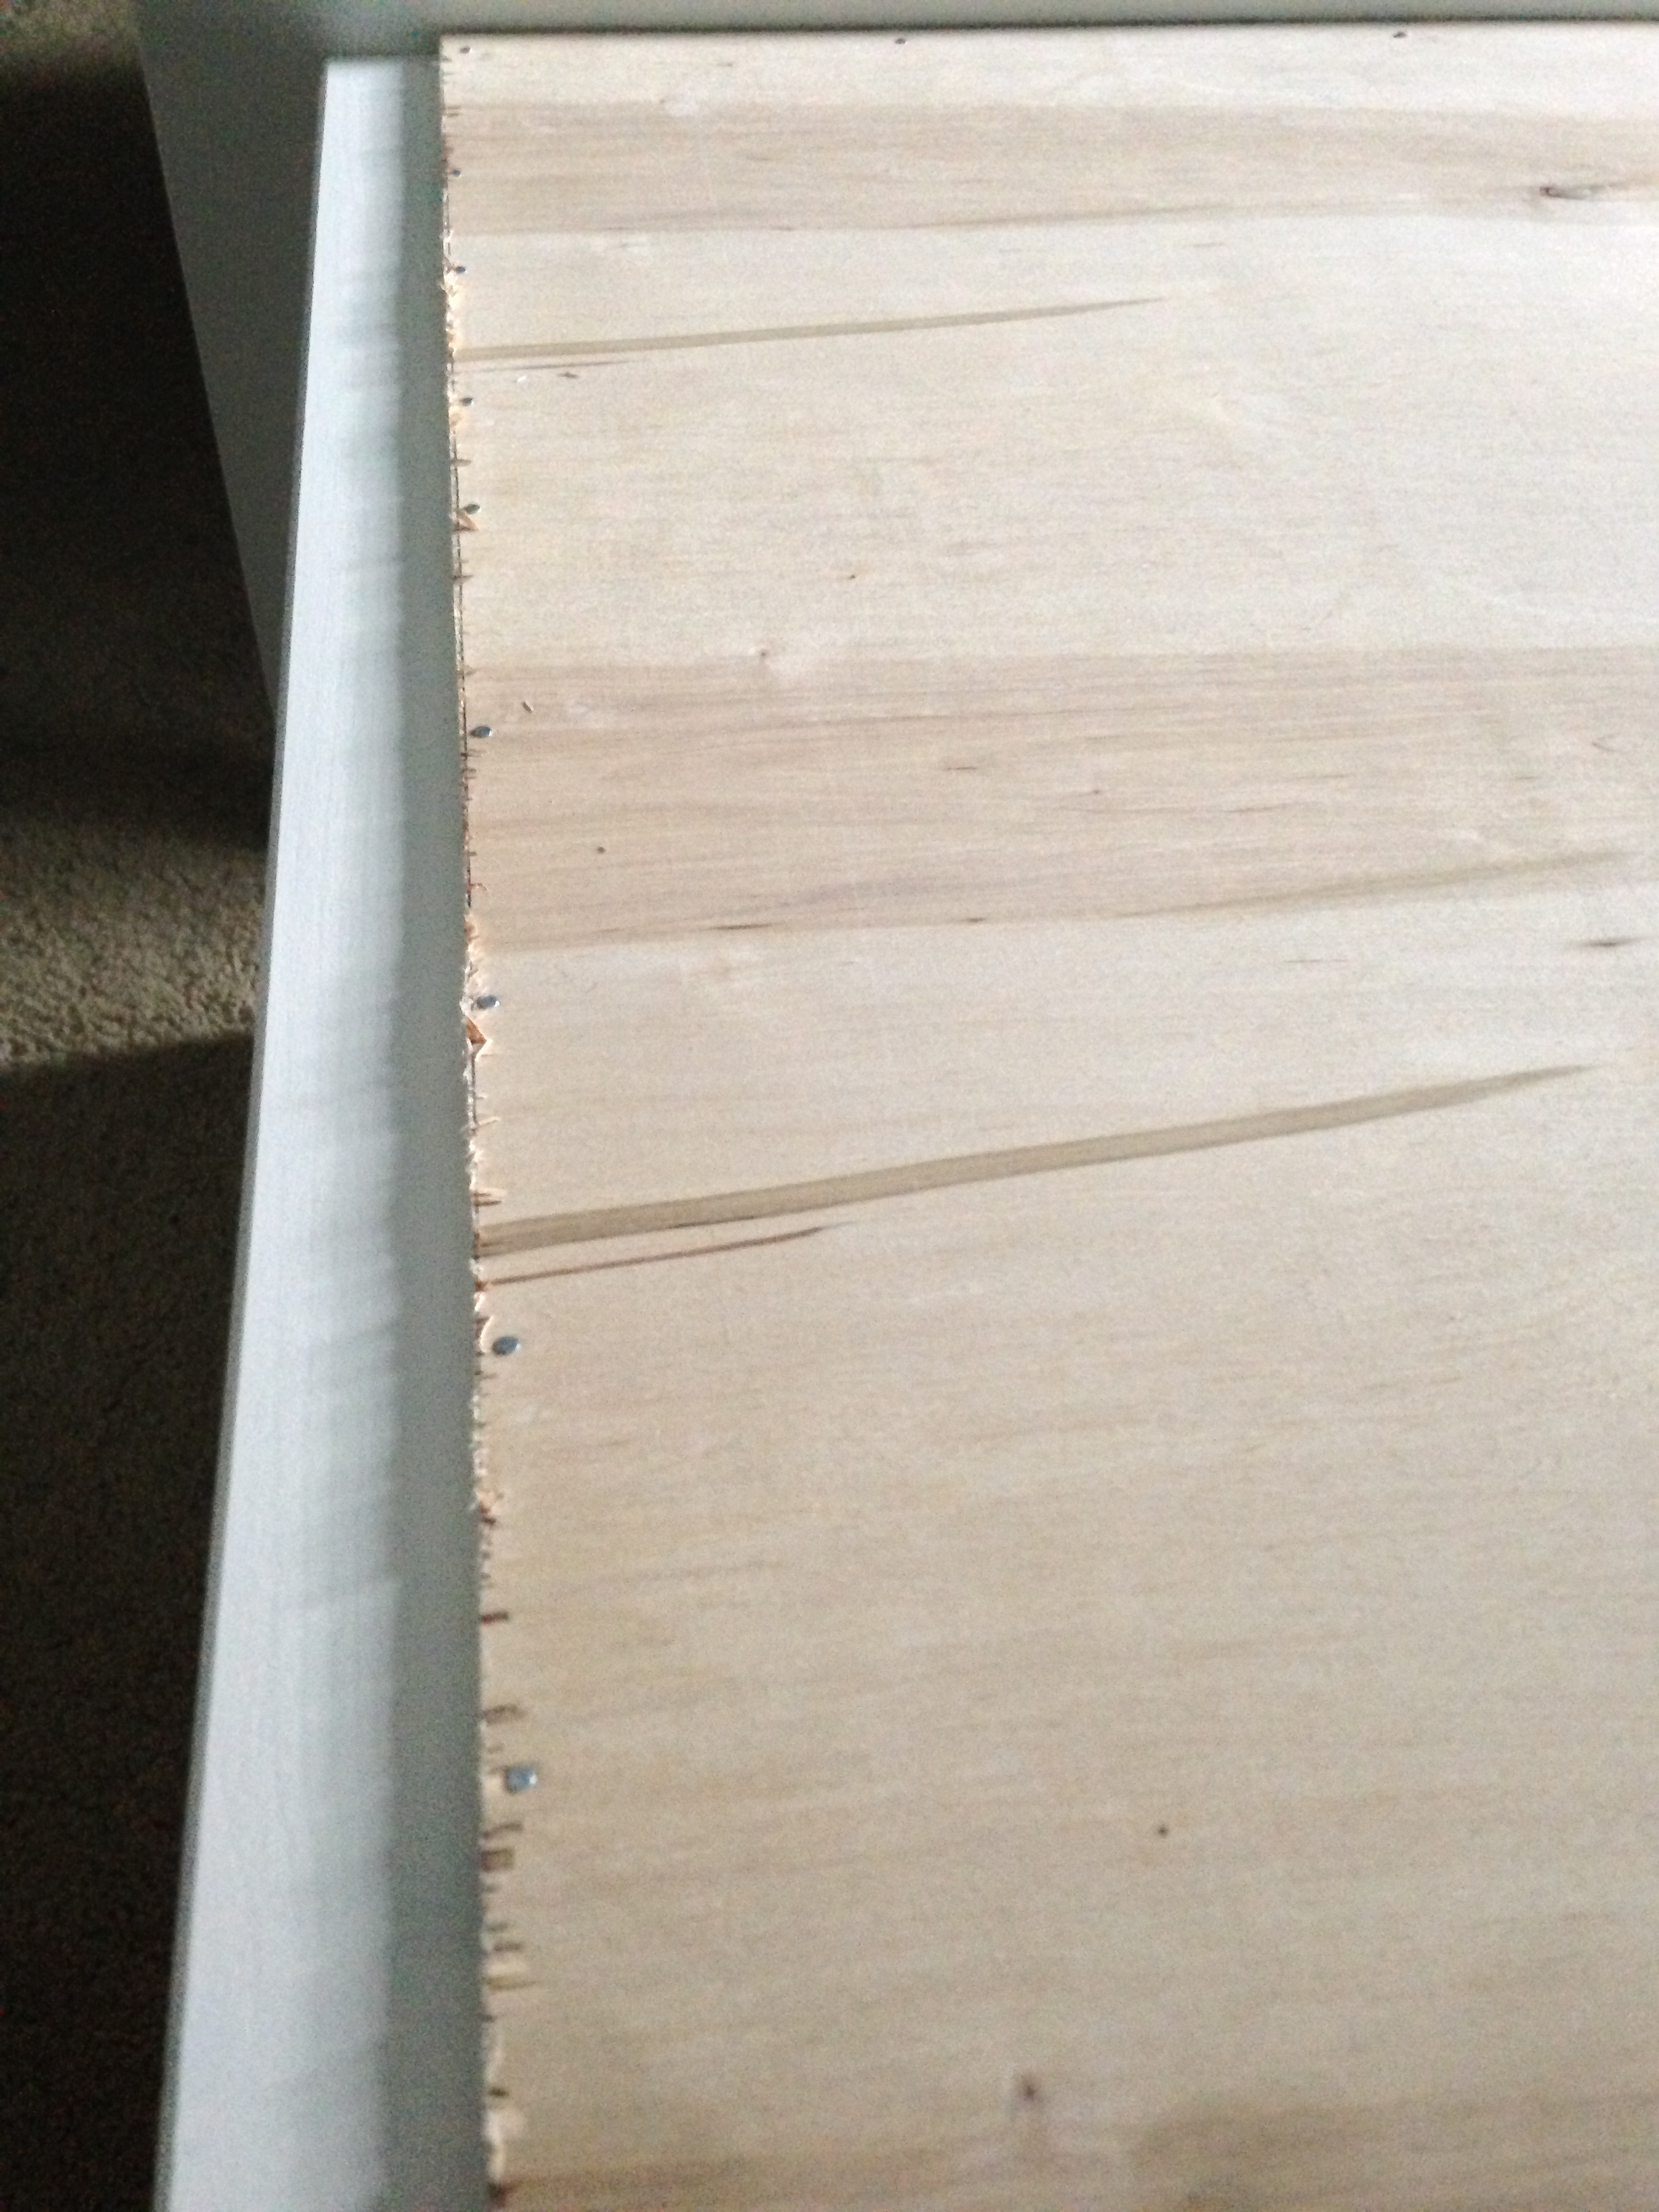
 The next thing I had to do after it was built was put a backing on it so I went to Home Depot and had a piece of particle board cut to fit the back and I also had them make a hole for me to pull the wires through. Once I got it home I painted it white to match the piece, using whatever white paint I had on hand. Next, I used some small nails to attach it to the back.
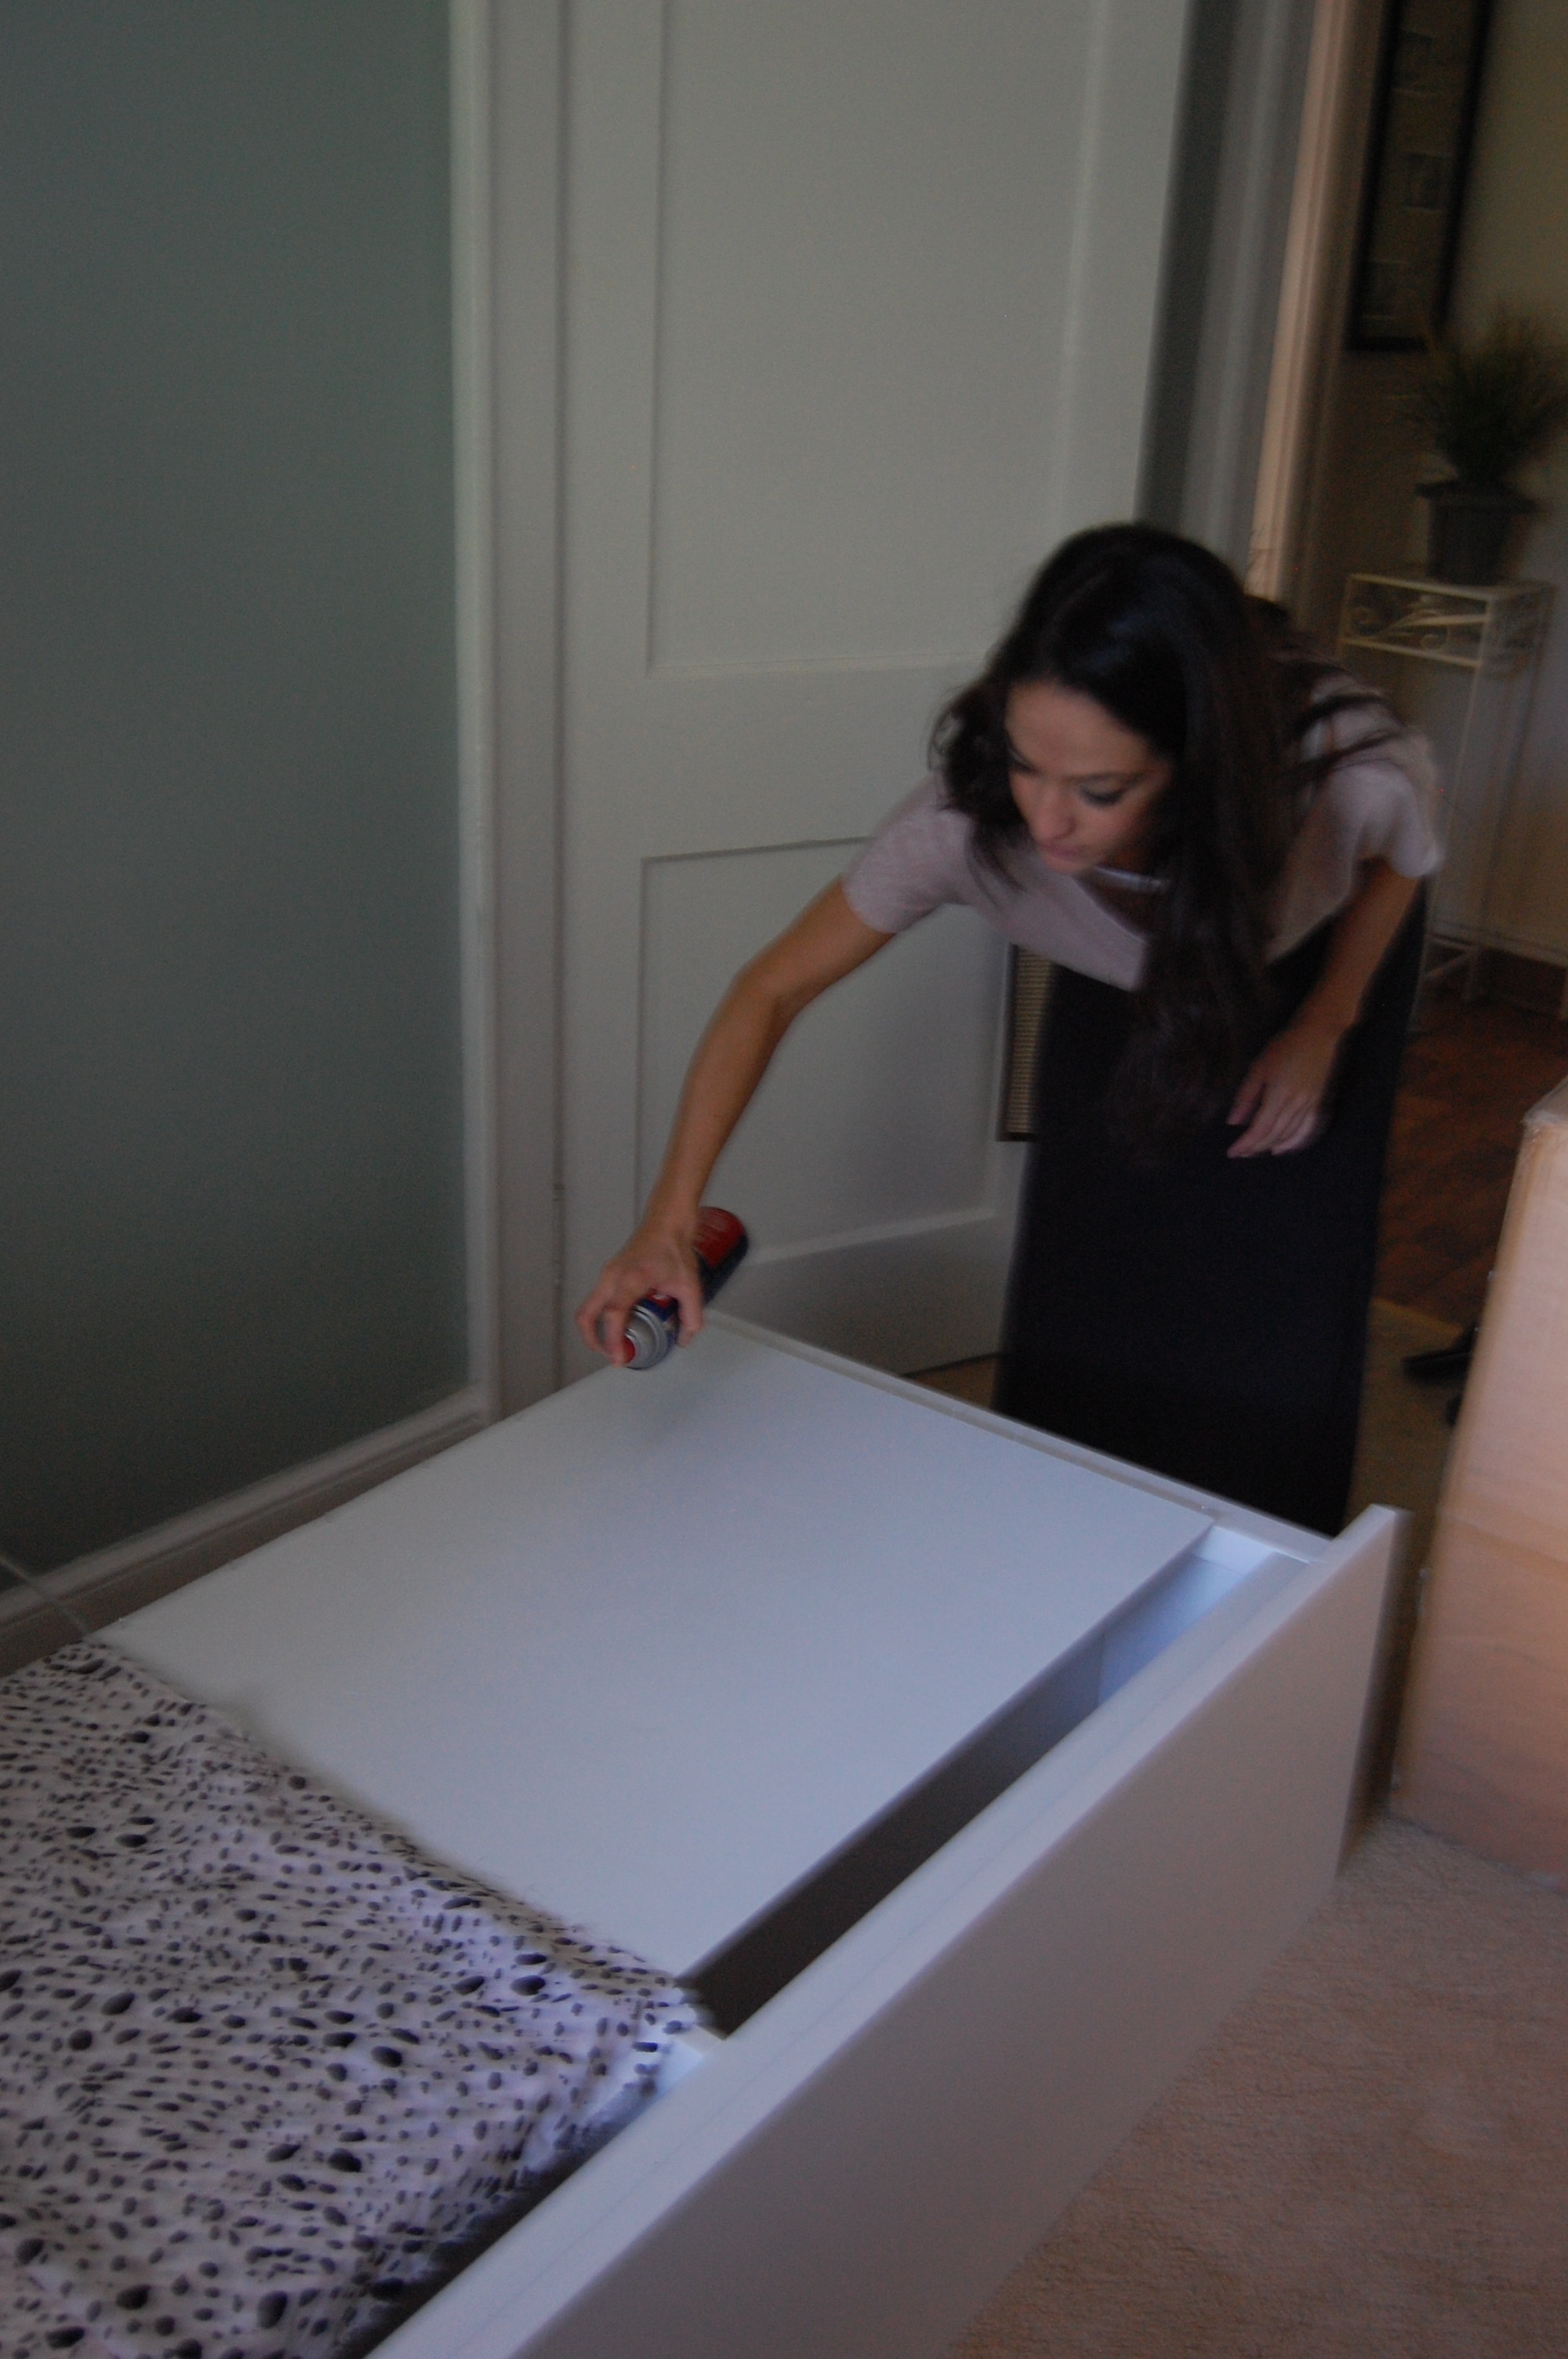
 Once it was put back I started to style it a bit but I really wasn’t feeling it. I lived with it for a few days but I needed to do something to make it more me. I needed some assistance flipping that sucker down so when my posse came over to help deliver my new coffee table (more on that soon) I had them help me flip the unit back down and take the particle board off. That’s when the real transformation took place. I had a good amount of my spotted fabric left over from this project and I used spray adhesive to adhere it to the backing. (Bad iphone pics)
 Once the sucker went back on I was totally in love!
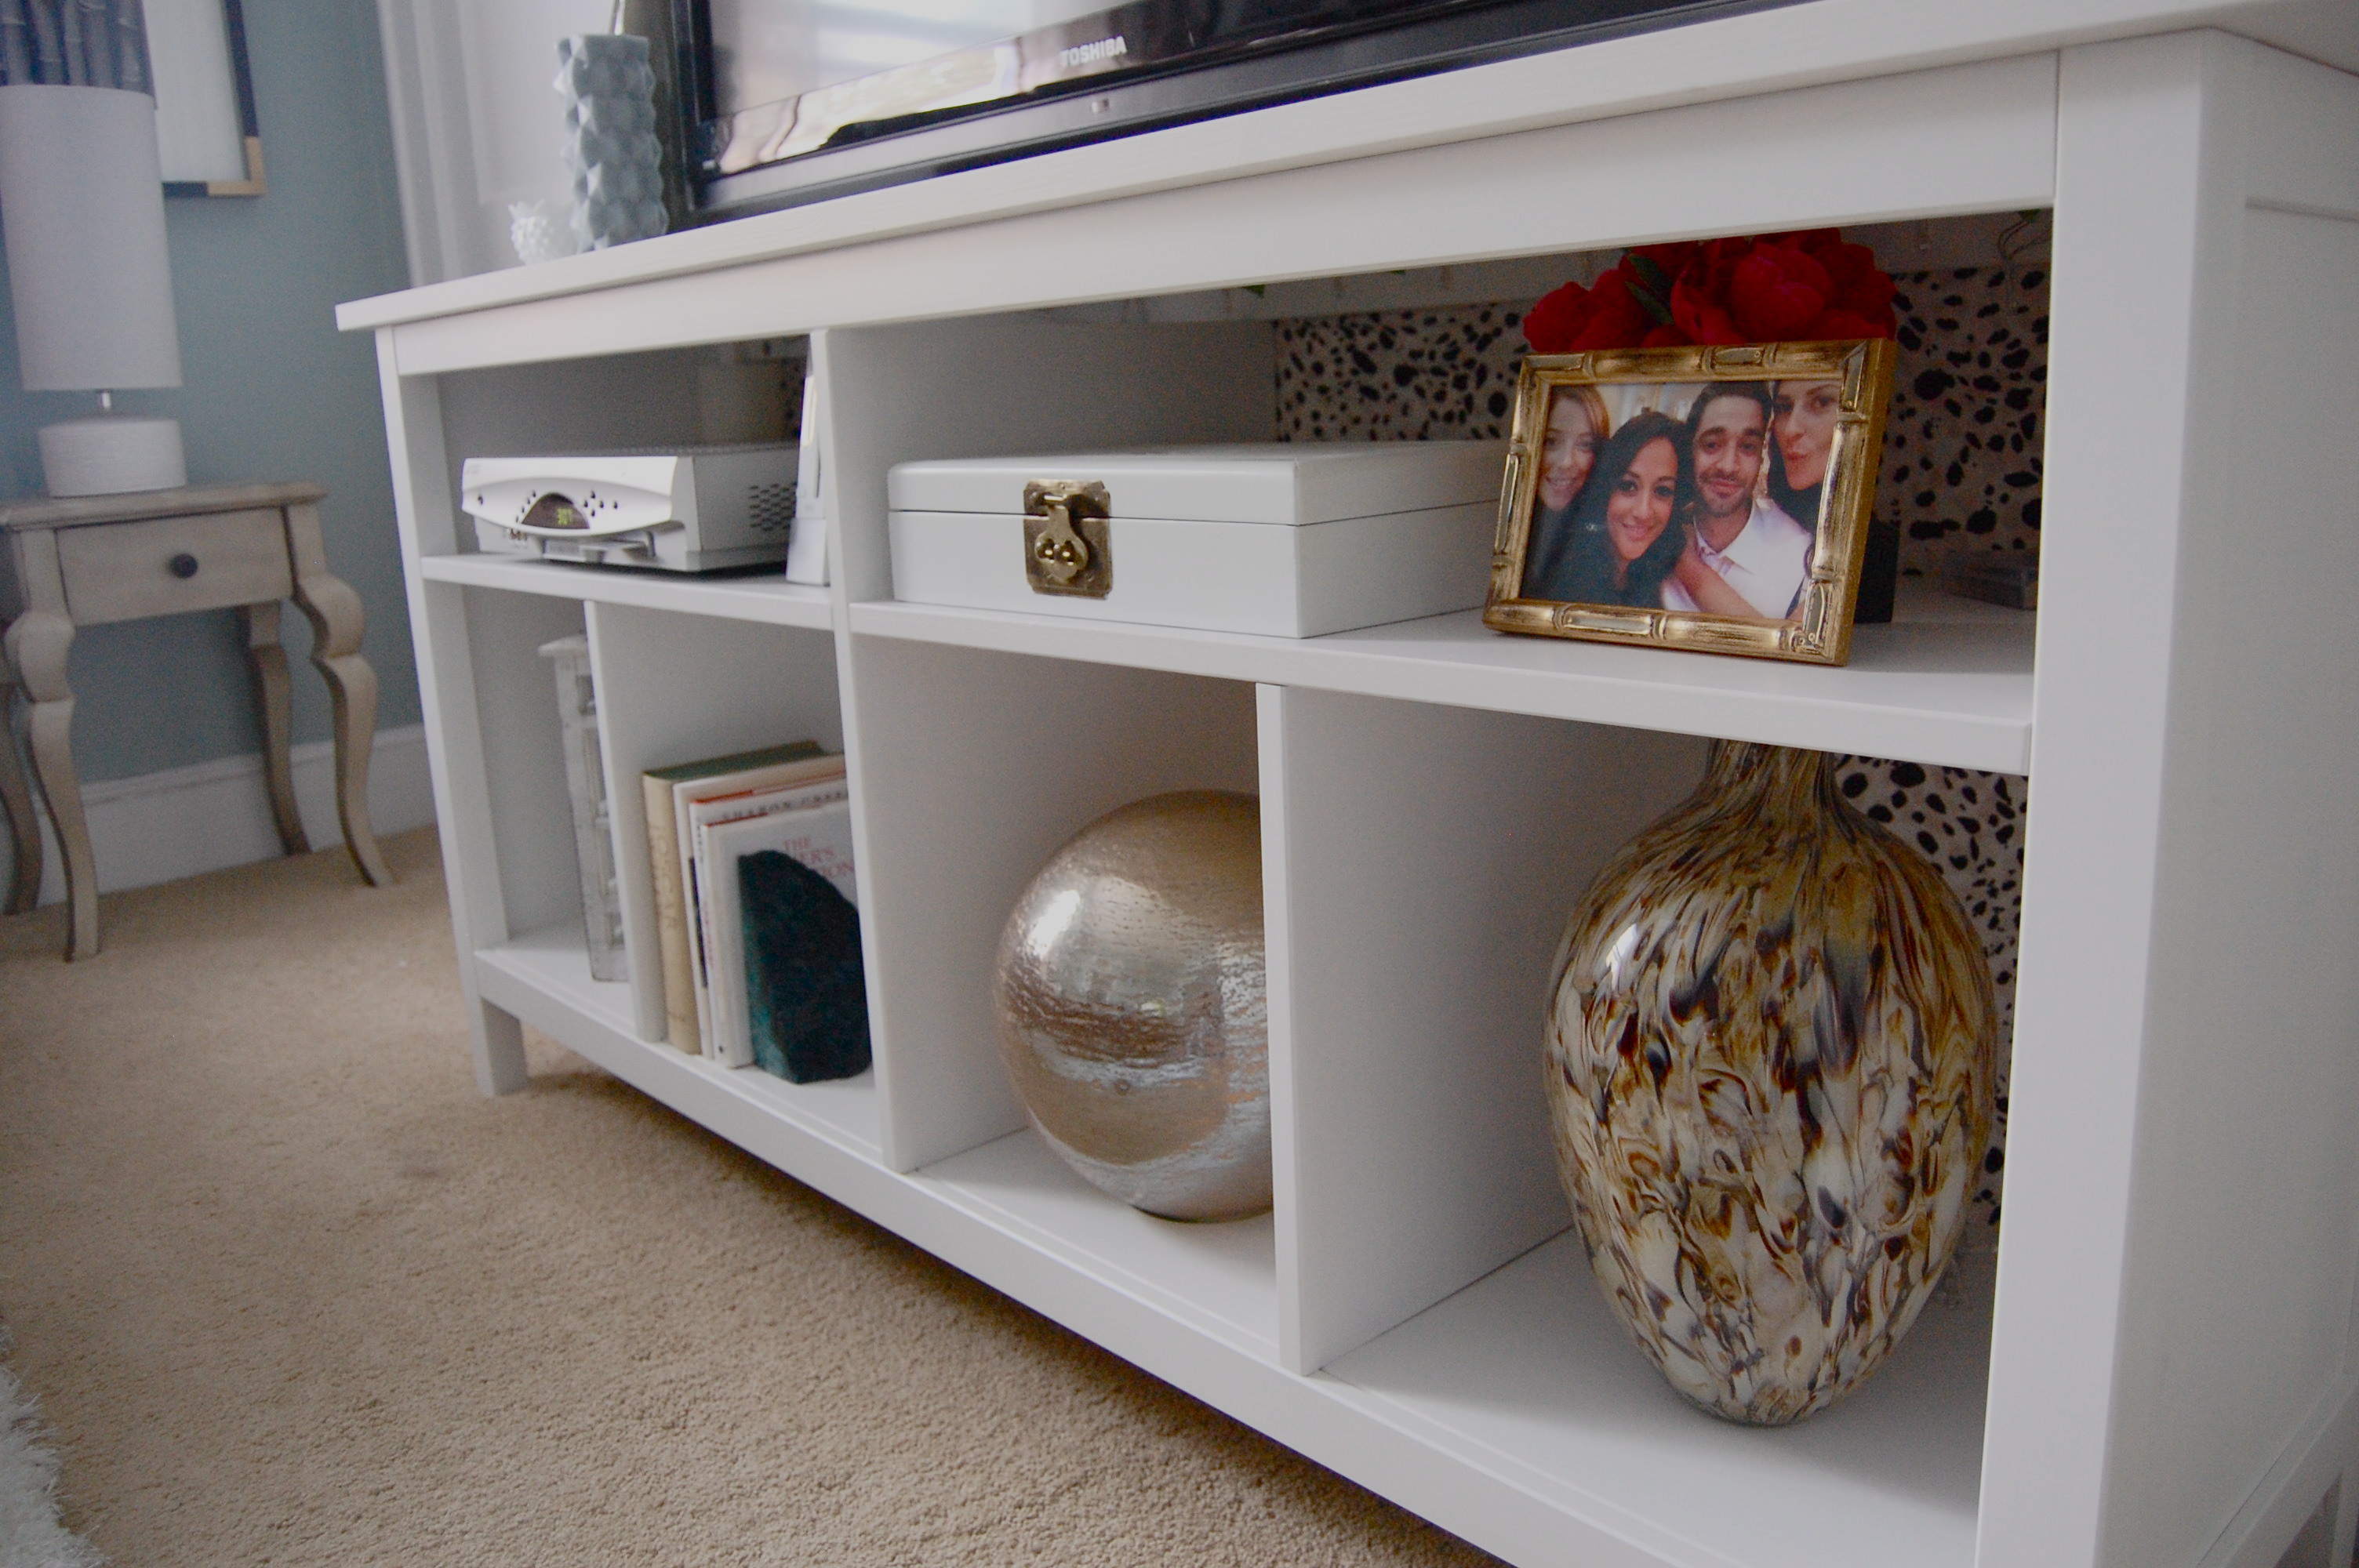

But wait…I’m still not done…It’s get even better!! Here’s a little peek.
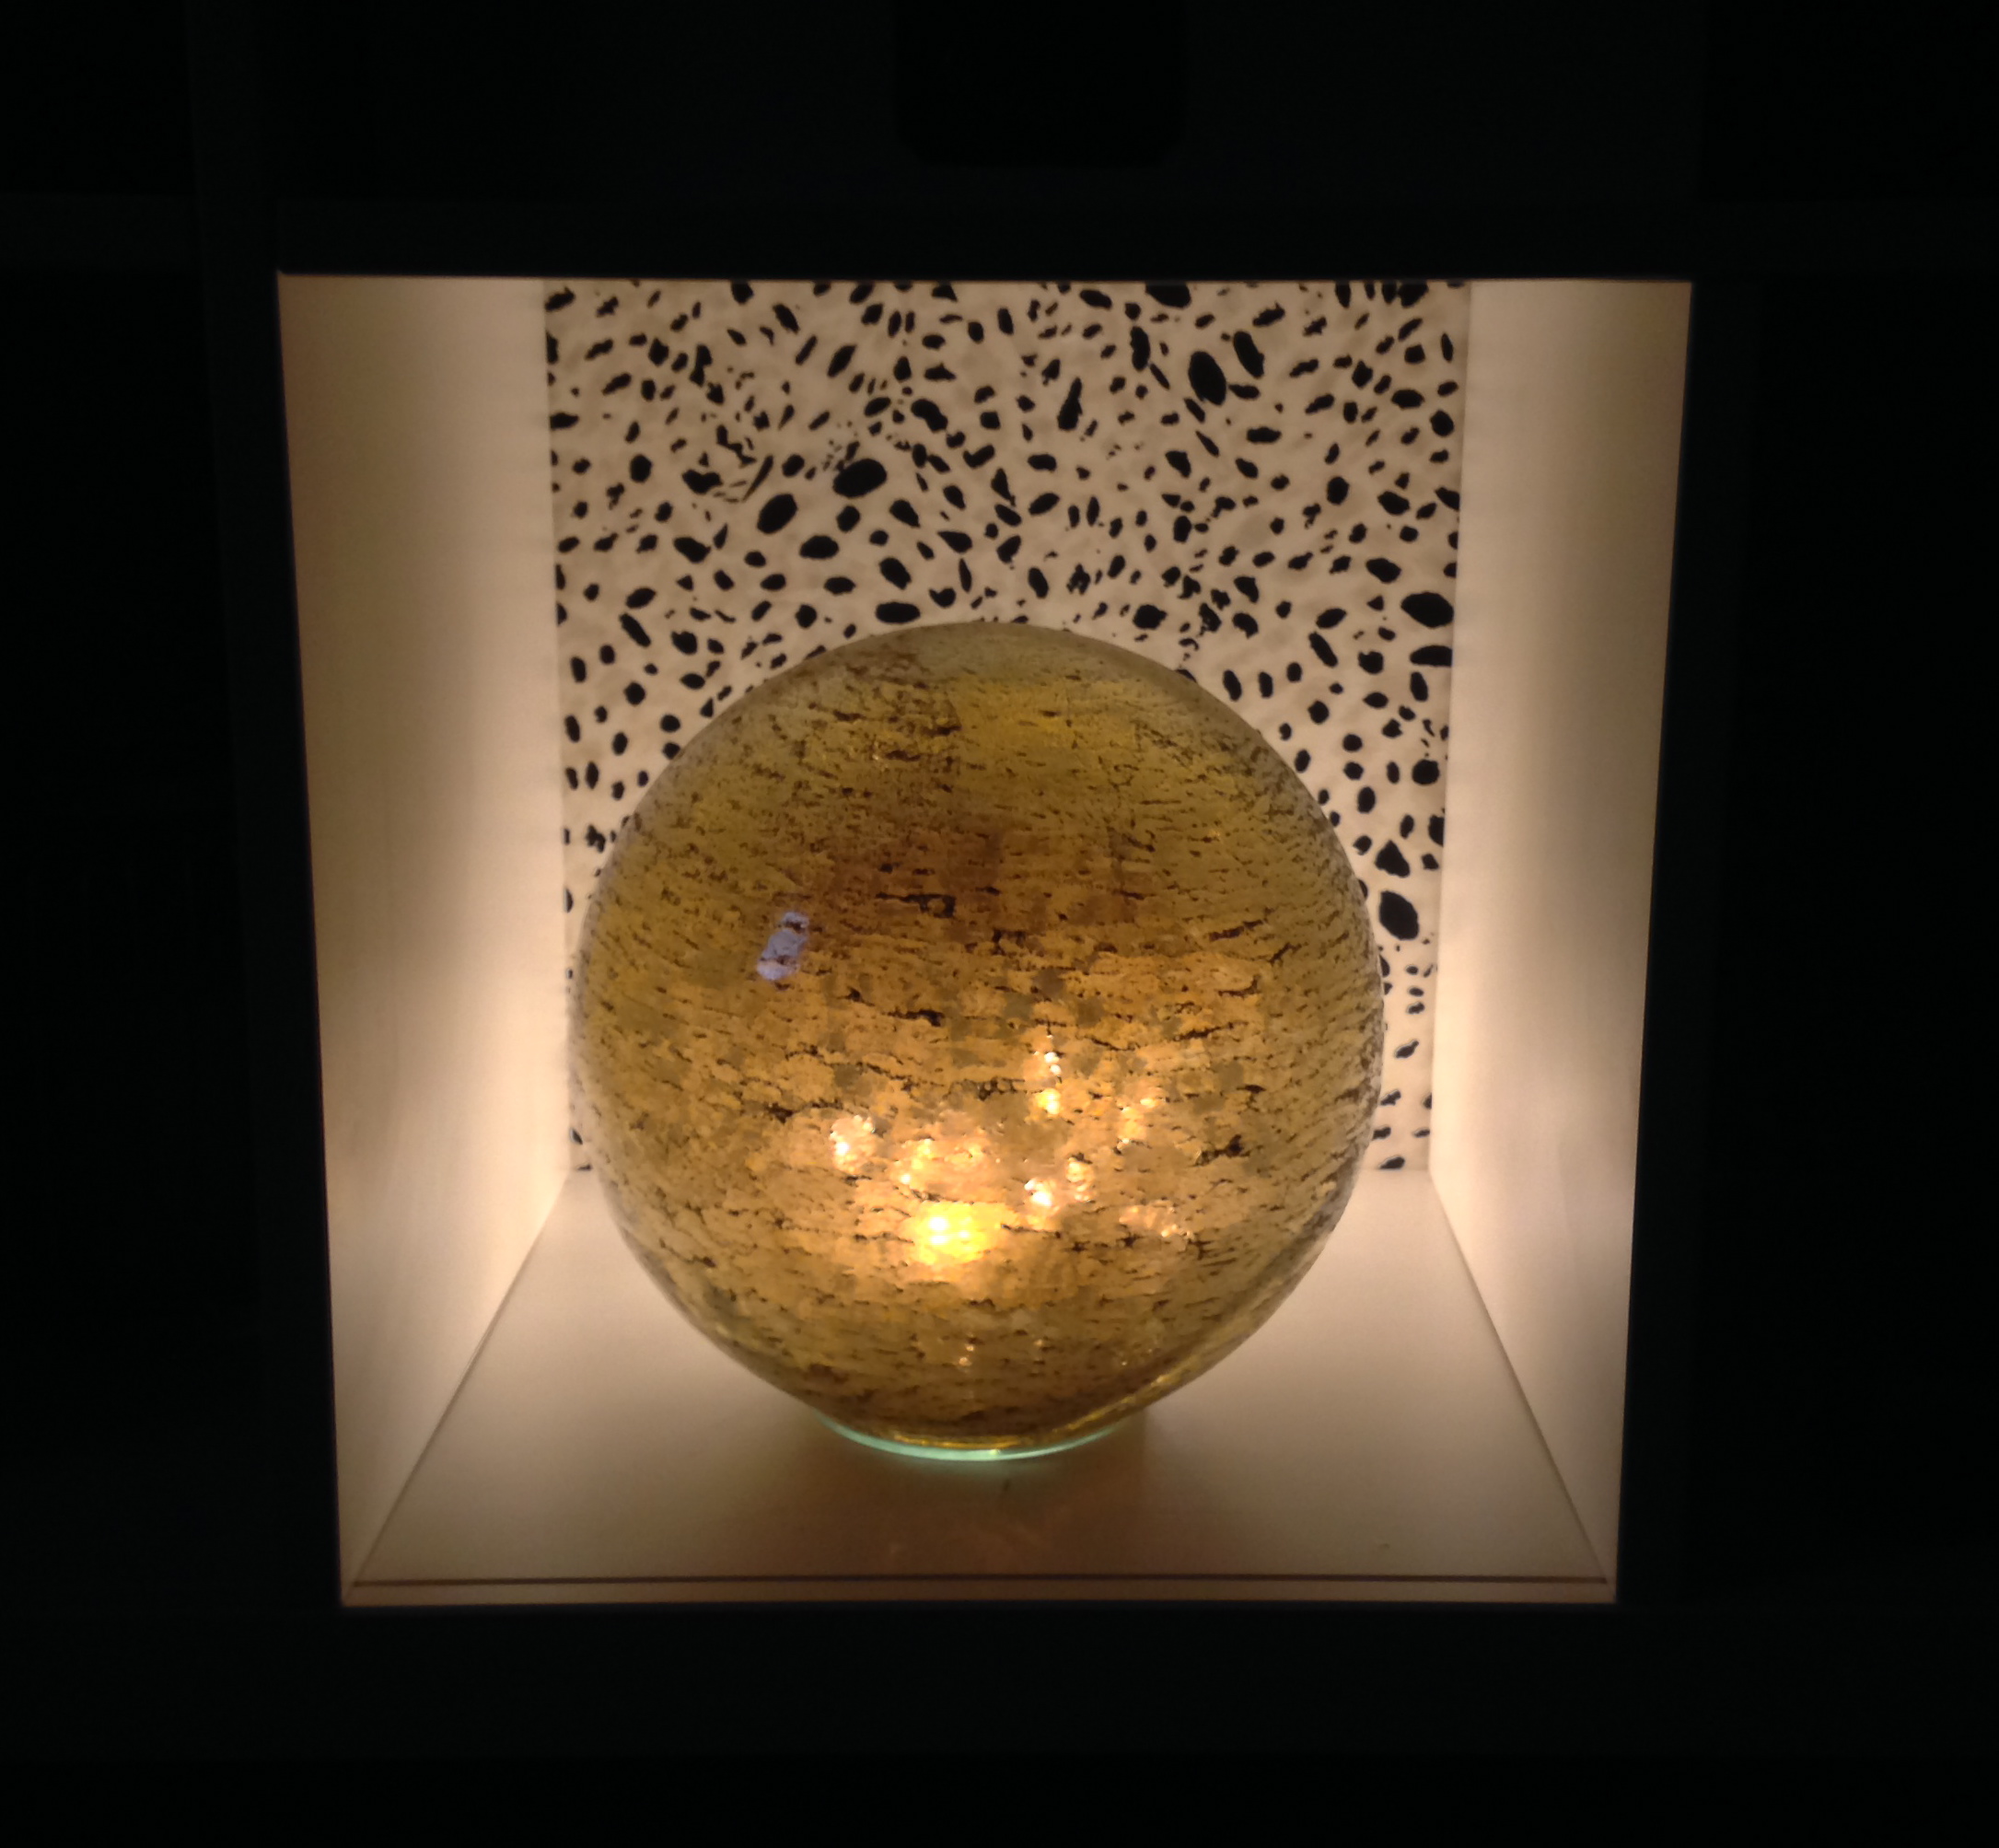
AHHH!! Lights!!
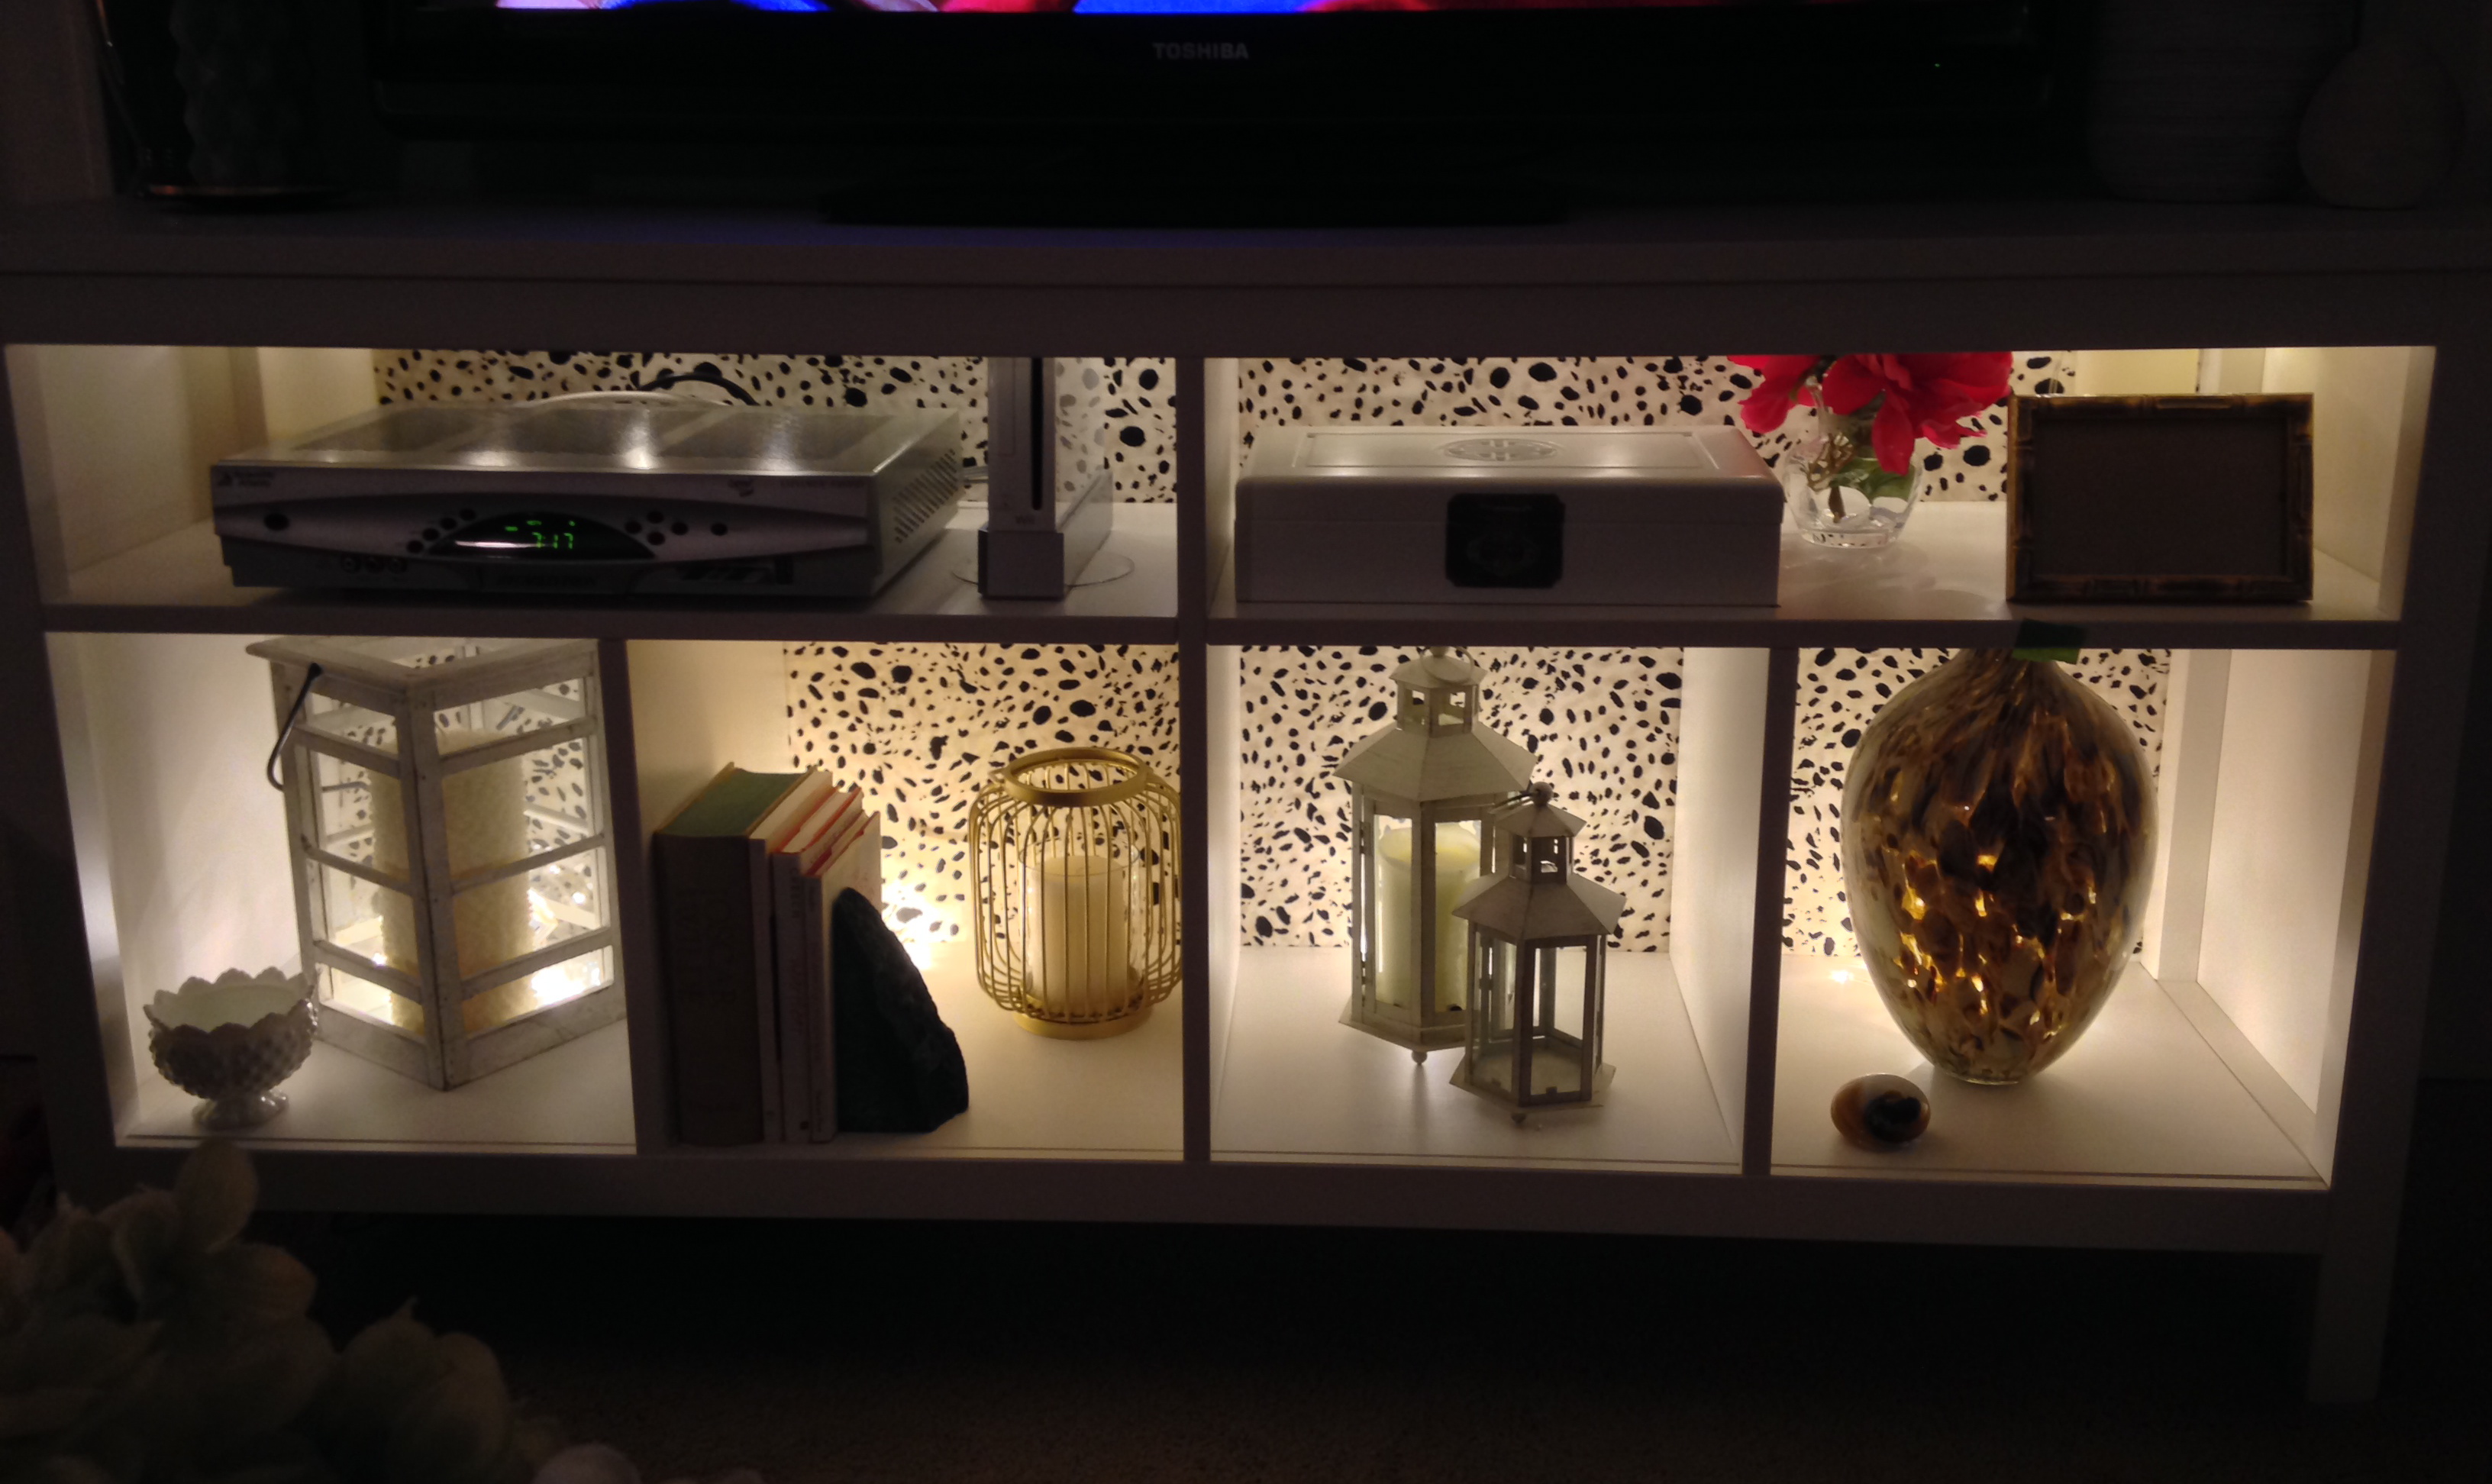 The bottom 4 cubbies each have a battery operated string of lights wrapped up and behind the objects. On the top I ran the string of lights all across and taped them up. It makes me so happy!
I’m pretty excited about my first Ikea hack!