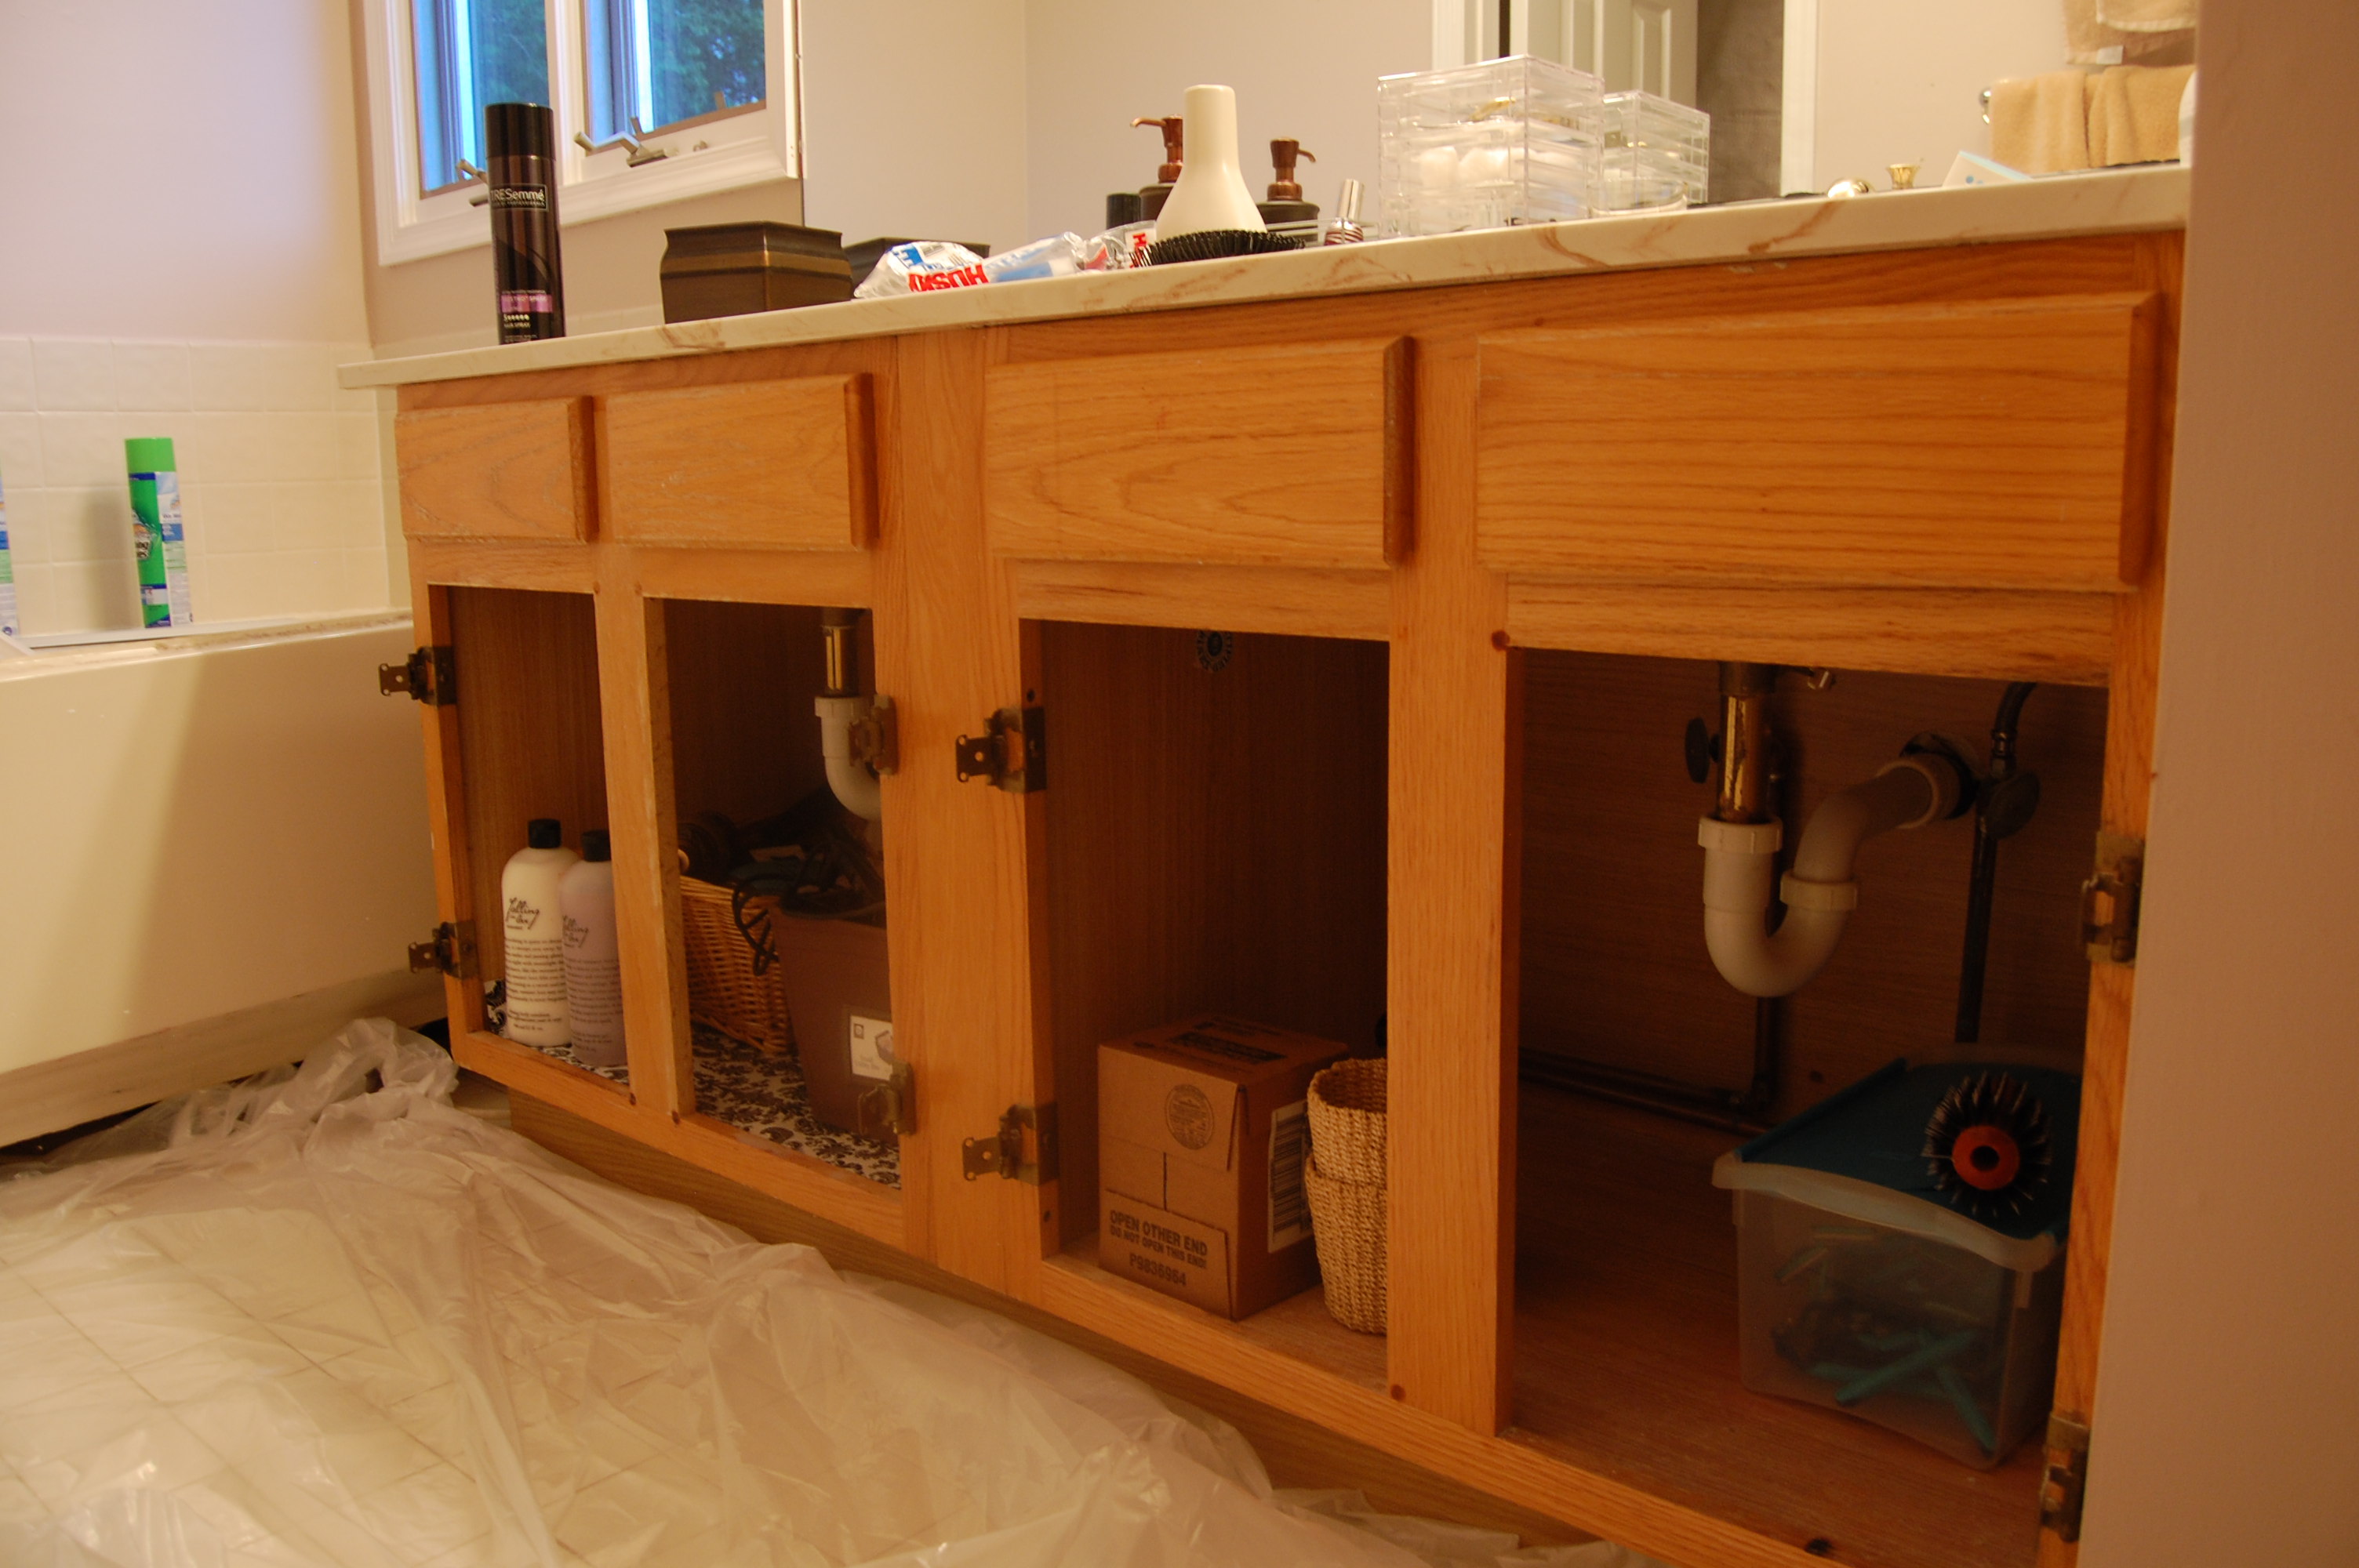
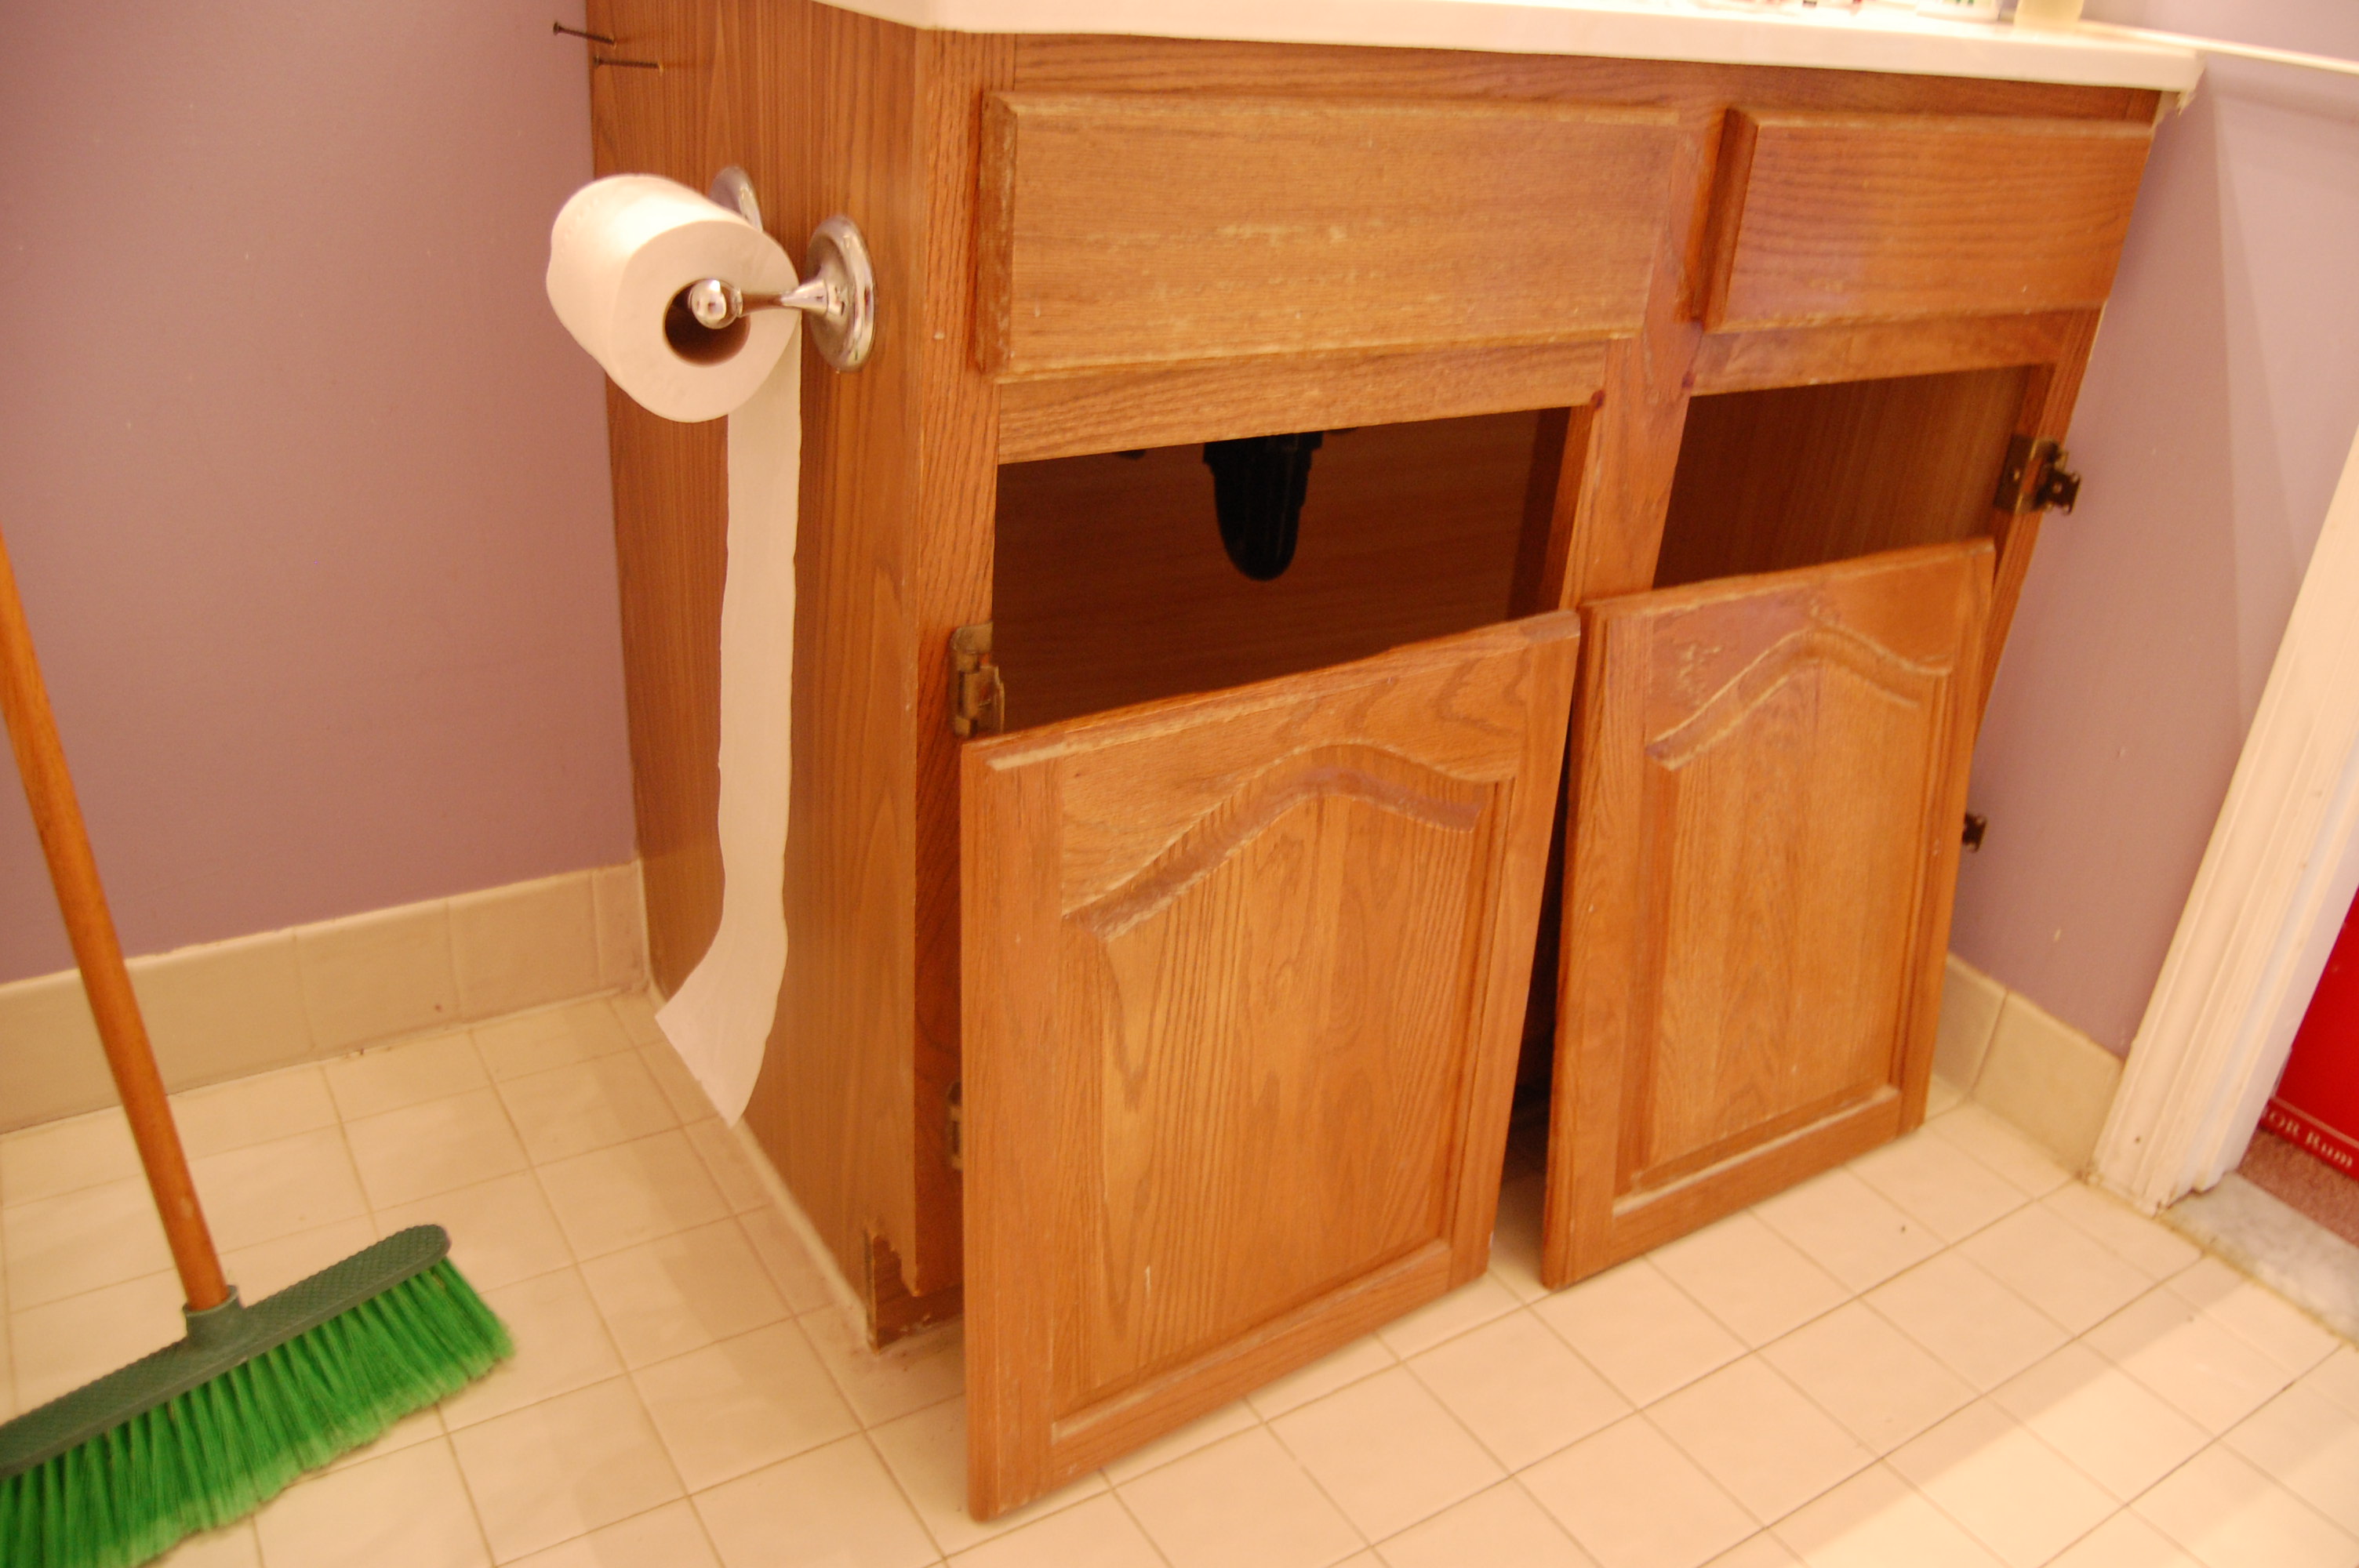
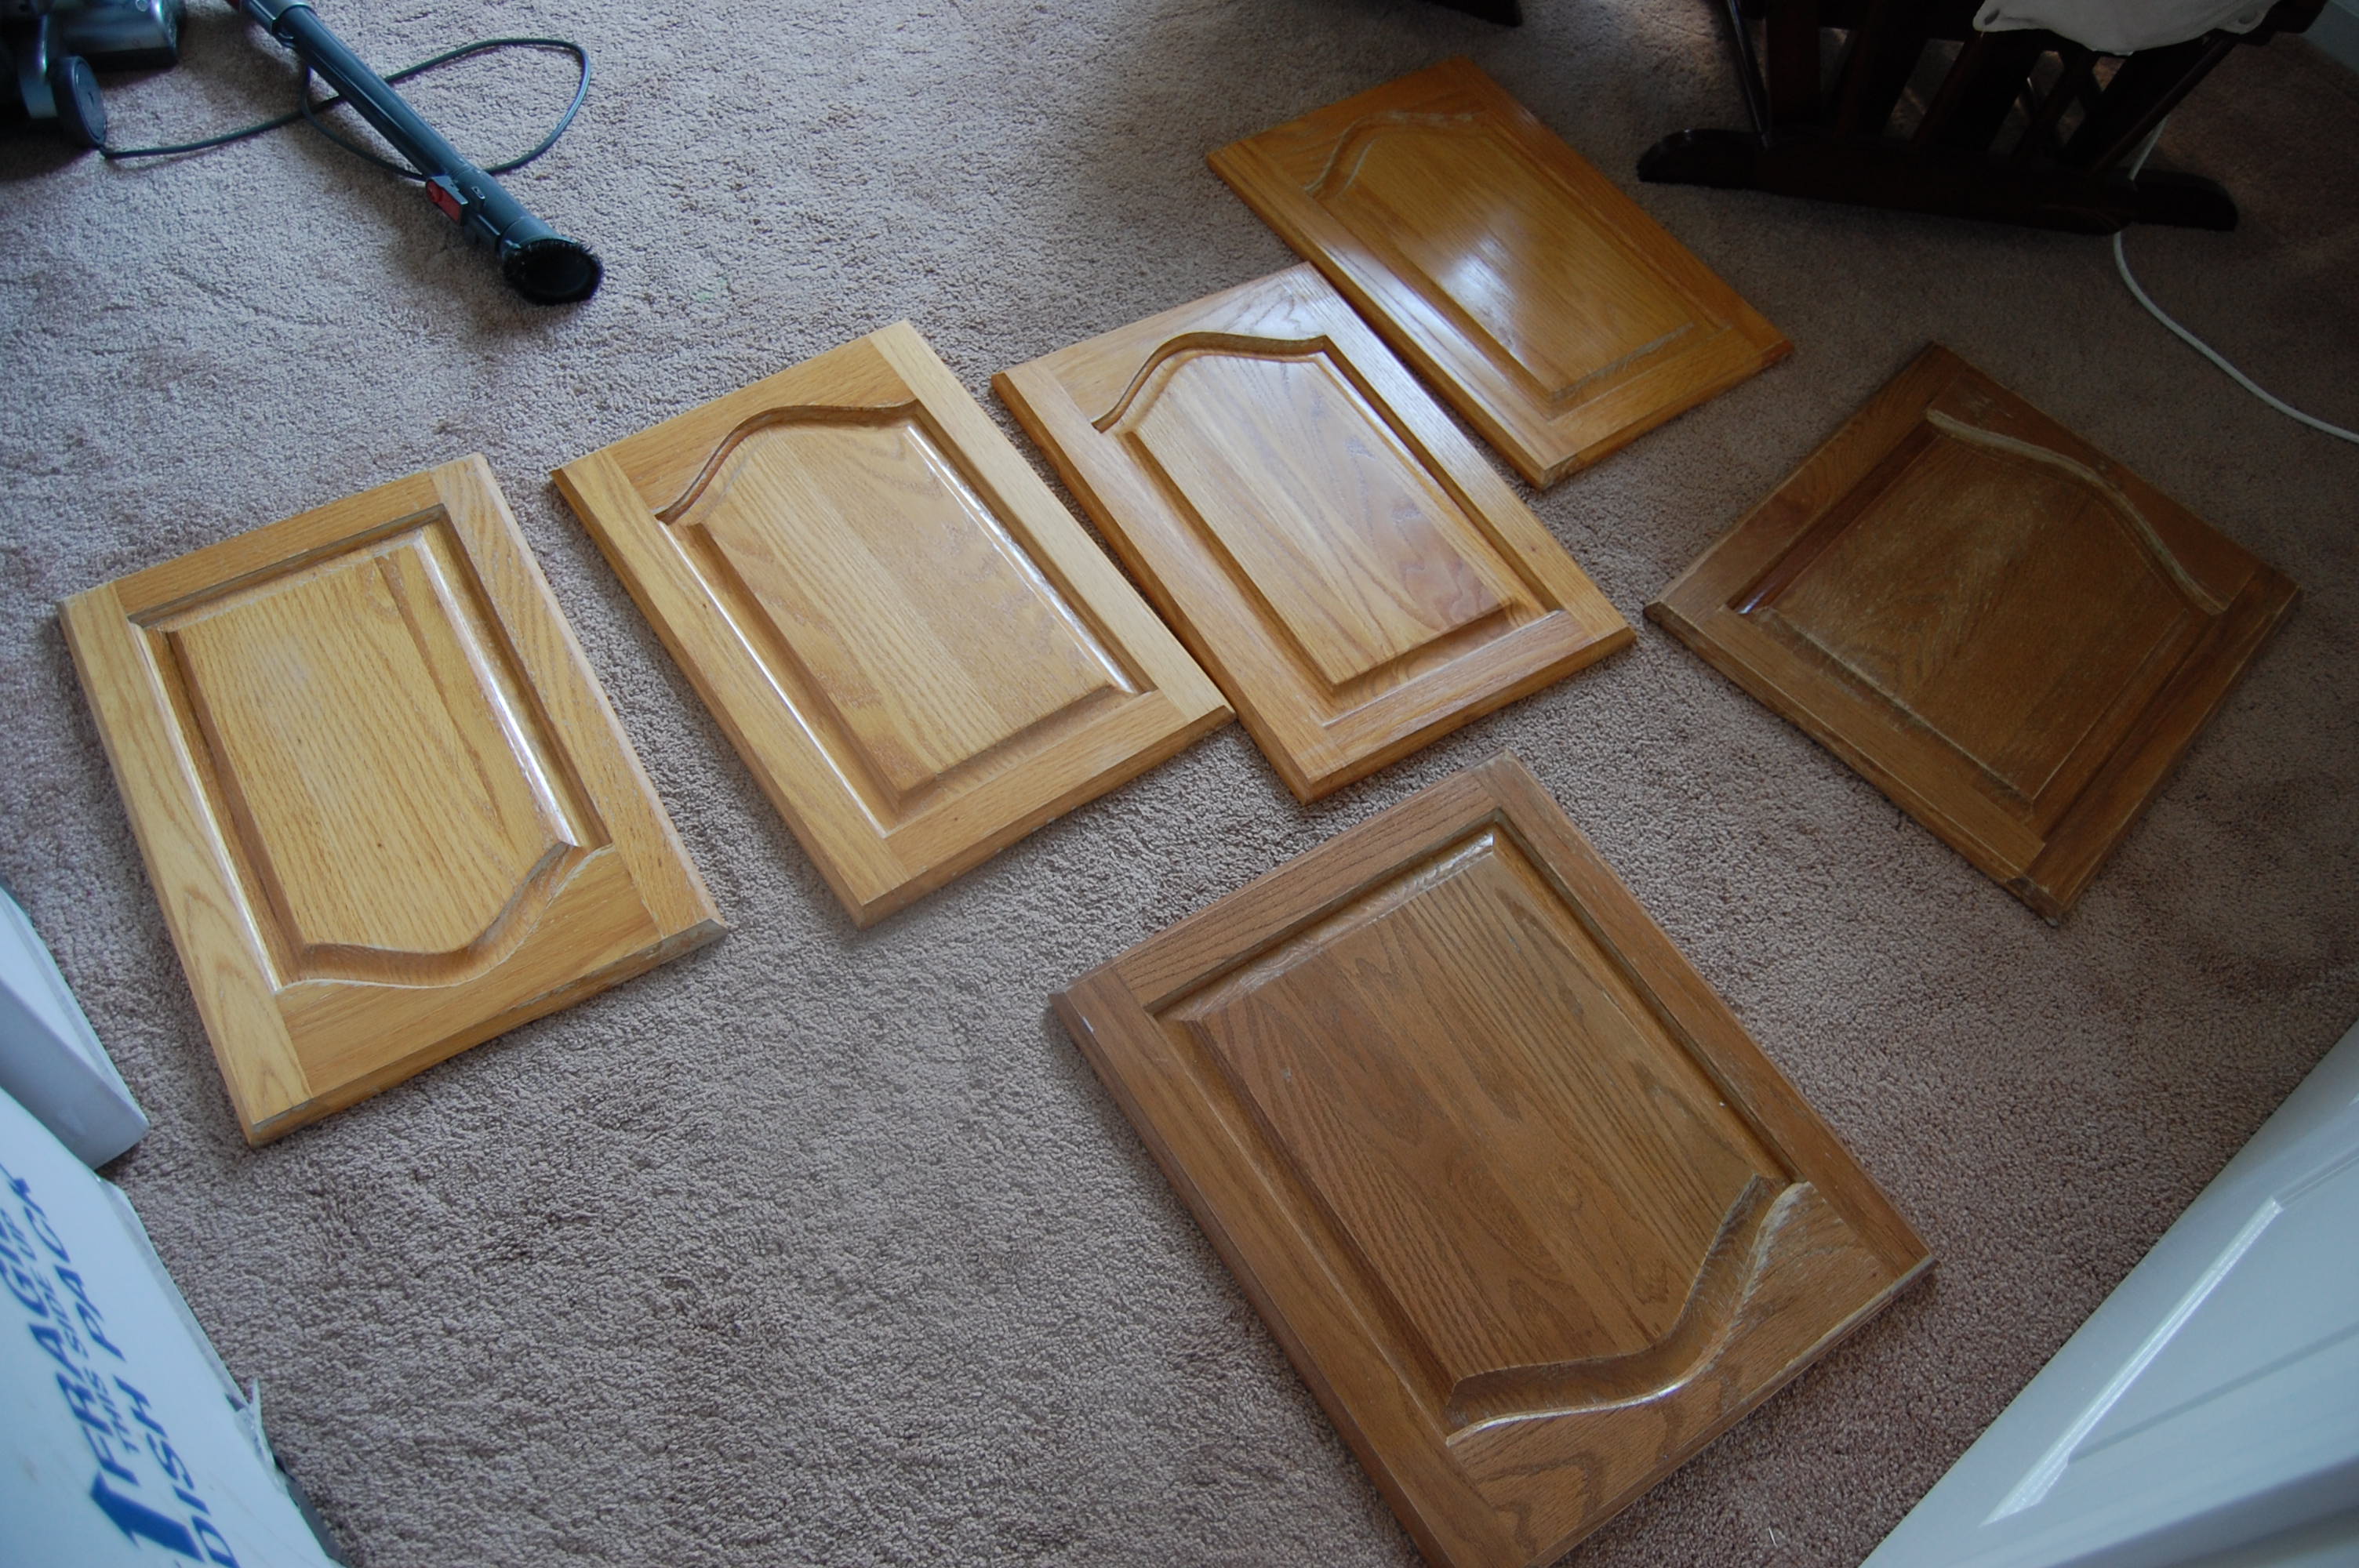
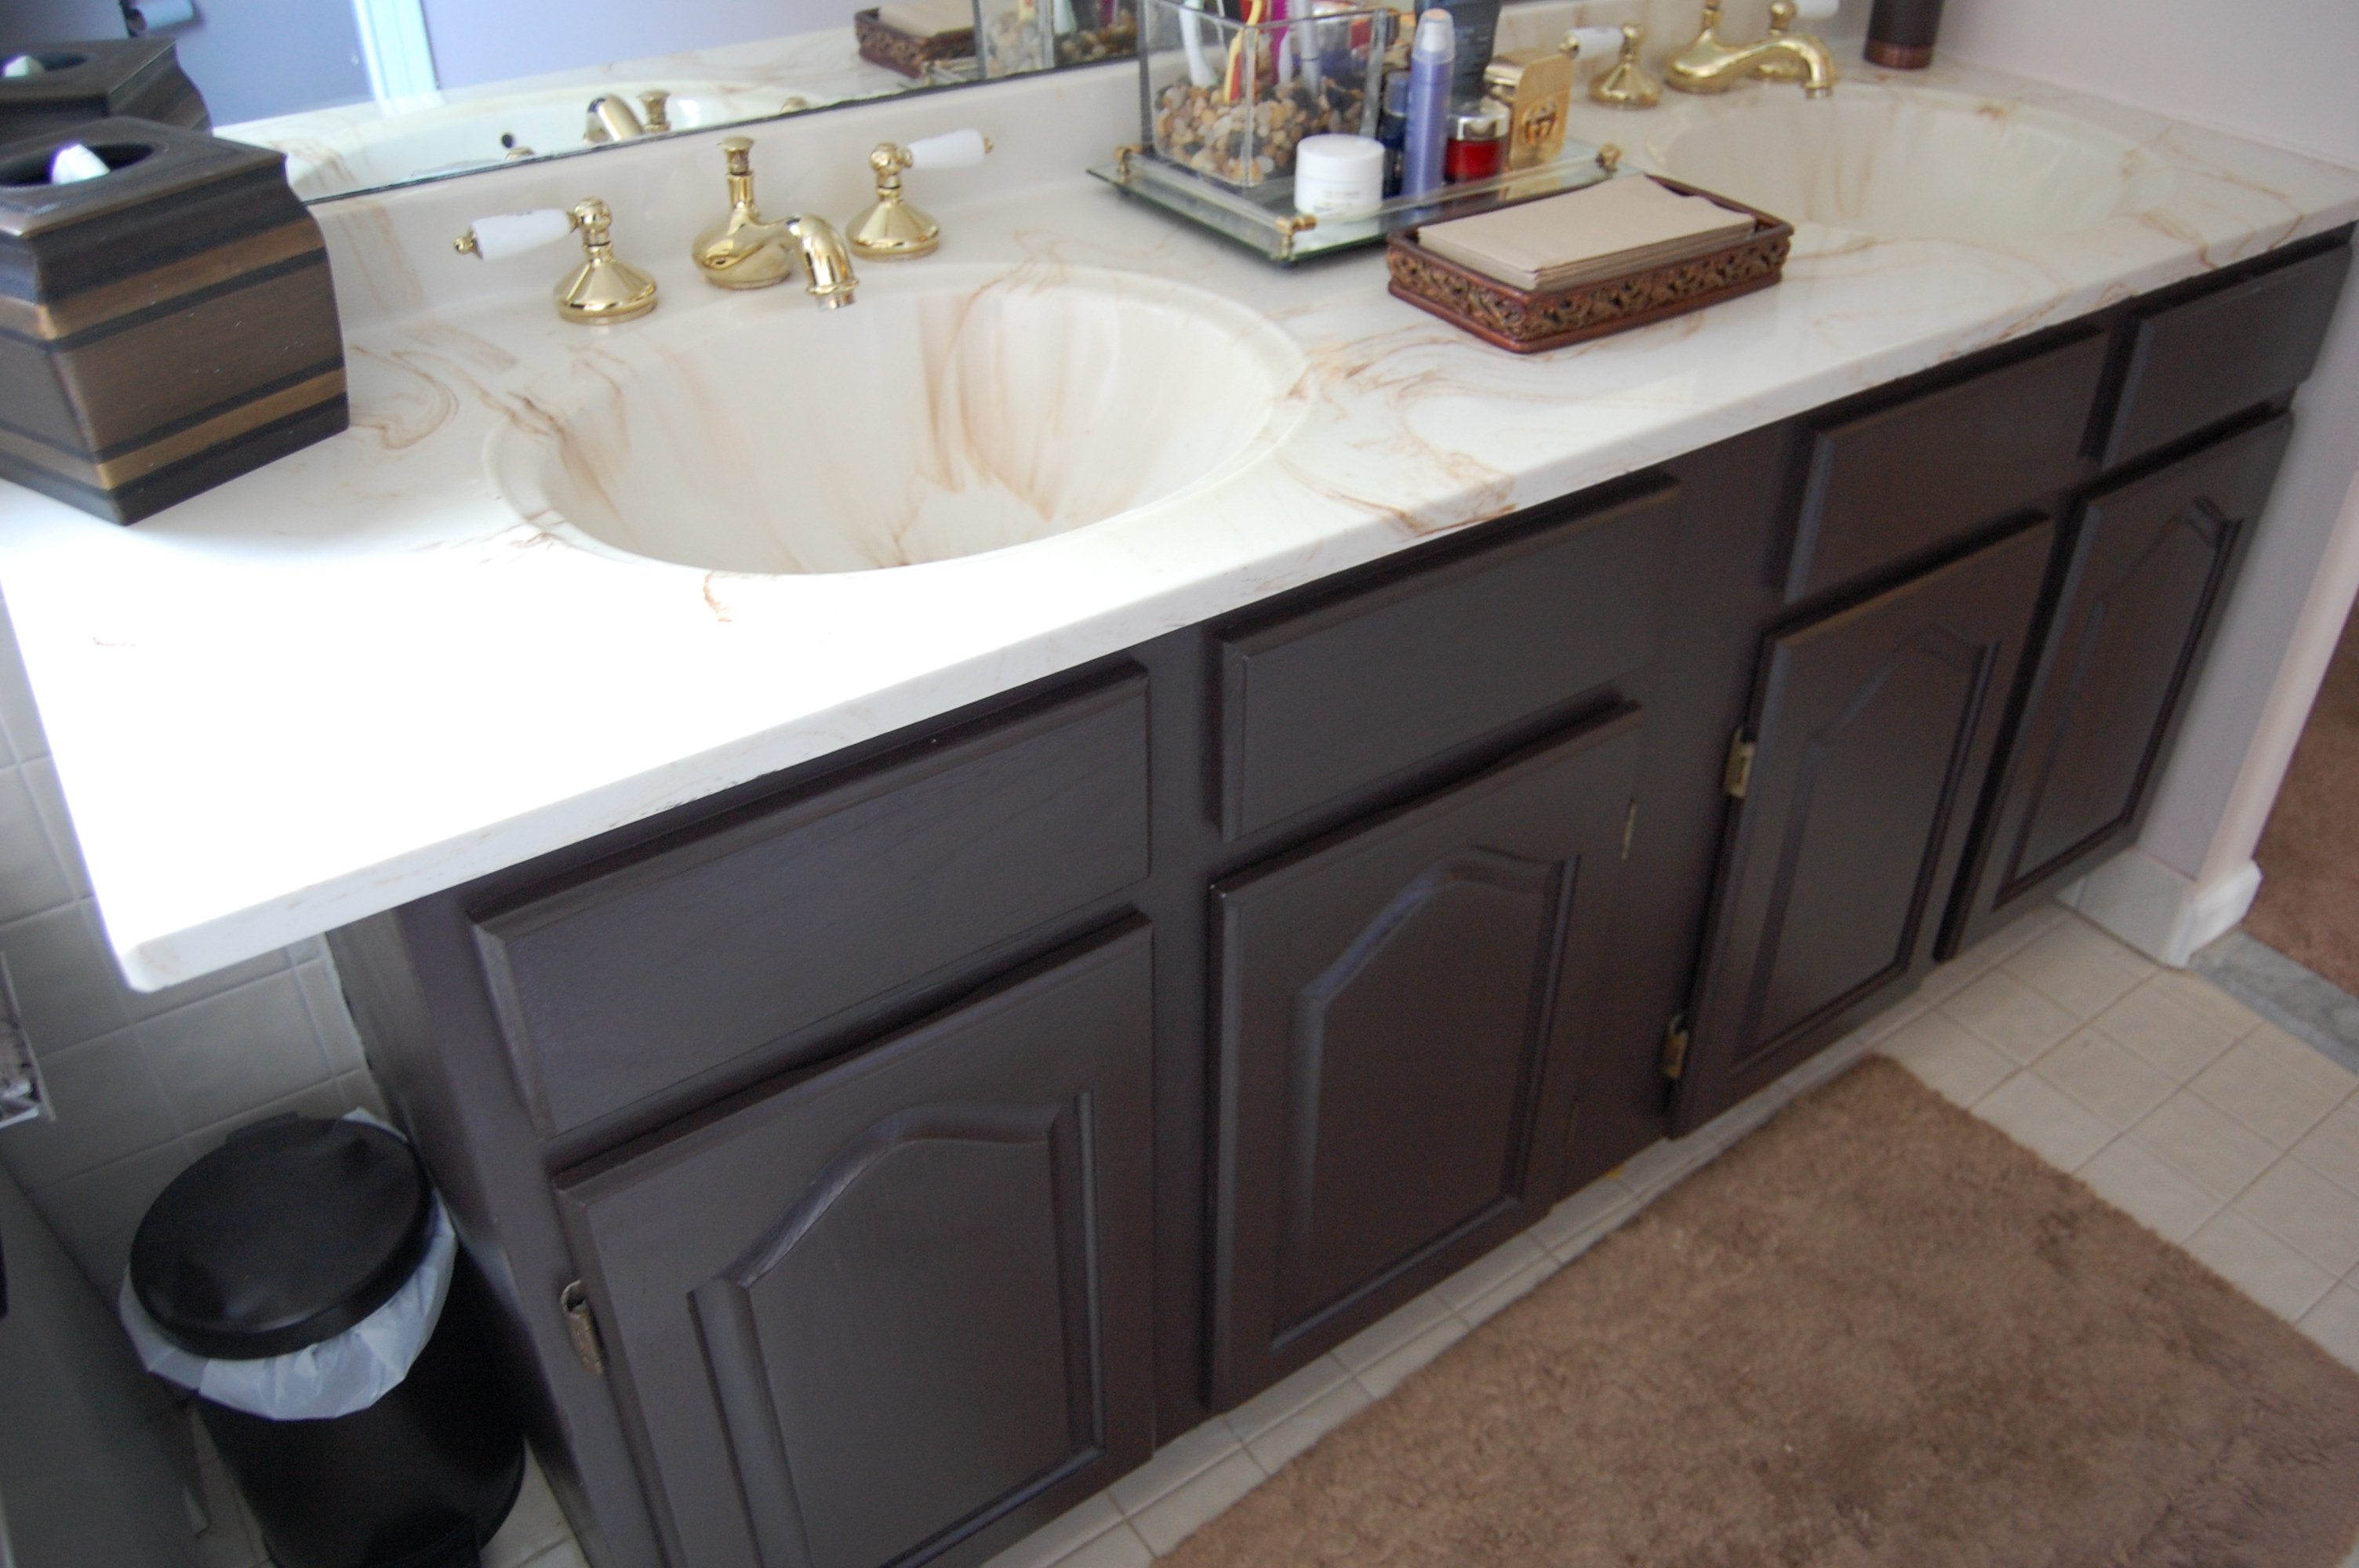
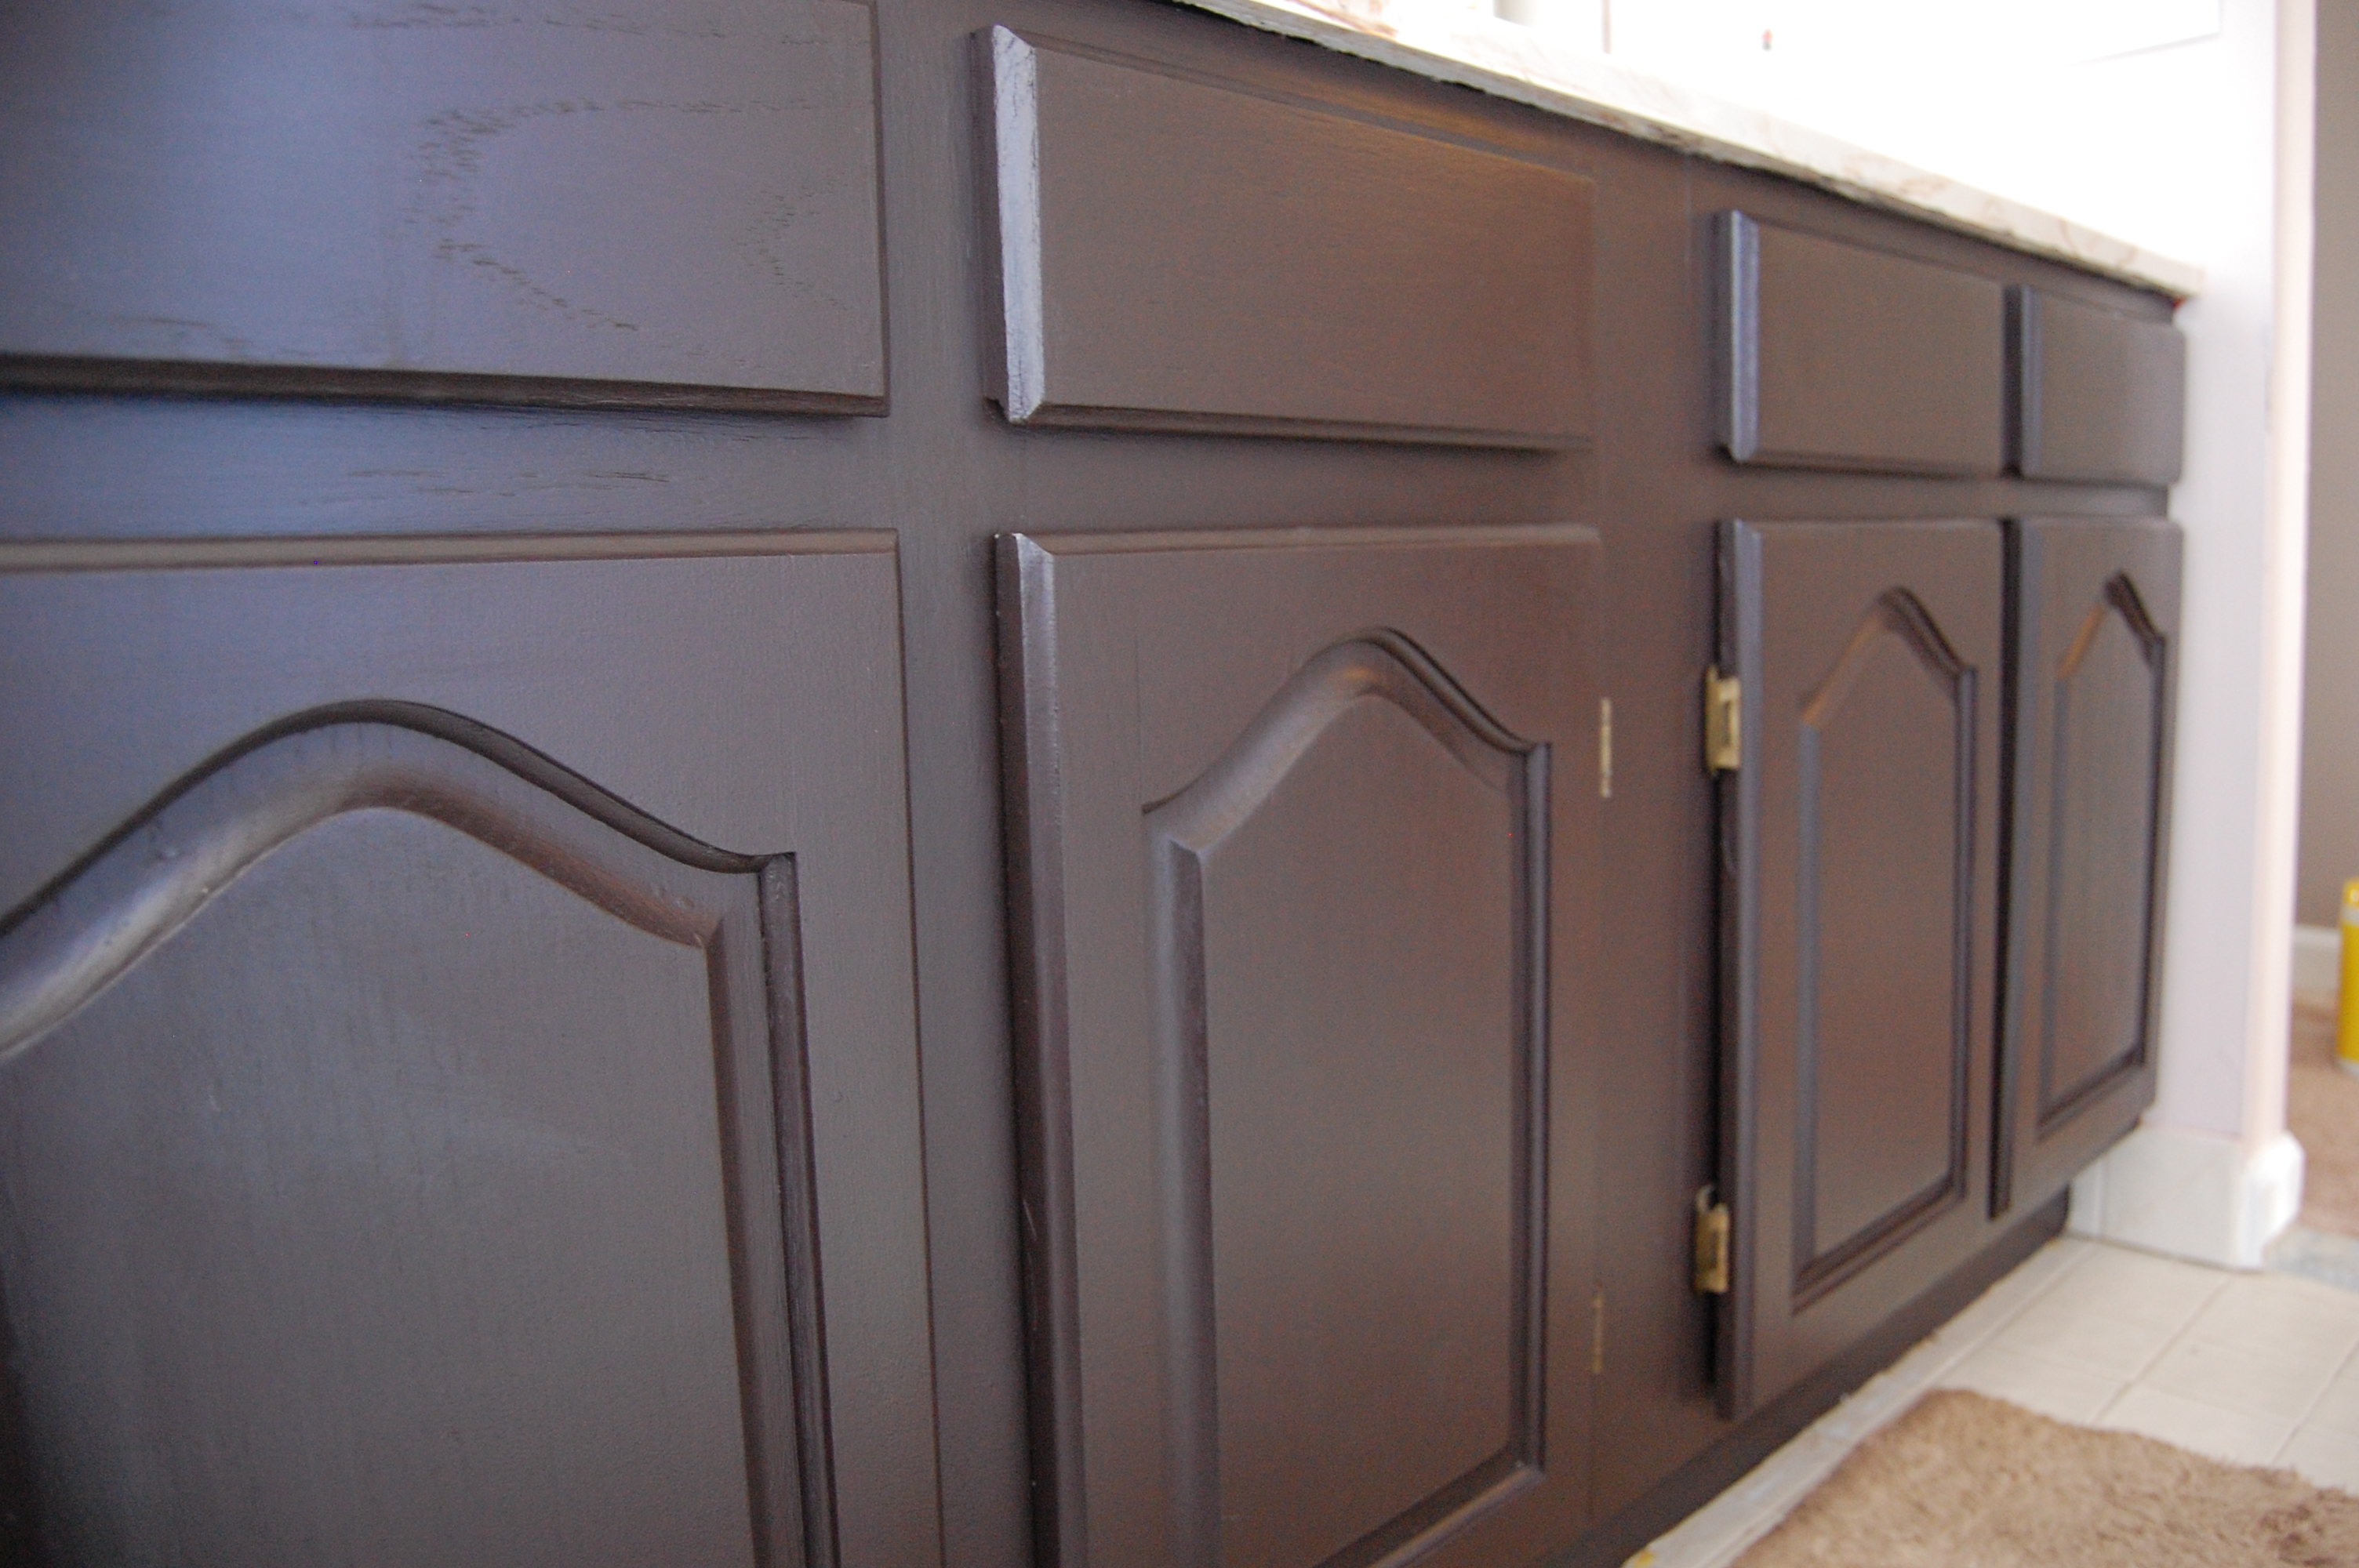
Today I come to you with a really great update that anyone can do with enough time and patience. Yes, two things that many people don’t have enough of but as a DIYer it is a necessity! Like I’ve said time and time again one of the easiest ways to update anything is to add some paint to it. So when the BFF and her hubs bought a house that had those dreaded honey wood bathroom vanities in it (sorry for those people who are into them), we unscrewed those doors and primed them as fast as we could! There were two bathrooms that we were working with so we first took all the doors off and gave them a light sanding and then wiped them clean.
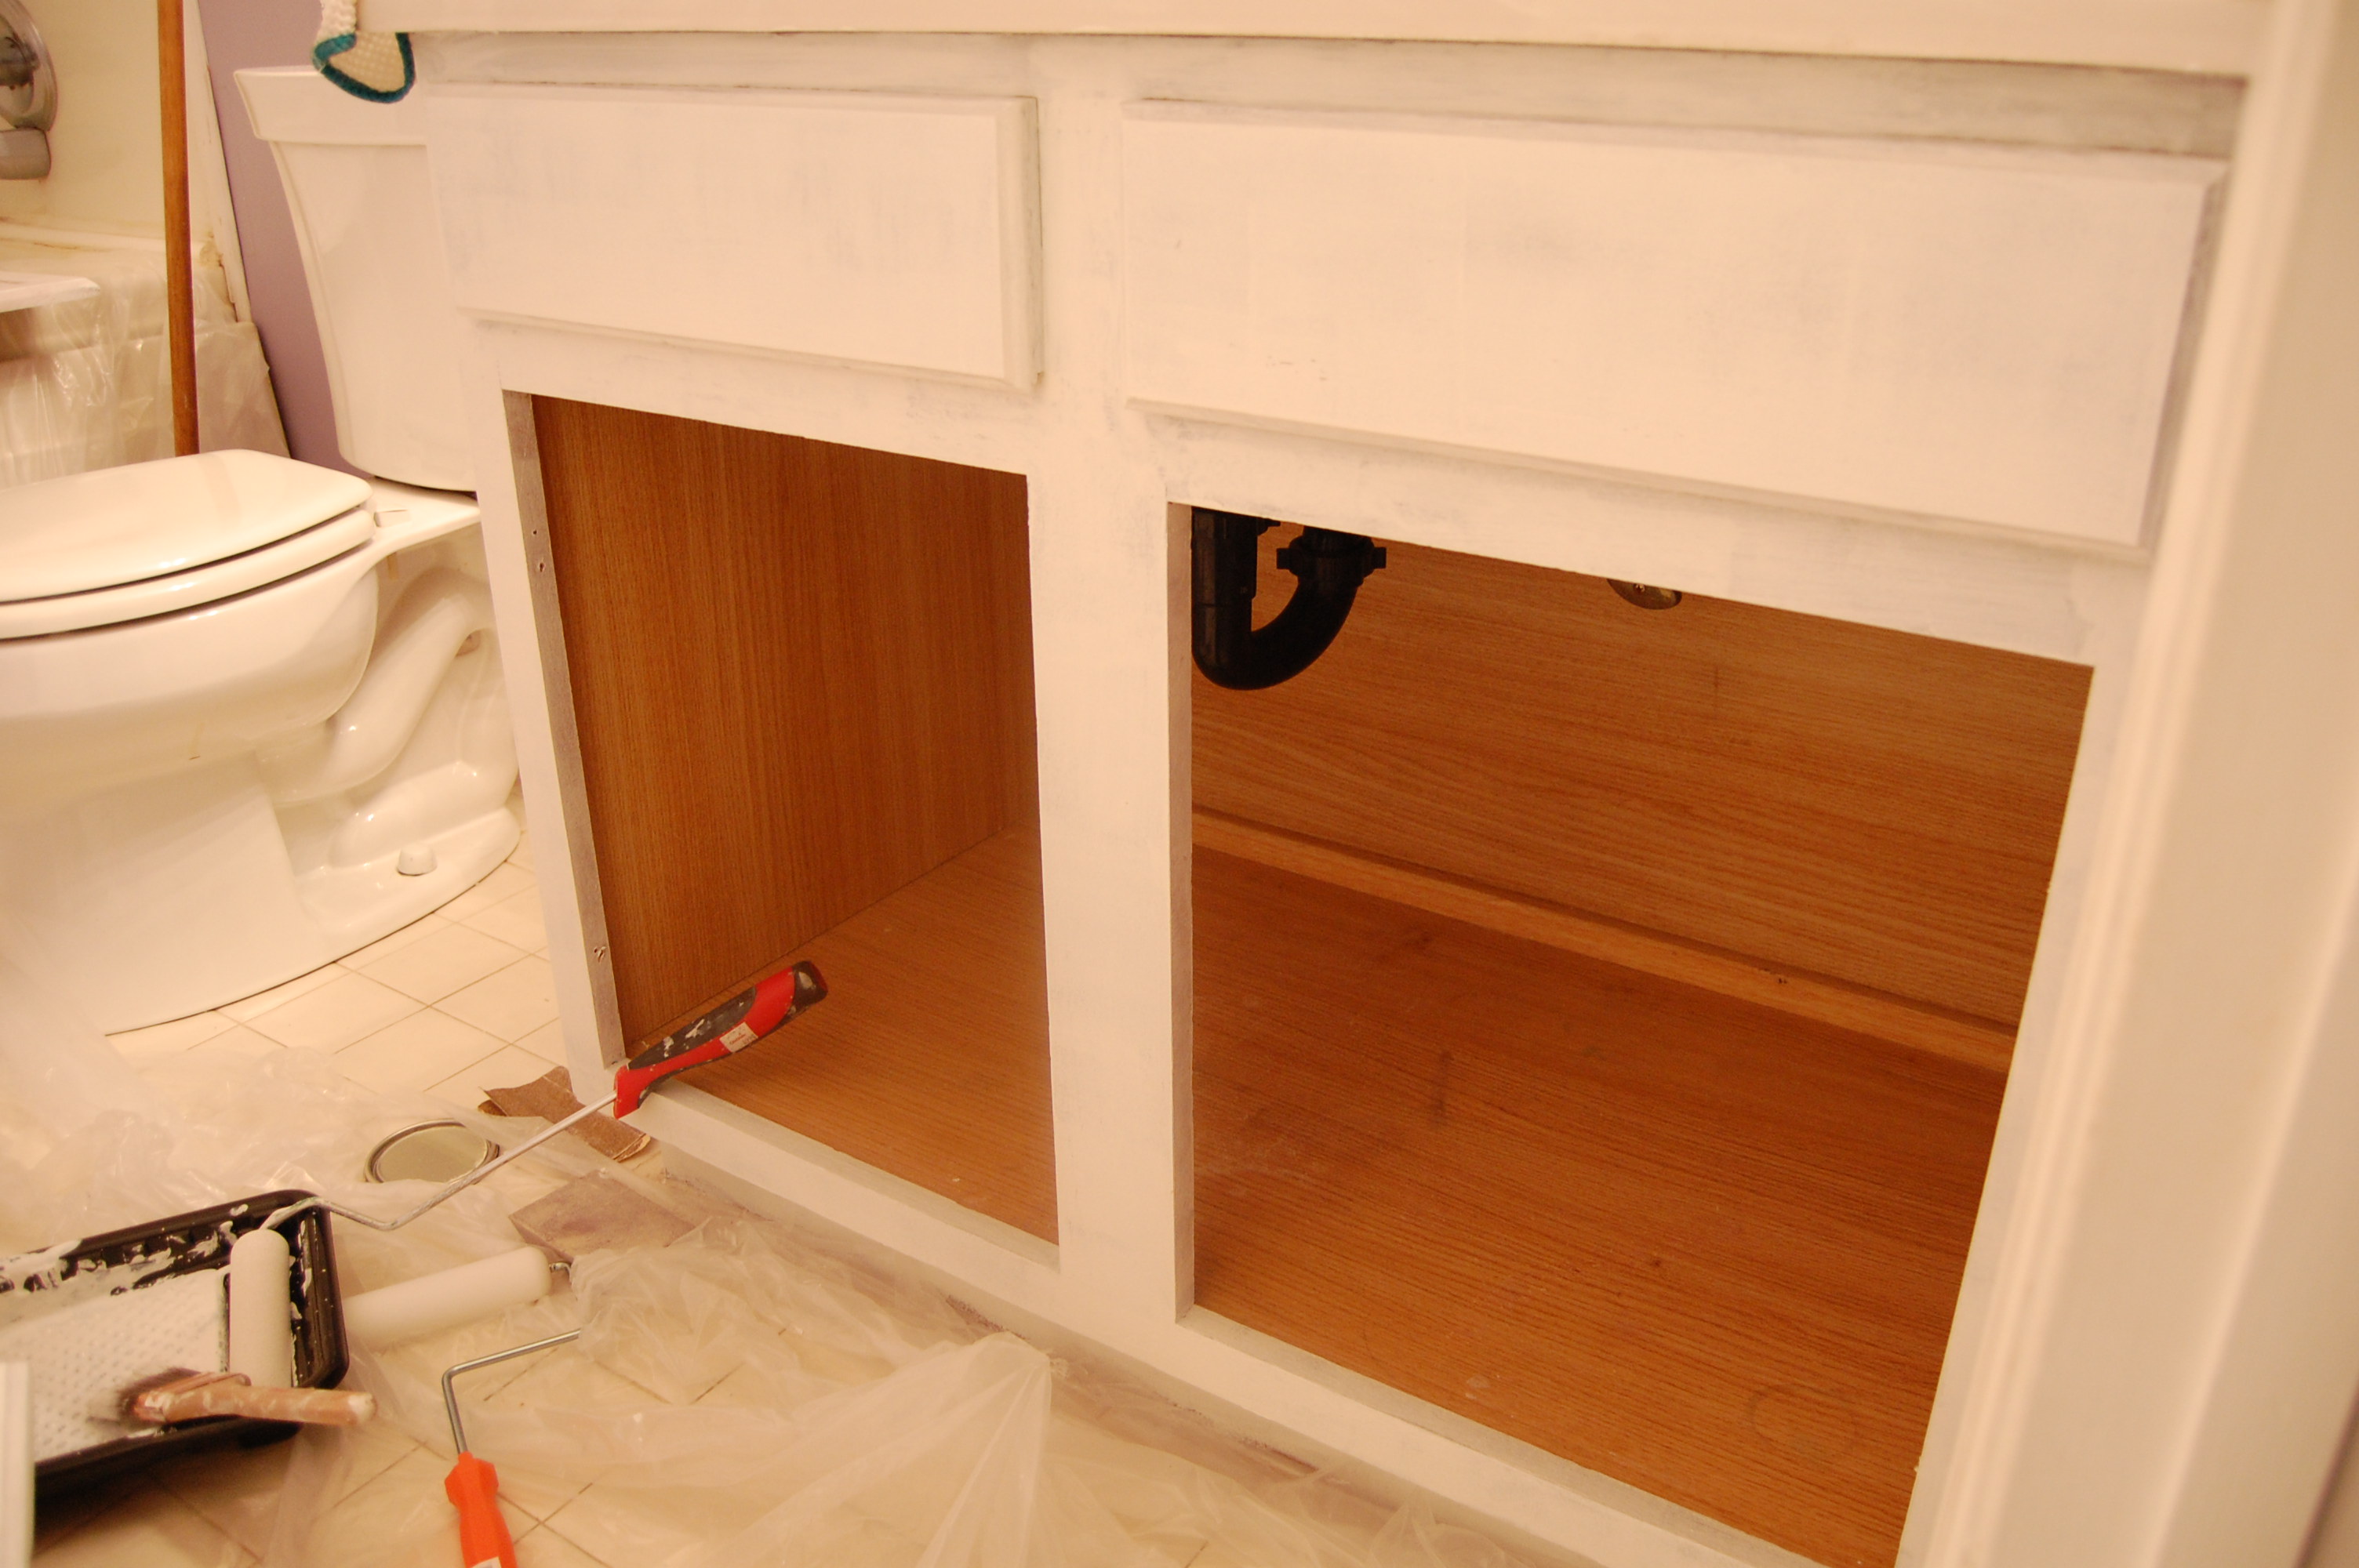
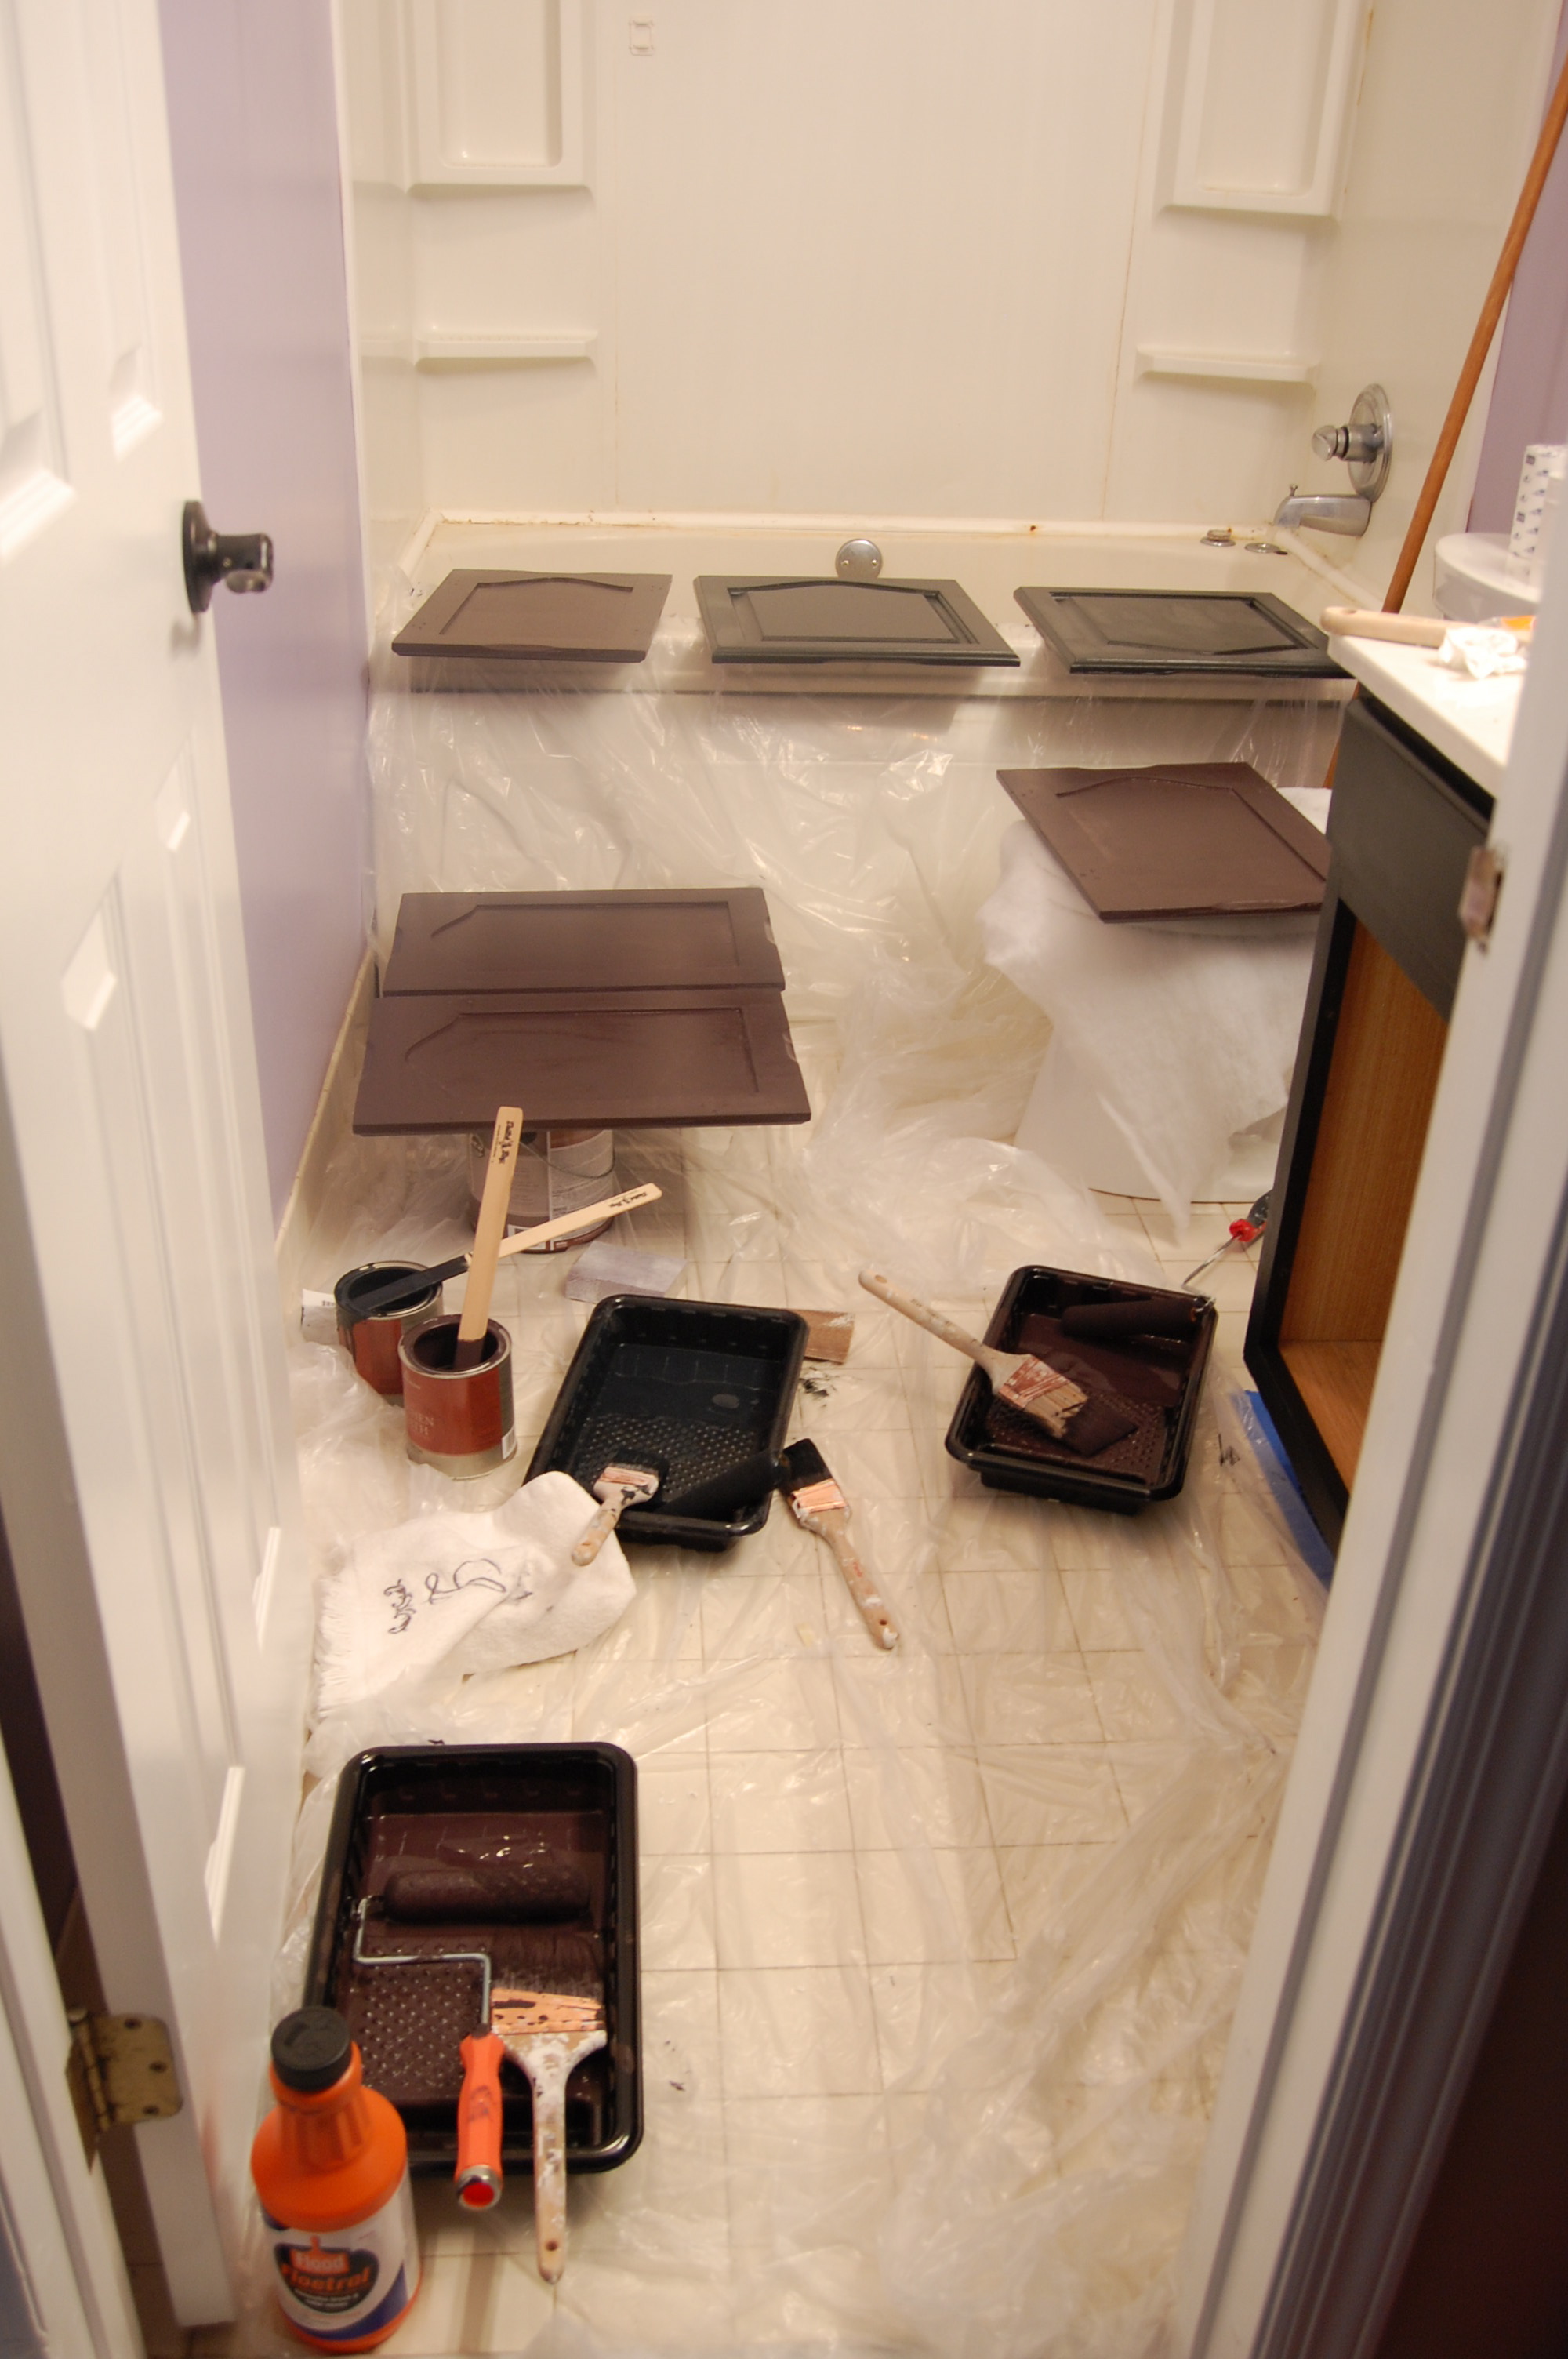
The first thing we did was prime all of the doors and then the frame of the vanities. We used the Zinsser cover stain primer with the gold label to make sure that the paint had something to stick to. In order to get around the edges we propped the doors on top of paint cans. Once one side was dry we flipped them and painted the other side. 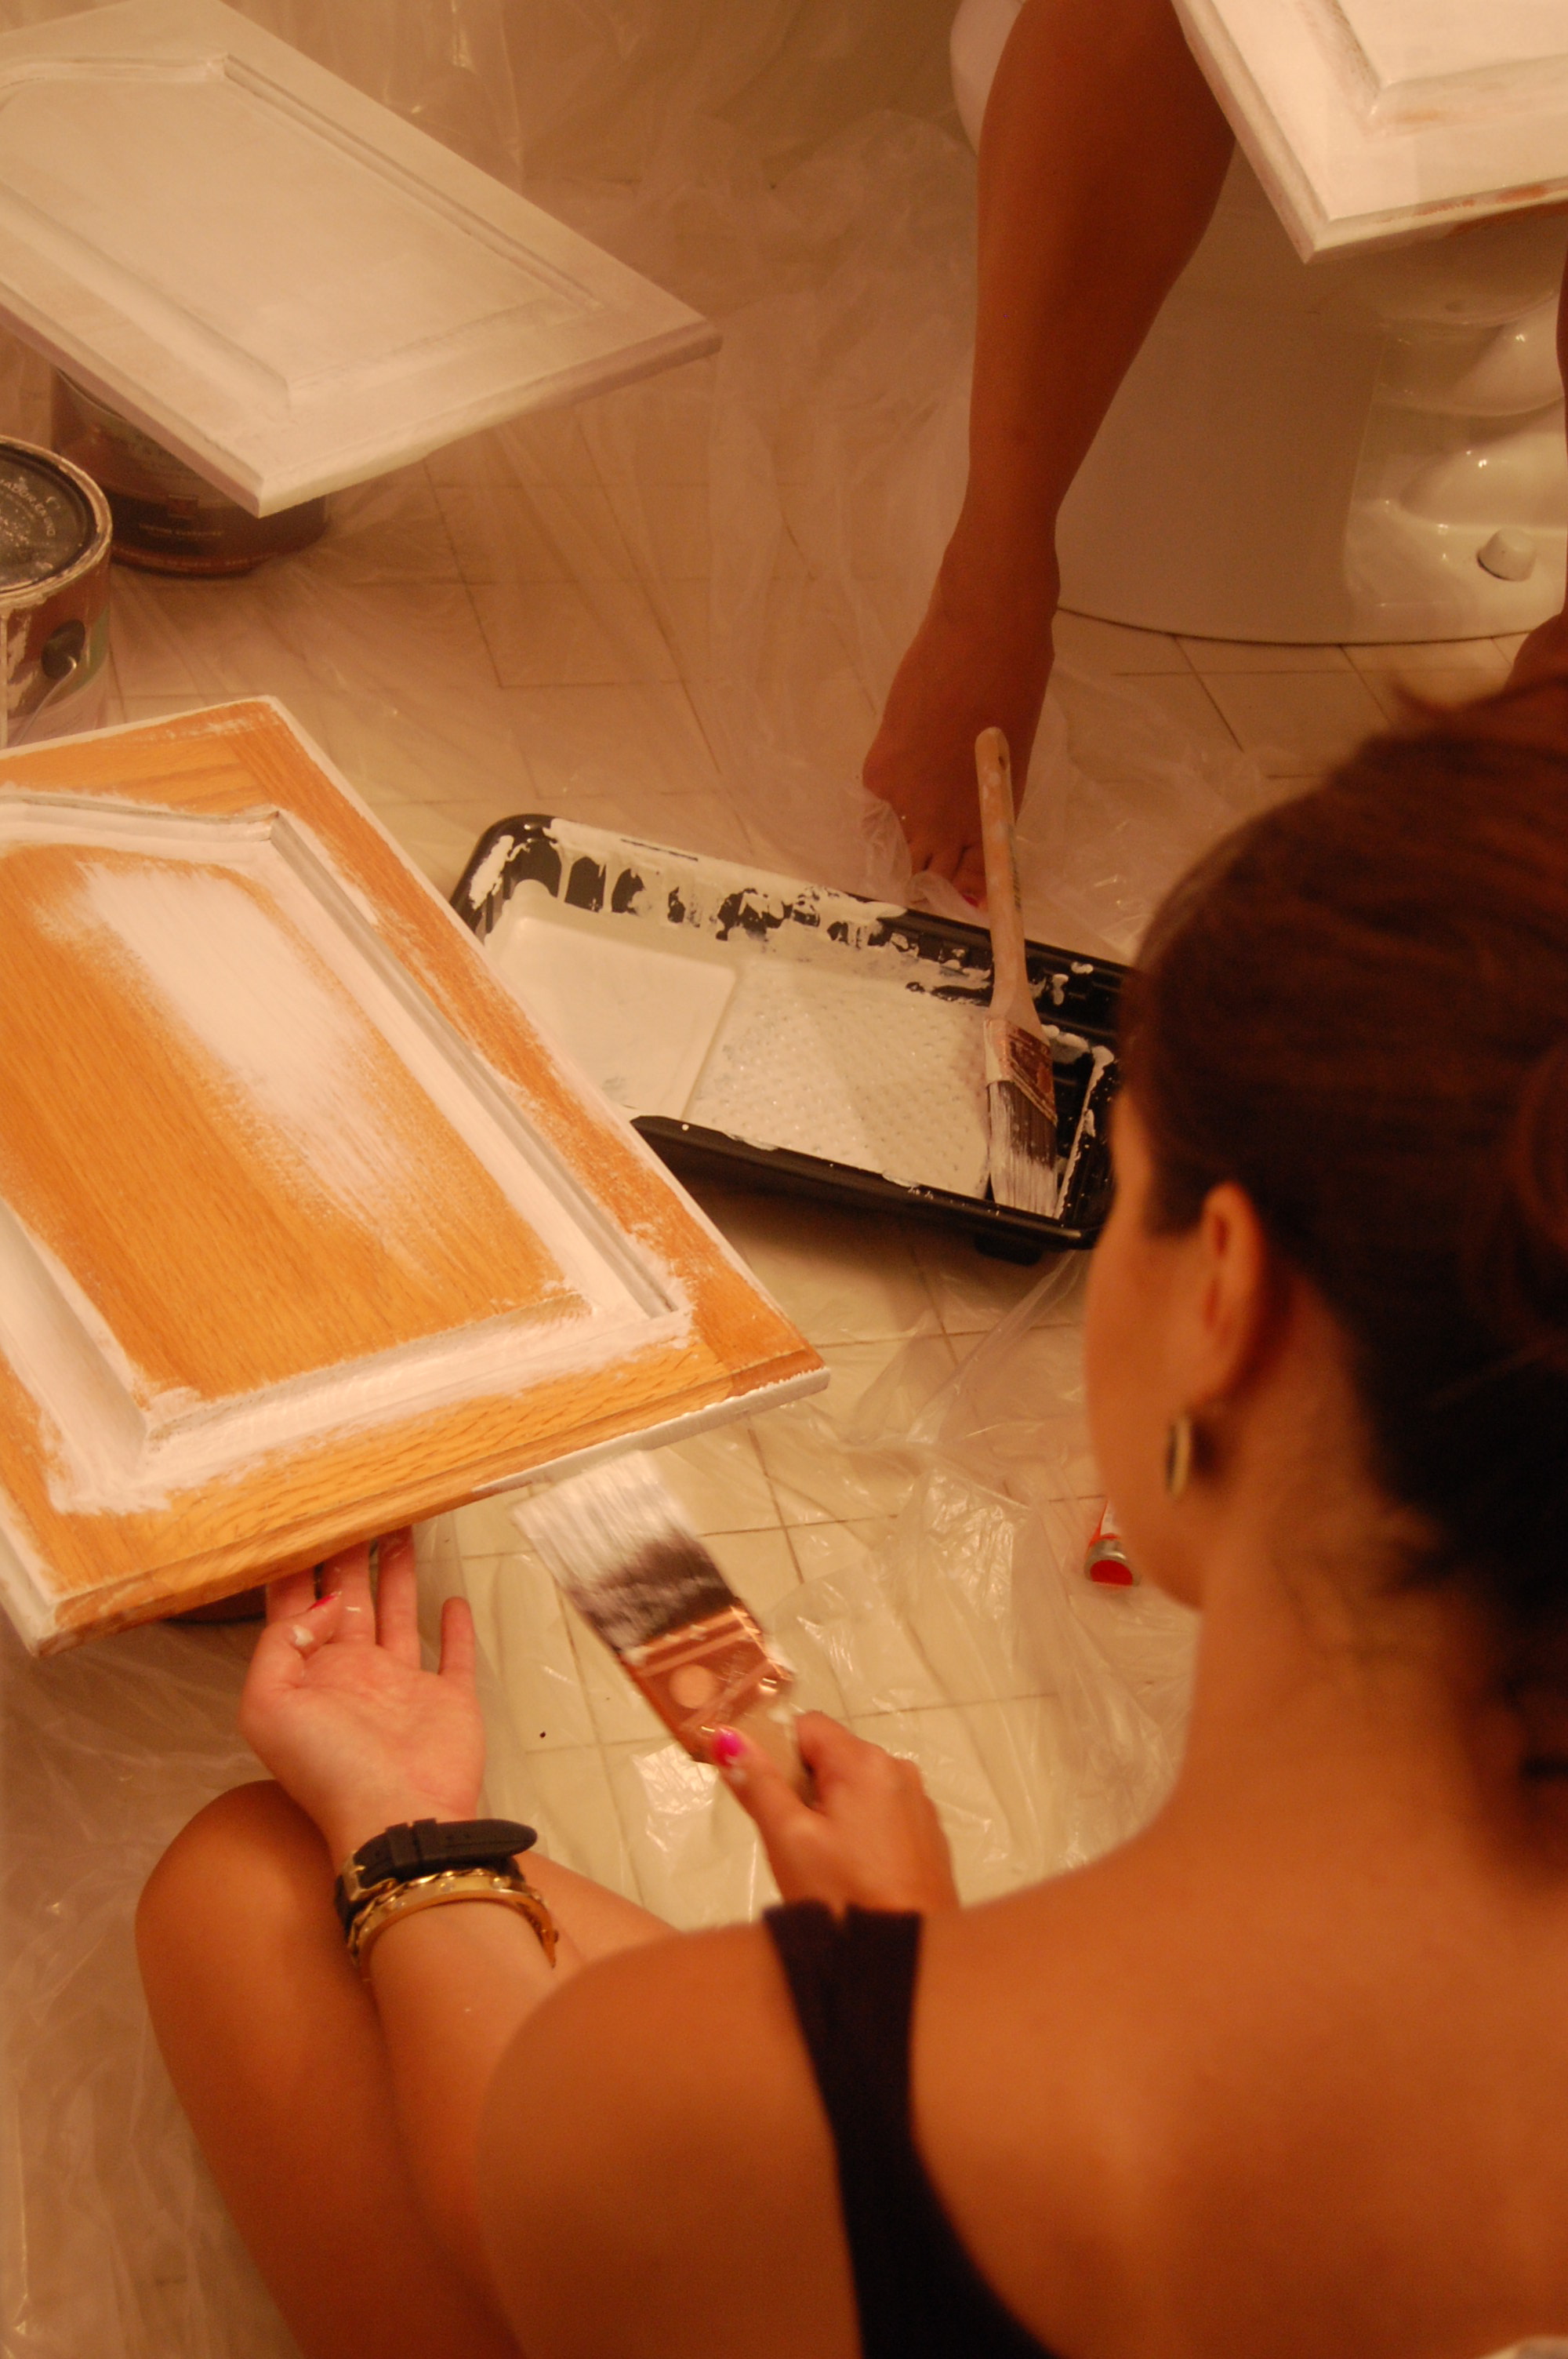

Once everything was dry it was time to start painting. We painted the smaller vanity one color (Benjamin Moore Black Satin) and the other bathroom another color (of course paint spilled over the label and covered the name!!) We also added Floetrol to the paint to avoid brush marks since it prolongs drying time. The technique we used to paint was a brush (Purdys are great brushes) in the creases and edges and a small roller for all the flat parts. Two coats on each side.
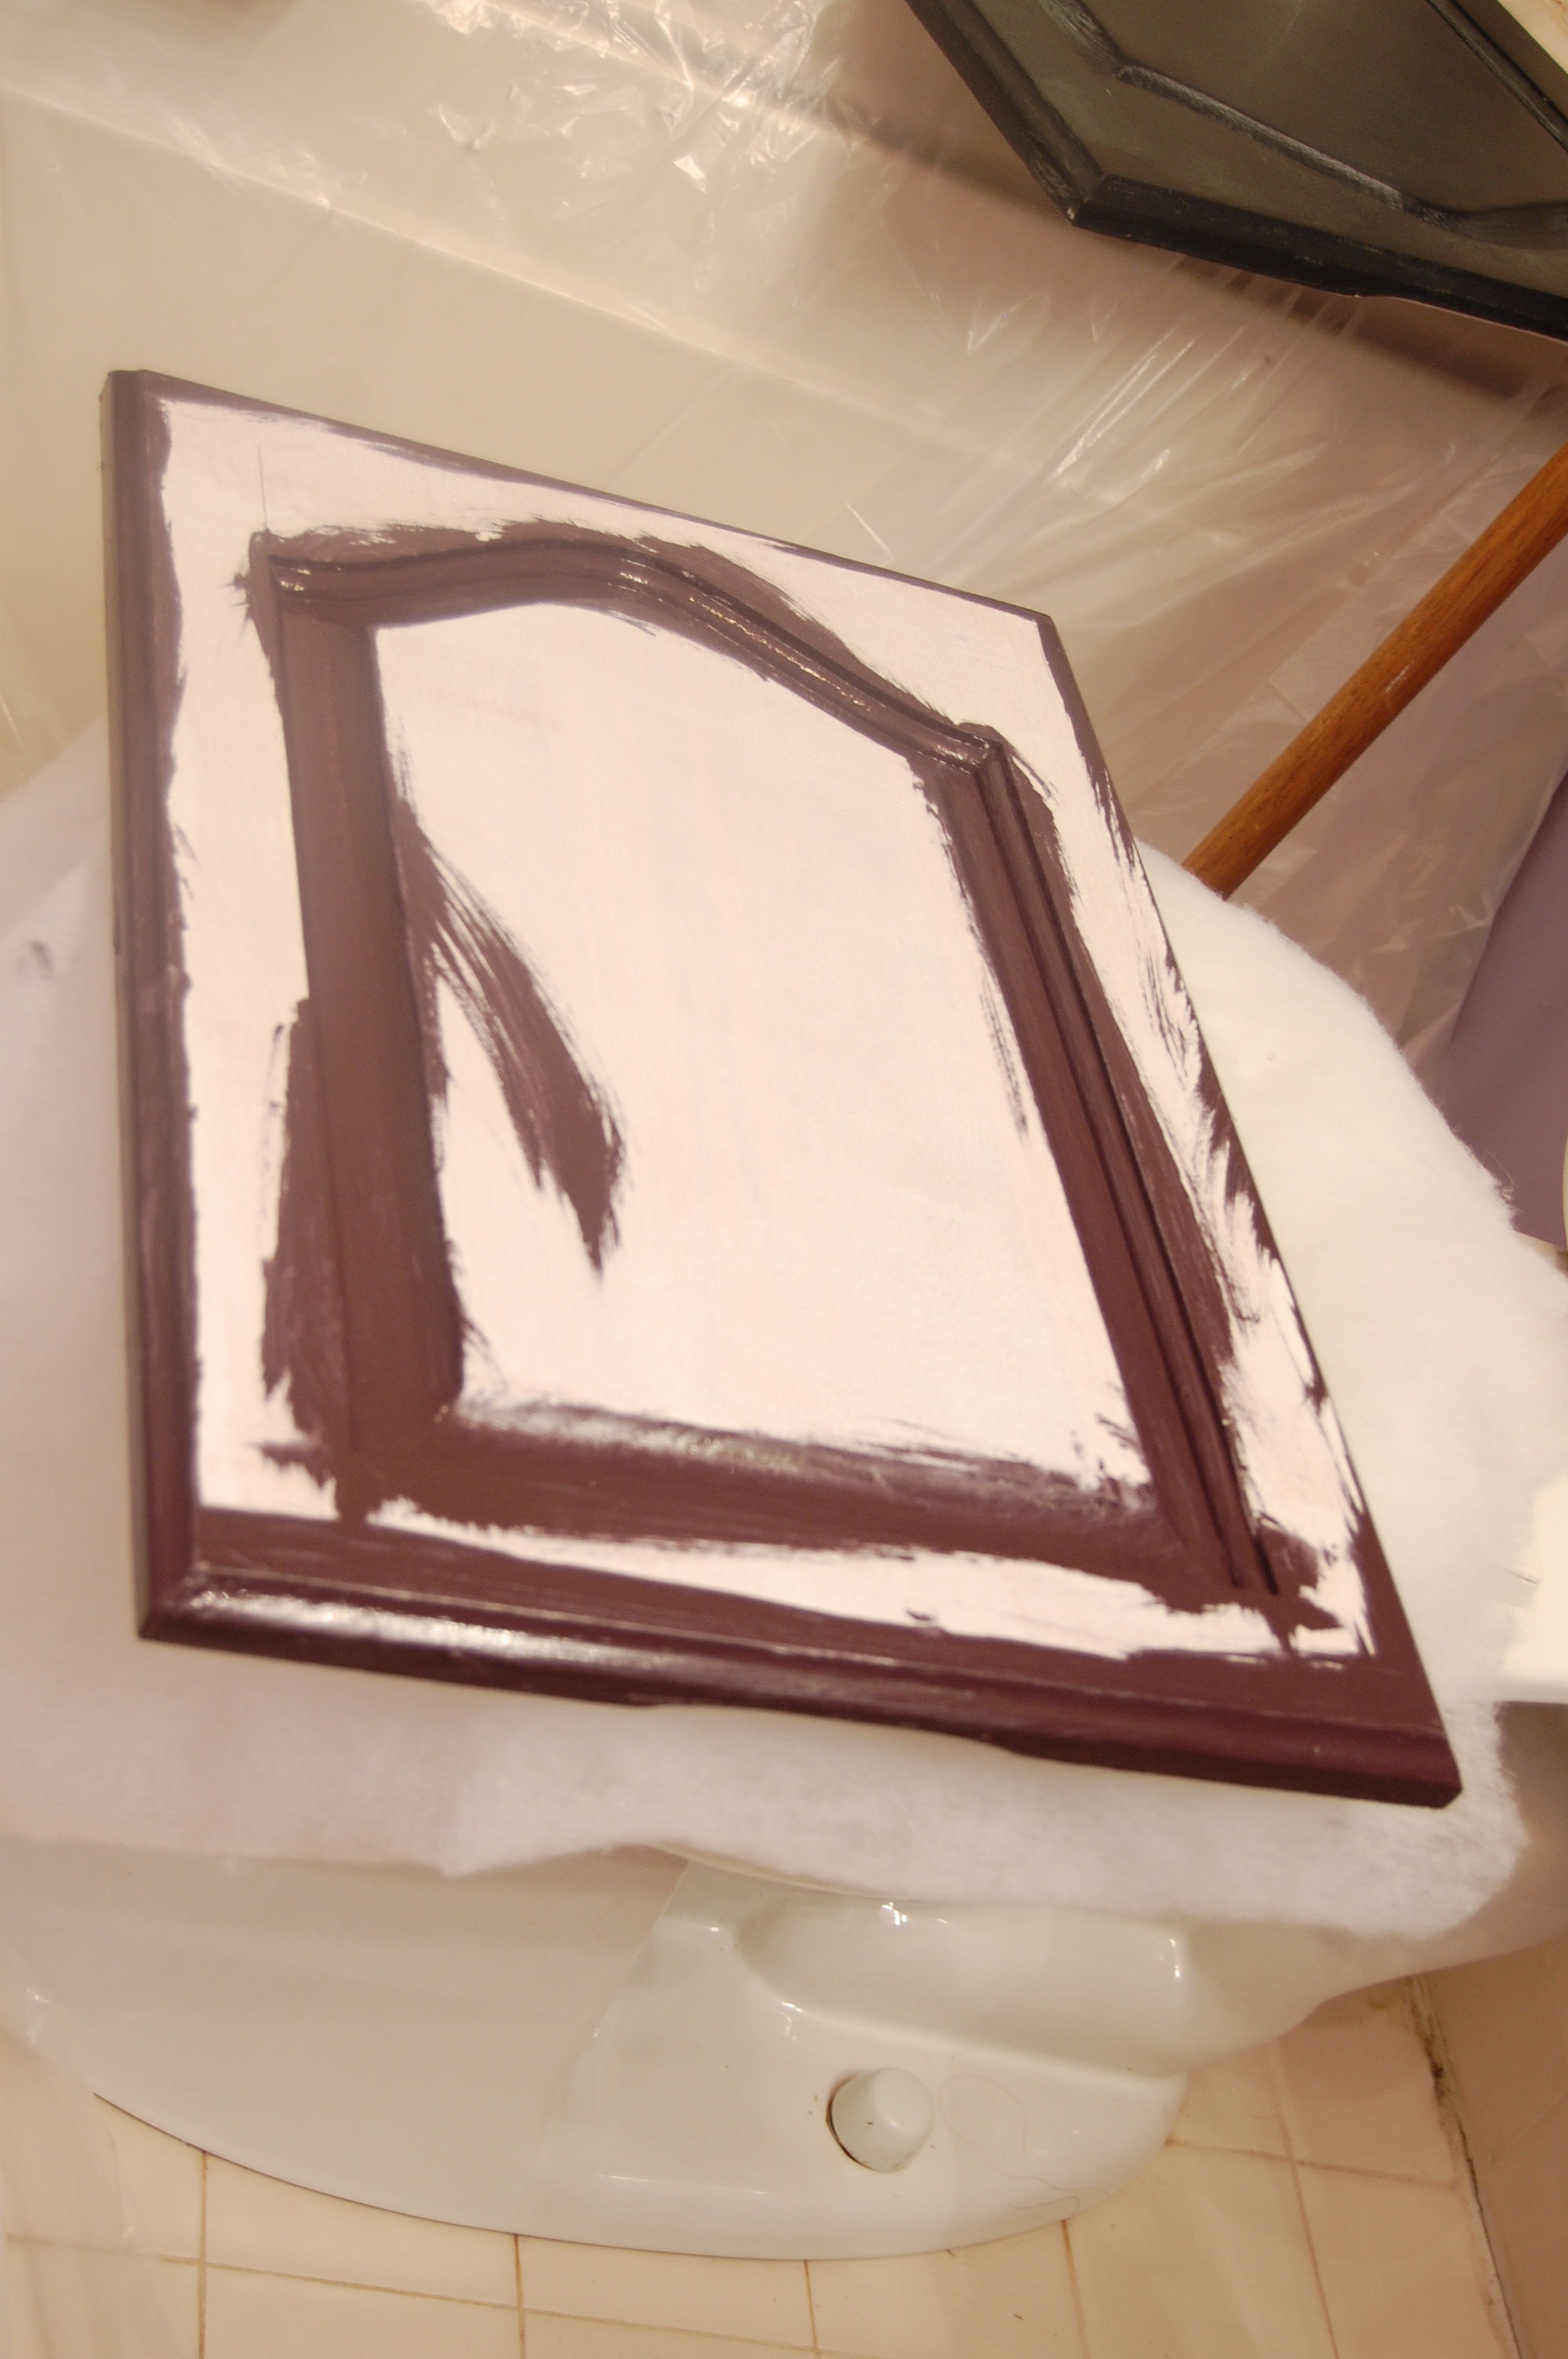
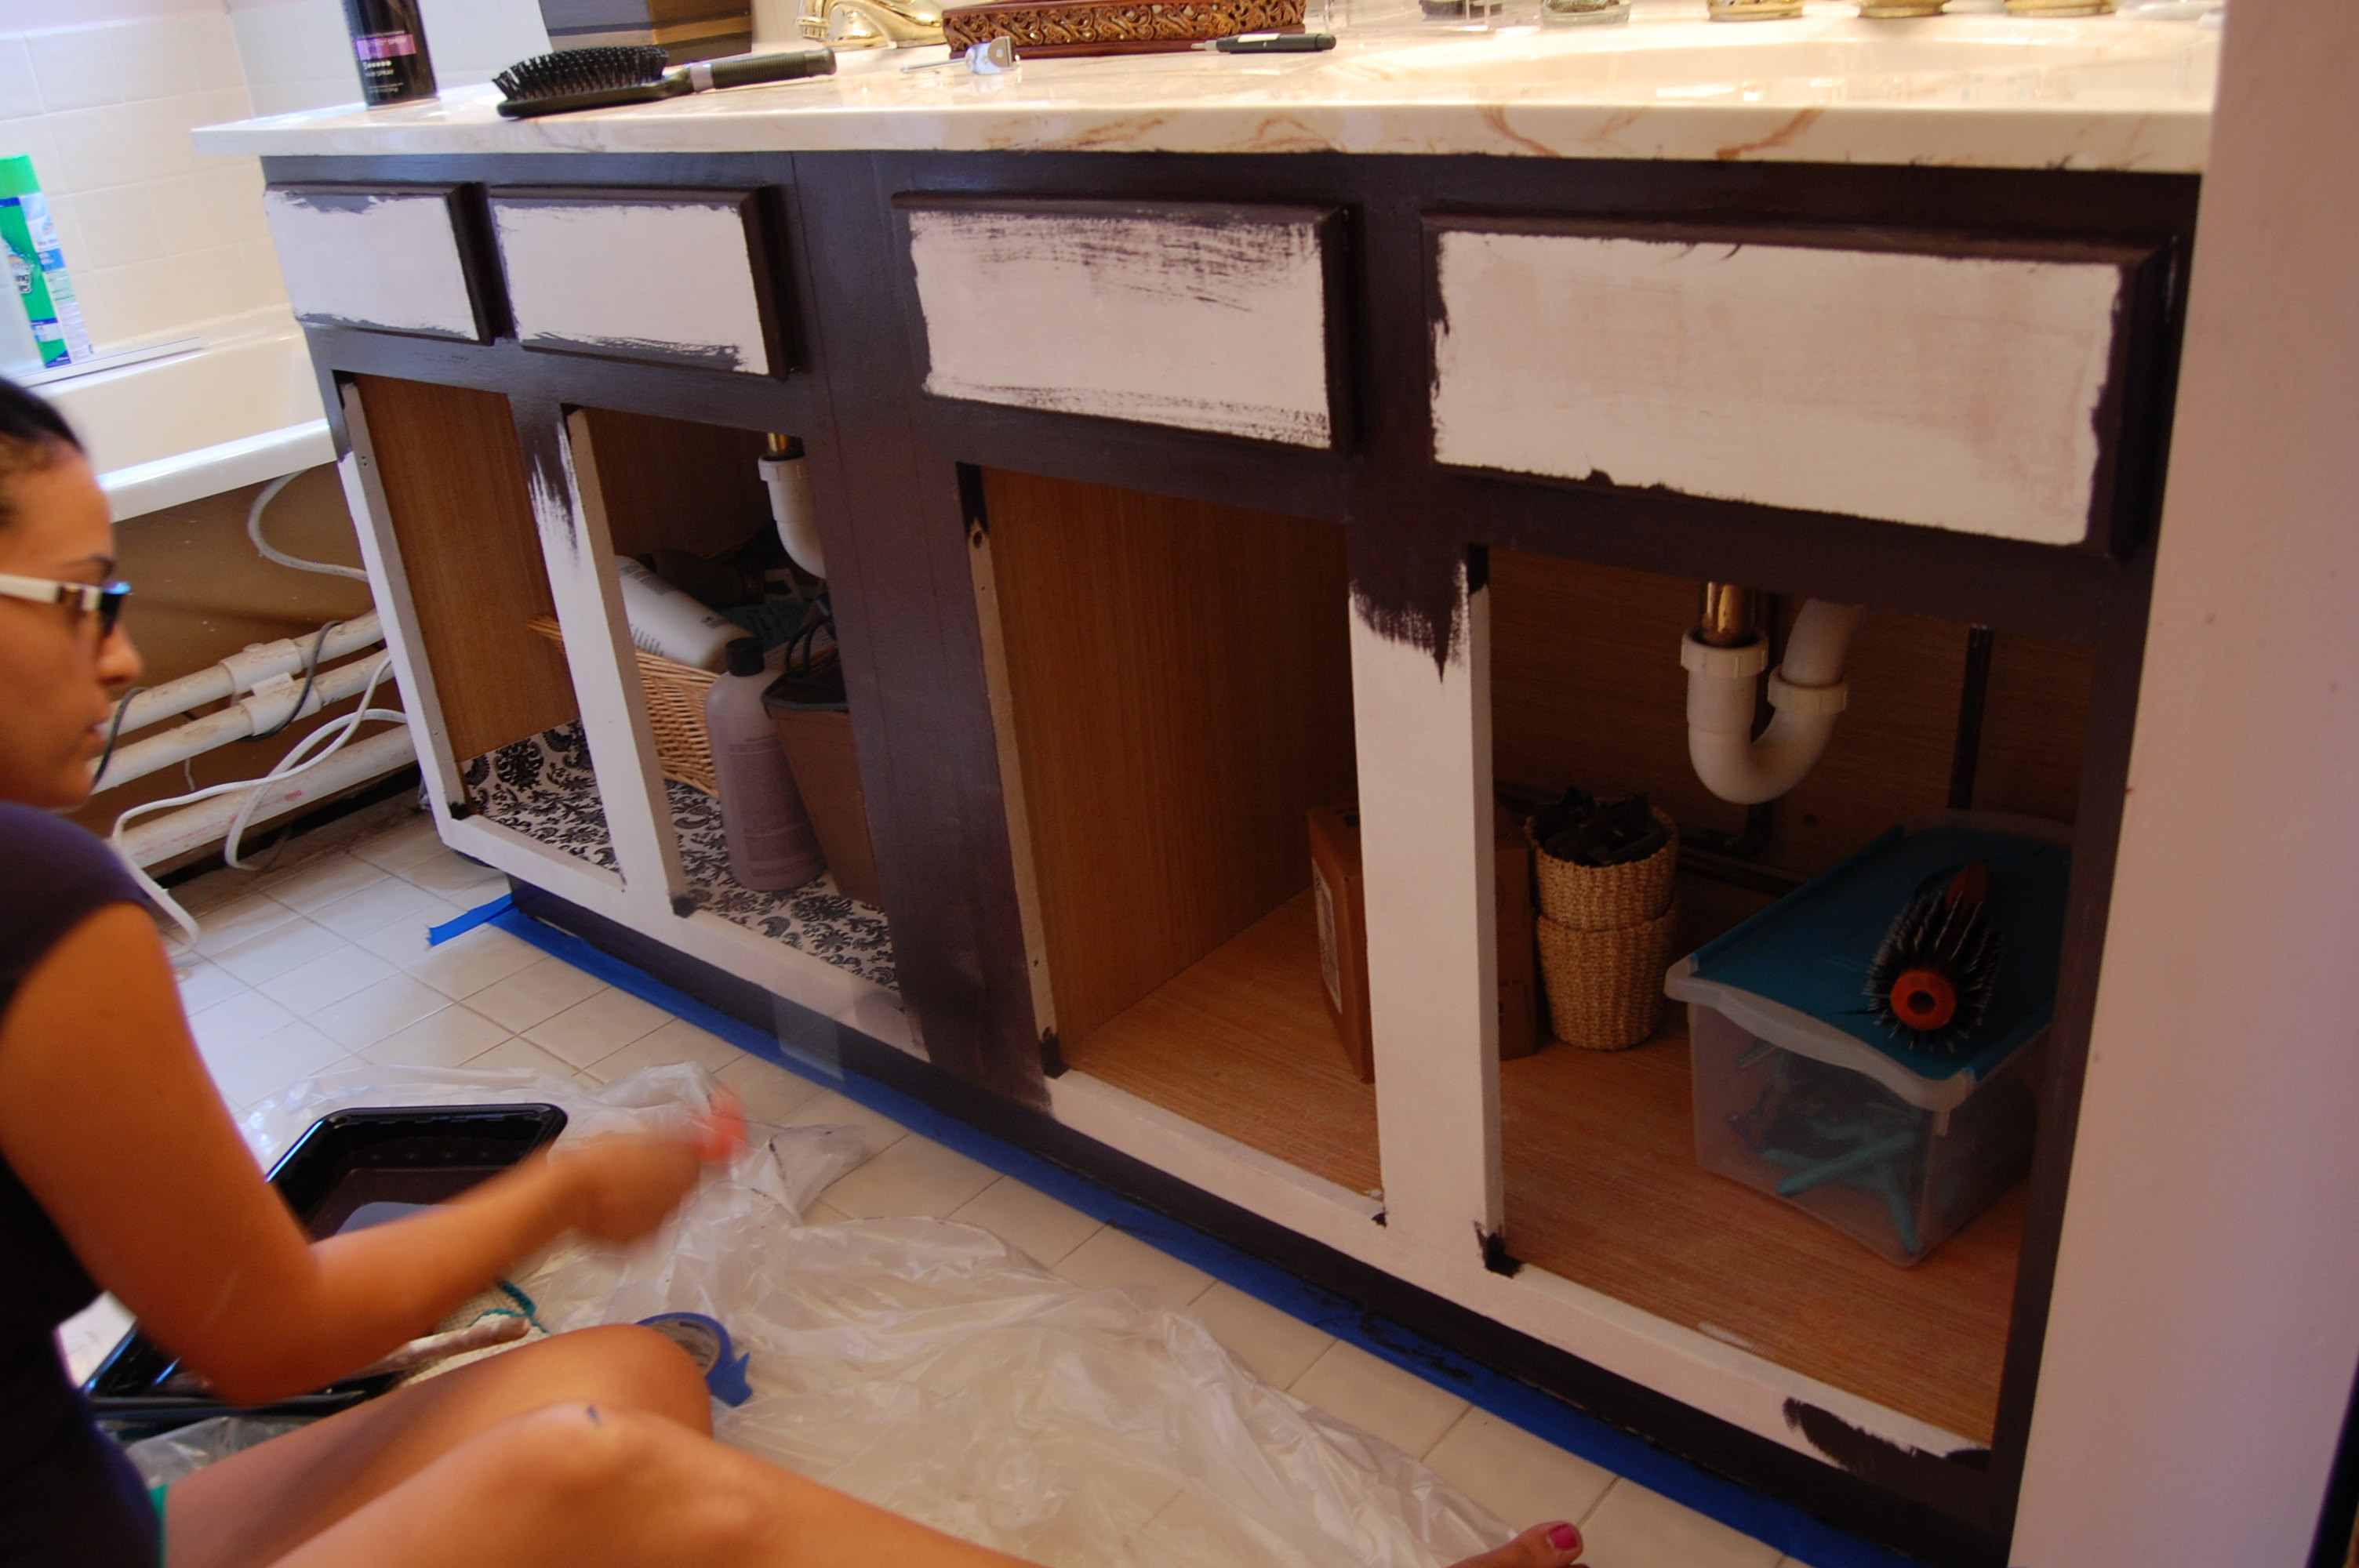
 For the vanities we did the same technique, roller for the flat surfaces and brush for the edges, smaller spaces.
Look at my BFF all hard at work in the action shot…she’s a quick learner!
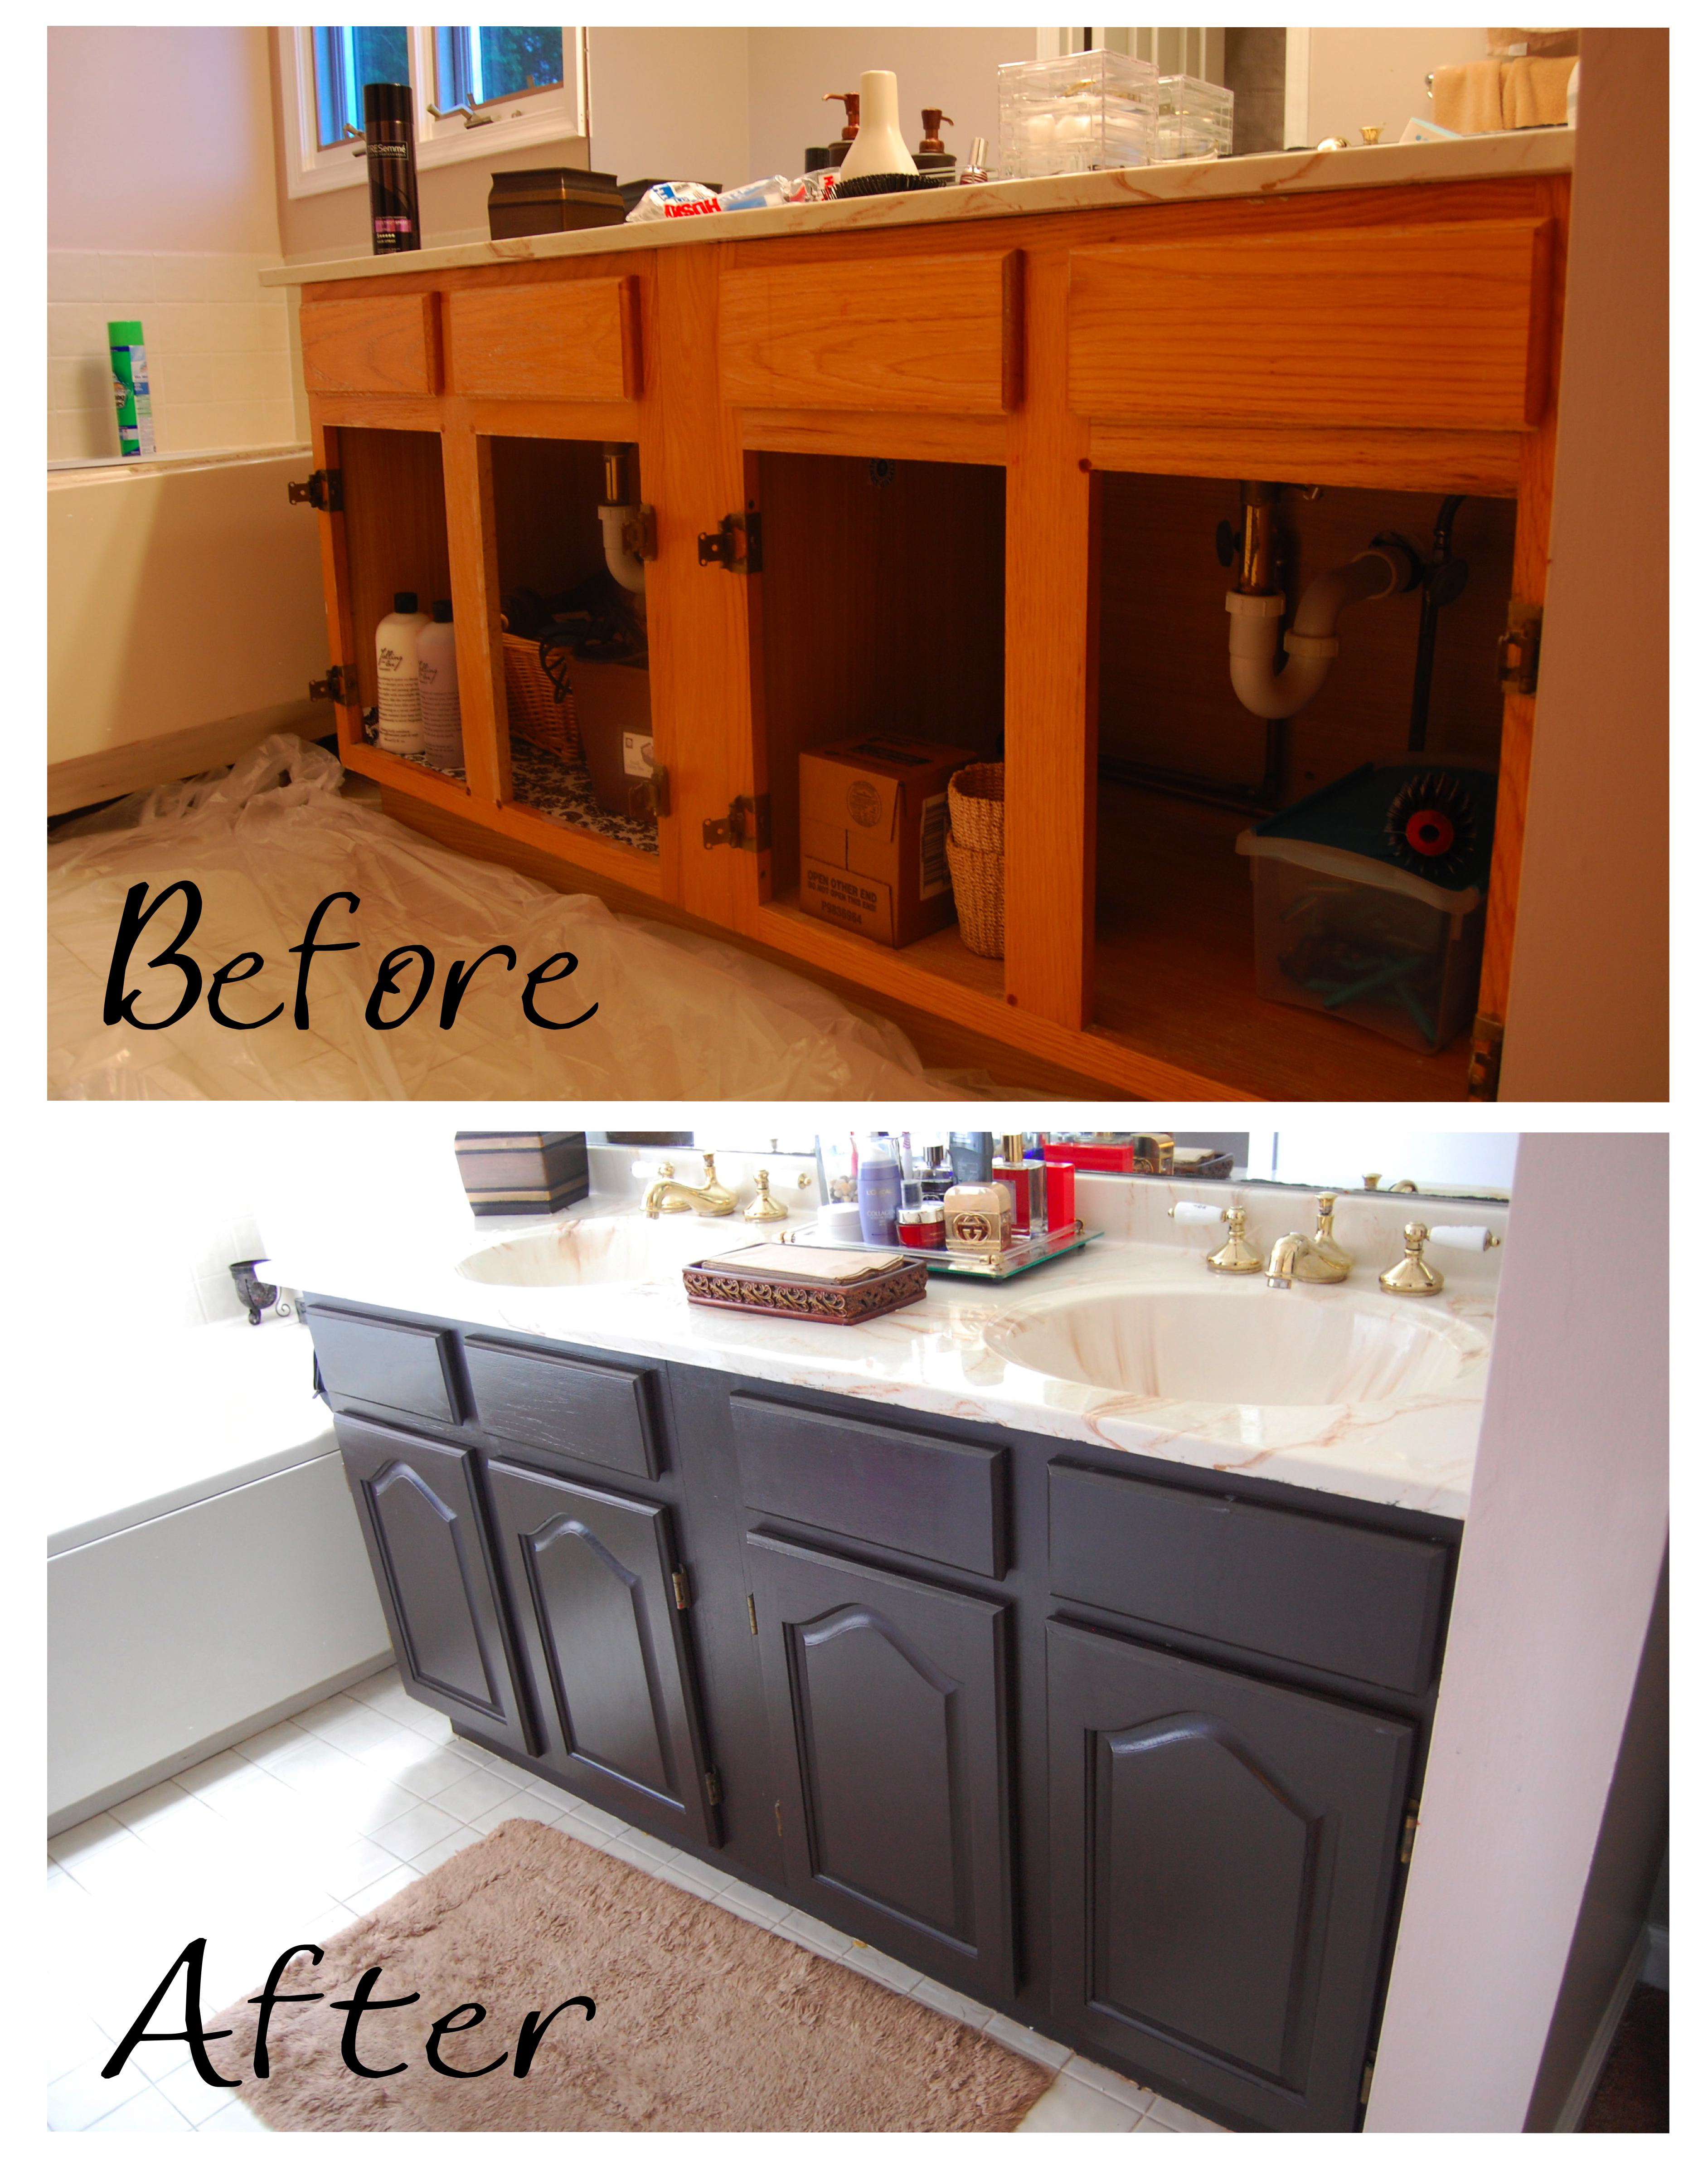
 Once everything was all dried (48 hrs.) the doors were placed back on and looking good!
*I wasn’t able to take pictures of the smaller vanity because the bathroom was being worked on when I took pictures the other day but when I remember my camera I will update the post!
 Have you painted anything recently that made a big impact? Have you subscribed to Made2Style yet? Do you like that shameful plug I just threw in there!
